
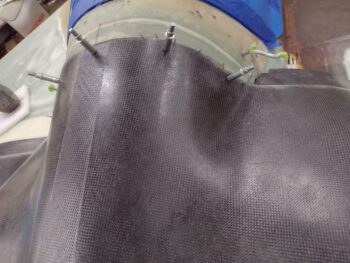
I started off this morning by drilling the holes through the front edge of the top cowling to allow me to install Clecos. I went with 5 fasteners, which will of course be CAMLOCs, since that’s what Mike Melvill used on his version of these cowlings.
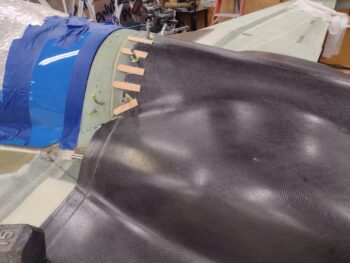
I wasn’t as concerned with the hole in the middle on each side, but then I figured the best way to evaluate the D-deck flange was to drill all the holes and get moving on all this. To get to the middle hole on each side I had to clear away tape and some of the popsicle stick and cured hot glue.
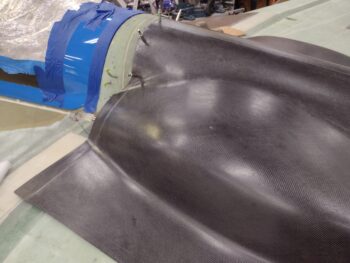
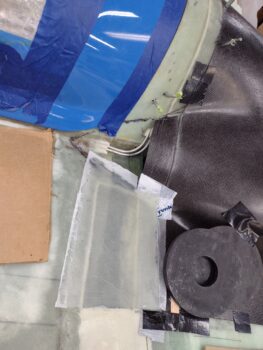
I didn’t grab a pic of this before the flange layup last night, but here’s my setup for creating the flanges/lips onto the cowlings. This Tyvek house wrap tape is expensive, but it STICKS better than just about any tape I know… and it’s actually not too bad in coming off when its job is done.
Not surprisingly I reviewed my buddy Dave Berenholtz’s awesome blog on his cowling install before I dove back into my own top cowling installation. Great stuff!
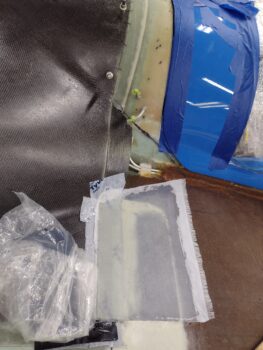
When I pulled the top cowling off this last layup and saw this below, a line Dave said as he was installing his cowlings popped into my head:
‘This is ugly building beyond description. A real, “do whatever it takes” to get a result approach.’
Hear, hear Brother… kindred spirits!
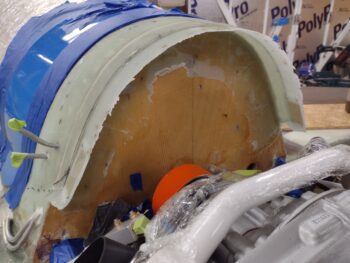
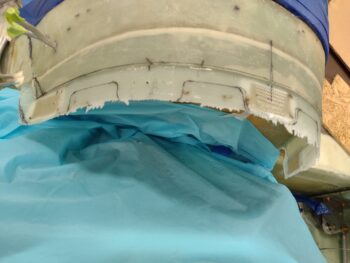
Clearly the good news is that the 5-ply flange layup glass stuck to the underside of the taped (and peel plied) top cowling.
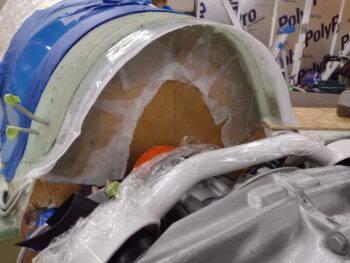
I then pulled the peel ply off this monstrosity of a layup… and I have to say that the flange width is not that bad at all! Way more than I actually thought and besides a few possible touchup layups, will most likely work right out of the gate.
I had significantly more of an overlap onto the firewall than I needed, which is good because you can see some dead glass edges that will get trimmed away. A few air pockets too that will either get filled with epoxy or simply cut out and a BID patch applied. More importantly, the inside corners looked good with tight glass-to-glass bonding and no air pockets.
I then spent about 45 minutes (yes! … crazy) removing the hot glued-on popsicle sticks. I thought I’d get creative, innovative and smart by using a heat gun to remove them. Maybe that works if you hit the sweet spot of just getting the glue just warm enough to soften up to get off, but I found on the 2 tabs I removed it melted the glue into the weave of the CF. And I still ended up spending time scraping off glue.
In the end it was just easier to resort to my old Neanderthal method of razor blade around the edges to remove the exposed glue, and then wood chisel to get underneath and physical tear the darn popsicle stick off.
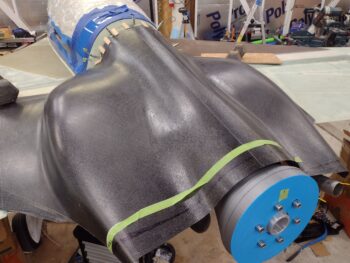
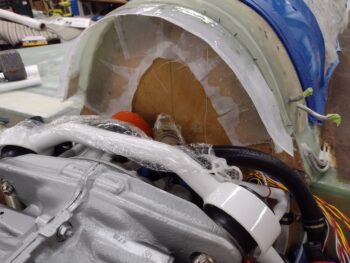
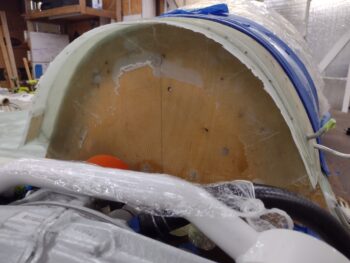
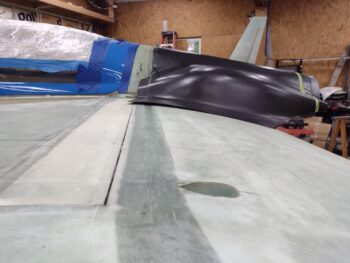
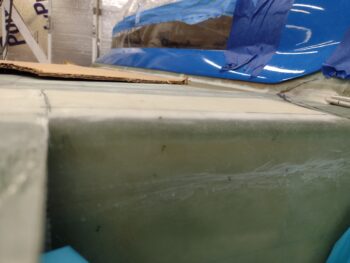
Anyway, with that done I put the cleaned up top cowling back in place. Looking pretty good if I do say so myself!
And a side shot to check how our angle is doing…. the angle looks fine, but I don’t know if it’s the color differences or what, but the whole area from aft canopy to the end of the top cowling just looks really LONG to me. Hmmm… Maybe that’s why it’s called a Long-EZ? (ha…. I know, just getting punch drunk from so much building!)
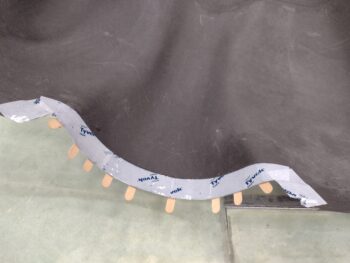
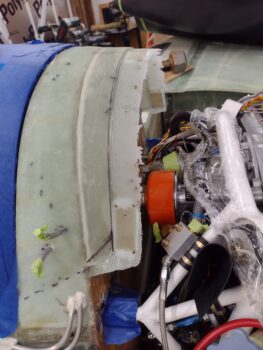
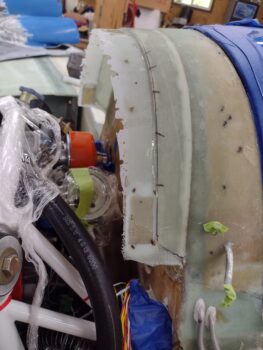
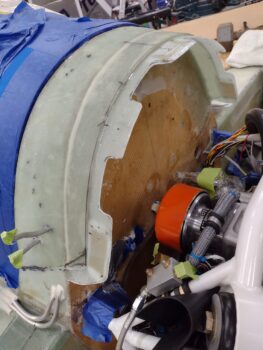
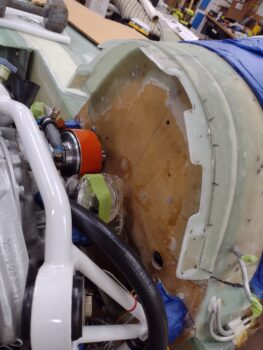
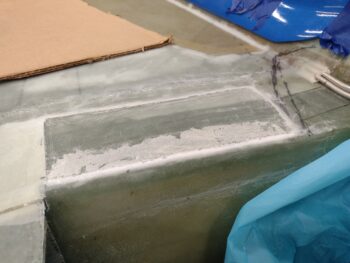
I then taped up the underside top cowl edges along the wings and the short length coming in from each corner to mark trim lines. When the cowling came off and outside in prep for trim, I first took about 30+ minutes to mark up and trim the D-deck flange… in scalloped fashion as Mike Melvill did, mainly to allow more access to get into the engine compartment area and specifically the oil filter.
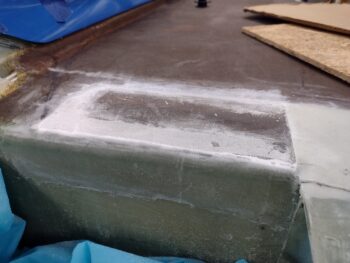
Using my trusty Fein saw and then Perma-Grit sanding tools I created this masterpiece (ha! … I TOLD you: punch drunk!). Seriously, the 5-ply layup cleaned up acceptably nicely and I’m just happy that my calculated risk paid off and I didn’t have to remove the engine (as Jess noted: “High risk, high reward”… Yep!).
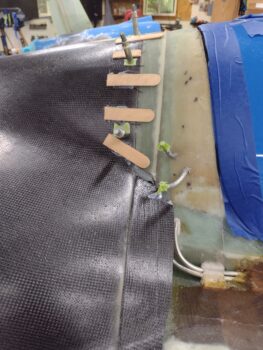
As you can see, my side G10 tabs dropped a bit. I can still utilize them for the majority of the receptacle hole and one rivet into the G10, so not a total loss. I’ll evaluate and ponder on this further to possibly reinforce them before installing the CAMLOC/SkyBolt receptacles.
A sin of the immediate past was my CS spar fill with pour foam followed by 2 plies of glass, at least in the area just forward of the cowling. I spent a good 1/2 hour with the top cowling in place looking at this and finally had to accept that I had called the elevation wrong and that it just wasn’t going to work: the foam and glass made the elevation way too high for plopping down 5 plies of BID and overlapping onto the lip of the cowling to match the (future) edge of the trimmed cowling.
After scheming and pondering various machinations, I finally just bit the bullet, pulled out the trusty Fein saw (it had better be at this point!) and went to work.
The primary concern here was of course “do no harm” to the spar cap of the CS spar. That was one reason I left some foam on the aft edge of the CS spar before proceeding with my glassing. The #2 reason was I still needed some fill to match the heights.
All told, it took me less than 10 minutes per side to get back close to previous state.
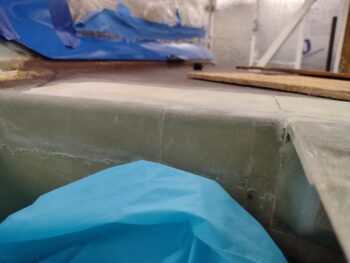
As you may be able to see above, there was a very small lip on the front side from the previous foam and glass. I knocked it down pretty good, but there was still just a bit left. So I added an extra ply to the layup schedule for 6 plies total. The first 4 plies of BID went up to the edge of that lip, while the last 2 plies not only went forward of that lip by about 0.3″ and 0.6″ respectively, but also a bit more inboard to help fill in and link the area where the top cowl shoulders will get filled in.
Honestly, besides adding a few extra grams in glass, both sides came out great and the level between CS spar/strake and cowling was spot on. I also used wet flox on the remaining foam vs micro since I consider this a structural layup with it securing the top cowling that is constantly trying to be forcibly removed from the aircraft by on/incoming air.
Finally, there is about a 0.07″ height difference between this layup and the adjoining foam/glassed filled CS spar trough that I’ll have to contend with during finishing.
One last thought. With my stepped approach to installing this top cowling I will probably need to get a lot more aggressive in dealing with the curve on the front edge of the trimmed cowling. I didn’t factor that in when I made my plan to step through this install and I see now that it is a minor, albeit significant, fly in the ointment here. Not that it can’t be worked through… I just have to account for it as a factor.
Pressing forward!
This is a MUCH tidier job than I did on my cowl. Very nice indeed. You make me want to do it again… but I will resist. BTW great call on CP83 exhaust pipes… why doesn’t everyone do that?