
I started off today intent on getting back to the canard, so I sanded the canard swoosh tips, the inboard area of the swoosh tips, and the immediate area around each of the outer two hinge tabs with 220 grit paper for about an hour.
I then got pulled away by a few mandatory errands, phone calls and work teleconference.
I got back to working on the plane at about 4pm, and since the days are getting shorter, and cooler, I figured I would get to working on the fuselage dolly during the daylight, and while it was a bit warmer (vs night), and not raining. I apologize but since I left my camera upstairs and I was in the “I’ll get it in 5 minutes” mode, alas, there are no pics. However, what I did was basically cut the remaining canopy box covers & the framed the main table top and mounted it to the scissor jack. There’s a few more things I need to tweak to optimize its operational use, but I can already tell I’m going to be really happy with the functionality of this fuselage dolly.
I ended up spending about 3 hours on the fuselage dolly. My guesstimate is that I have just about another 2 hours to go to finish it up.
After the 3 hours were up (and it being too dark to see any lines on my tape measure!), I ran to Home Depot to pick up some hardware. I grabbed a quick bite while I was out at a nice little Hibachi place, then came back home and got to work on the final sanding of the swoosh tips on the bottom side of the canard.
After about another 30 minutes of sanding, I broke out the primer, mixed it up really well for a good while, and laid down a coat of primer on the bottom side of the swoosh tips, the inboard area of the swoosh tips, the elevator weight pockets and around & on the hinge tabs.
After the first coat of primer was on the bottom of the canard, I picked back up working on the NG30’s. Now, yesterday was all about the inboard side of the NG30’s while today is all about the outboard side. My goal was to finish prepping the NG30’s so that they would be ready for install on the nose of the fuselage.
My specific steps today on the NG30’s was to fill in the 3 aft hard points with more BID “roundels” to bring the surface of each hard point up to the level of the surrounding NG30 surface. Why? Well, because I want to be able to use the correct washer and right now I either have to go with a smaller washer, or pack the hard point depression with flox before I add the washer. Thus, in my mind it made more sense to just add a few more layers of BiD into the hard points.
Since I’m adding glass to the hard points, I am following the advice that Jack gave me during a conversation a few years ago by adding 1 ply of UNI at a 45° bias angle from the F22 junction down toward the front of the NG30 (just aft of the NG8 screws). And then on top of the UNI will go 1-ply of BID that also goes right up to the NG8 area. To be clear, Jack had mentioned this as part of a few possible, but not “mandatory,” mods to increase the strength of the NG30’s. After reviewing my emails with Jack, and taking into account Jerry Schneider’s not too distant crunching of his stock NG30’s in his Cozy after a hard landing, I decided to employ all NG30 beefing up measures, weight be damned!!! (Forgive me Burt, for I have sinned . . . !)
The first task was to clean up the excess epoxy and prep the glass for adhesion using the Dremel tool. One point of note is that when I originally built these NG30 hard points, I did them to plans so I put weights on them to compress the glass. Boy did it ever! Plans say to glass in 15 plies, and I ended up adding at least another 3 plies. Well, the weight really worked, and the top of each hard point is still well below the surface of the NG30. Great for strength but bad for washer positions!
Below shows a progression of me cleaning up the NG30 aft hard points with the Dremel tool.

After I got the hard points cleaned up, I then sanded & prepped the surface of each NG30.
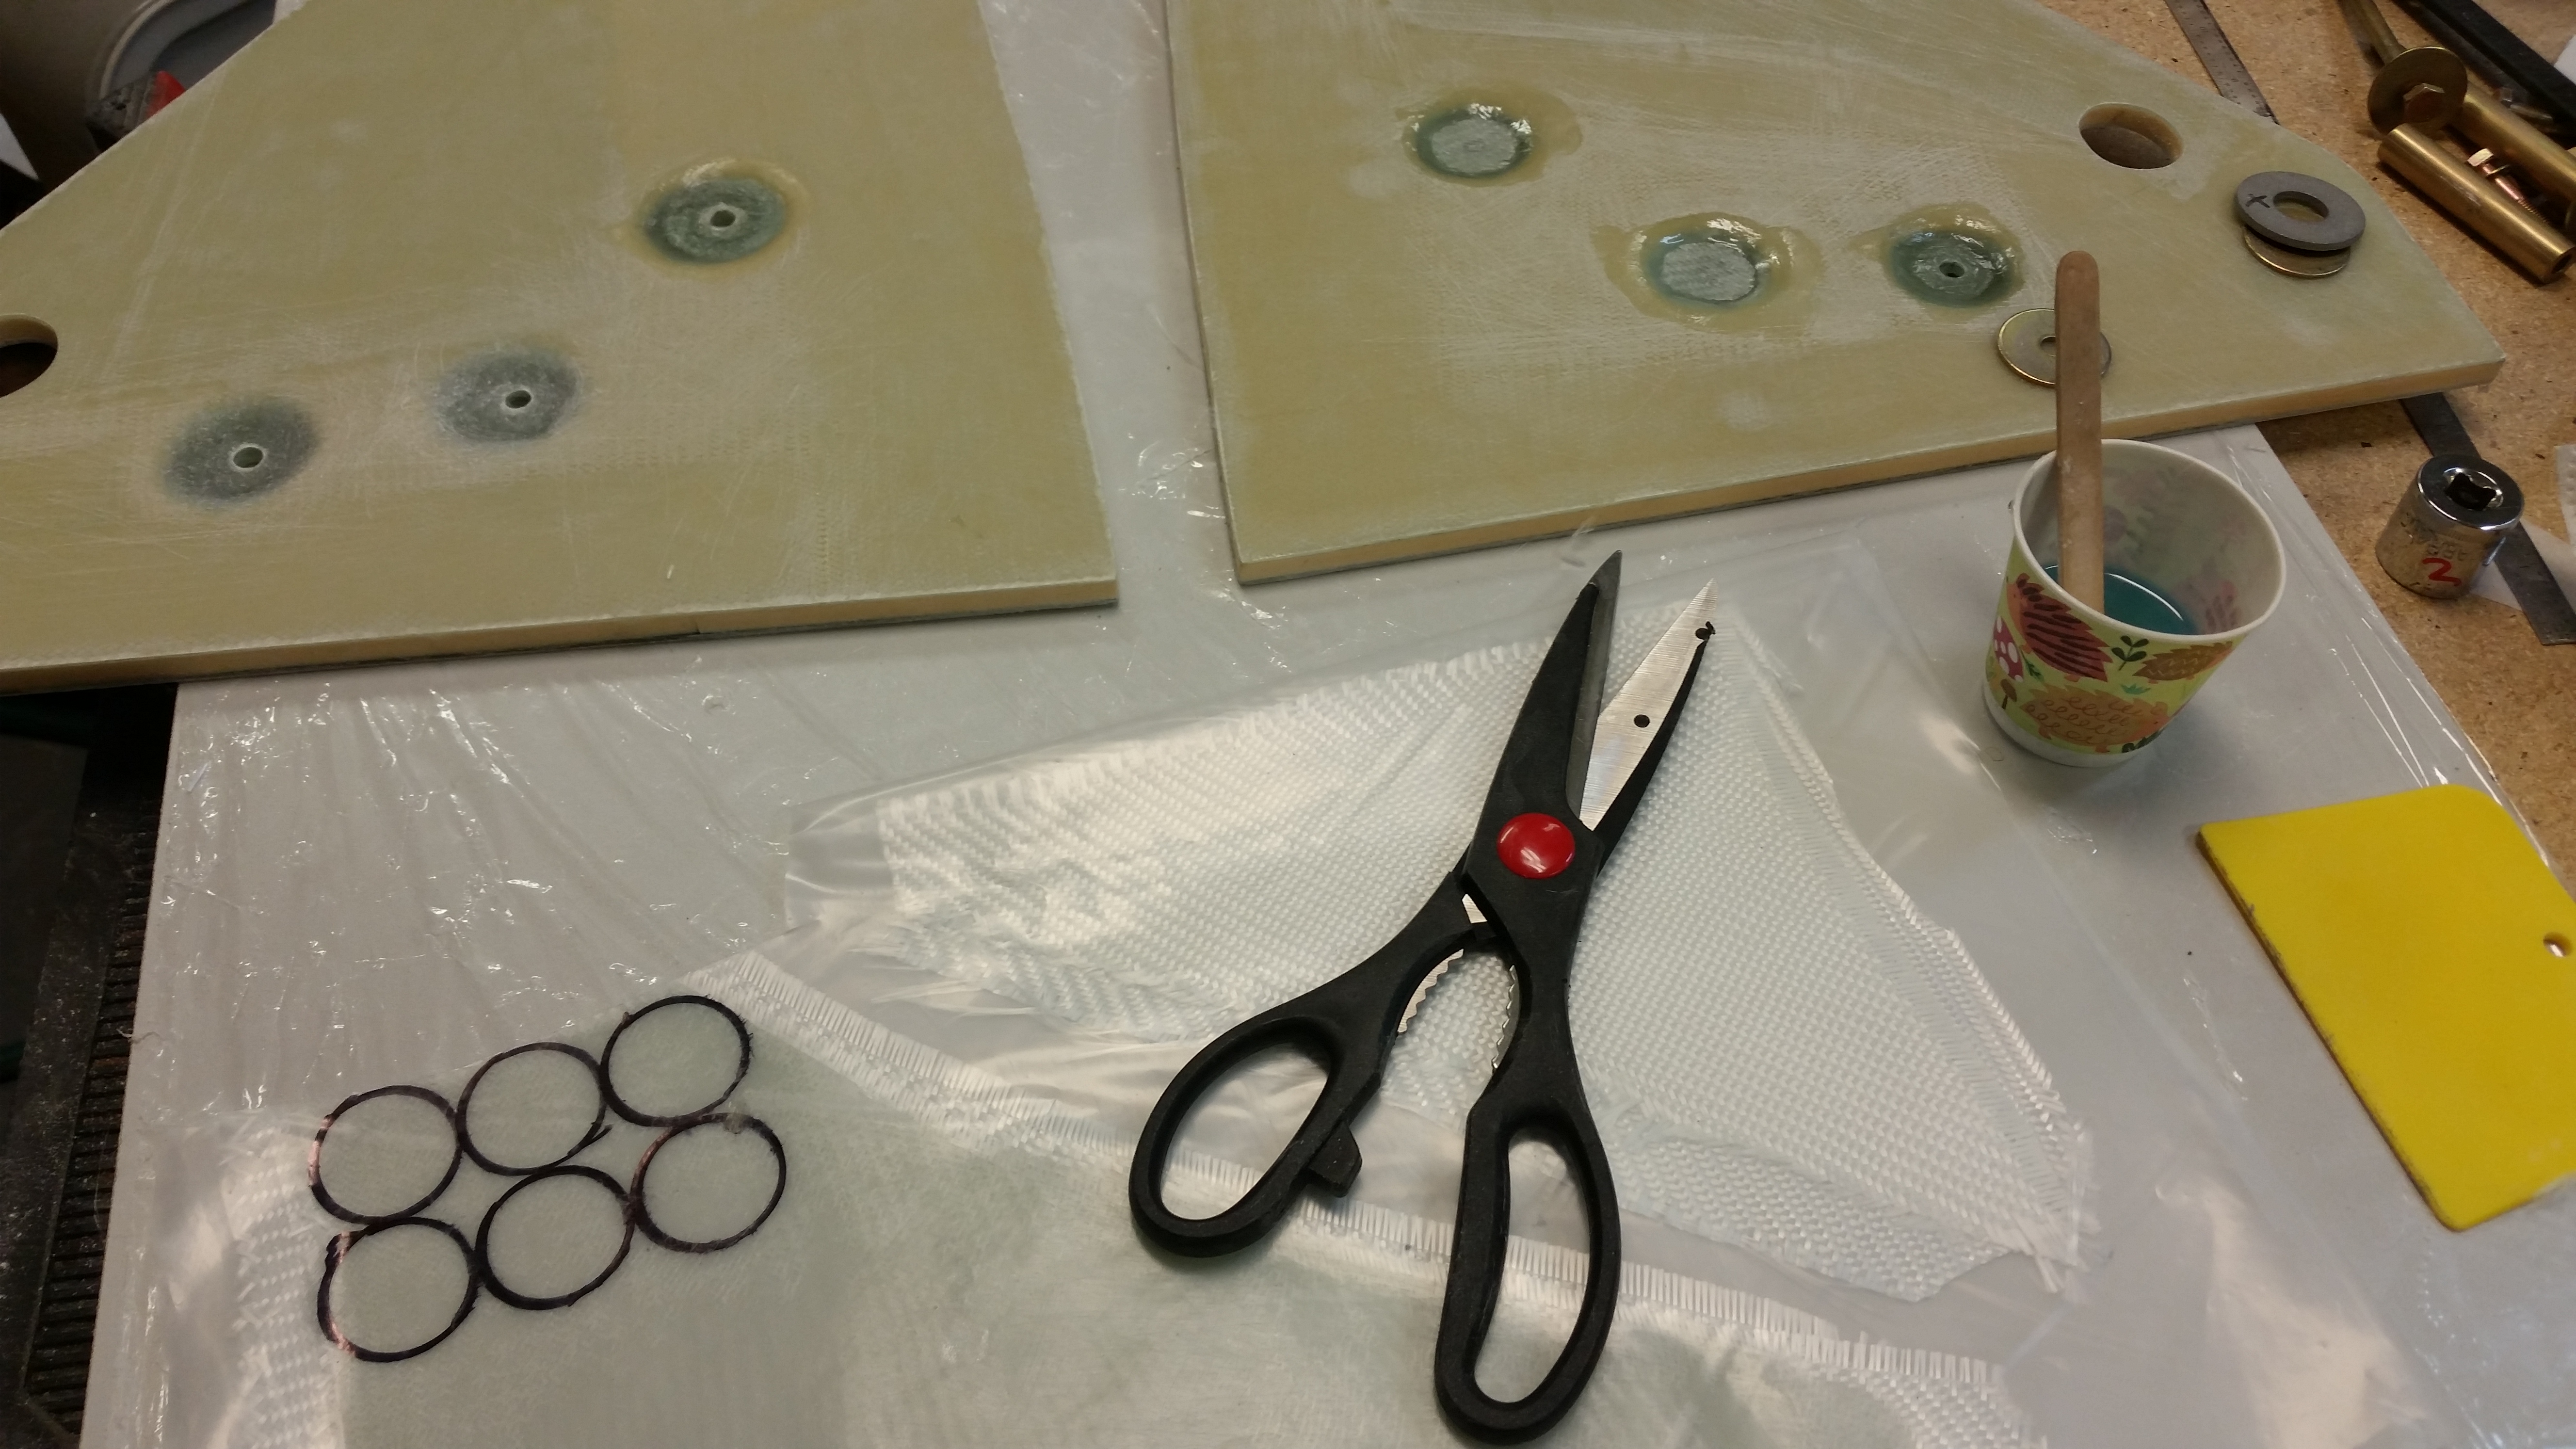
I then grabbed some scrap BID to use in the pre-preg for the hard point “roundels.”
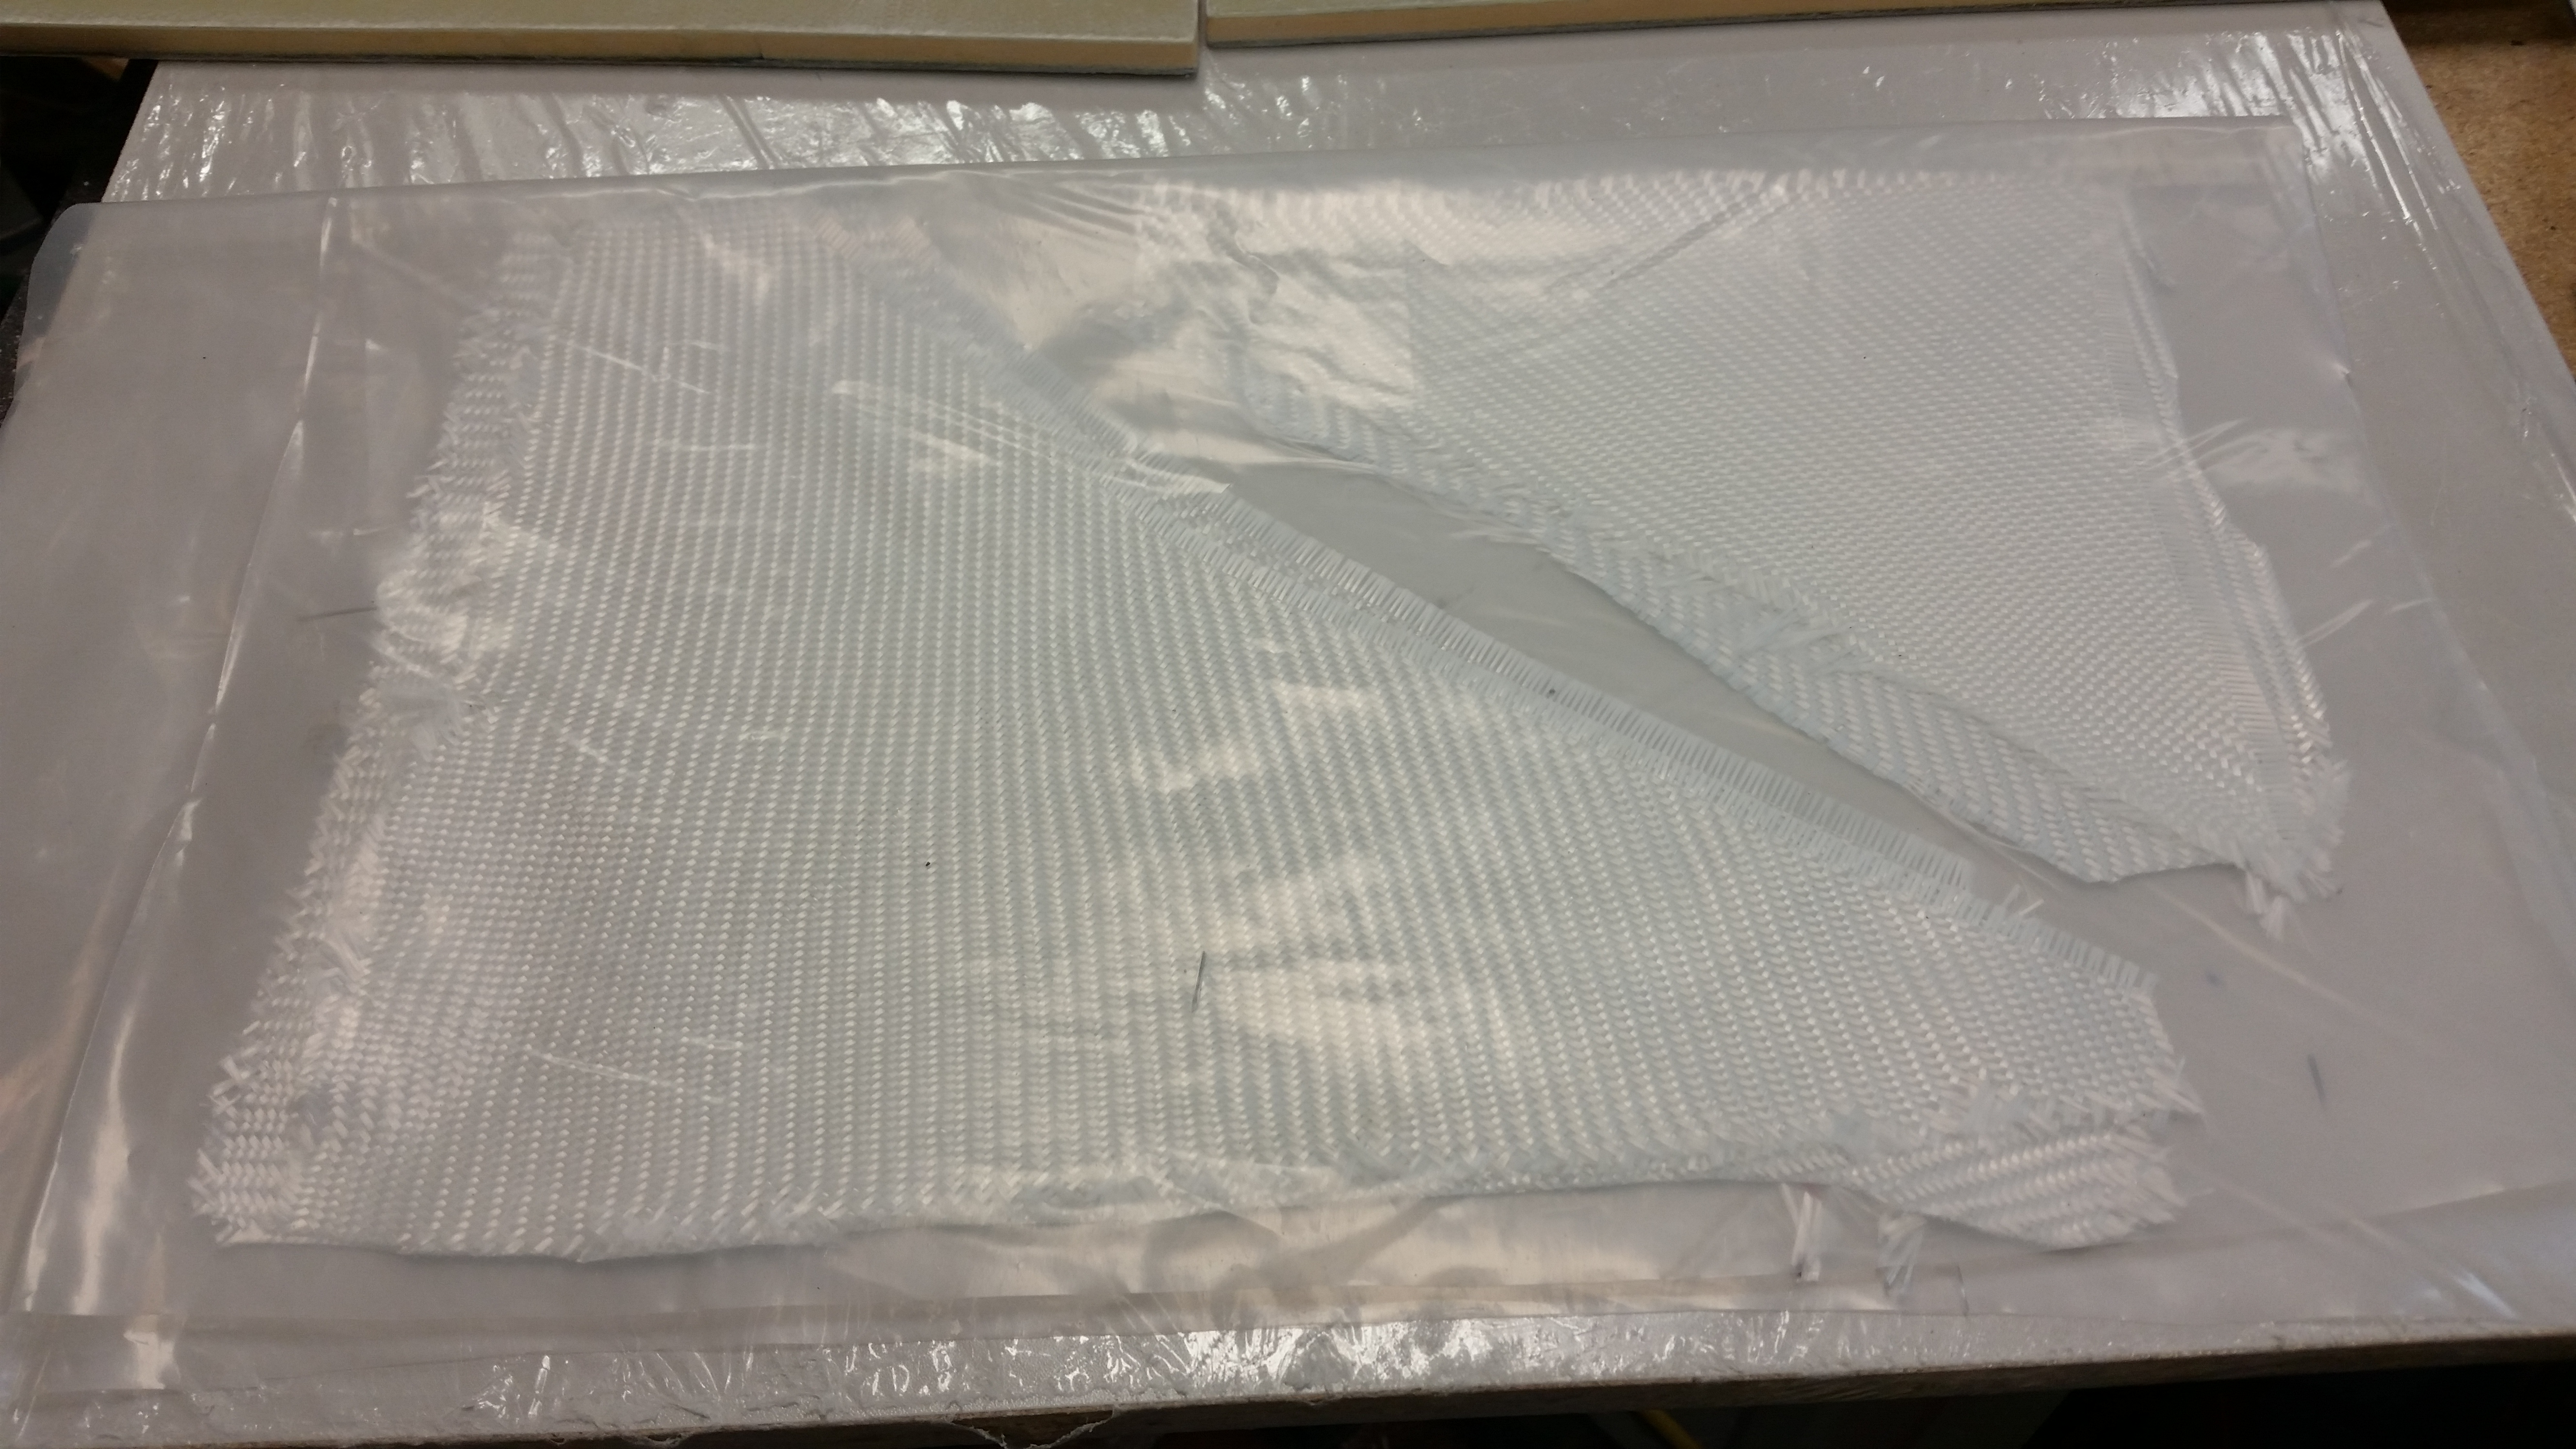
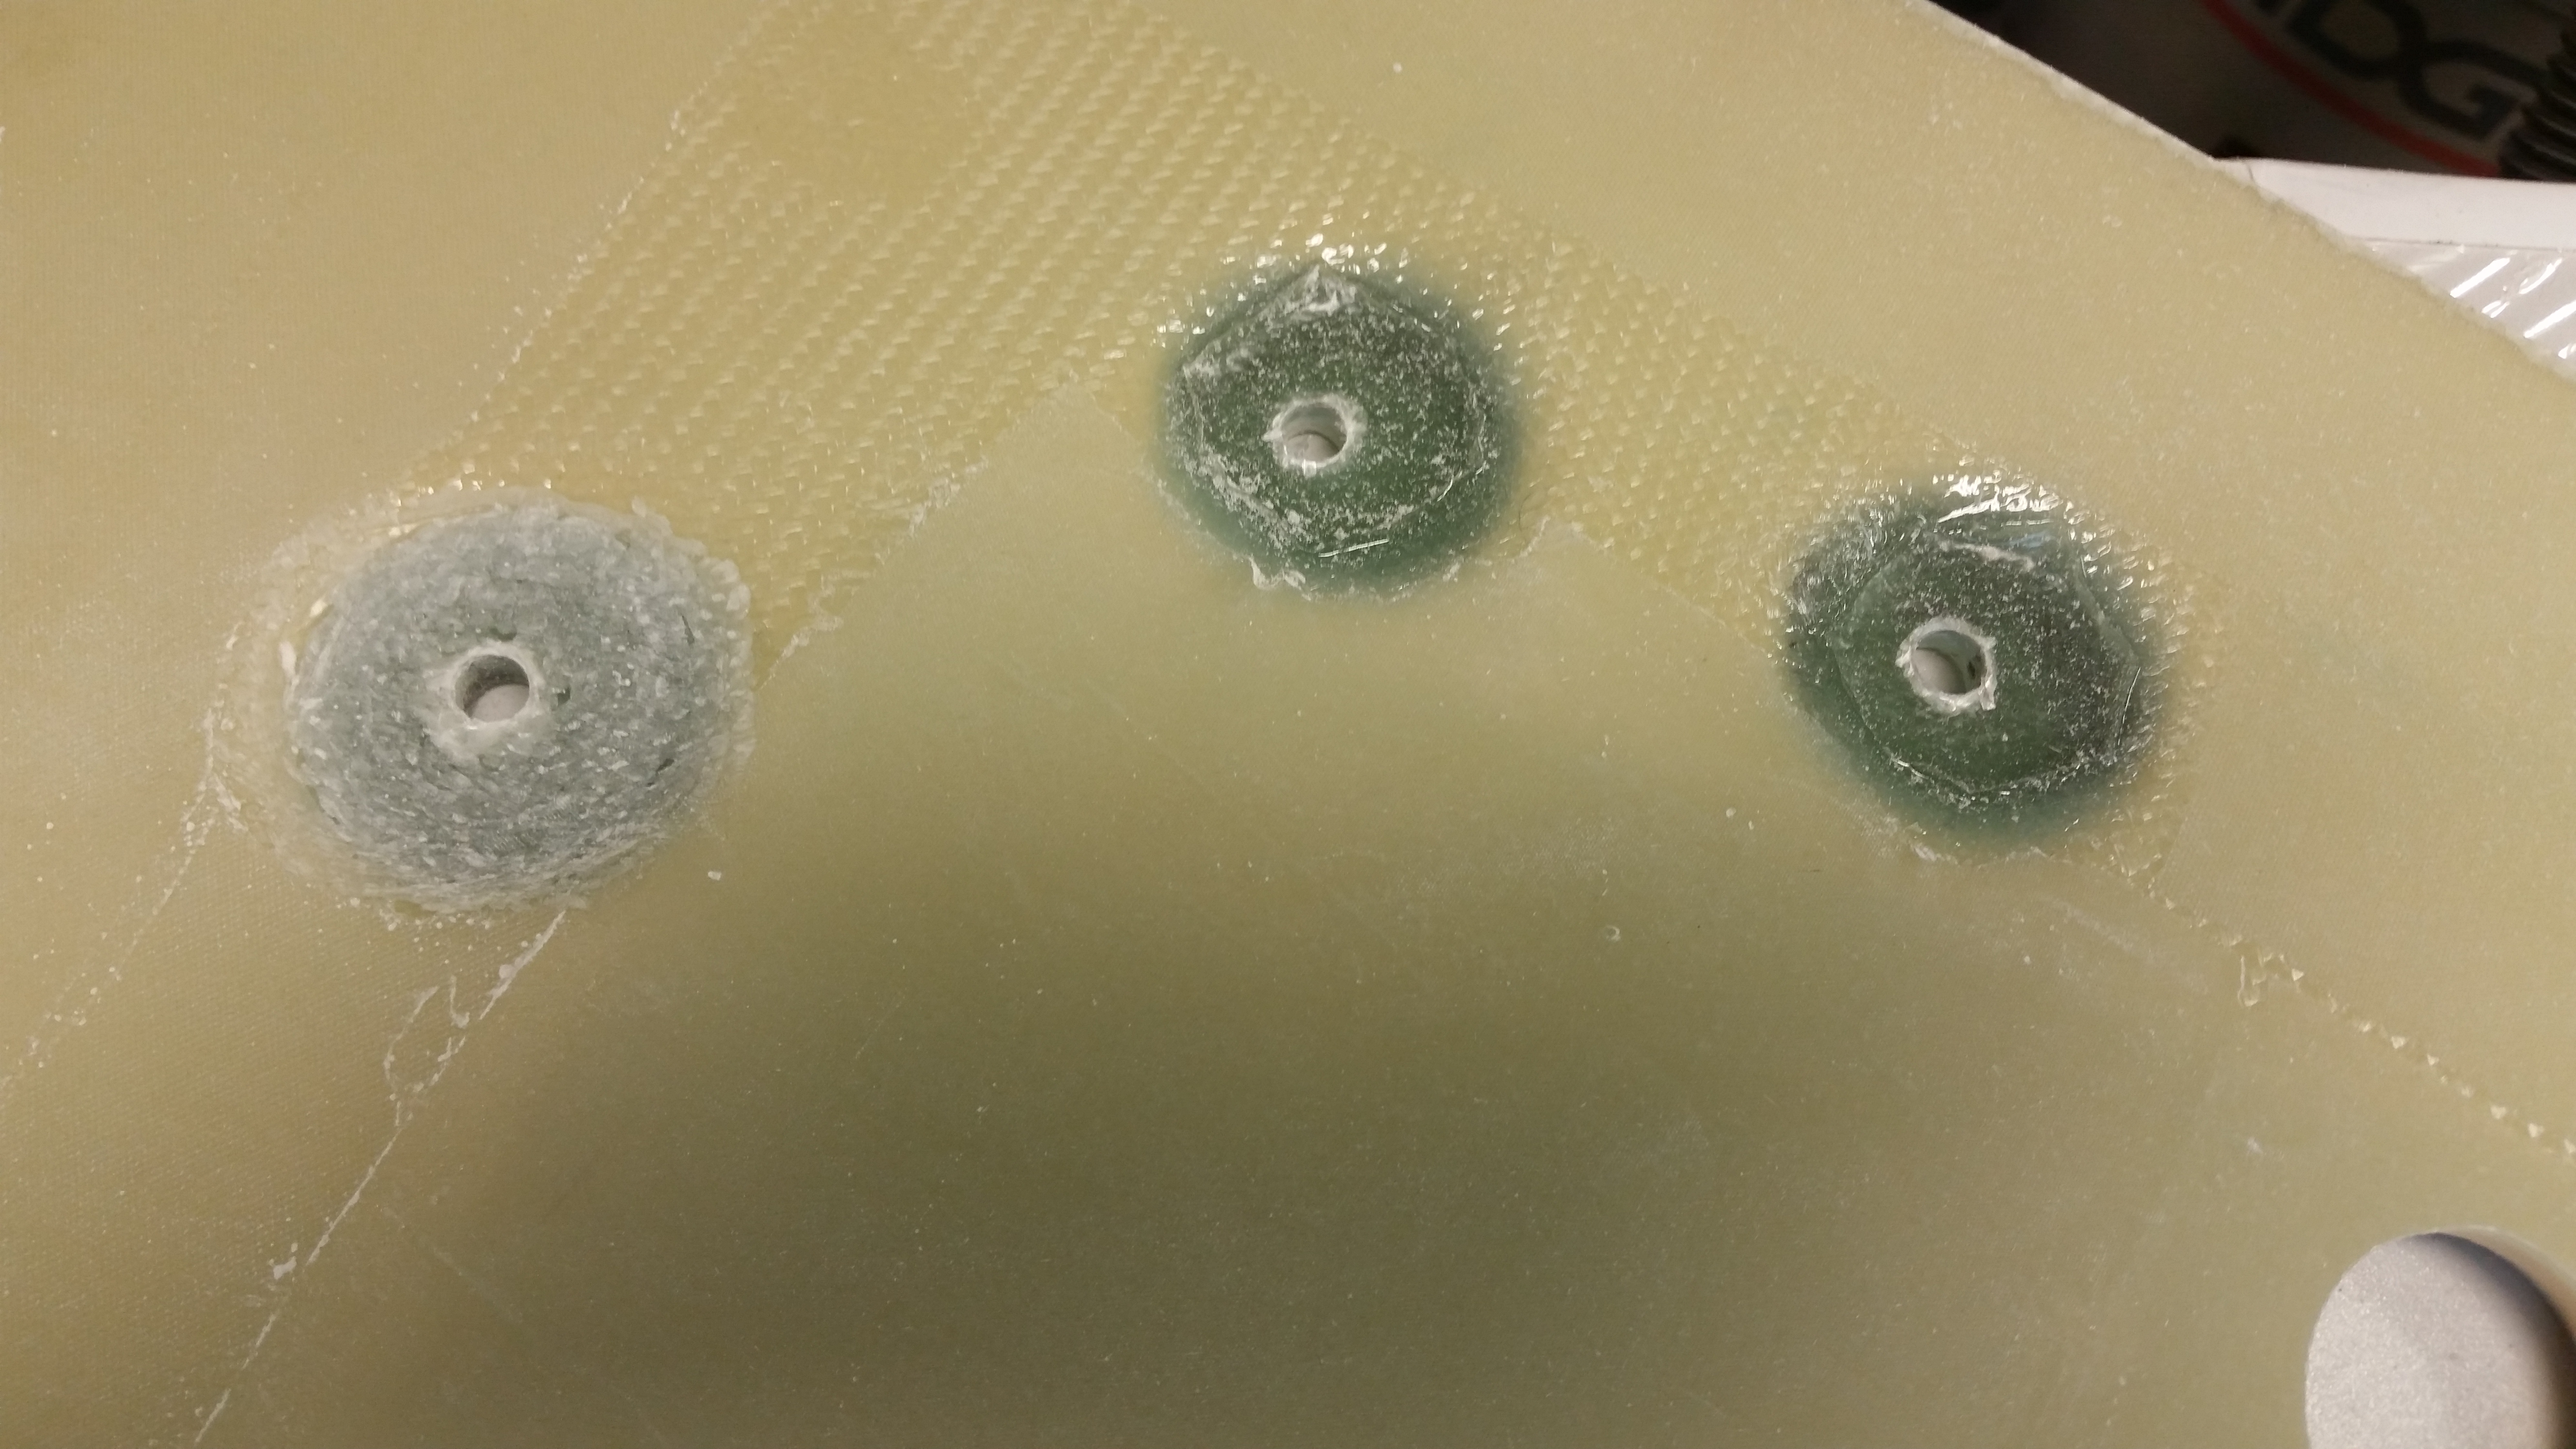
Here’s a shot of the BID glass “roundels” getting cut and glassed in place. I have to say that I thought most of the hard point depressions would handle another 6-8 plies of BID, but by the time I got to laying up the UNI pieces on each side, I would have to say I added about another 10 plies into each hard point depression.
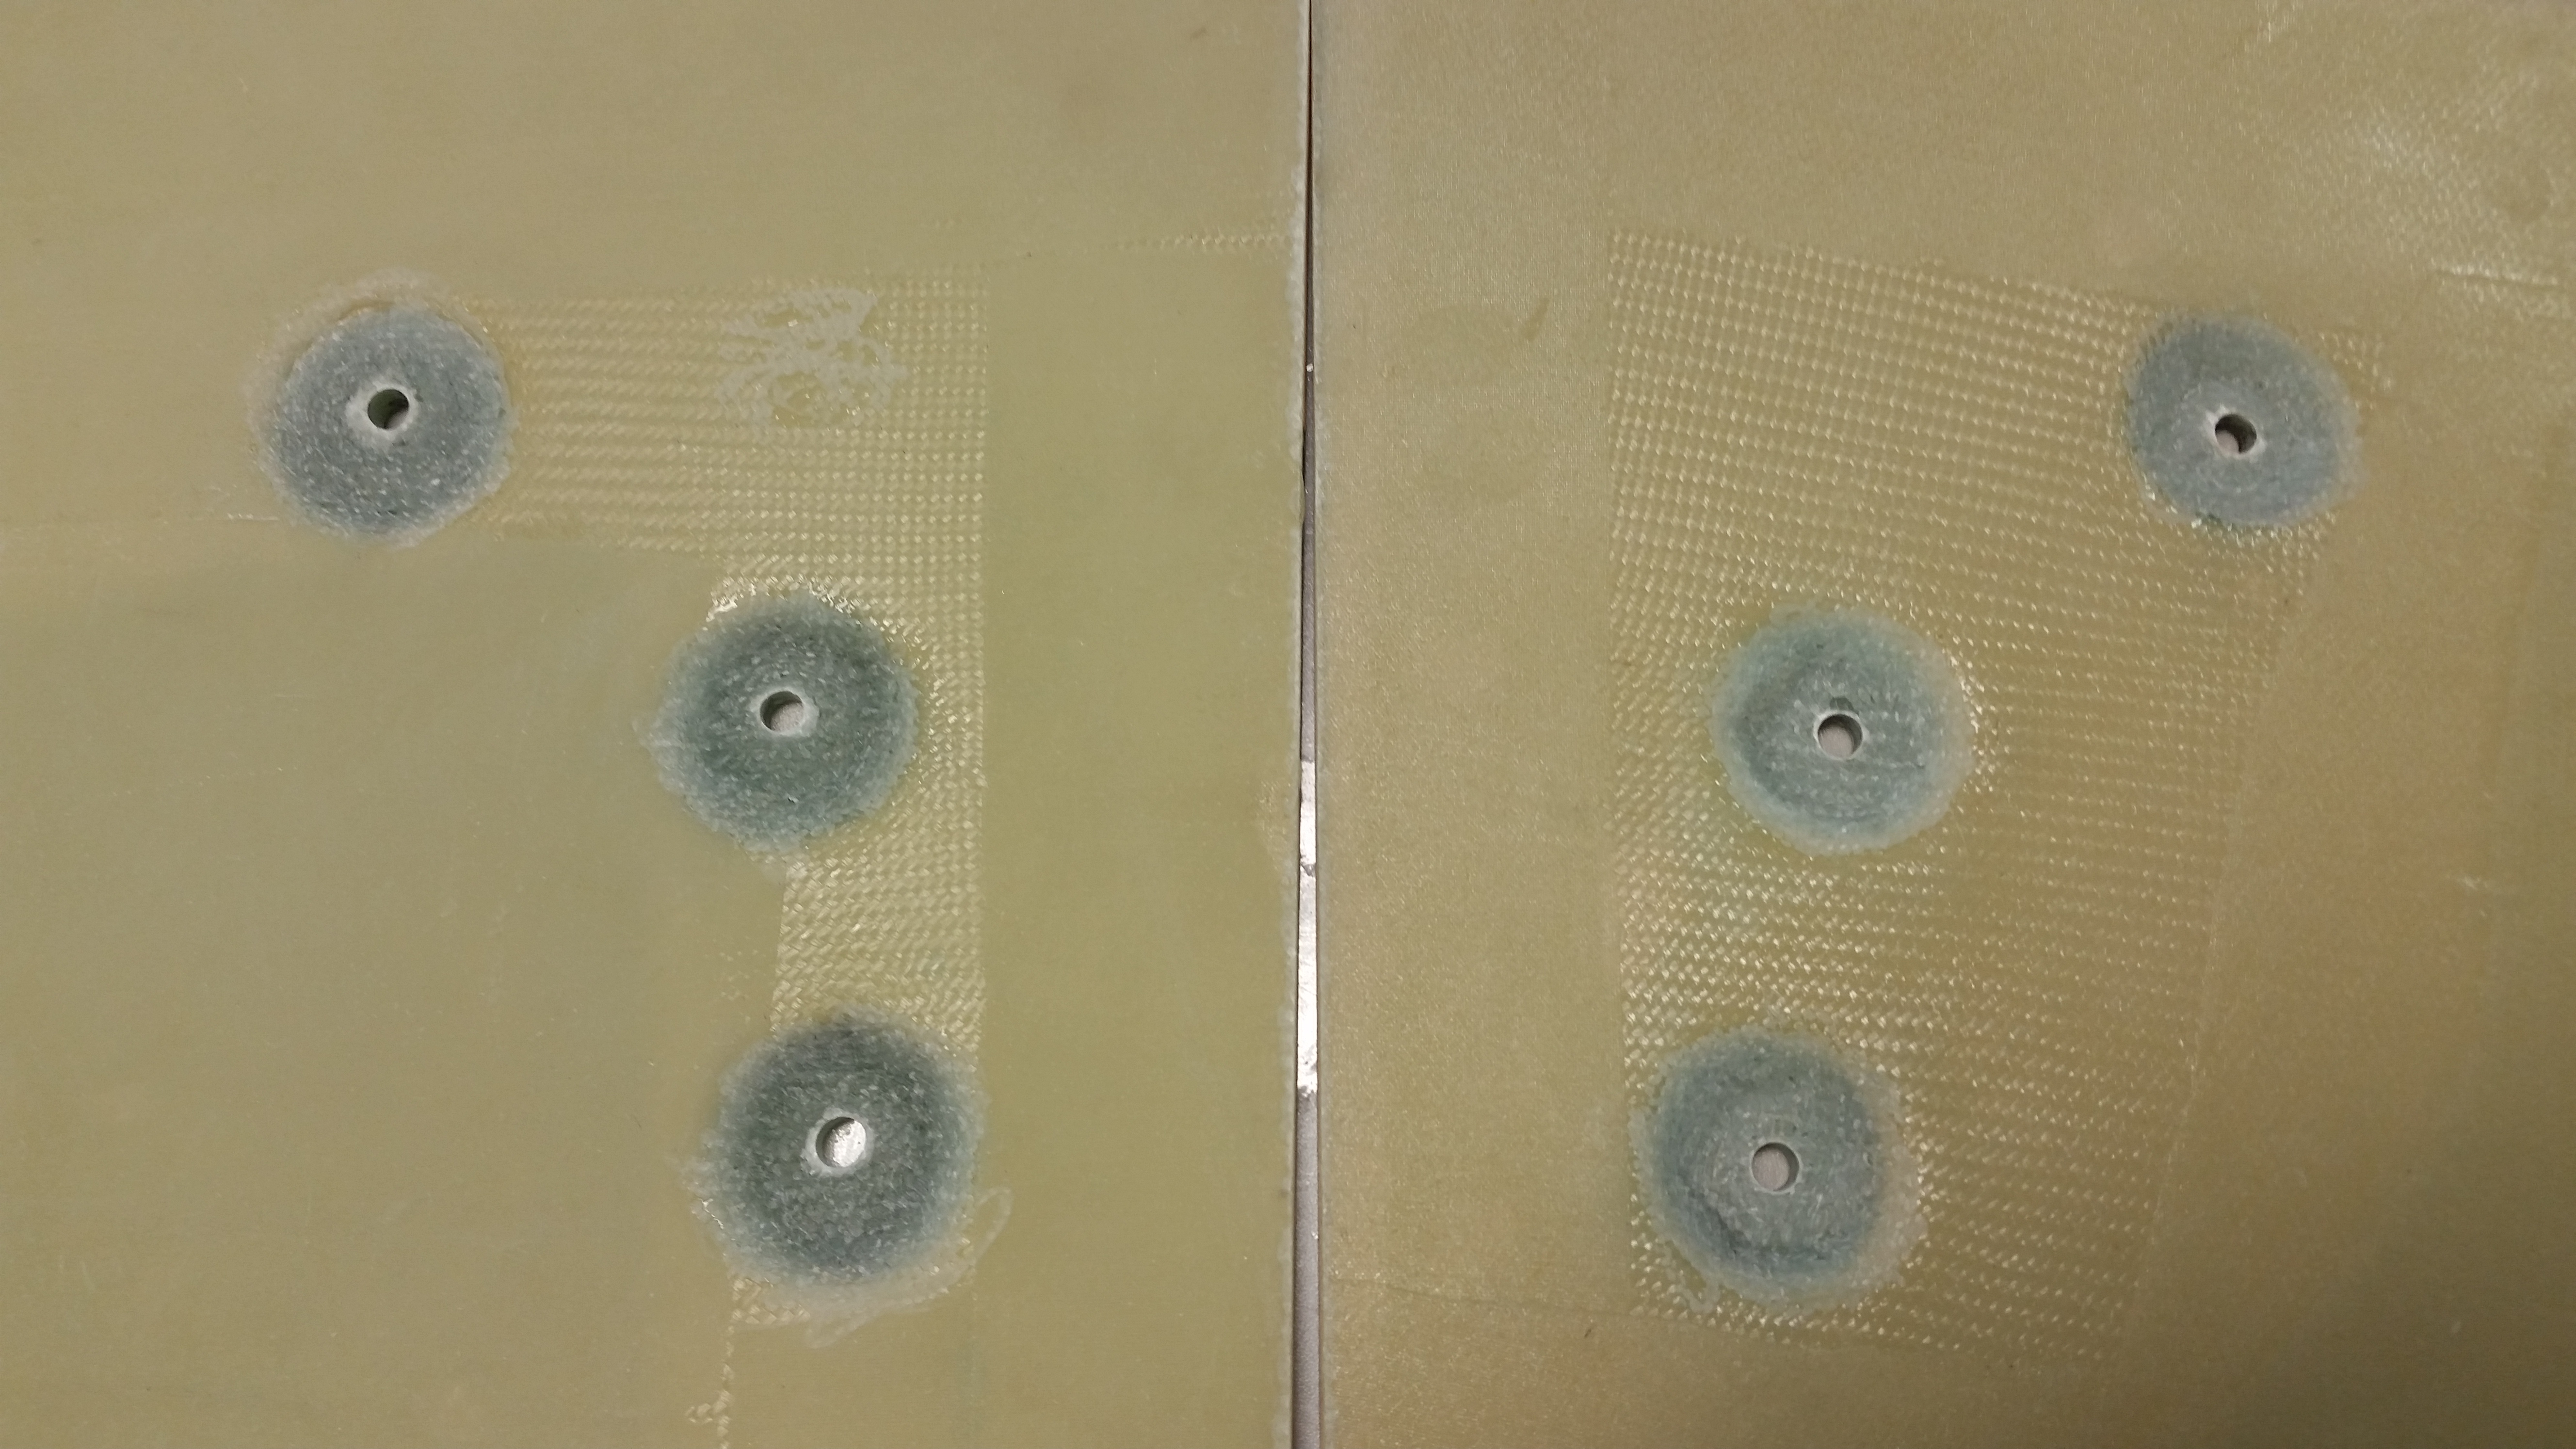
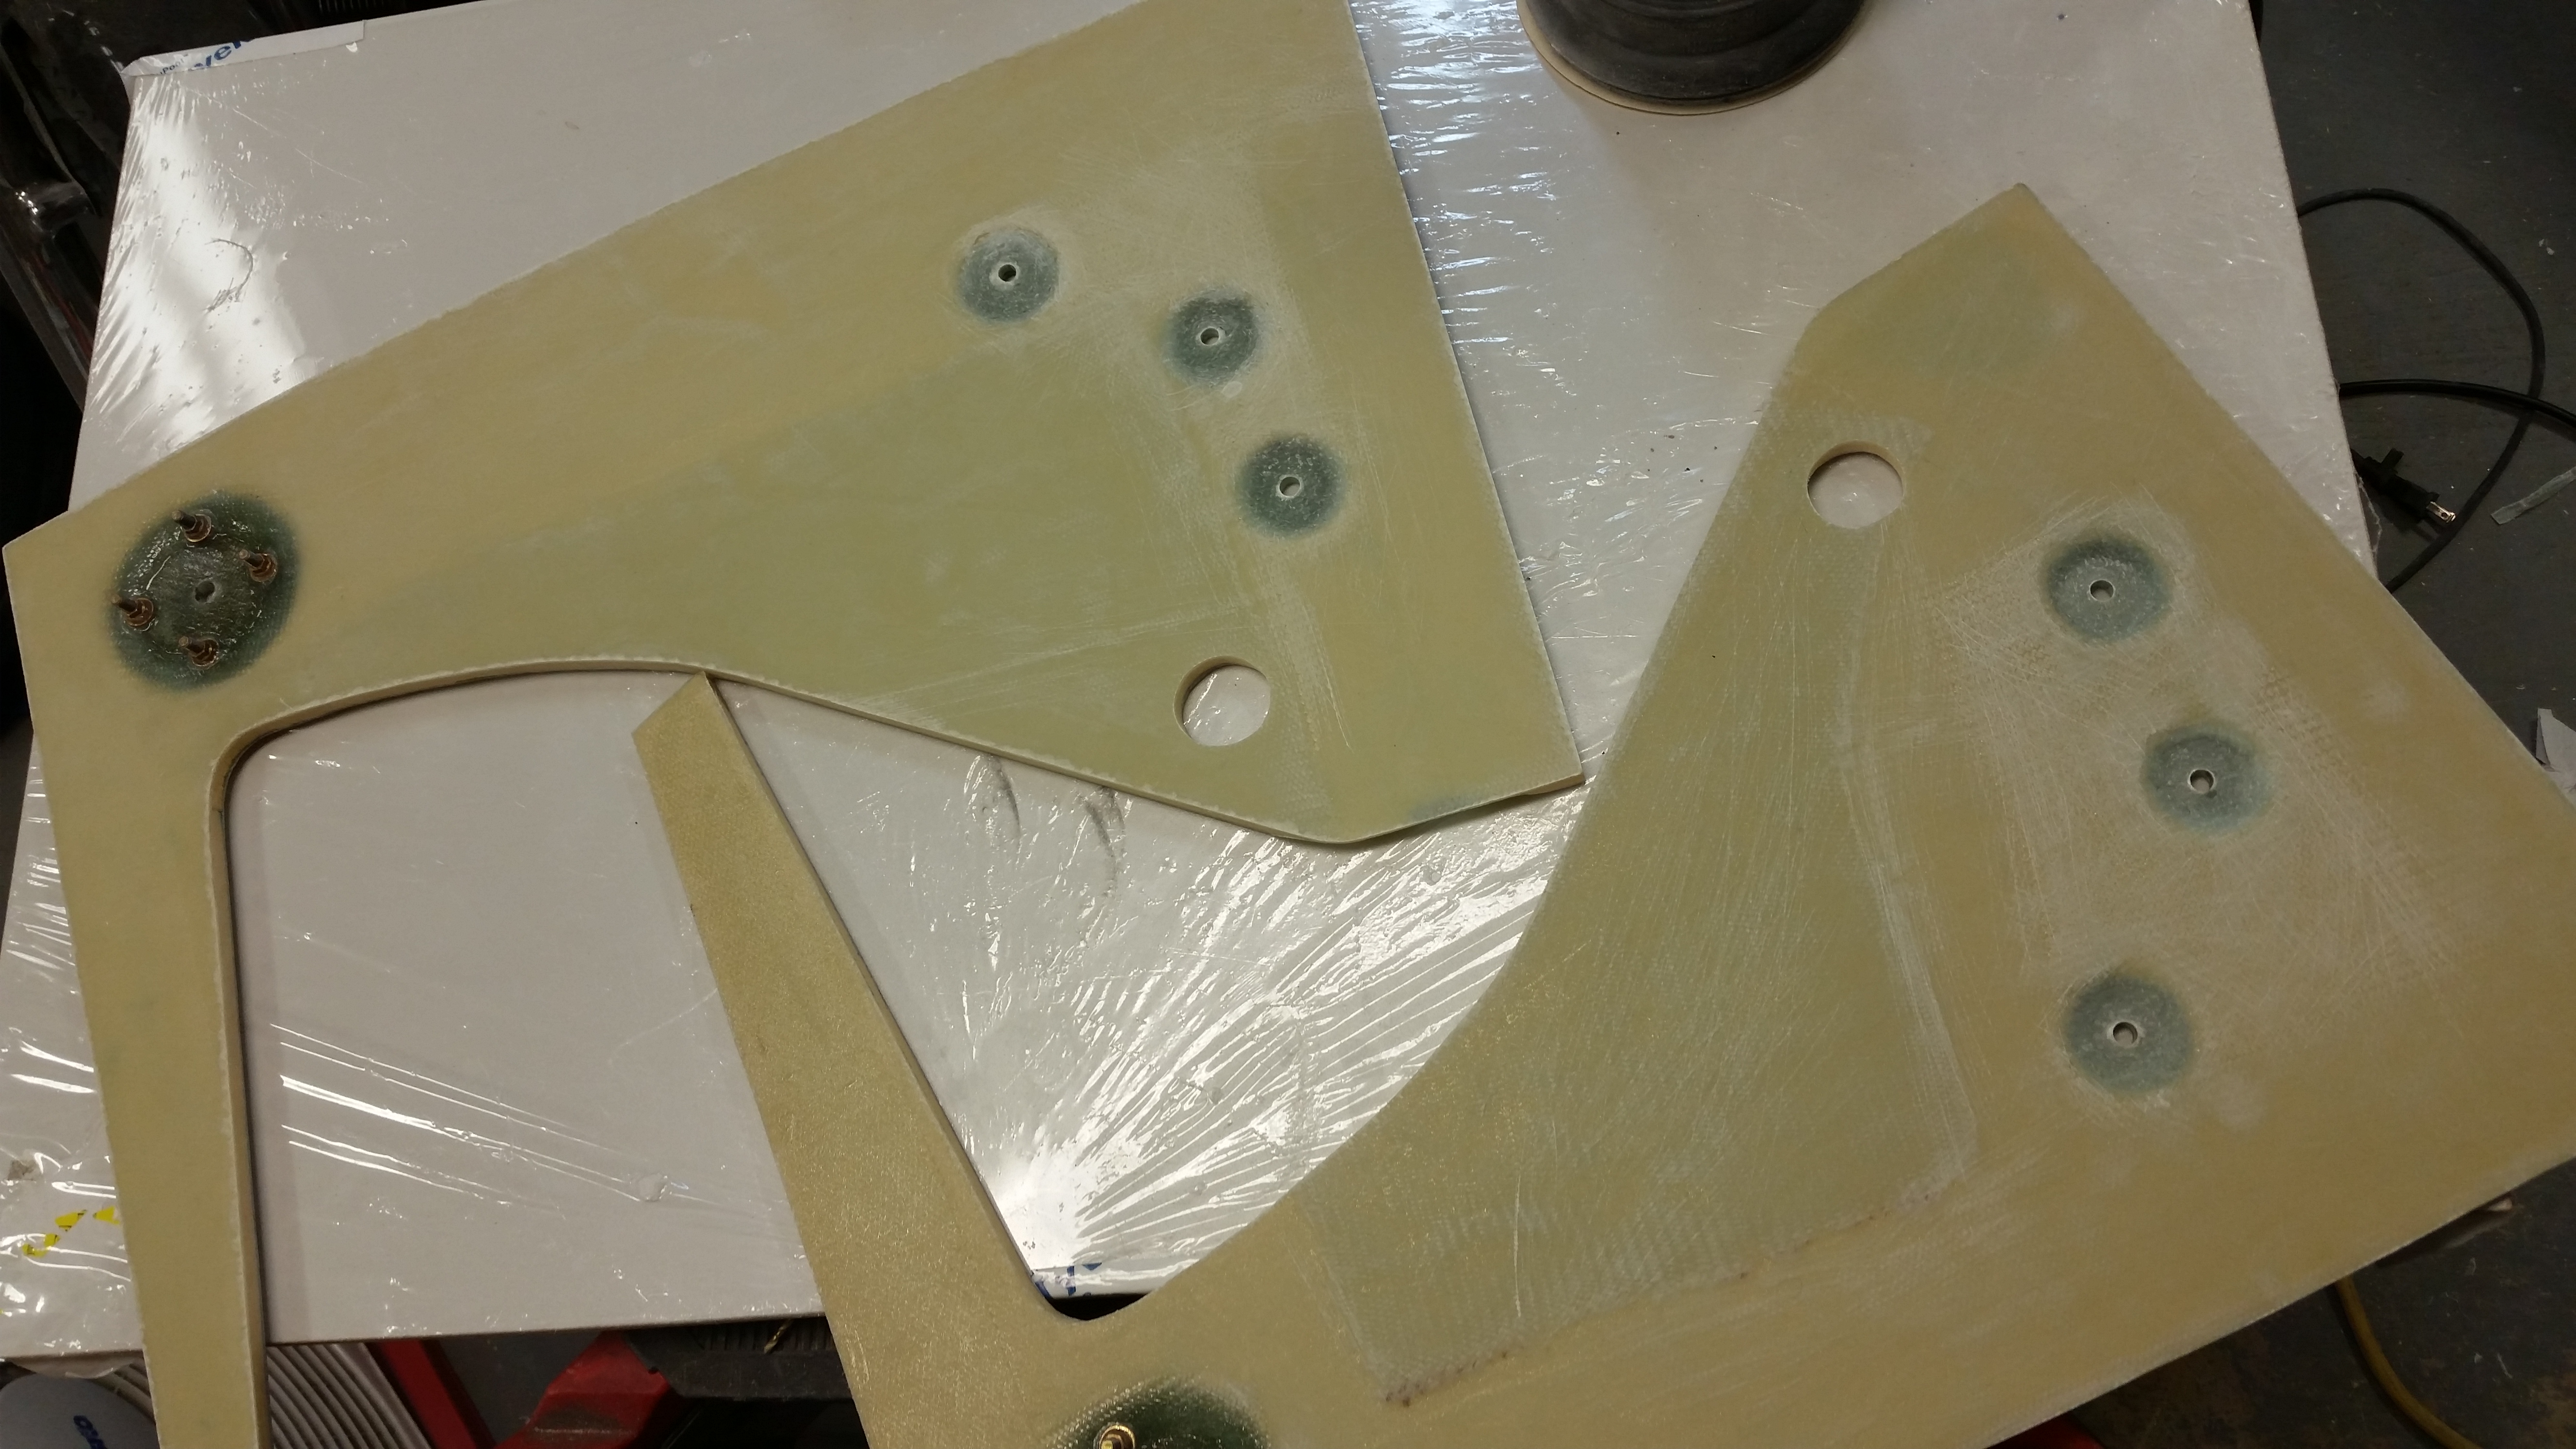
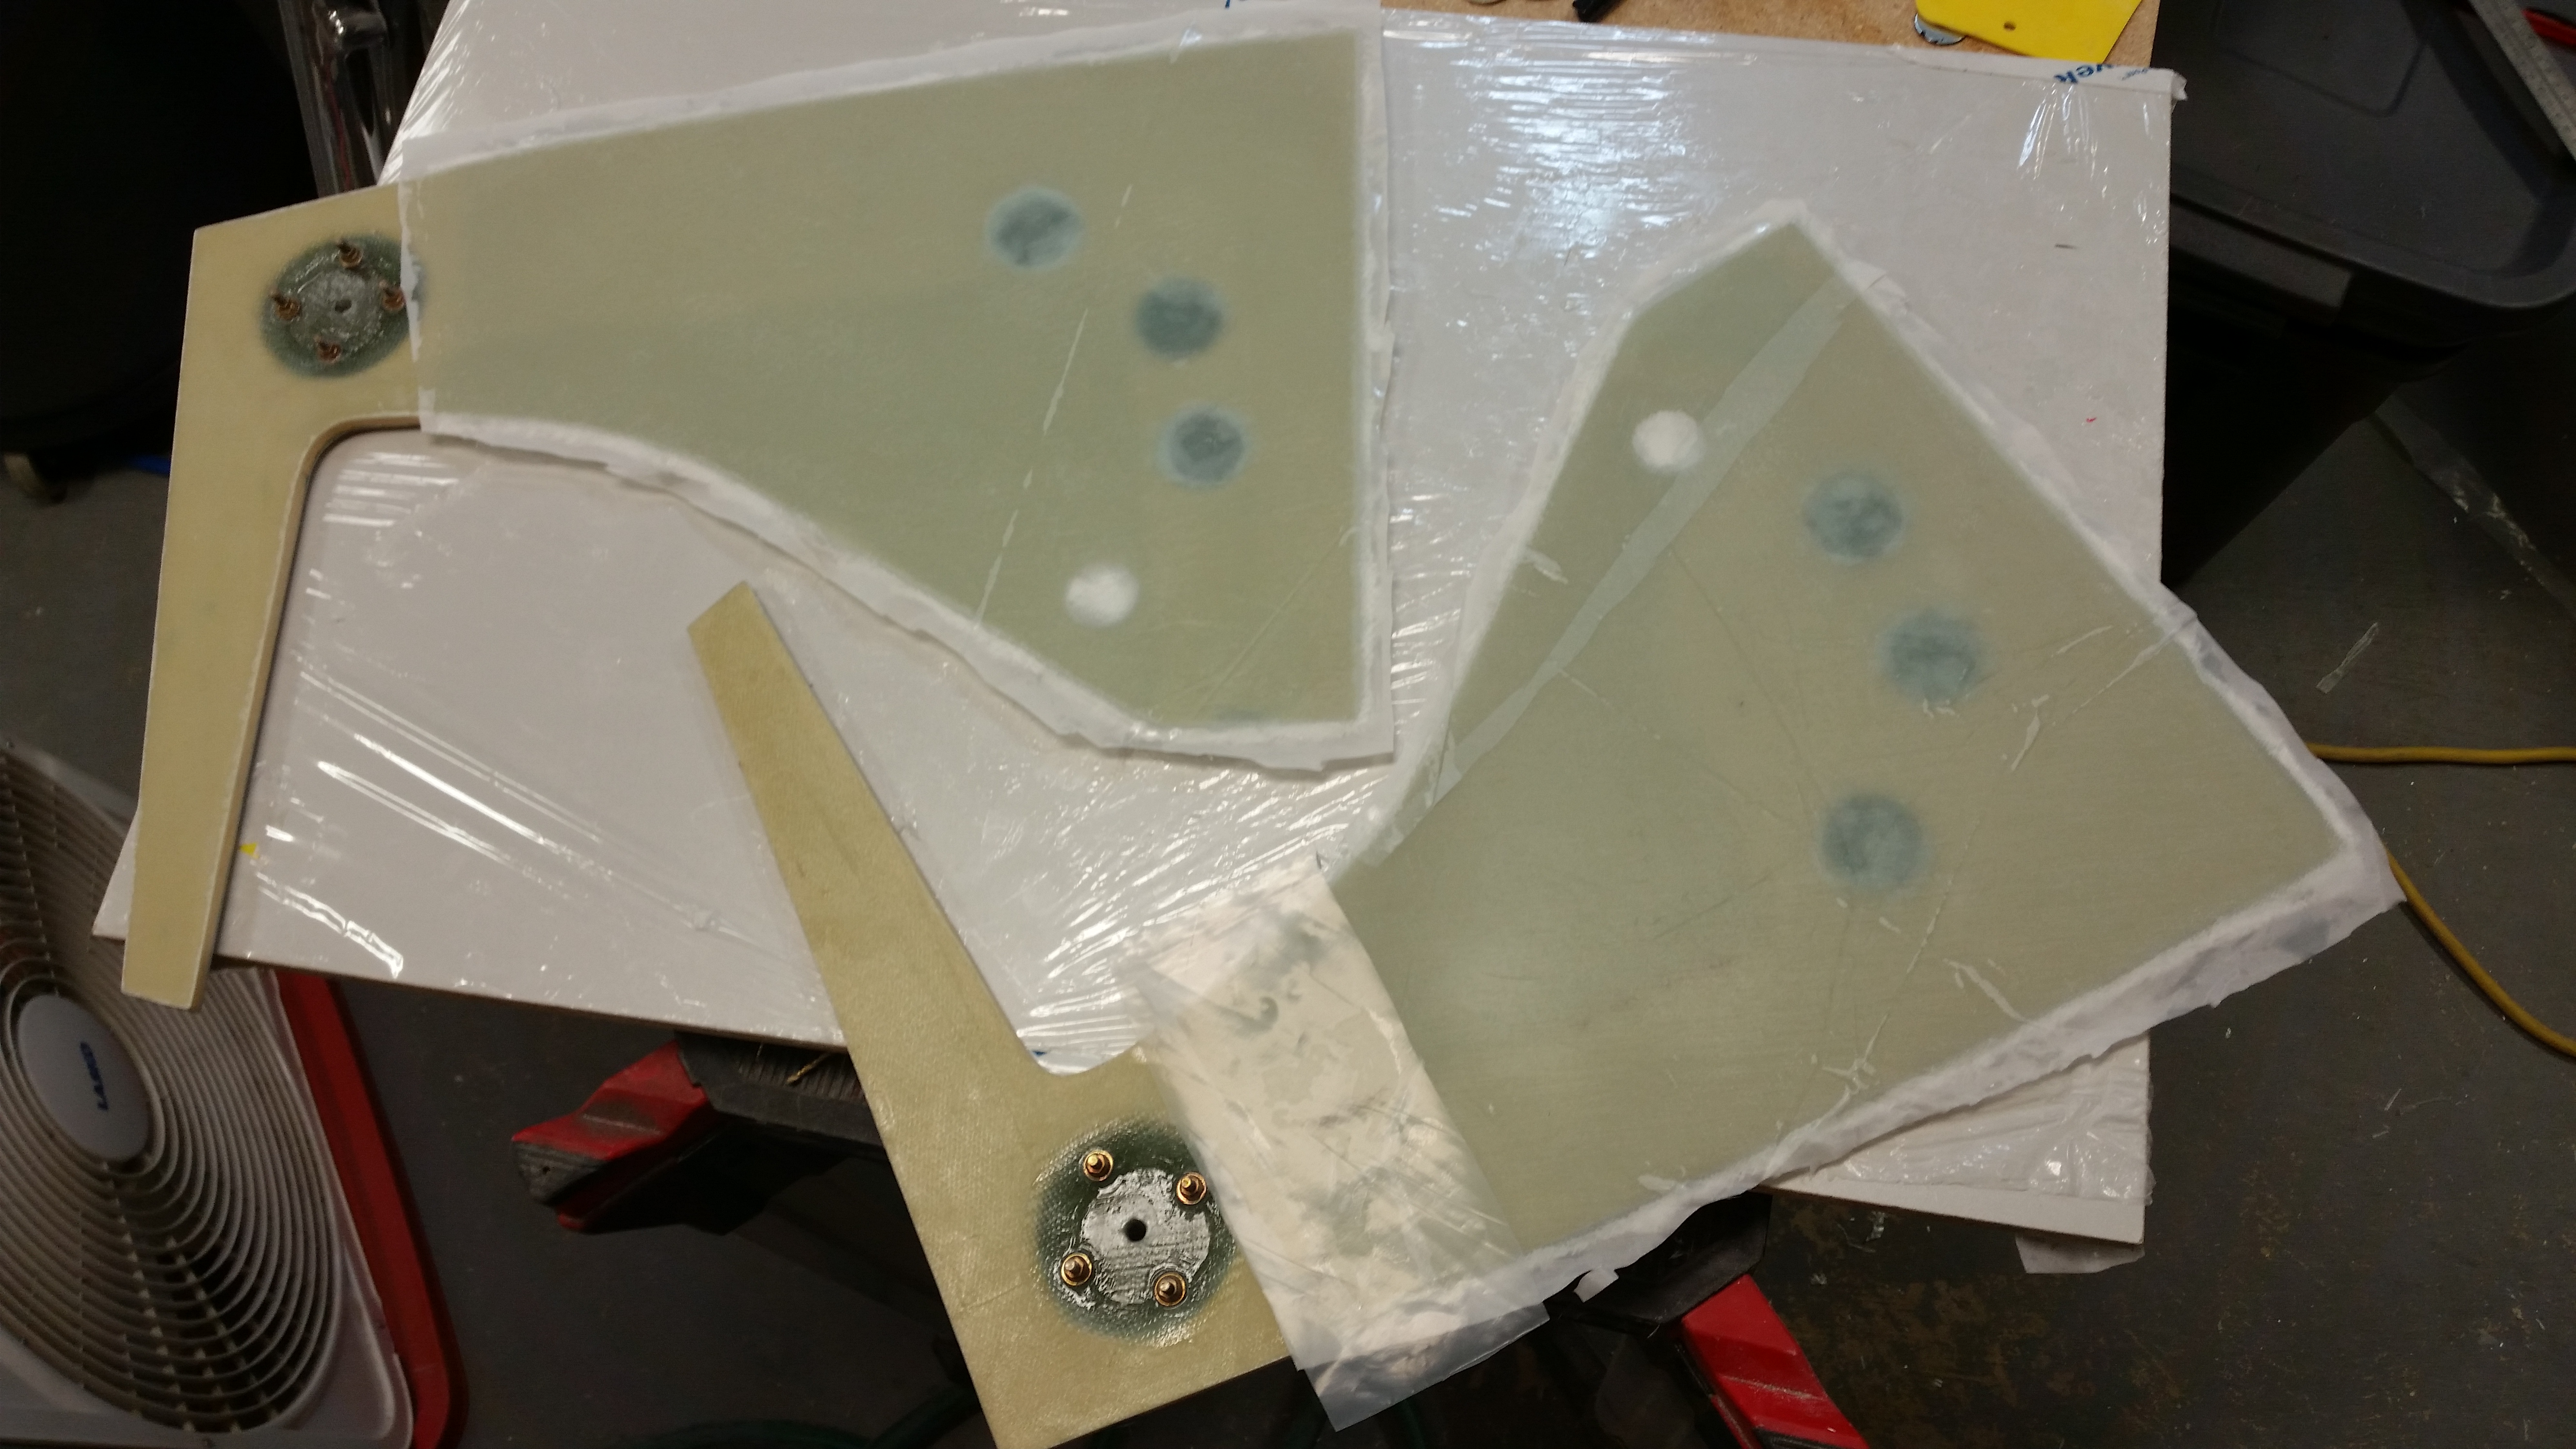
Below is my finished NG30 quest for the evening. Each NG30 has 1-ply UNI at 45° bias (as per discussion with Jack) & 1-ply BID over the now surface level glassed hard points. Then I peel plied the entire layup mainly to match the original layup surface texture. Of course I’ll also be adding a number of BID tapes to these in the nose build process.
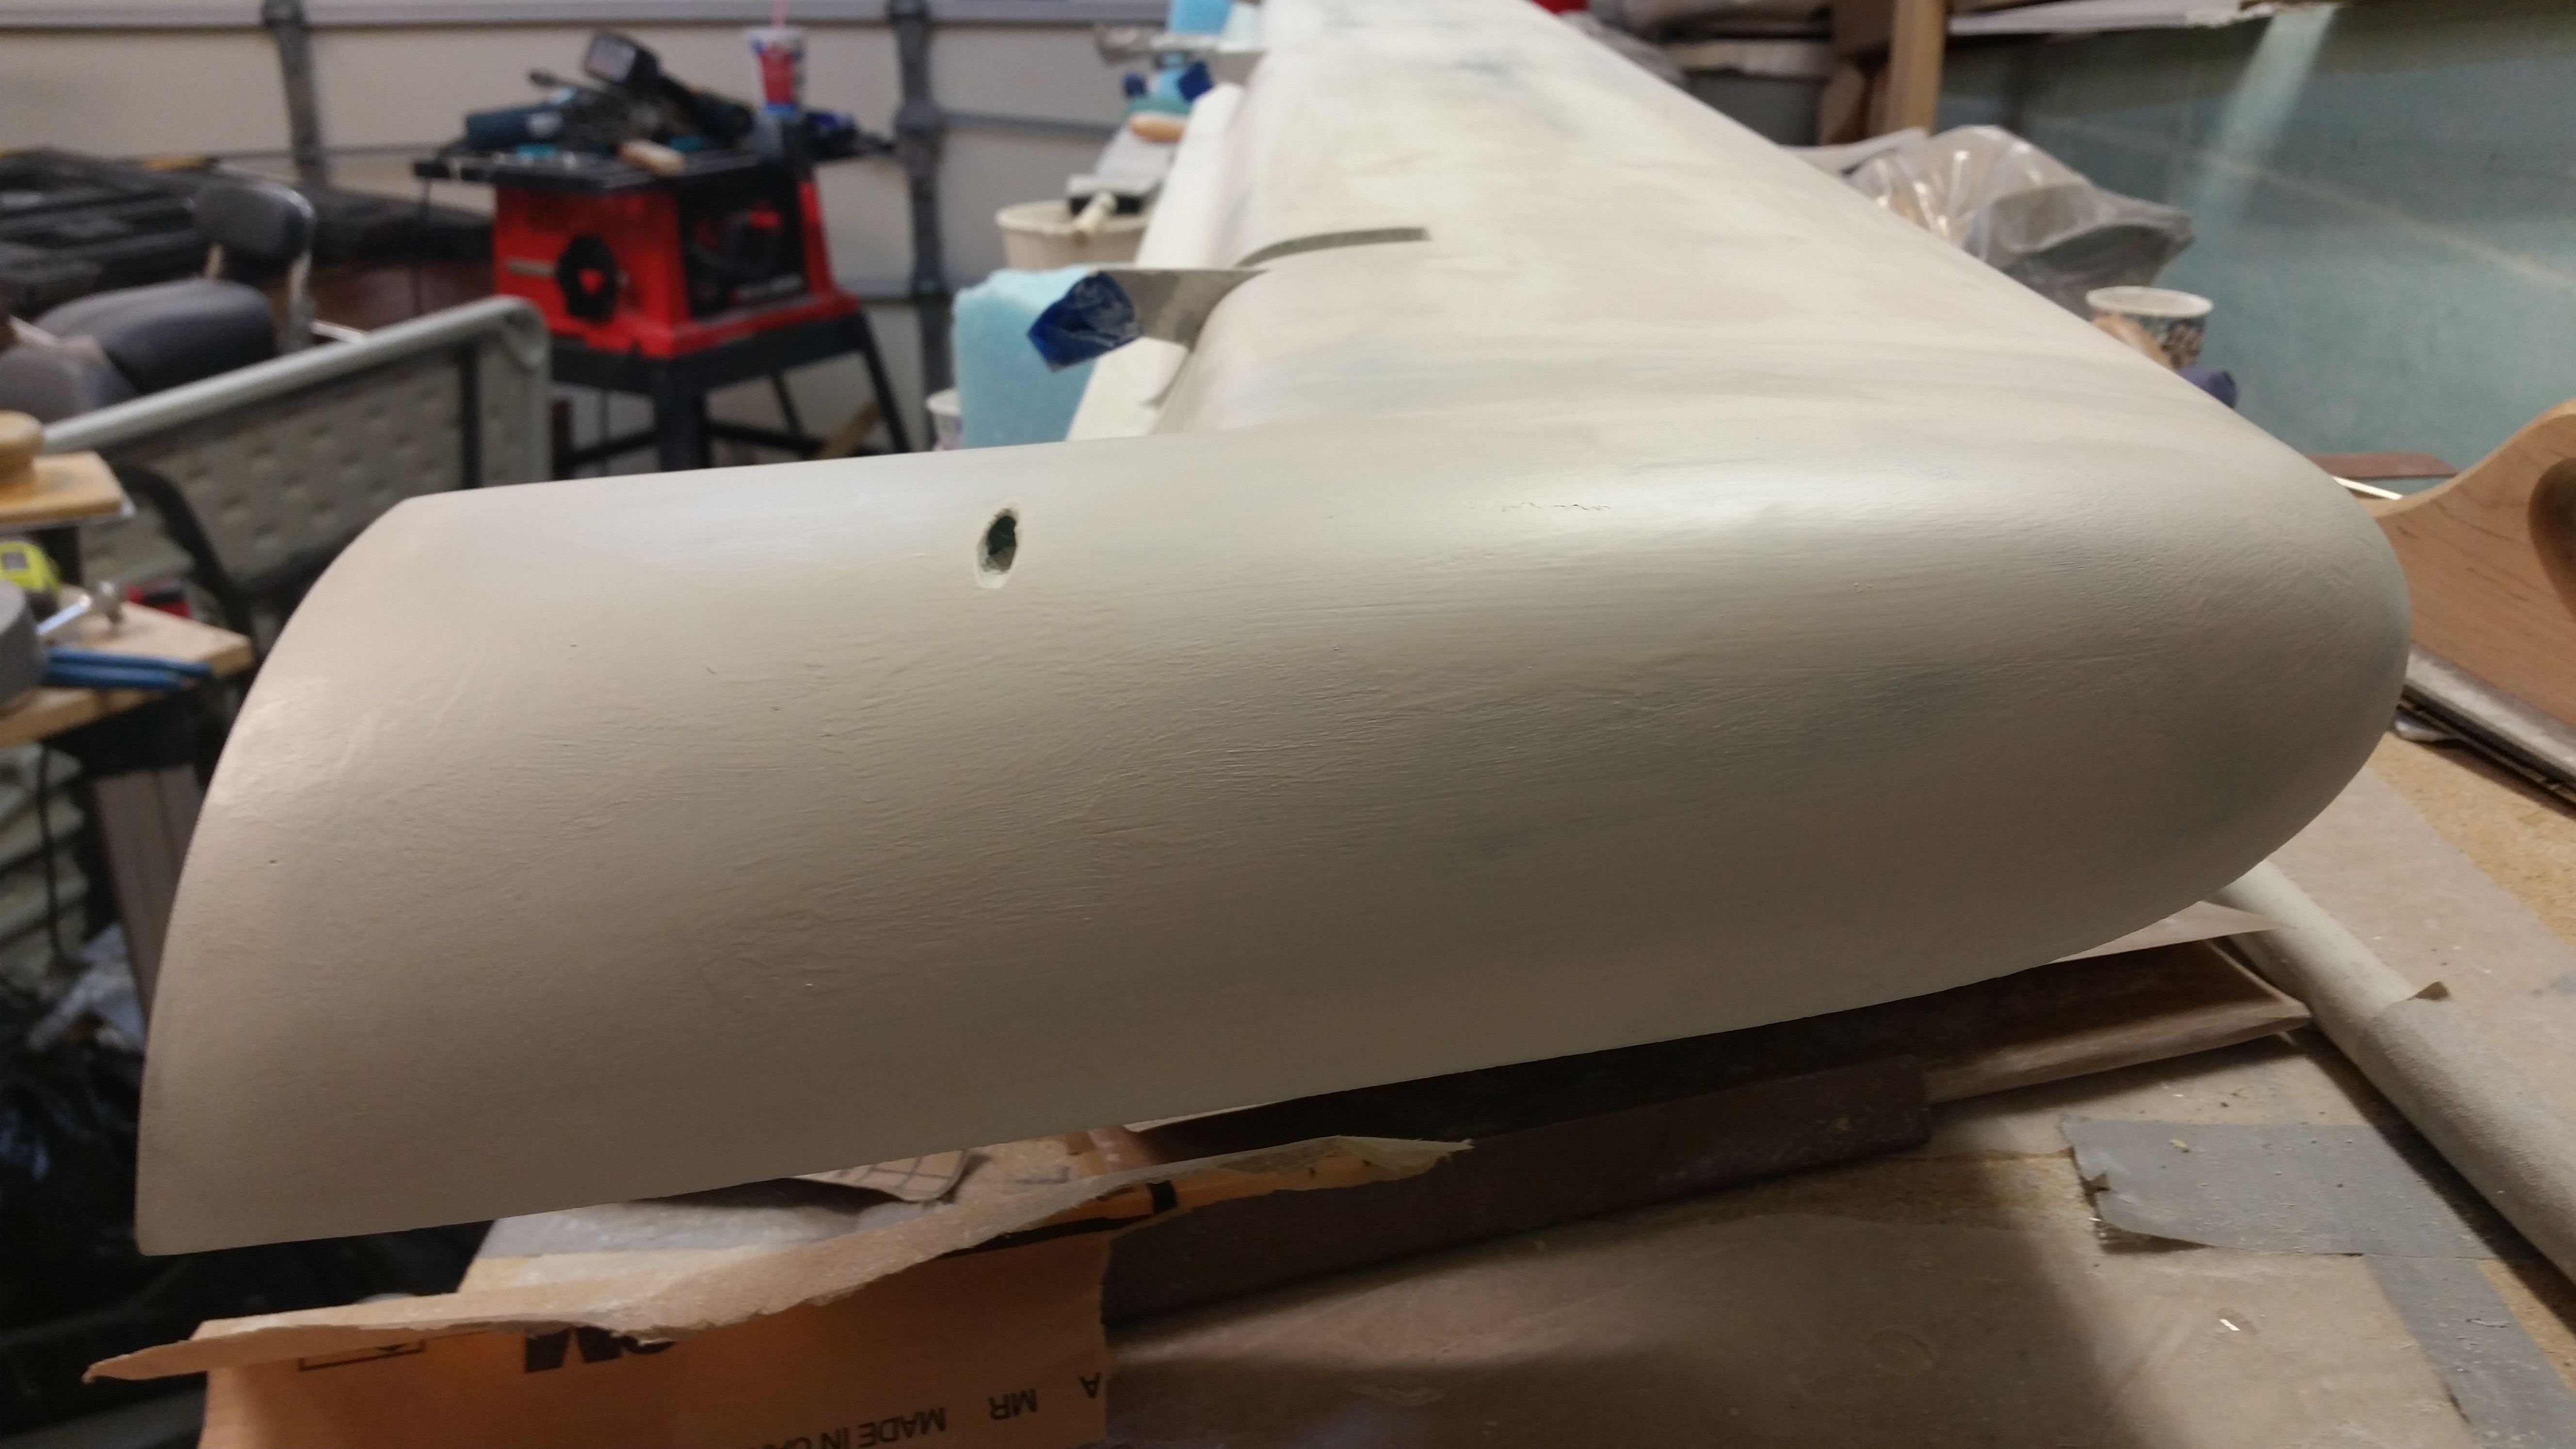
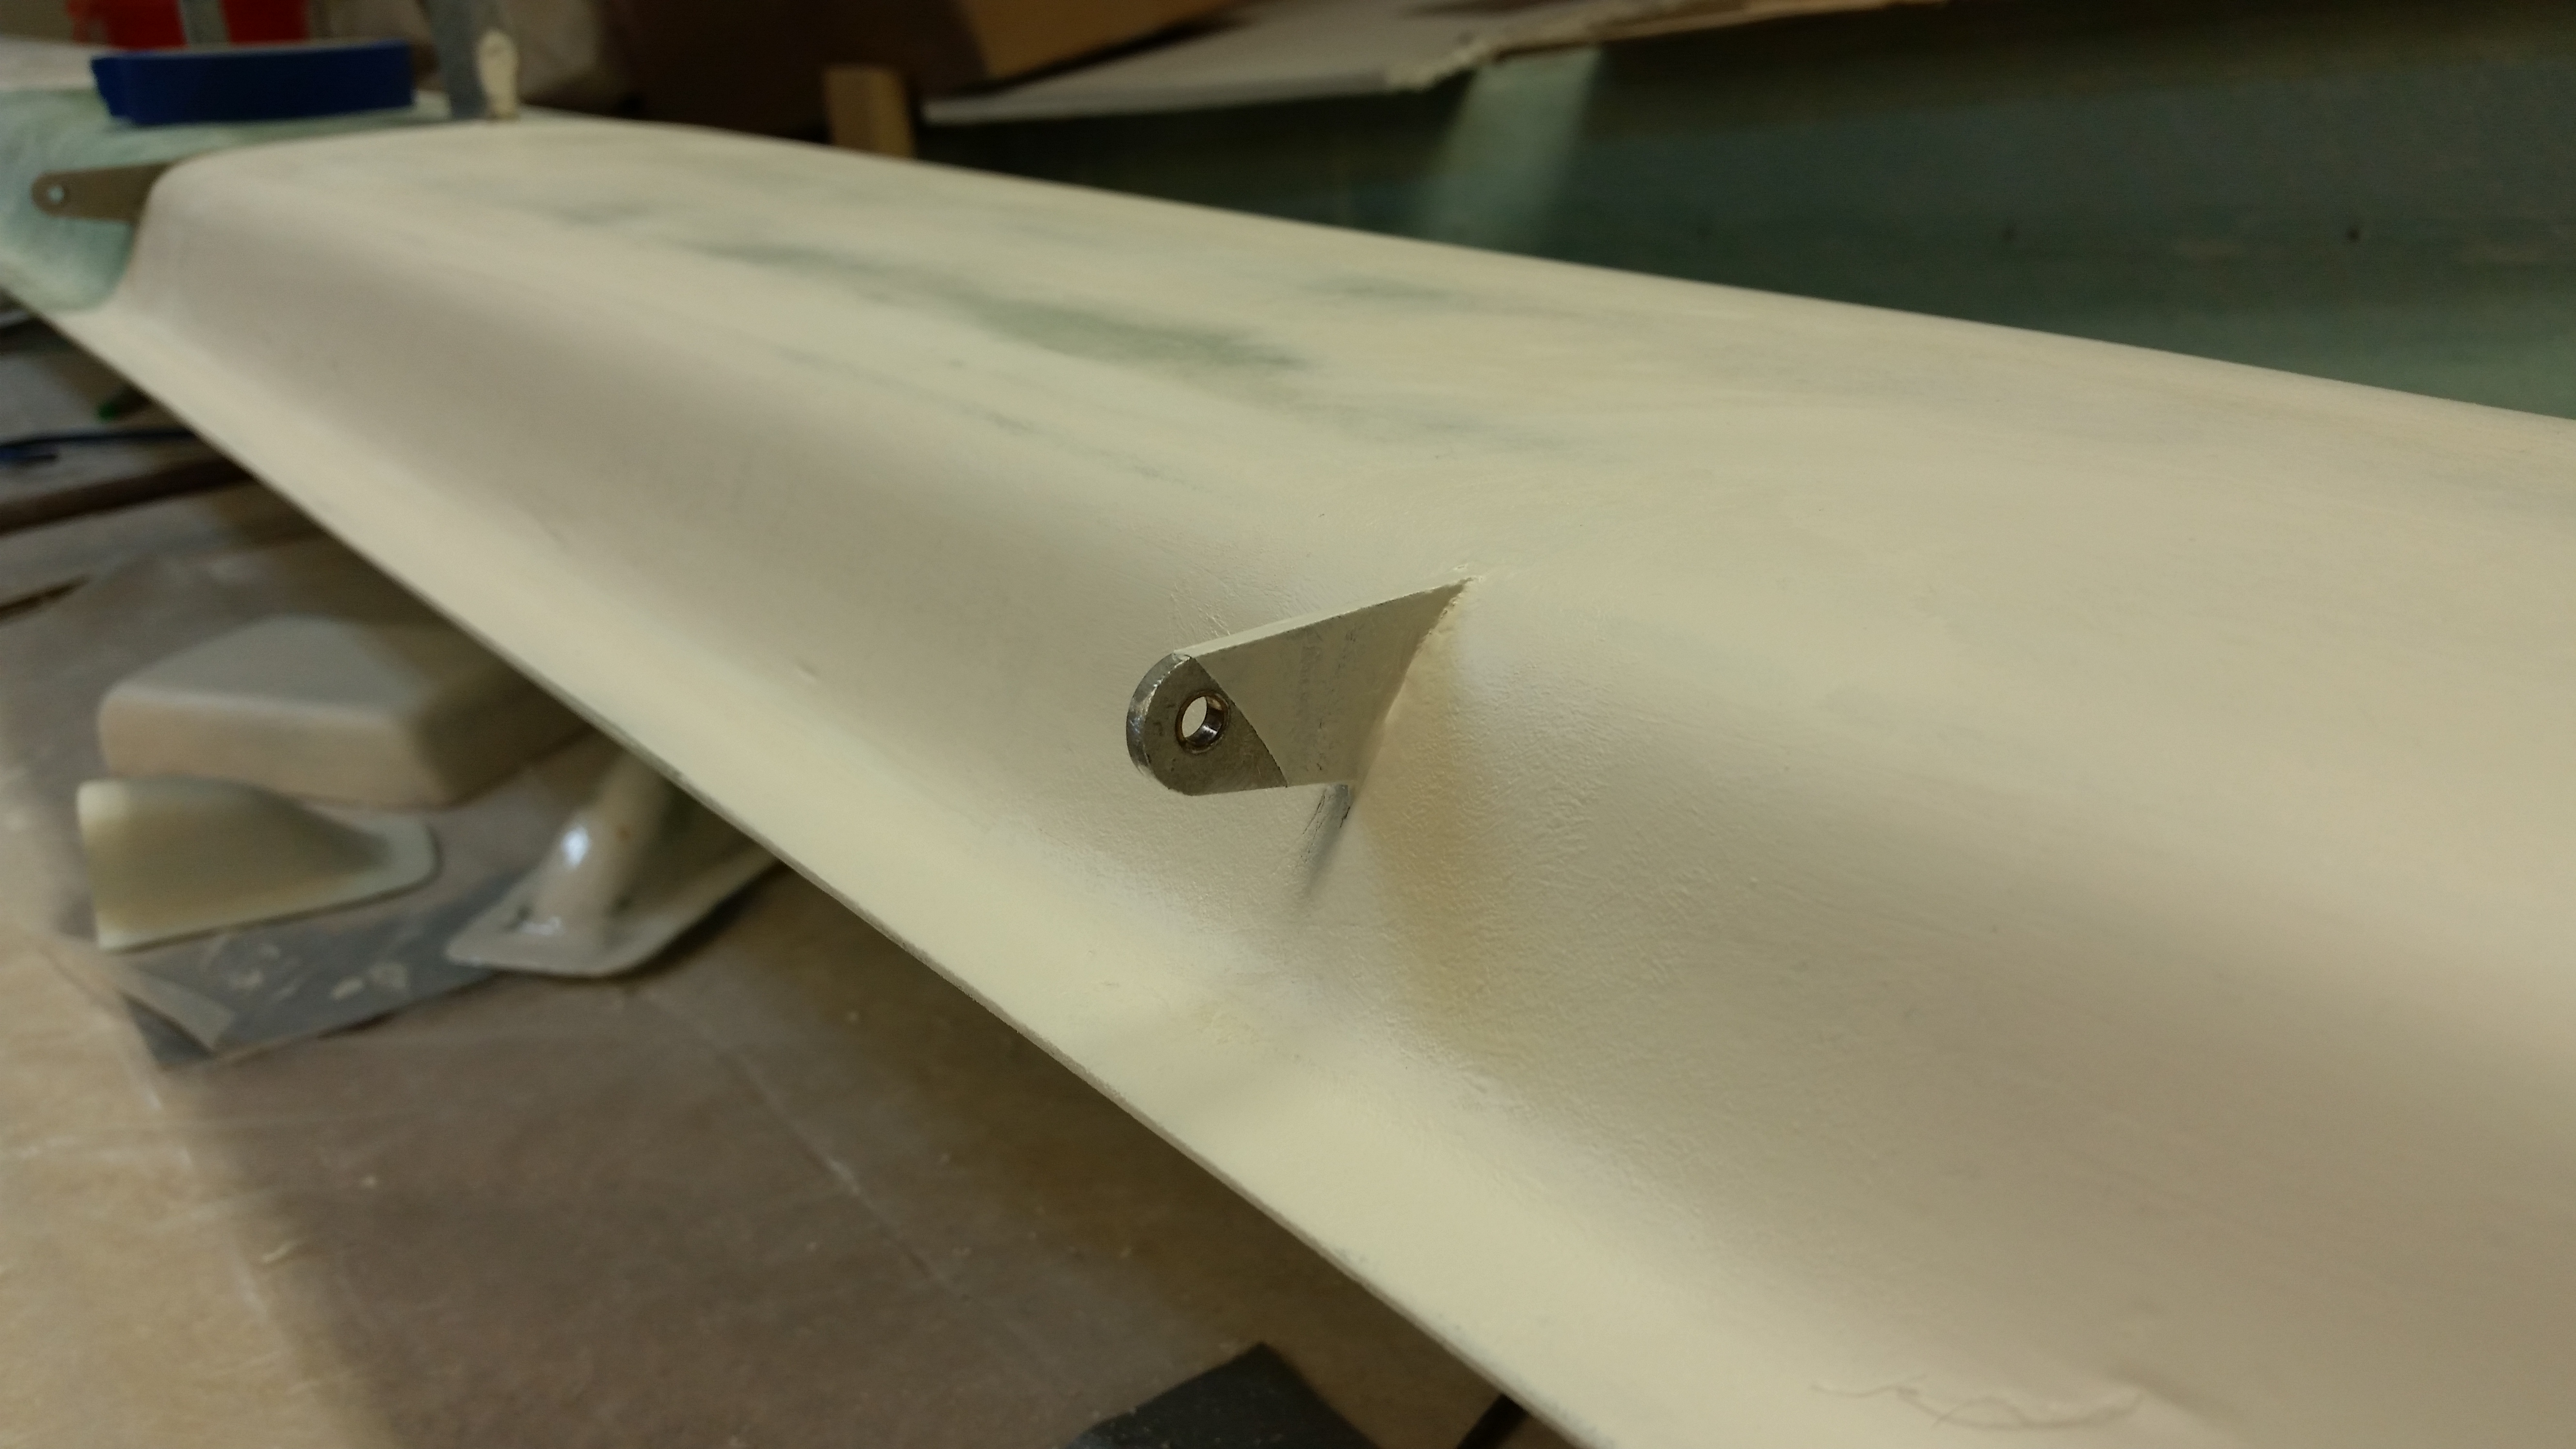
I took quick shot of inboard side of canard swoosh tip area to show what it looks like. Note that I taped up the end of the hinge tab to prime it.
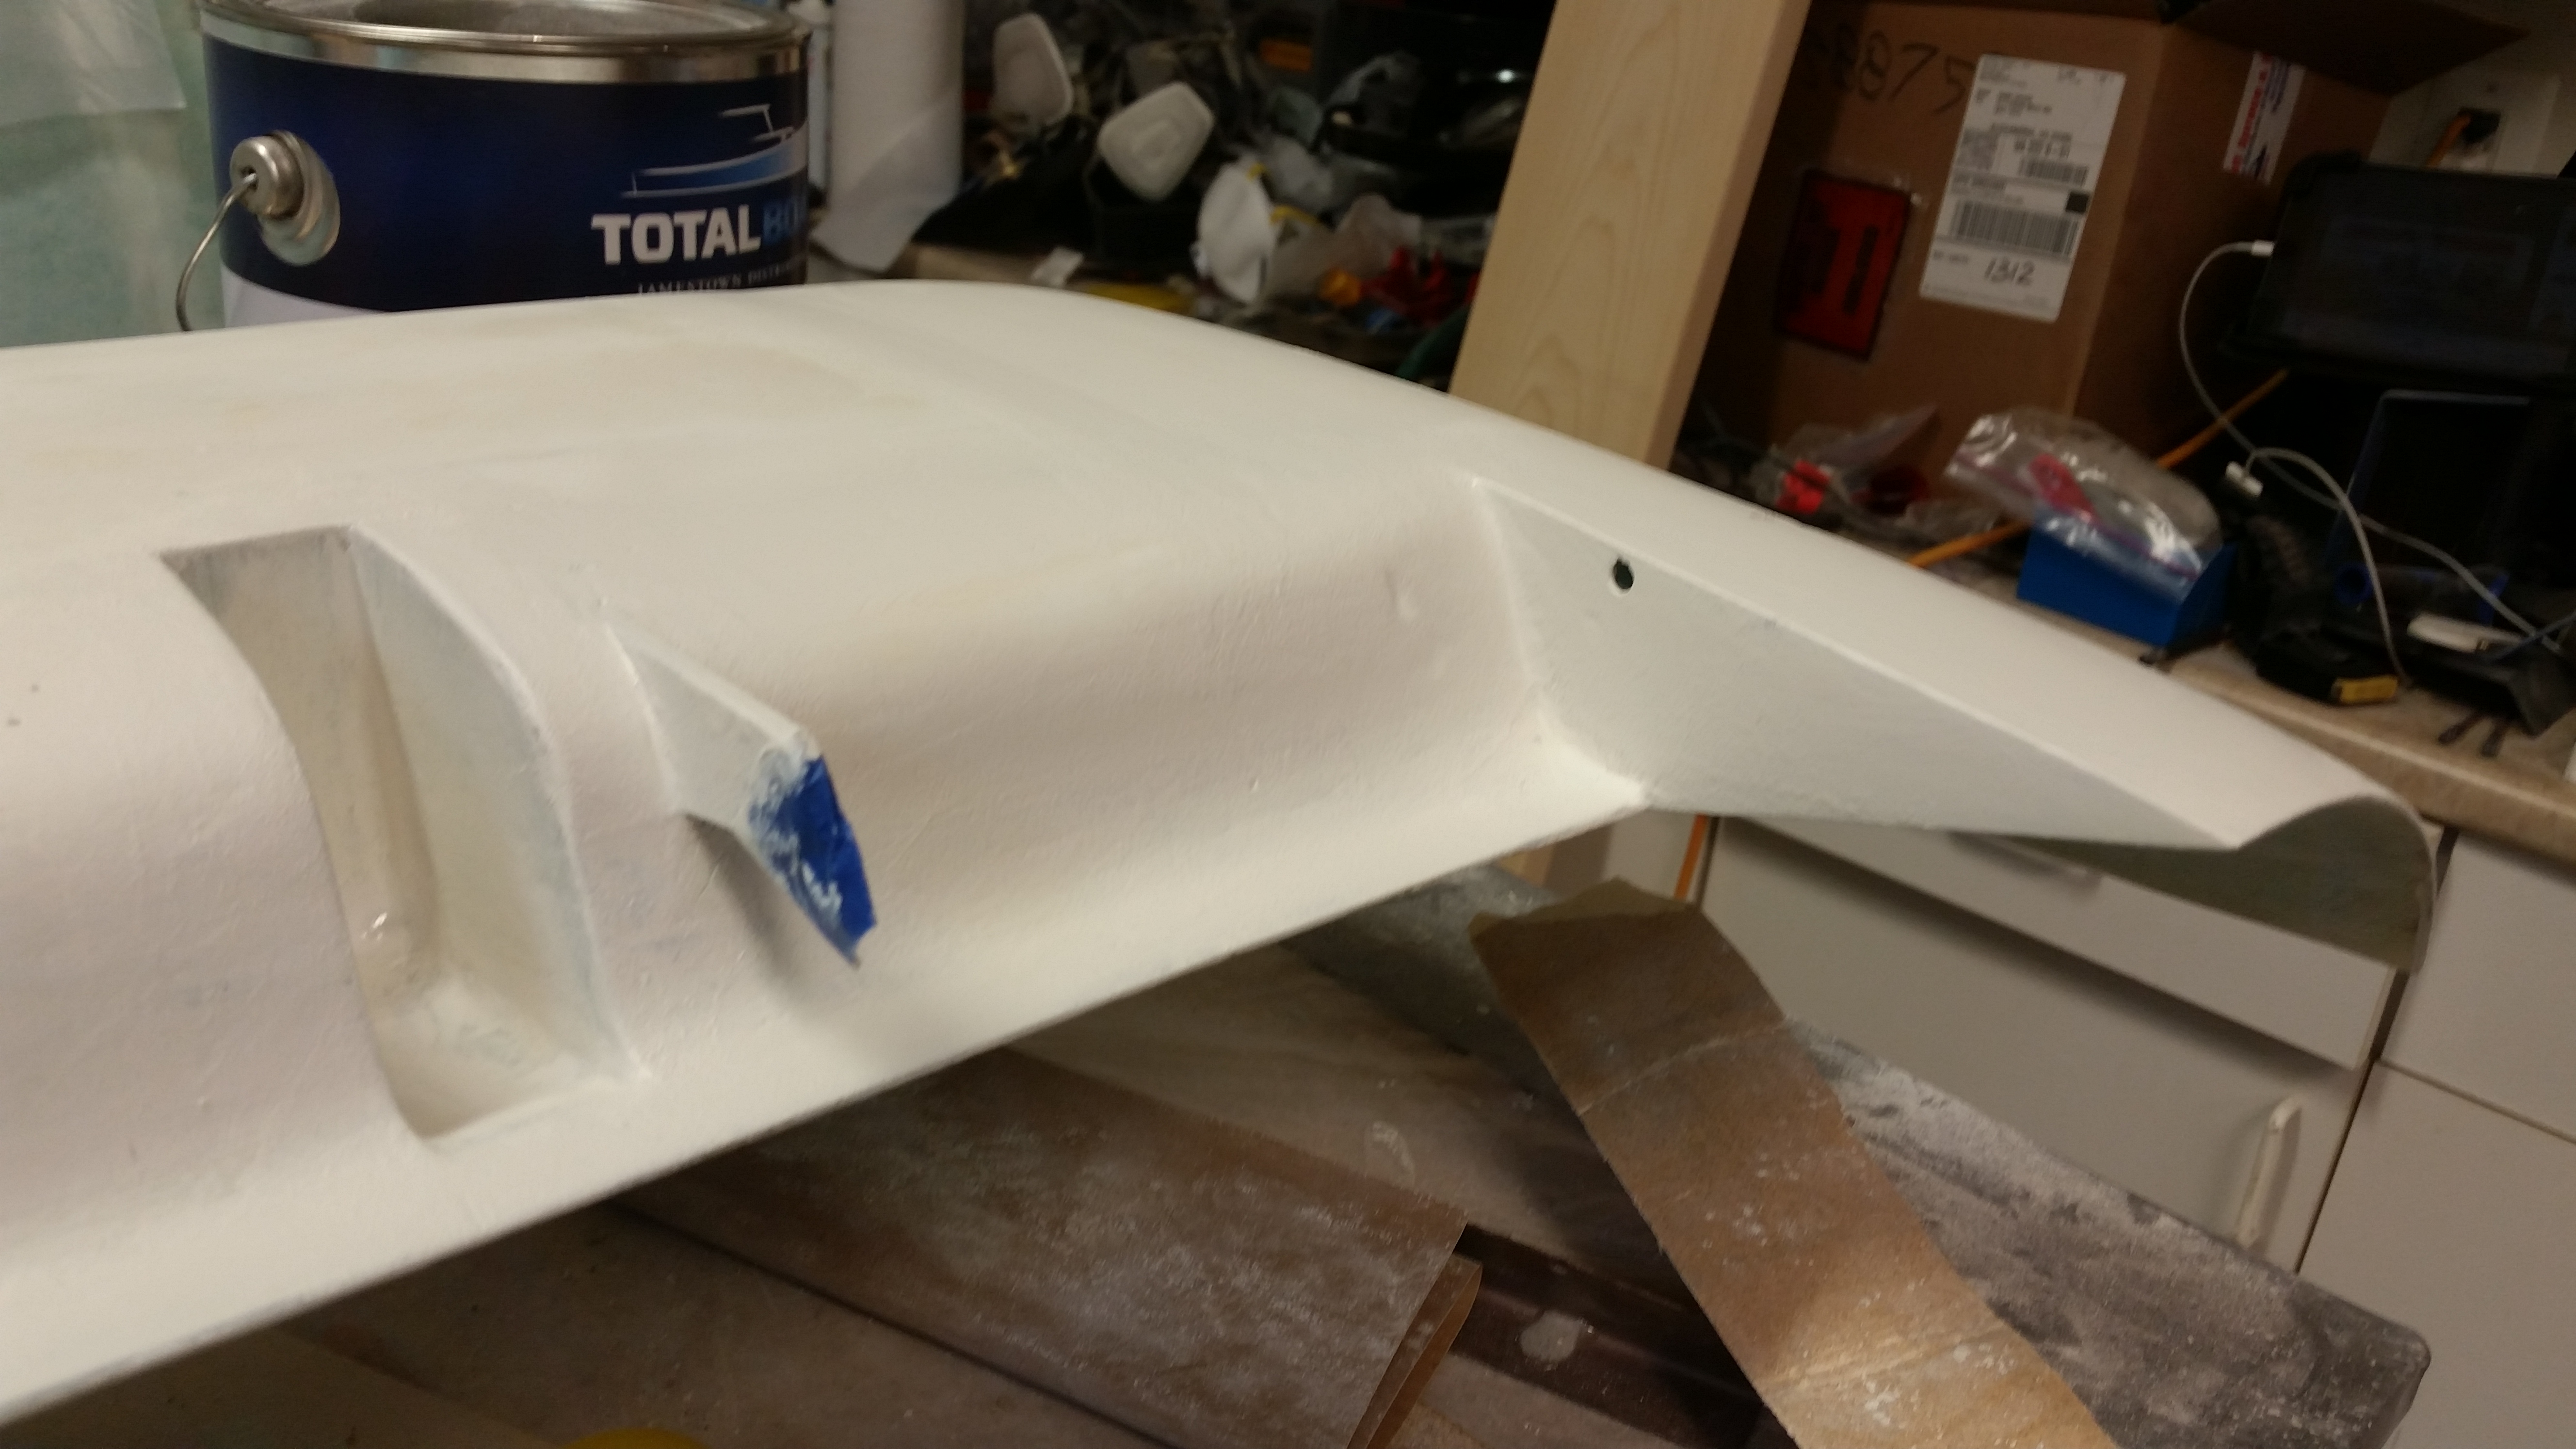
And here the tape is removed and you can see that the majority of the hinge tab is primed.
Tomorrow I plan on cleaning up the NG30’s by pulling the peel ply, razor trimming the edges and ensuring the layup was good. I then plan on sanding the primer on the canard, and hitting whatever spots on the canard bottom that need another coat of primer. I will then knock out the fuselage dolly.