
Today after my Sunday visits and watching some football I decided to work a few lingering side jobs that needed to get done. Since I won’t be tearing into the wing to CS spar full bore until tomorrow (Monday) I decided to work on some of my airplane “bucket list” items.
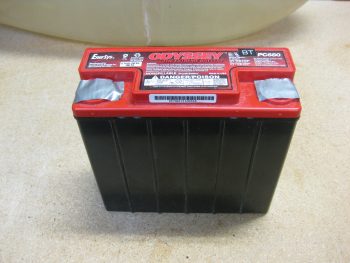
The first item on my list was a small base tray for the battery. I have a strap to keep the battery secured in the nose, but it still can slide just a hair from side to side. I want to ensure the battery stays put, so I’m going to make a tray about a 1/2″ high to keep the bottom of the battery exactly where it needs to be. And I do mean “exactly” since space is tight in the nose.
I took the battery out of the nose and removed the posts. I then taped over the posts to keep them clear of any nasty stuff.
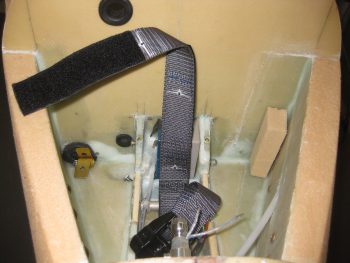
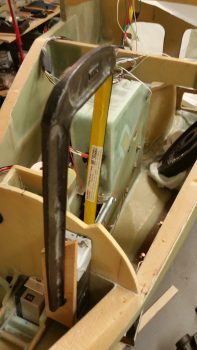
Here’s a shot of the nose with the battery removed.
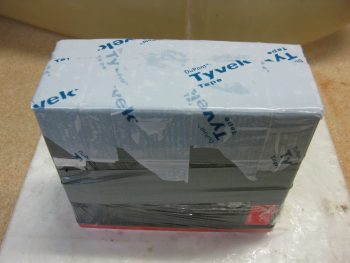
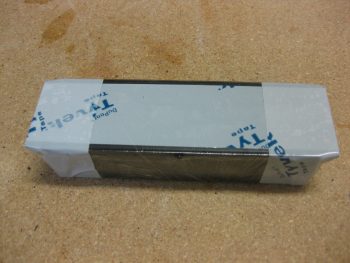
I then wrapped the battery in plastic (saran) wrap, with tape over top of that.
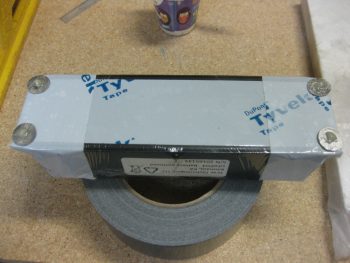
I then grabbed my Integrated Backup Battery and pretty much did the same thing. The IBBS is item #2 on my list tonight. I’ll be floxing the Clickbonds in place on the face of the Napster bulkhead for the IBBS to mount to.
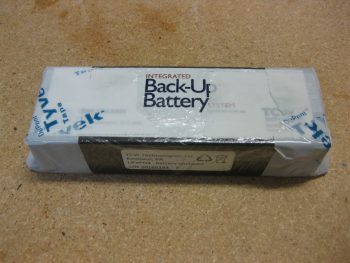
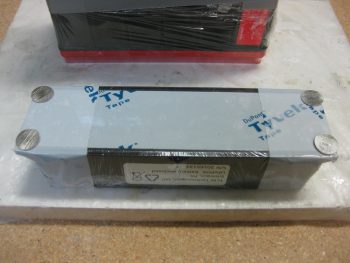
After I got the IBBS protected from any potential gunky stuff, I then punched holes through the bolt holes in the flanges on each end of the IBBS box and inserted a Clickbond. You may be able to see that I quickly ran each Clickbond along the face of my 32 grit sanding board to create some nice grooves in the metal to provide a little better gripping action for the flox. My final prep action for the Clickbonds at this point was to hit each one with some Acetone to ensure they were spiffy clean for good adhesion for the flox, and to the bulkhead.
With the IBBS ready to go, I then prepped the glass for the battery tray. Since this thing isn’t going to be seen, and just needs to be reasonably strong, I went ahead and just pulled out some glass from my scrap pile. I used about 4 pieces of BID on the first layer, overlapping about a 1/2″ on the seams, then a layer of UNI (because I have a TON of UNI scraps!) and then a final third layer of BID made up of 2 single plies simply butted up against each other at the diagonal seam.
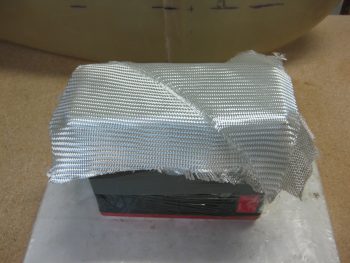
I then whipped up some MGS 335 epoxy and wetted out the glass. After the glass was nice and wet all the way around, I peel plied it. To really get the sides to stay tight against the battery, I went ahead and wrapped the edge with duct tape the entire way around the battery (sorry for the blurry pic).
I used a small amount of the epoxy to whip up some flox and then dabbed some small blobs of it in the middle of each Clickbond, after very lightly wetting each Clickbond surface with epoxy.
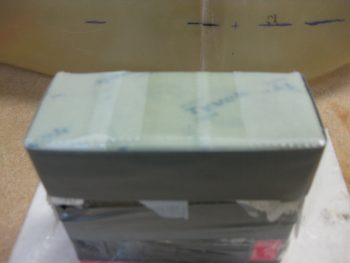
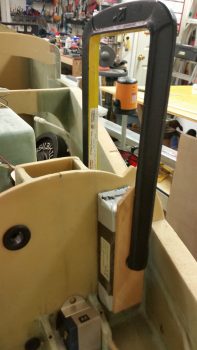
Here’s the initial shot of the IBBS unit getting clamped into place.
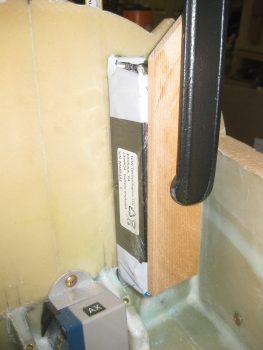
And here’s a few more shots of the IBBS unit clamped into place to ensure the Clickbonds cure in place. I’ll let the flox cure overnight, and tomorrow I’ll add 2 plies of BID over the click bonds to secure them in place.
My final task of the evening was to make the outward shell of the small tool box that I’ll be mounting just aft of the main battery, and just above the small emergency nose gear extension battery. Once I got the IBBS in hand, and figured out where I was mounting it, I then was able to finalize the tool box design that I’ve had in mind to incorporate for some time. Mind you, it’s not a very big tool box… but then again the Long-EZ isn’t a very big airplane!
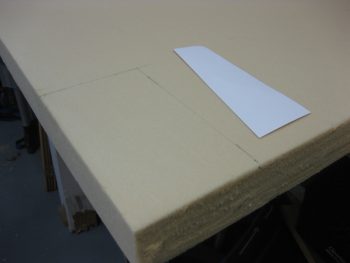
The template below shows the profile view of the tool box. It is 7″ tall, 4″ wide and is 1.5″ thick at the bottom and 2.5″ thick at the top. I plan to mount it with 4 button head screws on the front center face of Napster.
Since i didn’t have any readily handy blue foam for carving the tool box mold, I simply used a piece of the 2″ trash urethane foam.
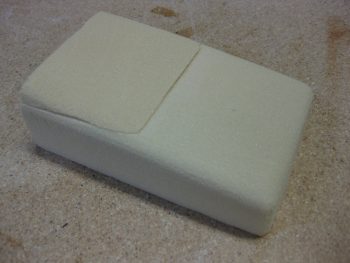
I then added a small 1/2″ (at it’s thickest point) piece of urethane and sanded it into a pleasing shape (as Burt would say!).
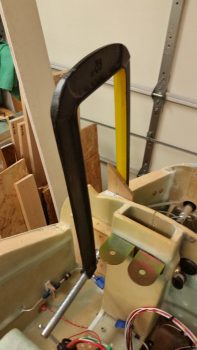
I then covered the urethane foam with duct tape as a mold release.
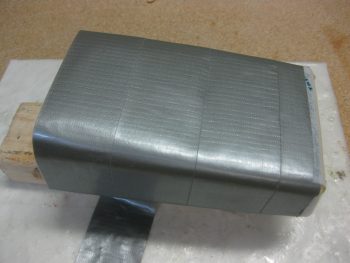
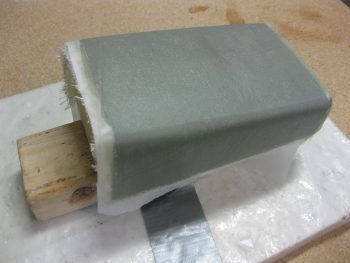
And then laid up 3 plies of BID on the forward 3 sides of the tool box. Since I want the tool box to have square corners on the back edges, I’ll use micro corners on the aft flat layup that will make up the back wall of the tool box. Then I’ll throw in a corner tape along the inside corners.
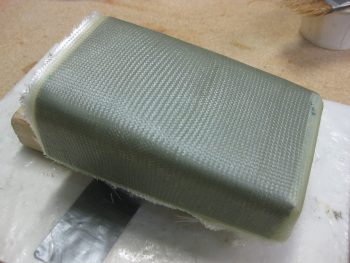
Because I want to have a nice micro finish on the tool box, I went ahead and peel plied it.
I cleaned up the shop a bit and packed it up for the night. Tomorrow will be the final prep for the wing to CS spar mounting, and if all goes right I may get the wings drilled!