
After my meeting at work today, I grabbed lunch on the way home and went over my plans for the dolly I will be building for the fuselage, ala my buddy Mike Beasley. Since I was close to the final design, I knew that I would actually need to build the base to get enough data to finish this sucker.
First off, why am I doing this now? (Instead of planting my butt in front of the canard and sanding away . . . ???). Well, the reasons are: A) To take a break from sanding while still being incredibly productive!, and [more importantly] B) I don’t want to get to a point where I am so frustrated with positioning, repositioning & flipping the ever-weight-increasing fuselage that I work in a less optimized state until then, and then have to take time out to build this thing. Also, with my buddy’s fuselage incident where it fell off the saw horses & smashed his rear longerons, I figured I would pay the piper up front and get this fuselage dolly knocked out early so I can enjoy its functionality.
Here are the key features and requirements for this thing:
- Had to be mobile (i.e. on wheels)
- Had to be low enough when working IN the fuselage & high enough when working ON the external fuselage (adjustable height . . . more to follow!)
- Had be able to be leveled as a surface–not shimming the actual item, but leveling the platform itself. (Leveling screws . . . aka, poor man’s outriggers)
- Secure canopy storage (since I would have the length and width, I might as well make the underneath area useful and store the canopy in a wood box)
- Optimized stabilization of the fuselage (when the fuselage gets its nose, etc. more weight will be added and more awkwardness in controlling it will ensue, thus multiple tie down points are a must)
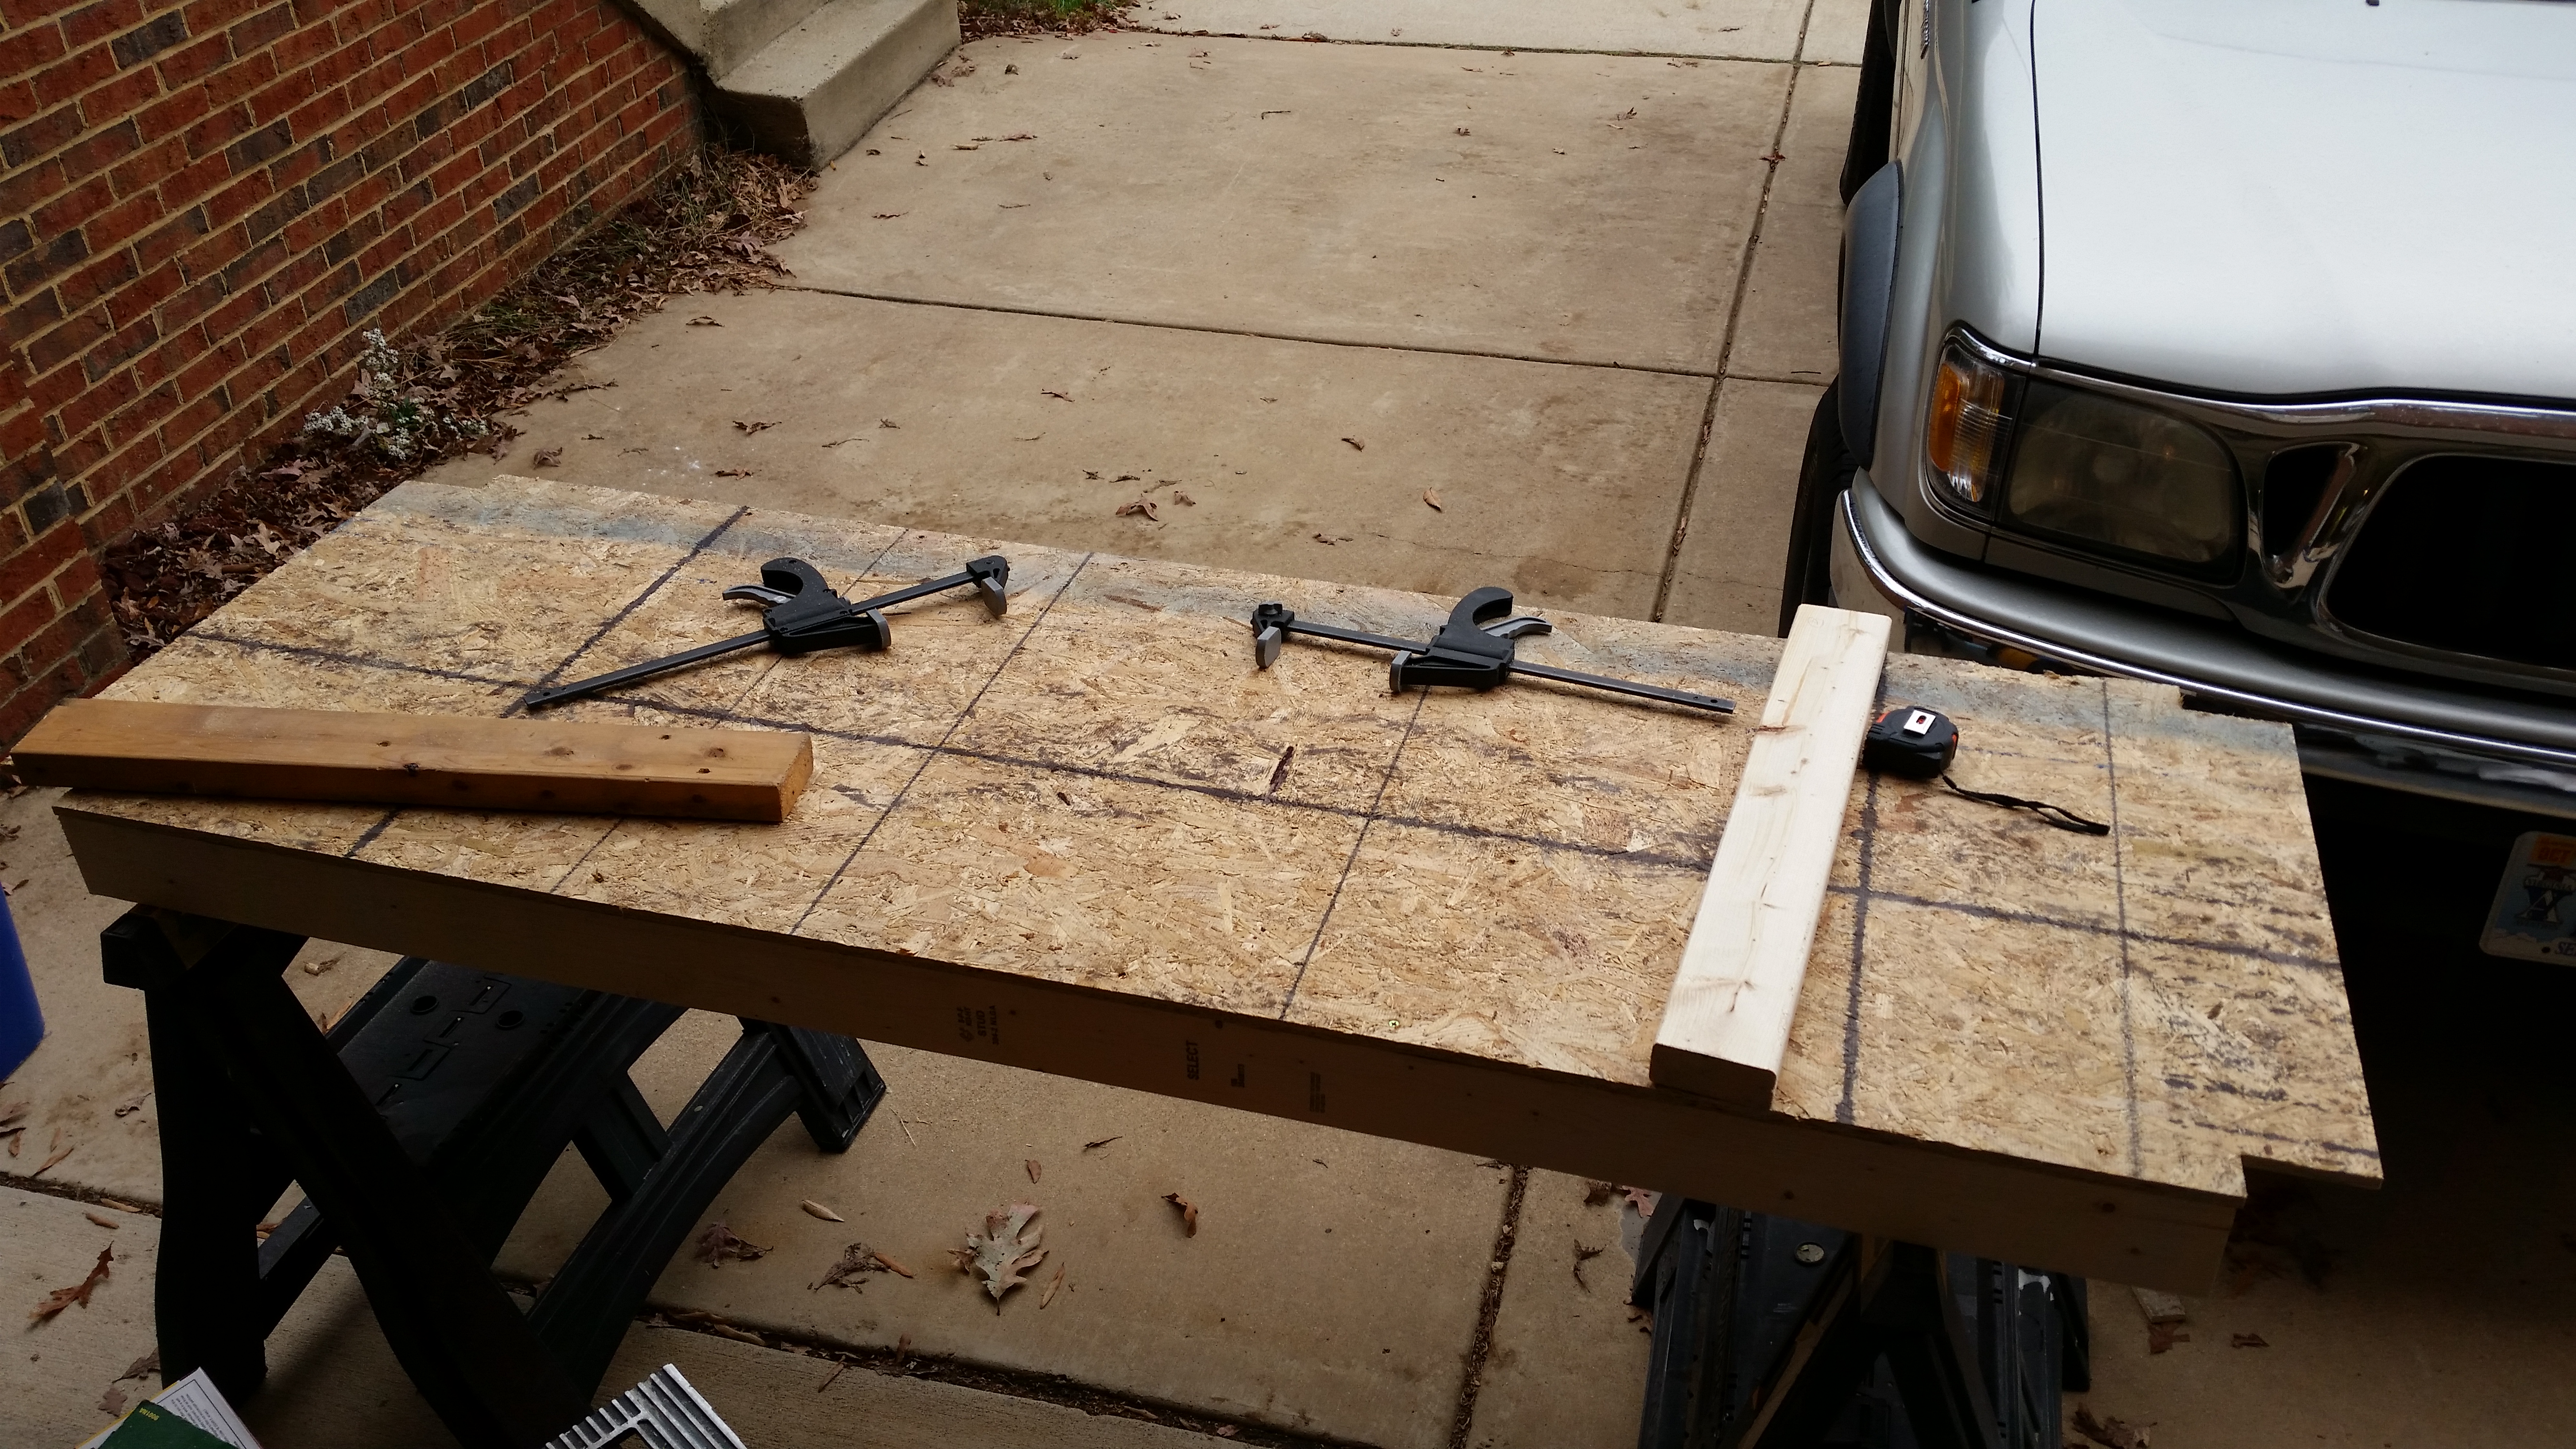
So, while sitting having lunch 2 blocks from Lowe’s, I realized that I had met all my critical design goals and I could begin construction immediately. I bought a couple of sheets of flooring material (OSB) and a few 2x4s to get me started. While checking out the cashier asked me if it started raining yet! So with that info in hand I rushed to get to the house and get some wood cut. It did sprinkle on me quite a bit, but never got into an actual downpour, thank goodness.
After cutting the wood, I started constructing the base of the fuselage dolly. Here’s the very bottom of the dolly. I’m about to attach 4 each 2×4 cross beams & the wheels to the bottom of this thing.
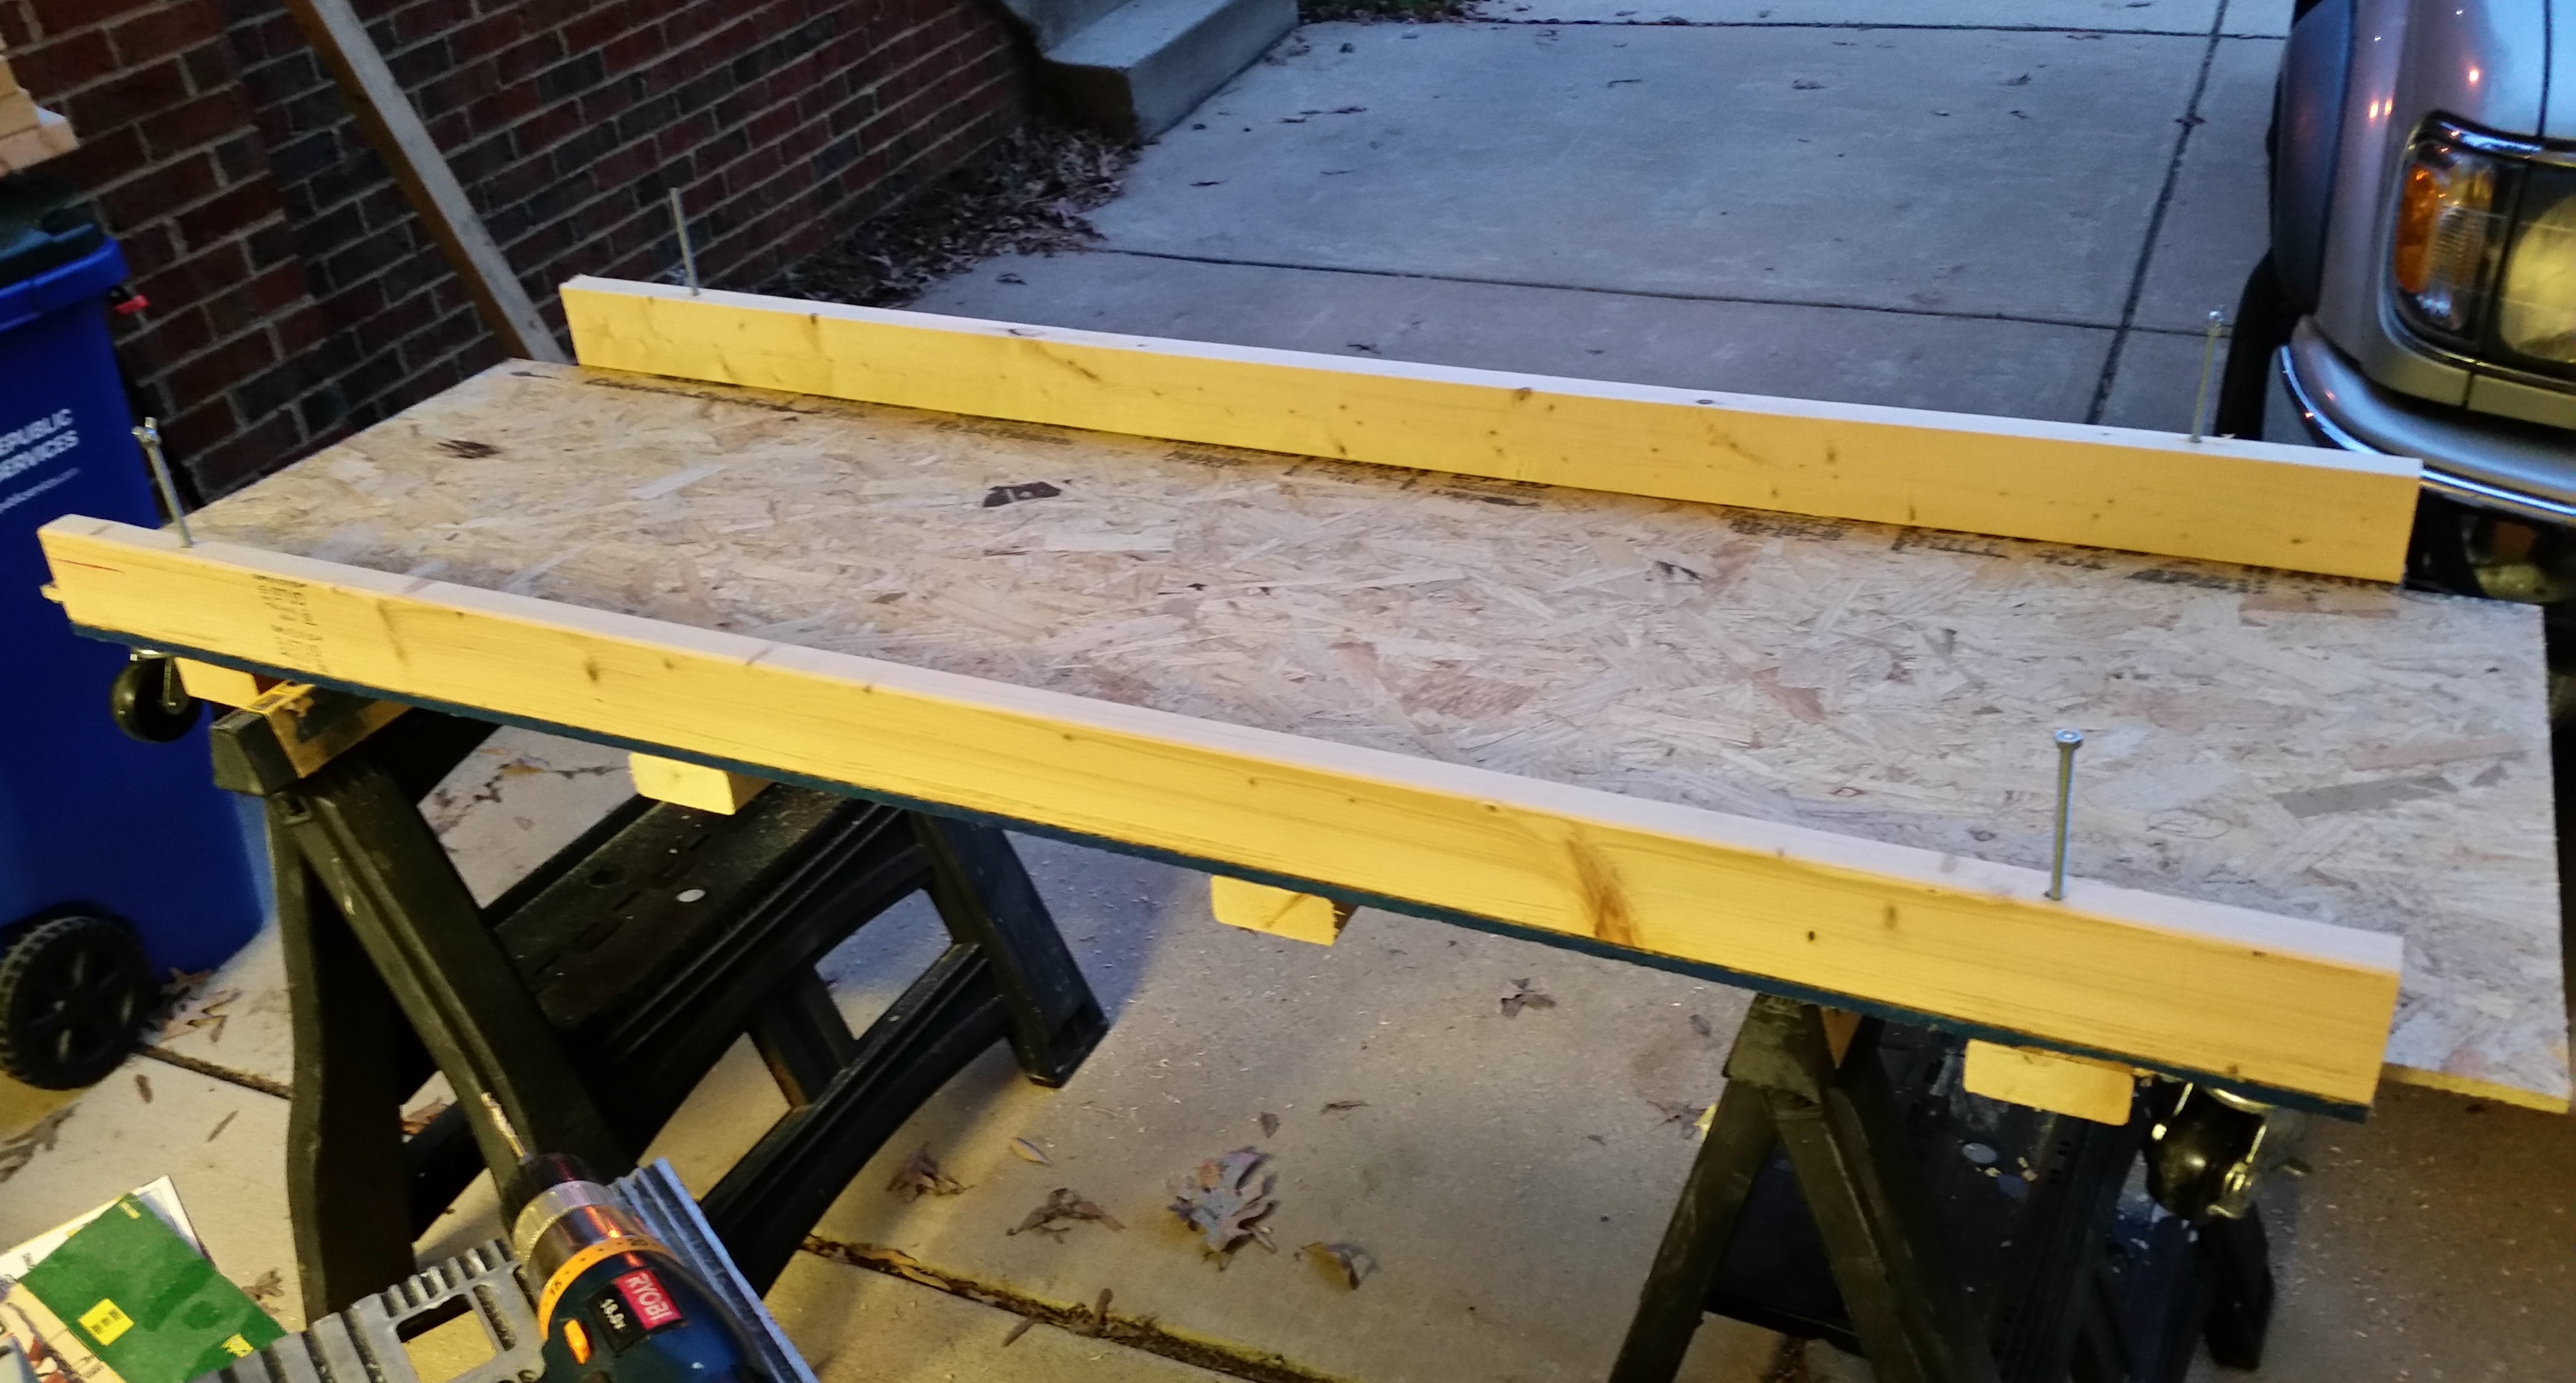
Here’s the base turned upright. If you look closely you can see the wheels near the corners (mobile) and the four threaded leveling screws just inboard of each corner as well.
Here are the OSB sides attached.
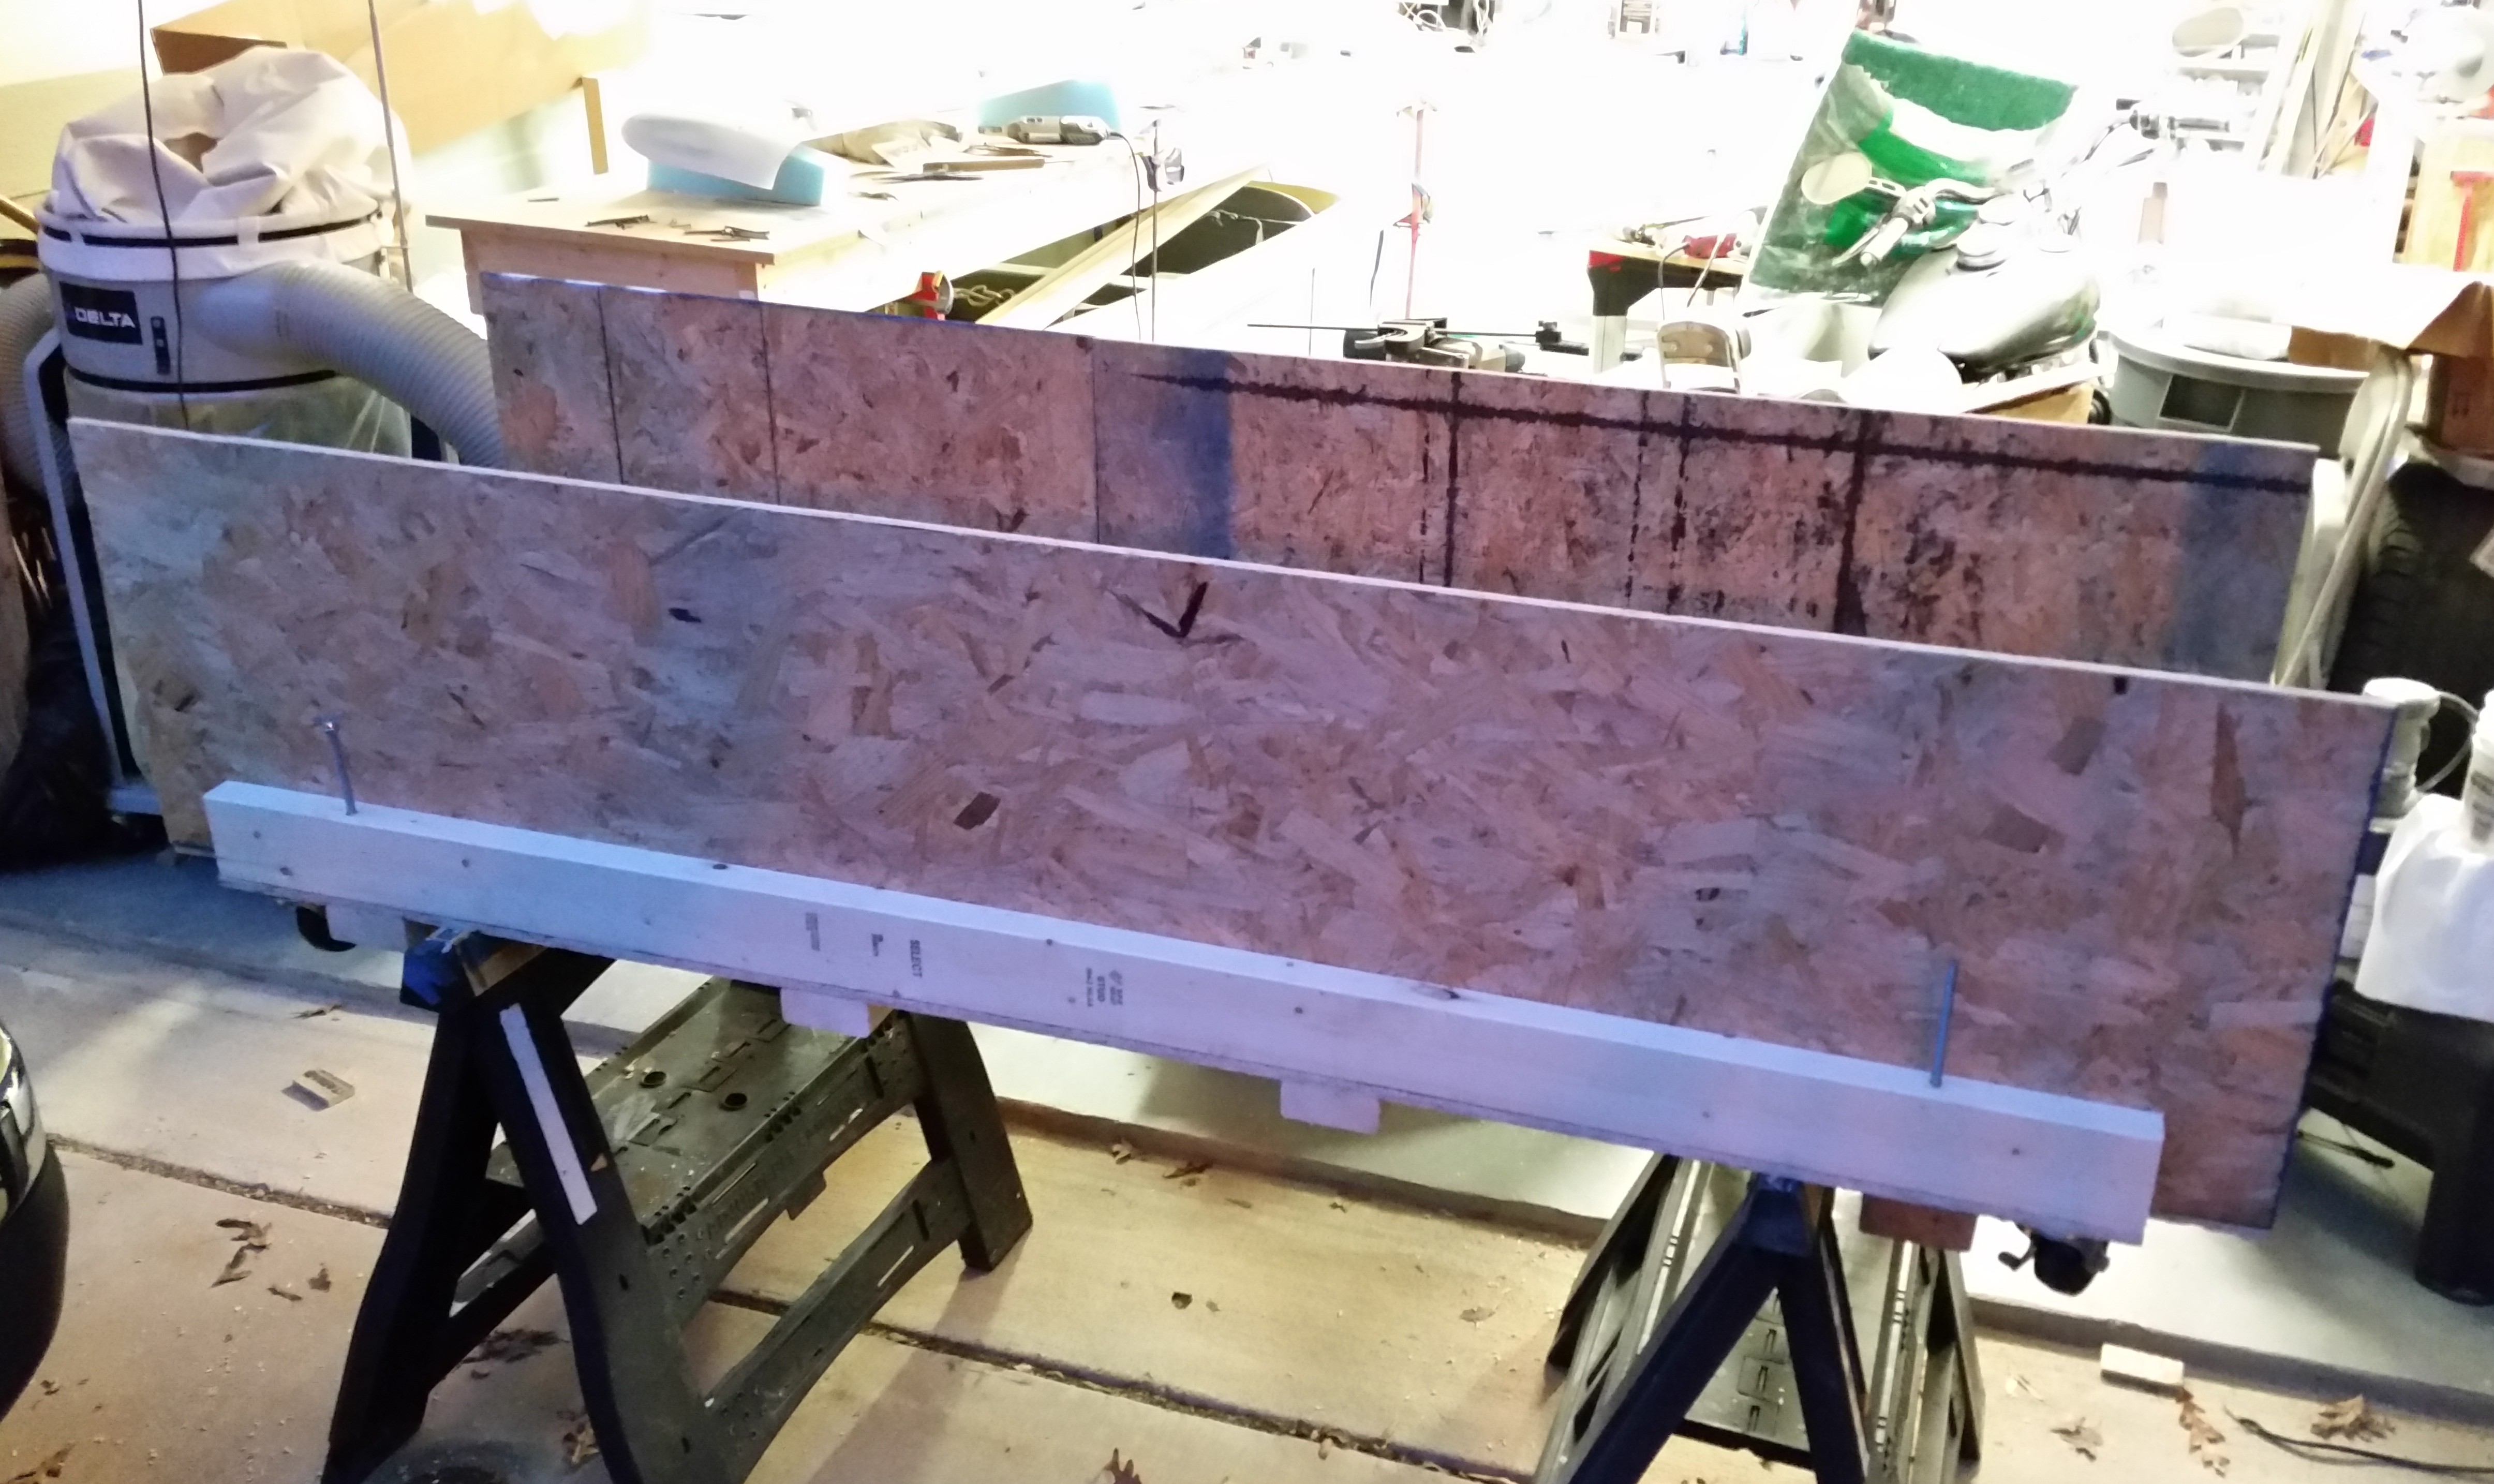
And the future temporary home of the canopy.
I added the top cross joists that sit on a 2×3 stringer that runs the whole length of the dolly on each side.

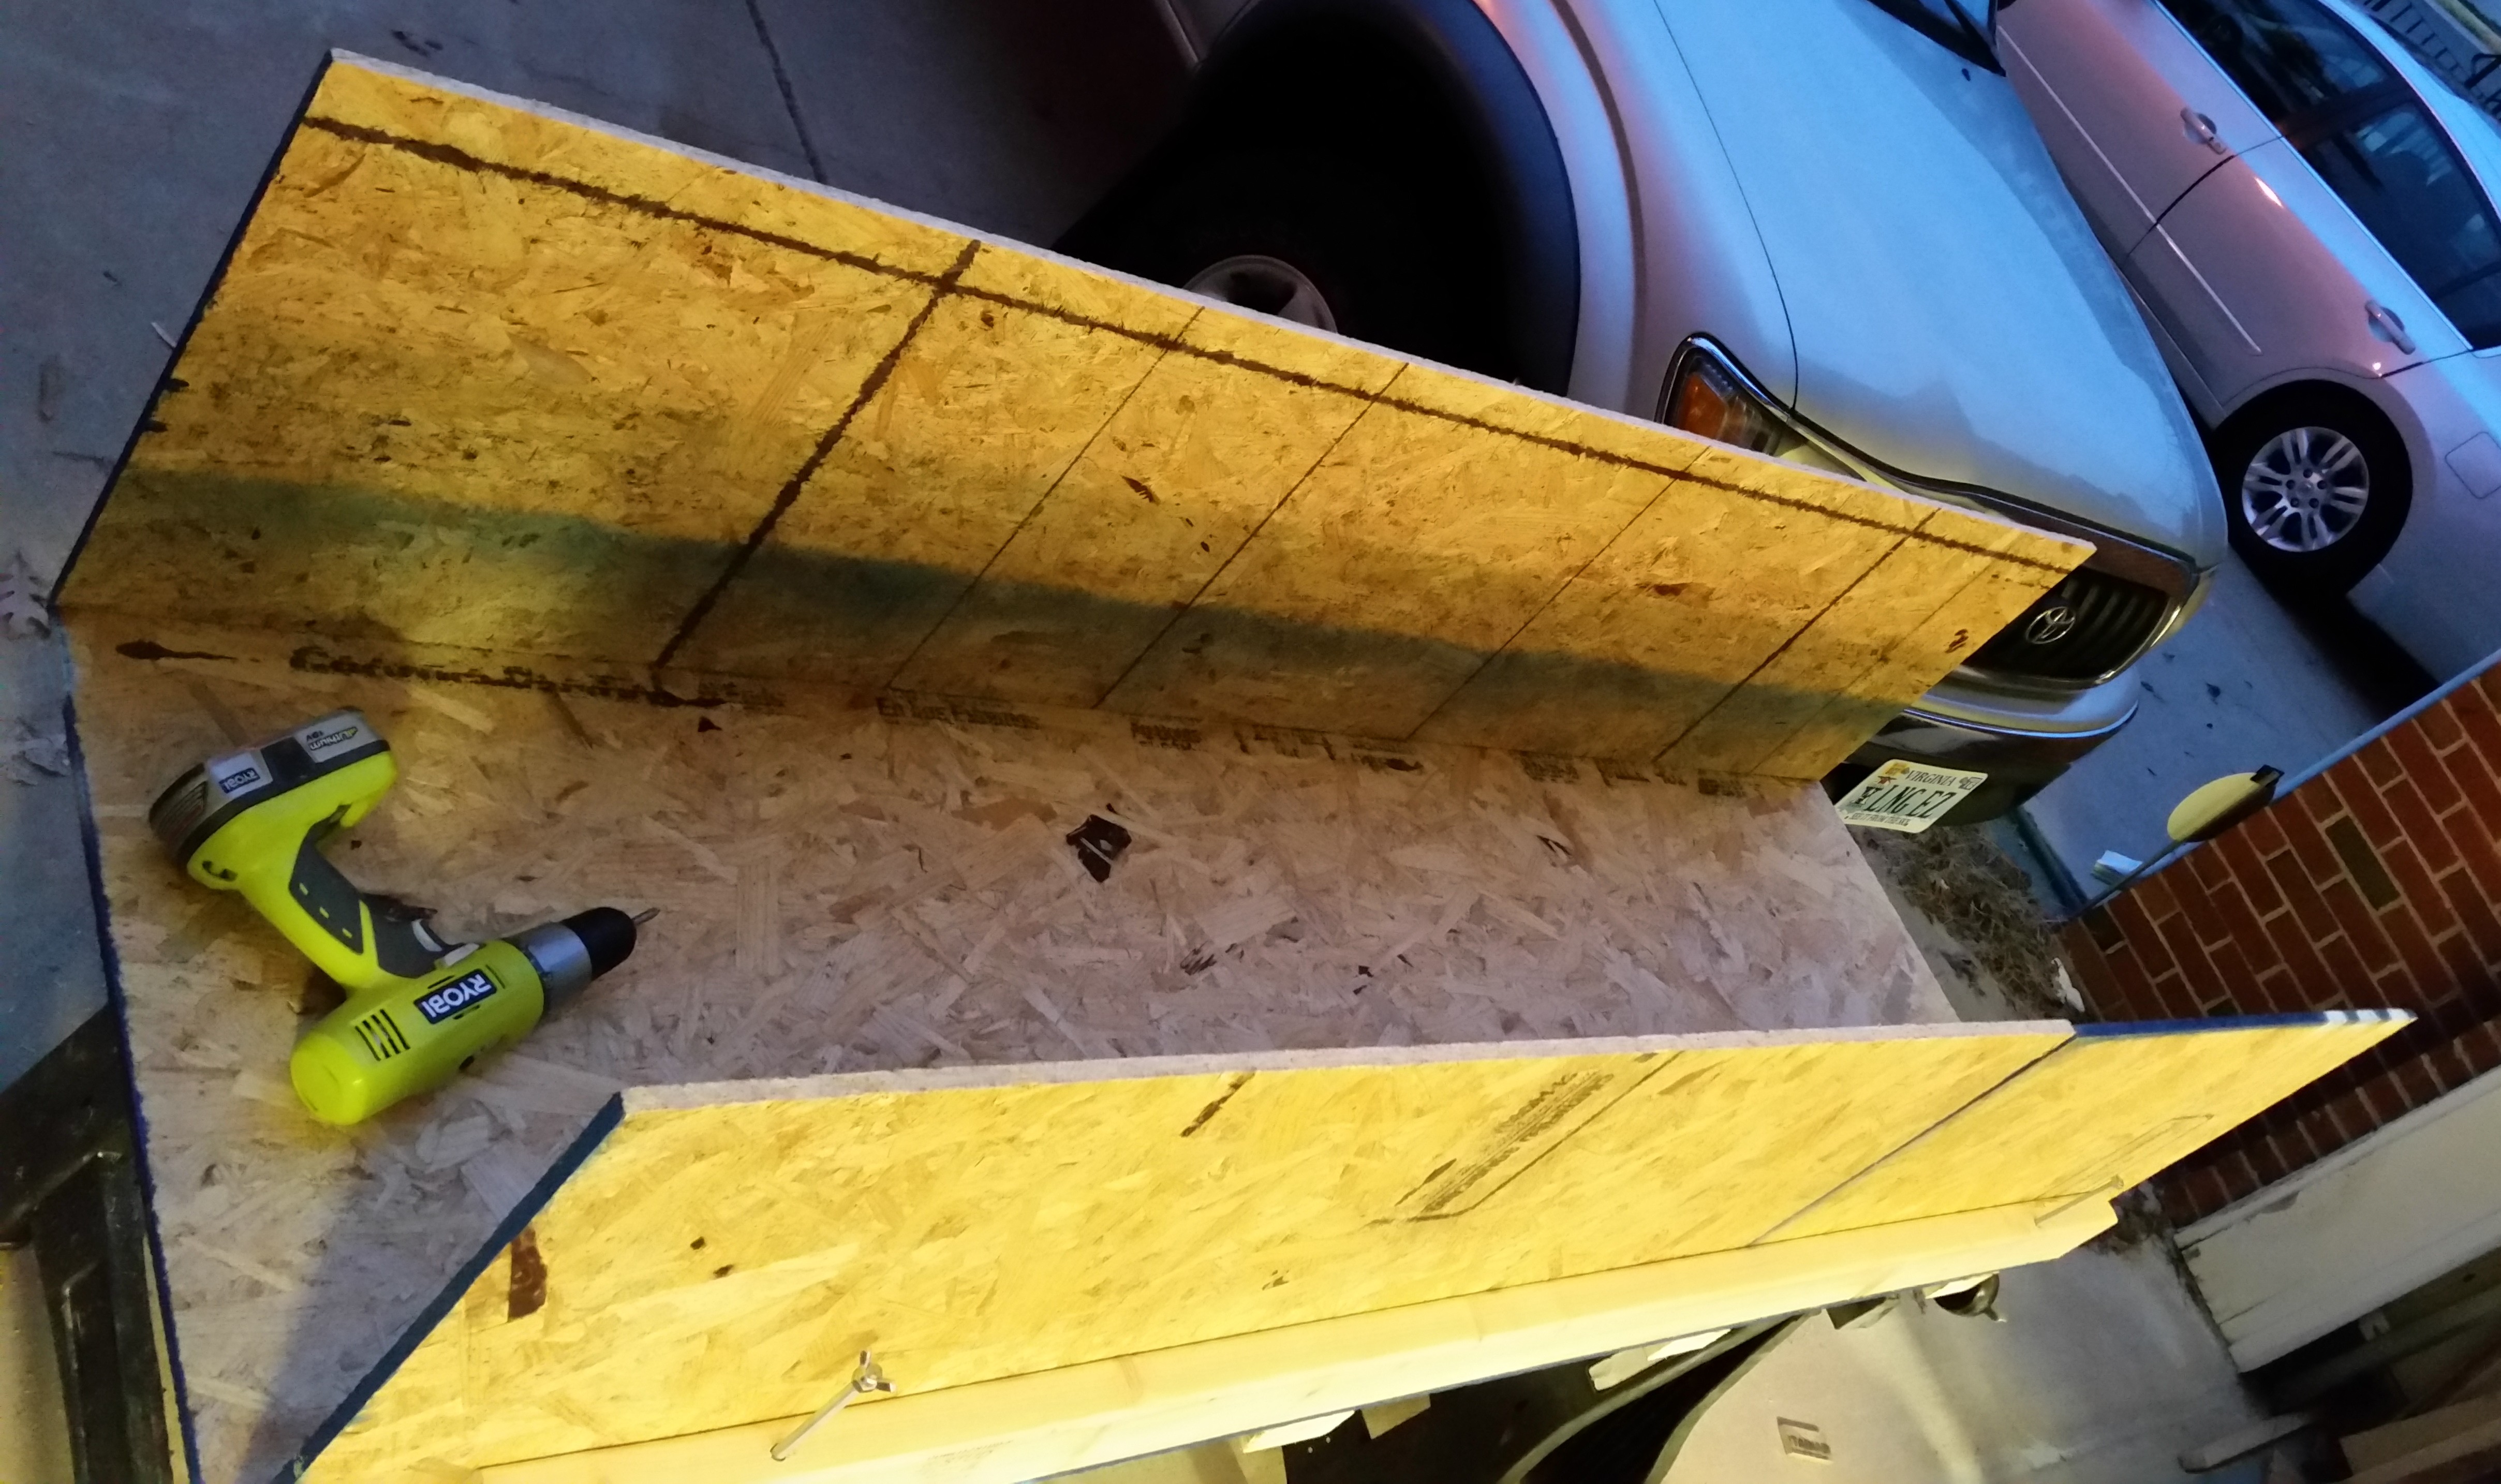
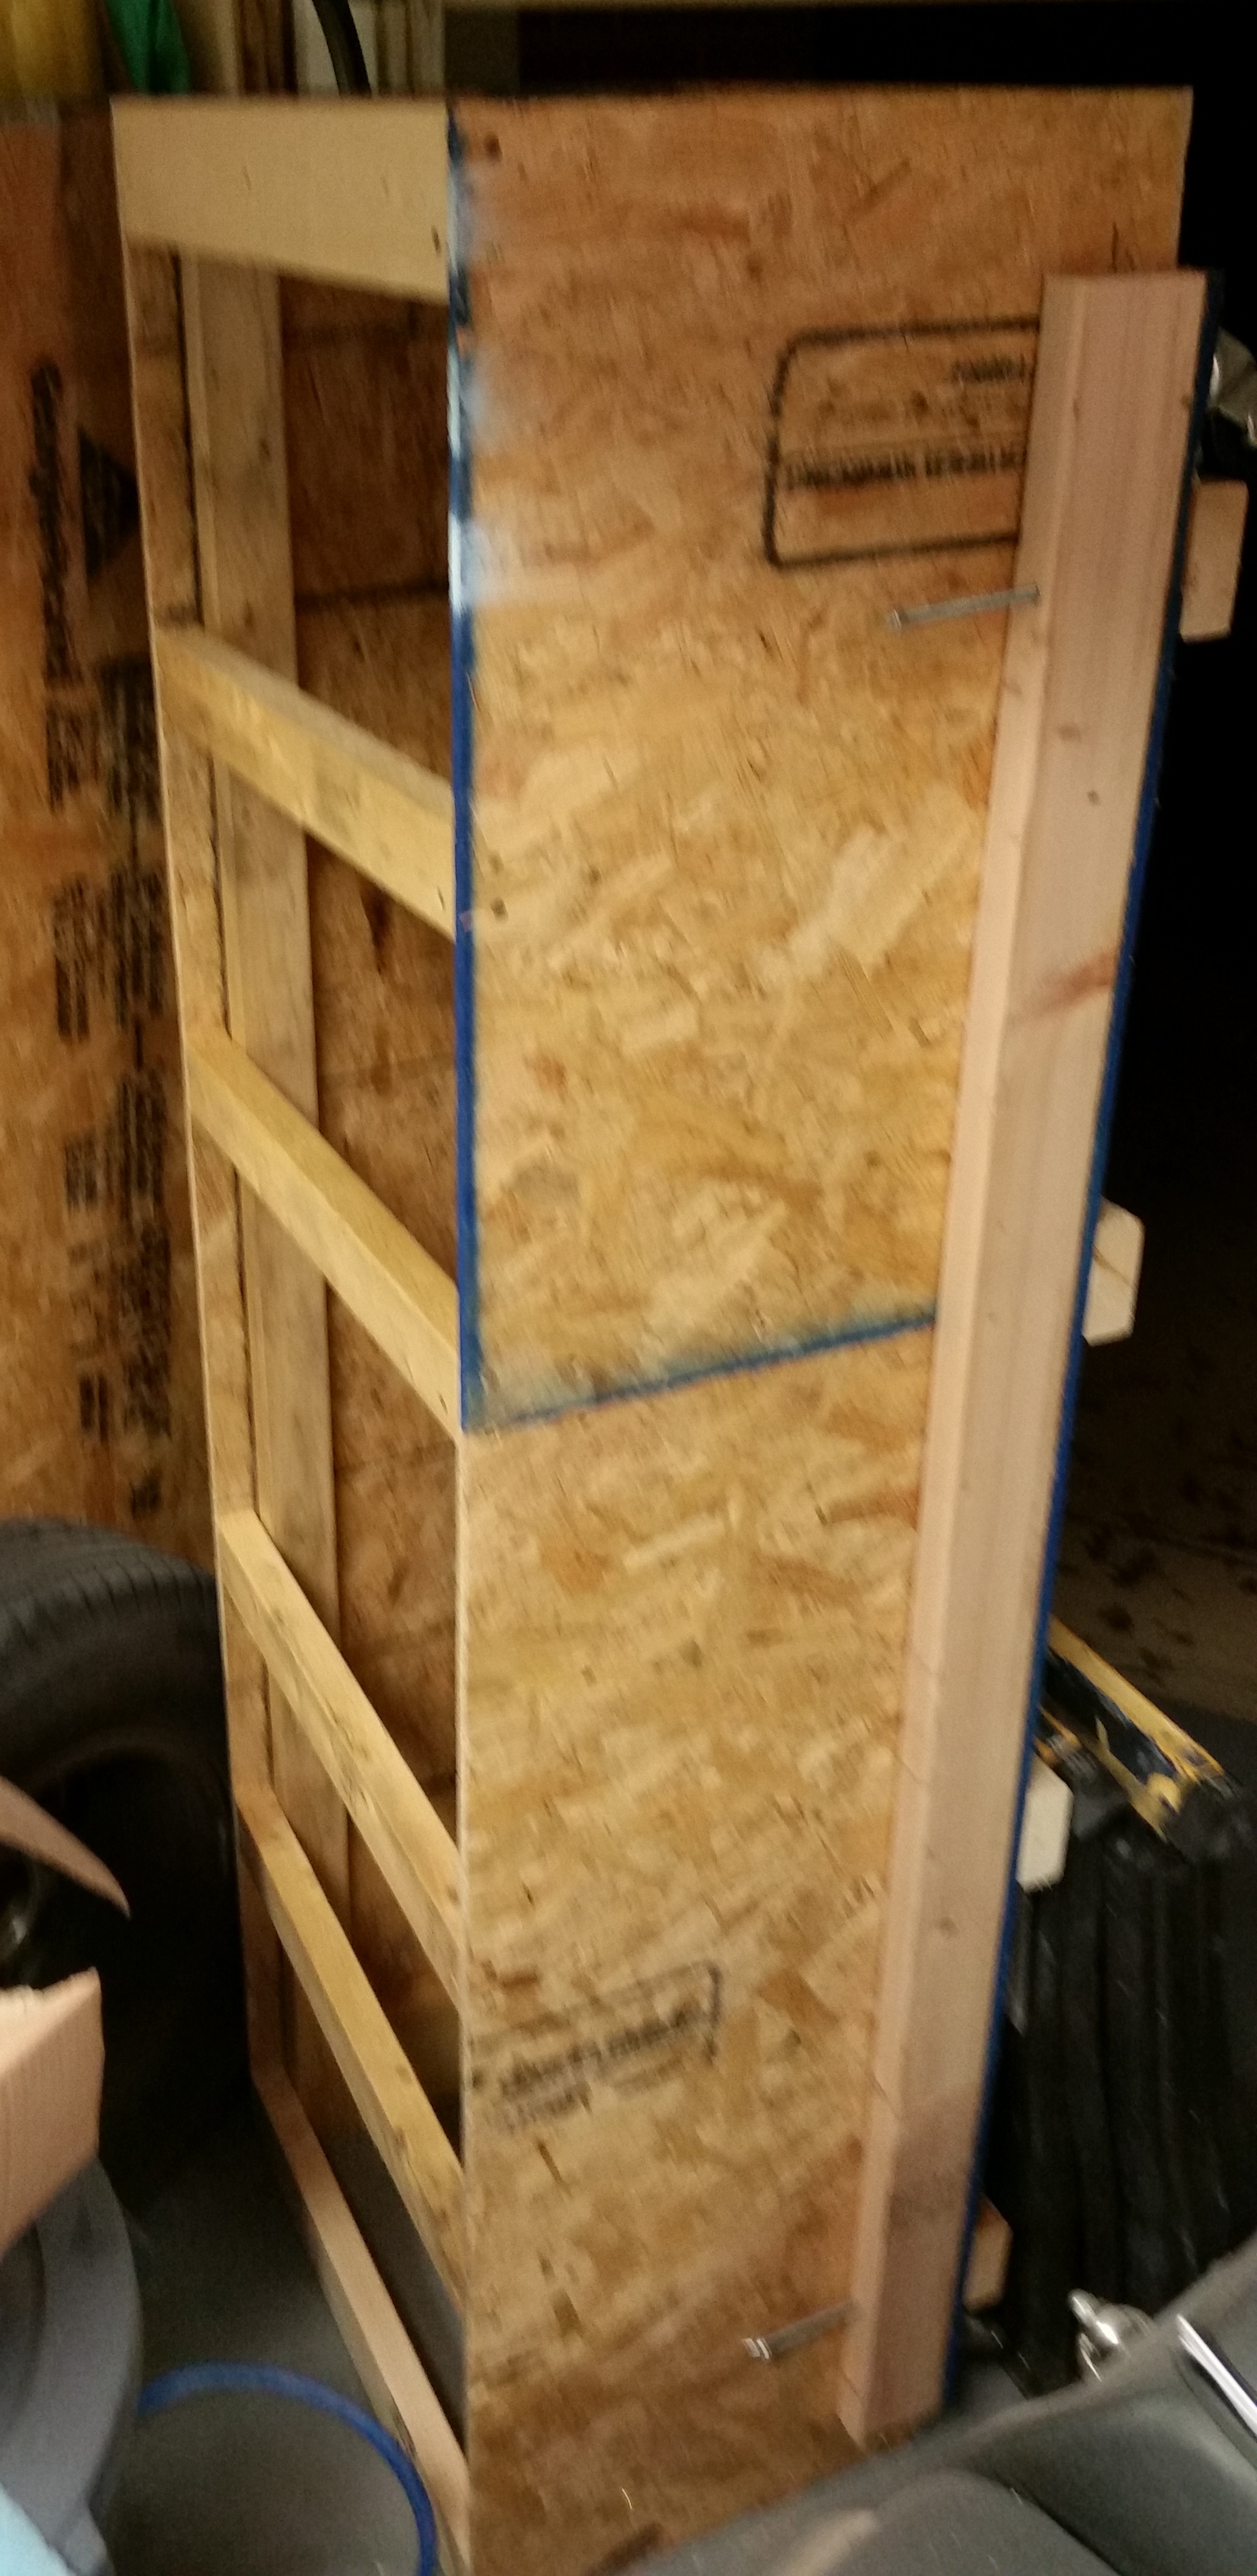
After getting to the point where I needed to cut more wood, and for some parts buy the wood to cut it, and get some more hardware, I cleaned up my work area and stowed my new creation up on end.
I then ran off to Harbor Freight to pick up some “supplies” . . . mission operational security does not allow me to divulge any information until later, after it’s been implemented and tested. ha!
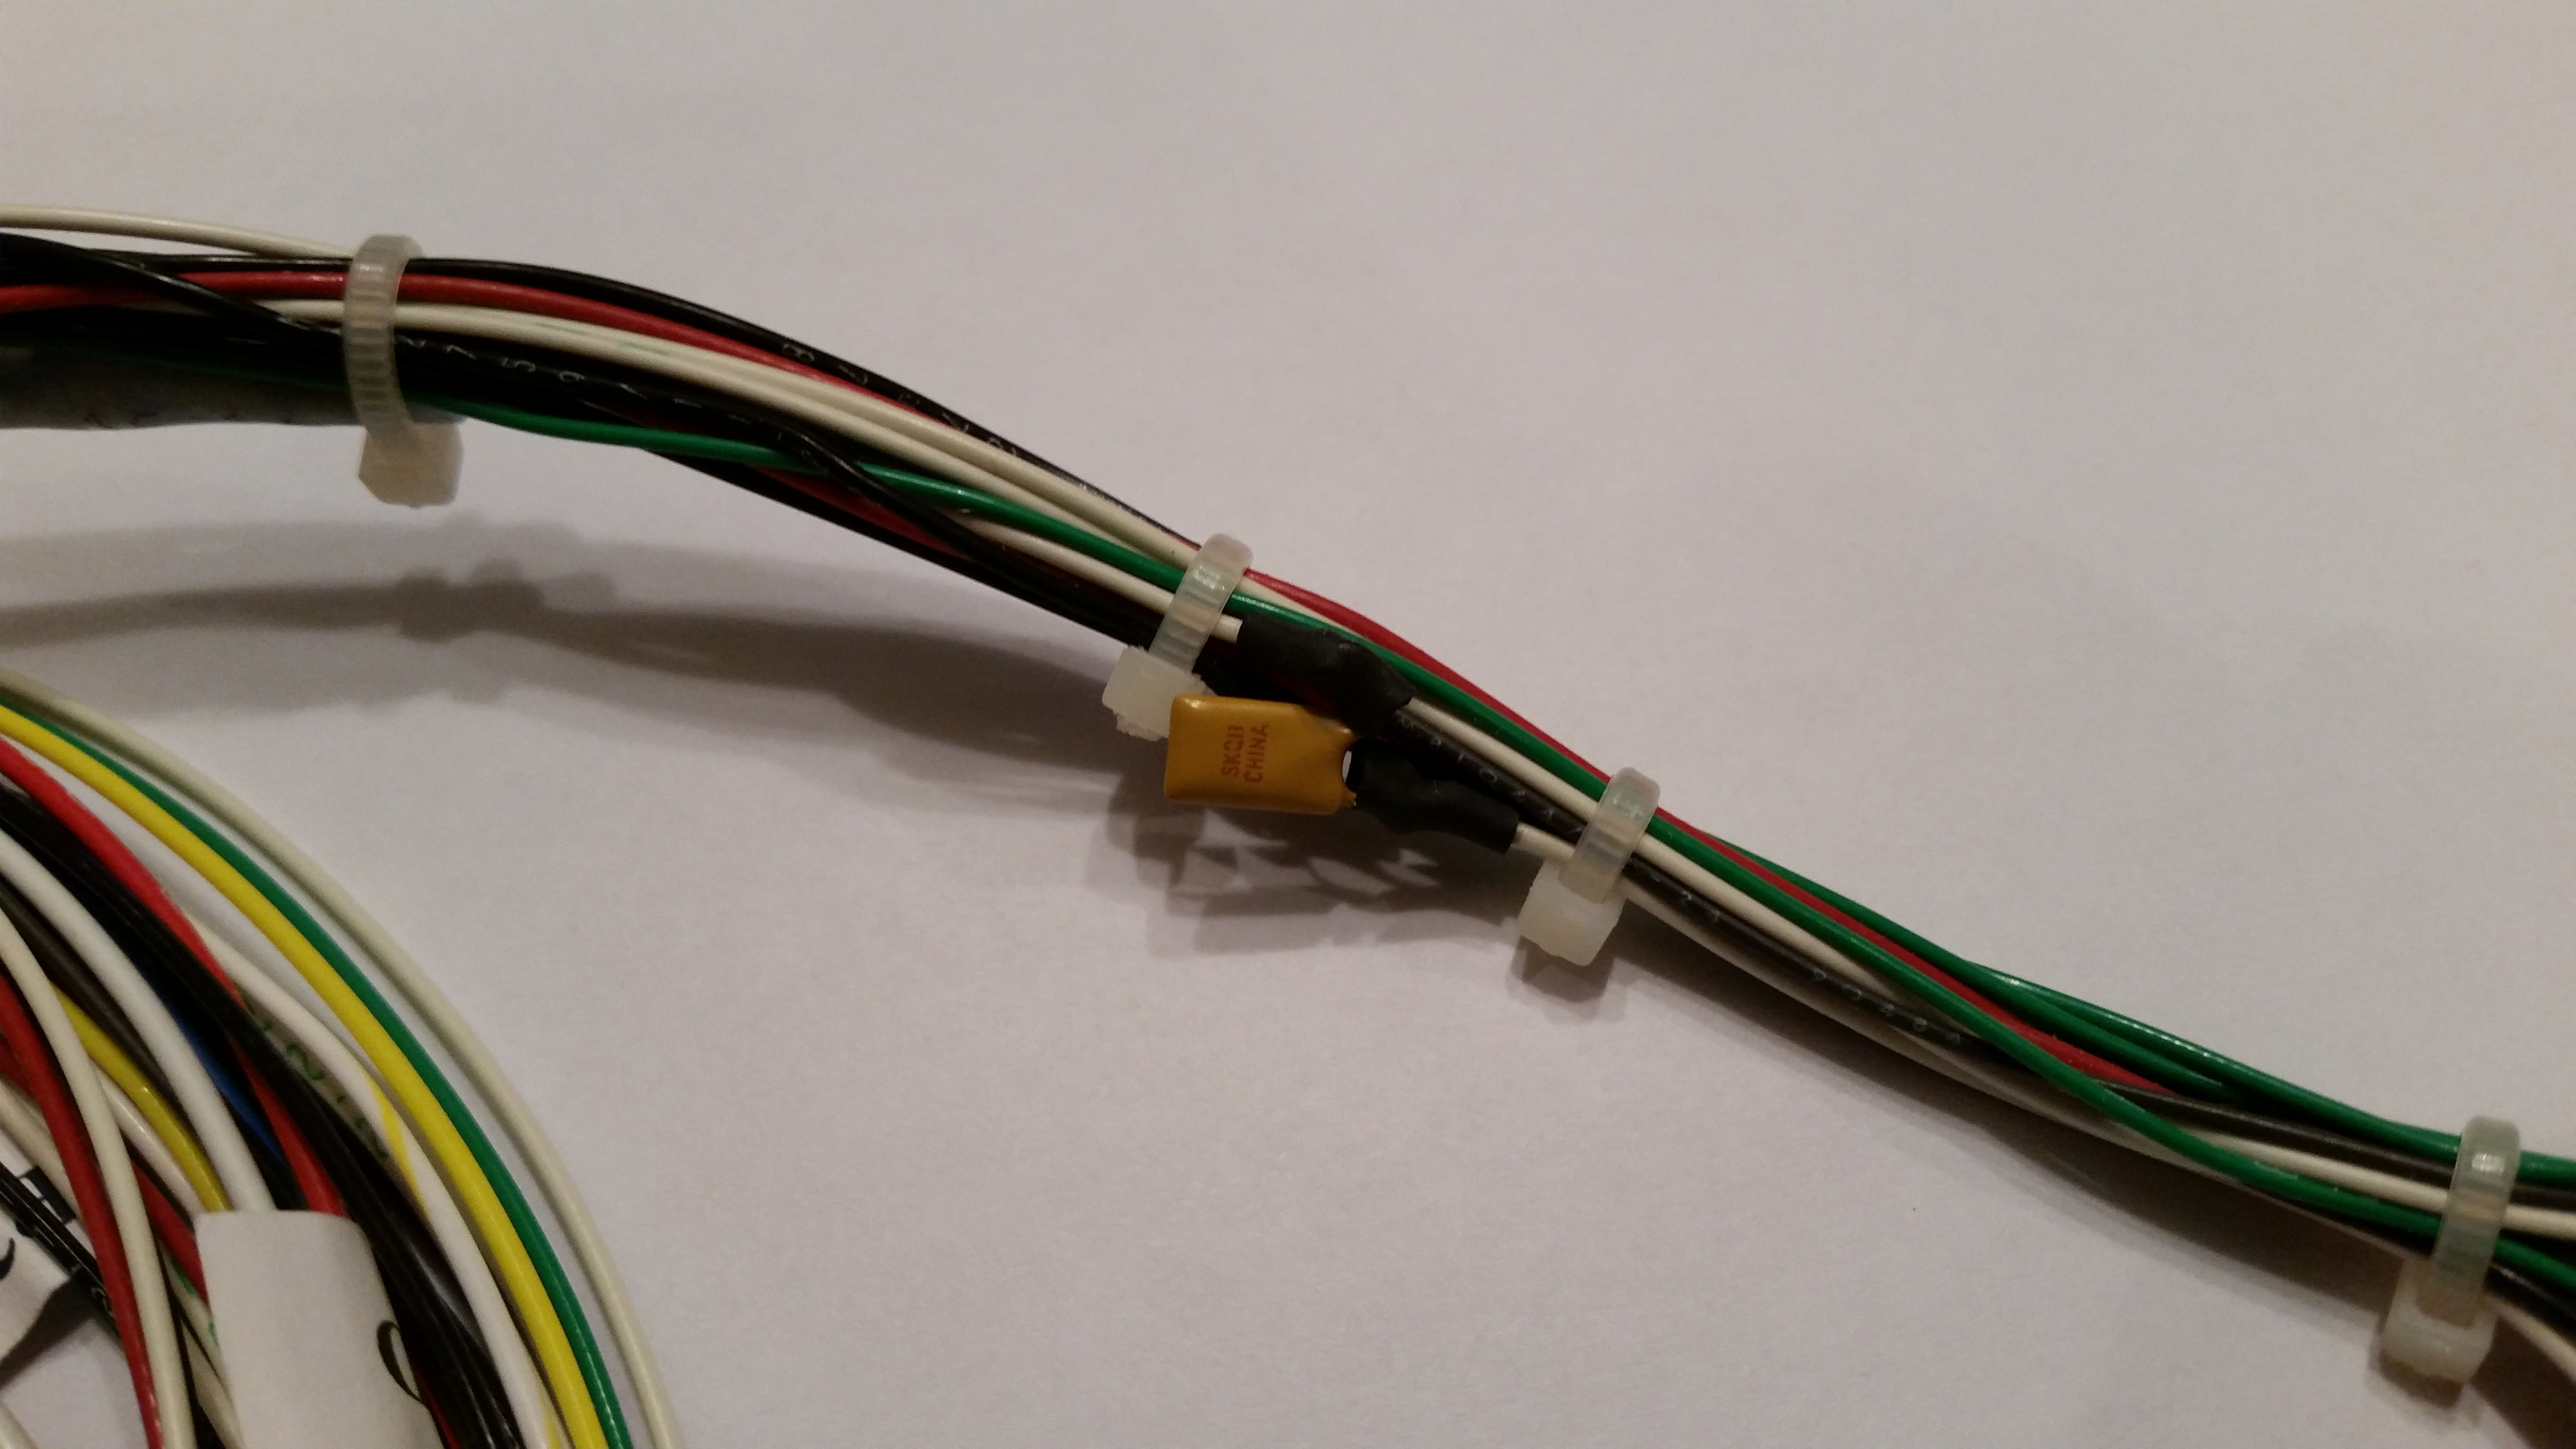
Upon returning home I sat down to fix a design flaw in the Nose Gear Actuator wiring before it became a problem. There is a small electrical component (diode? capacitor?) that was soldered in the wiring line with one of its two tiny legs soldered to a wire on each side. If you look at the second pic you can see daylight between the component and the wiring bundle.
Now, my Long-EZ building buddy, Capt Meatballs, pointed this out to me after his broke and he had to find it via troubleshooting. The connection legs were so fine, that when the one side broke he had to buy an entire new component & solder back into place to fix it.
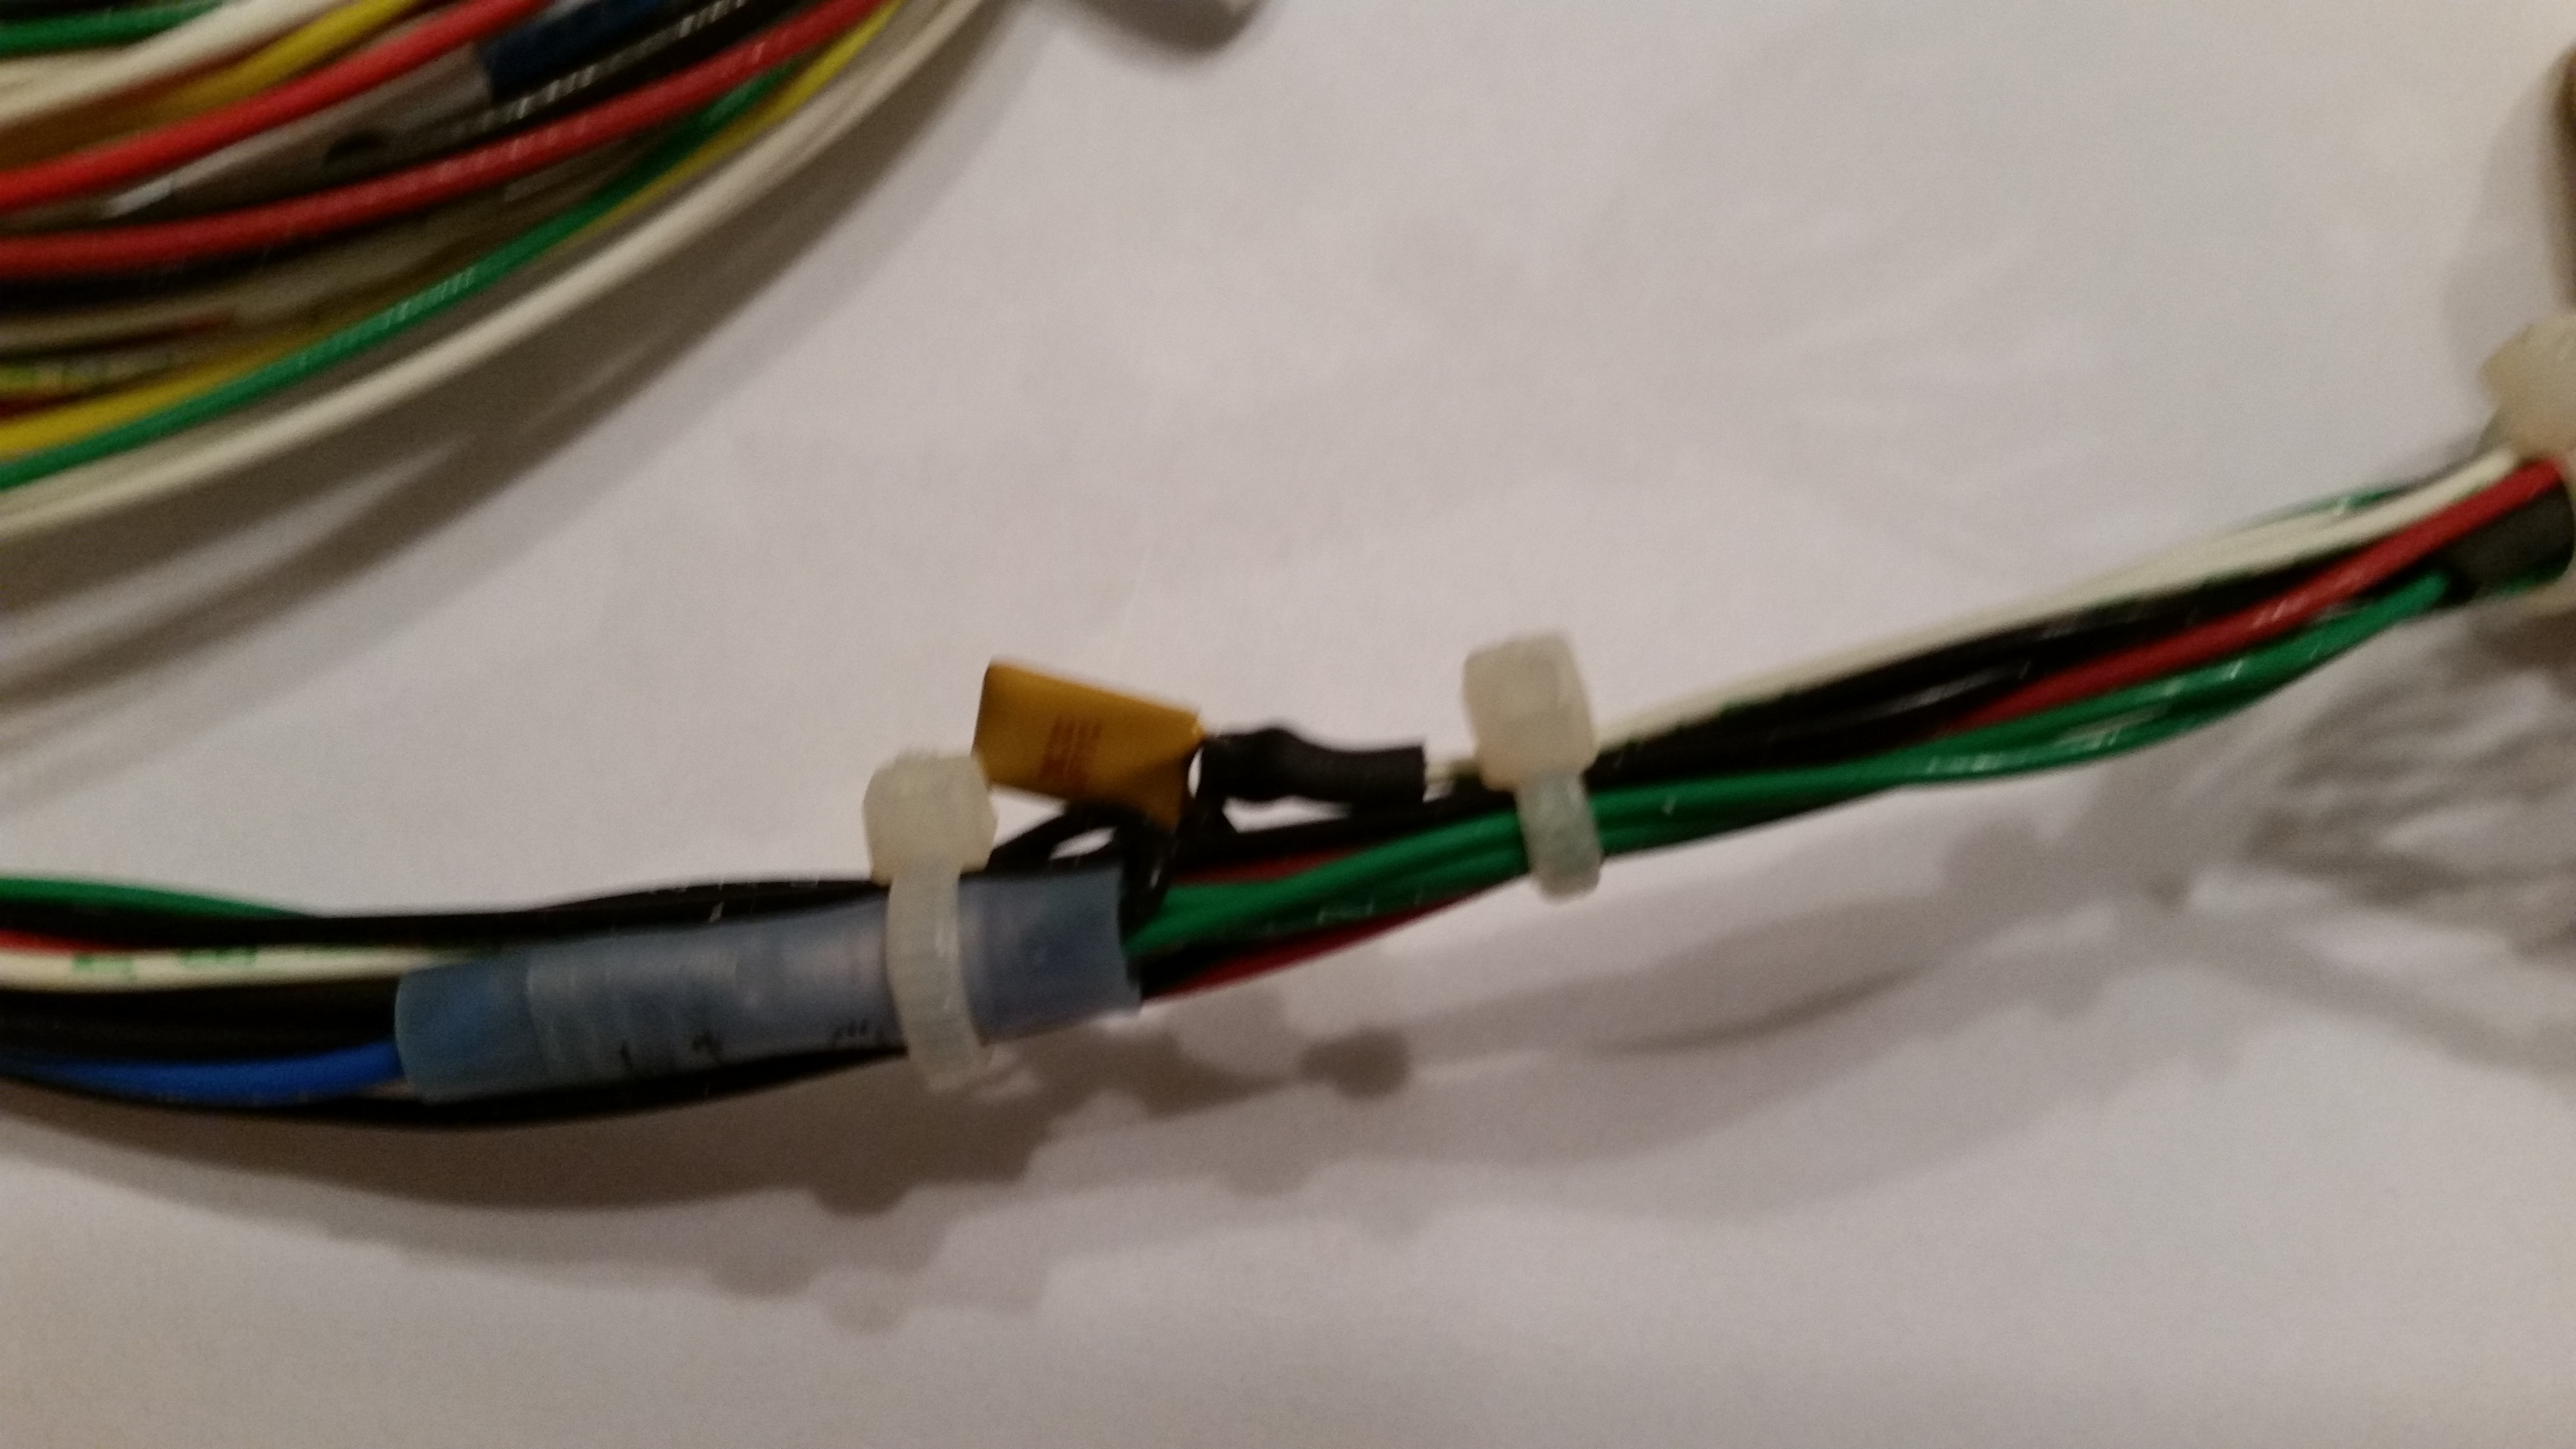
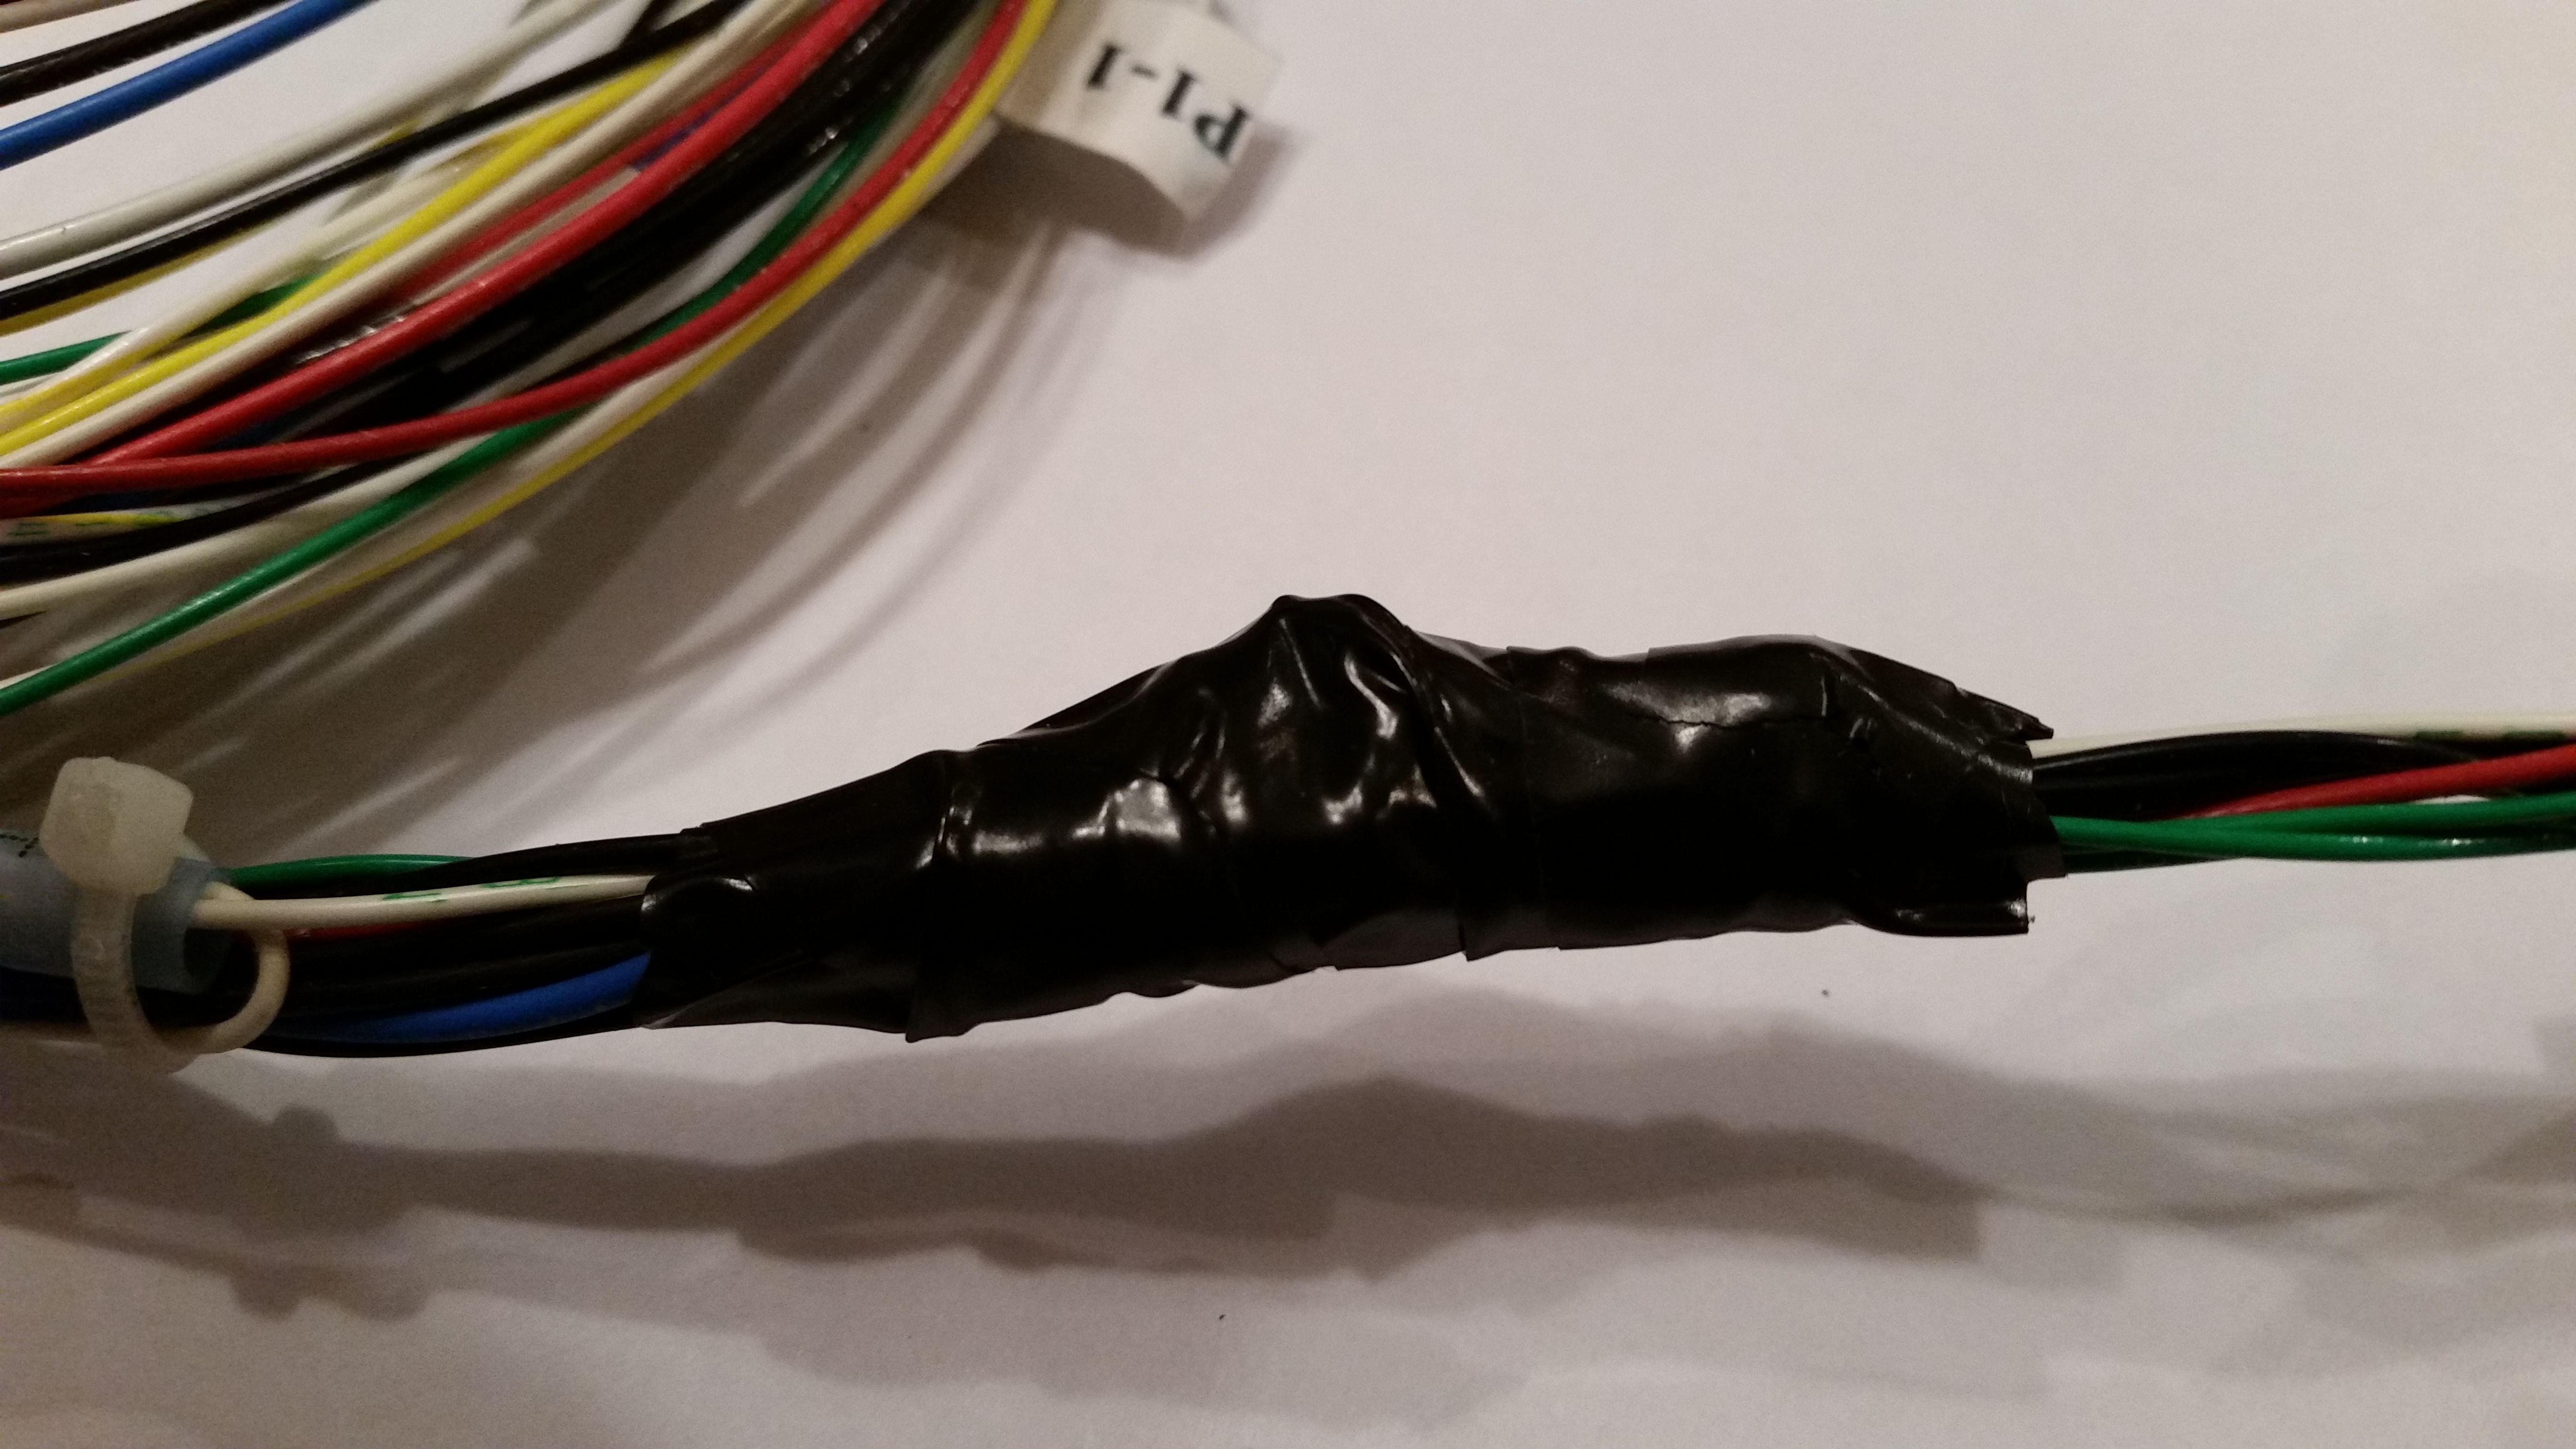
To avoid this issue I employed the “poor man’s electrical potting material” solution to this situation. I took electrical tape that I had folded over a couple of times and wedged it underneath the suspended wire legs on each side to secure them from any pressure coming through the tape and still snapping off one or both of the legs. I then wrapped the whole assembly in electrical tape. May not be the prettiest fix, but with a big clump of relays just down the line I wasn’t able to get some tubing shrink wrap over it. So this fix will have to suffice!

Now that I have the base of the fuselage dolly built, I’ll start incorporating it into the build schedule. Thus, while any part, epoxy, or primer is curing I’ll take a few moments to get this dolly built. My plan is that when I start in seriously on the nose & nose gear that I’ll have this fuselage dolly underneath the fuselage and ready to go.