
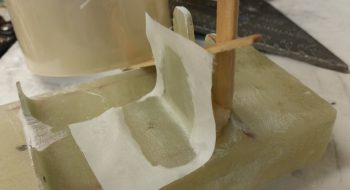
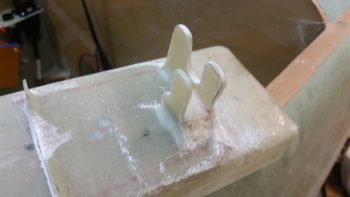
Ok, well, the paint starts in a bit. Actually, the first thing I did today was cut out another battery tray lower flange out of G10 Garolite that will be paired up with the existing right flange –with a gap– to make up a composite U-channel for mounting the taxi light mini- actuator (pics later in this post show the configuration).
To add a little added strength for these actuator mount flanges, I added a foam spacer in the middle between them about 0.35″ high. I micro’d the foam into place and then the new G10 mounting flange.

I then laid up 3 plies of BID on the inboard side of the new G10 mounting flange. The popsicle sticks in the pics below are to keep the spacing correct between the 2 flanges, since the existing flange has just a bit of angle due to the glass configuration in the battery compartment’s lower channel.
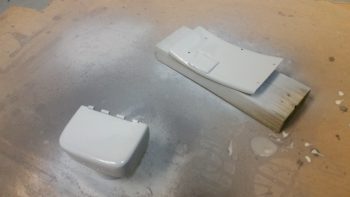
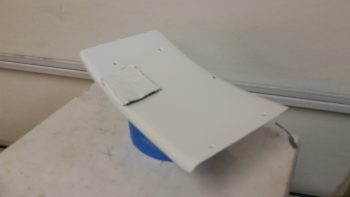
I took another shot of the tool box lid and forward NG30 cover for posterity’s sake, just before I sanded them for primer coating.
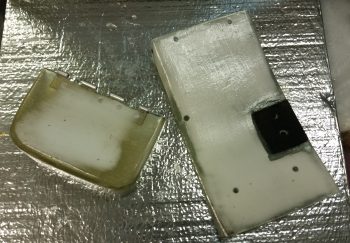
I then sanded the tool box lid to prep it for primer.
And then did the same for the forward NG30 cover.
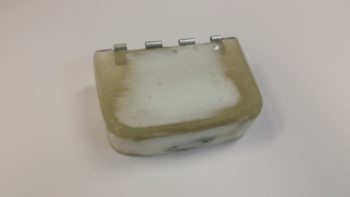
Here’s the tool box lid and forward NG30 cover in GRAY (although it almost looks white) primer.
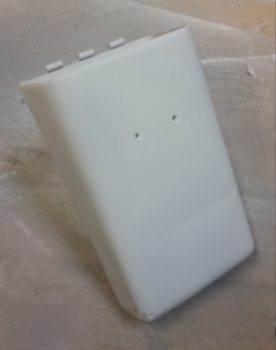
I didn’t get a pic for posterity’s sake for the lower tool box body, so here it as after I primered it.

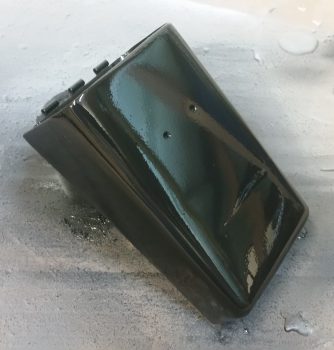
Again, although this looks white, the lower tool box body really is in gray primer here after a quick sand down and re-wash (I use Simple Green to wash my parts, a trick I learned when painting motorcycles). This pic shows it right before I shot it with black paint
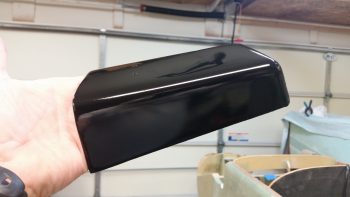
I then shot the tool box body black with 2 coats.
This is a couple of hours later than the pic above. You can see the paint leveled out quite a bit as it cured, and it really does look good. It’s not perfect, and if it were an external part or in constant view I would probably wet sand it and shoot it one more time, or clear coat it. But this tool box is going into the nose, with the body mostly covered by the battery and the lid, so I’m going to call this good and press on.
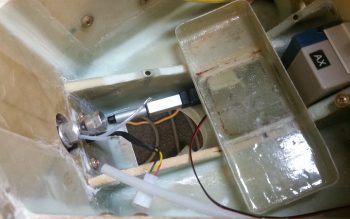
I actually did the following while the tool box paint was curing. I cleaned up the layup on the added inboard battery tray flange for mounting the taxi light mini-actuator.
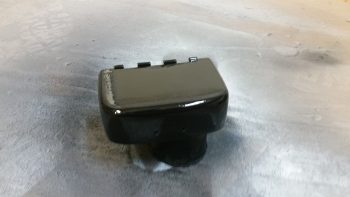
Here’s a quick mockup shot showing how the taxi light mini-actuator will look in relation to the battery tray mounting flanges. [NOTE: To be clear, the battery tray is turned up on its aft side so that my fingers in this pic would be toward the front of the battery compartment].
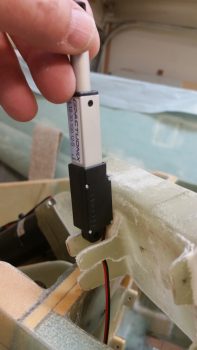
If you aren’t confused, good! But to show further what I’m talking about here’s a good representative shot showing pretty much how it will look when the mini-actuator is installed onto the battery tray mounting flanges (I actually took these 2 shots for Marco to explain to him what I was up to…].
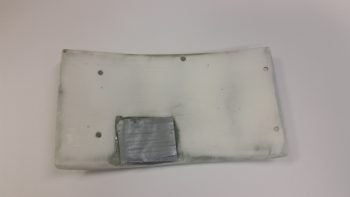
For the NG30 covers, being much larger center pieces when the nose is opened up, I decided to clear coat them from the get go. Still, nothing too fancy. I grabbed some flat white Rustoleum primer and am using that for the base coat. After the base coat cures, I’ll wet sand it and then I’ll hit it with a few rounds of clear. Depending on how that turns out, I may do one final wet sanding and another coat or two of clear (sorry the pic quality, it seems my phone has been having issues focusing lately. I think I’m going to have to switch back to the camera ….)
I had to do a fair amount of sanding after the first round of primer on the tool box lid, so I went ahead and re-primered it with another couple of coats. After I good amount of time I picked it up in ham-fisted fashion to see how it looked, and disturbed the primer on the top side. So, I hit it again with a good wet coat of primer on the top and let it cure some more. After a bit of time went by, I threw it under a heat lamp for a couple of hours to get it nice and cured. I then re-sanded it, gave it a Simple Green bath and then hit it with 3 coats of black. FYI, this black is primer + gloss black paint mix.
I did do one more thing that I don’t have a pic of before I called it a night: I laid up 2 plies of glass in between the taxi light mini-actuator’s 2 mounting tabs on the battery tray. I then peel plied the layup. Tomorrow I’ll trim & clean up the layup, as well as prep the big daddy of them all for primer & then paint: the aft NG30 cover!