
First off, let’s revisit the phases I identified a while back for finishing up the oil heat & fresh air system. Here’s the current status of those phases using stoplight colors:
- Phase I – Ductwork glassed
- Phase II – Heat exchanger glassed
- Phase III – Ductwork interface holes drilled and valves built
- Phase IV – Ductwork installed with heat exchanger and valves in place
- Phase V – Oil pump installed & oil lines run
- Phase VI – Pilot seat area ductwork constructed and installed
- Phase VII – Instrument panel forward ductwork constructed and installed
- Phase VIII – Valve cables terminated and handles installed
I started out today by pulling the peel ply and cleaned up the 2-ply BID reinforcement layup on the lower horizontal duct for the aft mounting bolt of the heat exchanger.
I then prepped the inside of the horizontal duct for floxing in an EZ Point nut by sanding the area right around the mounting hole.

I then floxed and glassed an EZ Point nut into place and then peel plied the layup.
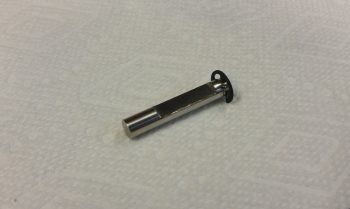
I then pulled out the Dremel Tool and widened the notched flat on the 1/4″ heat restrictor butterfly valve rod.
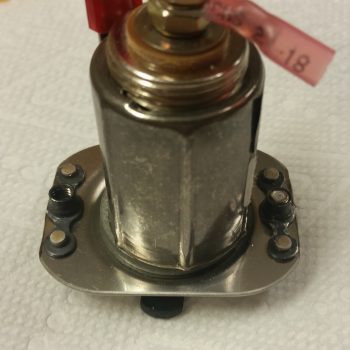
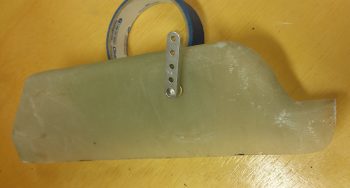
I also trimmed the edges of the GIB charger mounting flange immediately adjacent to the riveted nutplates.
Here’s a closer look at the trimmed flange on the GIB charger mounting flange.
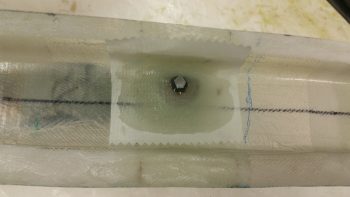
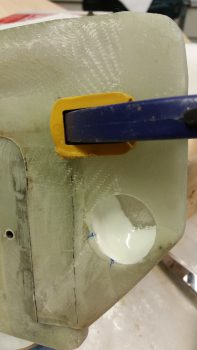
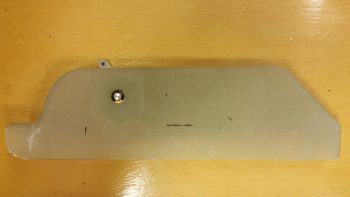
I then cleaned up the layup on the right armrest midpoint hardpoint. I then set the countersunk screw in place so that it would be visible by the camera.
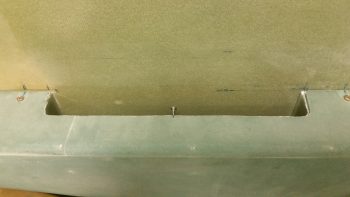
I then installed the screw completely to show the screw’s low profile. If you’re wondering where the screw is located, look at the small mark at about the midpoint of the edge of the storage pocket.
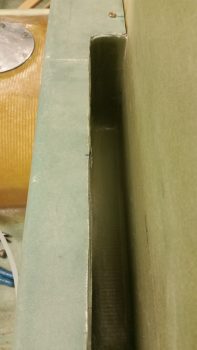
I then took about 15 minutes to mark and cut the right armrest storage pocket lid hinge. I then mocked it up in place by taping the hinge to the fuselage sidewall.

After the EZ Point nut layup cured, I cleaned up the layup and then mounted the heat exchanger at its aft mounting hole onto the EZ Point hardpoint.
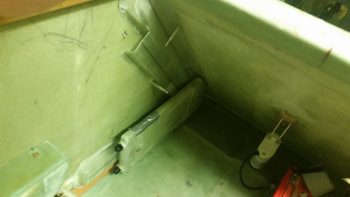
With the aft mounting bolt in place, I was then able to locate the forward heat exchanger mounting hole position.
I marked the position of the forward mounting bolt and then removed both the heat exchanger and the underlying ductwork. I then drilled the forward mounting bolt hole and remounted the heat exchanger back onto the ducts.
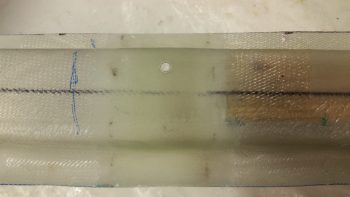
I then ensured the lower duct on the heat exchanger was positioned correctly to further allow me to mark the transition hole that allows the warm air to flow from the heat exchanger’s lower duct back into the duct network.
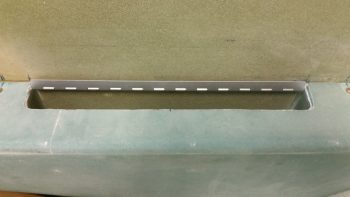
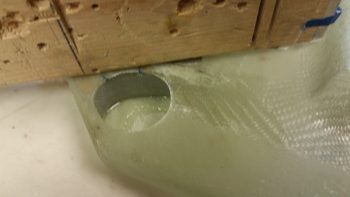
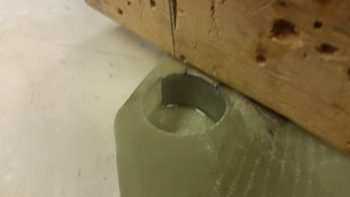
I then drilled & shaped the duct air transition hole.
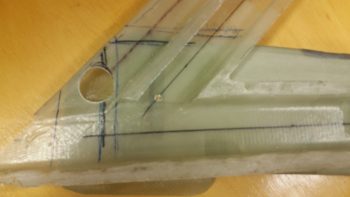
Here’s a closer shot of the air transition hole from the heat exchanger’s lower duct into the duct network
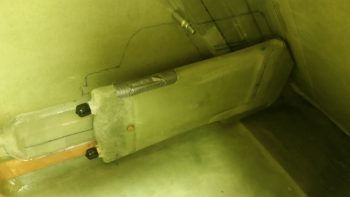
I then prepped the glass around the forward heat exchanger mounting hole on the ductwork assembly and laid up 2 plies of BID to reinforce the duct network when the heat exchanger is mounted to the face of it.
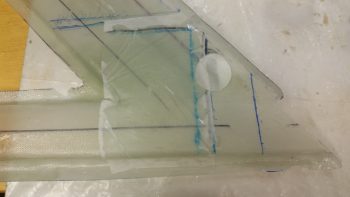
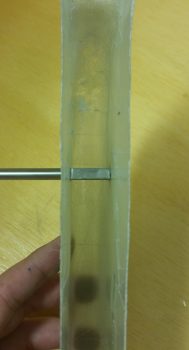
I then assessed the airflow through the heat exchanger lower duct (outlet) and decided to glass a dam in the top side of it where the air transition hole mates up to the ductwork network to keep the air from getting trapped in the top corner above the transition hole.
I used a taped piece of foam as the form for the dam and laid up 1 ply of BID for the dam wall.
I laid up the glass a tad wet primarily since the form and glass wasn’t solidly in place, and since I covered it with a more refined micro “ramp” shown below.
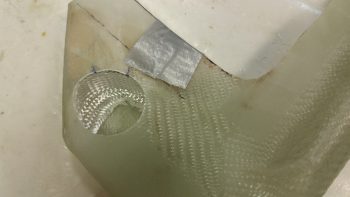
Here’s the ramp that I micro’d in place in the heat exchanger lower duct (outlet). I waited until the layup above was tacky, whipped up some micro and then formed the micro ramp.
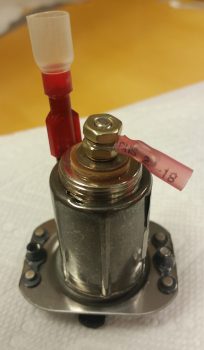
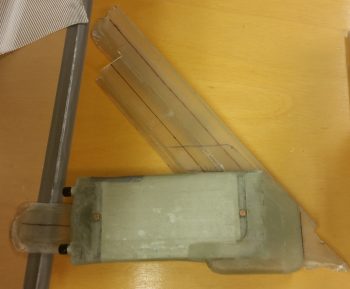
I then set my sights on the heat restrictor (butterfly) valve by marking the valve rod for cutting.
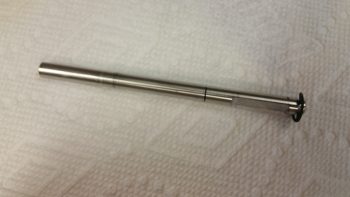
I then cut the 1/4″ butterfly valve rod to length.
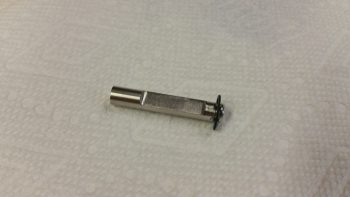
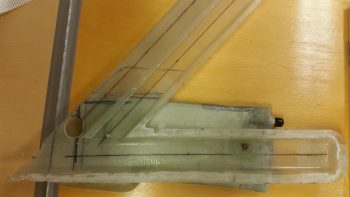
I then test fitted the cut 1/4″ butterfly valve rod with the valve lever in place as well. The pic below shows the outboard side of the heat exchanger’s upper (inlet) duct.
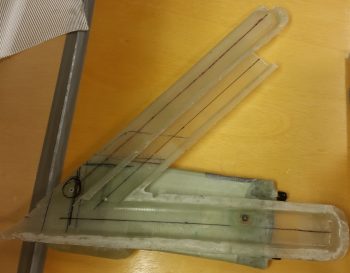
And here’s a shot of the inboard side of the heat exchanger’s upper (inlet) duct.
Tomorrow will be a very light build day since I’m helping my friends that are moving here in the next couple of weeks.