
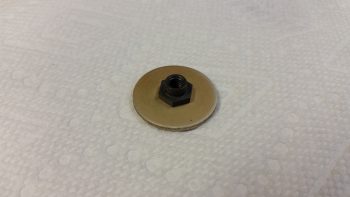
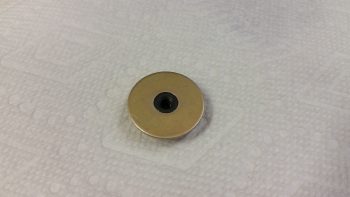
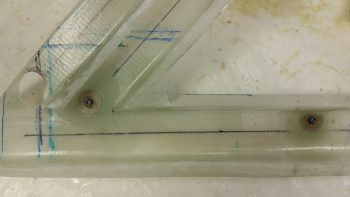
First off, I thought I would show you a couple good shots of the EZ Point Locking Nut that I’m using to attach the heat exchanger to the duct network along the lower horizontal duct.
Today I started off by sanding the interior surface of the glass at the entrance to the GIB high air duct in prep for attaching the forward EZ Point nut that will be used in concert with the aft EZ Point nut to secure the heat exchanger to the duct network. I then floxed in and glassed over the forward EZ Point nut with 1 ply of BID.
I then peel plied the forward EZ Nut Point 1-ply BID layup.
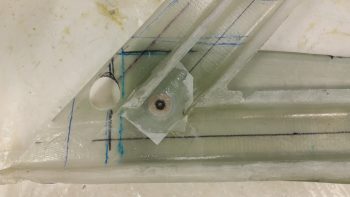
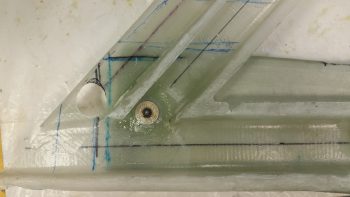
I had to run up north to help some friends that are moving out of the area here in a couple of weeks. When I returned back home I pulled the peel ply off the forward EZ Point nut layup and cleaned it up. Here’s a shot of both installed/glassed-in EZ Point nuts along the lower side of the duct network for mounting the heat exchanger.

Here’s the same shot from the inside of the duct network.
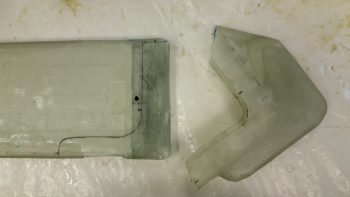
I then did some final preps for floxing the lower outlet duct onto the heat exchanger to meld these two components together permanently.
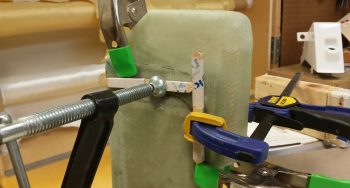
I then whipped up some flox and floxed the lower outlet duct onto the heat exchanger. I then clamped the lower outlet duct into place on the heat exchanger.

Here’s a closer shot.
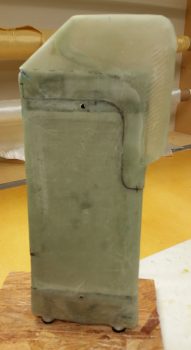
I then headed up north again to help out my friends, and upon my return I removed the clamps and cleaned up the seam of the floxed-on lower outlet duct.

Tomorrow should be a big build day and I plan on continuing my efforts on the oil heat system & ductwork.