
Today I started out by pulling the peel ply off the layups from last night. I cleaned up the peel ply edges on the 1 ply BID that I used to cover the right main tank fuel sump feed ‘alcove.’ I did have to spend a good 20 minutes on cleaning up the opening of the fuel tube because my protective tape didn’t stick so well and left some untoward flox in places it was not supposed to be. Fun.
I then got ready to flox the main tank fuel feed lines into place at the top forward edge of each sump sidewall. I cut & sanded the troughs in each wall to accept the tubing, but before I could proceed on the right wall, I needed to mount the fuel pulsation damper in place to avert a more difficult install later on.
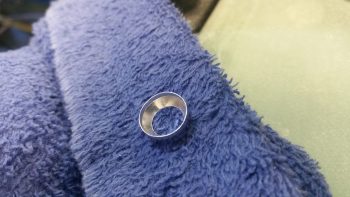
I actually went back upstairs and brushed up a bit on installation techniques & methods before diving in. Also, on a FaceBook post a few weeks back, Nate Mullins stated that he had used DEL fitting seals with very good results, and since I was getting ready to submit an Aircraft Spruce order, I put them in the basket…. talk about good timing, eh?!
Here’s a closeup of a DEL fitting seal.
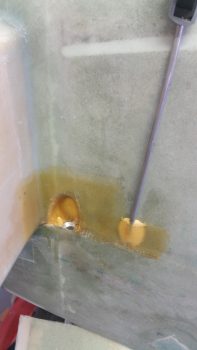
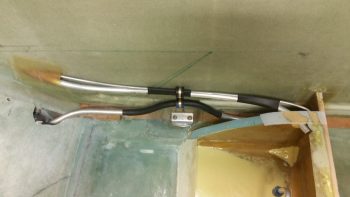
After getting the pulsation damper mounted, along with the fuel line traveling aft from it to the engine (via the FT-60 ‘Red Cube’ fuel flow sensor), I then floxed in place the main tank fuel feeds to each sump tank & the sump vents. After I got the flox set where I wanted it, I then peel plied it to match the top edge of the side walls fairly closely.
In addition, if you look closely in the pic below, you can see that I floxed a Clickbond in place for the fuel pulsation damper Adel clamp.
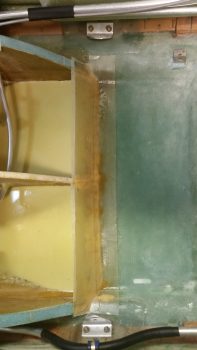
Here’s a shot of the left fuel line feed into the sump along with the fuel sump vent.
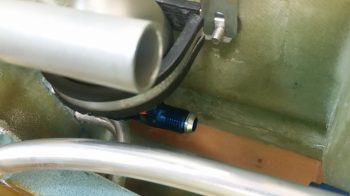
And here’s another shot of the right fuel line feed into the sump and the fuel vent. Also note that the engine fuel line feed is now permanently mounted.

With the leftover flox from mounting the fuel line feeds in place, I marked up the left GIB armrest with 3 attach points. I then marked the mounting hole locations of those 3 attach points, hollowed out the foam to create a hardpoint divot at each spot, and filled it with the leftover flox. I also did one more hardpoint in the same manner on the aft side of the right GIB armrest [no pic].
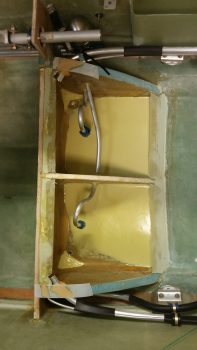
I then spent a bit sanding down the aft sump 1-ply BID layup that I put in place by utilizing a dam. The corners especially needed a bit of work, but after some diligent sanding I finally dialed it in.
I then prepregged 1 ply of BID and laid it up after filling a few holes with micro. This layup completely covers the glass dam that I laid up before, and overlaps onto the fuselage floor (GIB seat pan) by an inch. I then peel plied it and slathered a bit more with E-Z Poxy to ensure the layup was good & wet.
I then cleaned up, pulled my wings back inside the shop and called it a night.