
Today I started out by cleaning up the edges of all the metal pieces I cut yesterday. After removing the plastic covering on each side of all the metal pieces, I realized that the plastic itself was hiding a bit of a sharp ridge all around the edges of the cut aluminum, so I took a fine file and smoothed the edges down.
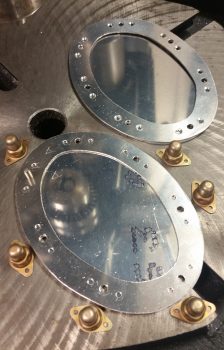
I then drilled out the rivet holes for each nutplate assembly on the sump tank access ports’ internal rings. After I drilled the pair of rivet holes for each nutplate, I then drilled a countersink for each hole to allow the countersunk rivets to be installed flush.
I then Alodined the sump tank access ports’ internal rings and hung them up to dry.

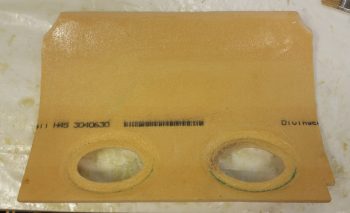
With the sump access ports’ internal rings Alodined & drying, I then cut all the BID required for glassing the underside of the sump top. I prepped the foam surface by applying wet micro-slurry to it.
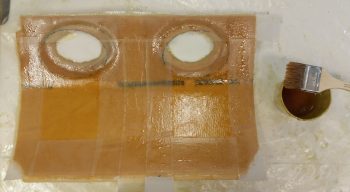
I then glassed up 1 ply of BID across the front edge that also covered the sump access port holes. Then, each hole got a ply of BID that just covered the hole, making 2 plies of BID around the edge of each hole. After that, I laid up a ply of BID that covered the entire bottom side of the sump top, obviously making 3 plies of BID around the edge of the access holes.
I used 3 plies around the holes because I was originally planning on going glass-to-glass between the top and underside of the sump top around the lip of each access hole. I decided that I most likely wouldn’t go in that direction now, but I wanted to keep that option open and I had already cut the BID for this layup, so I went ahead and added the smaller ply around each hole . . . which is the only difference between going the glass-to-glass route or not.
I then peel plied all the edges, around each access hole, and a fairly wide strip down the center from front to back.
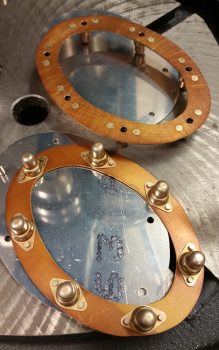
As the layup on the sump top foam piece underside cured, I then riveted 7 covered nutplates to each sump tank access port internal ring.
I then left the layup to cure for a few hours and went to dinner with a buddy of mine.
Since E-Z Poxy with EZ84 hardener takes around 8 hours to cure, I had already planned on letting it cure about half-way so that it was nice and tacky, almost greening, but definitely setting up before putting it in place on the sump tank in what will be very close to its installed position. Of course, before I set the glassed & curing sump top in place I applied clear packing tape to the tops of all the vertical sump components, and the aft dam area.
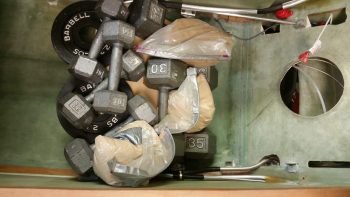
I then piled a bunch of weights on top of the glassed sump foam top to press it firmly in place along all the contact points.
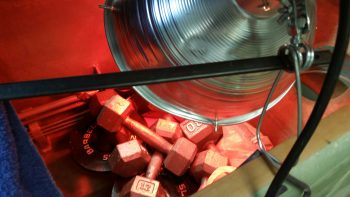
After a few minor adjustments of the weights, I then mounted the 2 heat lamps and fired them up. I then covered the area with an insulated foam panel.
Tomorrow I plan on glassing the top side of the sump top, but I won’t glass it in place onto the sump since I need to flox the sump tank access ports’ internal rings in place before the top goes on for good.