
Today I started off by Alodining the cooling/heating air valve plate.
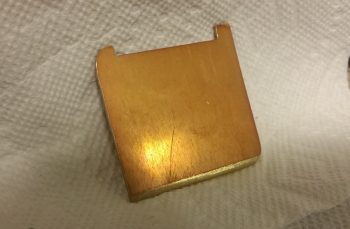
And Alodining the heat restrictor valve (butterfly) plate.
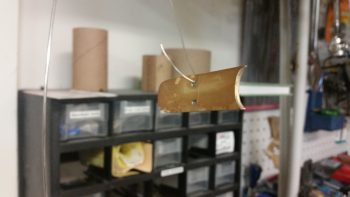
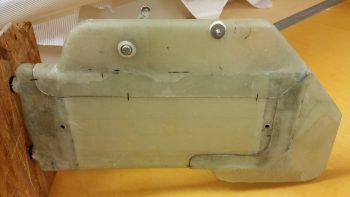
I then installed the heat restrictor valve (butterfly) plate (note the 2 new standard screws used to install the plate).
I then mounted the upper/inlet duct to the heat exchanger body using RTV silicone. I used RTV to make it easier to remove the upper/inlet duct if required in the future to tweak or repair the heat restrictor valve.
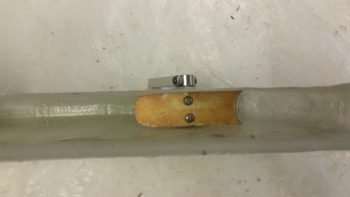
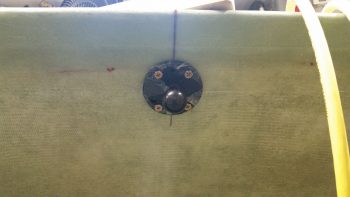
A few hours later I removed the clamps and cleaned up the excess RTV silicone from the upper duct attachment. In addition, I floxed a Clickbond in place for the heat restrictor valve control cable Adel clamp.
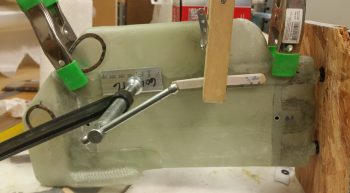
I also marked & drilled the last 2 holes for mounting the GIB RAM mount.
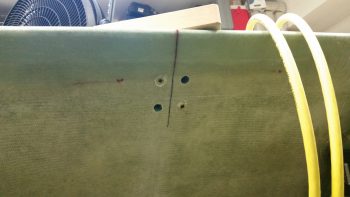
I then floxed the last 2 of 4 hard points for the final install of the GIB RAM mount.
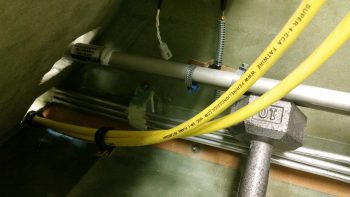
Finally, during my flox frenzy I floxed in a Clickbond (just above the forward fuel line mount) and a hard point (under the 10-pound dumbbell) for securing the small wire bundle that will traverse the fuselage from the front to the back of the fuselage.
Tomorrow I’ll continue working on the getting the GIB area components, including the oil heat & fresh air ducts, configured and installed.