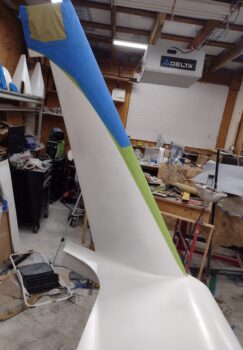
My main push at the moment is getting the GIB headrest engine components, backup SD-8 alternator, GRT Engine Info System, etc. physically installed and wired up. Much easier in concept than actual practice… covered a bit below.
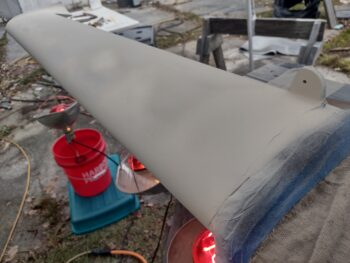
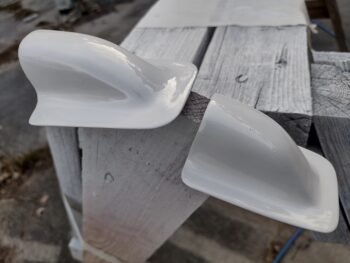
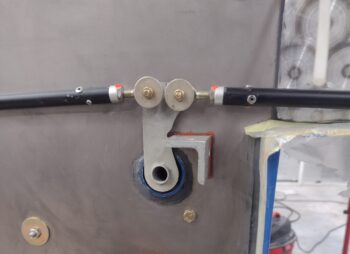
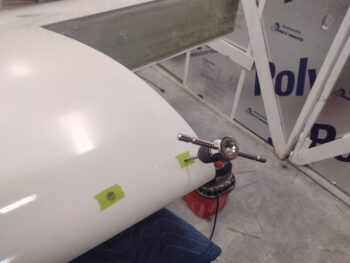
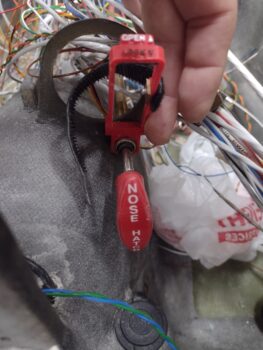
First off was one of those minor tasks that I’ve literally had on my to do list for months now. It took me months to keep remaking updated versions of it in CAD, then 3D printing those… It’s an ABS plastic safety catch to ensure I don’t inadvertently engage the nose hatch handle in flight and pop that sucker open.
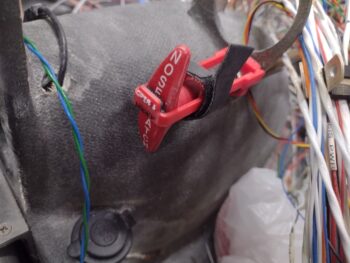
You can see the operation is quite simple: just a U-shaped arm that falls down over the T-handle, physically blocking it from being pulled. To keep the arm in place is a velcro strap that wraps around both the catch arm and the handle body.
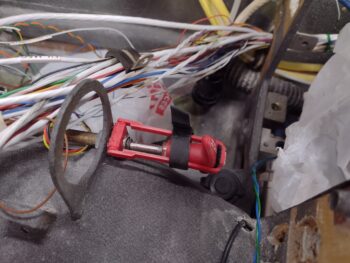
Since it’s ABS plastic, the lettering isn’t the cleanest, but it is functional and VERY lightweight. I attached it to the large cable securing nut with a slathering of silicone RTV. So far it’s on securely and works a treat. Safety task complete!
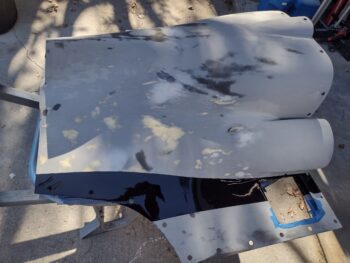
Then there’s this beast! The proverbial exercise in herding cats. Since my shop computer is currently inop, I take a good number of trips into the house to check out my historical records (AKA my website) to figure out how I stuffed all this stuff in there previously… I’ve also had to buy a good bit of hardware as I of course can’t find the original stuff.
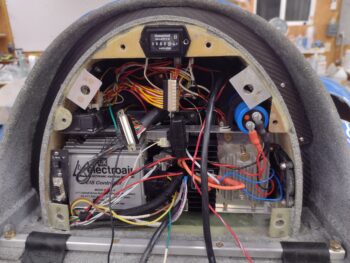
But I’m making good progress, albeit slow. I took a good 45 minutes to test all the sockets in both the P9 and P10 connectors on the firewall, all the way to the opposite ends of these wire connections, many of which were behind the panel or in the nose.
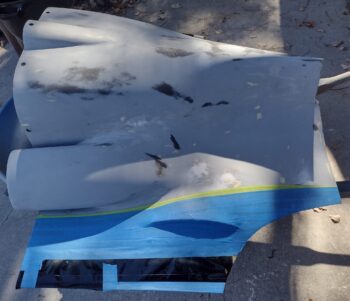
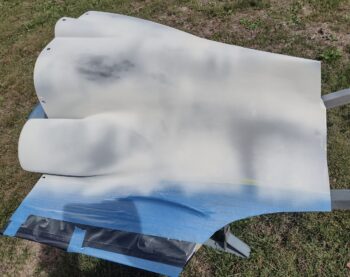
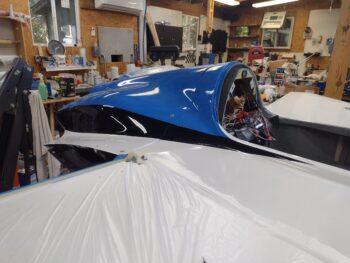
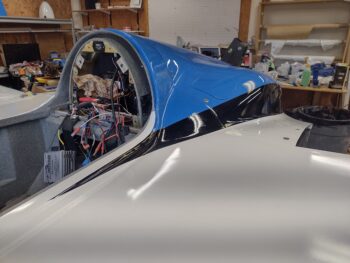
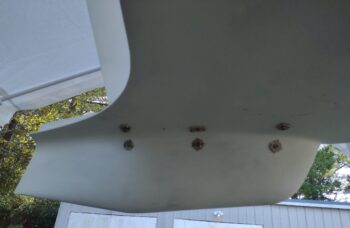
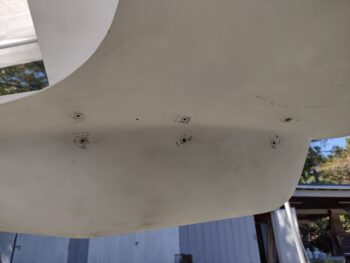
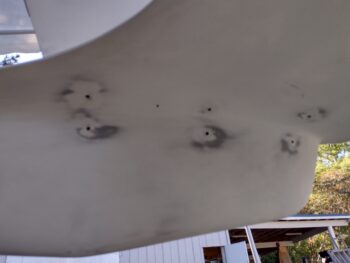
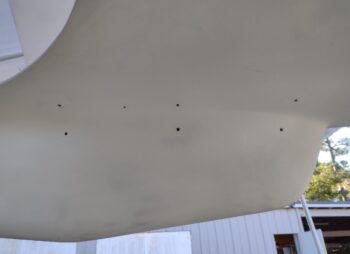
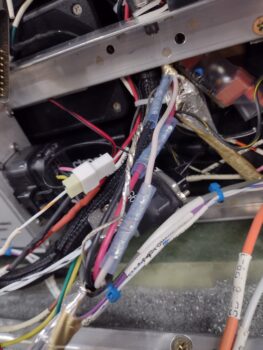
Here below we have probably the 4th time I removed the SD-8 backup alternator components to gain access to the wiring. It was definitely a slow iterative process to run all the wires and keep them out of the way of other components.
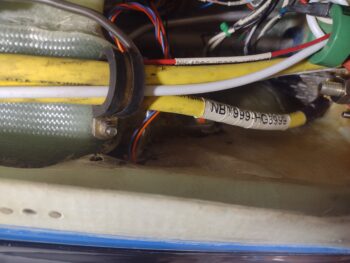
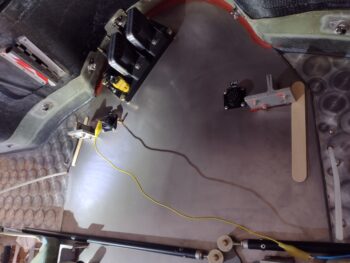
I had to run an 18 AWG ground wire to the hell hole and in the process of removing the wire covering in the CS spar, I inadvertently snipped a yellow fuel tank probe wire, which took 45 minutes and unimaginable physical positions to resplice together in situ inside the CS spar. Then another crazy half hour just to get ONE 18AWG wire run from headrest to hell hole. I seriously believe my wire capacity is tapped out! No more. [Luckily I ran multiple extra/unused wires up to the nose!]
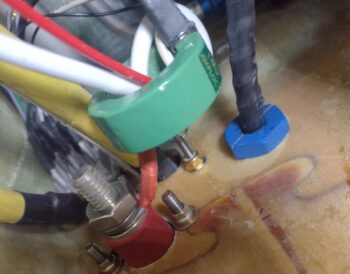
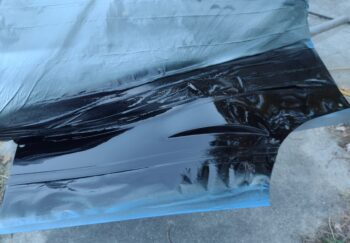
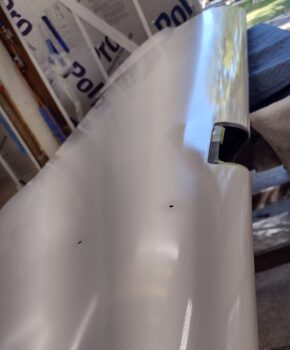
Besides a power and ground wire coming into the headrest for the firewall mounted electroair EIS coils, I also had a quite a robust 4-wire cable that needed to be spliced together between the electroair controller and the coils. Here I’ve cut off a good amount and then opened the cable on the controller side (pic 1) and then cut and spliced the wires together with butt splice connectors, except the bare wire which I solder spliced (pic 2).

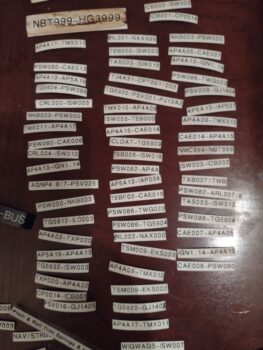
I also collected up all the stashes of wire labels I could find and then entered them into a spreadsheet to get organized for all this final wiring I’ll be doing on the plane. I’ve also researched some circuits that I’ll get into when I construct them, and ordered cables, switches, relays, resistors, etc. for all the final wiring push.
Gettin’ er done!