Chapter 22 – Electrical & Avionics Banalities

So I’ve been working on my electrical system. I upgraded my electrical system diagrams from a Garmin GNS430W to the GTN650. I figure by the time I buy my main Nav GPS I won’t be wanting technology that’s on Garmin’s eventual chopping block for support. Of course with the move to the GTN650, I had to add two more Circuit Breakers to the panel since it’s a mandatory requirement for them that you use CBs and not fuses. Although admittedly two CBs for 7 wires is not bad.

I’ve also been spending some time on my throttle and stick (HOTAS) switches.  I reconfigured a number of switches between panel, throttle and stick, and in doing so was able to get rid of a couple panel switches.

Right now I’m thinking that if one has the panel real estate that the new Garmin G3X Touch is the way to go. As for me, I’m not burning that much real estate for an EFIS display. I decided that quite a while ago when I made a decision to forego the 10.4″ GRT HXr PFD for GRT’s much more manageable 8.4″ or 6.5″ PFD. Plus, as awesome as Garmin is, those bubbas tend not to play well with others’ stuff. I guess it’s a good marketing strategy, but picking up and using cool & useful third party stuff with Garmin can be problematic if ‘Big Brother G’ simply says, “No, you can’t use that crap with our suite of technological goodies! Here, use this nice GARMIN thing X instead!”

Also, now that I’m getting significantly closer to my final instrument panel and electrical system configuration, I’ve started building all my Wire Book templates.  I have about 20 total templates currently completed for all the various electrical subsystems, and I’ve built 5 system diagrams from these templates so far.  It should be slow steady progress over the next few months since each one that I build helps with building the remaining ones.

Chapter 13 & 17 – More Alodining

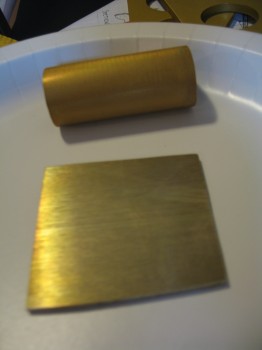
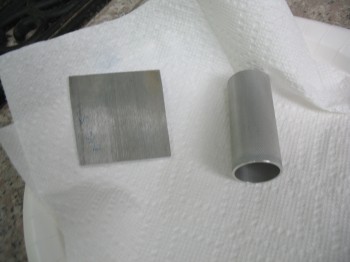
Along with the nose gear strut attach plate (NG5), I Alodined a 2.7″ long x 1″ diameter tube that I just received from my buddy Marco.  He was nice enough to cut & cross hatch this piece of 6061 aluminum for me as a replacement for a slightly corroded 4130 tube piece that had been attached to my Davenport leaf spring.  This short tube slides over and is attached to the elevator torque cross tube, so when the pitch trim actuator arm extends or retracts it moves the narrow end of the leaf spring either fore or aft, thus rotating the elevator torque cross tube, in turn adjusting the elevators slightly up or down to trim out the airplane.

Chap 13 - NG5 & Chap 17 - Elevator attach tubeChap 13 - NG5 & Chap 17 - Elevator attach tube

I also did some research on autopilots, specifically checking out the Trio autopilot models. I also built a couple of cardboard & duct tape mockups for the Garmin GNS430W GPS & Trio Gold Standard servo.  I played around with the position of those components for a while in the avionics bay behind the instrument panel.


Chapters 18 & 20 – Planning

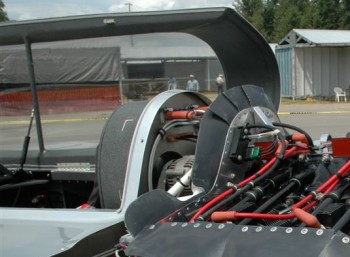
I had to run out & deliver some items I’ve sold online in prep for my move.  Since it was in the latter part of the evening when I got started, I focused on planning out some details on what I call the “D-Deck,” the area at the aft end of the cabin, behind the GIB’s head, on top of the CS spar, and just forward of the firewall.  Basically the rear passenger’s head rest area.  I would like to build my canopy frame so that the frame continues past the aft edge of the canopy glass significantly farther than stock and have it intersect the firewall in much the same way as Wayne Blackler did on his Long-EZ:

Wayne Blackler's Long-EZWayne Blacklers Long-EZ

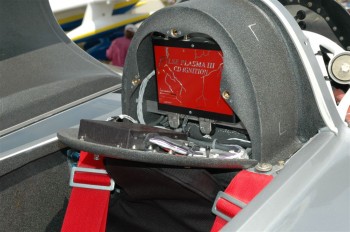
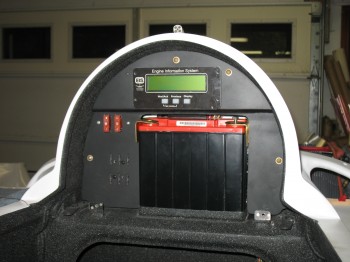
To me, this removes the cavernous area behind the GIB’s head, provides a headrest platform, and an area to hide away electronics (and the fuel tank vent manifold).  Since I’ll be using GRT’s Engine Information System (GRT EIS-4000) I’d like to mount the EIS control unit in the D-Deck electronics area much like Nick Ugolini did (shown below, but without the spare battery) and as he discusses on his blog:

Nick Ugolini's GRT EIS Installation

I’ll be honest, at first I didn’t like the thought of putting the EIS control head back in the aft of the aircraft.  I didn’t really see the light until I spoke with a GRT rep at the Sebring LSA show and he asked me why I would want to mount it up front in a Long-EZ with all that engine probe wiring traversing a good total length of the fuselage (i.e. bad for space, current noise & WEIGHT).  The GRT EIS control unit can really get away with one single wire feeding the EFIS all the engine info that is processed, tracked & displayed (which is a lot!).  If one wants to be able to upgrade the EIS control unit (aft) at the front panel with a laptop connection, then they would only require a whole ‘nother whopping second wire (vs. Lord knows how many by bringing all the probes up to the instrument panel if the control unit was mounted there). Thus, I get a well deserved “DUH!” on that one.  Ok, GRT (and Nick) ya’ got me this time, but never again . . . ha!

So I started measuring, designing and crafting my D-Deck electronics/fuel vent manifold mock housing out of poster board.

Also, although I’m not 100% one way or the other on whether I’ll have lower winglets installed on my bird (leaning more pro vs against), I would like an upgraded look compared to the traditional stock look.  I don’t necessarily dislike or abhor the stock lower winglets (my buddy Marco growns even at the mention of them, and threatens constant Unfriending on Facebook if I install them . . . ha!).  Anyway, I’ve started my research and am flirting with a redesign on my lower winglets.


Chapter 7 – Fuselage Glassing Prep

I finished sanding the fuselage near the Main Gear extrusion bolts, and the Firewall junction with the CS (Center Section) Spar both top & bottom.  I then sanded the top & bottom longerons to match the Firewall outline.

I checked that the fuselage was level and straight.  I also double-checked the firewall positioning and confirmed that it was level, straight and square.

My last action of the evening was finding and marking the fuselage centerline.

Chapter 7 – Planning the Way Ahead

After a power nap I reviewed Chapter 7 of the plans on skinning the fuselage.  I took a hard look at the strake cutouts as well (the holes on the insides of the fuselage that allow access into the “wings” to store baggage, etc.).   I hauled the plans, A-pages and firewall out to my shop to mull over my next steps.  I mounted the firewall and in doing so, noticed a few more hairline cracks developing in the foam fuselage at the aft end of each side.  I need to get the fuselage glassed soon!  I checked the firewall: it fits well and is square.

One thing that is not fully captured on this site is the planning steps that go into each build action.  I have been talking to a number of highly experienced canard builders, and although they quite often don’t agree with each other on build methods or project mods, I take what they have to say with a lot of weight and consideration. I also understand that if I do anything outside of the guidelines of the plans, it will quite often be met with a fair amount of wailing and gnashing of teeth!  In light of this, one modification that I looked at and assessed in-depth tonight was imbedding the rudder Nylaflow tubing into the fuselage sides.  It looks quite doable.

What is the advantage of doing this?  My rudder cables will be taking a more direct route out to the rudders from the rudder/brake pedals.  They will travel in-line straight from the peddle down the side of the fuselage, make a shallow ‘S’ curve and run near the top longeron through the Center Section Spar (again, no fibers will be cut, just gently gapped about 3/16″ for Nylaflow clearance) and then turn out towards the rudders.  Another plus is that it cleans up the interior of the fuselage and allows me to work on the rudder cable conduits on the outside of the fuselage vs. the inside, in pretty much the same manner as how the conduit is run through each wing.

I spent about an hour and a half mocking up the tubing path and how it corresponded with the strake cutouts, using as gentle of curves as possible.

Checking the Feather Lite Order

Today I tore into the downstairs room that will become the second of two shops here in Germany.  The main build shop will be in the single car garage.  The glass cutting, prep and small layup shop will be downstairs in my house.  It has a fairly large window that vents out to the outside, so ventilation is ok.

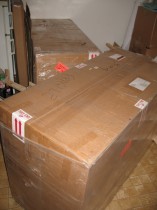
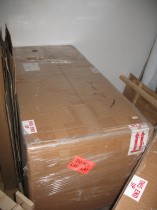
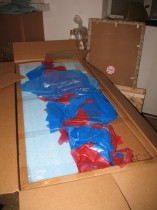
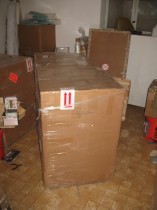
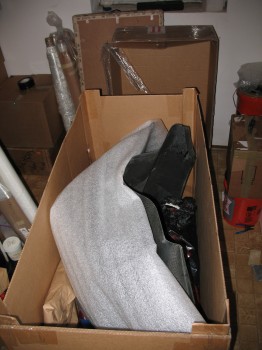
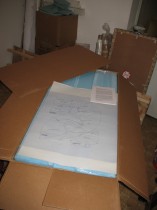
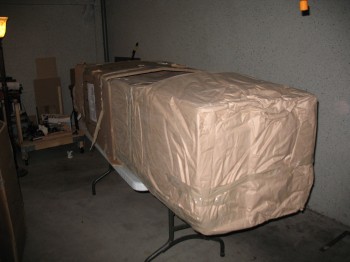
I have three (3) large boxes from Feather Lite currently sitting in this room.  I cracked the boxes open not only out of shear curiosity, but to ensure all the pieces were there and make sure there wasn’t any visible damage.  Two of the large boxes contain the foam cores for all my Long-EZ’s flying surfaces:  Wings, Upper & Lower Winglets, Roncz Canard & Elevators.

Feather Lite Order InventoryFeather Lite Order Inventory

The third large box contains the Upper & Lower Carbon Fiber Cowling halves that were originally designed by Mike Melvill and made off the composite plugs he designed.  The CF cowling weighs around 13 lbs, so its almost half the weight of the original glass cowling.

Feather Lite Inventory - Melvill's Carbon Fiber Cowlings

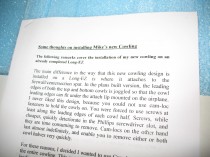
Included in the large boxes were smaller pieces for the cowlings and the instructions on how to configure the cowlings to maximize engine cooling.  Kind of cool thinking how these cowlings have such a significant part in the history of the Long-EZ!


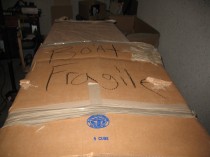
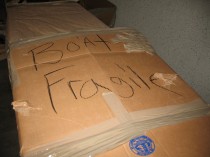
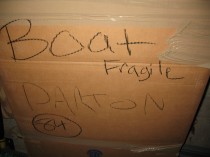
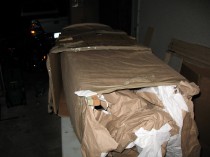
Unpacking the Boat (AKA “Fuselage”)

Today starts the actual unpacking of the boat, or shall I say, the fuselage.  Apparently my next door neighbors thought it would be cute to pull a fast one on me!  When talking in my garage/shop one day, they asked me what I was going identify this “thing” (said snidely) sitting in my garage that I was going to send over to Germany.   Well, a few weeks earlier I had seen on one of the blogs where a guy had shipped his fuselage as a “boat,” which I thought was pretty darn funny.  So I snarkily (it’s a habit of mine!) said, “a boat.”

Well, due to a scheduling SNAFU in Virginia, the movers had picked up my fuselage while I was at the firing range.  Luckily,  my ‘trusty’ neighbors helped out with overseeing the movers pack my stuff.  Well, apparently they told the movers it was just, in fact, a boat.  What made it really funny was fast forward three months later in Germany when one of the guys unloading the truck asked me where I wanted my “boat.”  I thought his English was a little shaky!  After a few repeats, and a growingly impatient mover, I finally understood what he was saying and ran out to the moving truck to see them, in fact, lowering “a boat” out of the truck!  Well played my friends . . . well played!

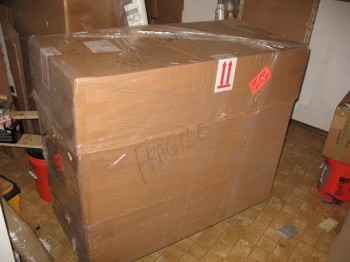
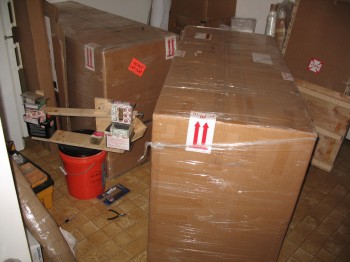
Below are pics of unpacking “the fragile boat”!!!

Unpacking the fuselage (aka "boat")

JUST IN TIME INVENTORY … Whew!

Wow, talk about getting it in under the wire!  Before I placed my order with Larry & Mike at Feather Lite, I had to know for certain whether they could deliver by the end of June.  I wasn’t sure when I placed my Feather Lite order when the movers were picking up my household stuff to ship to Germany, but I figured it may be late June.  Luckily, I was wrong.  Still, God Bless ’em, delays set in and I didn’t get my Feather Lite stuff delivered until AFTER the movers had picked up Household Goods!!!  I figured I would have to go through the goat rope of getting a subsequent shipment set up… not fun and tons of paperwork, power-of-attorney, etc.  Doable, just a lot of pain.

But!!

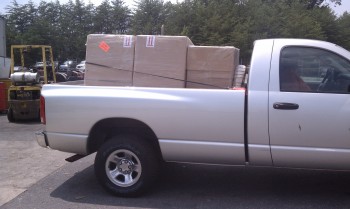
Today, Monday, 30 hours before I get on the plane to Germany, I got a call from the shipping receiving warehouse down near Quantico, VA, and they say that my stuff is HERE!  Since I’ve already shipped my vehicle, I call up my buddy Dickie and ask him to borrow him and his truck.  Luckily, he’s available.  I also call my moving company and they (thank God!) aren’t shipping my household stuff out until tomorrow, so I can still get this stuff crated up.  We run down to the terminal, pick up the Feather Lite Order (which consists of the three HUGE boxes and the main landing gear bow) and get it to the moving company to be packed and shipped.

Feather Lite Order Delivery

Yes, my friends!  Talk about the skin of your teeth!

The three crates show above from left to right are two boxes of cut/shaped blue foam, the carbon fiber cowling, and the main gear bow (at the front of the truck bed).  Below is a breakout of this order from Feather Lite:

  • Wing Cores
  • Upper Winglets
  • Lower Winglets
  • Roncz Canard
  • Roncz Elevators
  • Carbon Fiber Cowling (upper & lower)
  • Main Gear Bow

A few people have asked me why I didn’t go with Eureka CNC for my wing cores, if I was going to buy them vs. make them.  Well, the answer is that I tried to.  Although Eureka costs a bit more, Steve was also in the midst of a military move when I needed my cores and he just couldn’t meet my timeline.

Prepping the Shop!

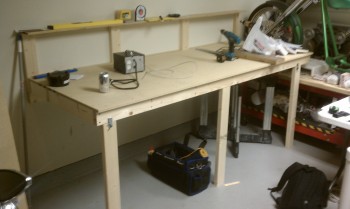
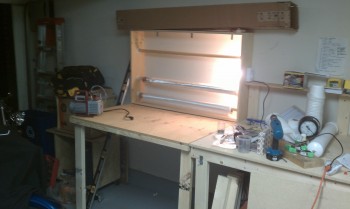
Once I finished my fuselage mockup, and had checked & ensured that whatever specialized parts there were that I wouldn’t be able build or make would be available to buy, I started prepping the shop for the build.  The first order of business was a decent work bench along the wall.  I made this one collapsible just in case I needed more space.Sidewall Work Bench

Sidewall (collapsible) workbench


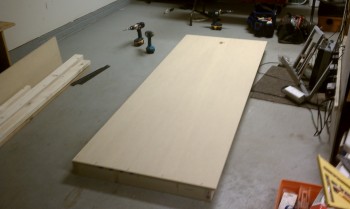
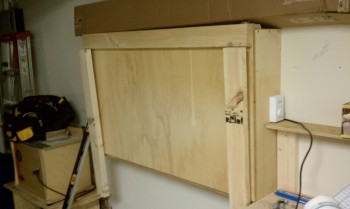
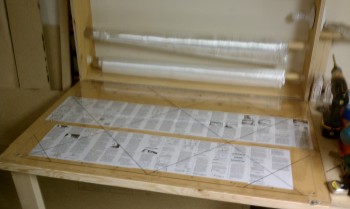
Once I got the workbench in place, I started in on the flip-down glass cutting table.  The glass cutting table also serves as the glass roll storage cabinet.  I think it was the Cozy Girrrls who showed this on their site, along with the thermostat used to turn a light bulb on at a certain temp to keep moisture out of the glass cabinet.  I put the flip down portion of the glass table so that it would come down right next to and be even with the sidewall workbench I had just built.

Glass cutting table/Glass storage

Glass Cutting Table

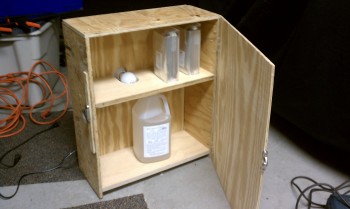
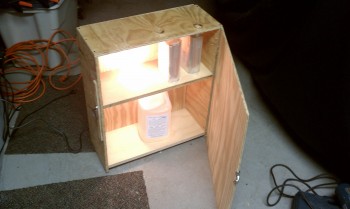
Glass cutting table (fold up)Next, I needed a hotbox to store the epoxy and hardener in when not in use.  The warmer the epoxy and hardener is, just about like every other liquid, the runnier it gets and the easier & faster it wets out the fiberglass strands in a layup.  Most of the components that I made on this page were made out of scrap lumber I had laying around.

Epoxy & Hardener Hotbox

Epoxy & Hardener Hotbox


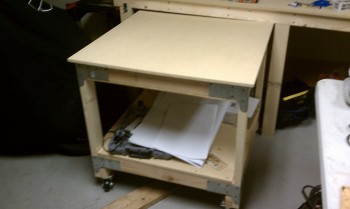
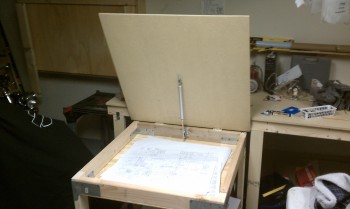
Besides the wall-mounted workbench, I wanted one that was portable and could roll around.  So I made this guy below.  It had a large enough table top to be used extensively for glassing small to medium sized pieces, and it had storage underneath.  Also, I made the top flip up and it was the perfect size for storing the plan’s A-pages (the big drawings) inside the compartment just below the flip up top.

Roll-around work bench


Roll-around - Plans storage


Besides the main 13′ long work bench (spelled out in Chapter 3), this was all there was for building major shop working surfaces.