Chapter 25 – Fuselage finish prep

Today was all about prepping the forward lower fuselage and nose for micro finish.  I spent well over 3 hours sanding these areas in prep for micro-finishing.

Then, after taping up the outer edge, I re-installed the landing brake onto the bottom of the fuselage.

Another shot of the taped up landing brake.

My battery was quite low from having previously operated the landing brake and from running the gear up and down to dial in the nose gear doors, so I pulled it and put it on the charger overnight.  Tomorrow I’ll close the landing brake and have it in position to create a micro edge and transition around it.

My plan tomorrow is to get the micro finish complete on all the areas I prepped today.

Chapter 22/25 – Ancillary Finish Tasks

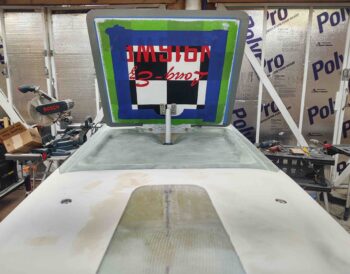
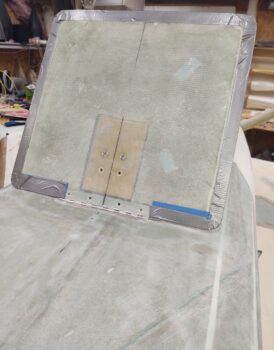
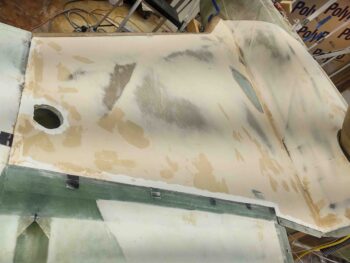
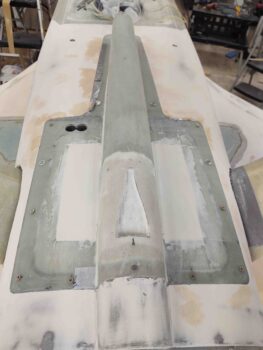
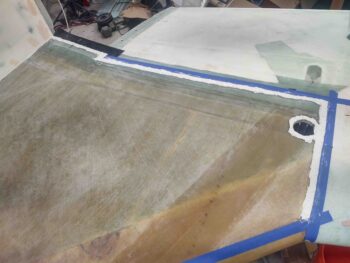
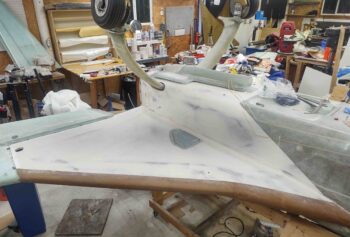
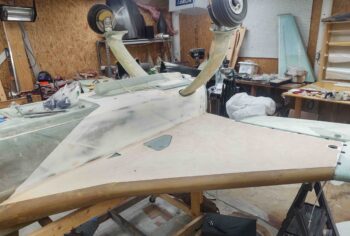
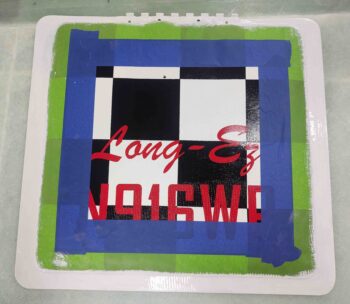
I started out today by applying primer to the outer perimeter of the inside of the landing brake. I then set the landing aside for the primer to cure.

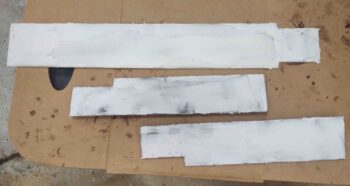
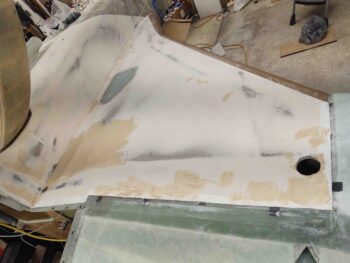
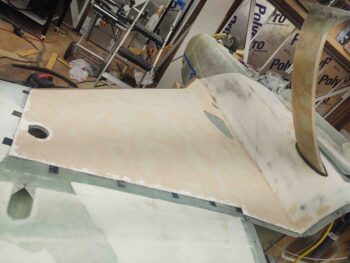
I then took the nose gear doors and the nose gear strut fairing outside and sanded down the flocro to shape.

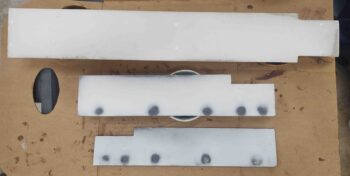
Once I was happy with the sanded flocro shape, I then hit these components with the first of 5 epoxy wipes.

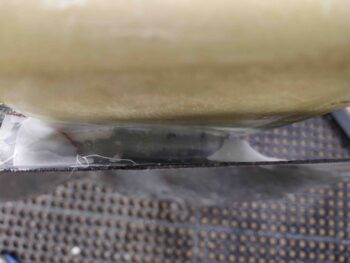
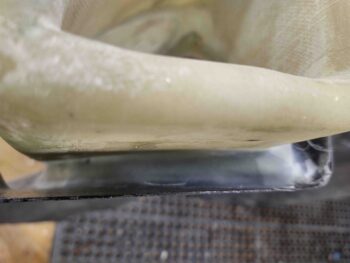
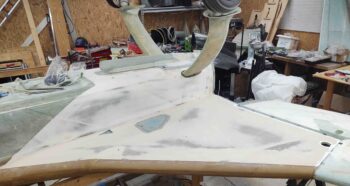
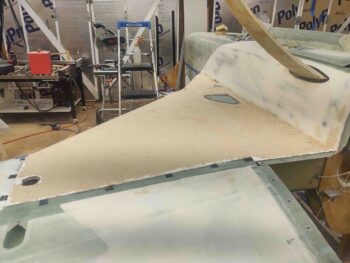
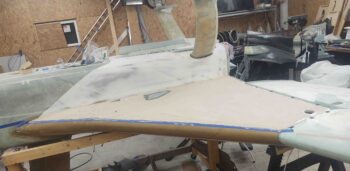
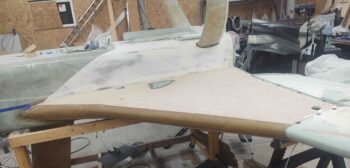
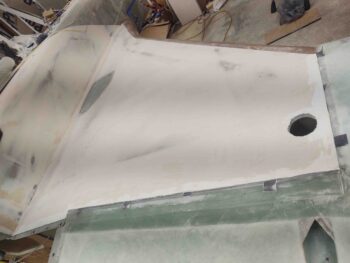
I then knocked out another task I had on my pre-fuselage flip (back upright) list, and that was to actually finish the floxing and glassing of the armpit intake scoops on the bottom engine cowling.  There was about a 6″ strip of the scoop flange on each side that was secured to the cowling by flox, but not by any glass.

So I sanded down the area, added a bit more flox, laid up a ply on each, and then peel plied the layups.  Voila!  Here we are:

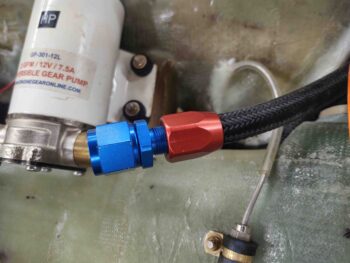
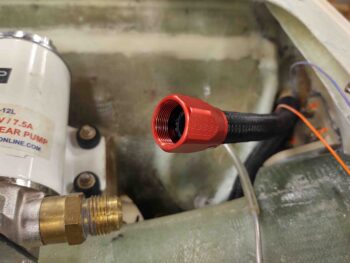
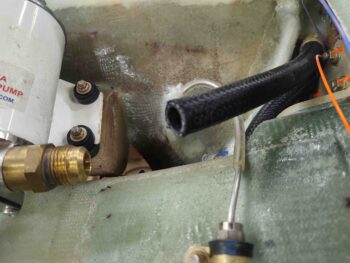
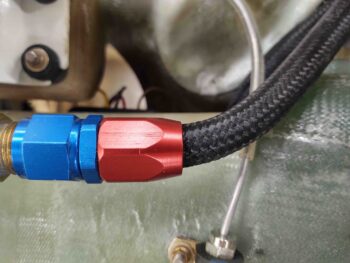
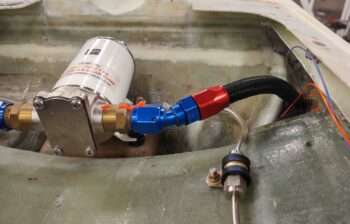
Another task I wanted to get knocked out was replacing the oil heat pump OUT hose attach fitting.  As you can see in the pics below, the straight fitting was causing the hose to pull towards the front side of the fitting.  Of course it’s not good to have this type of stress on a hose over time, so I ordered a 30° fitting and it came in today.

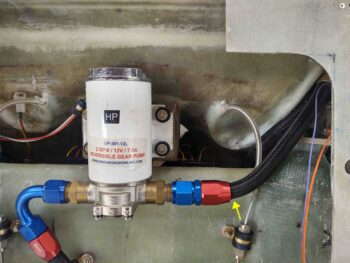
Here’s a closer up look of the oil heat pump OUT hose attach fitting.

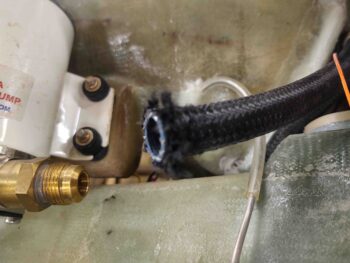
I then dismantled the existing straight fitting.

With the resulting ragged looking hose end… usable, but not overly attractive.

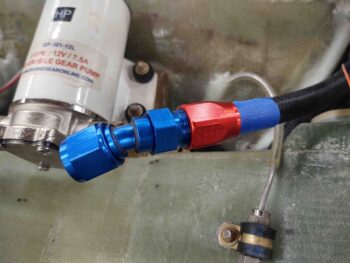
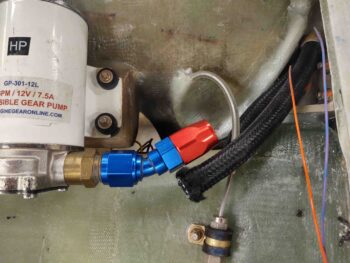
I then test-fitted the new fitting to get an idea of how the hose would sit.

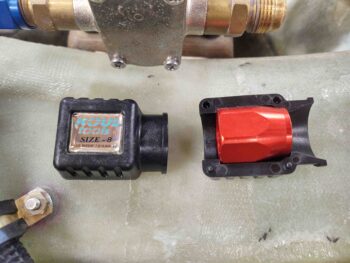
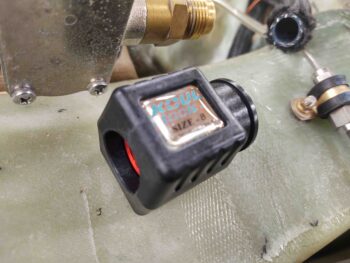
Since the hose is mounted inside the fuselage all nice and secure, I didn’t want to go through all the hassle of removing it just to add a fitting.  Thus I bought this neat little “Koul Tool” kit that is actually made to make it easier to add hose-ends to hoses still using a vise. However, I am using it here as a funnel (which is essentially what it is) to easily get the hose end fitting onto the hose.

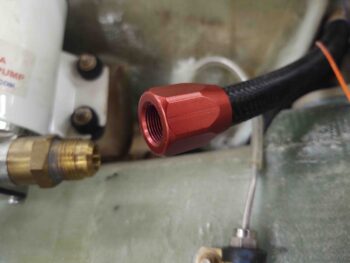
And Voila!  Yes, the red piece looks the same as above when I dismantled the straight hose end, but this is actually part of the new 30° fitting (pic #2).

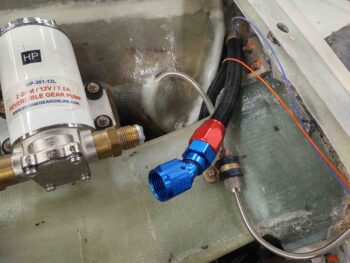
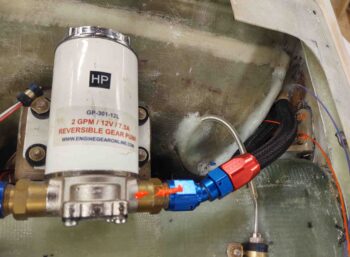
After installing the new 30° hose end fitting, I realized the hose was a tad too long and was bunching up a bit more than I wanted it to.

So I removed the fitting and trimmed about a half inch off the hose.

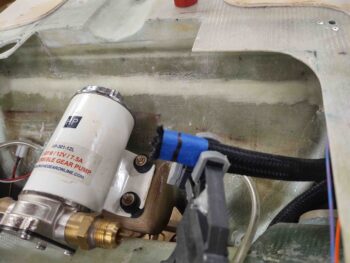
I then reinstalled the new hose end fitting, finagled the angle a bit and all was good.  No more stress on the hose!

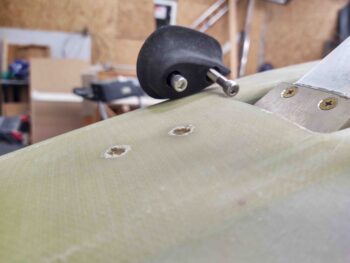
As a bit of prep for clearing off the nose for the coming soon sanding for micro-finish, I removed the cool nose bumper that Marco made me many moons ago.

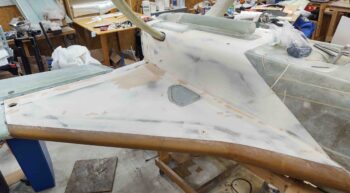
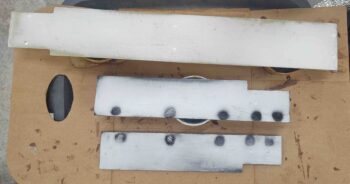
Also, every hour or two all day I knocked out epoxy wipes on the nose gear doors and the nose gear strut fairing.  Here is the last of 5 epoxy wipes, and my last task of the evening.

With the epoxy wipes done on these components, I called it a night!
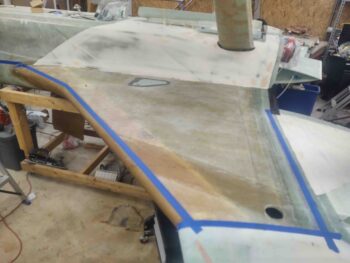
Chapter 25 – Paint Prep, etc.

Today was yet another lackluster day on the build due to me helping a friend with getting their car fixed, which burned up a few hours.  That being said, I did still get a few significant things done.

First, I was able to flocro up the nose gear doors and the nose gear strut fairing.  I then set them aside to cure.

Next, I whipped up some straight West 410 “micro” fill to apply to the divots and deep scratches on the bottom right strake “micro” fill.

I then carefully pulled the protective tape from the perimeter of the interior landing brake and carefully taped up the inboard perimeter of the now painted area.  This obviously leaves the outer edge to be primed then painted.

Which leads me to the paint itself.  I spent well over an hour reviewing the painting process and procedures for the Epifanes 2-part polyurethane paint system that I will be using.  I specifically focused on getting the process dialed in for applying primer to the landing brake outer edge that I just exposed, before taping up the interior paint surface to protect it.

With that all in the bag, I called it a night.


Chapter 25 – Bottom right strake sanded

I started off the work day today by cleaning up the checkerboard lines and touching up the red lettering on the landing brake, all with a very fine brush and by free-handing it.

I then let the touched-up/cleaned-up landing brake paint dry for about 20 minutes before taking it outside and spraying on 3-4 coats of clear… and yes, gloss clear coat.  I want this thing to be shiny, glossy and loud, kind of like the fixtures in a big city like New York or Paris that have been painted a million times with shiny, glossy paint.  BTW, I had taken both pics from different angles for the varying light reflection and just decided to add them both so you can see the “glare” variances… keep in mind this will be under the plane!

I then spent about a half hour final sanding the left bottom strake finish fill.  After the final sanding I whipped up some West 410 “micro” and applied it to the areas in need.

Here’s another shot of the left bottom strake West 410 “micro” fill.

I had also taped up certain edges on the RAM air scoop/hell hole hatch cover to repair the bottom fuselage raised lip/edge in some areas.

I then got to work on sanding the straight West 410 “micro” fill I completed last night on the right bottom strake.  Remember, I slathered it on fairly thick, and it allowed me to learn an important lesson this evening: it doesn’t matter if it’s “EZ-to-sand” West 410, when there’s a lot of it piled high on the surface it’s going to take a lot longer to sand… about 2.5x longer than the left strake to be exact! (that equates to over 2.5 hours)

The good news is that it’s finished.  It looks and feels good, but will still require some subsequent straight West 410 “micro” fill tomorrow.

Here we have another shot of the sanded and contoured right bottom strake West 410 micro fill.

I was beat from all the sanding tonight, and it was getting late, so after I got the right bottom strake sanded I called it a night.

Chapter 25 – Bottom right strake micro

Today I was able to “micro” finish the bottom right strake surface just as I did the left previously.

I started by sanding down the surface of the bottom strake skin in prep for micro finishing. I say “micro” as a generic term here because I actually used only West 410 on the bottom of the right strake… but I’ll get to that below.

I then added a flocro edge at the intersections of the strake with both the cowling and the wing.  As with the left side I used the fast West 205 hardener for this flocro.

Also as I did on the left side, I started at the very front inboard side and then applied the West 410 moving aft to give the flocro time to cure as much as possible.  Here you can see that I’ve already removed the blue border tape around the edge of the flocro.

Here we have the bottom right strake covered in West 410.  I’m fairly certain I was able to get a little bit thicker application here, but as we know most of it will get sanded off anyways.  This photo shows the strake leading edge blue painters tape in place…

Which I then removed.

A bit later I spent about 50 minutes sanding the left strake micro/410.  It sanded fairly well, but just as on the aft fuselage I need to use some straight West 410 to fill in some divots and deep scratches.

Here’s another shot of the sanded and contoured bottom left strake.  I have to say the surface is pretty darn smooth and I think it’s really close to being ready for epoxy wipes.

After I finished sanding the left side, I spent nearly a half hour “cheese grating” the West 410 fill on the bottom right strake.  I was able to knock down quite a bit of the ridges and lumpier application, so I think I’m getting a good head start on the sanding and contouring of this right side.

Here’s one last shot of the cheese-grated bottom right strake West 410 fill.  Tomorrow evening I’ll sand it to near-final contour as well.

I also plan on finishing up the touchup paint and clear coating of the landing brake tomorrow, so hopefully I can get that installed and get the bottom fuselage micro finish knocked out ASAP.