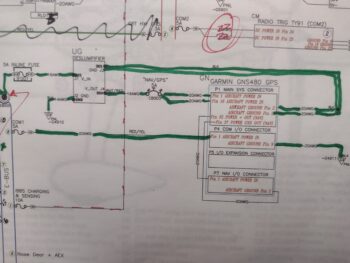
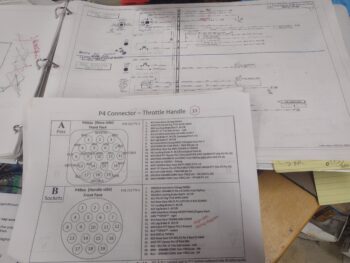
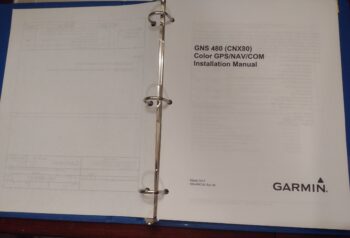
Yep Sir, another post covering the past 2 days. Barely if I’m honest since I had some much-needed chores to get done around the house on day one, so I printed out most of a new Garmin GNS-480 installation manual. There’s a color heavy segment and some 11×17 diagrams that I’ll have printed down at Staples to save my printer ink.
I’ll note that a reprint on this guy was required since my original manual was ruined in the hurricane/tornado that hit my hangar just after moving down to NC in 2019. Luckily the paperwork specific to my GPS unit was in a plastic sleeve which saved it. I just don’t know where that document is at the moment… ha!
 Continuing with my adminstrivia on Day 1, after a physical inventory inside the bird that involved removing a single wire, I did the final tweaks on the P5A connector pinout sheet.
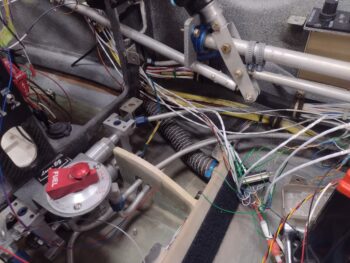
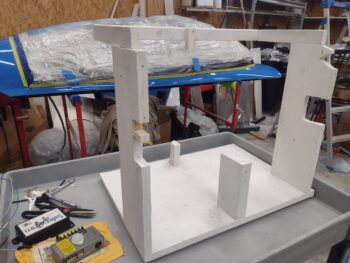
Start of day 2: I pulled the battery out of the nose while ensuring that I documented every step. I felt that it was akin to working on a car where you needed to remove half a dozen parts just to get the one that you need to work on. Well, it’s not that bad but the tool box will have to come out (which I planned for and is why it’s easily removable) and the 6 AWG cable that feeds the master bus will need disconnected from the battery contactor to rotate it (and its attached ammeter) out of the way so that battery can slide in with a good 0.32 mm clearance to spare (I jest… kinda).
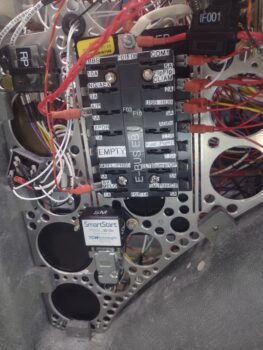
 I even pondered making the IBBS on the left side (upper right in pic) removable, but then determined I didn’t need to with the 6 ga cable moved out of the way.
I then put the bottom battery tray into place, reinserted the battery to make sure it would fit with the tray installed, then removed the battery a final time to ensure process repeatability before I called the battery install & removal steps good. I again documented that entire procedure. I’ll note with the battery and tray in together, I marked the positive and ground battery cables for trimming to proper length.
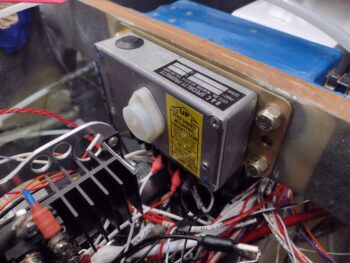
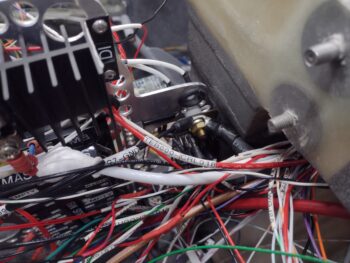
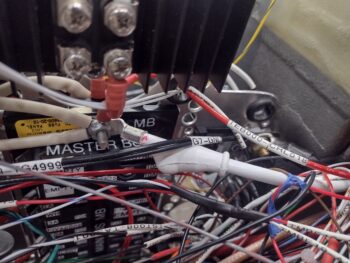
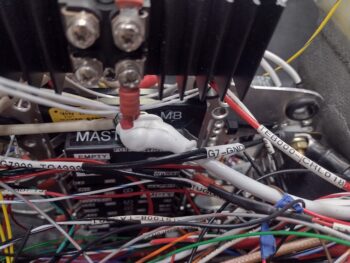
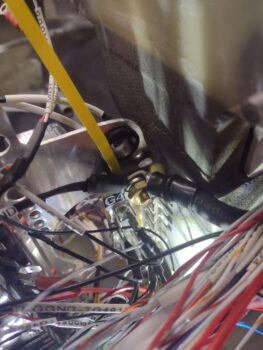
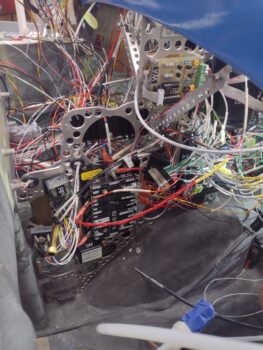
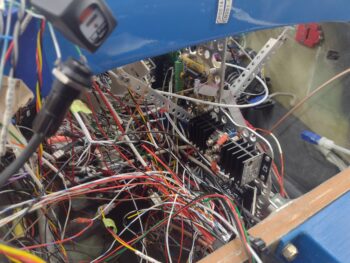
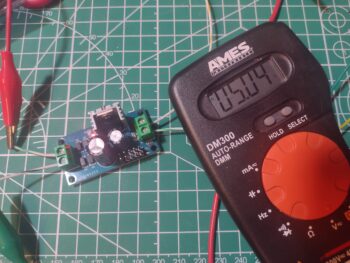
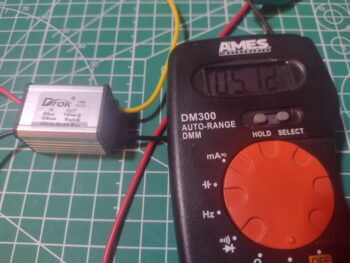
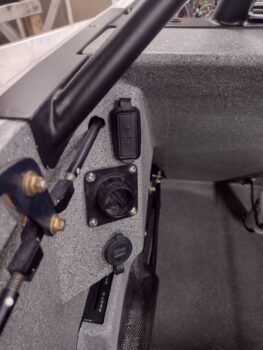
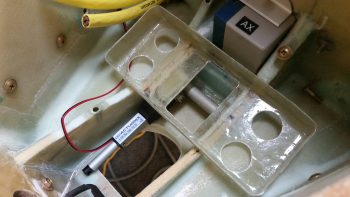 Speaking of the 6 AWG cable in the nose —the one with the ammeter attached— my next task was lopping off a good 3 feet of excess of it that was hanging out through the panel and into the pilot’s seat. Once I dialed in the no-kidding length of the cable, I crimped a #10 screw ring terminal onto it and mounted it into place on the master buss threaded post (pic 1), all AFTER I placed a rubber boot onto the cable. I then slid the white rubber boot over the ring terminal and post (pic 2). The Master Buss is now officially plugged into the system for power.
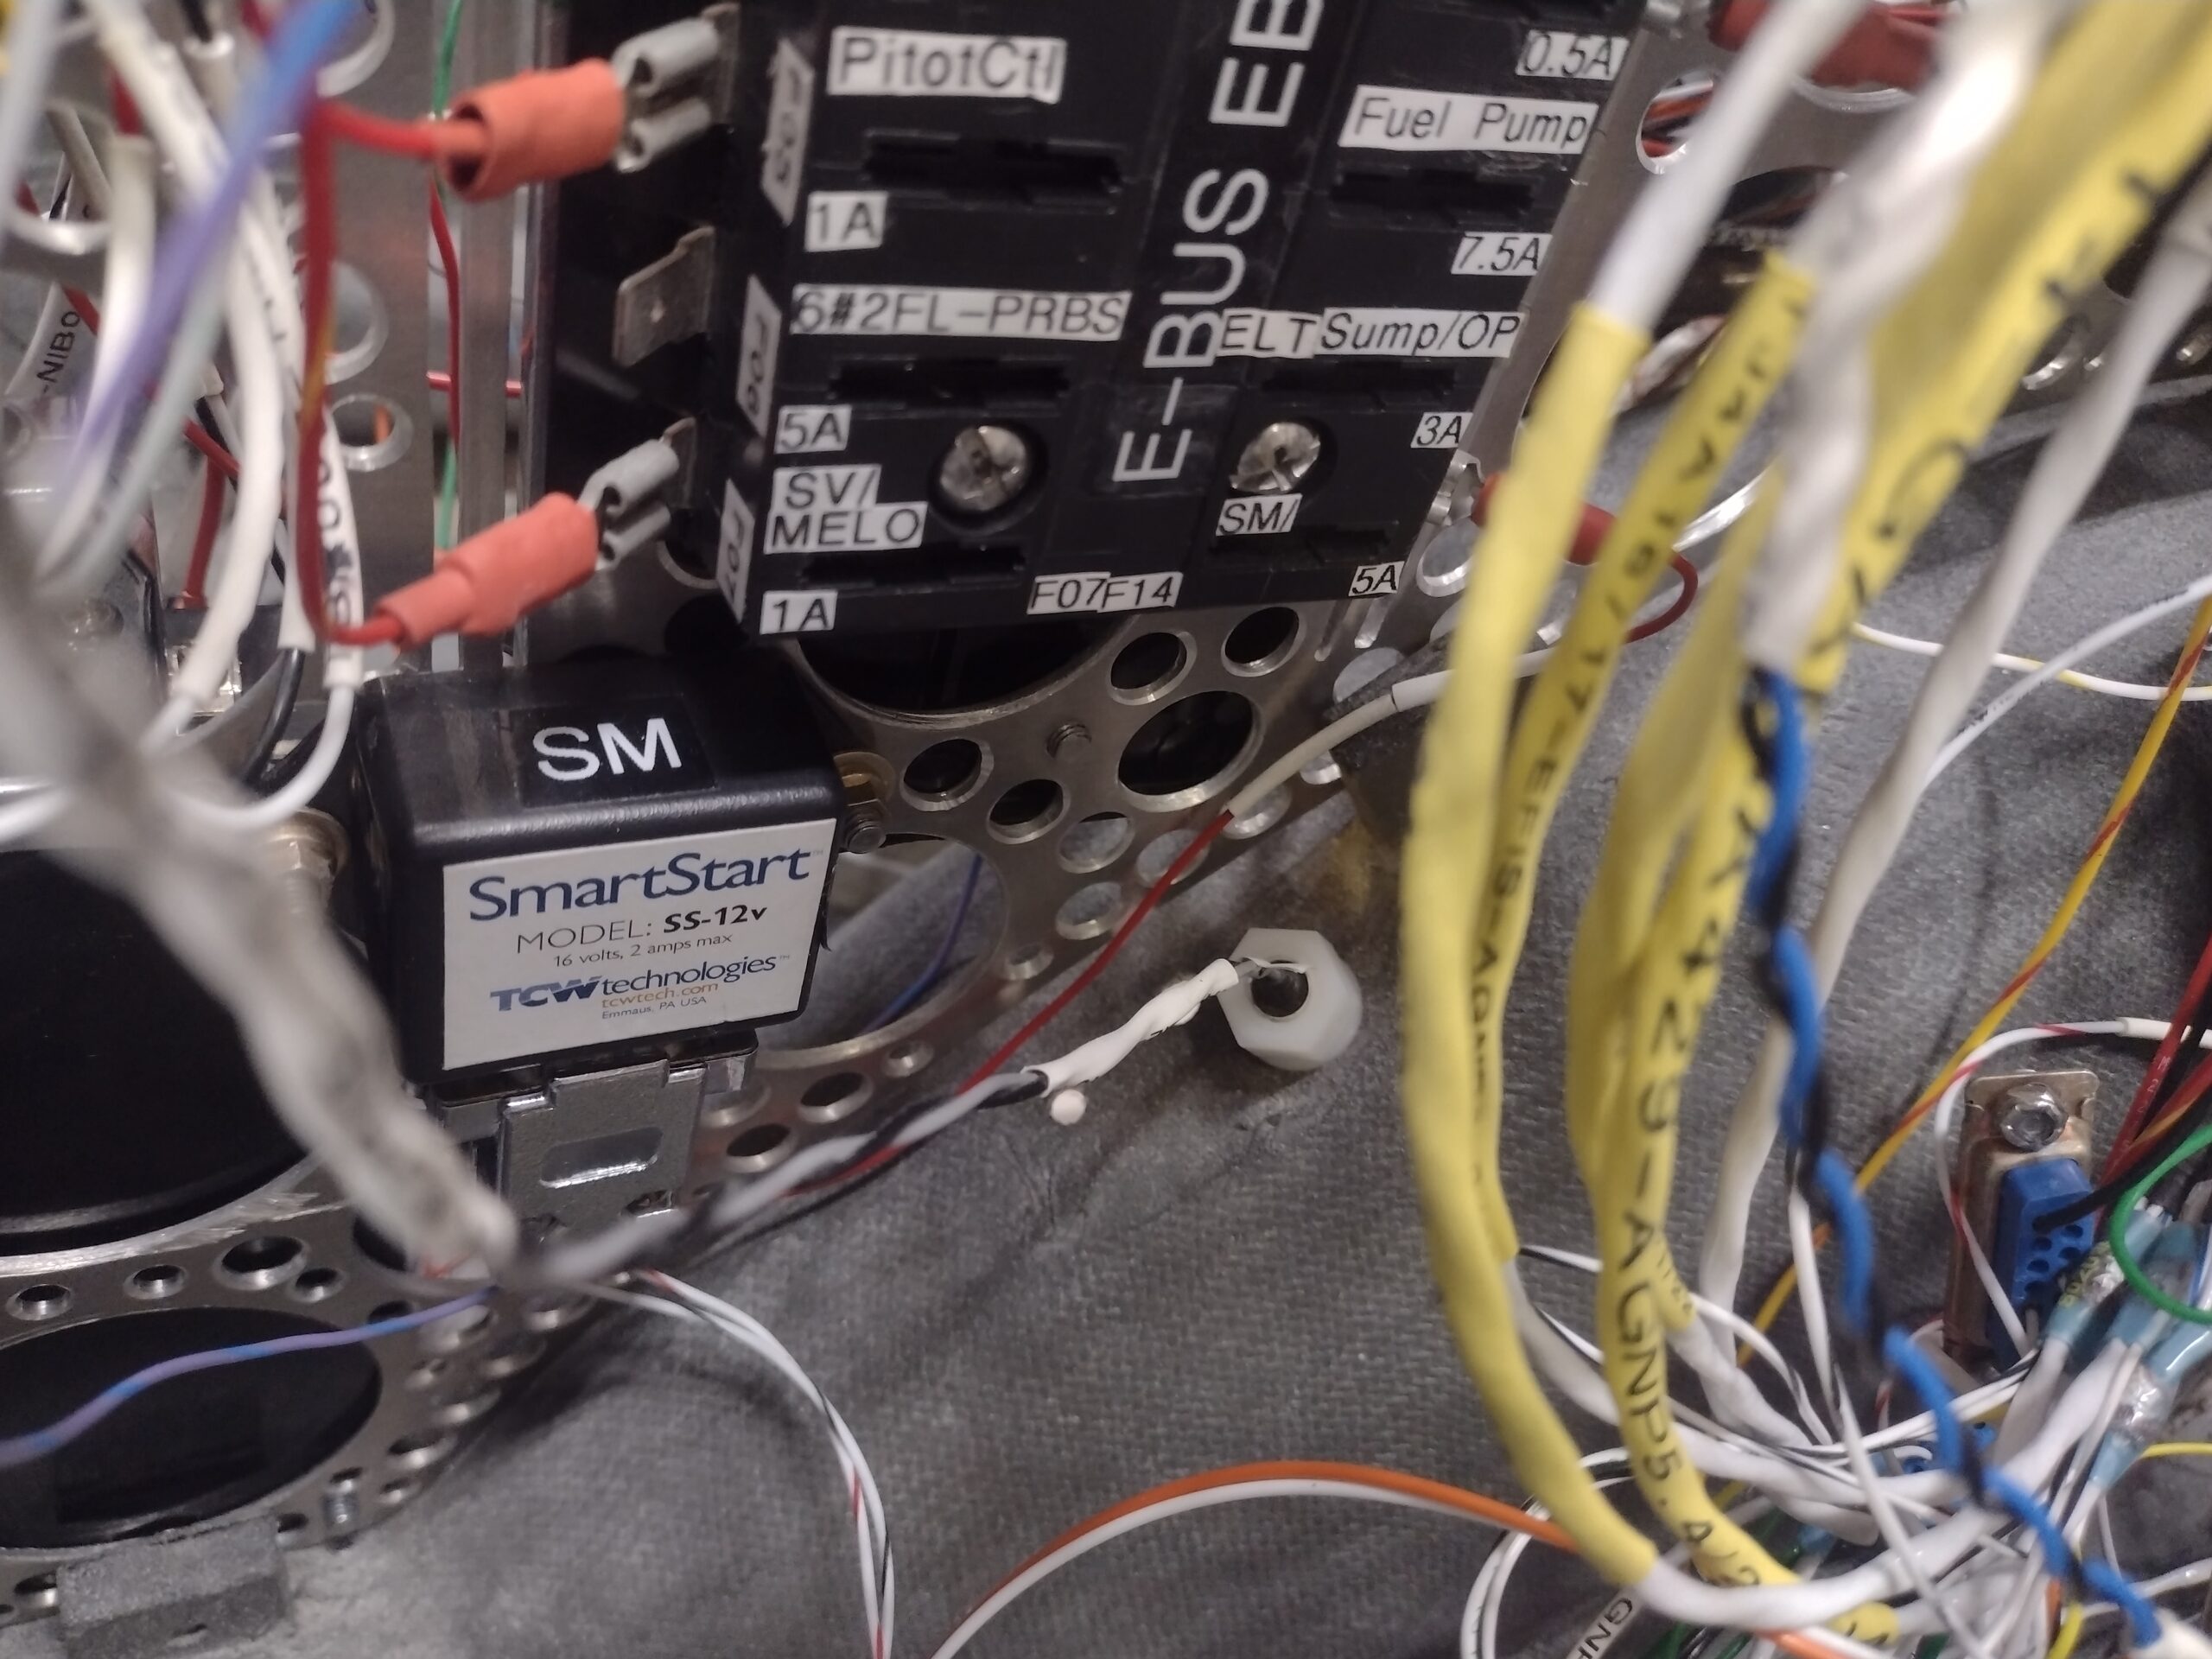
I then did pretty much the same thing on the E-Bus (opposite/left side) by cutting to length the 12 AWG feed wire from Relay 18 —which is the SD-8 b/u alternator to E-Bus only power feed— then crimped a ring terminal onto the cable before installing it onto the E-Bus’s threaded post. Another major power circuit wire trimmed to length and terminated.
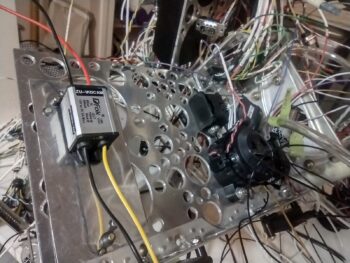
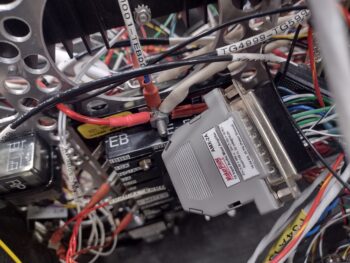 Note that the AMX-2A 10-channel signal mixer, that feeds into the intercom, has been installed… still to be secured when I do all the final cable/wire management.
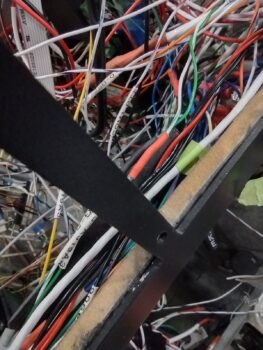
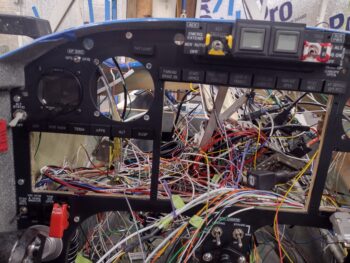
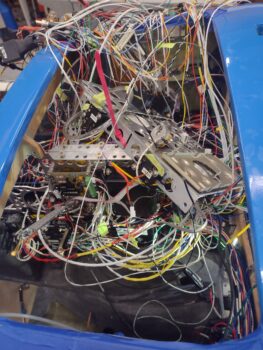
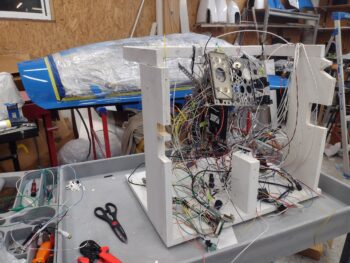
I also spent a good bit of time wrangling all the wires hanging out of the top of the bird, and separating them out into groups depending on origin (or final destination). I corralled and zip-tied the wire/cable feeds coming from the aft end of the bird along the bottom right edge of the panel to meet in the middle of the panel before 80-90% of them turn forward to get terminated onto Tri-Paragon components. Some of those wires will head north to either the indicator lights or the Warning Annunciator Sub-panel. Finally, a good few will head over to the points on the left sidewall (P4 throttle handle plug, etc).
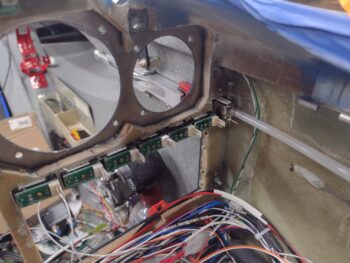
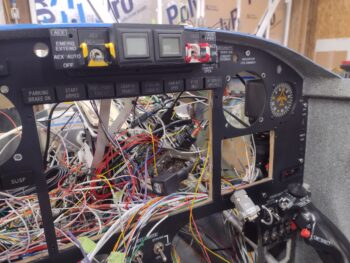
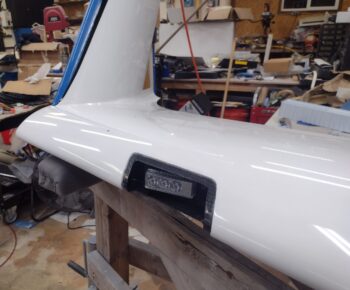
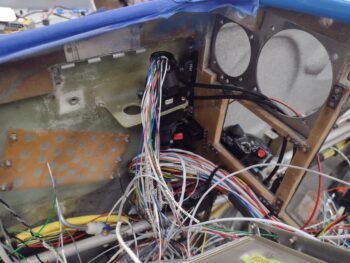 I also spent some time isolating the feed wires to the the P5 plug that handles all the wires to the control stick. I then installed the P5A plug onto the right upper sidewall mounting flange. I still have a good number of wires left to terminate into the P5 plug, and will work and route those as I come across them.
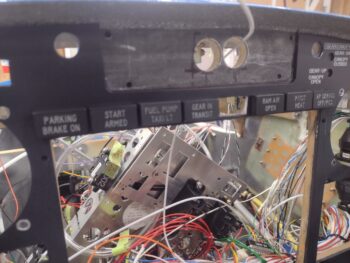
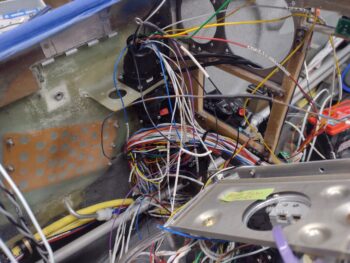
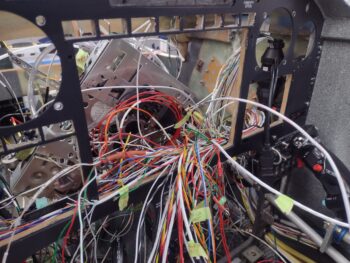
Here’s a current shot of the panel with mostly the wires and cables from the aft end of the bird all spilling out through the HXr EFIS mounting hole.
 To do some quick cleanup in getting wires installed and out of the rats nest “race” I focused on a group of ground wires mingling about near the F22 area, all whose final destination was the G4 Ground Buss just a scant few inches away. One was a ground wire that I honestly don’t even know what component it went to (ALL my ground wire FastOn connectors have black heat shrink on them —for this very purpose of ID’ing— while ALL power wire FastOn connectors have red heat shrink) and next was the nose gear’s Relay Control Unit (RCU) and Automatic Extension Module (AEM) ground wires that I terminated into one FastOn (per plan) and installed onto the G4 Ground Buss.
The final set of ground wires took a bit more time, first in verifying the wires coming out out of that bundle in the pic above [again, an issue that I discovered was that wire labels do a great job, UNLESS they’re buried in a cable bundle!]. I did a continuity check on a suspicious pair of wires that I quickly determined went to the GIB cigarette lighter charger.
I also had a single labeled green wire (ground) to the GIB USB charger, and an unlabeled (the segment I could see) white wire (power) that APPEARED to be the green wire’s paired mate… but it wasn’t ringing off with my continuity check. I chalked this up to my multimeter probe not being able to get into the flat USB plug to contact the positive pin, so I grabbed the battery and a 5 amp fuse and connected up the white and green pair. Thankfully the LED light on the USB charger lit up and it charged my phone when I connected it up via a USB cable. Sweet!
 With my wire checks good, I then cut and terminated the two GIB charger ground wires into a butt splice connector about 6″ forward of the panel. Separately, I then added a piggyback (2 tabs) FastOn connector to a length of 14 AWG wire, installed that onto the G4 Ground Buss to then allow me to get the proper length to splice it to the two GIB charger ground leads via the butt connector. Thus the GIB chargers’ ground circuit was complete.
A part of this whole endeavor was printing off another batch of wire labels, which I applied as required during all my above shenanigans.
But what about that piggyback FastOn connector? Well, I cut and labeled the wire before crimping on a single FastOn connector for the pilot’s front seat cigarette lighter charger ground and terminated that onto the piggyback tab of the GIB charger ground wires… again, all per plan. Now the only charger ground remaining to terminate is the pilot’s USB charger (not to this ground point)… when I find it!
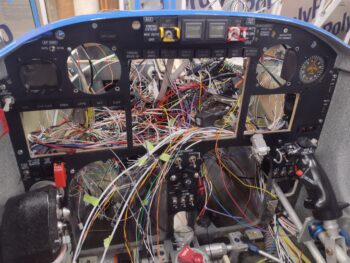
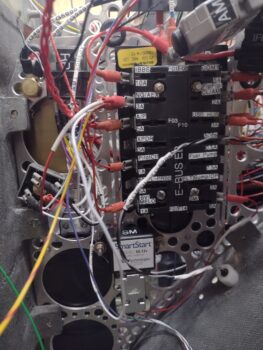
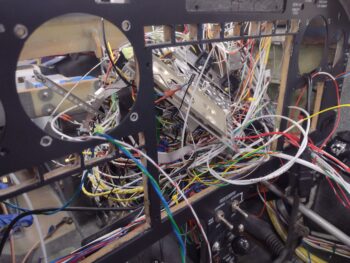
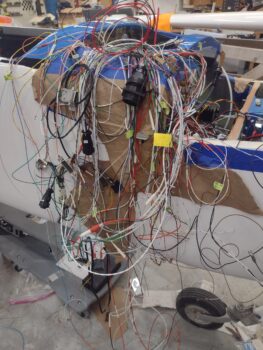
Finally, here’s a pic of the right side of the bird now, with a lot less wires hanging out (3 of those ground wires came from this bundle)…
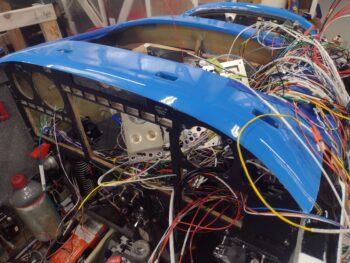
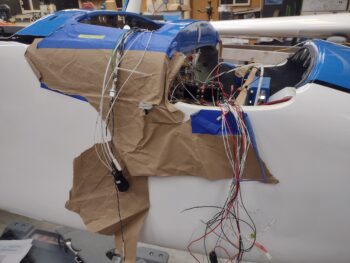 Compare the pic above to just a couple of days ago …. one by one, I’m slowly getting these wires to their final termination points.
 Pressing forward!