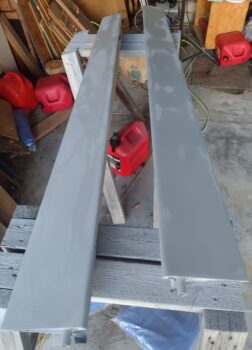
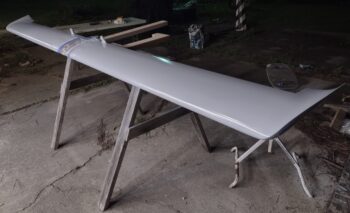
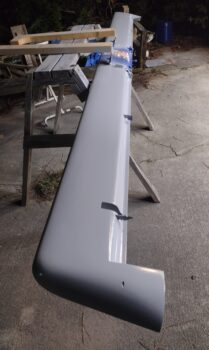
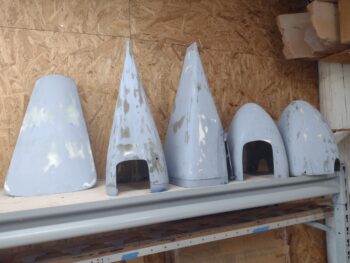
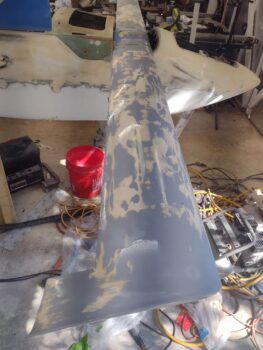
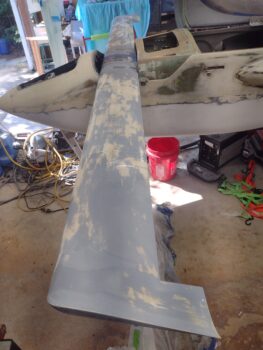
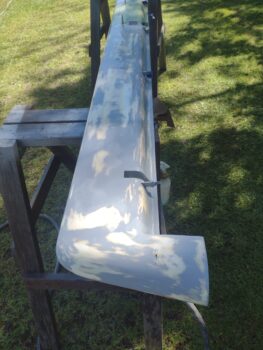
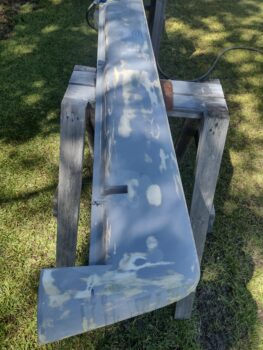
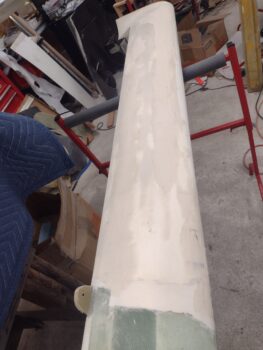
Chapter 13/25 – Glare shield “glassed”

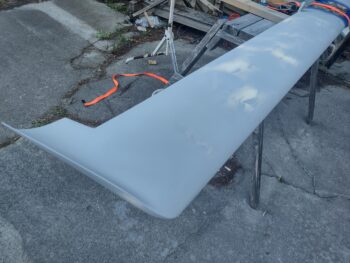
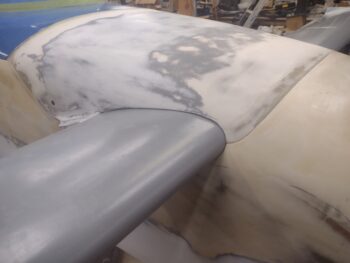
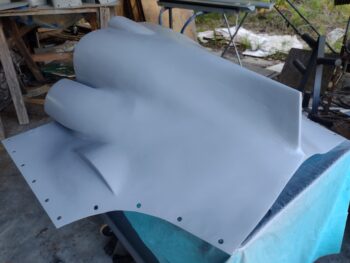
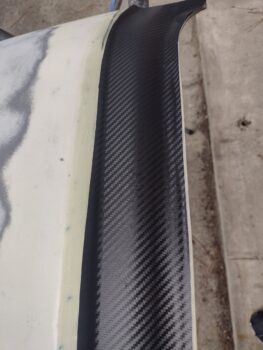
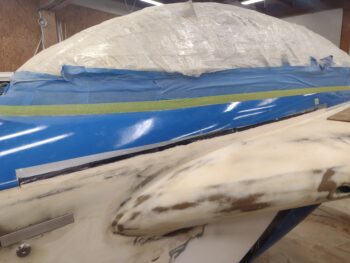
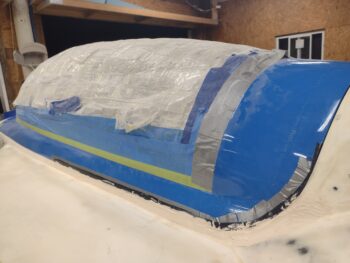
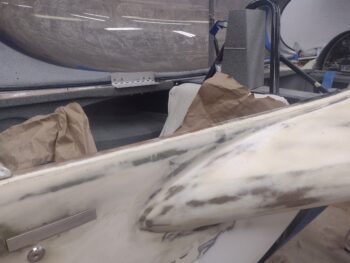
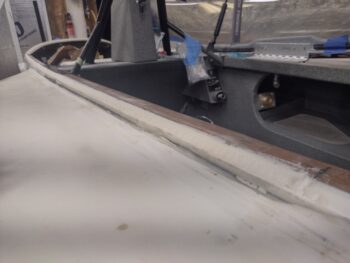
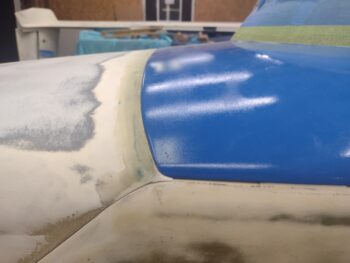
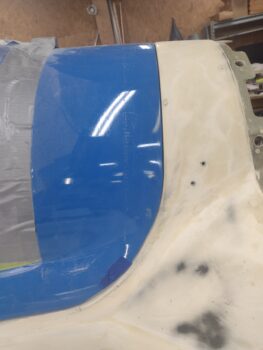
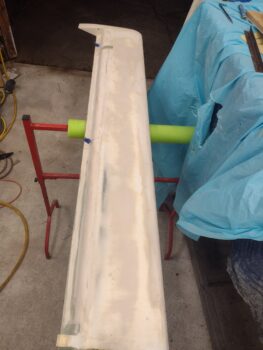
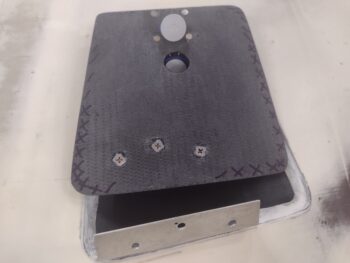
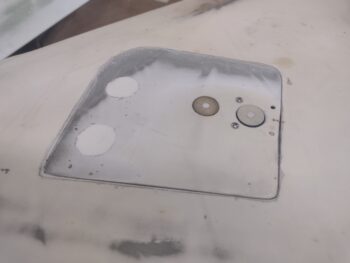
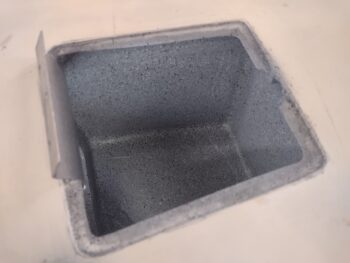
To get the canopy settled and fit into its “no-kidding” final position in its relationship to the longerons, turtledeck and frontside glare shield, I felt I needed to do the final finish on the glare shield… which long ago I had settled on duller sheen carbon fiber (because, well, it IS a glare shield after all).

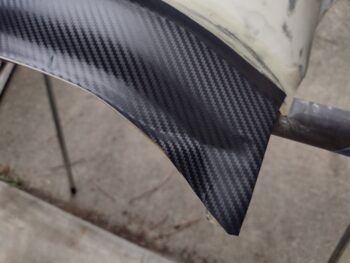
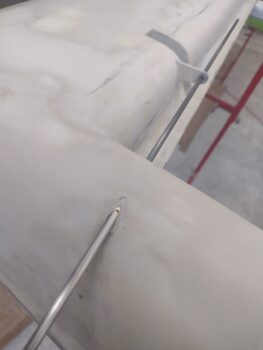
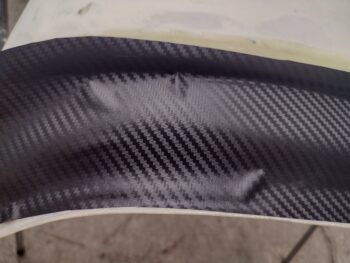
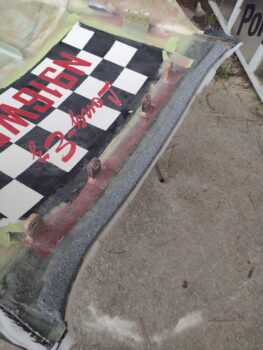
I have a roll of carbon fiber vinyl that after sanding and cleaning up the glare shield, I attempted first, in essence, to “wrap” the glare shield with this stuff.

It looks great, and I love the pattern as you can see here.

The issues appeared as I got to each outboard side where uncompliant bubbles showed up.  I’m sure there’s probably some expert way to vinyl wrap this thing, and I could have watched a video or two on YouTube and maybe figured it out.

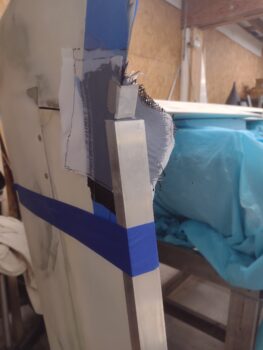
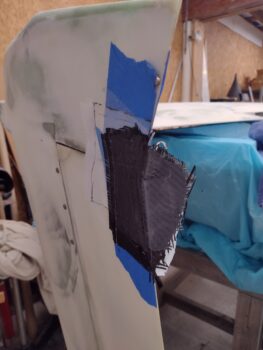
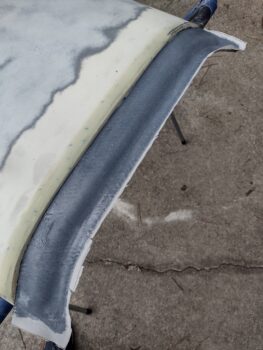
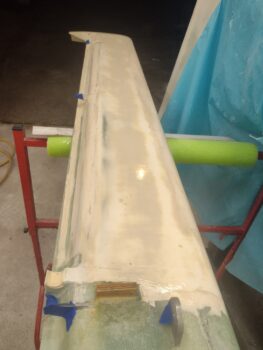
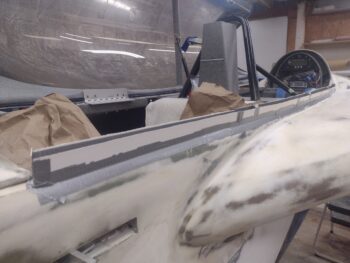
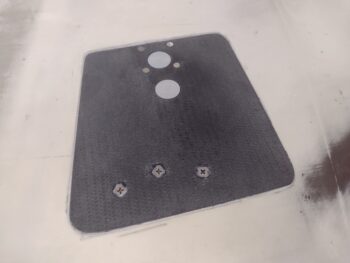
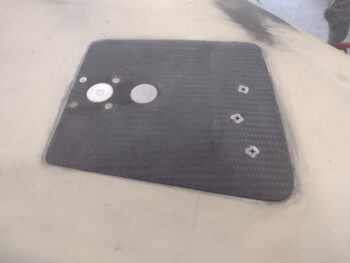
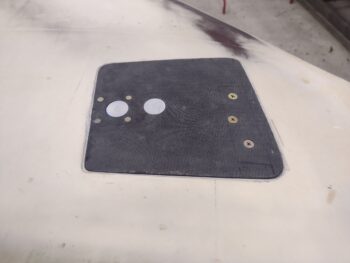
But instead, I simply punted on the vinyl idea and went “old skool” by laying up a ply of carbon fiber and then peel plying it.  Done.

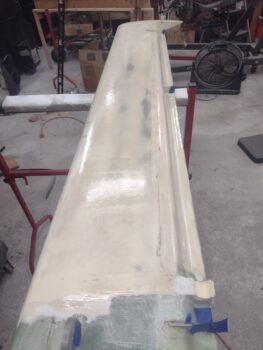
Here it is a bit later.  And since I got really good coverage on the peel ply (no bubbles or missed spots) I am going to simply leave it as is, since it is dull and will keep any sun glare in check.  Plus, if you look closely the weave mimics the approximately 45° angle as the vinyl (I cut the carbon fiber first before telling myself I should give the vinyl a crack at the glare shield).

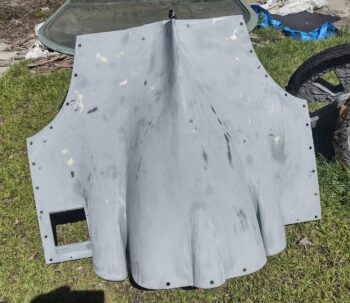
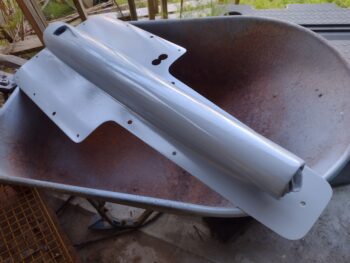
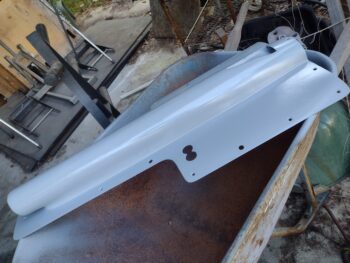
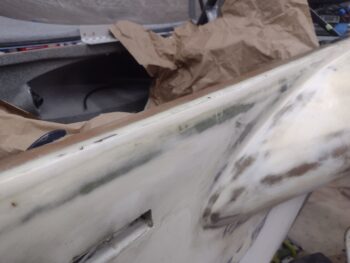
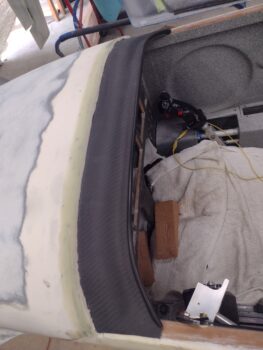
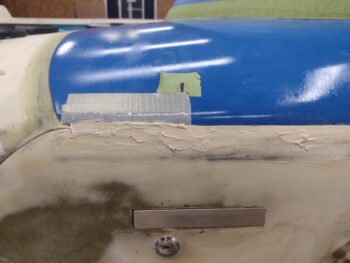
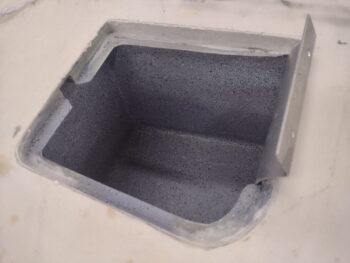
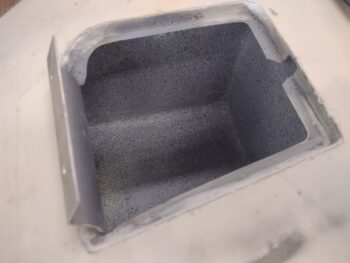
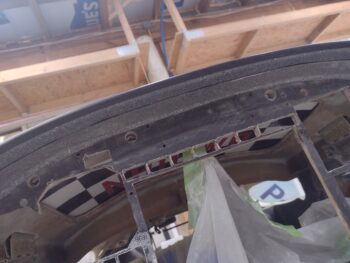
While the peel plied carbon fiber glare shield layup cured, I took the opportunity to shoot some matte clear coat on the strip of rock granite paint on the very aft underside edge of the glare shield.

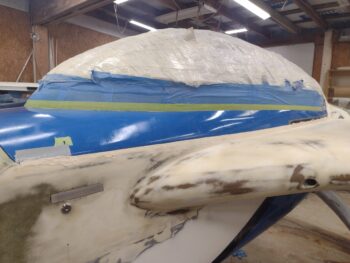
Which you can see here after I reinstalled the aft nose/avionics cover.

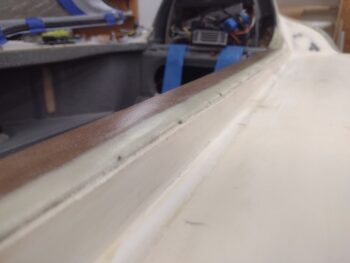
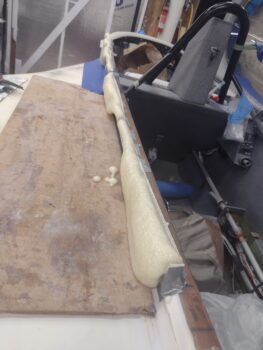
I guess I didn’t grab a shot of me again laying up a narrow strip of BID over the shaped foam along the longeron.  This was of course after I dialed in the closed position and fit of the canopy in regard to the foam.

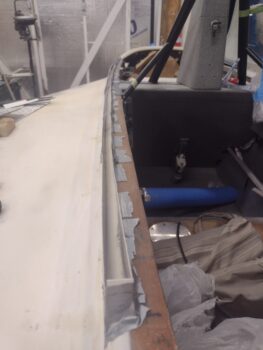
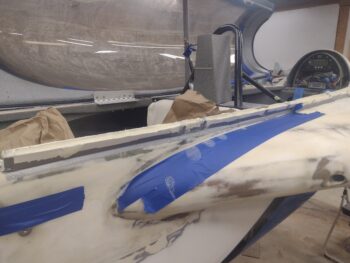
Here I’m applying micro along the longeron —with canopy frame bottom edge taped— to both fill the gap between longeron and canopy frame AND get the longeron aligned vertically so it’s level with the canopy frame.  This is the first round of micro . . .

After the first round of micro cured, I popped the canopy open and pulled the tape and then taped the remaining canopy bottom edge to then apply micro along those seams. I say those because I added micro on the aft end . . .

And at the very front end of the canopy frame-longeron seam.

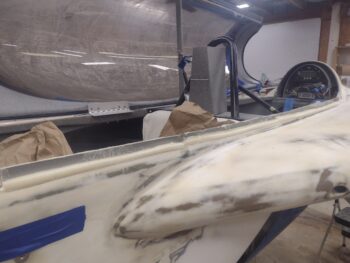
Here’s a wide angle shot of the phase II micro ops to get the final canopy frame to longeron gap and seam dialed in (yes, this too I did many, many months ago but apparently it needed another round of tweaking).

And with that, I called it a night.
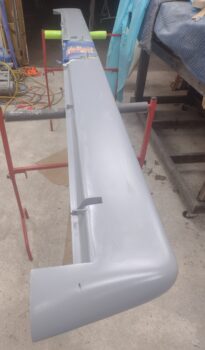
Chapter 25 – Canard epoxy wipe

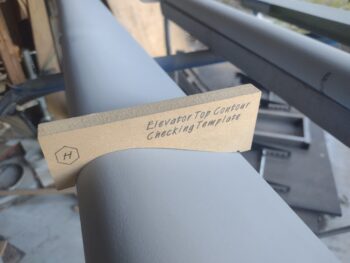
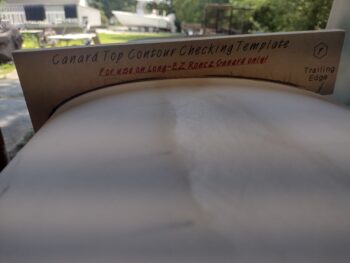
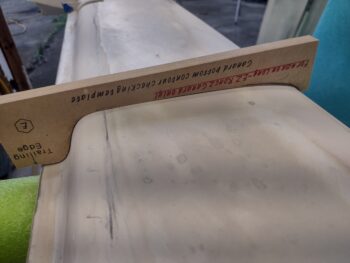
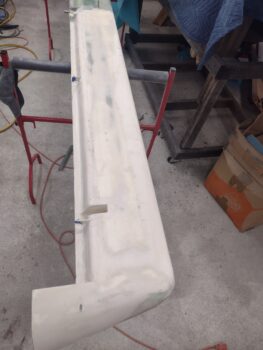
I spent quite a few hours today dialing in the top profile of the canard to match the “Eureka CNC” Roncz canard template.  It’s looking very good, and I’m not sure if I’ve mentioned this but my tolerance for any gap or daylight is 0.5 mm or less (less than 0.02″).  With the upcoming epoxy wipe and primer, any irregularities should be greatly mitigated to significantly less than that.

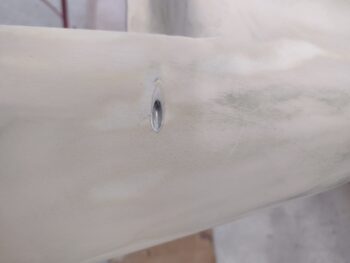
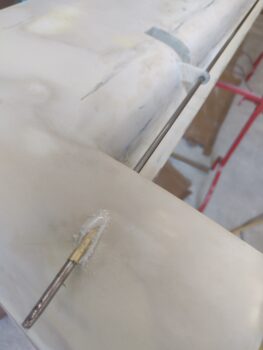
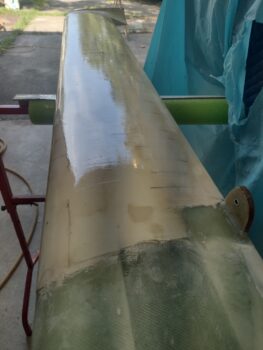
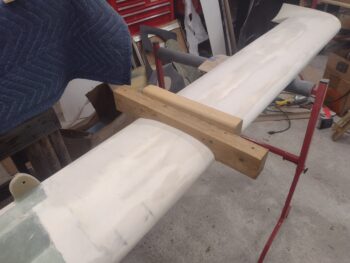
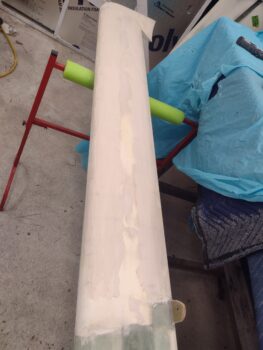
Quite a while ago I added an aluminum sleeve to the hinge pin hole on the end of the left canard (pic 1).  On the right side I had a Nylo-flo sleeve, but nothing on the left and it was getting dinged up.  Well, after this latest round of sanding I had both a chip and a crack that developed on the right side, as the Nylo-flo was not full length inside the access hole.

I spent a good half hour removing the Nyla-flow, trying to minimize any damage to the external surface… and did a decent job, IMO (pic 2).

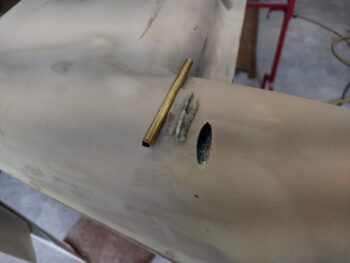
I then test fit my cut length of thin-walled brass tubing with the hinge pin installed.

Then slathered up the in the inside of the right canard end hinge pin hole with micro, reinserted the brass tubing hinge pin sleeve and the greased up hinge pin.  I left it to cure.

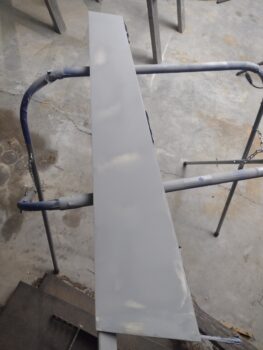
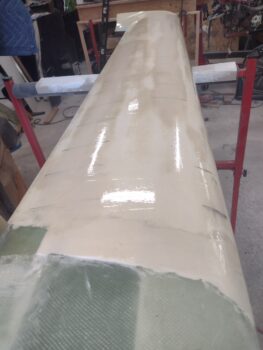
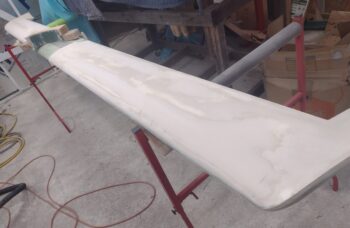
While the right side hinge pin insert sleeve micro was curing, I flipped the canard right side up, did a final clean up and then epoxy wiped it with 3 coats of West.

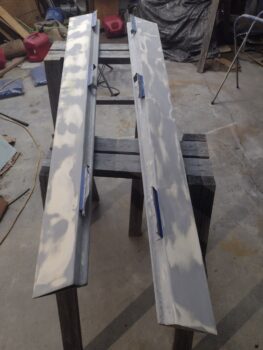
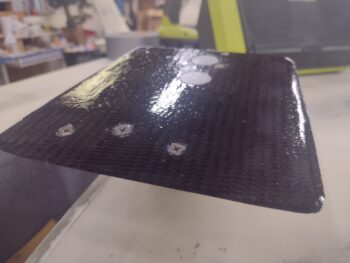
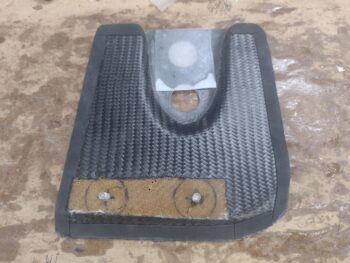
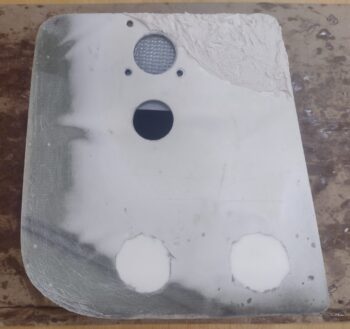
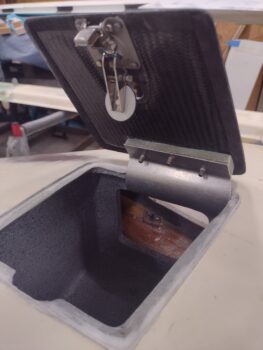
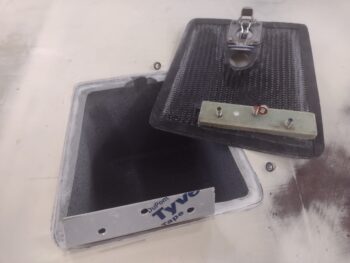
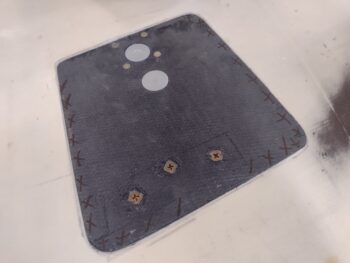
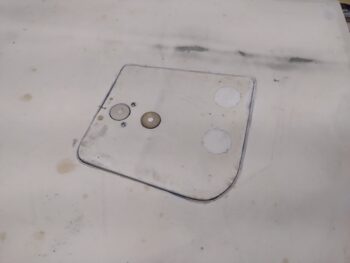
I used some of the epoxy from above to epoxy wipe the right strake hatch door (pic 1) and even lay up a single ply of BID on the inside of the left strake hatch door where the Hartwell latch will get installed to add a hair depth to the door thickness so the external buttons will be level with the external door surface (pic 2).

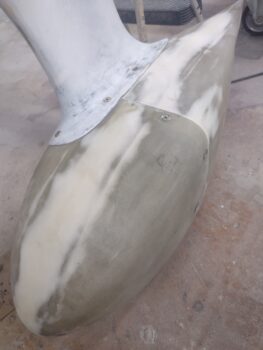
I took about 10 minutes to remove the aft left wheel pant and do the initial sanding of the added micro.  I then reinstalled the aft left wheel pant and did the final sanding to get the front and aft wheel pants surface levels matched across the top seam.  Soon I will epoxy wipe the sanded micro area.

With the micro I used for the wheel pant above, I also micro’d the inboard aft corner on the left strake hatch door exterior surface.  This corner is just a tad low in comparison to the left strake surface, so I’m evening it all out with this micro fill.

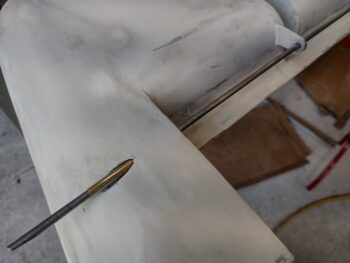
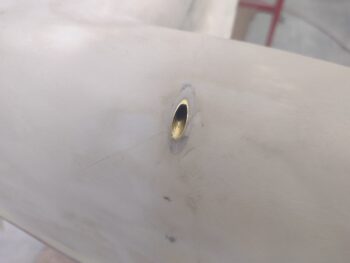
A few hours later, back on the canard, I did the initial trim of the micro’d in place brass hinge pin sleeve (pic 1), and then cleaned it up in prep for the bottom canard epoxy wipe (pic 2).

Of course did an ops test of the newly installed hinge pin sleeve first… ALL GOOD!

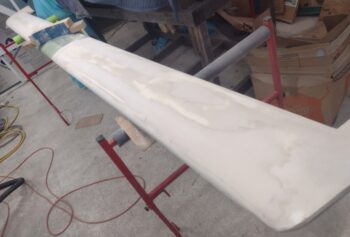
I then epoxy wiped the bottom of the canard, each side, with 3 rounds of raw West epoxy.

Another gremlin that reared its ugly head once again was my canopy fit up with the left longeron.  I thought I had it figured out when I worked it a few months ago, but apparently not.  I don’t know if something subtly shifted as things tend to do on these birds when left unattended(?), but the gap was too much for me to allow and simply leave (not sure if there are any past pics since I dove right into the fix).

I cut up some scrap cardboard and made pour dams only above the previous added edge I had worked earlier (not over exposed wood segment of longeron).

Here’s another shot of my pour foam dam.

I then ATTEMPTED to add just a little line of pour foam in the dam, but we all know how that goes… so, a bunch of foam for only an actual required little bit.

I then cleaned up the foam overflows and cut the excess foam off at the height of the dam (pic 1).  I then started trimming the foam down, but left the inboard dam wall in place (pic 2).

Some more knocking the height of the foam down with the inboard dam wall still in place.

I then got the foam down to level with the longeron on the inboard side, with all the pour foam dams removed.

After a bit more trimming and sanding, and some trial and error test fits, I got the foam knocked down while allowing the canopy to close fully.

I still had a couple gaps both all the way forward and all the way aft that I need to work, but I’m happy with how things are coming along.

It may hard to tell, but again I will need to work the top elevation and match up at the seam betwixt the aft canopy frame and the Turtledeck… the never ending match up game.  I wonder if this will persist after this next round??

And with that, I called it a night.  Much more work to come.
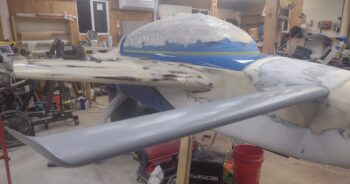
 

Chapter 25 – Canard bottom & hatches

Another 2-day post here.

While I was able to get a good build on the aft bottom corner of the canard (I would say it was 1/16″-5/32″ low), it took a couple good slatherings of micro to get there.

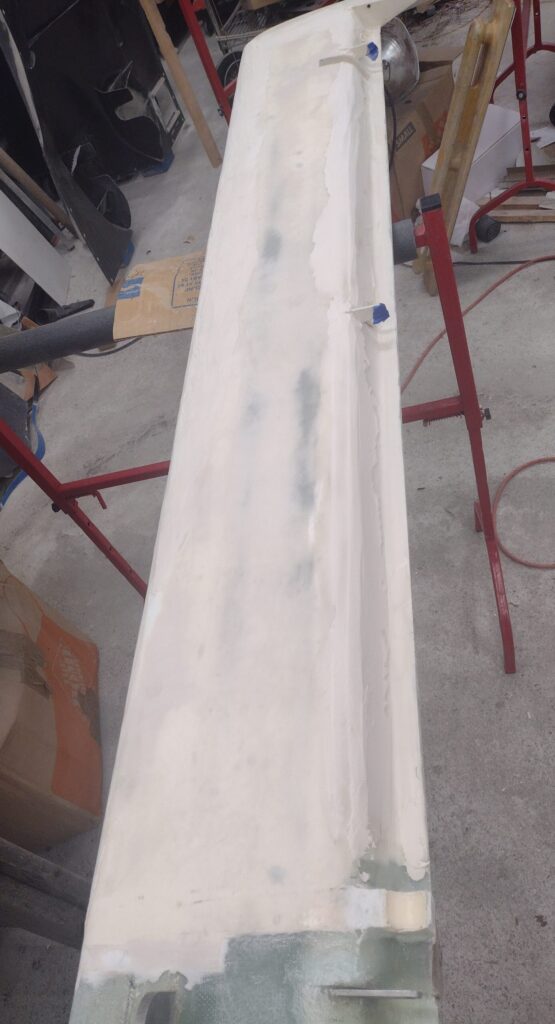
And while the majority of the underside canard was good, I still had some decent sized divots and still a few low areas that need a third round of micro fill.  Here is the 3rd and final micro fill on the bottom of the canard… after nearly 6 hours of minutely checking the bottom canard surface against the template, about every inch down the canard.

I also did a significant amount of work in finalizing the strake storage compartments, with most of my completed tasks on the right side.

After getting the hatch door level with the surrounding strake surface, I then swapped out the bolts I’d been using for shorter CS screws.  I then notched the edge of the screws, countersunk the 3 holes and floxed the screws not only to the carbon fiber hatch door, but also to the hinge spacer as well (itself floxed to the underside of the door).

So although I’m using screws, this allowed me to mimic the left strake hatch door by making it removable… via some “Poor man’s Clickbonds.”

I then did 3 iterations of marking the edges of the right strake hatch door where it was higher than the strake surface, then removing the door and sanding down the edges.

Again, after 3 rounds I was able to get the door even on all sides, level with the surrounding right strake surface.

I then did the same thing on the left strake hatch door, with it now level with the surrounding strake surface (except for the inboard aft corner, which is low and will need some minor micro filling).

Here we have the bottom of the canard with the last cured micro fill sanded and ready for epoxy wipes.  It’s a great feeling knowing that my canard is finally up to Roncz specs with its contour matching the template.

Tomorrow I plan to press forward in getting the top side of the canard squared away.

Chapter 25 – Canard finish 2.0

With my Eureka CNC (or whatever the new company name is) canard templates in hand, it is now time to dial in the canard to get it as close to Roncz specs as possible. That being said, I’ll note for the record that this is a bit more challenging on my canard versus all my Long-EZ building compadres who ordered their wing cores from Eureka CNC.

Since Stephen James was unavailable when I ordered my wing cores, and I was shortly heading off to Germany, I had to order mine from Feather Light.  And while they did a good job, my cores —still hot wire cut— certainly were not as bang-on dimension-wise as if I had bought the CNC cores.

I note this because dimension “challenges” have reared their ugly head in a few spots on my canard cores (and probably wing too).  Primarily the top trailing edge and the bottom aft curve, which is not as pronounced as it should be… as highlighted when I use the bottom template.

Thus it is that I’ve had to add a decent bit of micro to fill in this bottom aft corner of the canard, with some touch ups in a few other areas as well.

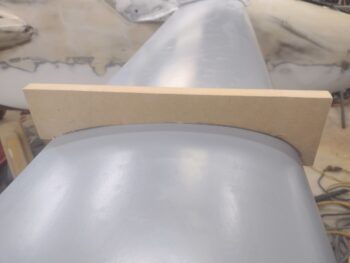
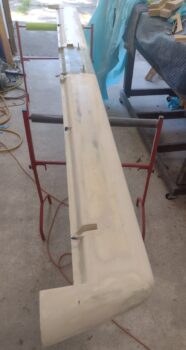
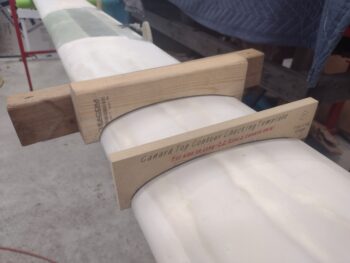
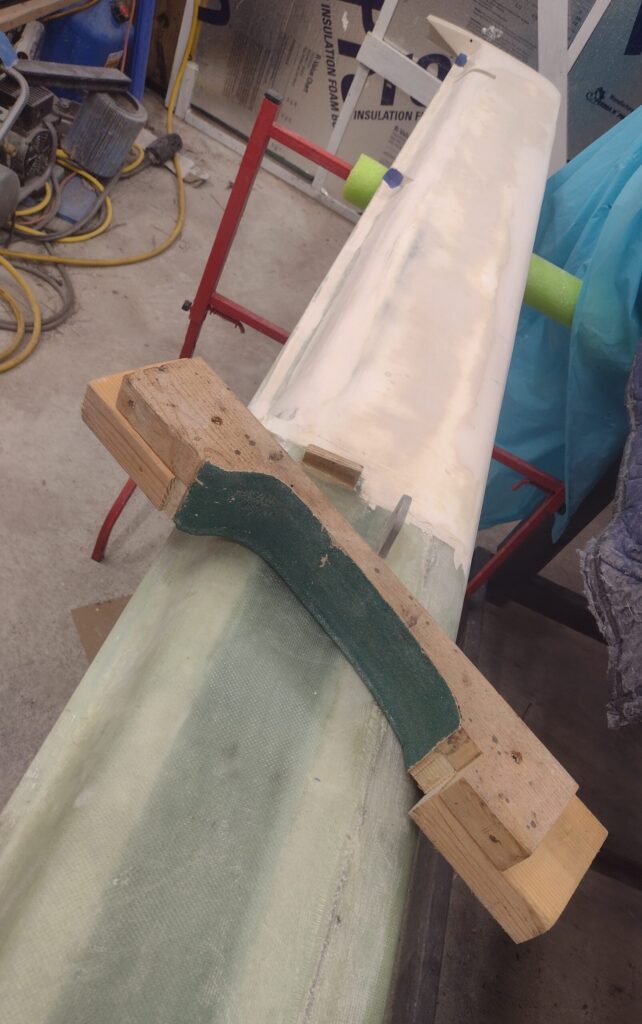
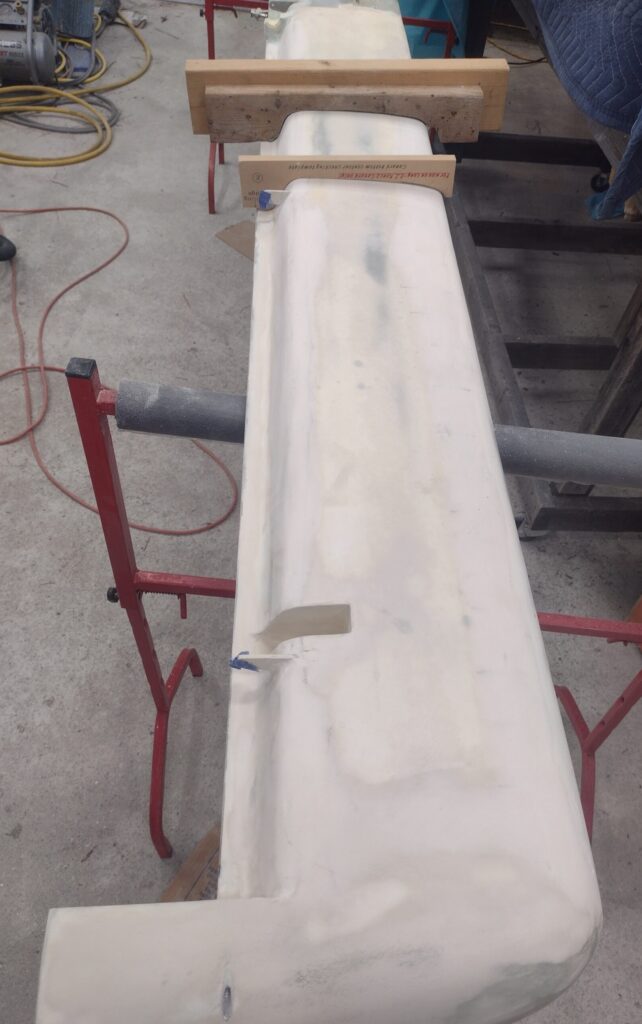
While the first round of micro cured on the bottom of the canard, I got busy making up a sanding block based on the Eureka CNC template, with 0.045″ extra added to allow for the thickness of the sandpaper.

Here’s the top canard sanding block after I finished it.

Here are a couple more shots of the canard top surface sanding block.

I then spent a good hour sanding both top sides of the top canard with 36 grit sandpaper loaded inside the sanding block.

I then swapped the sandpaper out for 120 grit and did another good half hour of sanding.

I then flipped the canard over and did the same thing on the bottom, with the canard bottom sanding block that I cut and assembled.  I then re-micro’d the bottom of the canard since that bottom aft corner needed a little bit more thickness to it.

With some of the leftover micro from the canard, I quickly taped up the left aft wheel pant and applied some micro to it aft of the seam with the forward wheel pant… since clearly the aft wheel pant is a bit low in comparison.

Yes… many machinations going on with this finishing, but still pressing forward!

Chapter 21/25 – Eye on canard…

This post covers the past few days…

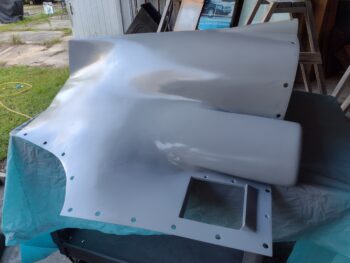
I was able to get the inside of the strake storage compartments painted with the gray granite/rock paint.  Here’s the right side.

And here is the left side.  I should note that painting also includes 2-3 coats of matte clear coat.

And as a further note (in case I need to research this years from now): I actually taped up the 3 forward & inboard vertical corners and the 2 intersecting lower horizontal corners with green painters tape to allow me to remove that tape in the future if I have any evidence of fuel leaks that I need to investigate.  Again, only the corners that are fuel tank adjacent were taped.

I let the paint and clear coat cure for over 36 hours before I sanded the overspray and excess micro from the flanges and perimeter edges on both right and left strake hatches.

I then drilled the countersinks and riveted the right double-button Hartwell latch to the right strake hatch door.  Yes, I did use aluminum rivets, but I A) hit them all with a coat of primer (cured for multiple days), and B) slathered them up with very wet flox when I installed them.

I also countersunk the 3 screws (replacing the bolts) and temp installed those.  I then spent nearly 1.5 hours getting the angle and elevation of the internal ~0.4″ hinge spacer dialed in so that the door would sit as optimized on the hatch perimeter flanges as flush as possible.  This of course means that the door is as flush as possible with the surrounding surface of the right strake as well.

I have NOT yet permanently installed the Hartwell latch on the left strake hatch door, as the deeper countersunk cherry pop rivets are currently on order from Aircraft Spruce.  I did mount the door back into place and spent about 45 minutes sanding both the door edges and the internal perimeter edges just above the flanges, just to get the darn thing to close.

More work is required to obtain better edge clearance.

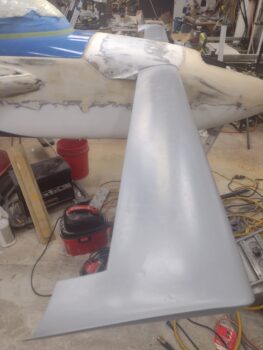
Now… to get the no-kidding finalized aft nose/avionics cover configuration complete and ready for primer/paint, I have to get the canard completely finished and ready for paint as well.

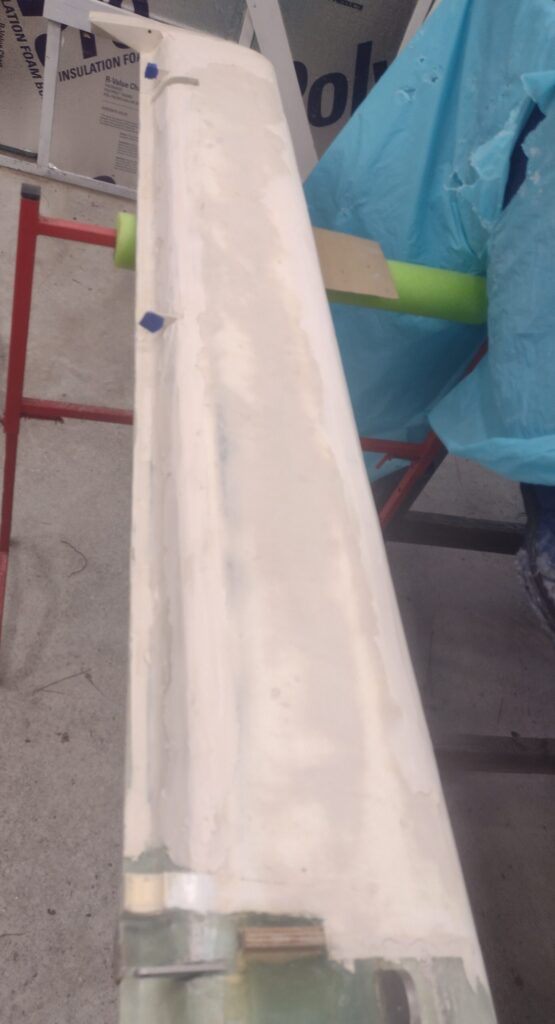
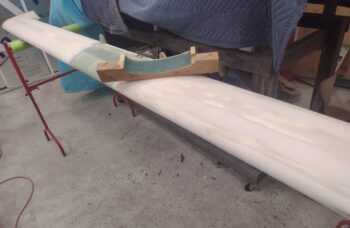
I used the Eureka-CNC templates to mark any low spots on both the top (shown here) and bottom of the canard, then filled those low spots with micro.

I figure I’ll have at least one more round of micro refills, but plan on working the canard until it’s near perfect in regards to the Eureka-CNC profile templates… since it’s arguably the most critical flight surface on this bird.


Chapter 21/25 – Finish fiddlings

I’ll reiterate that although my primary task currently is finishing up the strake storage compartments, I’ve also been doing a number of other tasks to get the various aircraft surfaces ready for primer and paint.

Here are a couple of examples on the right wing.  There was a distinct low spot at the junction of the bottom right winglet and wing, so that required a micro refill. Tomorrow I’ll sand it smooth and re-epoxy wipe it.

Speaking of epoxy wipes… I had a couple of small divots that I filled with micro and after sanding decided I needed to epoxy wipe a decent swath around those holes to help even out the surface of the lower right wing.  I’ll sand this down then wet sand with 150 grit in the next day or so.

On the strake storage hatch flanges I did a final fill on all the perimeter edges, both right and left sides, which I’ll sand down tomorrow.

On the left strake hatch door, since I used the original skin piece that I cut out for the door, I removed about 0.1″ of foam on both the forward (pic 1) and aft (pic 2) edges of the door and filled those with micro.  Tomorrow I plan on sanding and epoxy wiping those edges.

I then spent a good little bit of time prepping and taping up both the right and left strake storage compartments in prep for primer and paint.

I had planned on painting these tonight as well, but the Rust-oleum gray granite paint needs at least 2 good coats, with 15 minutes in between each coat.  It was getting late, so I decided to do the actual painting tomorrow.

Here is the right strake storage compartment shot in primer.

And the left strake storage compartment primed for paint.

As I mentioned in the last post or two, as I finish up the final tasks for these strake storage compartments and hatch doors I’ll have more time to focus on other important pre-primer/paint finishing tasks in my attempt to get this bird done.

Chapter 21/25 – Strake hatch latches

Over the past few days I’ve primarily been focused on getting the strake hatch doors, latches and flanges finished up.  This involves a number of iterations of micro, flocro and flox fills, with the requisite cure times, sanding, refills and dialing in the edge seams and height/elevations to get the door tops as even with the surrounding strake surfaces as possible.  Of course, some contour-leveling sanding no doubt will be required.

In addition, I’ve been working a myriad of small divot and low spot micro fills, sanding, wet sanding, subsequent epoxy wipes, etc. on areas all over the bird: wings, winglets, flanges, fairings, D-deck, strake, nose cover, etc.

On the right strake hatch flange I filled the slight “trench” around the outer perimeter edge of the flange with flocro before then covering that with peel ply.

I did the same a bit later with the left side strake hatch flange, but no pic of it.

Here is the 1-ply carbon fiber layup on the inside of the left strake hatch door, after I razor trimmed it and pulled the peel ply.  Obviously it’s installed in place, and you can see the forward flange (right side of pic) has been trimmed as well.

I then spent a good hour+ drilling the holes in the left strake hatch door to install the double-button Hartwell latch.  Here we have an external shot of the latch (pic 1) and an internal one as well (pic 2).

And a couple requisite shots of the left strake hatch door latch from different angles.

As for how the hatch doors sit within the strakes’ top proper, the seams around the doors needs some filling.

Thus, to be able to get the door open, off and out of the edge flocro that I applied to the taped edge of the door, I only did about half the perimeter edge for each application.  I started with the aft side on the right strake door hatch.

And after the aft side cured I then flocro’d the forward side edge seam.

Here is a shot of the same thing on the left strake hatch, although I started on the forward (top of pic) side —which is complete in this pic— and am working the flocro application on the aft side half of the edge seam here.

Slowly the strake hatches, doors, latches, fit and finish work is getting completed and I’ll pick back up more on the aft nose/avionics cover and canopy final fit and finish.

Again, all in the effort to get this bird in primer and paint.

Pressing onward!

Chapter 21 – Guy’s EZ + my strakes

I started out the first half of the day today helping Guy William’s do a final fill on his left brake line.  Thankfully we had some knowledgeable EAA’ers working in the hangar next door to lend their expertise.  After another few rounds of filling the master cylinder and line, Guy then made a couple of high-speed taxis down the runway to get the brakes back to good… while I played airport bum visiting yet another EAA member as he worked on his Grumman Tiger.

This should be the last major help session required (hopefully) for a while now that Guy’s EZ seems to be back on its feet, so to speak.

I got back to my house early evening… out in my shop the first task I did was to trim the forward flange on the right strake storage hatch.  As I mentioned before, this forward side was quite a difficult flange layup —having to go in through the outboard strake rib— and with some difficulty getting the glass in place I had to scrap the outboard corner portion of the layup.

I’m jumping ahead here, as this is later in the evening after my corner gap fill layup cured (I used fast hardener with MGS-335 epoxy).

And here is the cured forward flange layup on the left side strake hatch.

After trimming the left strake hatch forward flange, I then spent some time figuring out exactly where I would be mounting the double-button latch.

Once I determined the latch position it allowed me to mark and trim out the hatch door’s center inside glass and foam to the underside of the top skin glass.  Clearly this will allow glass-to-“glass” (carbon fiber) strength when I layup the ply of carbon fiber over then entire inside surface of the hatch door.

Not shown are the 3 plies of BID I laid up in the hatch door’s latch depression first to get the thickness dialed in to 1/8″ (0.125″), again the depth of the buttons on the left side strake door latch.  I then laid up the single ply of carbon fiber over the inside of the left strake hatch door, minus the cutout for the hinge plate.  And of course I peel plied the inside of the latch install depression.

I then left the left strake hatch door layup to cure overnight.  Tomorrow, I plan on getting a good chunk of these of these strake storage hatch doors knocked out.  Again, all in the effort to get the bird prepped for primer and paint.
Chapter 21/25 – Strake pocket flanges

This post covers the past 2 days.

First I shaped one side of the right strake hatch door hinge spacer for a better contour flow of the top side of the door in relation to the strake surface.

I then taped up the aft side of the inside right strake hatch door (pic 1), wetted out peel ply along the edge of the inside door and then installed the door and weighed it down (pic 2).

With the taped and peel plied door (aft side) in place, I then laid up a 4-ply BID tape that will be the aft side flange when it cures.

After cleaning up the inboard glassed edge of the left strake door (pic 1), I then did pretty much the same thing with taping the edge, pre-wetting out strips of peel ply along the door in prep of the aft side flange layup (pic 2).

Which I did next (sorry, no internal pic).  Here’s the the left strake hatch door the following day when I removed the weight that secured it in place.

Here we have the left strake hatch door removed, and the cured, pre-trimmed aft side flange layup (peel ply pulled).

And a shot of it after it was trimmed and cleaned up.

Here we have the same thing on the right side, pre-trimmed cured aft flange layup (pic 1) and then a shot of the cured front side flange layup later in the day (pic 2)… this forward side was by far the most difficult flange layup I did on these strake hatches.

Since I kept the original strake skin piece on the left side as my door, I made a decision last night to keep the perimeter edge of the door the same stock thickness as the skin.  This made laying up the forward side flange significantly easier since it was simply laid up on the bottom side of the pre-existing perimeter strake-side skin.

I made a cardboard template of the forward strake-side overhang to create what I would need for a flange, then used the template to cut 4 plies of BID.  I then prepregged the BID (pic 1), and wet it out.  As well as again taping up the forward edge of the inside door and adding wetted out peel ply (pic 2).
This time however I was completely able to layup the flange from the hatch opening vs. having to snake my arm inside via the outboard rib.

Once the left strake forward flange BID was laid up, I then mounted the strake hatch door…

Closed it up and then added peel ply to the underside of the flange layup.

I’ll also note that my double-button Hartwell latch (left side of pic) that I ordered off of eBay arrived this afternoon.  While the button diameters are the same, the thickness of the buttons are different: the new buttons on the latch for the left hatch door are 1/8″ thick while the buttons for the right side strake hatch are 0.08″ thick (right side of pic).

I’ll continue to work what I can tomorrow to get this bird ready for primer and paint.

Pressing forward!

Chapter 21 – Mounting strake hatches

I started out today mixing up some micro, with West 410 added, to do a few small micro touchups/fills.  First off was the top middle underside edge of the left sidewall opening for the canopy latch handle.  When I recently reinstalled the handle it was really tight, so in sanding the perimeter of the opening I sanded a hair to much in the top middle, which was visible when the handle was installed.

Thus the micro to clean that back up.

Also on the right wheel pant I have a depression on the aft side of the seam with the front wheel pant.  So I added a bit of micro there to even the seam up.

And some micro on the aft end of the right winglet intersection fairing… after it cures I’ll sand it and epoxy wipe it (and the other micro’d spots).

Over the last day and into today I really racked my brain in figuring out how I was going to attach the strake hatch doors to the spring loaded hinges.

On the left side I made the decision to go with two 10-32 Clickbonds, that are a bit wider and thicker than my normal Cozy-Girl/Infinity Aerospace Clickbonds.

I placed the Clickbonds into the drilled 3/16″ holes and marked their edges (pic 1) before then removing the top glass and internal foam to reveal the interior glass skin (pic 2).  I also then ground off an edge of the aft Clickbond and drilled flox-grip holes into the Clickbond flanges.

And quickly ensured the Clickbonds fit into the openings I had just made.

After cleaning up the interfacing glass, I then added a couple of plies into the bottom of the holes before slathering the Clickbonds up with flox and inserting them into the holes. I then added 3 more plies of glass over top of the Clickbonds and under the edges of the holes.  I then used up all the flox in my cup by putting it around the perimeter of each hole (pic 1).  After that, I mixed up some micro to fill the remainder of the holes just slightly proud of the hatch door top surface (pic 2).

I then spent another good hour carefully spacing, placing and drilling out the holes for the right strake hatch door’s double button latch.  Here we have it initially in the closed position (pic 1) and the open position (pic 2).

I’ll note that I added a 3rd mounting screw in the center offset a bit higher to better secure the position of the door on the hinge spacer.

And a close up of the right strake hatch door’s double button latch:

I had to wait awhile before I could close the right strake hatch door since I had added 3 stepped plies of BID on the inboard edge of the right strake compartment.  Note the flush latch buttons on the surface of the strake hatch door.

A bit later I pulled the right strake hatch layup’s peel ply and trimmed the glass, at which point I was then able to test the strake hatch door by latching it in the closed position… a couple of shots here:

I also did some edge layups on both the left strake’s door and compartment inboard edges.

And tested the fit of the left strake hatch door after the layups had cured and were cleaned up.

Tomorrow I’ll press forward with these strake hatches and as much on the rest of the bird as possible.