Now it’s time to have a serious talk about my fuselage and post curing. First off, post curing epoxy in basic terms allows the epoxy-laiden structure to be more resistant to the effects of heat. The key thing we focus on in post curing is the glass transition temperature or Tg. To help explain Tg, I pulled this quote off the amt composites web site:
“When a polymer system such as an epoxy is heated, significant changes occur in mechanical, thermal and electrical properties. These properties do not necessarily recover upon cooling. A considerable change in these properties can be seen above the glass transition temperature (Tg) of the epoxy. The glass transition is the temperature where the polymer goes from a hard, glass like state to a rubber like state. The epoxy will exhibit much physical strength and stiffness below the Tg.”
So what post curing does is simply drives the Tg up to a higher point. Post curing is done by heating up the part slowly and maintaining a high temperature for a matter of hours to days, depending on the epoxy system used. For MGS 335, that magical temp is 122° F and for MGS 285 it’s 170° F, although MGS 285 will still benefit from a 122° F post cure. My fuselage was built mostly with MGS 285, but has a significant amount of MGS 335 in it as well.
Naturally, there’s a lot of discussion out there about the benefits—or lack thereof–of post curing, especially since post curing can, to a large degree, happen naturally just by a composite aircraft sitting in the sun and having its surfaces being repeatedly heated by the sun. My thought (from a lot of research, not my own “expertise” here as any epoxy guru) is that it’s generally not required for the canard aircraft we build. However, I will post cure my fuselage for two simple reasons:
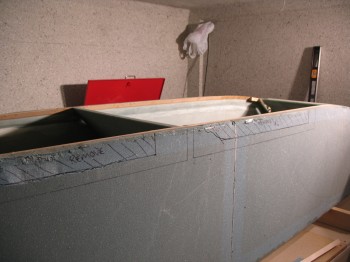
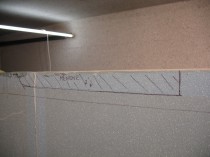
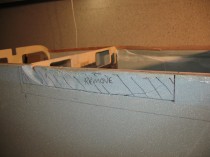
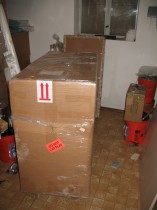
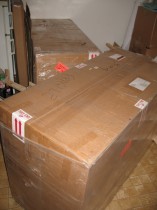
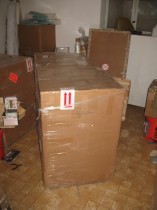
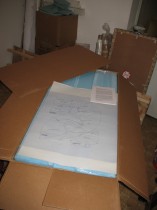
1. My fuselage has a very slight twist to it. As you can see from the weights that I piled up on top of it to keep it straight during the initial steps of my main gear install. In building a Long-EZ, just about every sacred measurement, from wing incident to the strakes, relies on reference to the longerons. They should be as straight as possible. So, I hope to set the fuselage straight and then post cure it to lock it in to position as best possible.
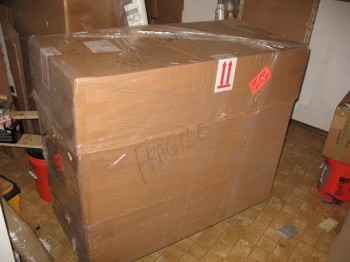
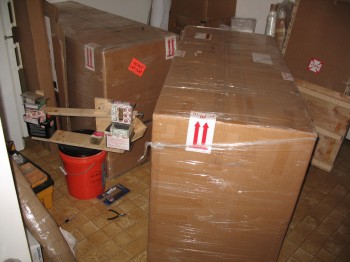
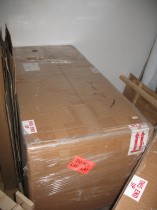
2. Again, since I’m building in Germany right now, I want to ensure that the fuselage maintains its shape as best possible once I get it as close to straight as possible. Once it goes in the shipping crate I have no idea what actual route it will take from Europe back to the States. I envision it sitting in a hot shipping container baking on the docks in Savannah, GA or some other decently warm locale. The higher the Tg is, I figure the more resistant it will be to any structural changes. Overkill? Maybe. But I figure the fuselage is the epi-center of a Long-EZ build, so I’ll try my best to get it, and keep it, as straight as possible.