Chapter 25 – Black & blue in harmony

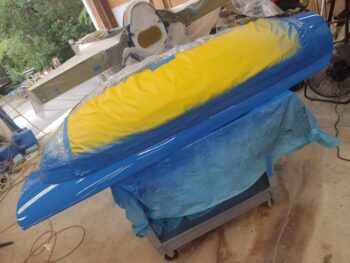
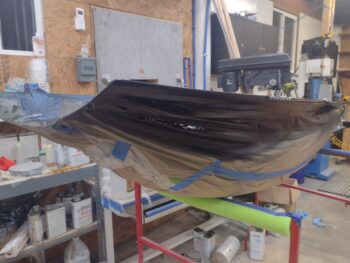
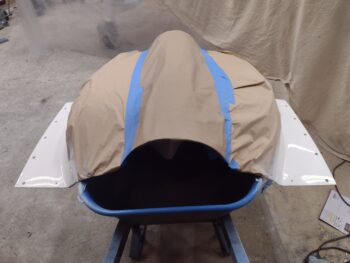
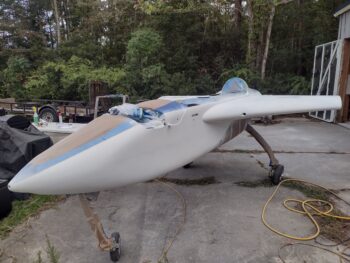
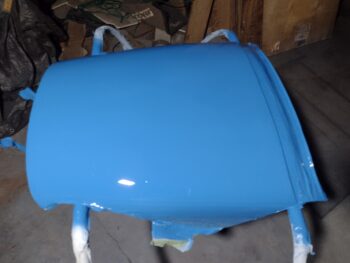
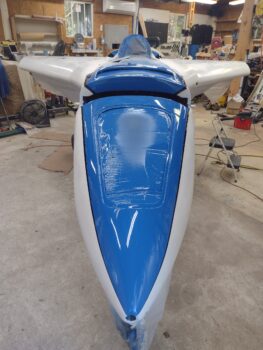
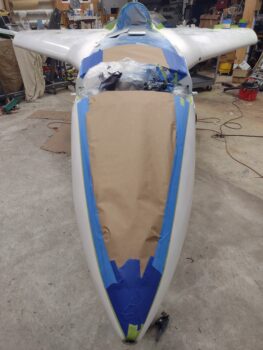
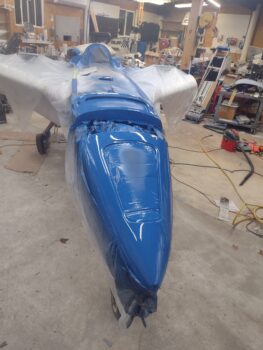
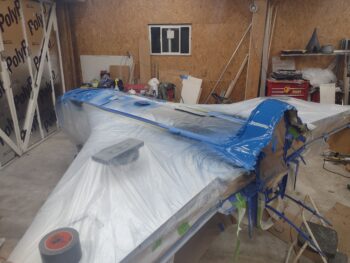
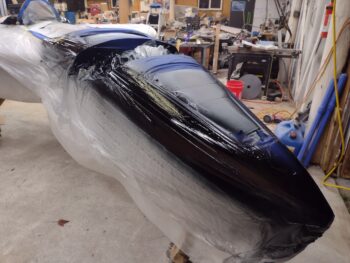
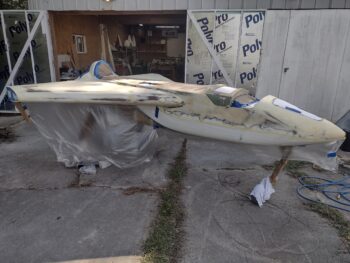
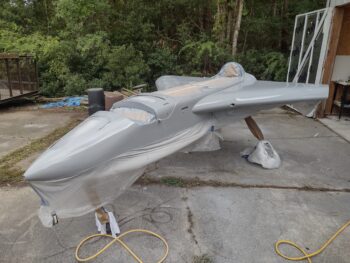
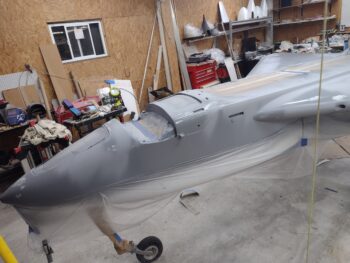
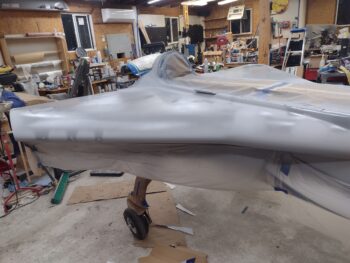
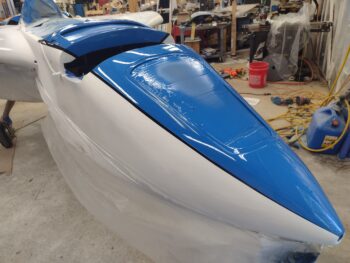
Today I started off by removing the plastic sheeting that covered the entire bird while I shot the blue paint on the turtledeck, which you can see here turned out pretty darn good.

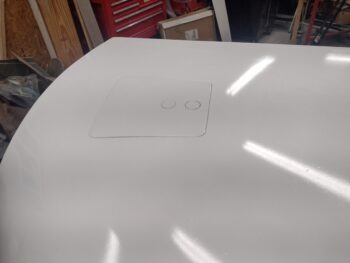
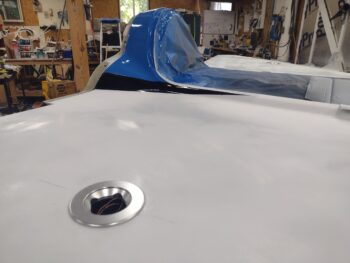
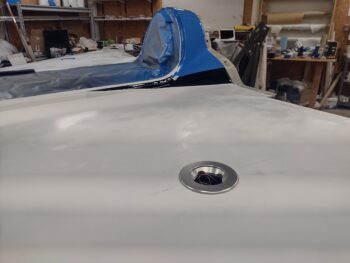
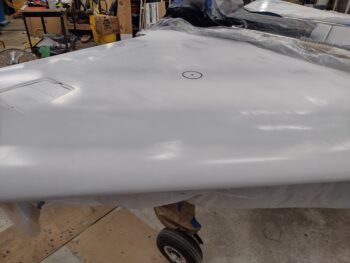
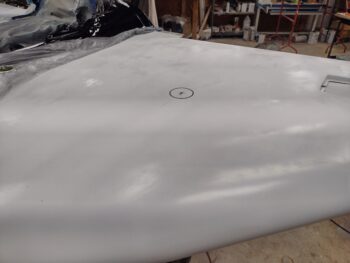
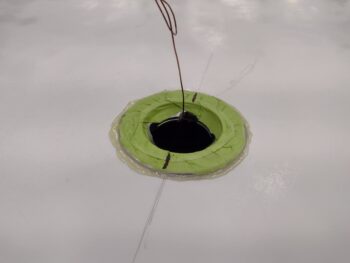
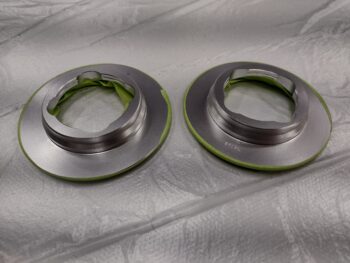
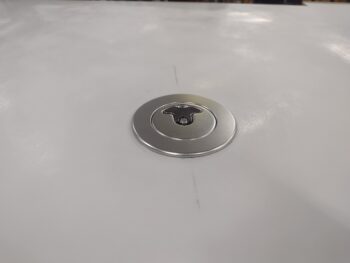
I then removed the weights and the tape from each of the floxed-in-place “gas-hole” rings.  Which are looking nice and spiffy as well.

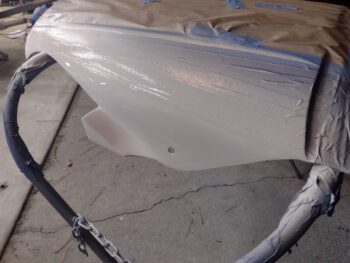
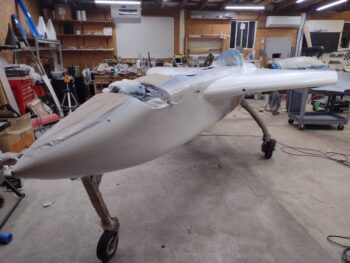
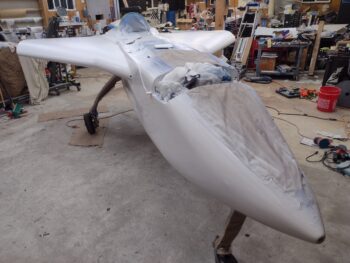
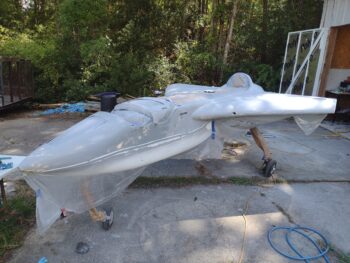
I’ll be honest when I look at the pic above and below, it’s hard to tell initially whether the white is primer or paint, obviously fairly close in appearance… with the white being just a bit more bright.

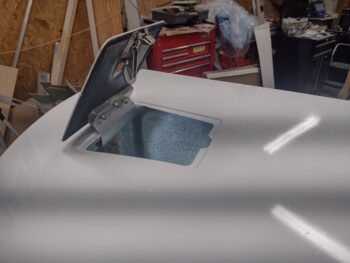
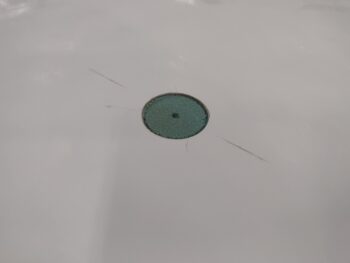
Here I popped in the gas cap to test out the install.  I’m very pleased with how these turned out.

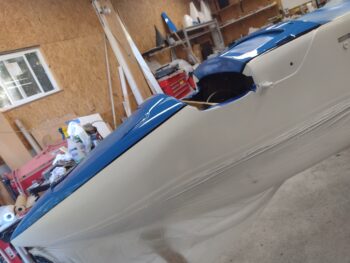
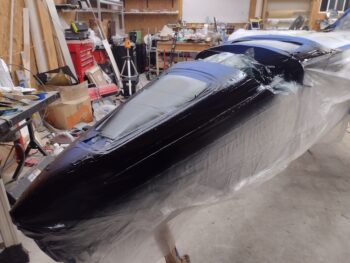
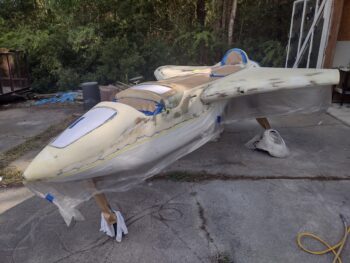
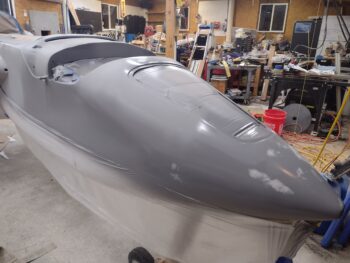
And here’s the nose and aft nose sub-structure blue paint.  Again, looking pretty darn spiffy, as far as combat painting goes (yes, there are a few bugs and dust in the paint… moving on!).

And a shot of the blue nose, with black stripes on each side.  I am digging how the color scheme is coming along.

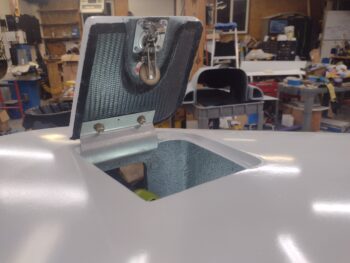
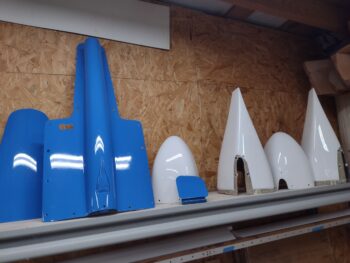
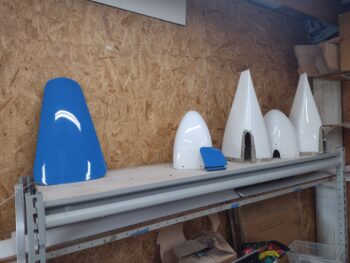
Here’s a shot of both the nose hatch door and the top cowl oil check door painted blue. I painted the nose hatch door under my carport, which I’m noticing has a lot more dust and bugs than just outside the front of the shop.  Thus, I won’t be painting anything under the carport anymore.

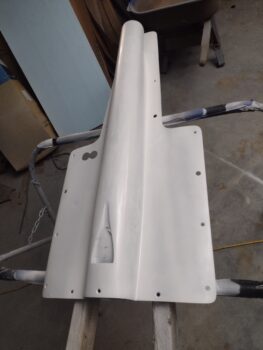
Here is the RAM air scoop that I spent ANOTHER good hour sanding after another round of Icing filler to get the surface uniform and smooth.  I then hit it with a coat of sealer before painting it blue (blue paint pic coming tomorrow).

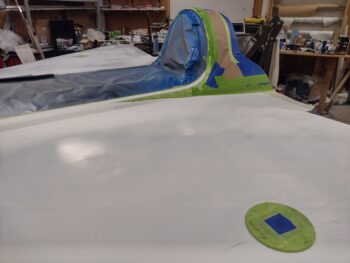
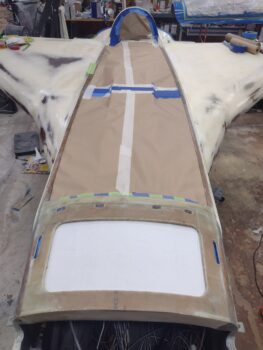
I then spent another couple of hours taping up the gas-holes and every bit of black and blue paint on the fuselage in prep for white paint.  Here we have the turtledeck and shoulder stripes taped up.

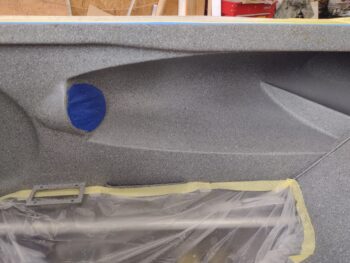
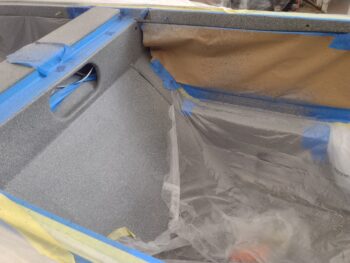
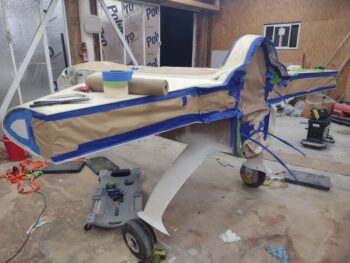
And the nose and substructure blue and black paint taped up for the final white paint to be shot tomorrow.

It was quite late, so I called it a night.

Chapter 25 – Feeling blue! (paint)

Today was first about getting the Newton fuel filler caps installed into the strakes.

And of course what I thought would be an hour or two job turned into about a 4 hour job, with the first hour or so simply measuring everything out to make sure my gas caps were in the correct spot on each strake… and symmetrical to each other.

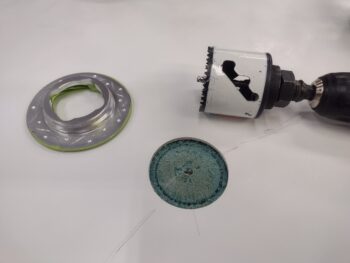
The inner steps on the mating side of the gas cap ring is 2.5″ on the top ring, then 2.25″ on the bottom ring.  So obviously I used a 2.5″ hole saw for my initial cut, just to get through the top skin into the underlying foam.

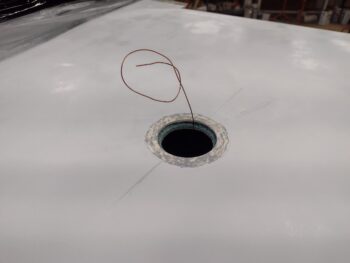
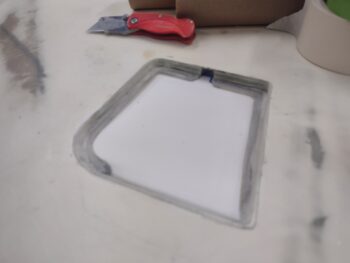
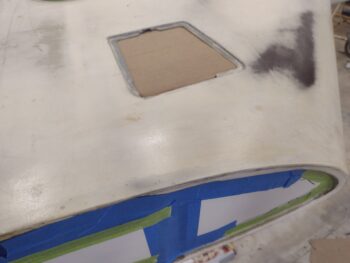
After popping off the skin piece to expose foam, I then used the 2.25″ hole saw to drill the inner hole.  This is show on the right (pic 1) and left (pic 2) strake.

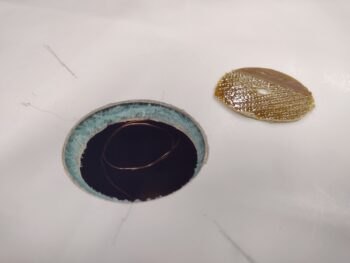
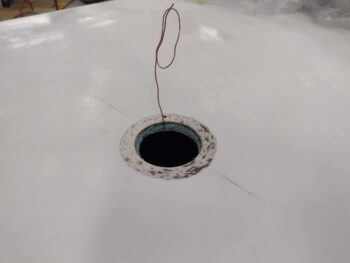
Here we have the inner hole cut all the way through the inside fuel tank skin on the right strake (pic 1).  Of course I had the shop vac sucking up the debris during this op.  Note that you can see the grounding wire just inside the hole (I didn’t stage this. It’s exactly as I found it!).

I stopped short of drilling the inner skin out on the left side to allow me to prep the perimeter strake top for mating the gas cap ring when I flox it in place… see below.

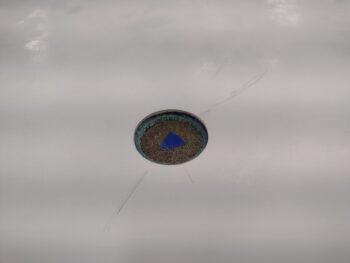
Here is the left side, where I carefully cut the inner hole after use the Dremel drum sander bit to remove most of the top strake paint.

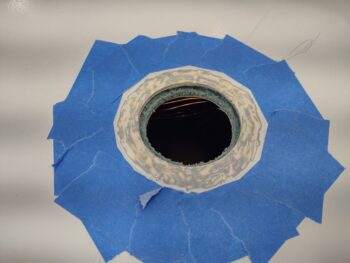
Here we have both right and left “gas holes” prepped for the gas cap rings to be floxed in place.

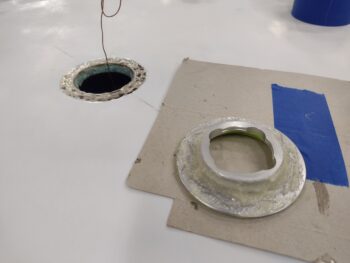
Ahhh, speak of the devil!  Here we have the right and left gas cap rings and “gas holes” floxed up, ready for mating.

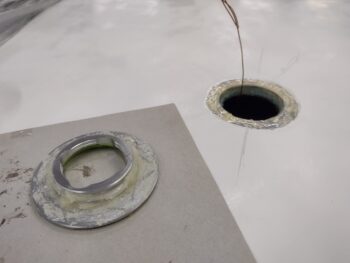
Here is the left side gas cap ring initially floxed in place.  Of course I cleaned up all the excess flox both around the perimeter and inside the tank around the mating edges.

I weighed down the floxed in place gas cap rings and spent another few hours prepping the bird for its blue paint down the center: the nose, nose sub-structure and turtledeck.

Another shot of the blue centerline paint on the fuselage.

Pressing forward!

Chapter 25 – So much filler!

This post covers the past couple of days.

First off, I spent many, many hours refining and cleaning up the surface of the fuselage, strake, nose, etc. It’s amazing what all is hidden from view (or even feel) once you lay down a solid color of primer or paint.  Yikes!  So many surface imperfections that needed fixing.
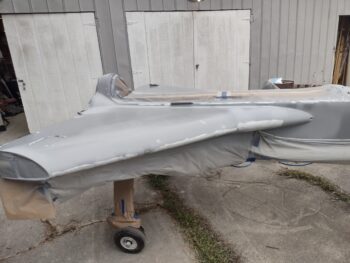
So what I had planned for as an early morning shooting of white epoxy primer, due to all the above machinations of filling and repairing, not to mention a full wet sanding of all the gray primer areas —along with repositioning all the tape down/aft a good 1/4″ to eliminate a hard edge buildup— had turned into a late afternoon white epoxy primer shoot.

Here we have (FINALLY) the bird ready for epoxy primer coat #2.

Which I shot in 2 medium coats.
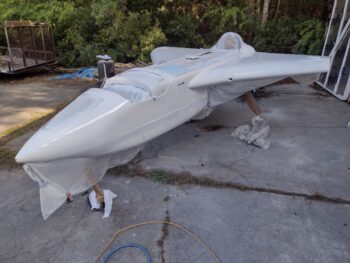
It’s amazing (to me at least) how much different, even refined, the bird looks in white primer… although I love me some tactical gray!
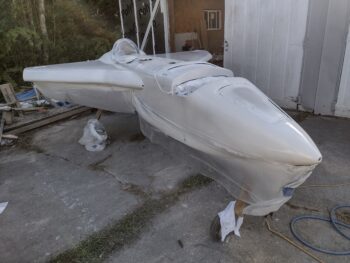
Way later in the evening I had tried to see if the primer was ‘tape ready’ and all my initial tests were good, until actual no-kidding application.  When I went to reposition the Fine-Line tape for my black stripes, it pulled a tiny patch of white primer up with it… creating a couple 1/4″ diameter divots.  Ugh!

With only a bit more minor damage, I did get both the aft nose cover and top cowling mounted in place, and taped the black stripe features up on those… but again, NOT on any white primered areas.

The next morning, after a full night’s cure, I then got to work taping up the white primer areas for the black accent stripes.

Wow!  Again what I thought would be 1-2 hours of work turned into over 4 hours of work once all was said and done.  I had really had to get this right since the black stripes, the separating border between the blue and white paint, really is the linchpin for the whole design… it took a good extra hour or two to get them nailed down.

So early evening I finally got to shooting black paint.  Here we have the left shoulder swoosh painted black.
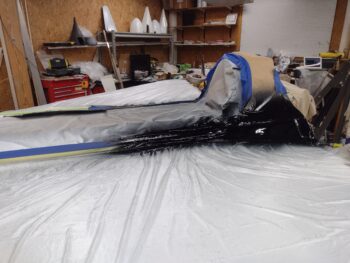
And the same on the right side.
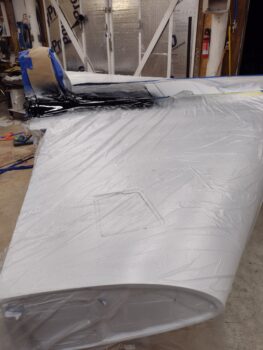
And the nose stripes both on the right (pic 1) and the left (pic 2).  Those of you with an eye for detail may note that I’m carrying the blue center field and black accent stripes to the nose SUB-structure (under the aft nose/avionics cover) for some hidden bling… yes, took an extra 20 minutes to tape up those stripes (worth it!).

When loading my pics I realized that I had forgotten to grab shots of the top cowling and aft nose cover black stripes.  Probably because I shot those out under the carport, so out of sight, out of mind.  But those are done as well.

Tomorrow I plan on knocking out the gas cap installs into the strakes.  Jess had me busting out laughing when she asked how my “gas-holes” were coming along.

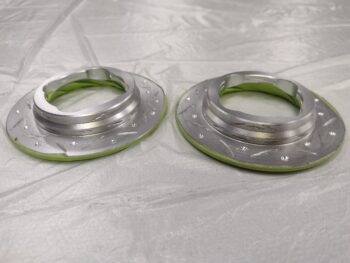
Here is the underside of the gas cap collars/retaining rings, with the original clean undersides (pic 1), and then after I Frankensteined them with Dremel grooves and drilled divots for extra flox grippage (pic 2).

Again, another very late night, so with the “gas-hole” collars ready for install, I called it a night.

Chapter 25 – Fuselage in primer

I was able to get the fuselage mostly prepped for primer last night, so this morning I wheeled it outside and did final degreaser wipe down and prep for primer.

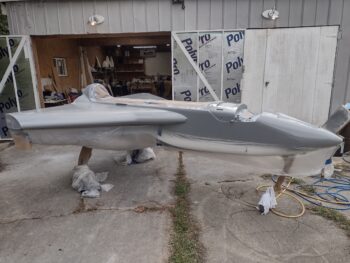
I then shot 2 medium coats for the first round of epoxy primer (gray) for the fuselage (strakes, nose, etc.).

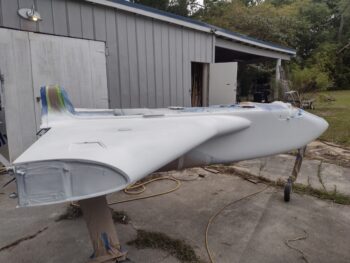
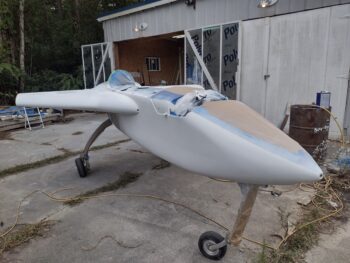
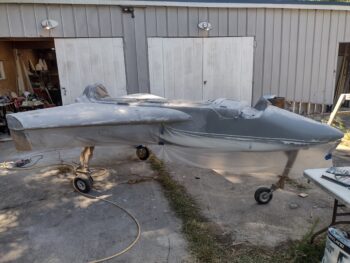
Another shot of the fuselage in gray epoxy primer.  Obviously the bottom half of the nose and fuselage, already in white boat paint primer, is taped off.  That will get a sealer and then topcoat along with this primer later on.

Much later in the evening, I hit pinholes, scratches and divots with Icing filler, and some of the rough/low spots with gray 2K high build primer.

More shots of nose and fuselage surface cleanups with Icing filler and high build 2K primer.

One last shot of Icing filler and 2K primer on the epoxy primered fuselage/strakes.

It was quite late by this point, so I called it a night.

Chapter 25 – Gear legs painted

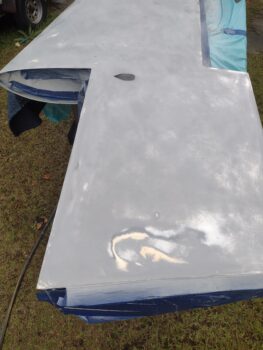
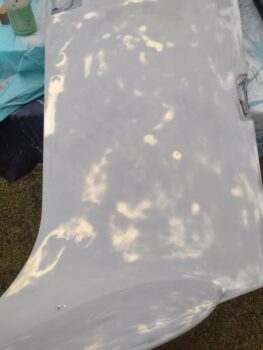
I started off today wet sanding the gray epoxy primer on the bottom of the left wing.  You can see on the inboard side (pic 1) the swirl that resulted from repairing yet another delam a while back.  On the outboard side (pic 2) there is a fair bit of micro showing through, which means as thin as the epoxy primer coat is, there is a good bit of leveling and smoothing occurring with each epoxy coat (1 gray/2 white) and each round of sanding.

With the first epoxy coat (gray) sanded, I prepped and shot the second coat of epoxy primer (white) on the bottom of the left wing.

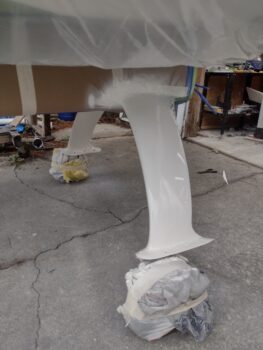
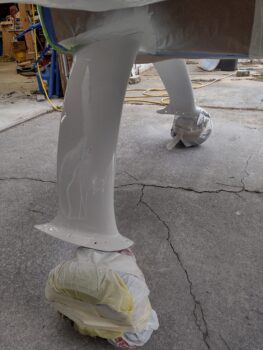
Last night I had spent a good bit of time taping up around the main gear’s top intersection fairing on each side.  Today I finished the prep and then rolled the fuselage outside to shoot the gear legs with white paint.

They say that a nice glossy paint job is when it is right on the verge of running, and my gear legs looked pretty darn good … ahem! But I did have a few distinct runs that I had to fix at this point before it dried (what a royal PITA!).

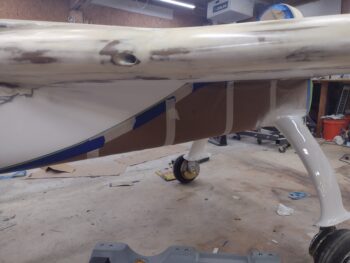
Another shot of the painted gear legs and the taped up blue and black paint on the bottom of the fuselage.

I then finished taping up the top of the fuselage and nose, getting the cockpit bits buttoned up for the ensuing primer and paint.

Here we have the strake ends, CS spar and firewall taped up for primer and paint.

And also the left (pic 1) and right (pic 2) strake storage compartments buttoned up, so that just the door flanges will get primer and paint.

I know I said that I was done shooting actual paint.  However, with the amount of work and time it took to tape everything up on the fuselage, strakes, nose, etc. I decided to PRESS FORWARD on the fuselage and strakes and finish it to paint.  I DO NOT want to go through this goat rope again, especially on a flying airplane!!

Get ‘er done!

Chapter 21 – Finalizing wing primer

Again, this post covers the past couple of days…

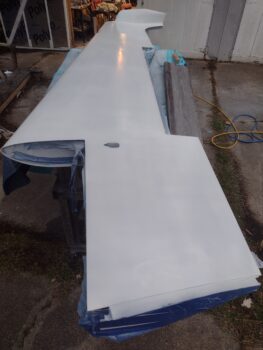
Here’s the right wing top with its first round of white epoxy primer.

And another shot from the finished (primer wise) winglet side.

On the left wing I hit it too with a coat of white epoxy primer.

Also a shot from the winglet end of the left wing.

I also shot the outboard sides of the rudder and the left strake hatch door with white primer as well.

After a good while (maybe even the next day?) I filled the depression on the top of the left wing where I repaired the delam.  I’ll do a final coat on that when I flip the wing back upright… see below.

I also gave the aft nose/avionics cover a thorough sanding as well.

Jess helped me flip left wing inverted onto the elevated wing dolly (that’s on it’s last leg).  I then shot the bottom of the left wing with gray epoxy primer, and at some point during the day we got a quick rain shower before the sun came back out… thus all the gray water spots.

Before I sanded down the gray epoxy primer I filled all the pin holes, low spots and scratches with Icing filler.

Tomorrow I’ll sand the bottom of the left wing and hit it with its first coat of white epoxy primer.

Nugging through this primer/painting!

Chapter 22 – Fun with primer

Again this post covers the last couple of days.

I started off with sanding down the white epoxy primer on the bottom of the right wing.

Next I had to deal with a delam on the left wing that I had grabbed a photo of last week when I suspected I had a bit of a high point on the wing top.  After leaving the wing out in the sun for the primer to cure, I definitely saw the delam grow a good bit, only to shrink when the wing was cooled down.

After quarter-tapping the wing top I confirmed that I did have a delam (better now of course than after final paint).  Since I wanted to do a final white epoxy primer coat on the topside of the left wing before flipping it inverted, I went ahead and drilled and injected the delam.

My buddy Guy Williams was just arriving to help me out during this process, and he assisted me running a tie-down strap over the delam and a couple pieces of wood, with weights on both sides.  I then added a lot more weight on top to ensure the delam’d glass was fully compressed onto the underlying wing foam.

I grabbed this shot late in the evening after I pulled the weights off the delam repair, but it shows the right wing (foreground) off of the elevated dolly and sitting upright on sawhorses.  Guy had helped me do the final wet sanding of the bottom primer on the right wing before flipping it over and off the dolly.

Throughout the day I had been filling divots and pinholes on all the components I shot with gray epoxy primer yesterday.  I then sanded down the Icing filler before shooting some areas that needed a little build up with 2K high build primer.

Here we have the top cowling, ready for another round of sanding tomorrow before I final coat of epoxy primer.

And the same thing with the bottom cowling.

The aft nose/avionics cover shot in 2K primer after pin holes and divots were filled with Icing filling and sanded.

I also did a good bit of filling and sanding on the RAM air scoop/hell hole cover before shooting it with 2K primer as well.

I then lightly wet sanded the top of the right wing (pic 1) to prep it for its first coat of gray epoxy primer (pic 2).

I also popped the taped wood circle off the top of the left wing delam repair (pic 1) and then cleaned up the wing surface (pic 2).

After the right wing top epoxy primer cured, I used the Icing filling to fill in pinholes and fill small divots.

And then wet sanded it in prep for its next coat of epoxy primer (white this time).

I shot the white epoxy primer on the right wing top, but didn’t get a pic of it since it was dark outside when I finished.  I’ll grab a shot of it tomorrow in the daylight.


Chapter 25 – Shooting paint!

This post covers the last couple days.  And while much better, my man cold continues to linger slightly.

That being said, the combat painting continues!

I started off by popping the new-edged aft nose cover off the taped-up canard.  Here you can see the rough, cured flocro’d edges of the cover that meet up with the canard top.

I then dove in and painted the canard with the Nason white paint that I have on hand.  It’s a really good quality paint, I’m just not a good quality painter! ha.

The bottom of the canard (of course) came out better than the top, with significantly less orange peel across the board.  The right side canard isn’t too bad, but the left top is by far the worst regarding orange peel (yes, I choose to dwell on the negatives!).

One last shot at the canard in white paint.  Not perfect, but as far as combat painting, this dog will hunt!

I also knocked out both sides of the elevators and the ailerons in white paint, one side per day.

And of course we have the “test subjects,” which I actually shot first with white paint.  Not bad, but also replete with a good bit of the dreaded orange peel here and there.

At the end of day 2 I was ready to finally get the aft nose/avionics cover slathered up in gray primer… a big milestone, if not at least in my mind.

I also got the top cowling in gray primer as well.  I had epoxy wiped the exposed micro to ensure no (extra) pin holes appeared.  That seemed to do the trick as far as the micro’d areas, but the carbon fiber itself doesn’t seal perfectly when epoxy wiped so I have a good number of pin holes to fill with the Icing.

I also hit the left side strake hatch door with gray primer to begin its journey of someday getting painted as well.

I had some extra gray paint in the gun so I quickly finished sanding down and cleaning up the bottom cowling, then hit it with a solid coat of gray epoxy primer.

I’ll note that I’ll spend a day or two cleaning up all the above gray epoxy primered components, but I’ve decided that for time’s sake I’m going to press forward towards first flight with the cowlings in gray primer and the wings, fuselage and strakes in white primer.  Painting is taking too much time for the quality I’m getting not having a paint booth… I need to figure that one out.

So I guess when I say “combat painting” from here on out, I actually mean “combat priming!” . . .  still, pressing forward.

Chapter 25 – Canard-to-cover fit

Today I finally got around to sanding the white epoxy primer on the canard, the elevators and the ailerons.

I then spent a good hour fine-tuning the nose/sidewall pockets to accept the ever so slightly thicker canard —due to the added primer (I guess).  This effort included getting it so that both top (mod) and bottom (per plans) canard bolts were mounted… all together.

I then mounted the aft nose/avionics cover, traced the cover’s canard openings with a pencil on the canard, and then covered those lines with blue painters tape.  I then closed the cover again, repeated the marking process on the blue tape, only this time with a Sharpie.  I then added clear packing tape over the blue tape and then wetted out some strips of peel ply on the nose cover-to-canard seam lines.

I then whipped up some flocro and slathered up the edges of the canard “openings” on the aft nose/avionics cover.

I then closed the cover, and cleaned up the flocro that filled the seam betwixt nose cover and canard top.  I left this to cure overnight.
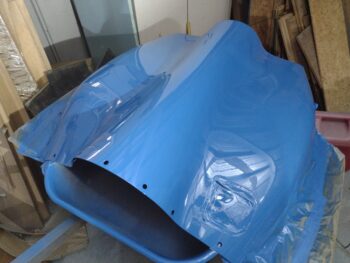
And of course I checked again to see how my canard top profile is doing, in a few spots along each side… still looking great!

Here we have the canard completely mounted with the aft nose cover completely installed as I knock out the final fit and finish… a shot of each side of the canard.

And a lone shot of the right side of the canard and nose cover (pre-seam fill)….

As well as from the left side.

It was getting late but I installed the upper cowling to add it to the assessment of the aft canopy skirt to Turtledeck seam alignment (since I just did the final tweaking of canopy frame to left longeron).  The top cowling will be in primer soon, so I wanted to do this assessment in case any aggressive sanding needed to be done and not mess up any primer on the cowling.

Still MUCH to do with finishing and priming, but I suspect I’ll actually start shooting PAINT here soon.  Pressing forward!

Chapter 25 – Prerequisite City

This post covers the last couple of days… and yes, my man cold is persisting.  Thus, I’m still “pacing” myself and taking more breaks than I normally do during a work day.

I started off by shooting white epoxy primer on the complete outboard side of the right winglet and only the top portion (below the inverted wing) of the inboard side of the right winglet.
I may have shot another coat on the winglet, but it turned out that I only had enough in the cup for a single coat on all my targets, with just a bit extra to hit some of the light areas (i.e. not covered by gray primer) showing through.
That being said, I shot the inboard side of the right rudder with a single coat of white epoxy primer.

I’ll note that these light coats are very acceptable, as after the white epoxy primer is applied I’ll only be using 320 & 400 grit sandpaper to minimize scratches in the primer so they won’t show up in the final paint.

Plus there’s always the concern about weight: the bare minimum coverage here being the goal.

Finally, I shot the nose hatch door with 1 coat of white epoxy primer.  I’ll make another note that on this guy in that I would have been perfectly fine with going straight to the blue topcoat paint over the gray epoxy primer, except that I filled a number of divots with the Icing putty, which should have a sealer coat over it prior to topcoat.  Thus the white epoxy primer.

Back on the fuselage —which I’m trying to finish up to get it to primer/paint— I finally got the added, added, added micro (there was even another slight micro fill required from what I last reported) contour sanded and epoxy wiped… 4 coats of West epoxy.

Now, there is one more task before I get to primer on this guy.  I have to install the canard and do the final bottom edge fill at the openings of the cover to minimize the gaps (and thus unwanted air blowing into the cockpit) between cover and canard top profile.  That is a priority task and should be in one of the next few that I do.

After having just noted a priority task above, a somewhat sideline task that I had not thought much of at all during this build is the rudder pocket drain hole. . . until I started wet sanding the left wing.  I kept finding the rudder pocket full of water and the only way to remove the water was to sop it up with a rag or paper towel.  It made me realize how much water could be in that pocket if the bird happened to be out in the rain overnight (say, at a fly-in).

Here’s the High Speed Rudder plan’s depiction of the rudder pocket drain hole:

I didn’t do the 1/4″ drain hole, but rather a 3/16″ hole.  I then went rogue even further by using a 1″ piece of 3/16″ Nyla-flo (1/8″ ID) micro’d into place.  I used the Nyla-flow since with the winglet intersection fairing fillet it’s about a 3/4″ thickness between inside rudder pocket to exterior skin.  I figure water will find its way out even with only a 1/8″ diameter exit.

Here we have the inside of the left rudder pocket with the Nyla-flo just peeking behind the right most visible rudder cable before it goes into the wing end.  Of course this was just for this pic, afterward I pulled the Nyla-flo outward so that the top edge was just even with the rudder pocket floor.

I then did the same thing on the inverted right wing.  Here is the initial small diameter drill bit sticking out of the wing-to-winglet corner intersection in the fairing’s filet.

And here is the Nyla-flo peaking out.  I had a pic of the inside as well, but it turned out very blurry, so no joy on that.  Also, I will NOT be leaving any Nyla-flo exiting the surface, but will trim off the excess once the micro cures.

I also finally got the left strake hatch door Hartwell button latch installed in place with cherry pop rivets.  After the many machinations of getting the top contour and height of the door dialed in, it took a good 20 minutes of sanding the button holes to get the latch to fit right and level with the door.  It’s still not 100% perfect, but definitely good enough to not be egregious and still function completely as designed.

Ok.  A lot more sanding, filling, priming, painting to do… but slowly getting there!