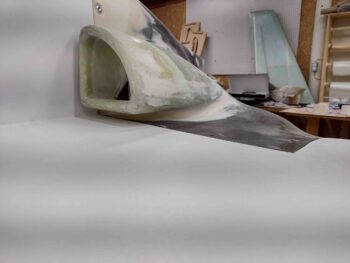
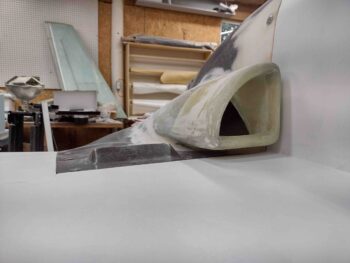
Chapter 24/25 – Main gear fairing

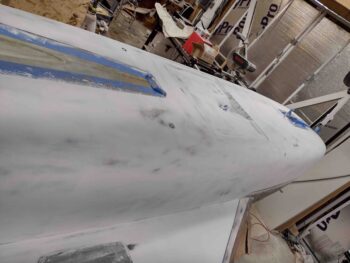
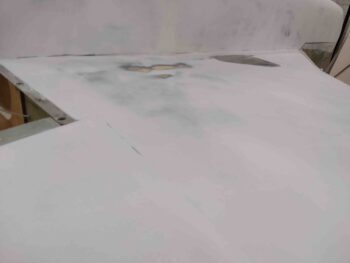
Today I spent about 4 hours wet sanding the white primer on the bottom airplane surfaces: fuselage, nose, strakes and wings.

I used 220 grit wet sandpaper for this round, but still have a few areas to finish up like the landing brake depression and the very front of the nose.

In addition, after I finish wet sanding with the 220 grit, I’ll hit at least the wings and strakes with 400 grit.  Most likely the fuselage and nose as well.

Lastly, I’m strongly leaning towards not reapplying primer before pressing forward with paint… for a few reasons: 1) Cost: this primer is not cheap, 2) Time: in applying it, cure time and resanding, 3) Weight: Why add more weight if it’s not truly required?

Moreover, keep in mind that this is all primarily the bottom surfaces of the airplane, and although I highly doubt that there would be any color bleed through from non-white surfaces showing through, any very minor color variances (if it were to occur) would be on the least visible part of the plane: the bottom.  That being said, I will do spot applications of primer and/or filler for any pinhole, divot or depression.

As par usual, the corner junction between the strake and fuselage was the trickiest to sand.  Why? Well, since these surfaces are 90° to each other, it’s a bit tricky to sand one side fully with out nicking or digging into the other surface.  Yes, doable… but it takes some time and patience

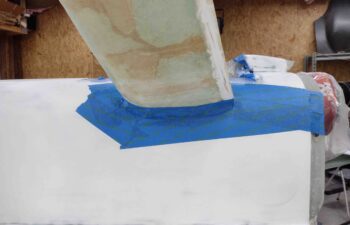
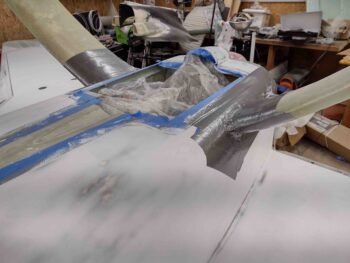
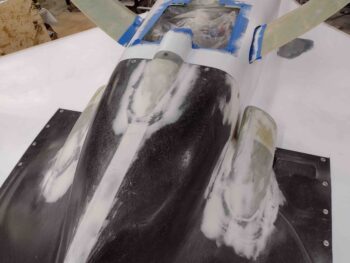
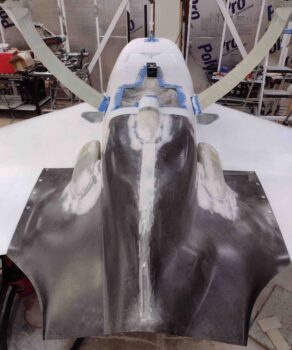
With over 90% of the bottom surfaces wet sanded, especially the areas on the lower aft fuselage around the gear legs, I then proceeded with filling the gaps in the fuselage at the main gear legs with plastic shopping bags.

I then taped the filled gaps with blue painters tape.

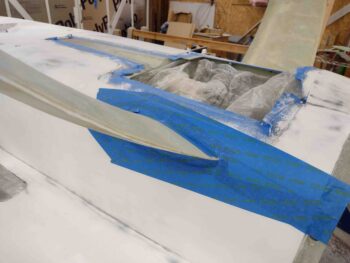
Again, I filled the gaps with plastic shopping bags and then covered the gaps with blue painters tape… here’s another view.

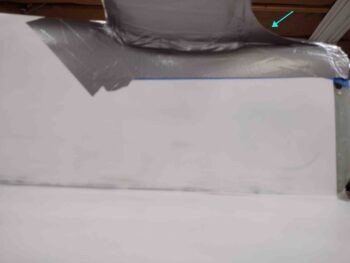
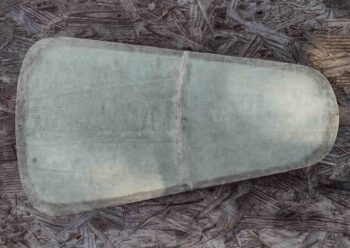
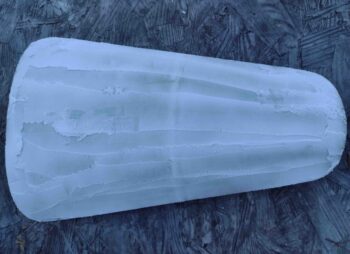
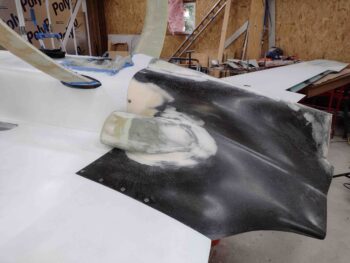
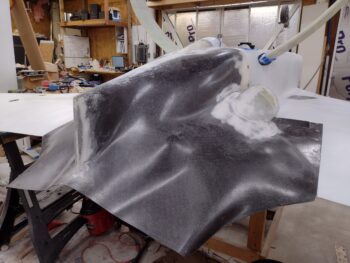
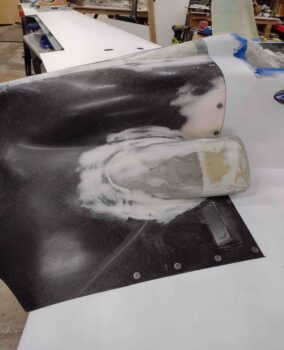
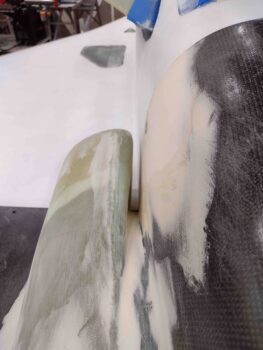
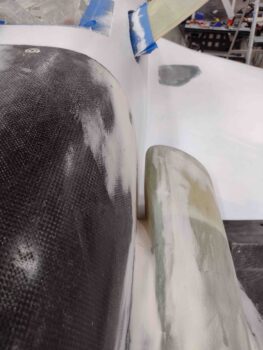
I then spent well over an hour creating and dialing in the shape of the aft fairing swoosh on the main gear legs (light blue arrow).  This isn’t the best pic, but my other pic was blurred and I didn’t catch it until it was too late.

After my taped cardboard fairing swooshes were taped in place and very close to symmetrical, I then taped up the area around the gear legs’ exit on the lower aft fuselage, and also the first top 6″ or so on the main gear itself.

It was getting fairly late and I knew the initial 2-ply BID layups were not going to be simple ones, so I called it a night.  Moreover, I’ll need to create the actual fairing transition with model clay —prior to any layups— and I’m sure that’s going to take a bit of time as well!

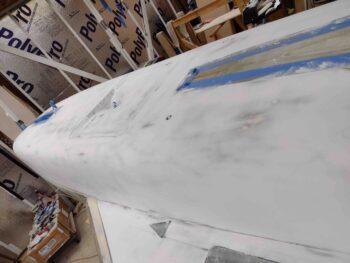
Chapter 25 – Sanding bottom primer

Based on my latest bottom cowling test fit on the fuselage, today I started off by slathering up the areas requiring micro finish refill.

I may need one more refill session for just a few areas I may have missed, but this fill session gets me really close to complete on the bottom cowling “micro” finish.

Whilst I was in the micro finish mode, I went ahead and sanded and cleaned the top nose hatch door to prep the glass for micro.

Which I then mixed up and slathered on.  Note that since I do plan on painting the top of the fuselage, canopy frame and nose the medium blue I concocted, I will not be putting on or mixing in any of the West 410 filler since it should not be used under darker colors if subject to direct sunlight.

I the grabbed my landing brake which had a good coat of white primer on it.  As par usual, I used the landing brake as a test piece to try sanding it with my orbital sander with 220 grit paper loaded up.

I have to say it worked very well.

So well in fact, that I spent the next 3.5+ hours sanding the white primer on the bottom of the fuselage, nose, strakes and wings with the orbital sander loaded with 220 grit sandpaper as an initial block sanding of the primer (sorry, no pics).

Tomorrow I’ll hand wet sand the primer to really dial it for paint (preferably) or a subsequent round of primer.

Chapter 23/25 – Bottom cowl final fit

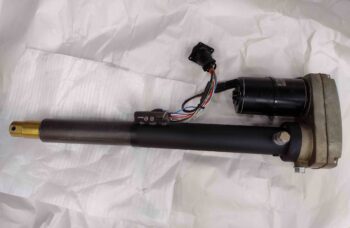
Today I started off by acting on some intel that I received when I called Jack Wilhelmson about the nose gear lift that he makes… specifically about the rust it accumulated on both the upper and lower tubes.  Jack noted that it was probably surface rust and that both tubes were sandblasted and treated with black iron oxide before assembled, so they should be quite rust resistant.

With my newfound information in hand, and following Jack’s recommendation, I simply cleaned up the bottom (inner) tube with some fine steal wool and then oiled it up really well.

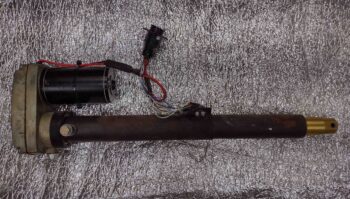
Here’s the AFTER pic of the nose gear lift actuator all cleaned up.

And as a reminder, here is a BEFORE pic after I just pulled it from the plane… it had been mounted for many years, so this time around I want to ensure it stays rust free for as long as possible.

Once again I’m remiss in my blogging duties since I failed to get pics of the the initial micro finish application on the cowling yesterday.  Anyway… this morning I sanded down the “micro” finish before placing the cowling in place on the plane.

The following are pics of the cowling in place as I do the final dial-in to ensure the cowling fits well at all the interfacing junctions before I finalize the finish and apply epoxy wipes.

As you can see, not too bad… if I say so myself!

Here’s an overhead view of most of the CAMLOCs in place, as well as the cowling seams with the wings, strakes, and fuselage.

Aft shot of the cowling in place.

And the corrected divots at the cowling sides-to-fuselage sidewalls… much, much better both visually and aerodynamically.

Here’s a shot of the cowling to right strake/wing interface.

And a shot of the left side.  Again, I’m very happy with the bottom cowling fit with all its interfacing junctions.

I did note a few more spots on the bottom cowling that will need another round of “micro”/West 410 fill, which I’ll knock out tomorrow.