Chapter 6 – Part Deux (or Zwei!)

Welcome to Germany!

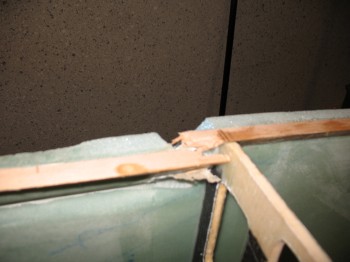
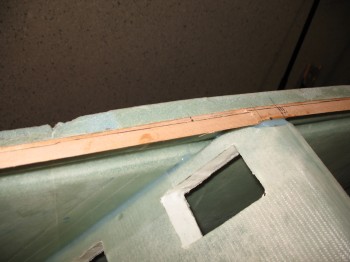
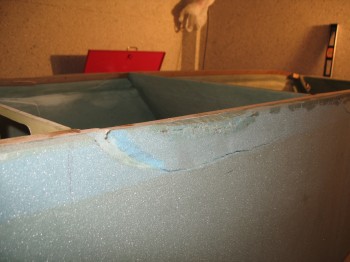
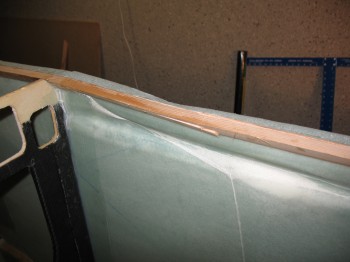
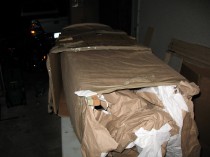
As for the actual build in Germany, I’m starting out with a deficit: I didn’t realize until after I unpacked my fuselage here in Germany that the movers had cranked down too hard on the cargo straps and cracked the lower longerons (stringers) in two places and crushed the foam in the lower middle section of the fuselage (I had briefed the moving crew on how to pack it and tie it down… for some mysterious reason they didn’t listen).  So, while April was a month of preparations, May will be a month of fuselage repairs!

9 May 12

IMG_07

IMG_09

IMG_011

IMG_014

As you can see, the damage is fairly extensive.  Although I have tons of BID and UNI cloth on hand, I don’t have any lengths of triangular Spruce, so immediately ordered lengths of 3/4″ triangular longerons from Aircraft Spruce.   My next step is to prepare a plan for repairing this fuselage damage. Continue reading

Germany Shop Preparation

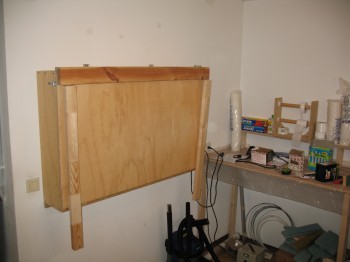
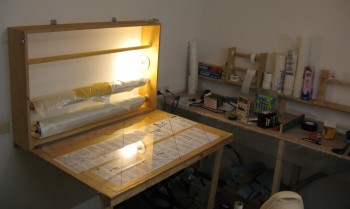
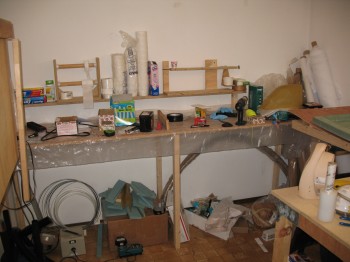
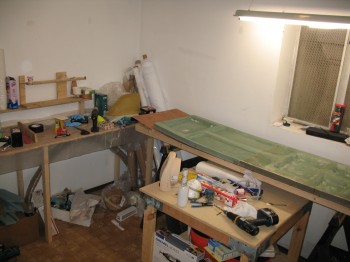
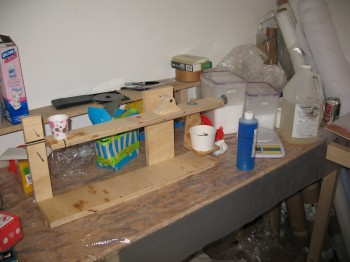
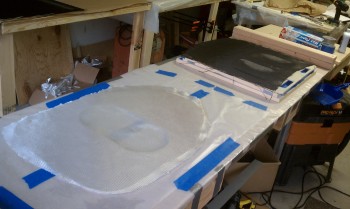
I had to get my shop organized and put together before I could start building again.  I shipped my glassing table, my roll-around bench and my long work bench over to Germany.  Below are some pics showing the preparation of the shop and getting things like the epoxy ratio balance re-calibrated.

Newly mounted Glass Storage/Cutting Table


Folding Glass Cutting Table - New Digs


House workshop


House Workshop & Fuselage Bottom


Recalibrating Resin/Hardener Ratio Balance

Unpacking the Boat (AKA “Fuselage”)

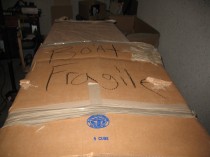
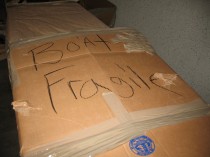
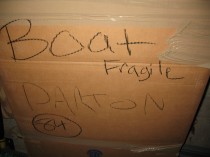
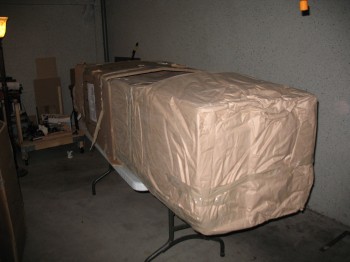
Today starts the actual unpacking of the boat, or shall I say, the fuselage.  Apparently my next door neighbors thought it would be cute to pull a fast one on me!  When talking in my garage/shop one day, they asked me what I was going identify this “thing” (said snidely) sitting in my garage that I was going to send over to Germany.   Well, a few weeks earlier I had seen on one of the blogs where a guy had shipped his fuselage as a “boat,” which I thought was pretty darn funny.  So I snarkily (it’s a habit of mine!) said, “a boat.”

Well, due to a scheduling SNAFU in Virginia, the movers had picked up my fuselage while I was at the firing range.  Luckily,  my ‘trusty’ neighbors helped out with overseeing the movers pack my stuff.  Well, apparently they told the movers it was just, in fact, a boat.  What made it really funny was fast forward three months later in Germany when one of the guys unloading the truck asked me where I wanted my “boat.”  I thought his English was a little shaky!  After a few repeats, and a growingly impatient mover, I finally understood what he was saying and ran out to the moving truck to see them, in fact, lowering “a boat” out of the truck!  Well played my friends . . . well played!

Below are pics of unpacking “the fragile boat”!!!

Unpacking the fuselage (aka "boat")

JUST IN TIME INVENTORY … Whew!

Wow, talk about getting it in under the wire!  Before I placed my order with Larry & Mike at Feather Lite, I had to know for certain whether they could deliver by the end of June.  I wasn’t sure when I placed my Feather Lite order when the movers were picking up my household stuff to ship to Germany, but I figured it may be late June.  Luckily, I was wrong.  Still, God Bless ’em, delays set in and I didn’t get my Feather Lite stuff delivered until AFTER the movers had picked up Household Goods!!!  I figured I would have to go through the goat rope of getting a subsequent shipment set up… not fun and tons of paperwork, power-of-attorney, etc.  Doable, just a lot of pain.

But!!

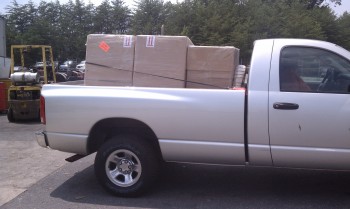
Today, Monday, 30 hours before I get on the plane to Germany, I got a call from the shipping receiving warehouse down near Quantico, VA, and they say that my stuff is HERE!  Since I’ve already shipped my vehicle, I call up my buddy Dickie and ask him to borrow him and his truck.  Luckily, he’s available.  I also call my moving company and they (thank God!) aren’t shipping my household stuff out until tomorrow, so I can still get this stuff crated up.  We run down to the terminal, pick up the Feather Lite Order (which consists of the three HUGE boxes and the main landing gear bow) and get it to the moving company to be packed and shipped.
Feather Lite Order Delivery

Yes, my friends!  Talk about the skin of your teeth!

The three crates show above from left to right are two boxes of cut/shaped blue foam, the carbon fiber cowling, and the main gear bow (at the front of the truck bed).  Below is a breakout of this order from Feather Lite:

  • Wing Cores
  • Upper Winglets
  • Lower Winglets
  • Roncz Canard
  • Roncz Elevators
  • Carbon Fiber Cowling (upper & lower)
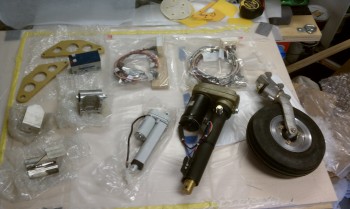
  • Main Gear Bow

A few people have asked me why I didn’t go with Eureka CNC for my wing cores, if I was going to buy them vs. make them.  Well, the answer is that I tried to.  Although Eureka costs a bit more, Steve was also in the midst of a military move when I needed my cores and he just couldn’t meet my timeline.
Chapter 6 – Shaping Fuselage Bottom

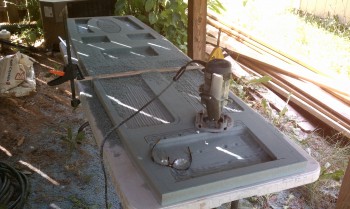
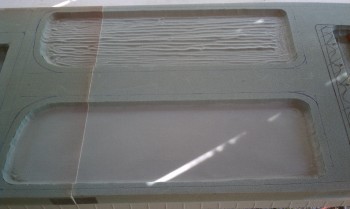
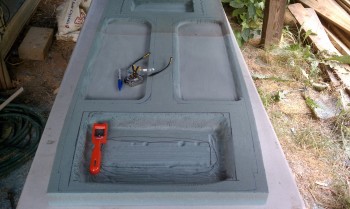
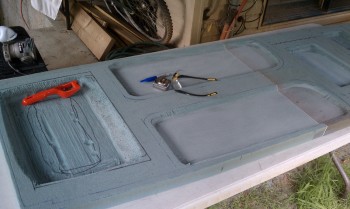
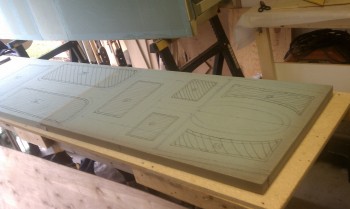
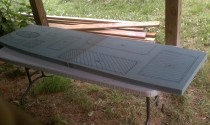
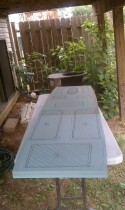
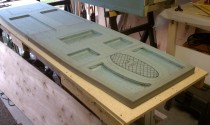
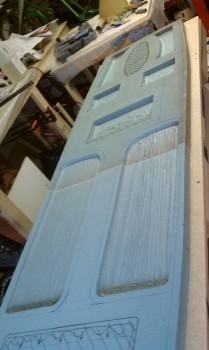
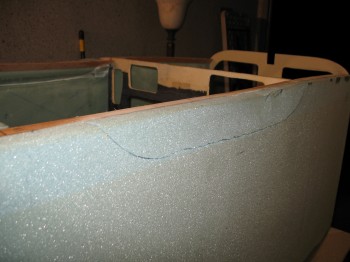
Today, making a mess was the name of the game.  Definitely had to wear a mask to keep from ingesting pounds of fine blue foam!  I used a plunge router to start, then moved into using an orbital sander and some perm-a-grit hand carving tools.  Obviously there’s no effort in cutting foam, (with a power tool, it takes a little effort by hand!) but since the resistance is low then I had to be careful when close to the lines.

 IMAG0179

IMAG0180

IMAG0181

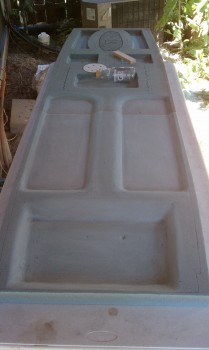
 The process continues: Removing lots of foam, creating a gross outline of the individual areas, transitioning and then smoothing it all out.  I started from the rear half and moved forward.

Fuselage Bottom - Rear Seat Area

Shaping Fuselage Bottom

I started this step mid-morning, and tried to stay in the shade not just because of keeping the sun off the foam, but because it was pretty darn hot as well.  I worked well into the late afternoon and slowly nugged my way through this beast!


Chapter 6 – Fuselage Bottom

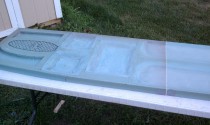
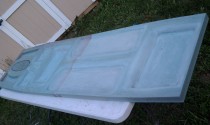
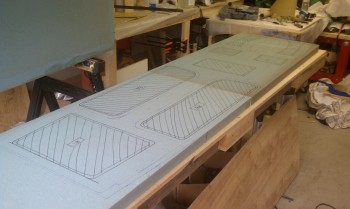
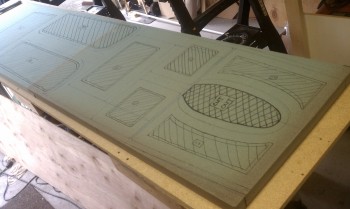
The fuselage bottom is made up two pieces of 1-3/4″ thick Divinycell foam micro’d together, then shaped into a boat, or football, shape.  Although my fuselage is shaped a little differently than the plan’s shape, it really doesn’t matter with the steps used to figure out the outline of the fuselage bottom.

Chapter 6 - Fuselage Bottom Mark-Up

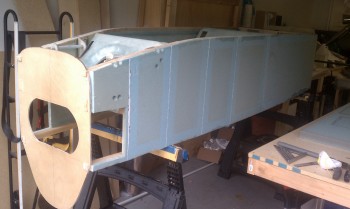
The fuselage assembly is simply turned upside down and the fuselage bottom is placed on the bottom (which is now the top) of the fuselage and positioned equidistant from each side and abutted to the front bulkhead F22.

Chapter 6 - Fuselage Bottom Mark-Up

Once the fuselage bottom is in place, it’s weighed down to conform to the shape of the fuselage bottom.

Chapter 6 - Fuselage Bottom Mark-Up Detail

Then I climbed up underneath there with a Sharpie and marked the outlines of each compartment.  Then the weights came off and I followed the dimensions spelled out in the plans to create the marked up areas that will be formed into its final shape.

With the mark-ups complete, now it’s time to actually cut out the outside shape of the fuselage bottom.  Once I got the outside shape cut, I took it outside to start getting all that foam out of the marked-upped areas.

23-June-5

There are specific depths for each area, and obviously all the transitions need to flow together smoothly.  The process definitely takes a bit of time, and it does get fairly messy with all that blue foam!

Firewall & Fuselage Width Update

Aside

I had ordered my Carbon Fiber cowlings from Feather Lite, but with a twist: Mike & Larry were going to put a joggle down the center of top and bottom of the cowling so that I could adjust the cowling widths to my new wider fuselage.  Unfortunately, as they played around with the original plugs and molds— [these were the exact same molds that Mike Melvill designed for his armpit scoop cooling design that he installed before his round-the-world trip with Dick Rutan] —they realized that it was just too problematic and difficult to put the joggles down the center of the cowling halves.  Plus, it would add significantly more weight, minimizing the benefits and increasing the cost, thus nearly negating the reasons for using CF on the cowlings to begin with.

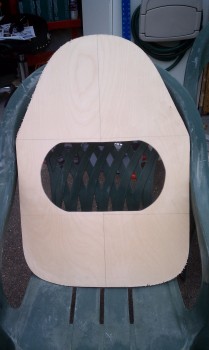
Thus, I would have to go with the original cowling size, meaning I had to trim my firewall down to it’s original plan-sized dimension.  Of course, the firewall being back to its original size does nothing for me if I can’t mount it to my top & bottom longerons… which was the case since my rear seat was widened by 1.2 inches.  So I recalculated everything, and not wanting to have go after my front seat (read: cut)  I compromised (the art of engineering, eh?) and narrowed my existing modified rear seat back by 0.4″ to only 0.8″ over stock. Which still is a decent amount of extra room in this narrow of a fuselage.

The one effect it did have was that it accentuated the curve of my cockpit to make it even more football shaped (fatter at the center, and narrower at the ends).  I’m not an aerodynamicist, but I have had some folks say that my shape is less desirable and less efficient than the original design.  Regardless, I think it will still fly even with a potential small increased drag penalty.

Back to Chapter 4 – Instrument Panel

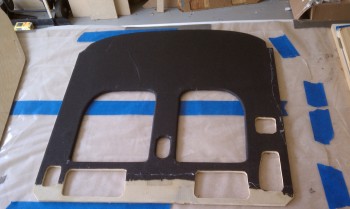
Ok, obviously by just the fact that I’m building an “experimental” airplane hints that I like to experiment, at least a bit.  I thought quite a lot on how I wanted my instrument panel to look.  I wasn’t sure exactly at first, but then finally I figured I would make the top layer Carbon Fiber on the front face of the panel to A) Add stiffness and B) Add coolness.  I ordered some CF in my last Aircraft Spruce order and after it came in, I assessed it one last time and decided to pull the trigger!

Carbon Fiber Instrument Panel

Back to Chapter 4 – Firewall

After another few discussions with some experienced Canardians familiar with the old glory days of the Cafe Races, I decided on another modification.  Now I’m sure this  may very well elicit some groans and ha-rumphs, and maybe even a few mutterings of how crazy I am, to put it politely.  I decided I was going pulley-less and running my rudder cables from Point-A (rudder pedals) through a curved conduit that traverses through the centersection spar, makes a semi-shallow bend and heads to Point B (rudders).  No fiberglass strands will be hurt in the making of this modification, just merely slightly separated at the holes in the foam so that glass strength and integrity is still in tact on the centersection spar.  So, no pulleys means that I don’t require the pulley brackets, and thus no “ears” on the firewall.

Modified Firewall

Glassing Firewall & Instrument Panel

Once I finished cutting the ears off the firewall, I could get to glassing it (and laying up CF on the instrument panel).