Long-EZ back home!

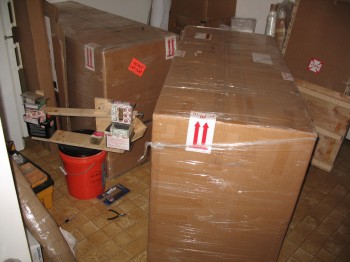
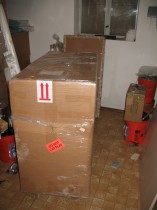
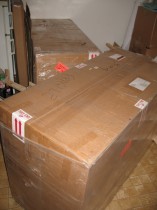
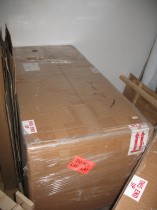
Today all the components that will someday make up Long-EZ N916WP arrived back home!

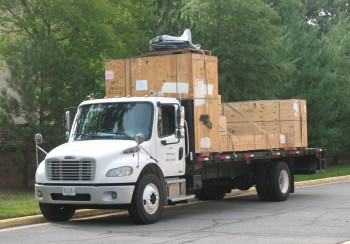
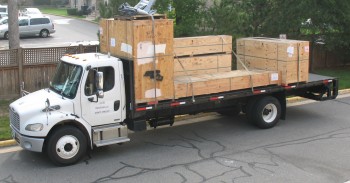
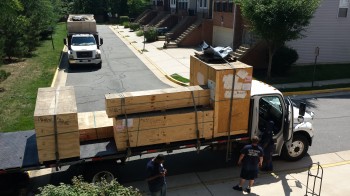
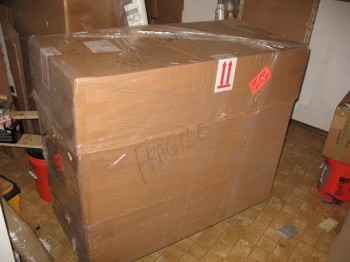
Delivery TruckThe project was crated into 3 big boxes, with the wings being the largest of course.  The large crate at the very front of the truck bed is regular household stuff and the large crate at the very back of the truck bed is my motorcycle.

Delivery Truck

After many hours of unloading my household goods from the other truck, we were finally finished so they pulled this truck into position.

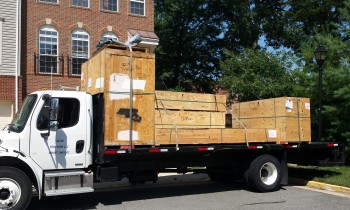
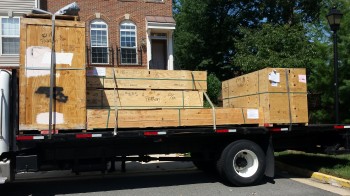
Hello old friend!Again, the wings are in the long, low flat crate located closest to camera (Left side of truck).

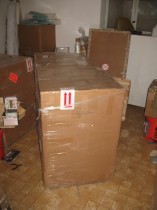
Big boxes!The large lower box next to the wings’ crate is the fuselage, and the long smaller crate on top of the fuselage is the CS Spar and the canard.

Lets do this!

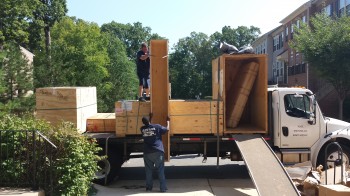
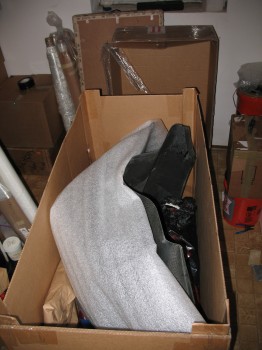
Once the large household goods crate at the front of the truck was unloaded, we were able to start unloading the plane assemblies.  The first thing that came out of the crate was the CS spar.  I don’t know how much experience you’ve had with movers, but I was very adamant about them being slow and careful with these parts, which in the end they were.

CS Spar

I was a little unnerved for a bit since the only thing in the long crate atop the fuselage was the CS spar!  I had watched them put both the CS spar and the canard in the top crate when it was packed up in Germany.  Unfortunately, I would have to wait until AFTER the fuselage was unloaded to ensure the canard was in the wings crate, which is the only place it would fit!

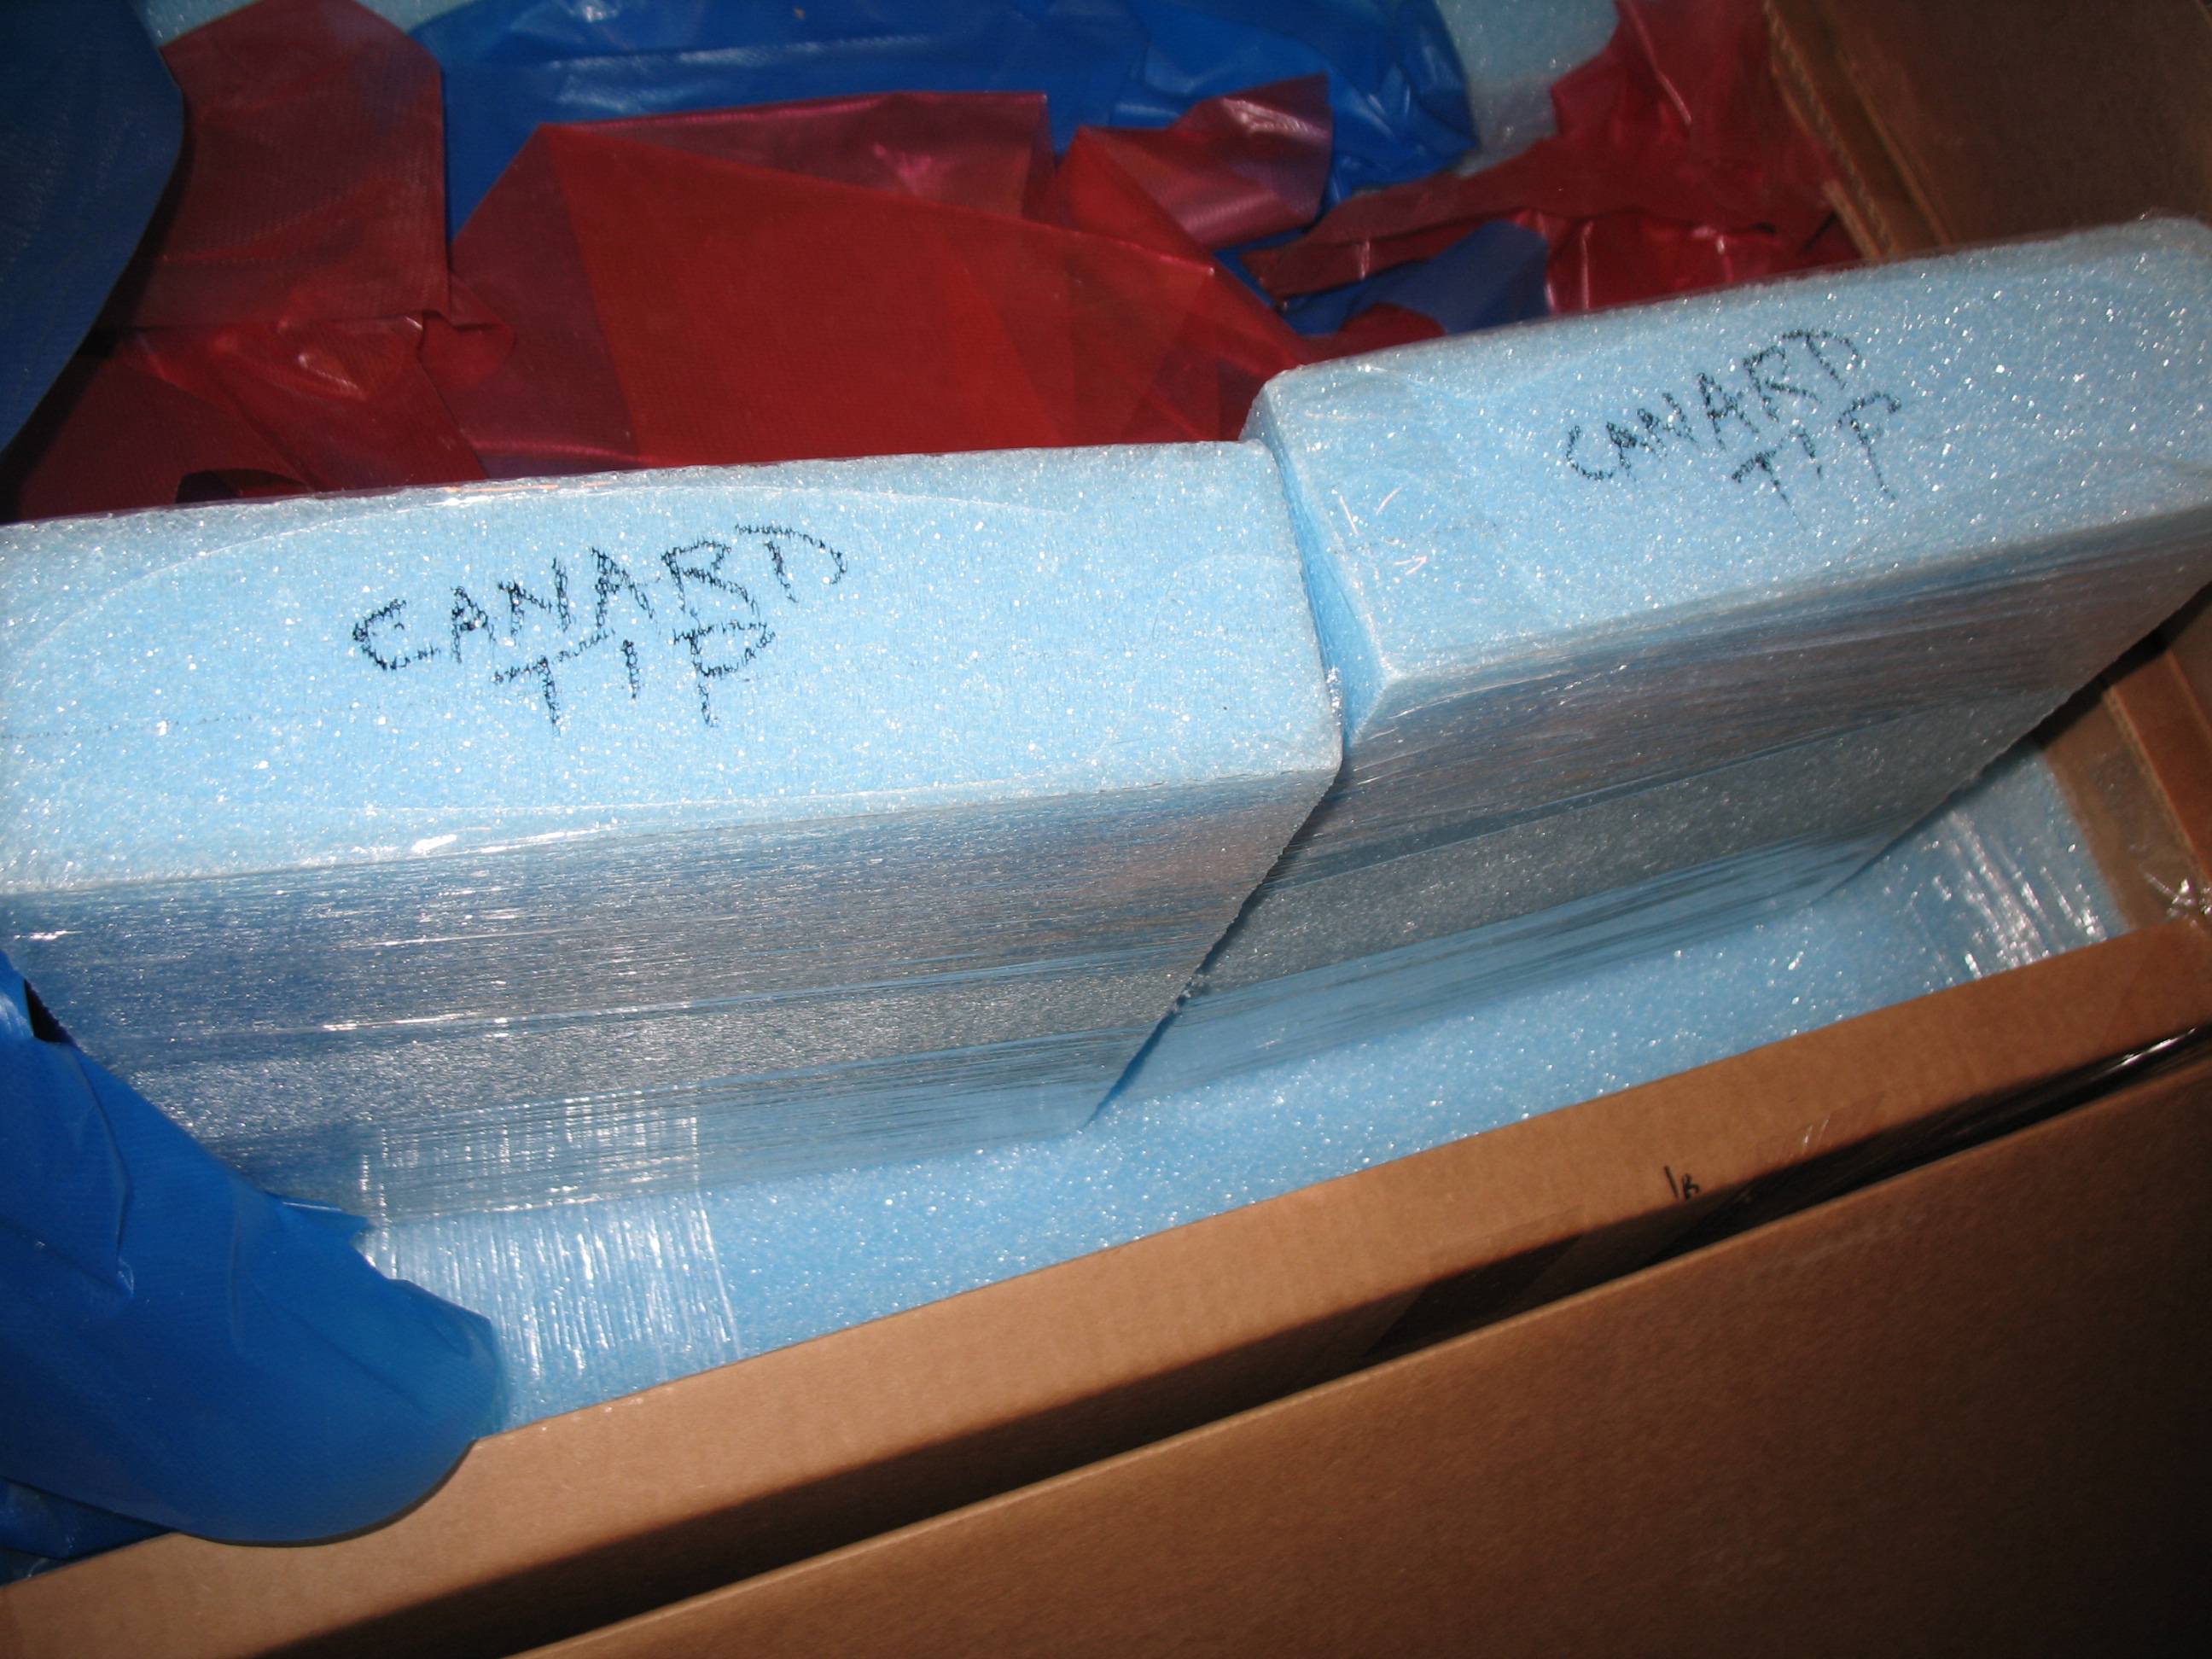
CS Spar and canard crate

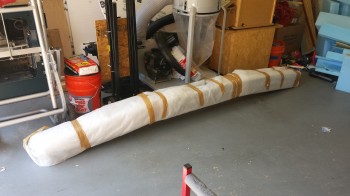
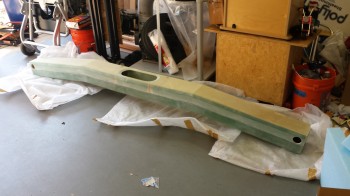
While they removed the empty CS spar crate from the truck I quickly unwrapped the CS spar to check it over and make sure there was no damage, which there wasn’t.

Looking good!

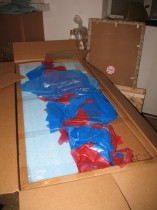
I let out a huge sigh of relief when we cracked open the wings’ crate and I saw the canard laying on top of the wings!  However, I wasn’t overly happy with them moving the canard out of its original crate, where it was in a leading edge-down orientation, to simply laying it on top of the wings.  As a point of note, I had originally stated the requirement that the wings crate be built to hold the wings vertically, but although they said they understood my requirement, they still built it so that the wings laid horizontally, as you see in the pics.

Plane parts

No worries . . . at least everything made it back to the States in one piece and undamaged!  Welcome home Long-EZ 916WP!


Workshop prep – shelves

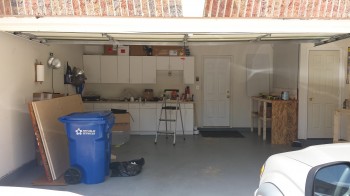
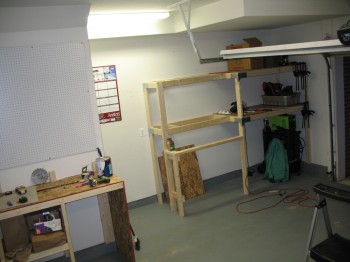
Here’s a picture of my garage workshop in a fairly clean state (read: empty!)

New Workshop!

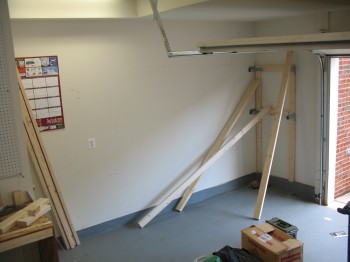
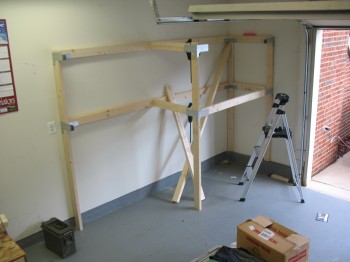
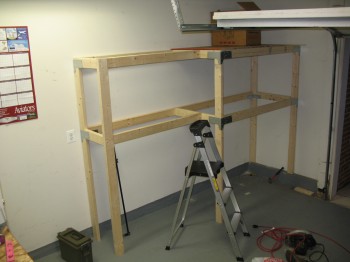
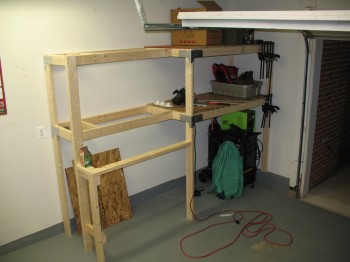
After getting the workbench knocked out, I started in on building some decent shelves along the right side wall in the forward (closest to the garage door) corner.  Since I posted the pic above out of sequence, you can actually see the front corner of the shelving structure in the right side of the pic, just above the hood (or bonnet for some you!) of the truck.

Here’s the beginnings of the shelf project:

ShelvesShelvesShelves

The narrow shelf structure that makes up the left side is a notch I’m making that will allow for a cabinet that will be used for storing the fiberglass rolls.  Of course the front door of the cabinet will rotate out & down for use as a glass cutting table.

Shelves

As you can see in the pics I retrieved my neon green welder back from the clutches of my now TIG-welding crazed buddy Marco (if you haven’t seen his new TIG welder, check it out on his Long-EZ building site).  I also bought a cart (on sale!) at Harbor Freight to put the welder on and keep things nice ‘n spiffy.

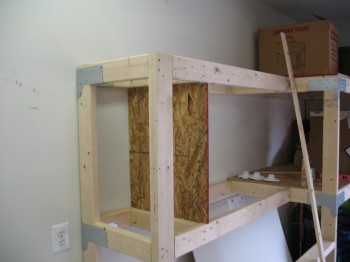
ShelvesThe opening at the narrow side/left end of the shelves is where I’ll place my insulated epoxy/resin hotbox.  Below you can see the back wall of the hotbox.

Epoxy hotbox

If you look closely on the middle shelf, you can see the 3 light bulb fixtures that I pulled off of the ceiling.  These will be re-purposed as “heating elements” for the epoxy and glass storage cabinets.


Checking the Feather Lite Order

Today I tore into the downstairs room that will become the second of two shops here in Germany.  The main build shop will be in the single car garage.  The glass cutting, prep and small layup shop will be downstairs in my house.  It has a fairly large window that vents out to the outside, so ventilation is ok.

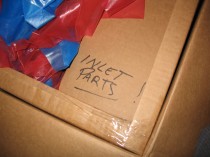
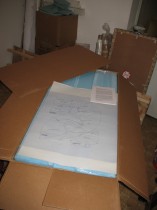
I have three (3) large boxes from Feather Lite currently sitting in this room.  I cracked the boxes open not only out of shear curiosity, but to ensure all the pieces were there and make sure there wasn’t any visible damage.  Two of the large boxes contain the foam cores for all my Long-EZ’s flying surfaces:  Wings, Upper & Lower Winglets, Roncz Canard & Elevators.

Feather Lite Order InventoryFeather Lite Order Inventory

The third large box contains the Upper & Lower Carbon Fiber Cowling halves that were originally designed by Mike Melvill and made off the composite plugs he designed.  The CF cowling weighs around 13 lbs, so its almost half the weight of the original glass cowling.

Feather Lite Inventory - Melvill's Carbon Fiber Cowlings

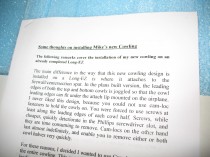
Included in the large boxes were smaller pieces for the cowlings and the instructions on how to configure the cowlings to maximize engine cooling.  Kind of cool thinking how these cowlings have such a significant part in the history of the Long-EZ!


Chapter 3 – Build Prep

Now that I have my shop set up I need make some specialized building tools & equipment. Most of the following equipment is listed in Chapter 3 of the Long-EZ build plans with directions on how to construct them.

I built my first tool, the epoxy balance, some what out of curiosity & nostalgia to get a feel for how so many builders built their entire Rutan canards in the early days.  It’s simplicity is just shear brilliance, which is of course what is said about so many things that Burt Rutan dreamed up.

How the balance works is that after it’s calibrated weight-wise for a given epoxy system, epoxy resin is poured into the big cup & then placed on the lower balance swing arm (shown in the lower right of the picture below).  Then, a small paper dixie cup is placed centered on the line (where the upper plastic cup is shown) on the left side of the upper arm.  Then, the builder simply adds hardener until a nail on the front side of the swing arm (barely seen) drops down and lines up with a line that is drawn when the balance is set in a balanced/neutral state.  For MGS 335 that ratio would be pretested with 38 nails in the upper cup to the left, to 100 nails in the lower cup on the lower right.

The balance works great for small to medium-sized layups, but later on I had to set history aside and go with the much quicker and simple electronic scale to establish my epoxy-to-hardener ratio.
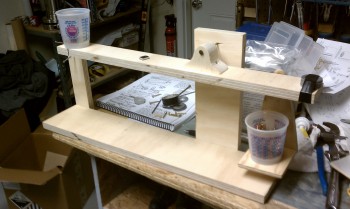
IMAG0062

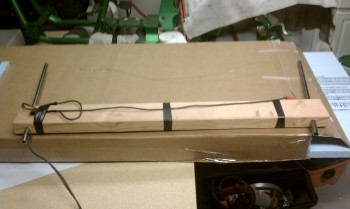
My next specialized tool—that’s not normally found in a DIY’ers garage—is the hot-wire foam cutter.  The directions for building the hot-wire cutter is also spelled out in Chapter 3. I built it using a scrap 2×4 and just a few items bought from my local home improvement store: 1/2″ metal tubing and a long length of lamp cord with a plug.  But there is one actual specialized part of this cutter: the wire.  Normal wire is too weak and not heat-resistent enough to keep from stretching or breaking when the current (aka heat) is applied to the it.  So, I ordered some Inconel hotwire from Aircraft Spruce.

To be honest, after playing around with this a little bit, I never used the hot-wire cutter much.  After I ordered my foam wing cores from Feather Lite I didn’t have plans on using it much at all.
IMAG0072

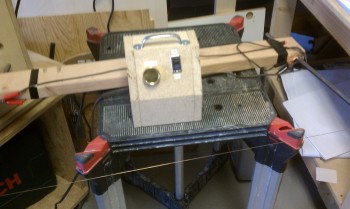
The electrical control for the hot-wire cutter is simply made up of a transformer, a switch, an electrical plug, and a wall dimmer switch.  I built a housing for it made of particle board with some vent holes to keep the heat down.
IMAG0078

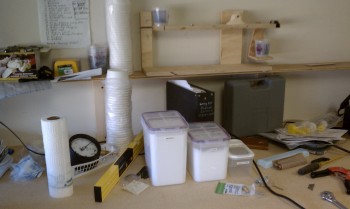
For my unending use of micro & flox, and eventually some Cab-o-sil, I got some nice quality kitchen (flour/sugar) bins with tight-clasping lids.  If you look on the bench you’ll see a huge number of paper cups and a bunch of tools (a lot of Harbor Freight!) that our EAA composites instructor recommended [use the plans method of reusing the resin cups and you’ll save a lot of cups and a lot money… thank goodness my buddy Marco reminded me of this early on!]
IMAG0073

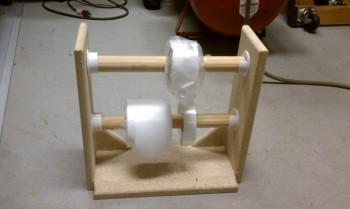
Below is just a small stand I made out of particle board to hold one of the most exasperating things known to man: peel ply tape (due to all the myriad of strings that bunch up on the sides of it).  The three sizes that I buy from Aircraft Spruce are shown: 1″, 2″ and 3″.
IMAG0076

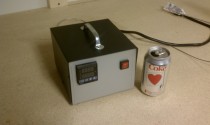
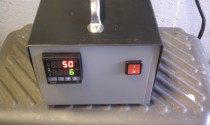
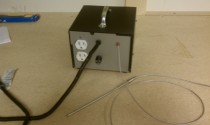
The next two items on my list of items to build are definitely NOT listed in the Long-EZ build plans.  The PID Controller (shown in the row below) and the Vacuum Pump Assembly (bottom pic) are somewhat more esoteric tools, if you will, and not nearly as widely used in the standard composite homebuilder’s toolkit.

The PID (proportional-integral-derivative controller) Controller is really a thermostat on steroids.  It’s main feature is that it variably controls temperature over a period of time.  This comes in handy in post-curing composite structures & components, which makes them much stronger and heat resistant.  I used them somewhat to begin with (I like to learn and try out stuff that may make things much easier), but learned that trying to post-cure after each piece is built is not the most efficient way of building a Long-EZ.

Using a vacuum pump (correctly!) in laying up fiberglass components greatly helps in sucking out excess epoxy (epoxy = weigh & excess weight = bad).  If done properly, which isn’t difficult, vacuum bagging parts creates significantly lighter and stronger components. The PVC tube at the top of the setup simply helps smooth out the air so that no pulses or irregularities pop up during the vacuum bagging process.

The vacuum pump I used was one I picked up at Harbor Freight, and it created good vacuum bagged parts.  Unfortunately, the downside was that it produced a lot of smoke and misted oil when used for long periods of time.  These negative aspects finally overrode the positive aspects of vacuum bagging and I set it set aside as I started getting into the larger pieces (especially after the debacle at the end of Chapter 6 in Virginia).
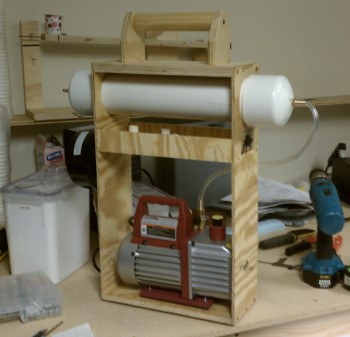

Vacuum Pump


Prepping the Shop!

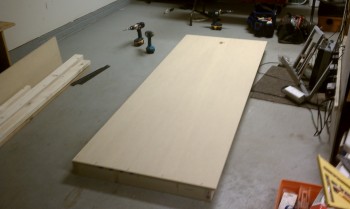
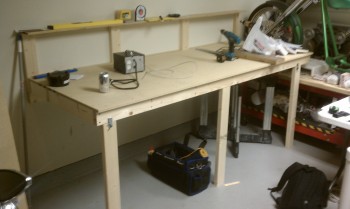
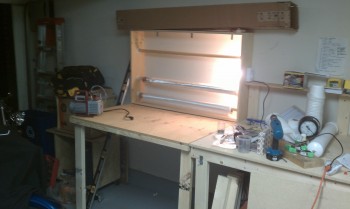
Once I finished my fuselage mockup, and had checked & ensured that whatever specialized parts there were that I wouldn’t be able build or make would be available to buy, I started prepping the shop for the build.  The first order of business was a decent work bench along the wall.  I made this one collapsible just in case I needed more space.Sidewall Work Bench

Sidewall (collapsible) workbench


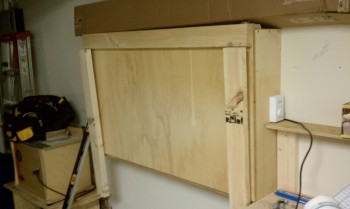
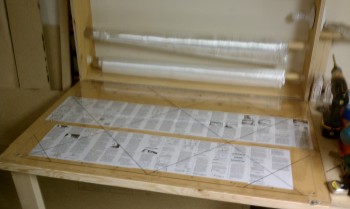
Once I got the workbench in place, I started in on the flip-down glass cutting table.  The glass cutting table also serves as the glass roll storage cabinet.  I think it was the Cozy Girrrls who showed this on their site, along with the thermostat used to turn a light bulb on at a certain temp to keep moisture out of the glass cabinet.  I put the flip down portion of the glass table so that it would come down right next to and be even with the sidewall workbench I had just built.

Glass cutting table/Glass storage

Glass Cutting Table

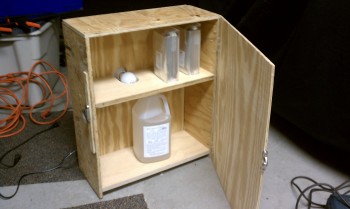
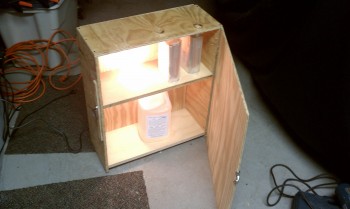
Glass cutting table (fold up)Next, I needed a hotbox to store the epoxy and hardener in when not in use.  The warmer the epoxy and hardener is, just about like every other liquid, the runnier it gets and the easier & faster it wets out the fiberglass strands in a layup.  Most of the components that I made on this page were made out of scrap lumber I had laying around.

Epoxy & Hardener Hotbox

Epoxy & Hardener Hotbox


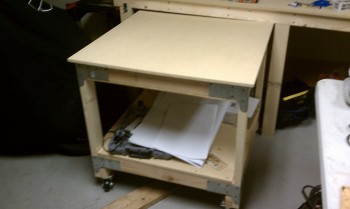
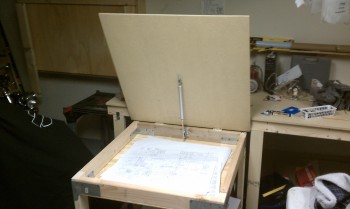
Besides the wall-mounted workbench, I wanted one that was portable and could roll around.  So I made this guy below.  It had a large enough table top to be used extensively for glassing small to medium sized pieces, and it had storage underneath.  Also, I made the top flip up and it was the perfect size for storing the plan’s A-pages (the big drawings) inside the compartment just below the flip up top.

Roll-around work bench


Roll-around - Plans storage


Besides the main 13′ long work bench (spelled out in Chapter 3), this was all there was for building major shop working surfaces.