Chapter 25 – Bottom right wing micro

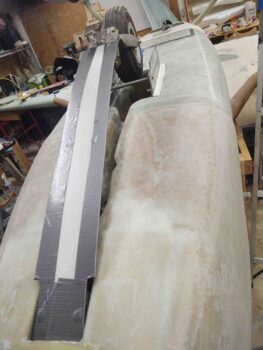
I started off today by cutting and applying Gorilla duct tape into the seam between the bottom right strake and the bottom right wing.  I secured it upright in places with some masking tape on the strake side.

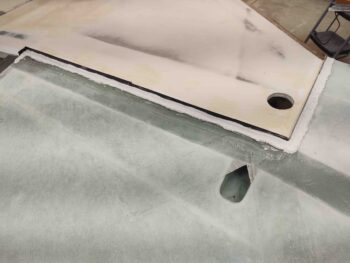
Once the duct tape seam separator was installed, I then mixed up some flocro to create a flocro edge on the wing side to help minimize chipping or dings when installing or removing the wing.

Normally I would use the fast West 205 hardener here, but since I was heading out for a few hours to run some errands I went ahead and used the slow West 206 hardener for the flocro.

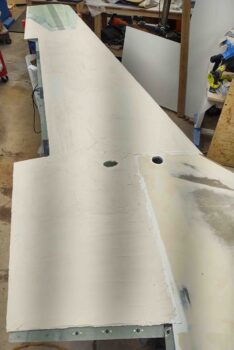
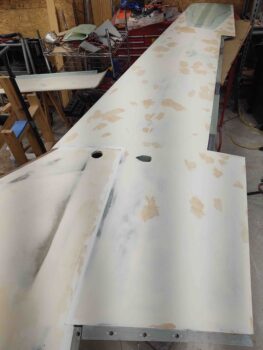
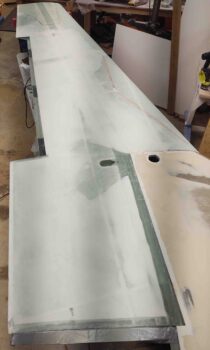
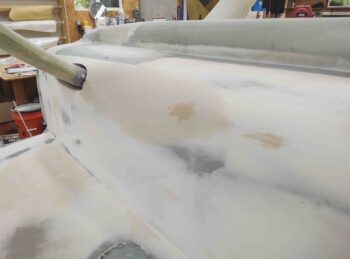
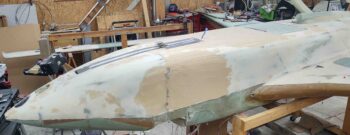
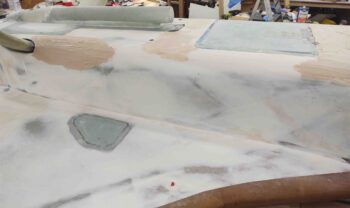
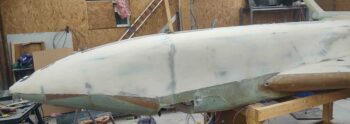
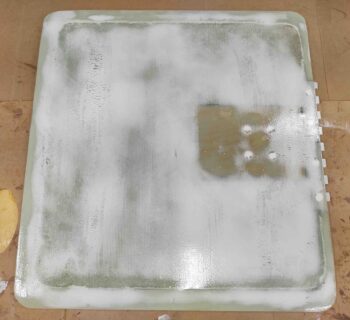
I returned a few hours later and began the nearly 5-hour task of applying West 410 filler/micro to the bottom of the right wing.  I have to say this completed task felt especially good to clean up and make amends (ha!) for the grotesqueness of this bottom right wing! All is right (for the next 12 hours . . . ) with the build once again!

After I “micro’d” up the bottom right wing, I then spent about half an hour sanding the straight West 410 refill spots on the bottom left wing (looks the same as the original refill pic).  The refill looked good so the bottom left wing is ready for raw epoxy wipes.

Tomorrow I’ll work on some ancillary stuff until about the 24-hour mark, at which point I’ll start sanding the “micro” fill on the bottom of the right wing.


Chapter 25 – Bottom right wing prep

I started out today with some final sanding tweaks on the bottom left wing before I then whipped up a small batch of straight West 410 “micro” filler and applied it to the divots, low spots and deep scratches in the “micro” fill of the wing.

I also filled just a few final imperfections along the bottom forward fuselage and nose with this West 410 batch.

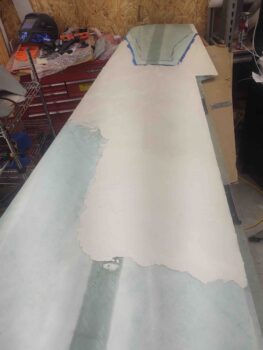
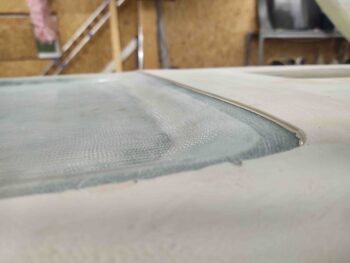
I then got to work on the bottom of the right wing… this unsightly sin of the past which showed my inexperience and over-eagerness to “be efficient” in my build process by listening to one of the old guard Long-EZ bubbas.  This was an effort to “micro the surface shortly after skinning the wing as it’s still in the not-quite-yet-cured stage” in order to save sanding the wing down.  I clearly didn’t know enough about finishing or how much micro to lay down, so this experiment proved to me that I would never recommend it to any builder unless they fully understand the parameters within which they need to work.  Even then, I would recommend that they “just say no!”

If you look closely you can see quite a raised ridge at the front edge of this micro application, about a 1/4″ off the surface of the glass.

Wanting a fresh, clean canvas to start with, I employed the services of “the Beast” and in less than a half hour had knocked down all this old micro to an acceptable level.

I then spent another half hour fine tuning the micro’d area to remove any remnants of shiny old cured micro in prep for new micro.

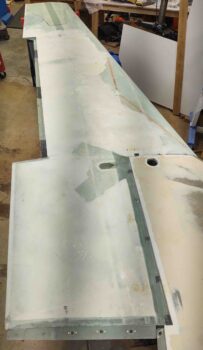
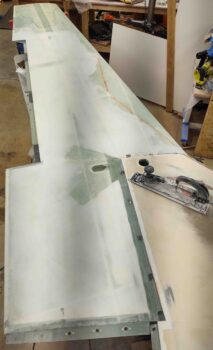
I then got to work spending another couple of hours sanding and prepping the exposed glass —mainly along the leading edge— in prep for “micro” finish application.

Finally I removed the tape tabs, then used a hacksaw blade and razor knife to clean up the joint between the strake and bottom right wing.

Tomorrow I’ll apply a small Gorilla duct tape strip along the strake-wing joint to keep the flocro out of the joint and from adhering to the strake-side of the seam.  I’ll then re-“micro” fill the bottom right wing.

Chapter 25 – Bottom left wing finished

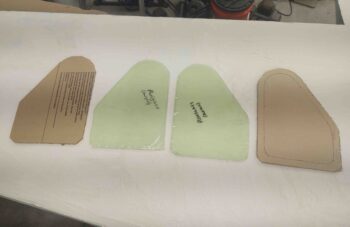
I started off today by cutting out 2 plexiglass 1/8″ GIB strake window panels to replace the 3/16″ airline window panels I had cut out earlier.  At 3/4-pound a piece the aircraft windows were heavy, and reading a CSA write-up discussing Lexan vs Acrylic (aka “plexiglass”) I realized I should be using plexiglass, which is significantly lighter and interestingly less prone to scratching.  I say interestingly because while it may be less prone to getting scratched (and repairable when it is), it is a royal PITA to cut… I cracked #1 and #3 attempts at cutting these out!  And the last 3 were all clamped to backer boards!

BTW, total weight on the plexiglass is a little over 10 oz. while the combined weight of the 3/16″ panels (again) is 24 oz.  That’s a big weight savings in my book.
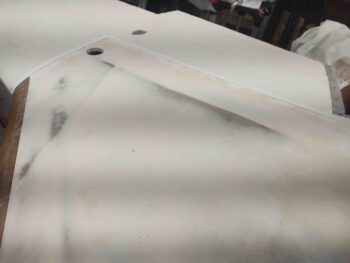
I then got busy on the bottom left wing “micro” finish.  I first sanded down a good bit of the flocro edge seam that the wing shares with the strake.  It took a good bit to whittle it down, and I then left a bit of an edge that would get knocked down with the rest of the micro as it was sanded.
I then cheese-grated the cured “micro” (West 410 + micro) on the wing surface to get a fairly level surface before I started my sanding endeavors.
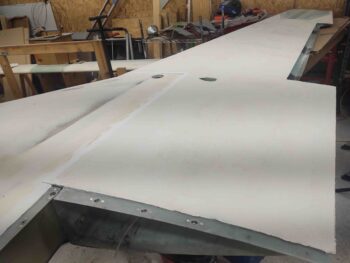
I then got busy sanding down the surface of the “micro” finish…. and when I say “sanding” I mean some SANDING in that I start out knocking down a good bit of the micro with the air file. I’ll make a point of note here in that I still run it at 45° each direction, in relation to the leading edge.
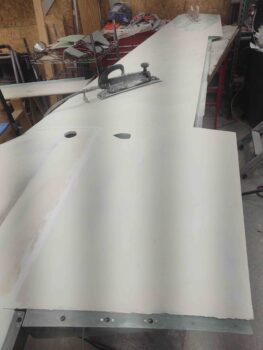
And boy does this thing make some dust!  It really does save an hour or more in my estimation off the initial few rounds of sanding.  I’ll make another point of note that this thing is not for the faint of heart…. this is a beast and the operator needs to know what they’re doing for maximized results! <wink>
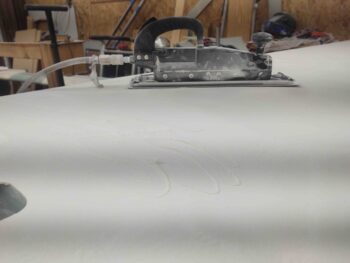
After a few rounds of sanding with the boards it was time to revisit that flocro edge at the wing’s junction with the strake.  The flocro was naturally thinned out a bit, but not nearly enough to really dial in the rest of wing’s surface contour.  It was time to get serious!

I then spent the next almost hour working on nothing but this flocro edge seam, but when I got it I was pretty much spot on!
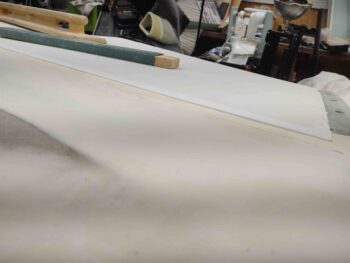
Another couple of hours of sanding and I was done with sanding the “micro” finish on the bottom left wing.

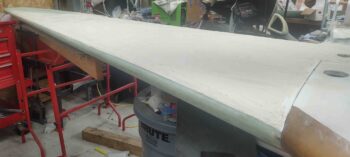
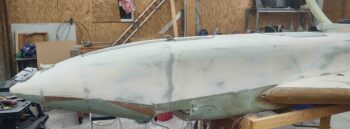
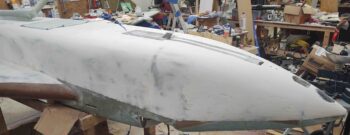
Here’s a long shot of the finished wing.
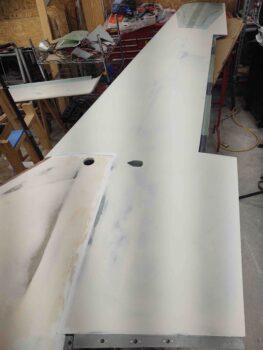
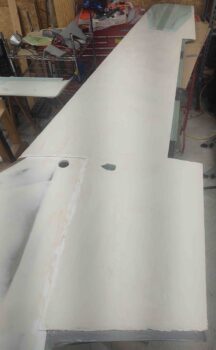
And one from the aft inboard corner.
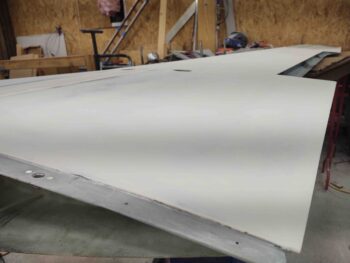
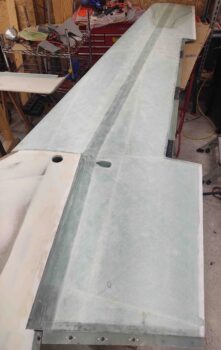
And a shot from the aft wing side of the strake-wing junction.
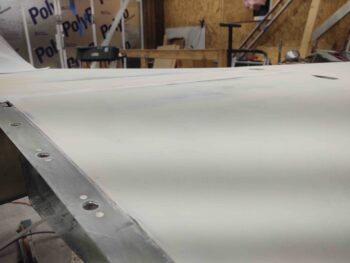
And a shot of the same from the strake side.
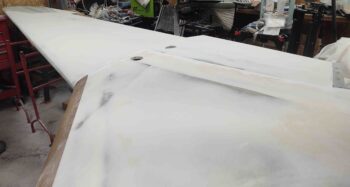
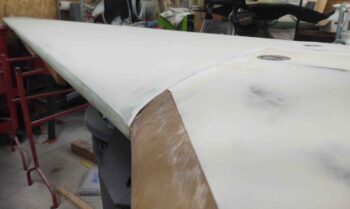
Finally we have a shot of both the bottom left wing leading edge and some of the strake-wing junction.
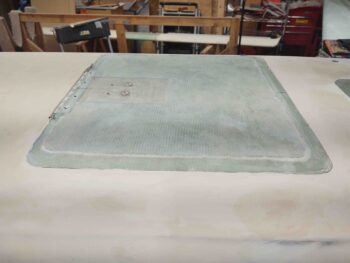
Now, I had sanded down the micro on the exterior landing brake earlier in the day. After I cleaned it up I immediately started the epoxy wipes on the surface.  This is the end of the evening, my last task of the day, where I finished applying the 5th and final epoxy wipe.
Tomorrow I plan on prepping the bottom right wing for “micro” finish.  I might also start sanding and priming some of these epoxy wiped components from the fuselage bottom side.

Chapter 25 – Bottom left wing micro

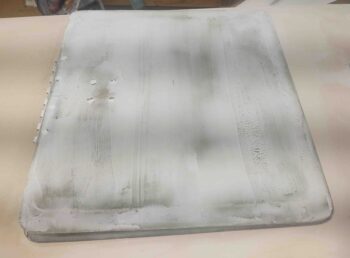
I started off today by removing the landing brake, sanding the edges and prepping it for micro finish.  I didn’t use any West 410 on the landing brake since I wanted it to have a bit tougher shell (at least in theory) since it deploys down into the airstream.  I then set it aside to cure.

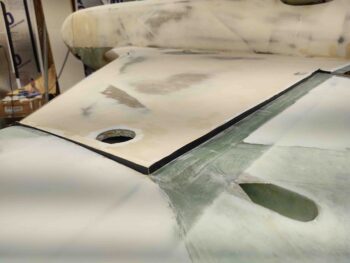
I then taped up the intersection between the bottom left strake and the bottom left wing with the thicker Gorilla duct tape.  After the tape was in place I then applied flocro with West 205 (fast) hardener at the edge of the wing-to-strake junction… about an inch wide.

As I did on the strakes, I then started my West 410/micro fill on the bottom left wing from the outboard end… leaving the outboard area open for the upcoming winglet-securing glass. Again, this gave the inboard flocro edge time to cure and firm up before getting bombarded with micro, as a sort of flocro dam if you will.

As I progressed through the bottom left wing “micro” fill I would occasionally take a moment to pull off the perimeter blue painters tape to ensure it didn’t get ensnared in the curing/hardening micro. I also did the same with pulling off the Gorilla duct tape from the seam between the wing and strake.

Here we have the micro leading edge on the bottom left wing.

It took 9 batches overall at 5 pumps of West epoxy/206 hardener, except for the very last batch where I used 6 pumps.

I have to say I’m very pleased with the “micro” finish on the bottom left wing… not sure how much I’ll be saying that tomorrow though when I start sanding it!

I’ll add that I also did one last touch-up West 410 application on the bottom/forward fuselage and nose to allow that to cure overnight as well.

Chapter 25 – Left wing prep for micro

So today, all total, I did about 5 hours worth of sanding.

First off I sanded the bottom of the left wing, then cleaned and prepped it for “micro” (West 410/micro) finishing. That all took a bit over 3 hours.

After spending nearly 2 hours (re)sanding the latest bottom/forward fuselage and nose “micro” finish refill, I then removed the tape around the edges of the landing brake and razor knifed the edge seams again.

I then lowered (obviously “raised” as inverted) the landing brake and tested out the edge clearance with the micro fill by opening and closing it a few times.

I didn’t want to start the micro fill on the left wing since I knew it was going to take a minimum of 3 hours, and it was already later in the evening, so I plan on hitting that tomorrow.

Chapter 25 – Is this the end??

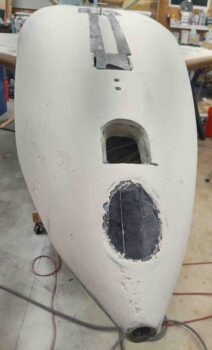
Admittedly it’s getting kind of hard for me to stay on track of my fill and sand iterations on the bottom/forward fuselage and nose “micro” fill.

Today I spent a few hours sanding the last big fill (#2) and dialed in the surface, shape and contour a lot closer to final.  I’m very happy with the shape, but again I have been failing in regards to the objective of the “fill once, sand once” method.  But as I’ve noted previously, the good news is that by using West 410 it forgives the sin of refilling and allows the “micro” finish to be nicely faired in and blended with the previous fill.

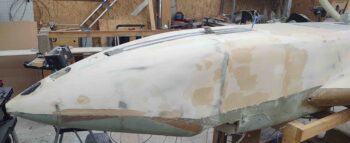
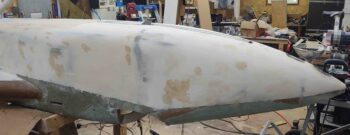
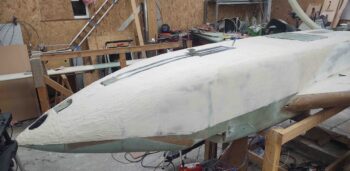
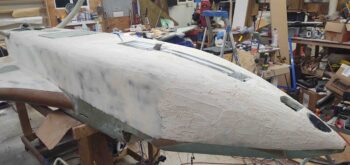
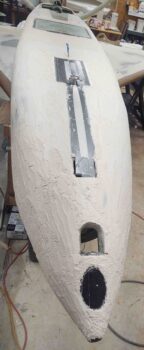
These pics are of the sanded and contoured bottom/forward fuselage and nose, with the next round of straight West 410 “micro” fill.  This last fill was much smaller, about 3 pumps of the West epoxy/hardener and only one batch.  Some of the patches you see aren’t even “required” but since I had a decent bit left over, I filled in some of the smaller holes and scratches.

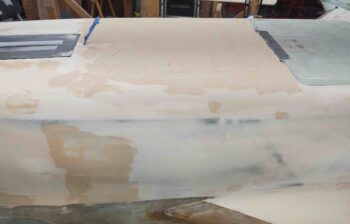
I did have some decent-sized divots in the bottom center area of the fuselage between the nose gear doors and landing brake.  Clearly part of filing in some depression and divots in this area came with a skim coat to help ensure all the surfaces were covered adequately.

In addition to the forward area, I am very pleased with how my surface fill came out on the area forward of the left gear leg on this fuselage bottom “corner.”  This area was a bit low and depressed compared to the curve and flow of the bottom fuselage “corner” leading up to it.  As you can see, the dark splotch is fresh West 410 to fill in one small divot, which helps eliminate any extra epoxy required to fill it during the upcoming epoxy wipes.

With all these sanding sessions I haven’t been engaging in as long of build days that I would normally do. I’ll admit that multiple hours of sanding a day are enough for me and have been getting me good and tired.  So I’ve been trying to knock out some personal stuff on the side, especially to keep my shoulder from tiring out and aching…. slow and consistent is the mantra on this finishing!

Chapter 25 – Final fuselage refill

Today I was able to knock out the final forward/bottom fuselage and nose West 410 “micro” big refill.  Yes, that’s right sports fans, I used only West 410 “micro” on this round.

I suspect I’ll have one more round to fill in any minor divots or depressions, but that will not require mixing up multiple batches of this stuff to slather all over the place.

One significant area I’ll point out is the lower fuselage “corner” just immediately forward of the left main landing gear.  This corner was a bit thin with micro fill and was fairly noticeable with the naked eye, so I added a bit more micro fill to create a nice continuing curve along this lower “corner” of the fuselage from nose to firewall.

With that, I took the rest of the day and evening off to do some well-earned relaxing.

Chapter 25 – Fuselage finish, Round 2

Yesterday I actually knocked out the next major fill on the forward/bottom fuselage and nose area “micro” finish.  However, I failed to get pics of that fill in raw form… and didn’t realize this until after I sanded down the refill today.

Also, to be clear I still used a mixture of West 410 and standard micro for the refill.  I wanted to test this mix to see if it was viable to use for subsequent fills after the initial fill… it really seems to work fine and I didn’t have the problem of blending and fairing in softer new micro vs older harder cured micro.

I will note that it was NOT my intention to get into a traditional “sand and fill” finish process on any surface of this plane, but I was admittedly way low in my filling of some areas of the fuselage and nose…. again, mainly those areas on the sides around the F22 bulkhead, and the bottom area in-between the nose gear doors and the landing brake.  The rest of the areas requiring refill were just much smaller and manageable divots, troughs or depressions that simply didn’t get enough fill on the first pass.

Again, here are pics of the re-filled and re-sanded forward/bottom fuselage and nose areas.

I have to note that I failed yet again to get full coverage on this initial RE-fill of the “micro” finish and will need to do a final round of heavy refill to get the micro/410 to the level I need for a final smooth contour of the forward/bottom fuselage and nose.

But it’s late so I’ll do that refill tomorrow.

Chapter 25 – Sanding fuselage/nose

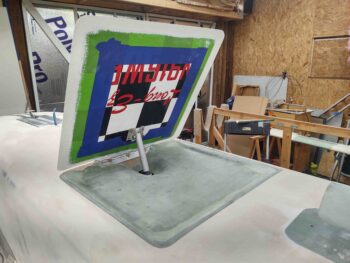
I started today by cleaning up the edge channels along each hinge on the nose gear doors.

You can get an idea what these edge channels will look like from an angle with the nose gear doors closed.  Keep in mind that they’re a bit higher than they will be after the micro gets sanded down to its appropriate surface level.

After razor trimming the aft and front edges fo the landing gear doors, as well as along the nose gear strut fairing, I then “dropped” the nose gear a little at a time to break the edge seals of the micro finish on these components.

Here we have the nose gear doors back in the open position, with the edge channels providing just the clearance required to allow that to happen.

I then got to work on the landing brake.  With the landing brake secured in the closed position, I took the opportunity to sand the majority of the external surface for micro finish application in the near future.

I then razor trimmed around the perimeter edge to free up the landing brake from the micro finish.

And slowly “lowered” the landing brake.  I had to work this aft corner a bit to get it clear so the brake could open, but after a few rounds it opened right up.

I then focused my attention on the forward hinge area of the landing brake and the clearance there with the micro finish.  I had to do a little bit of extra cleanup, but it all looked pretty good.

Here’s another couple of shots with the landing brake open, and the new pocket or depression created by the micro finish around the landing brake when it’s in the closed position.

And a closeup shot of the landing brake perimeter edge created by the newly applied micro finish.

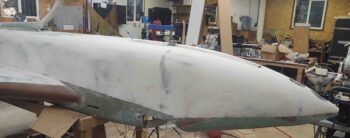
I then spent over a couple hours sanding down the forward/bottom fuselage and nose micro finish.

I’ll note that where I applied the micro a bit too thick on the bottom right strake skin, here on the bottom/forward fuselage and nose I actually applied it a bit too thin in a number of spots.  By using the West 410 this is not nearly as dire of a situation as if I were using straight micro since the refills blend and fair in much more easily than re-applying straight micro.

Here’s another shot from the other side.  Forgive my messy shop… you see, I’m building an airplane and trying to keep that the true priority!
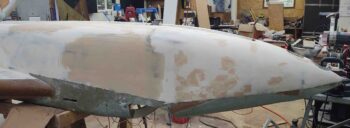
I’ll also note that the main areas needing refills on the “micro” finish are just forward and aft of the F22 junction on the side of the fuselage/nose junction; also the fuselage “corners” for a bit more meat for that bottom corner curve; and finally, the area forward of the landing brake and aft of the nose gear doors [since the raised nose gear doors and landing brake leave a slight depression on the bottom fuselage that needs to be addressed].

My schedule didn’t allow for me to get to the reapplication of micro this evening, so I’ll knock it out first thing tomorrow.


Chapter 25 – Fuselage cake frosting #2

Today I was finally able to finish the prep on the landing brake and the nose gear fairing and doors to start “frosting the cake” on the bottom/forward fuselage and nose.
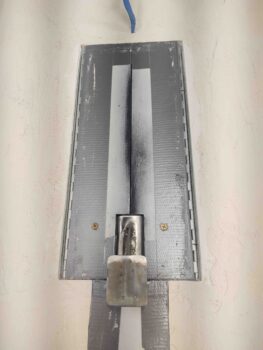
I started out my adventure by leaving the nose gear down (up, as inverted here) just a bit so the taped gear doors would be in the open position.  Then I whipped up some flocro with some fast (West 205) hardener and laid it in along the edge of the open nose gear doors.
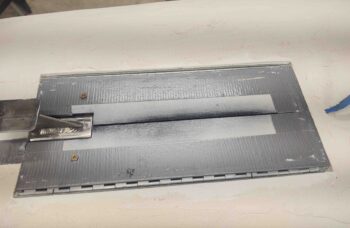
This of course was to create a hard edge and gap along the gear doors so that when they open the outboard edge of each gear door is resting on the original fuselage/nose bottom surface.

I then prepped the West 410/micro mix (rough 3-4:1 micro to 410) and started filling in from the aft section and around the landing brake going forward.  I did a number of rounds of fill before I got to the nose gear door area, at which point I simply “raised” the gear into the stowed position.  With the fast 205 hardener used on the flocro along the gear doors, by this point it was nearly fully cured.

I then continued the fill —for over 6 hours total— on the bottom/forward fuselage and nose.  As you can see I went fairly high up on the sides of the fuselage so I have a lot less work to do when I flip this bird back upright.

I also got a good fill around the very forward nose-positioned landing light and think it will turn out pretty darn nice when I sand this out.

With that, and a round of cheese-grating that I got no pics of, I left this “micro” application to cure overnight.