Chapter 5 – Right Fuselage Side Glassing

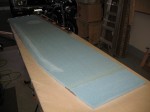
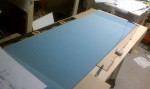
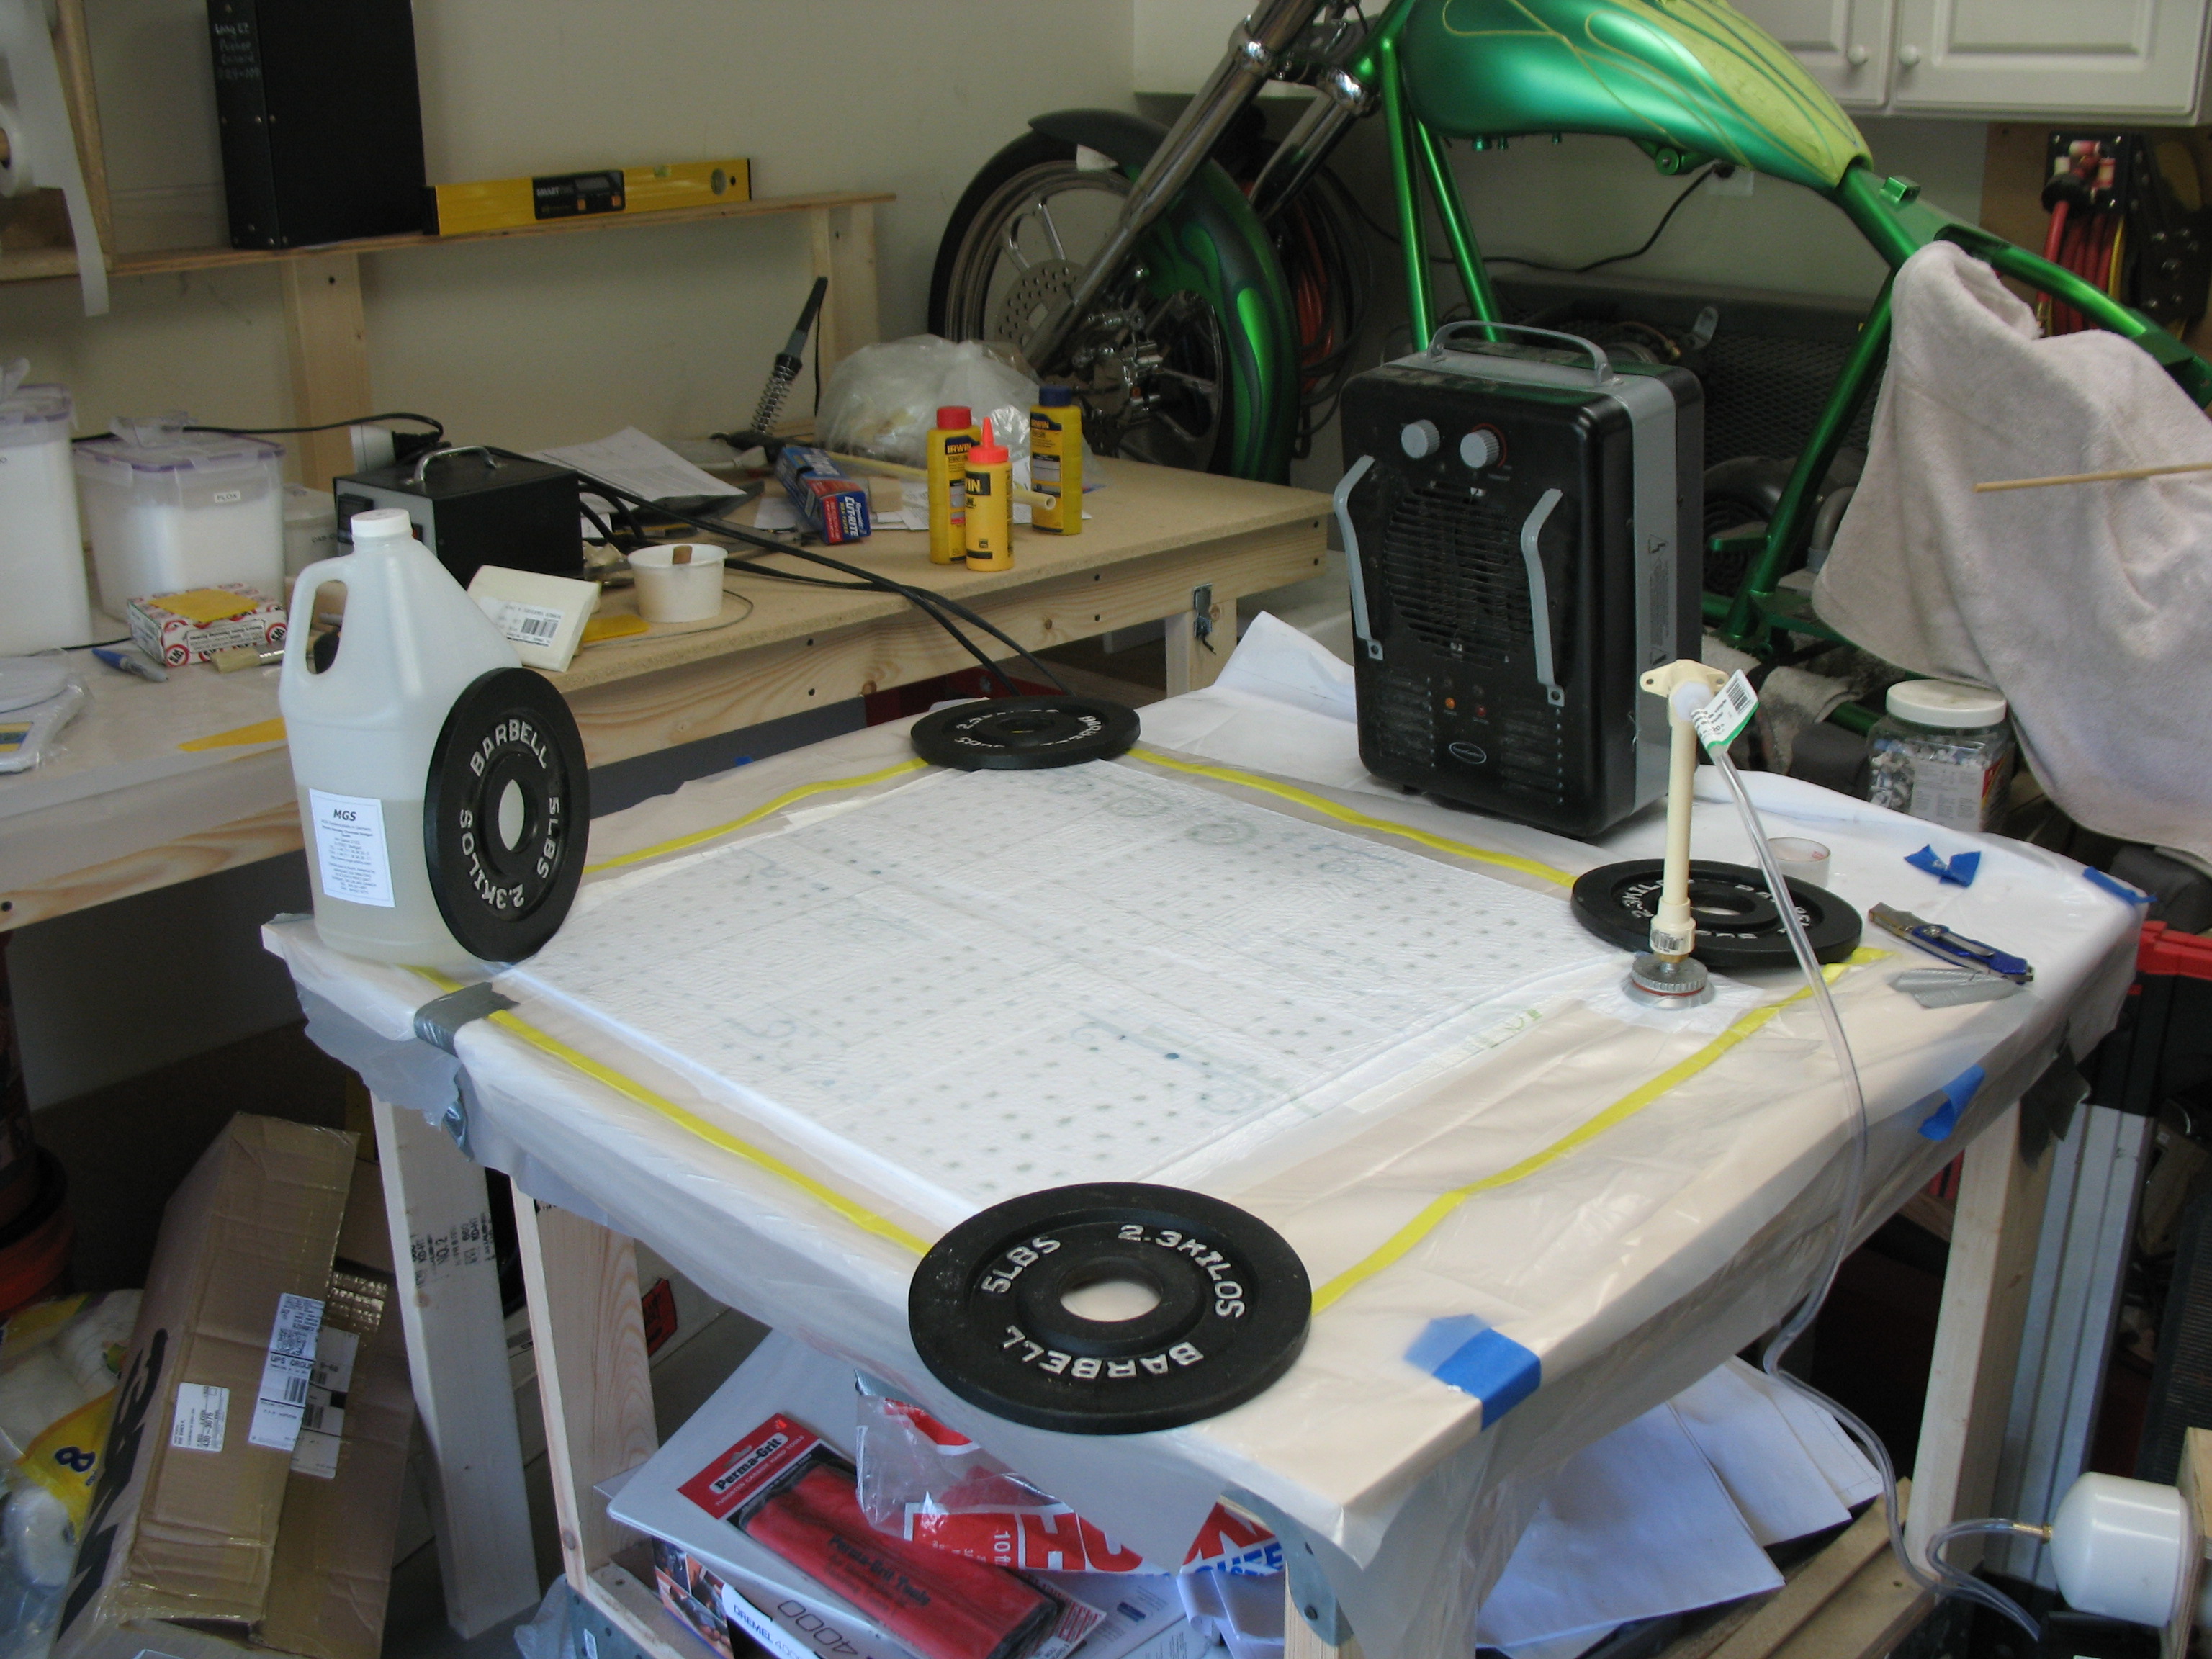
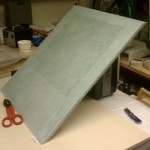
Yes!  First large glassing step goes well.  This took about 8 hours from initial prep to final peel ply.  My first exposure to the marathon glassing sessions.  As you can see, the inside side of the right fuselage is covered with two layers of UNI (technically UND but we all call it “UNI”) each 30 degrees from the edge, so they intersect at quite a shallow angle (you can see the angled reference lines in each direction that I drew on the foam surface).  Once the glass is laid up, then the peel ply is added almost as a top layer of epoxy, with also just enough epoxy to wet it out, but not too little as to steal any away from the glass/epoxy layup under it.

Right Fuselage Side - Glassed & Peel Plied


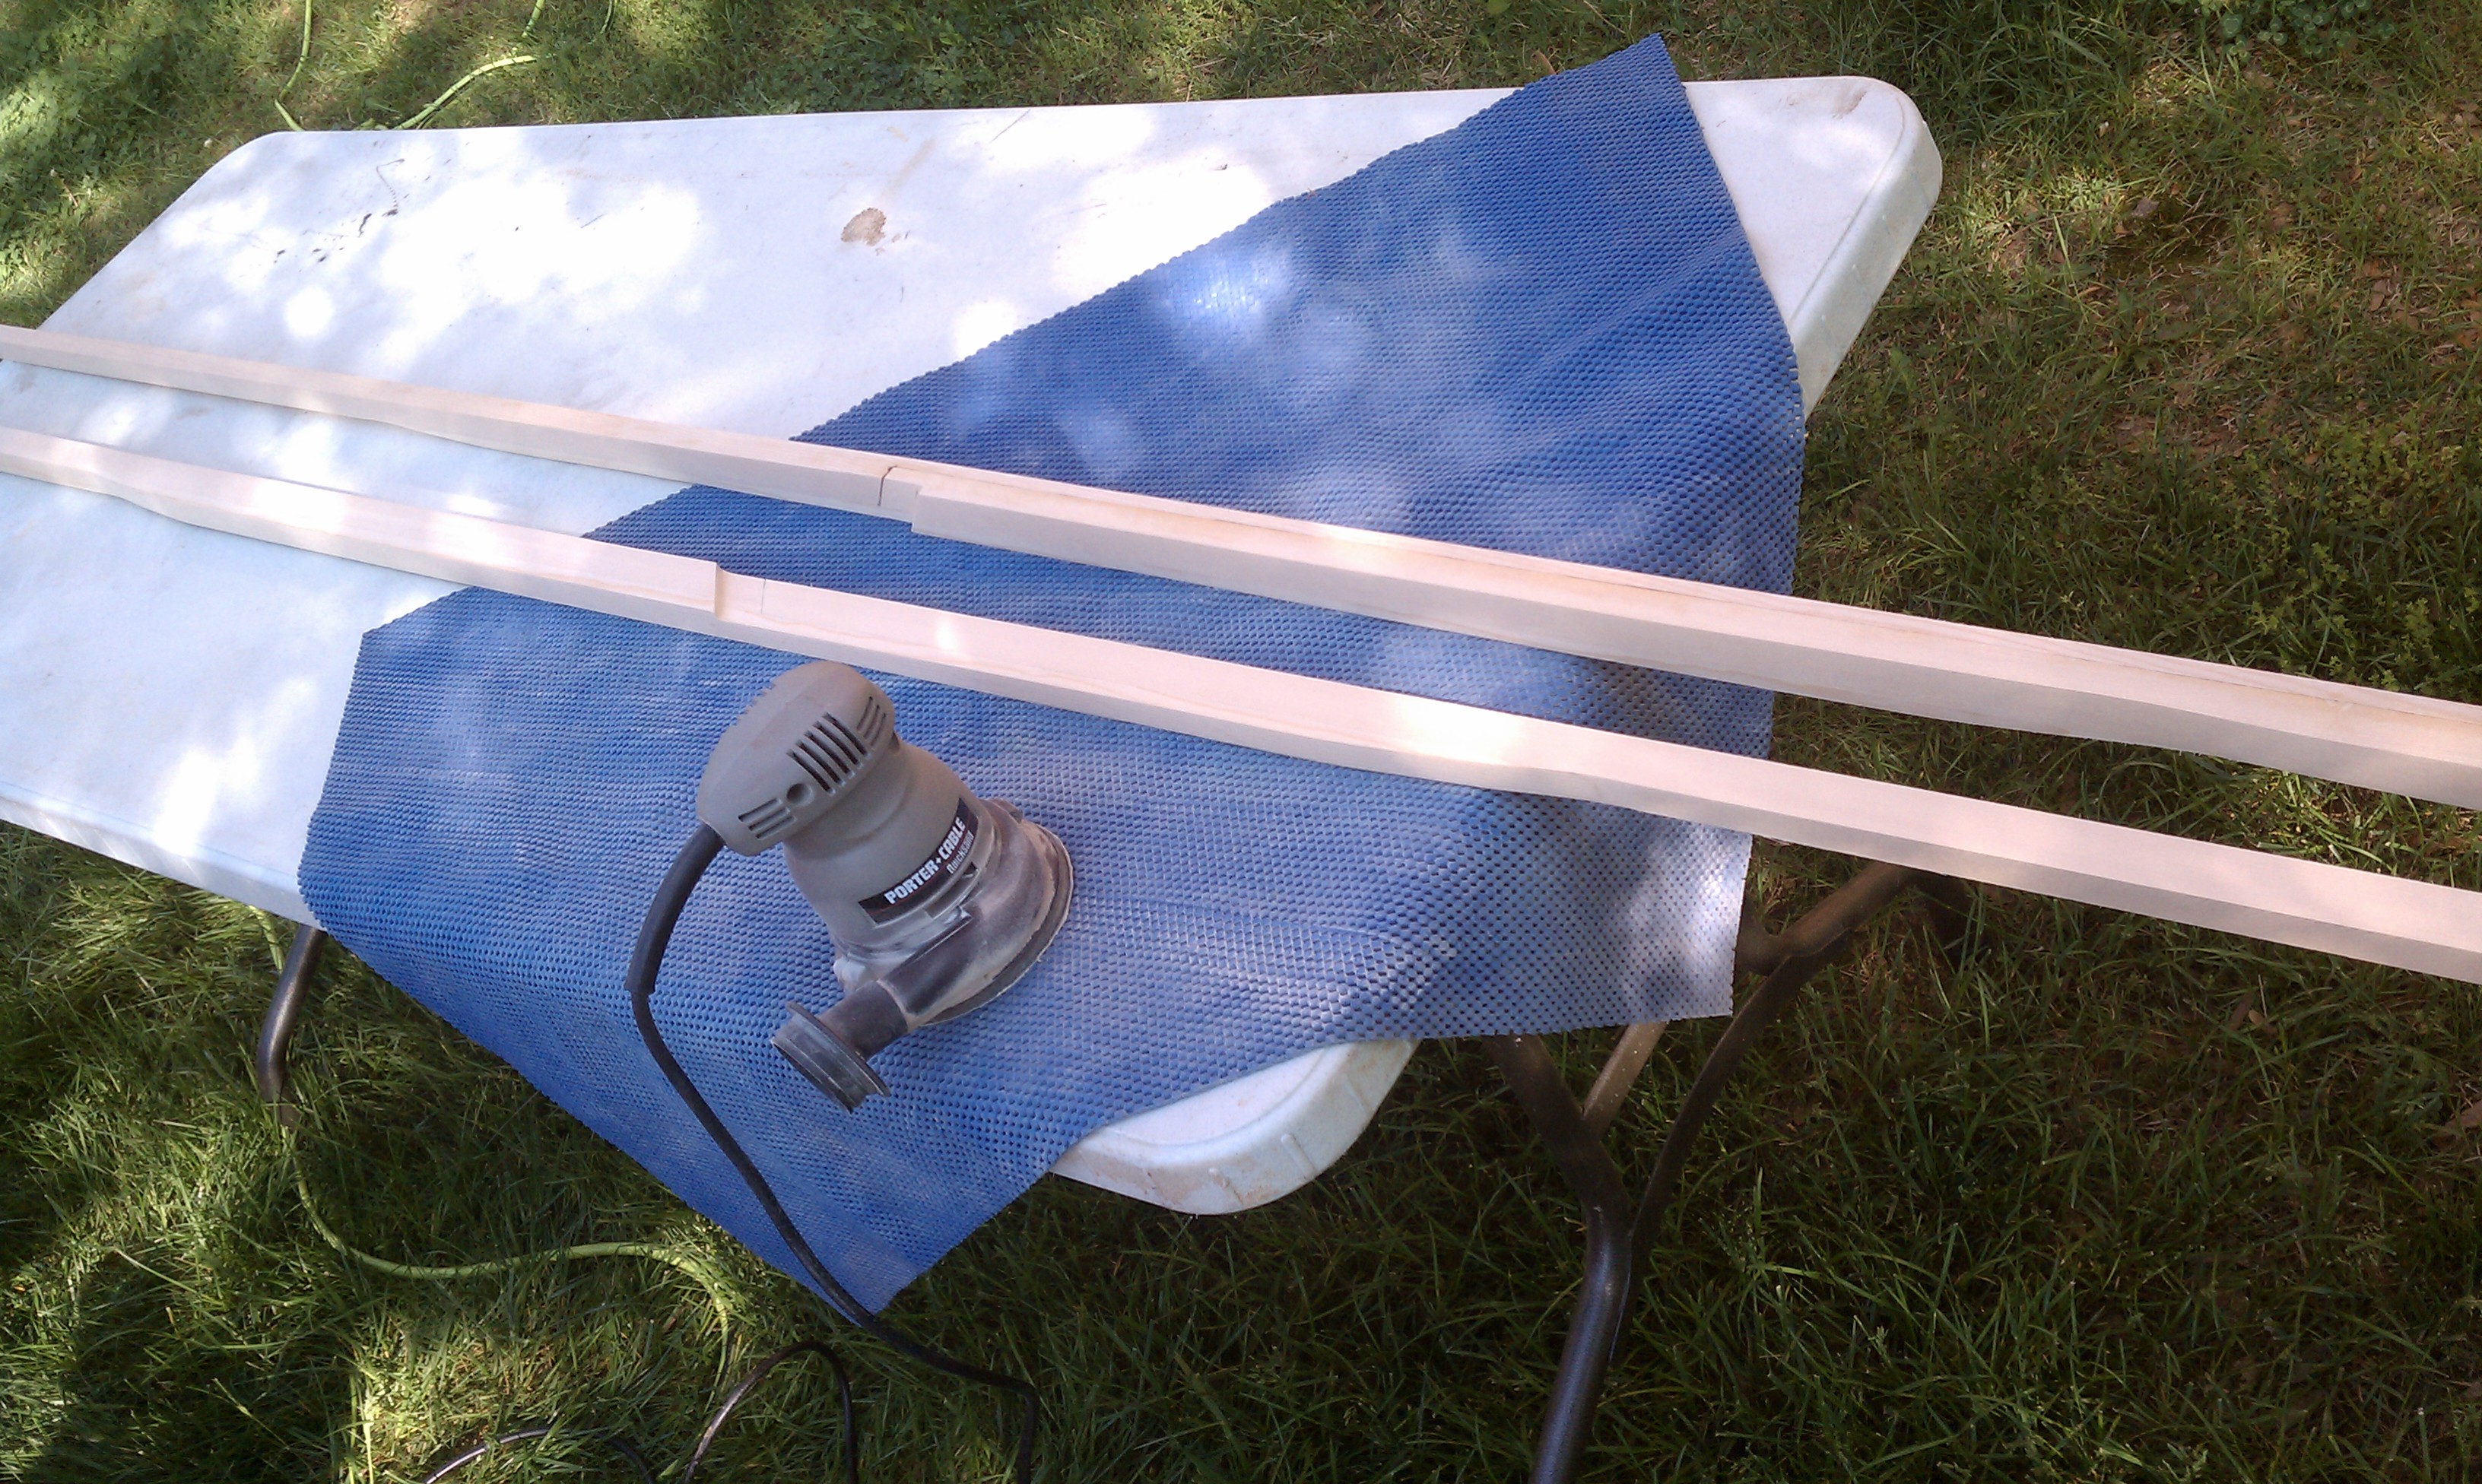
The pic on the left below shows the finished left & right longerons.  In the pic on the right the right longeron is floxed and clamped to the top inside edge of the fuselage.
Chapter 5 – Fuselage Sides

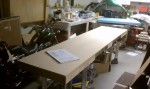
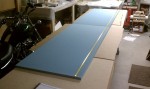
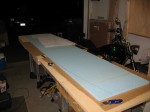
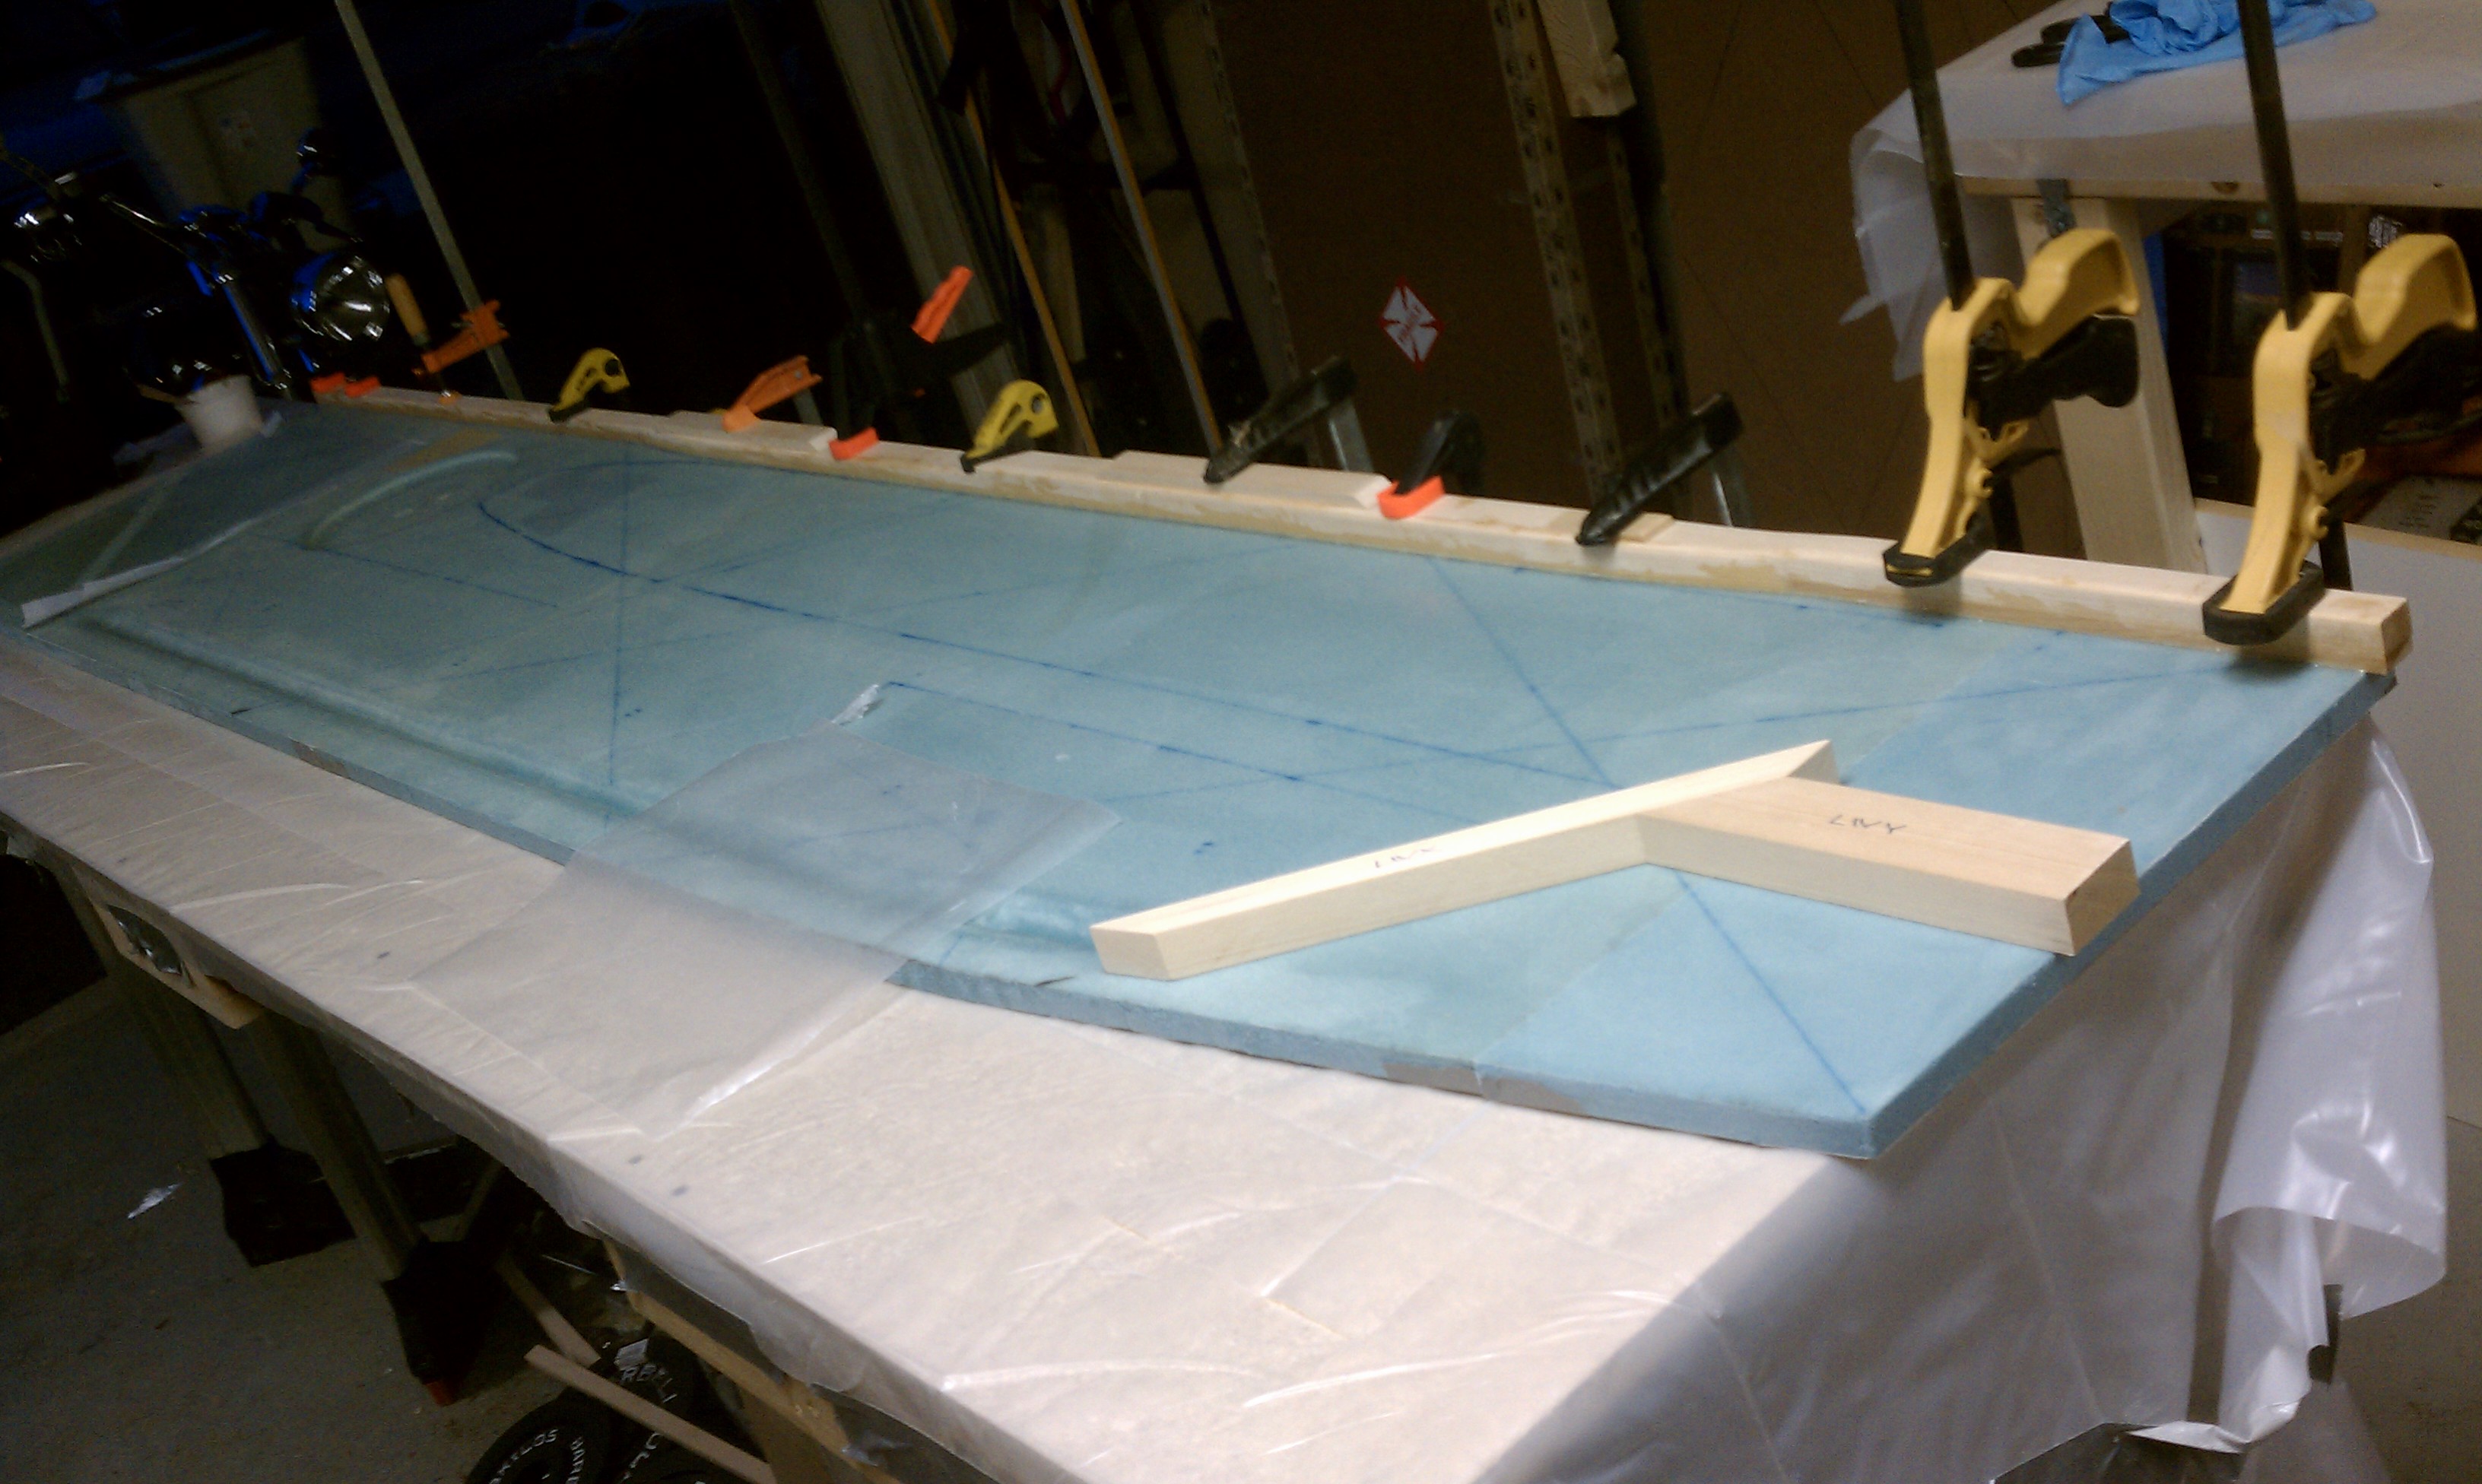
The top row of pics shows table prep and 3/4″ foam for the fuselage sides being measured marked and prepped to cut.  The two pieces of large foam have already been joined at the seem with an epoxy microslurry, or again what we call “micro” for short.

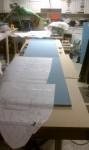
These bottom two pics show what will be the aft end of the fuselage marked for cutting for what will eventually make up the bottom aft contour of the fuselage, and the entire fuselage side wall looking forward.

Chapter 4 – Front & Rear Seat Bulkheads

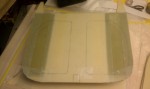
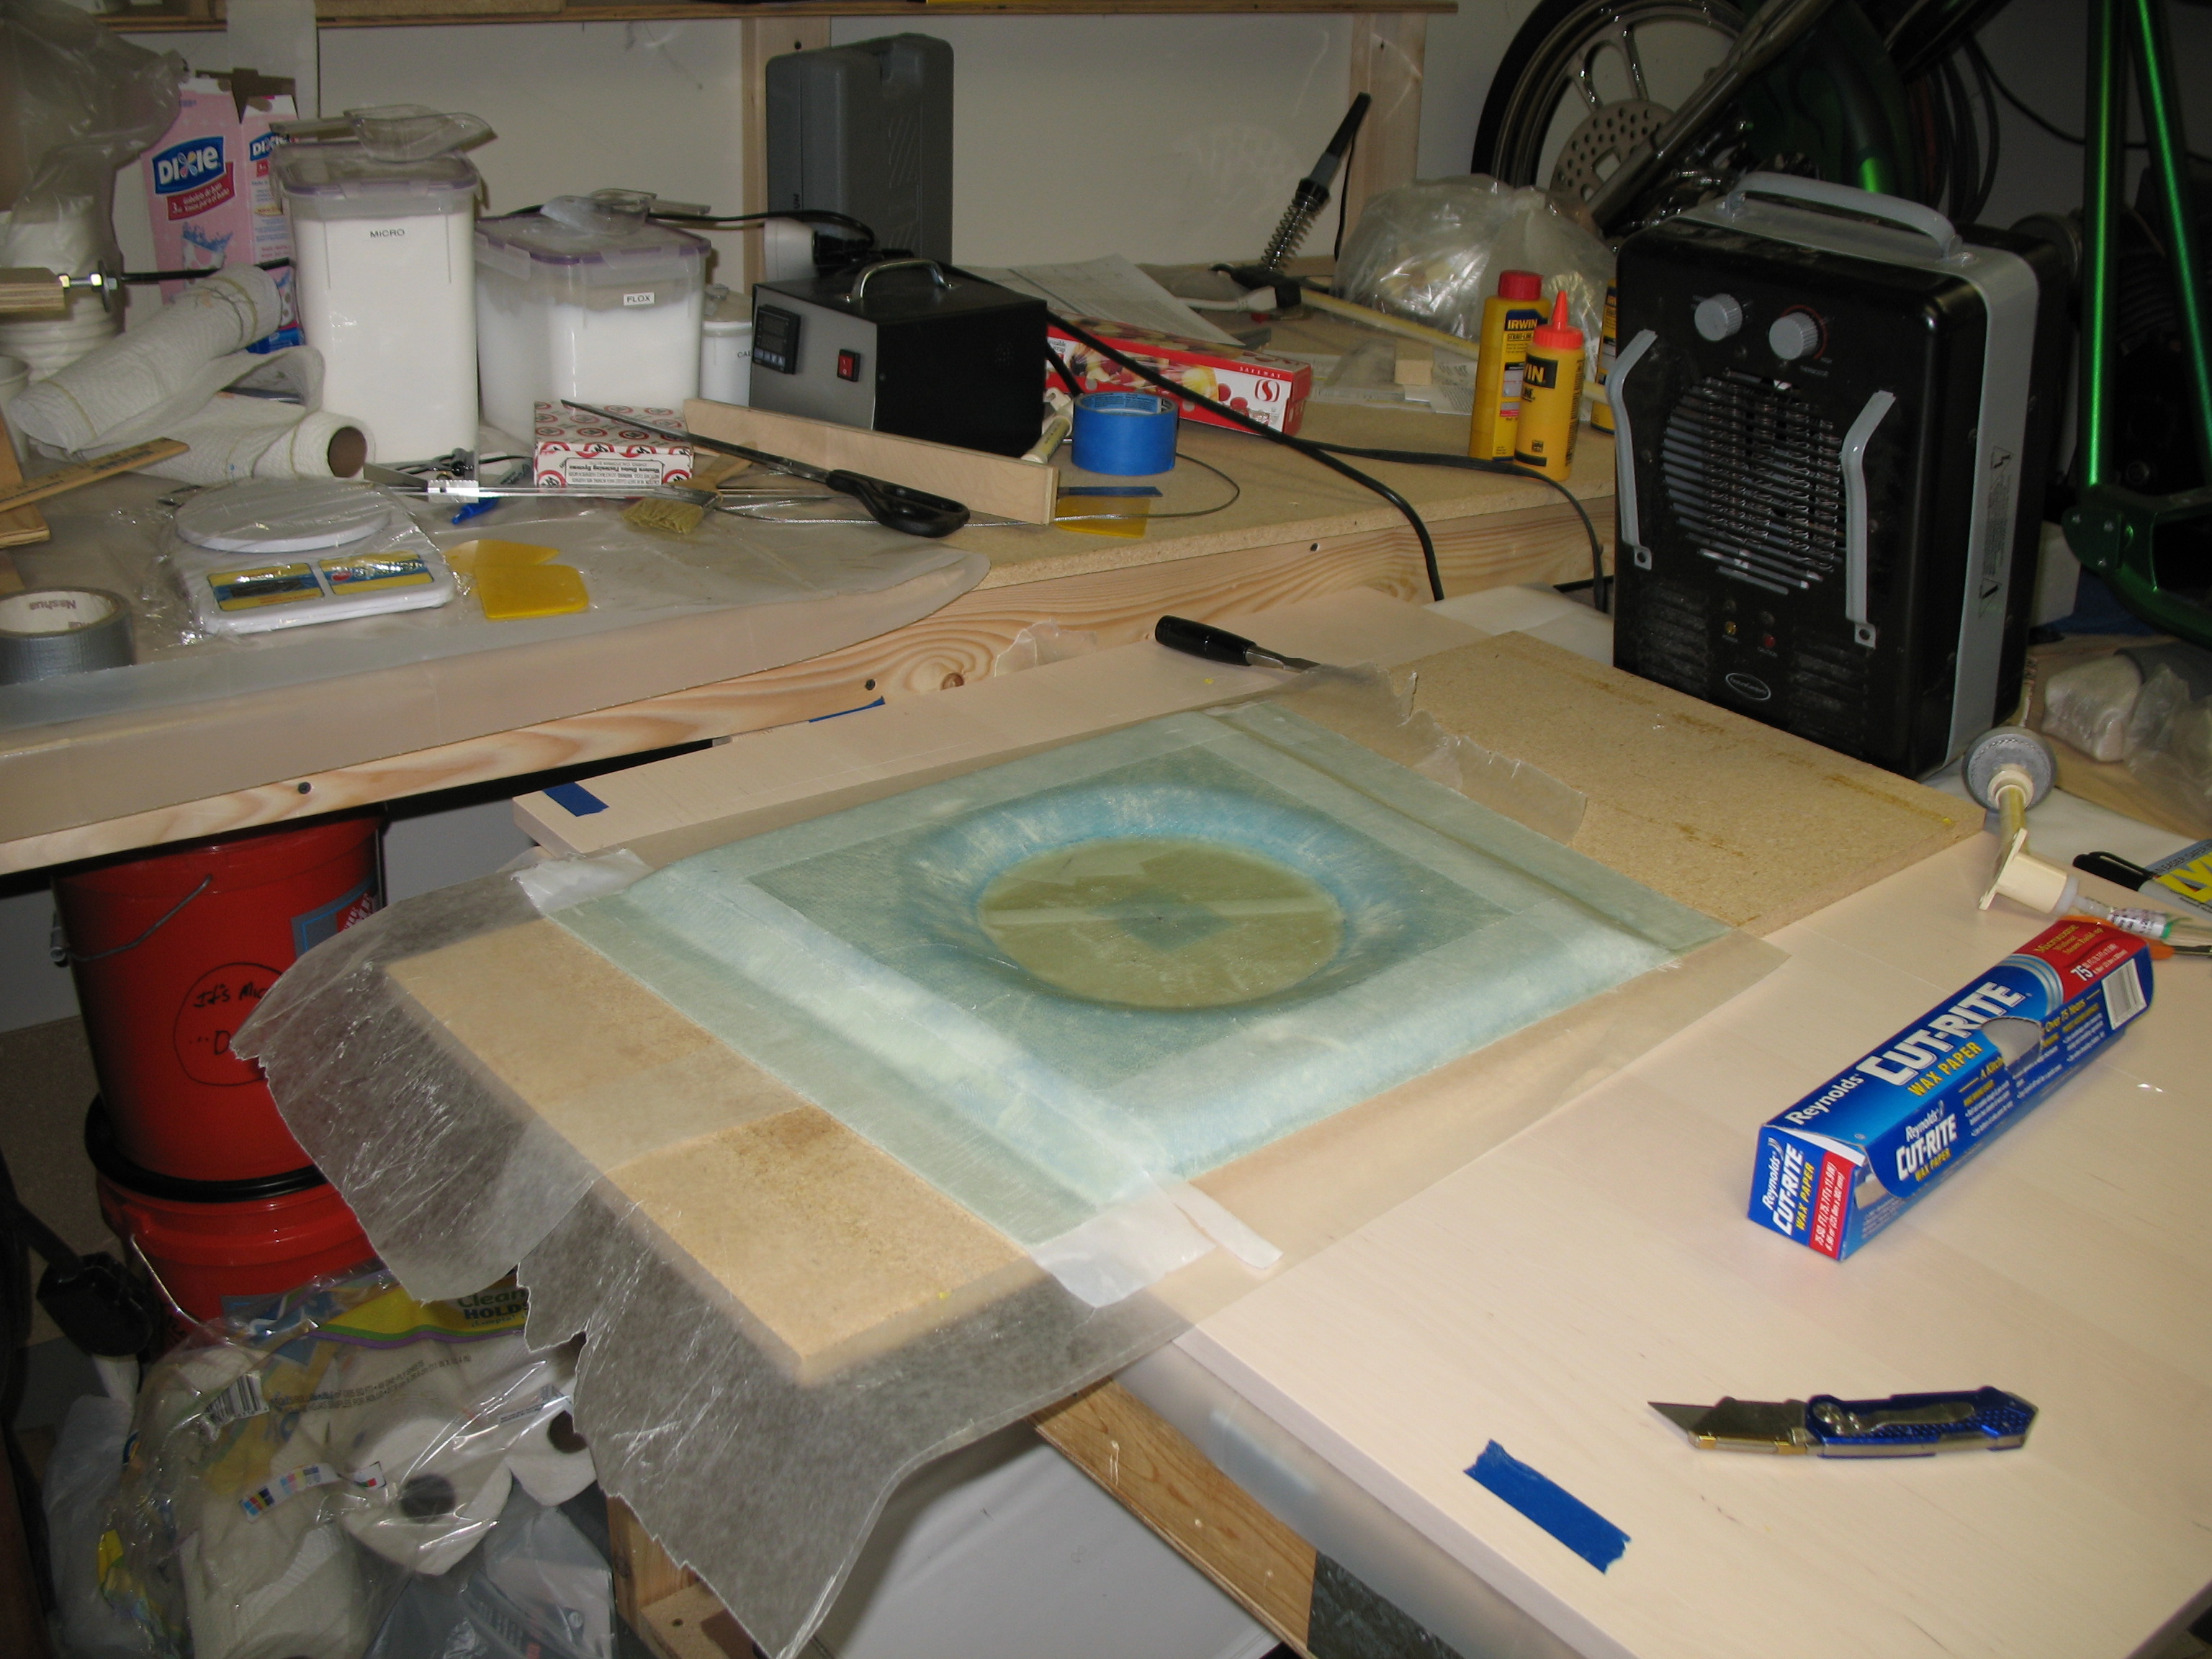
Here’s a shot of the rear seat bulkhead after the vacuum bagging materials were pulled off.  I understand there is wax paper in the picture, and that I will burn in hell for using it, but honestly that’s what we were taught in our EAA composites course.  After being soundly thrashed by a few seasoned Canardians, I stopped the heinous practice of using wax paper.

Rear seat after vacuum bagging

Rear seat after vacuum bagging

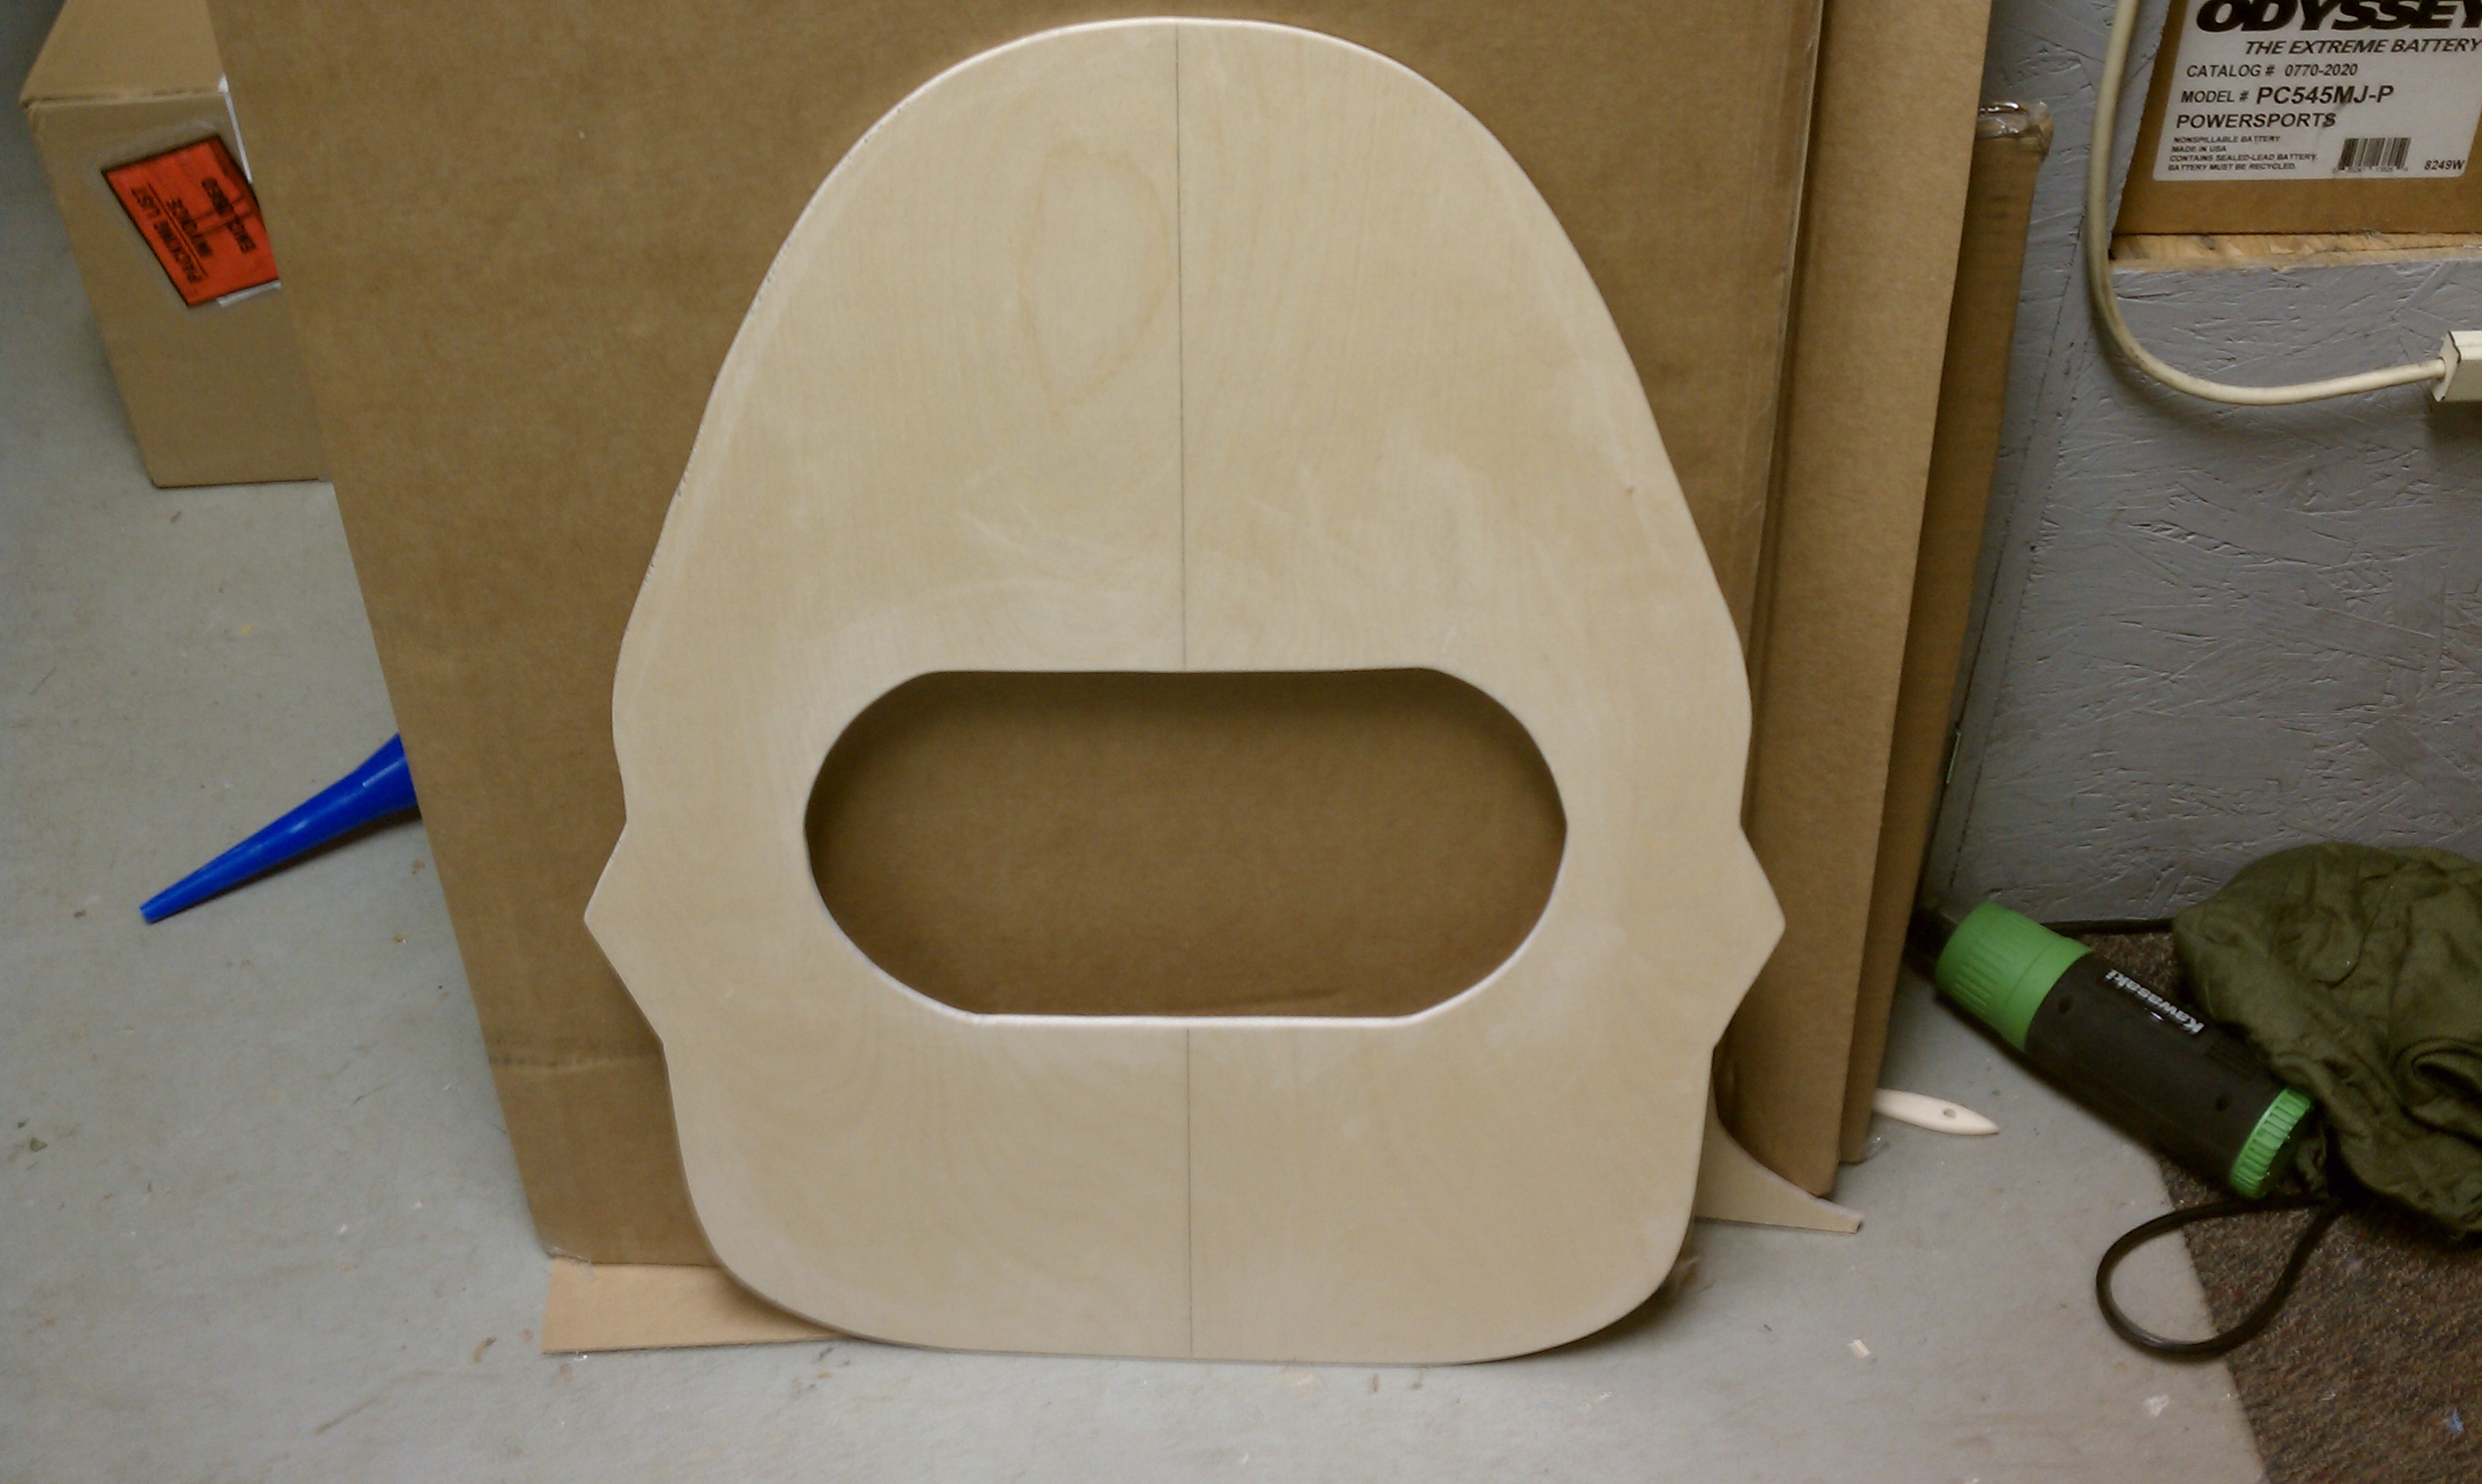
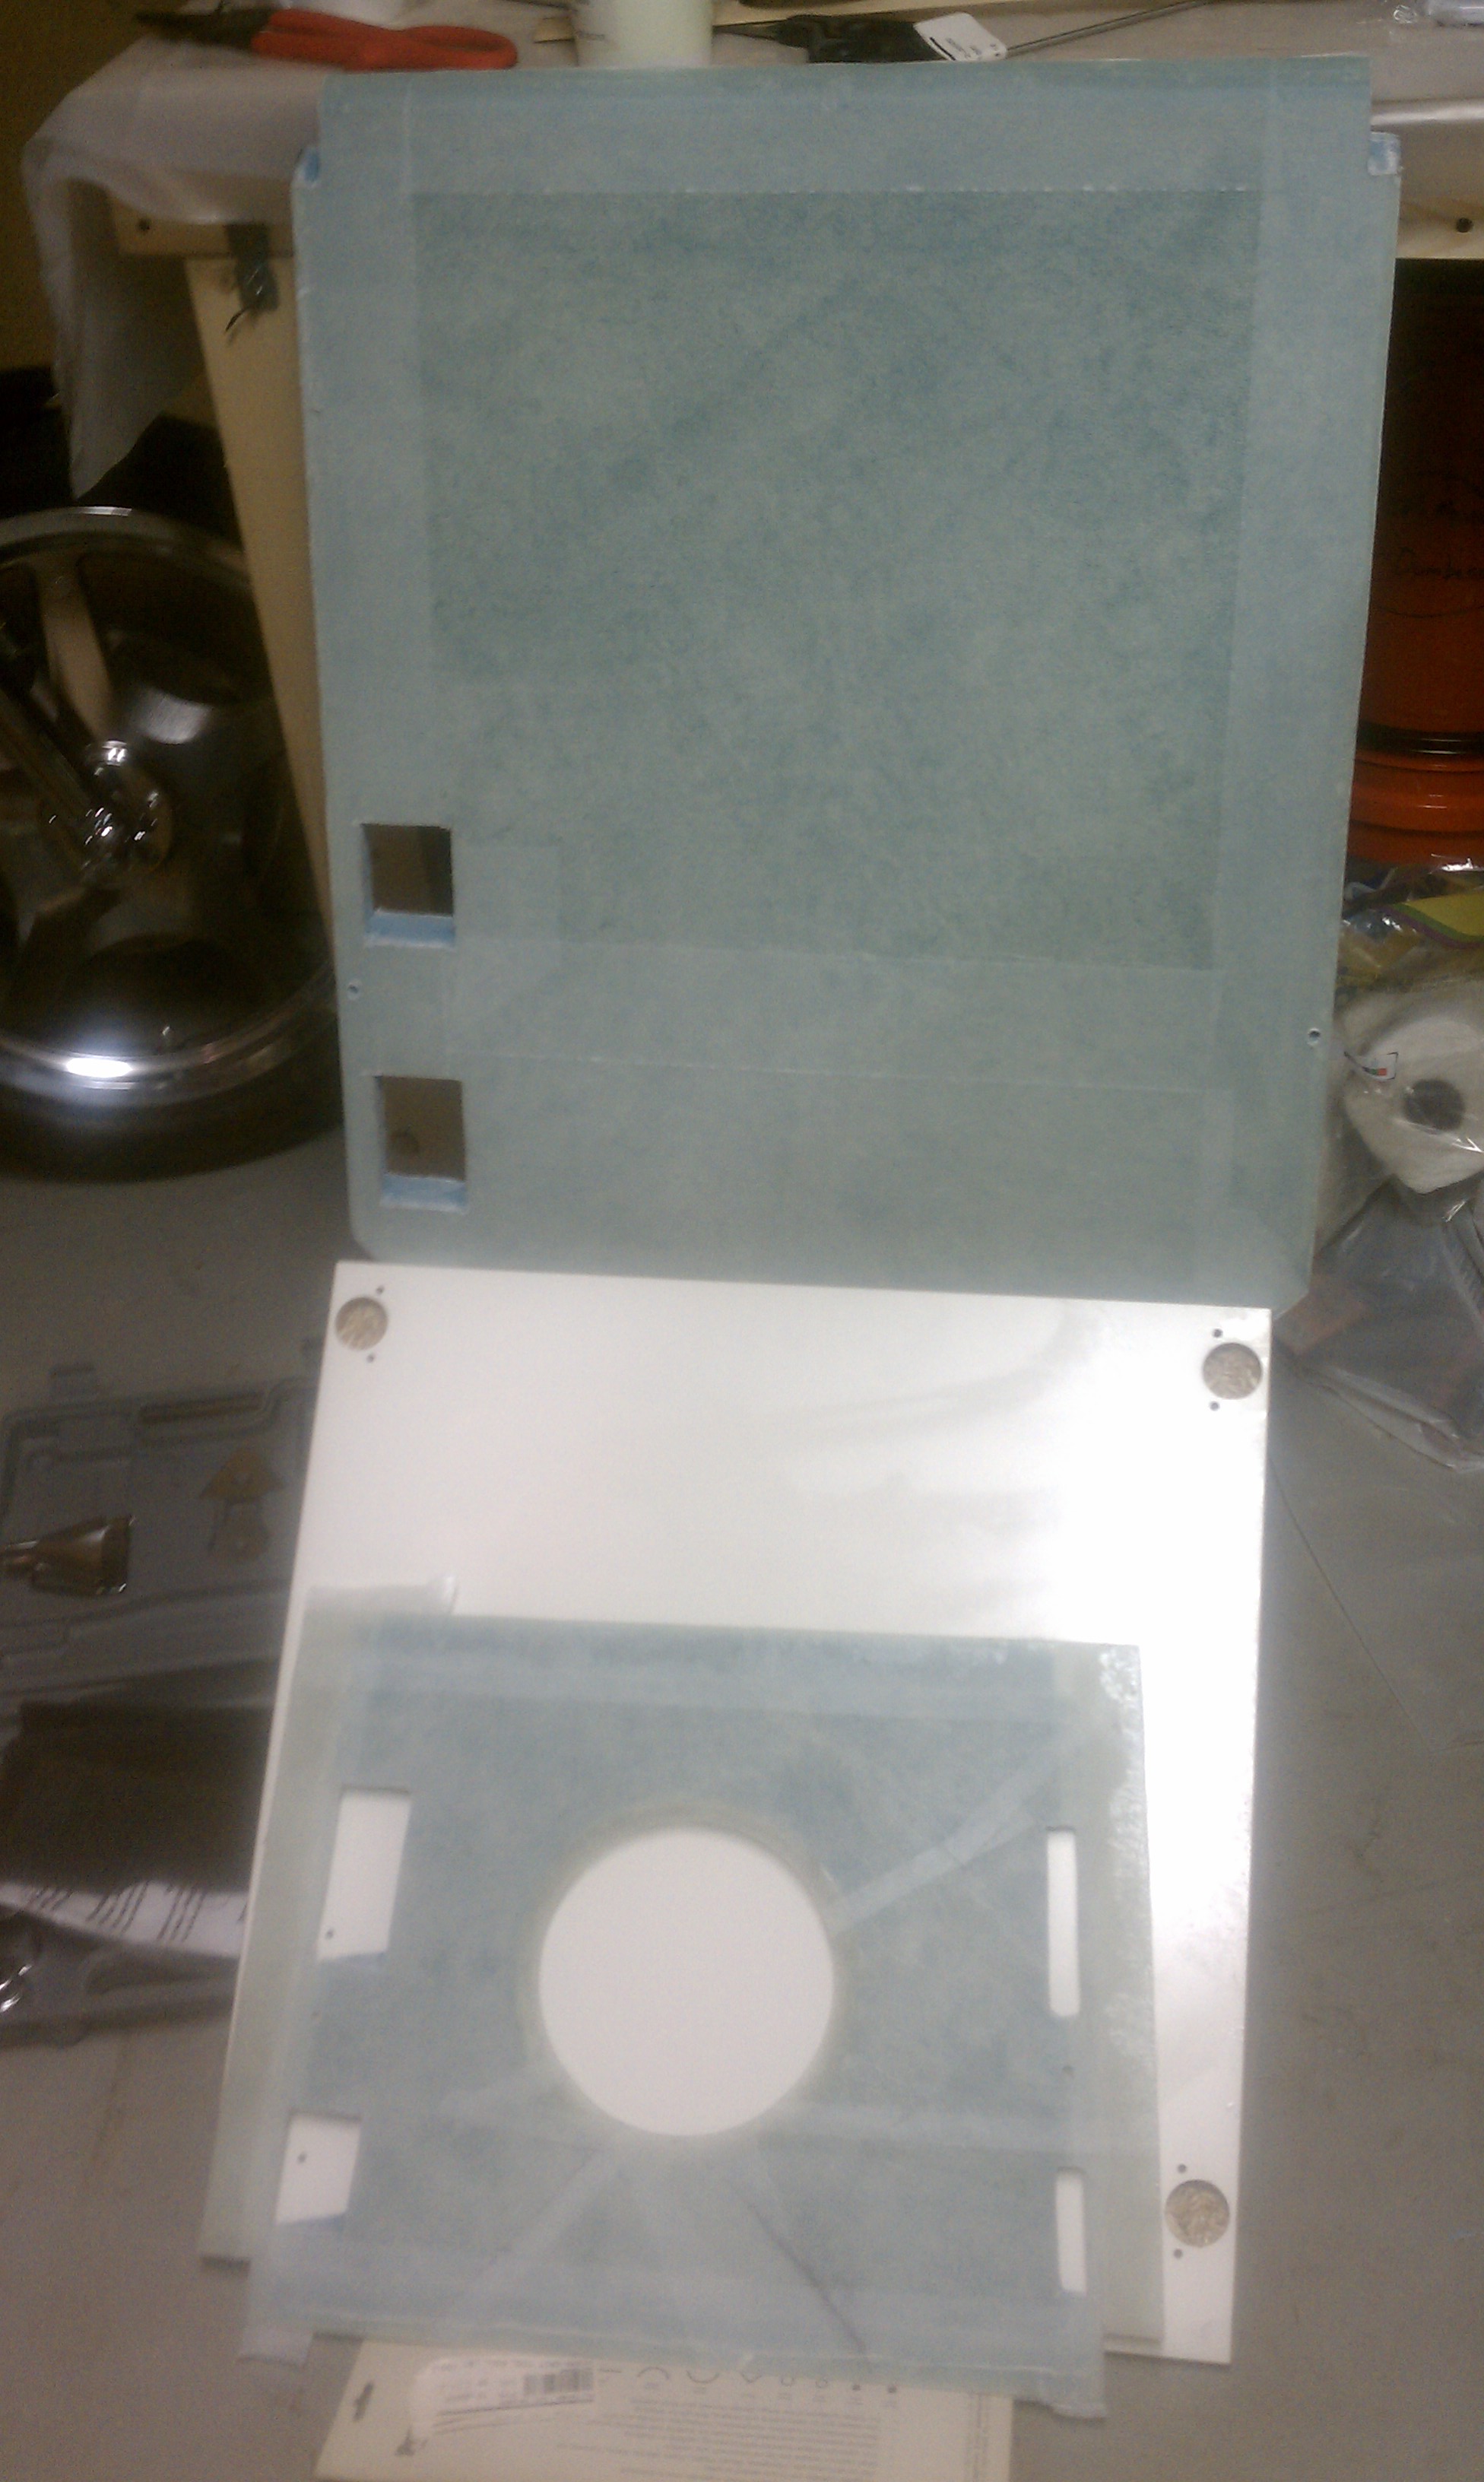
This next picture is a shot of the two finished bulkheads: the front & rear seats:

Done! Front & Rear Seat Bulkheads

Done! Front & Rear Seat Bulkheads