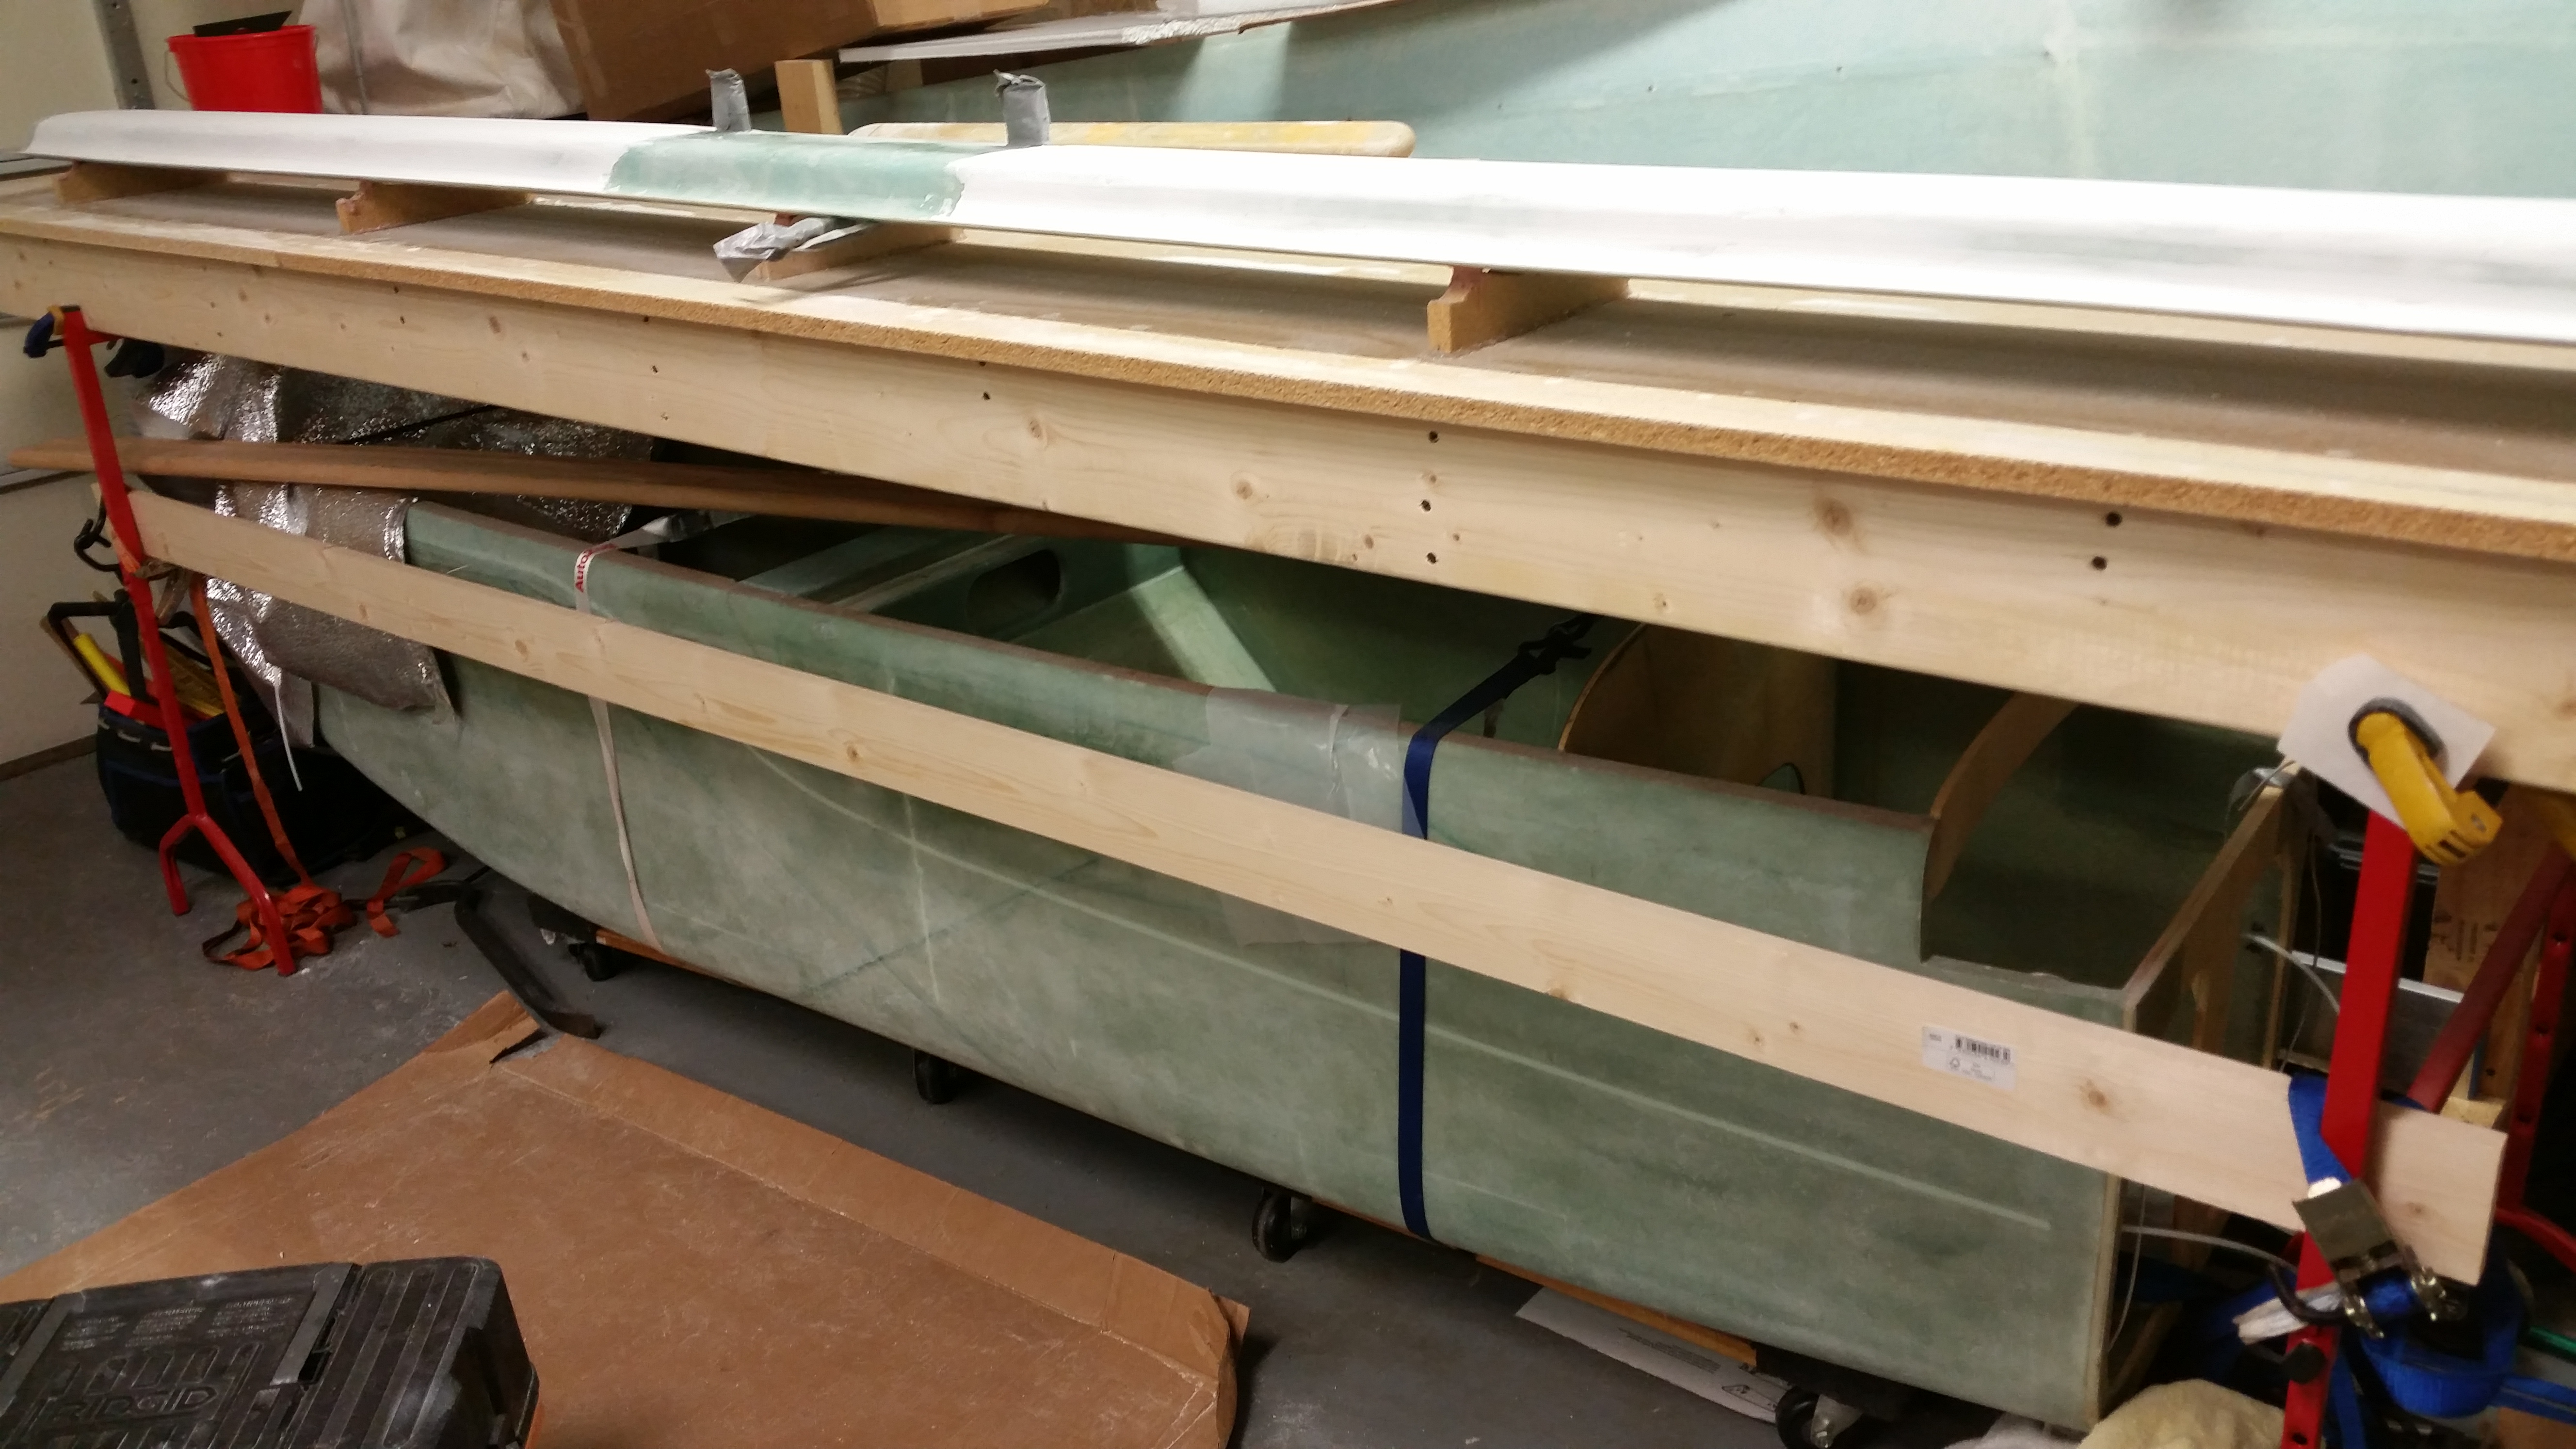
Chapter 10 & 25 – Le Primed “Duck”

Or, as they say in France, “Le canard, oui?”

I started out today by giving the epoxy skimmed canard a thorough sanding.  First off, I was checking out the surface in the light and realized it was still just a tad too lumpy across the board to my liking.  So I backed up one step and grabbed the marine long board with 80 grit paper to knock off some of those surface irregularities.  I did a pass 45° to the right and then 45° to left on each side.  After knocking down the surface significantly with the 80 grit paper, I hit the canard with 100 grit sandpaper two complete passes on each side and then I finished up with a couple of passes using 150 grit paper.

After the final sanding down of the epoxy skim coat & Micro Skim I vacuumed the canard and the surrounding area, cleaned the canard and let it dry before taping it in preparation to prime it.
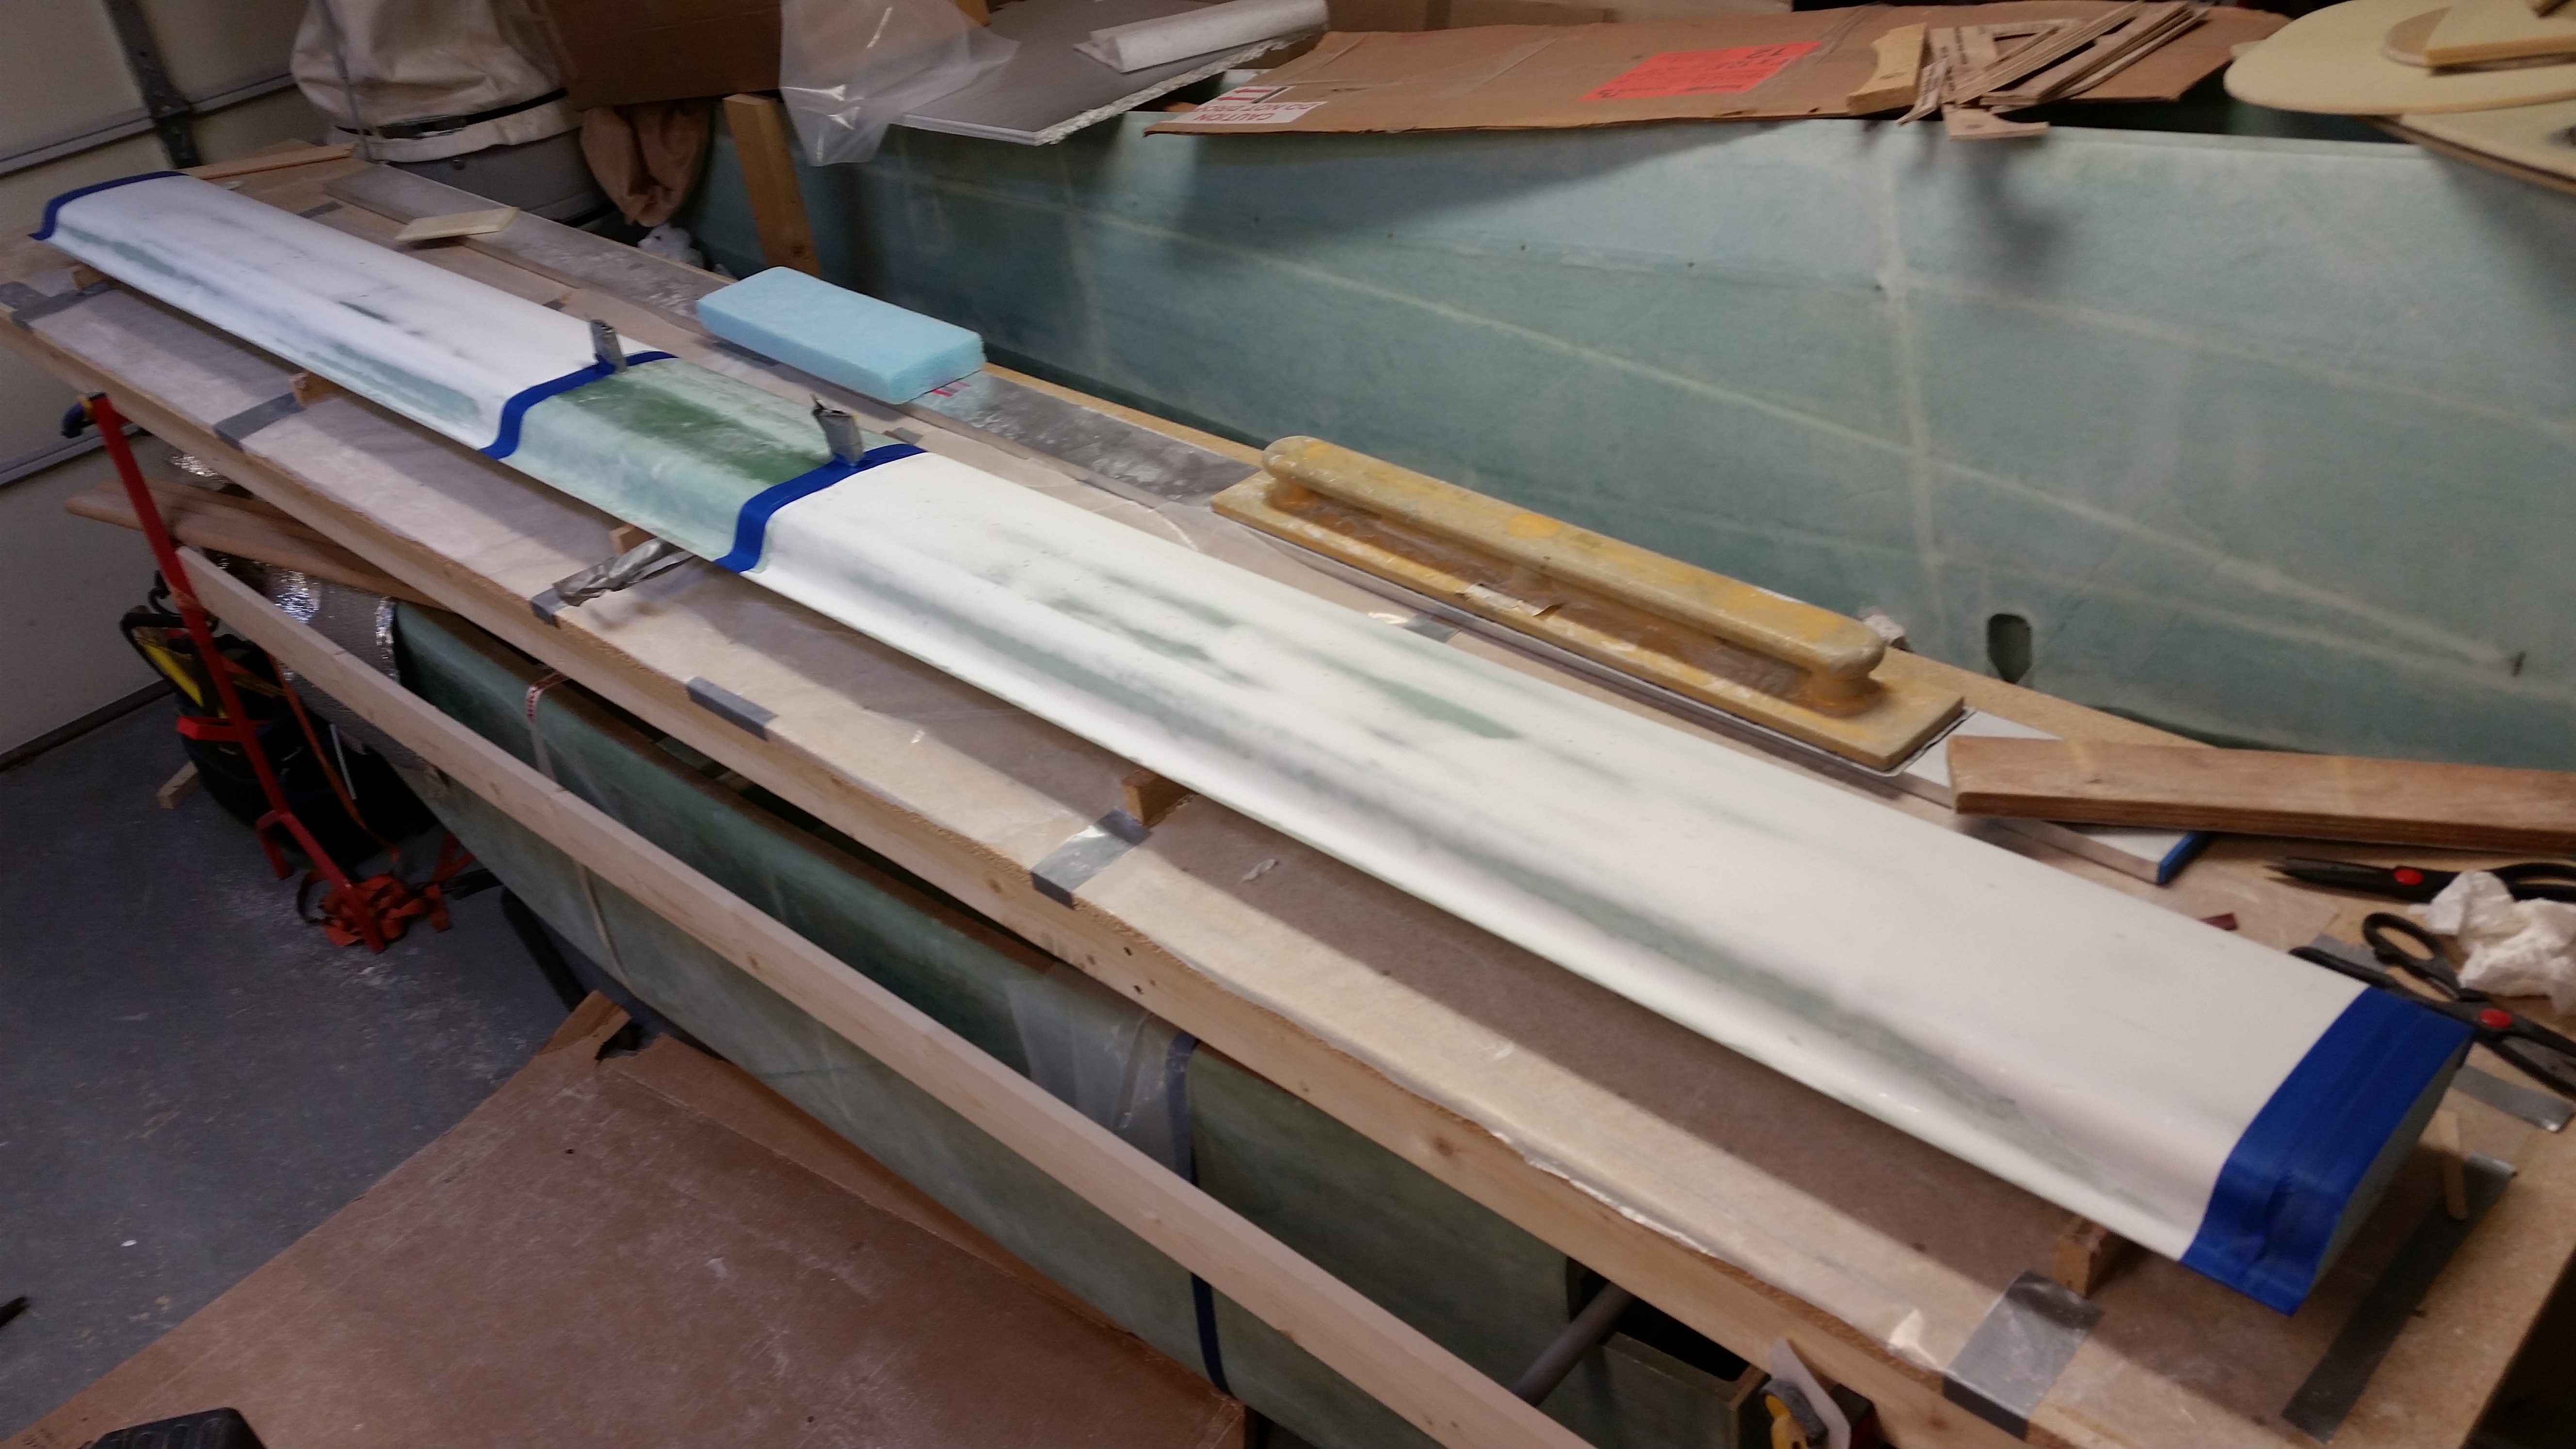
Prepped to Prime!

As I posted earlier this year, I made a decision to use boat paint for the final finish on this Long-EZ.  Unless it proves unsatisfactory I’m keeping with that decision due to low cost & ease of application.  Here’s a shot of the opened can right before I started priming the canard.
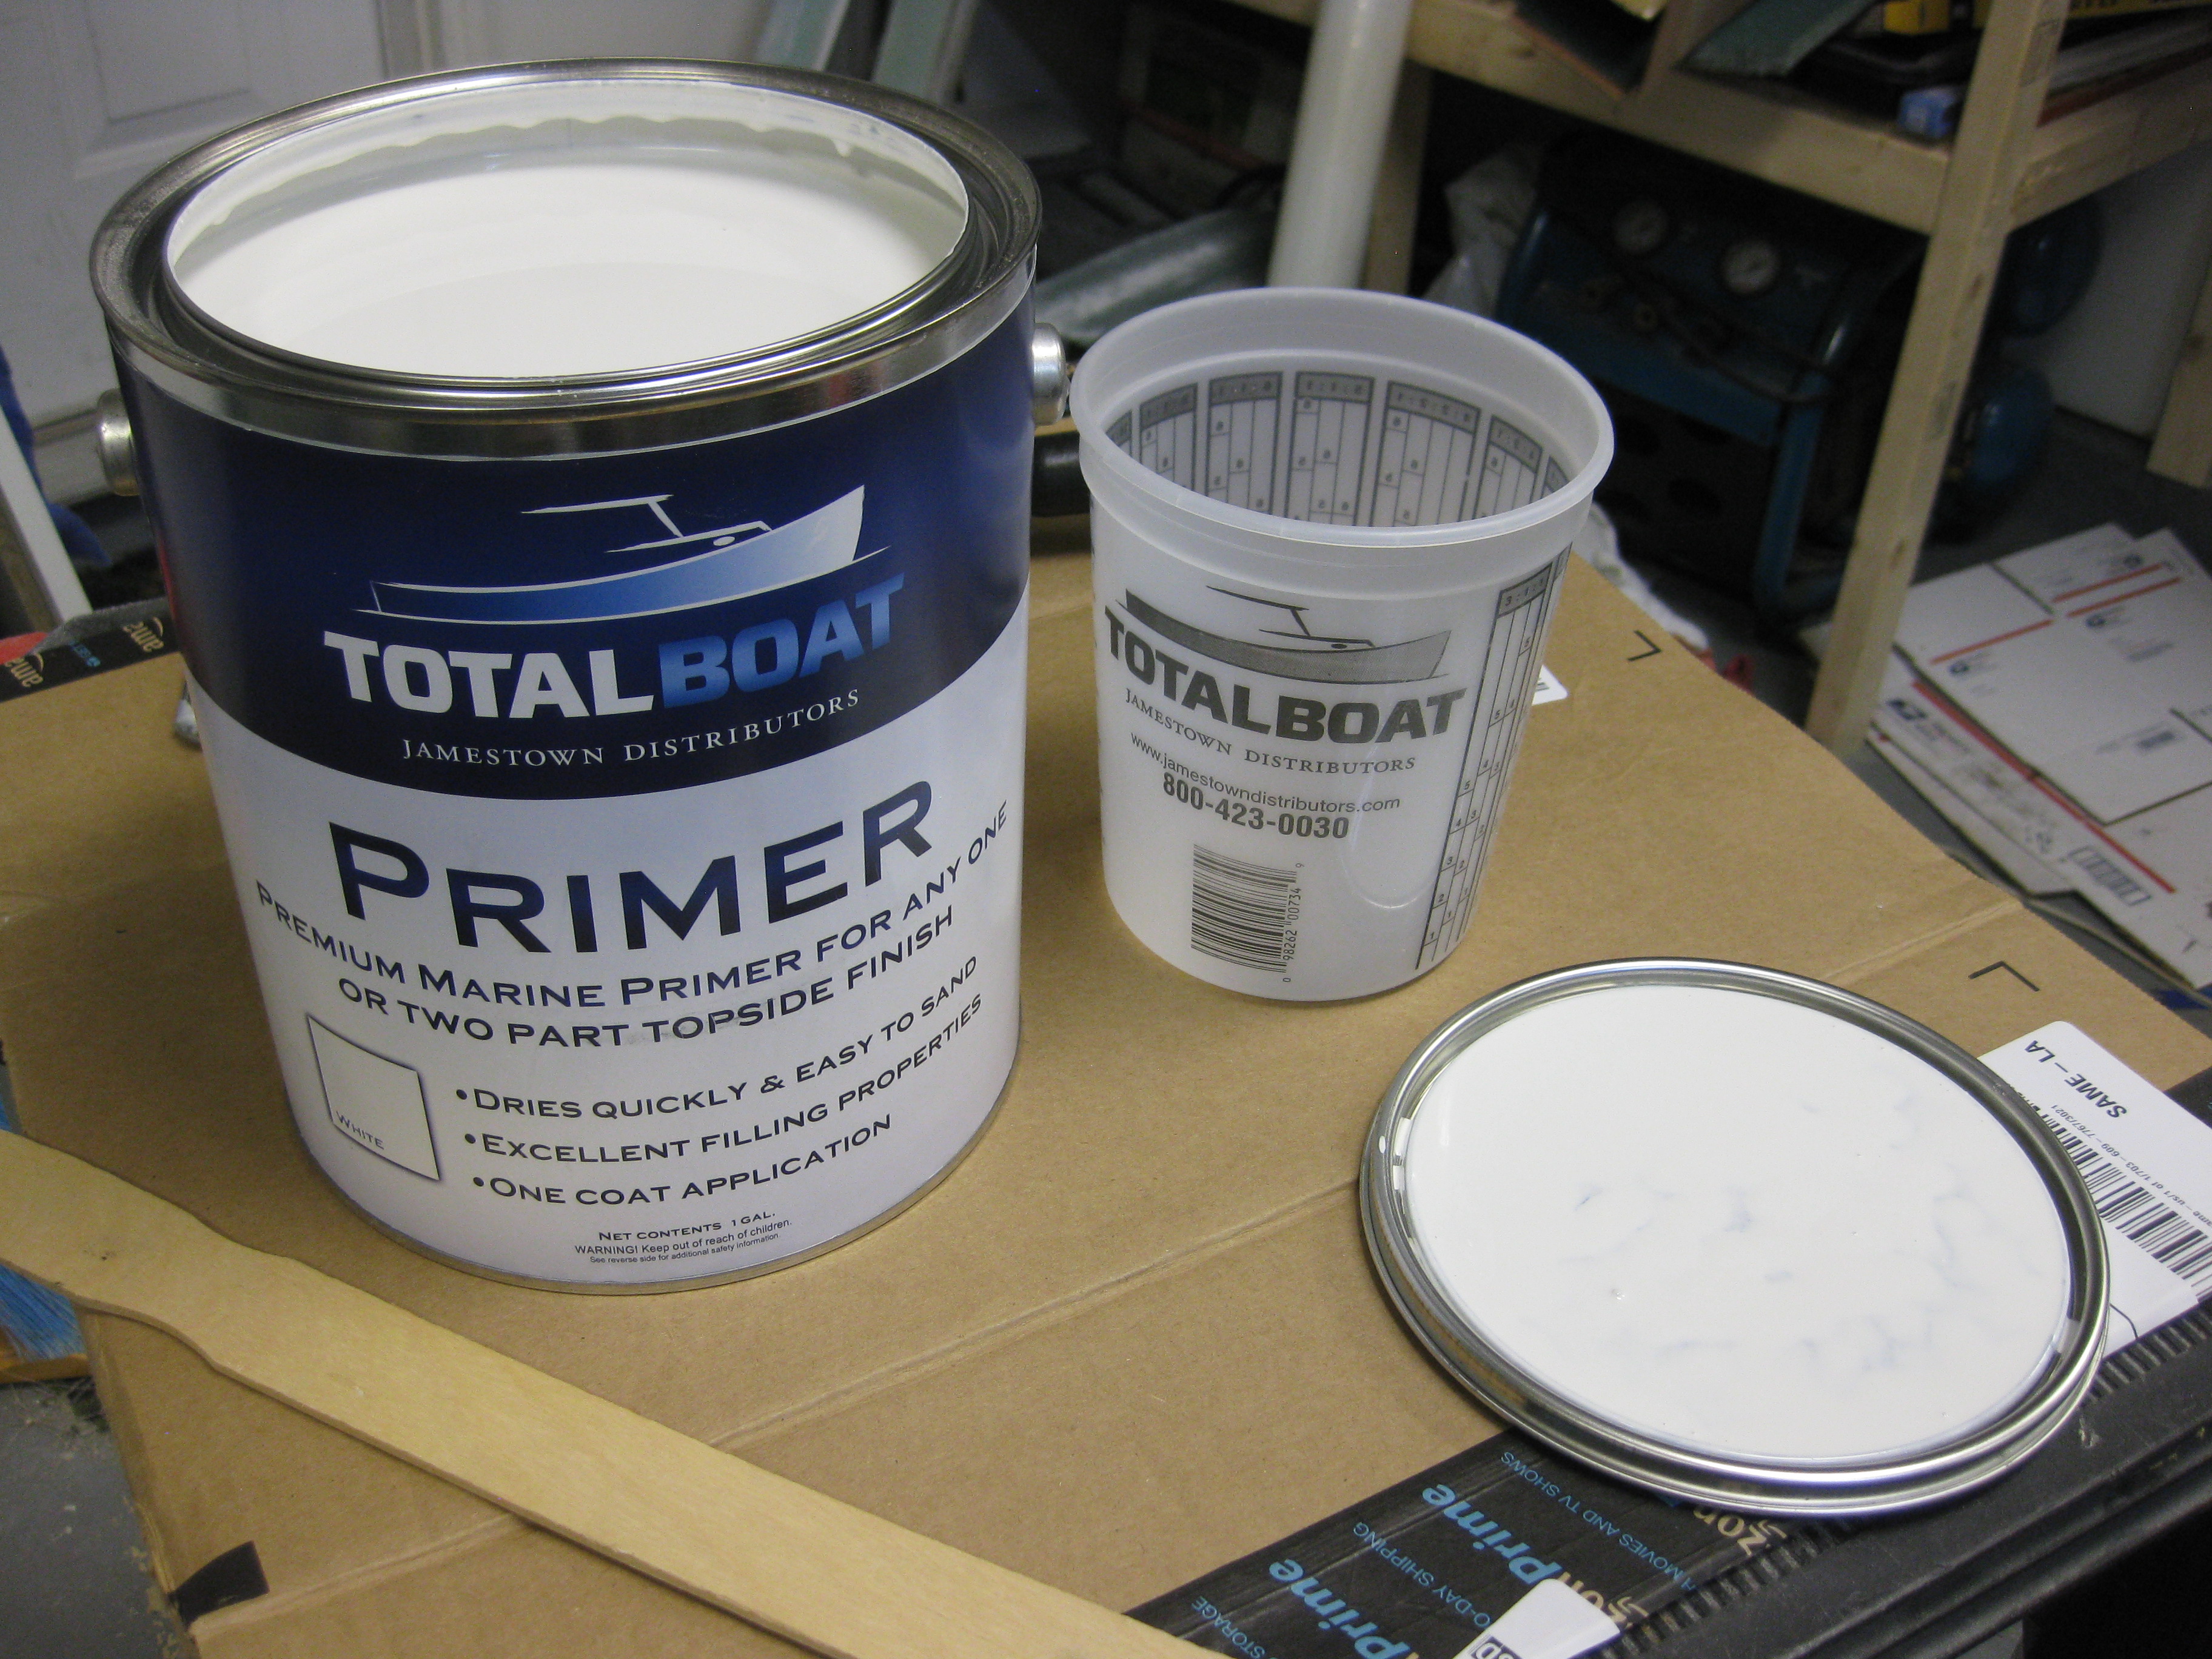
Total Boat Primer

Jamestown Distributors, the company who sells Total Boat paint products, recommends using Xylol/Xylene to thin the primer.  Since I didn’t have any Xylene on hand, and only just learned about it by watching the how-to video on Jamestown Distributor’s website, I decided to make a lunch/Home Depot run.  I carted the above pictured gallon of boat primer down to Home Depot and as I was shopping for various paint supplies had them shake up the can for me in their Über-duber mixing machine.
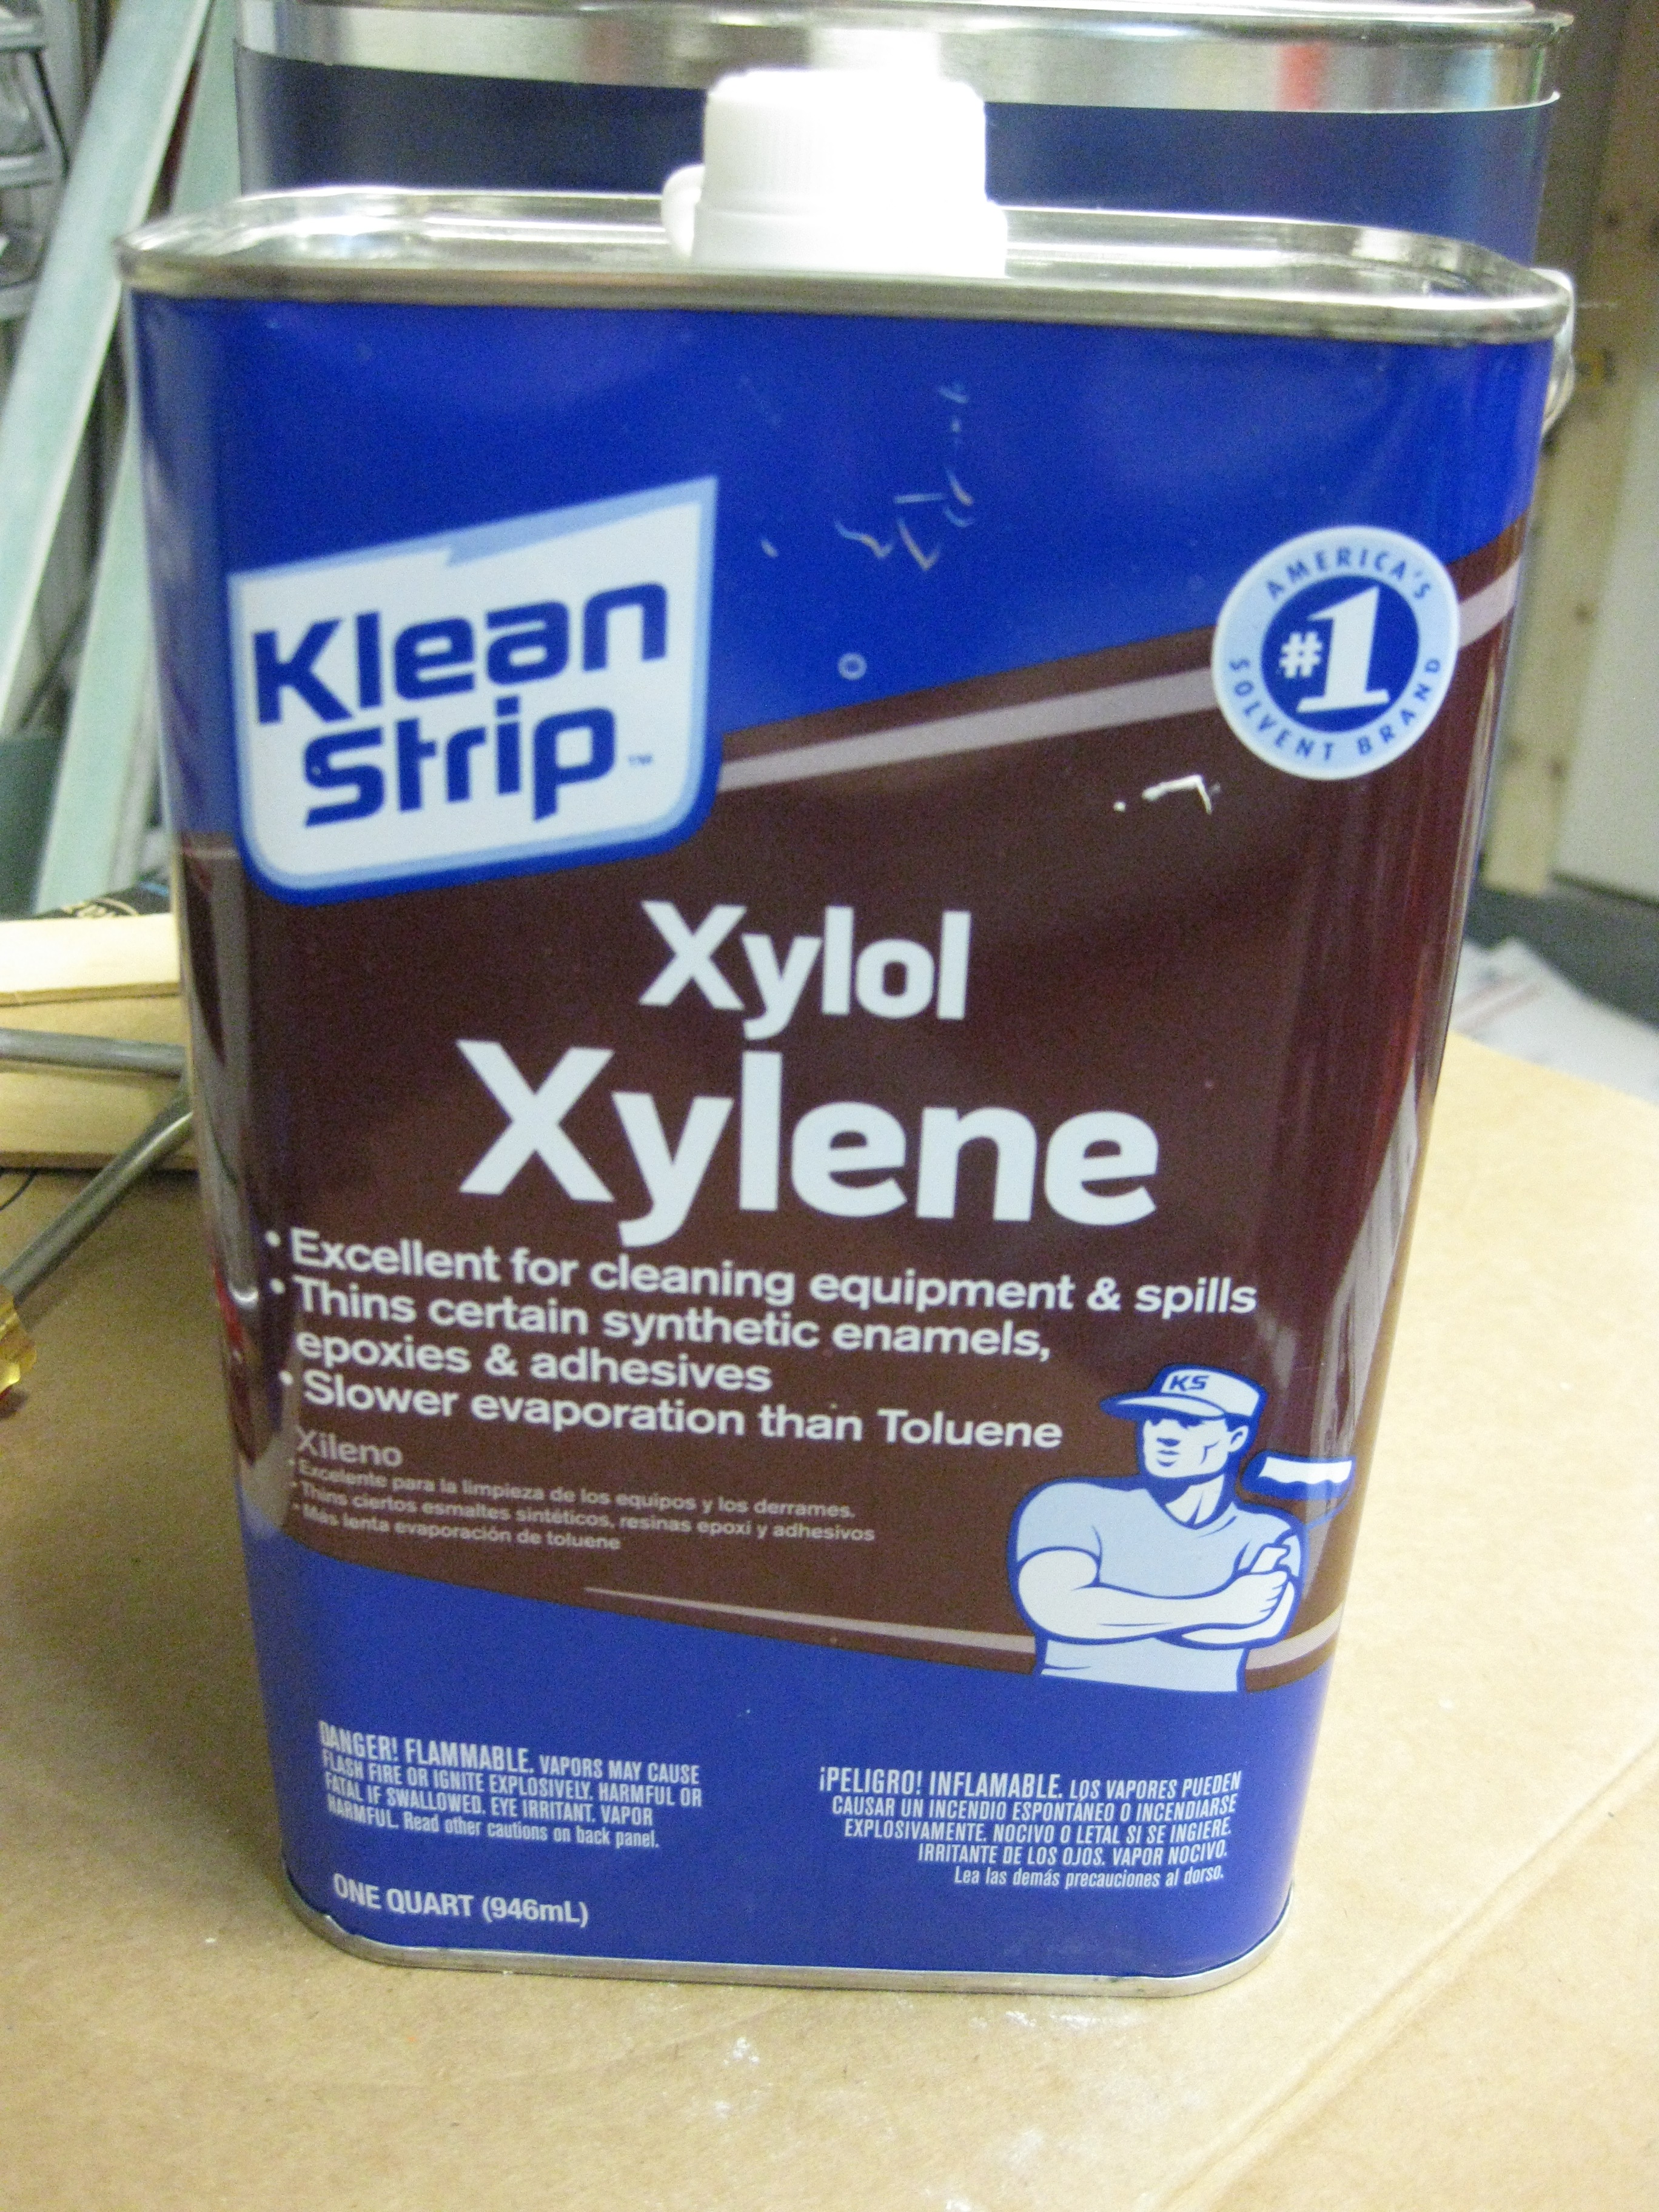
Used to thin primer

After grabbing a quick lunch & returning back to the shop, I thoroughly stirred the primer, mixed it with 10% Xylene and applied the primer to the canard with a foam roller.

Some of you may wonder why I’m priming the canard at this stage.  Well, it seems there is a common difficulty in getting the gap between the elevators and the canard just right. Thus, I want the gap to be a known quantity before I start.  I don’t want to declare that a 0.2″ gap is in hand only to find that when I finish the canard and elevators that it’s only a 0.18″ gap, just as an example.  Also, as I mentioned before, I believe Randi from the Cozy Girrrls when she says it’s infinitely easier to sand & finish the canard bottom when there are not 6 protruding elevator hinge tabs sticking out of the bottom of the canard.  And since I want to get the canard as smooth and as prepped as possible for paint, then the primer needs to go on before the elevators get mounted.

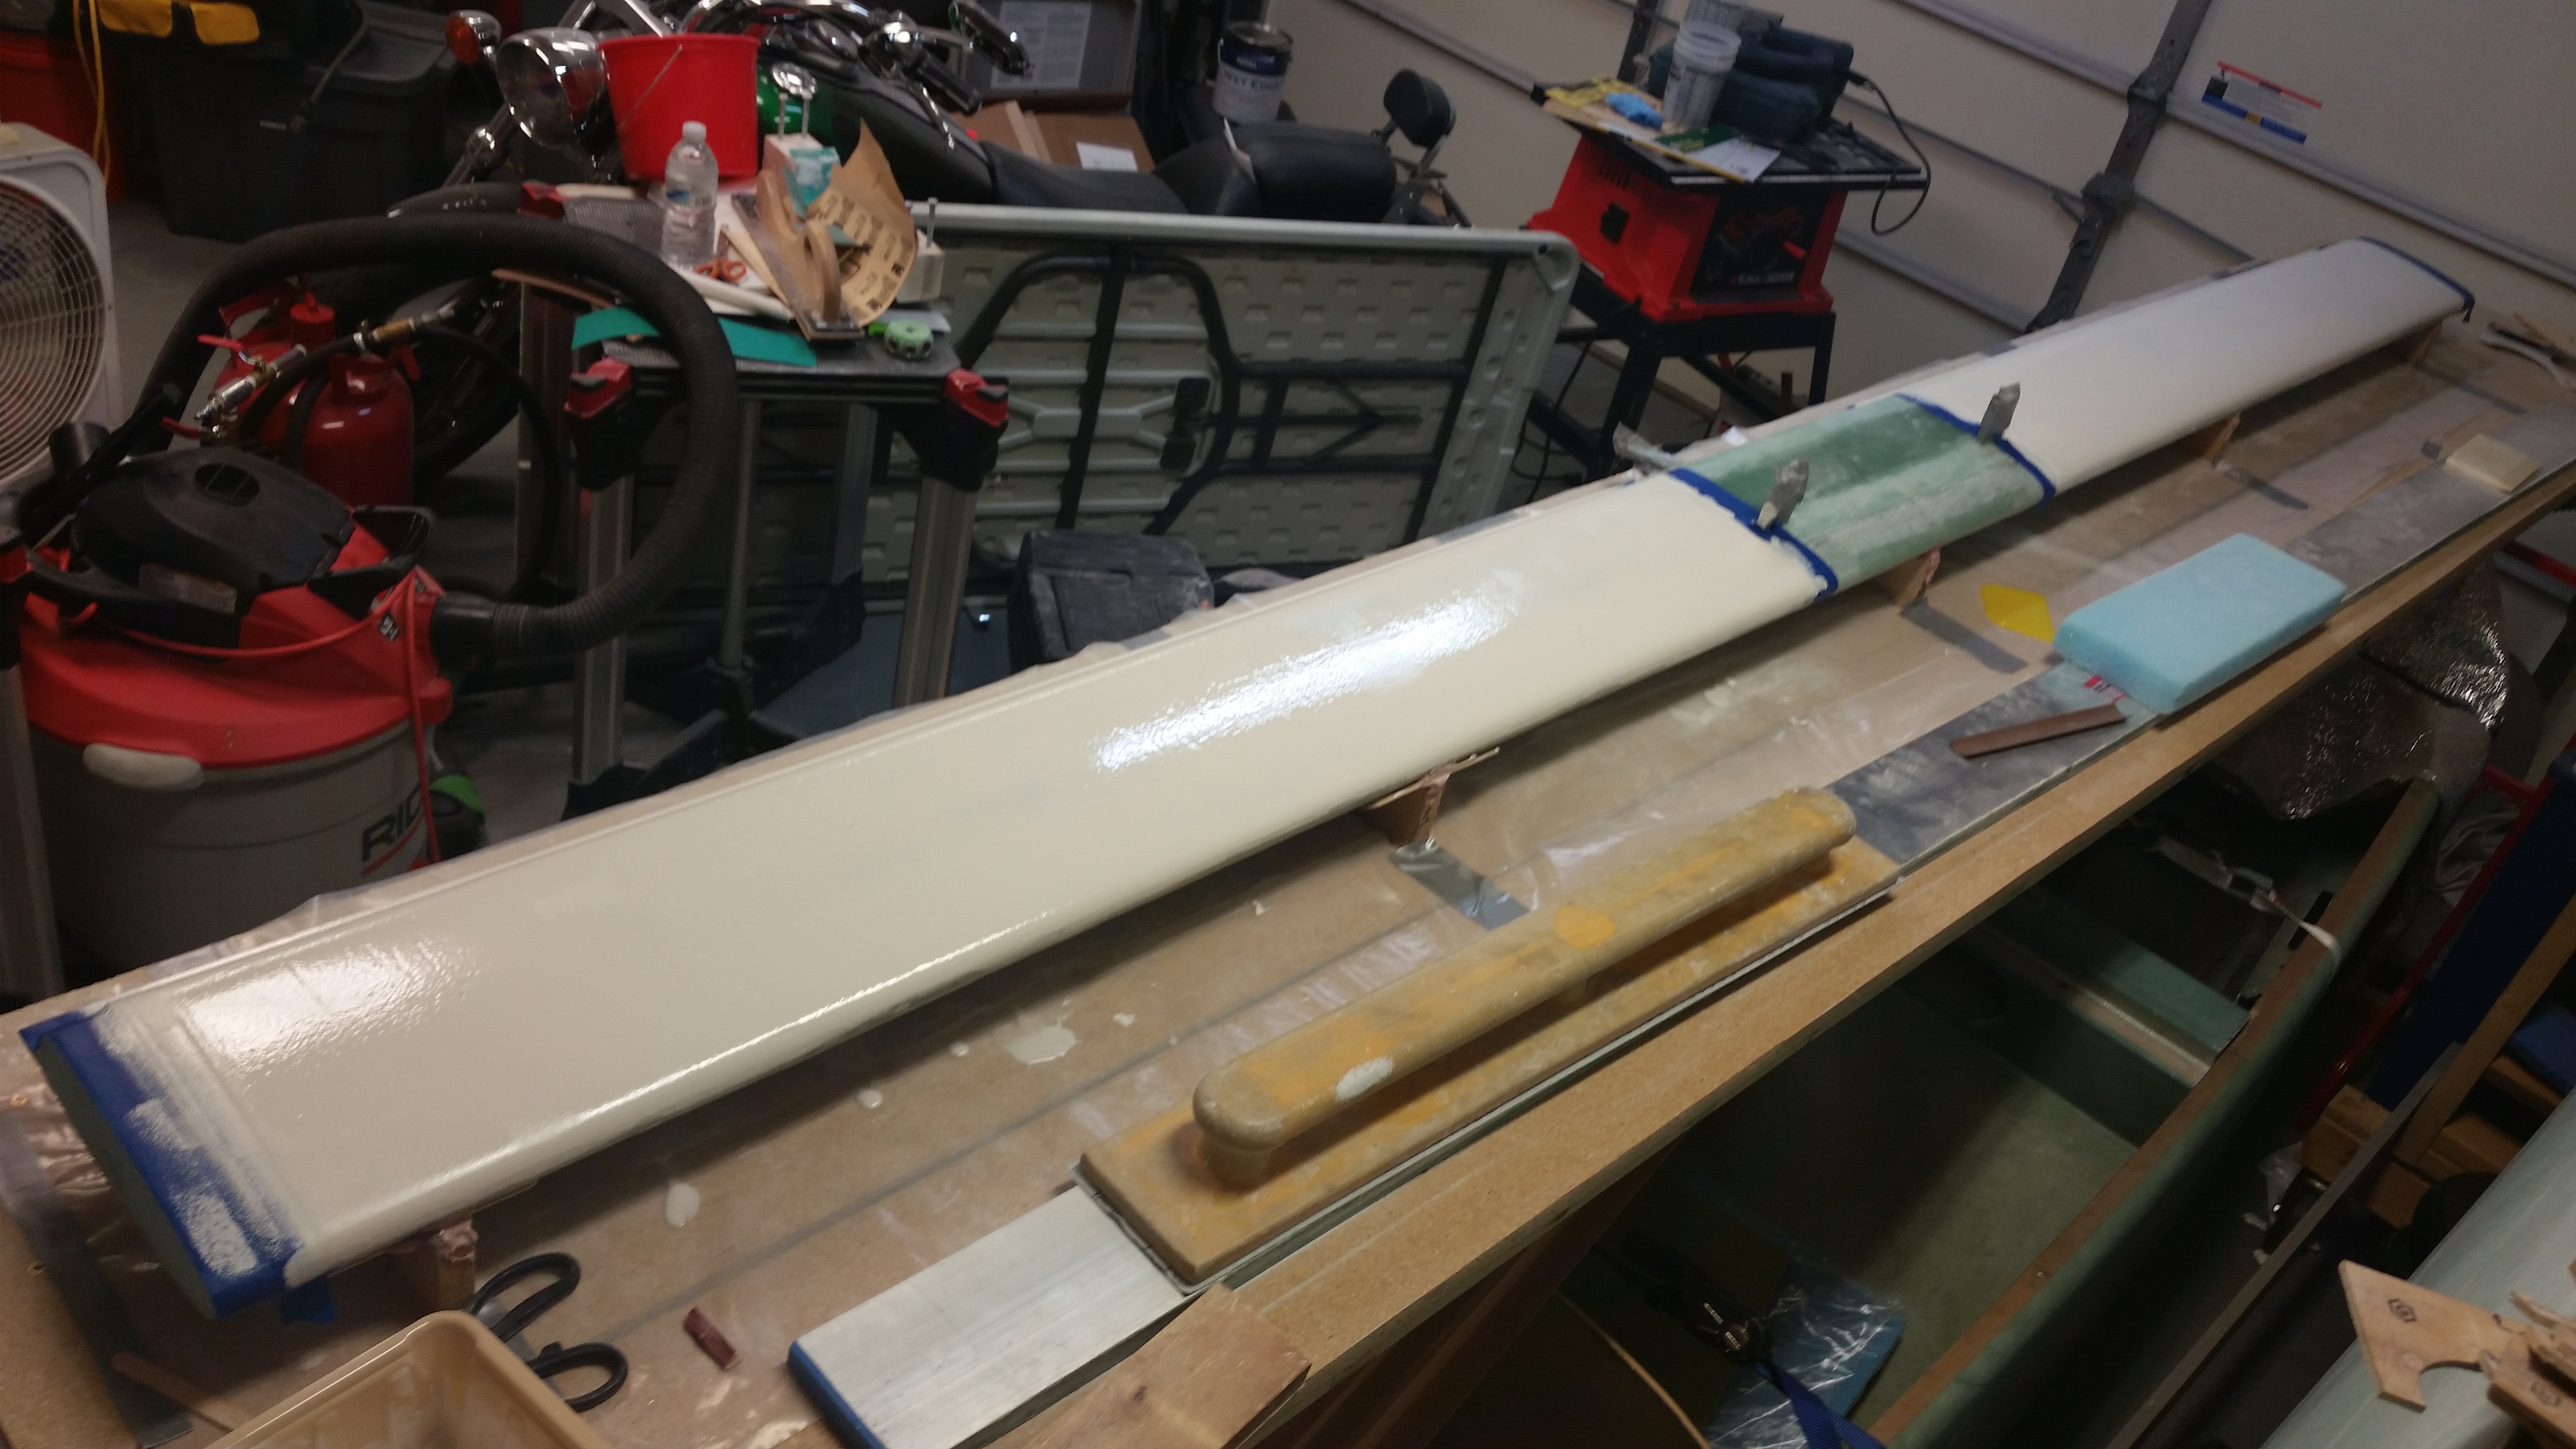
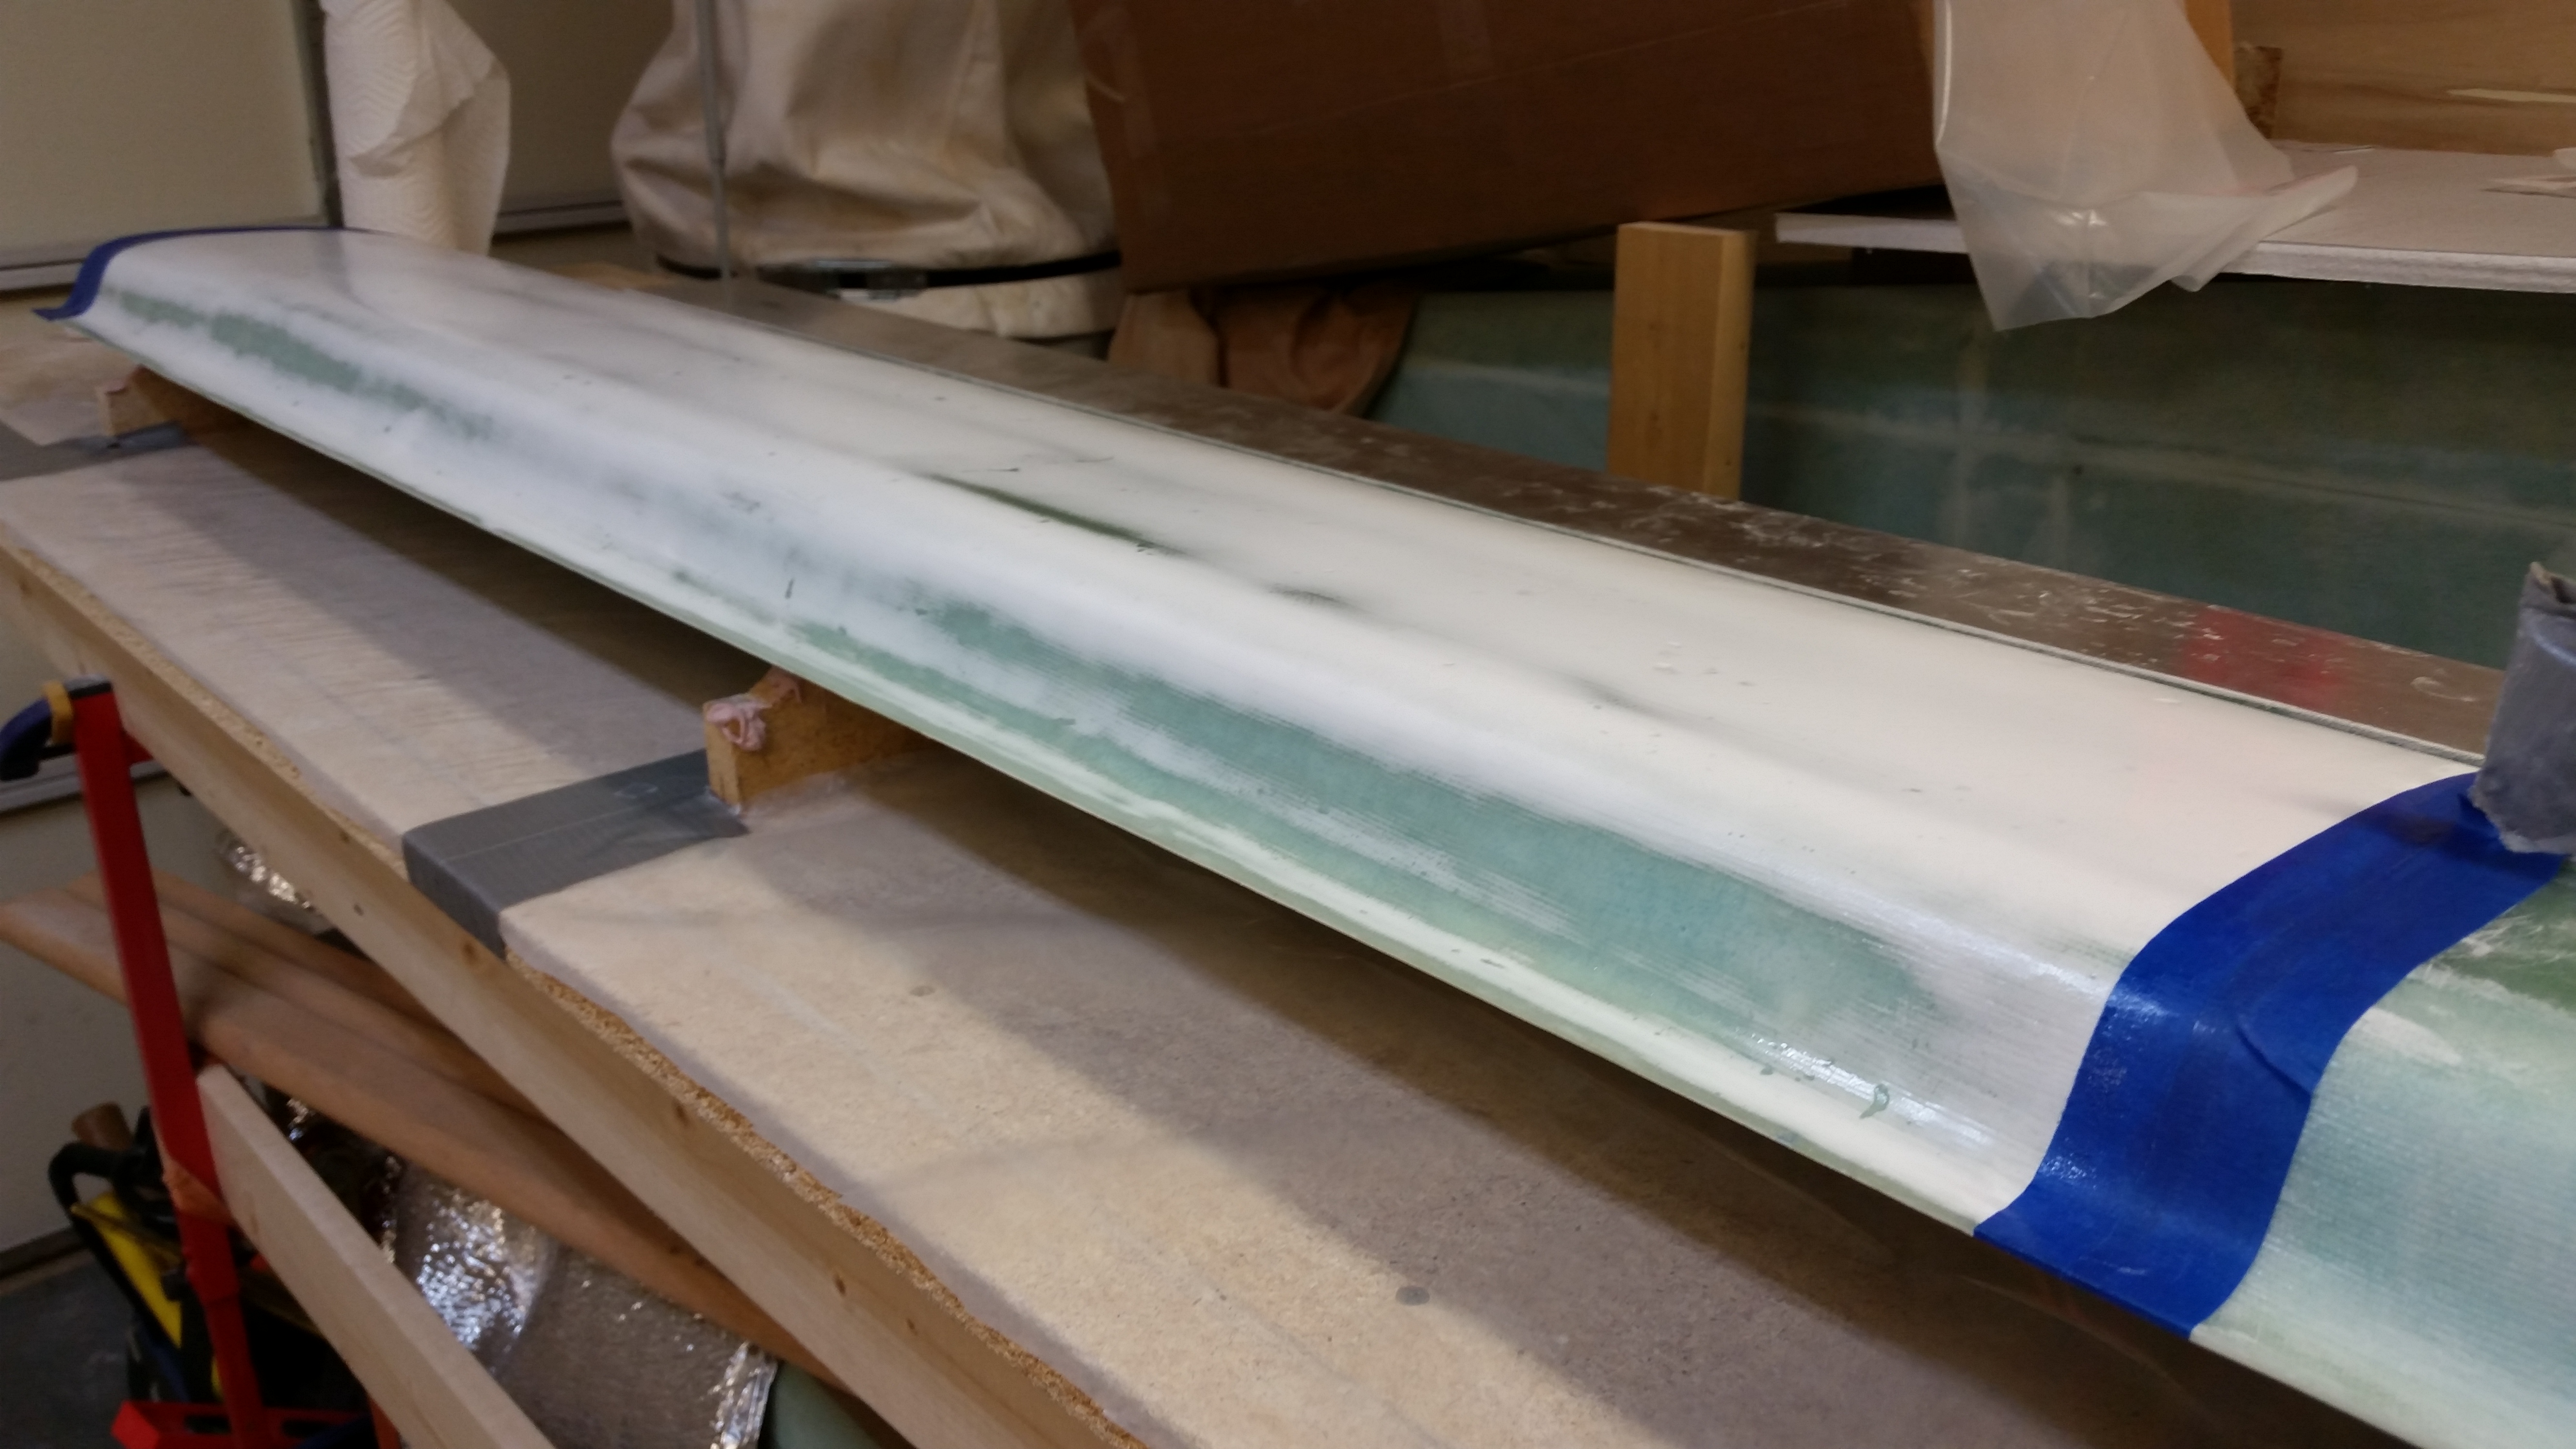
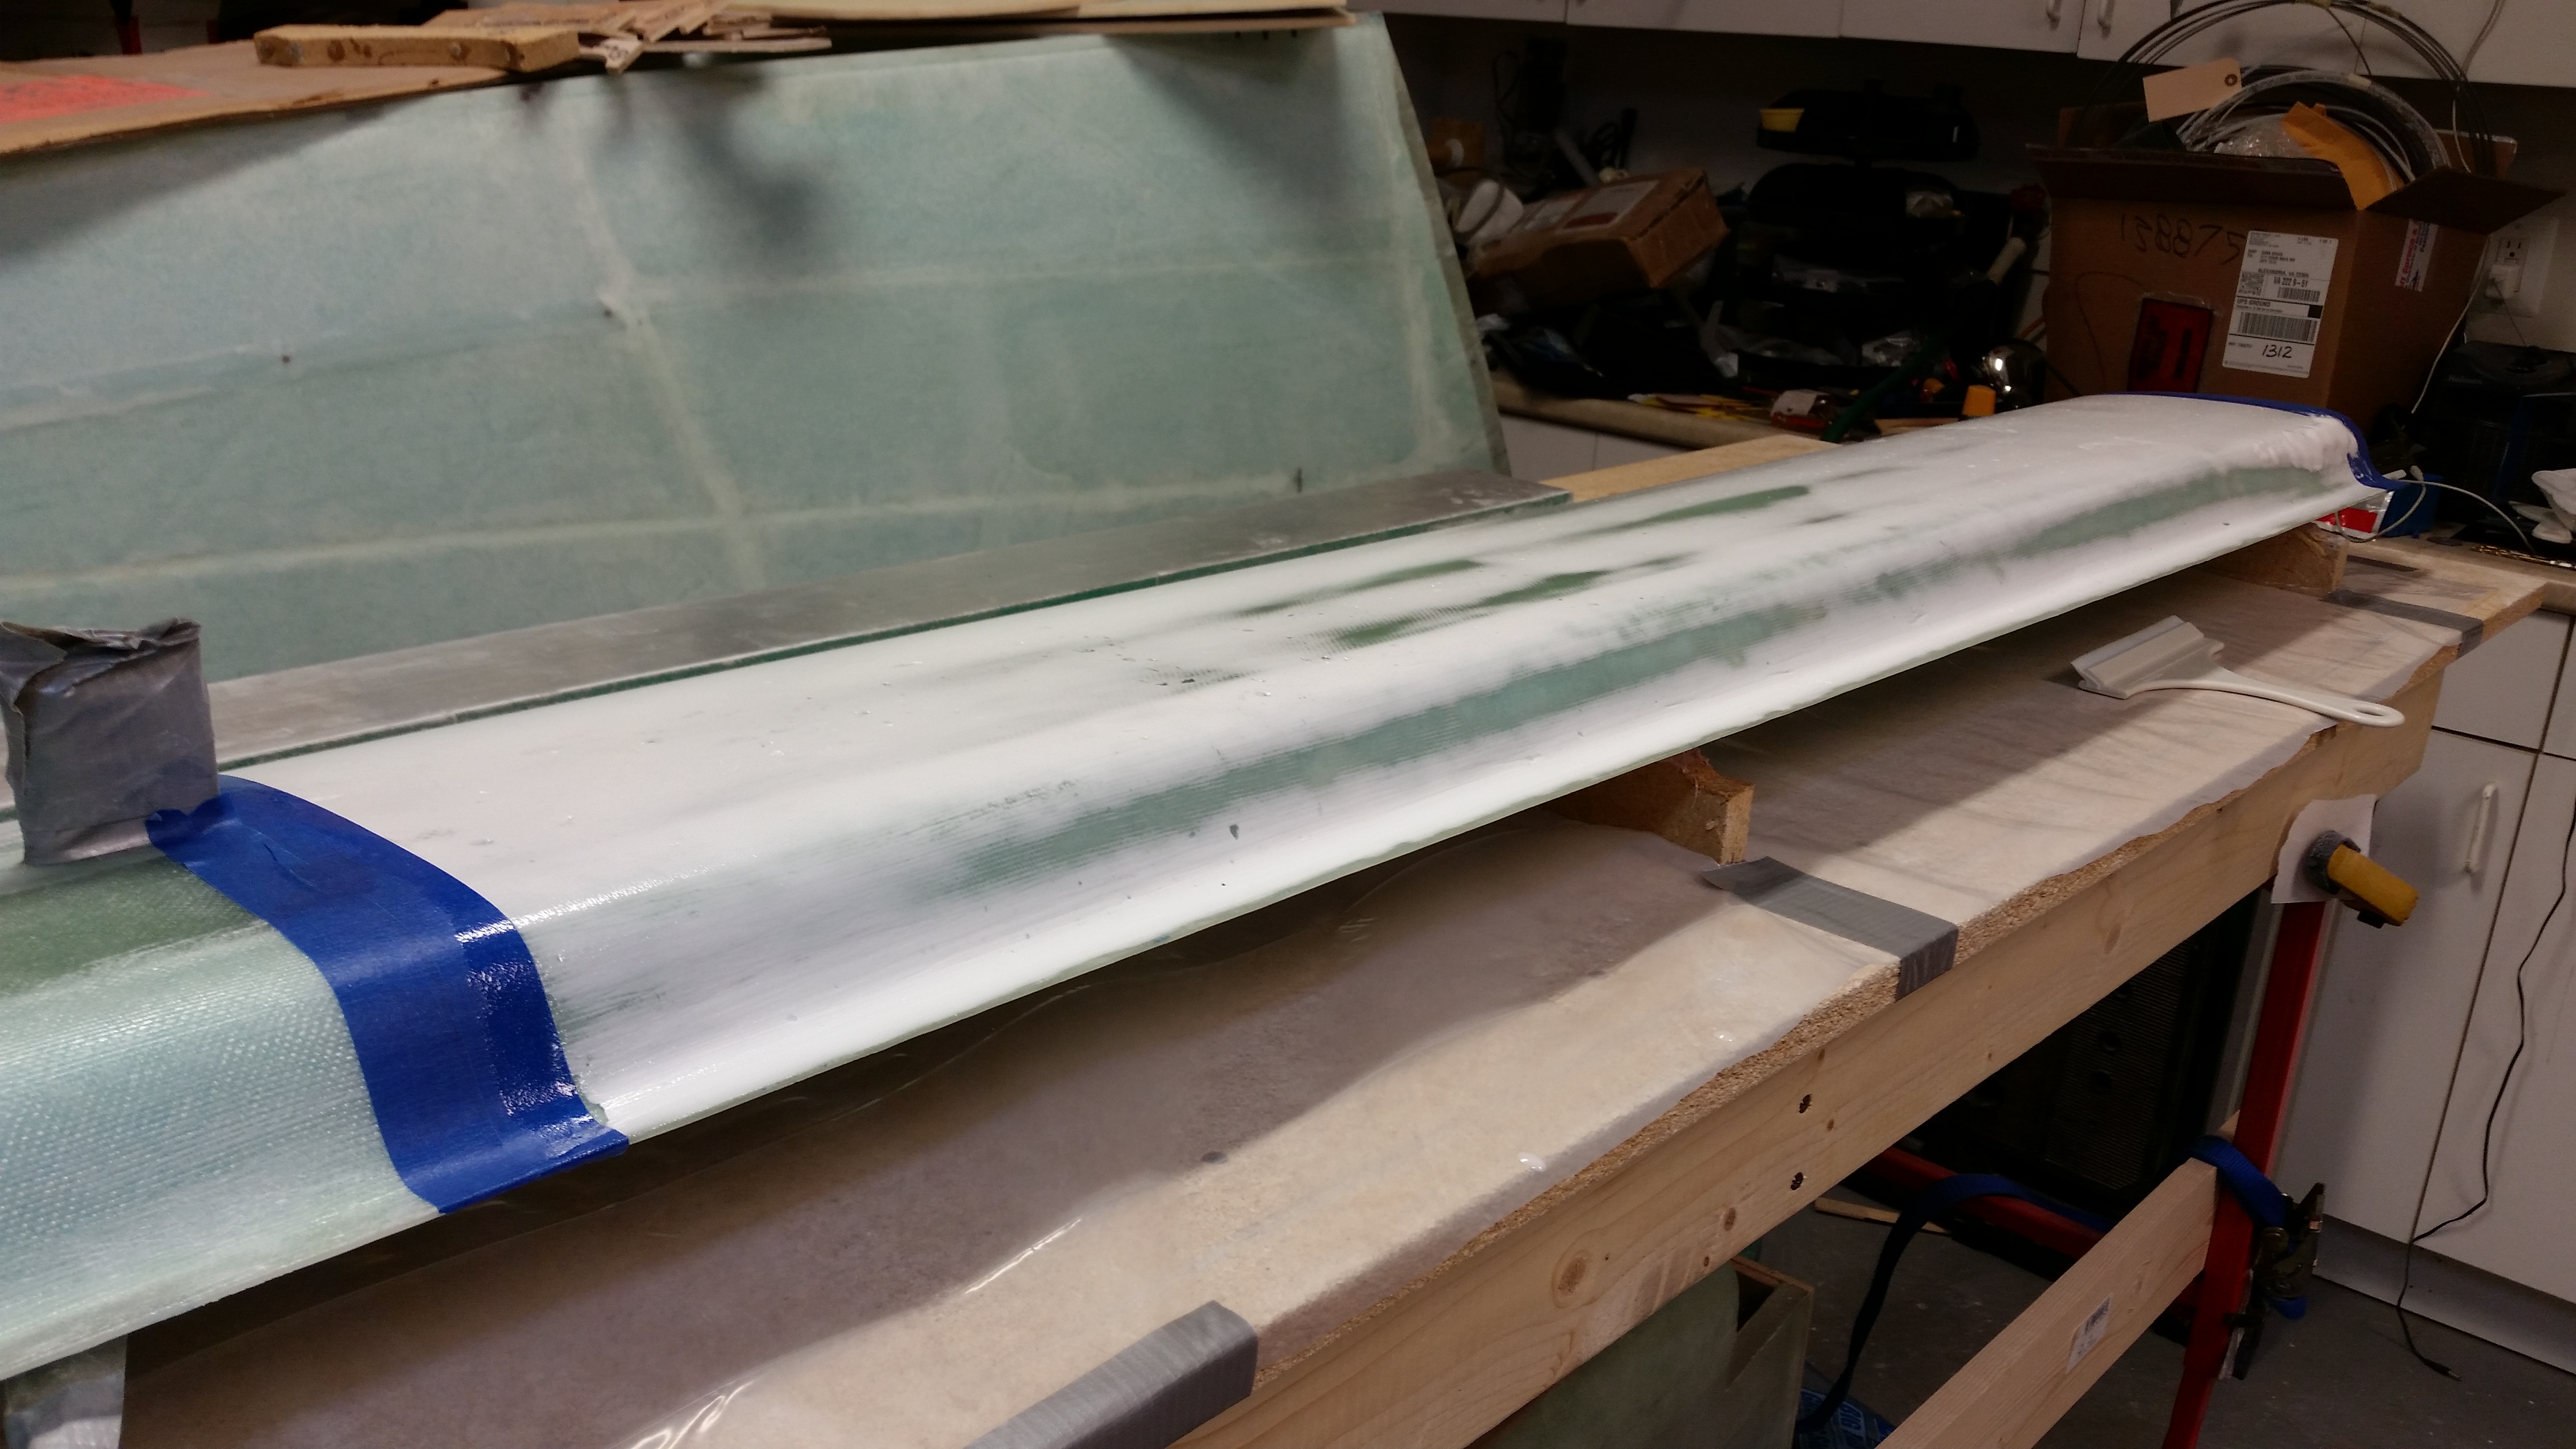
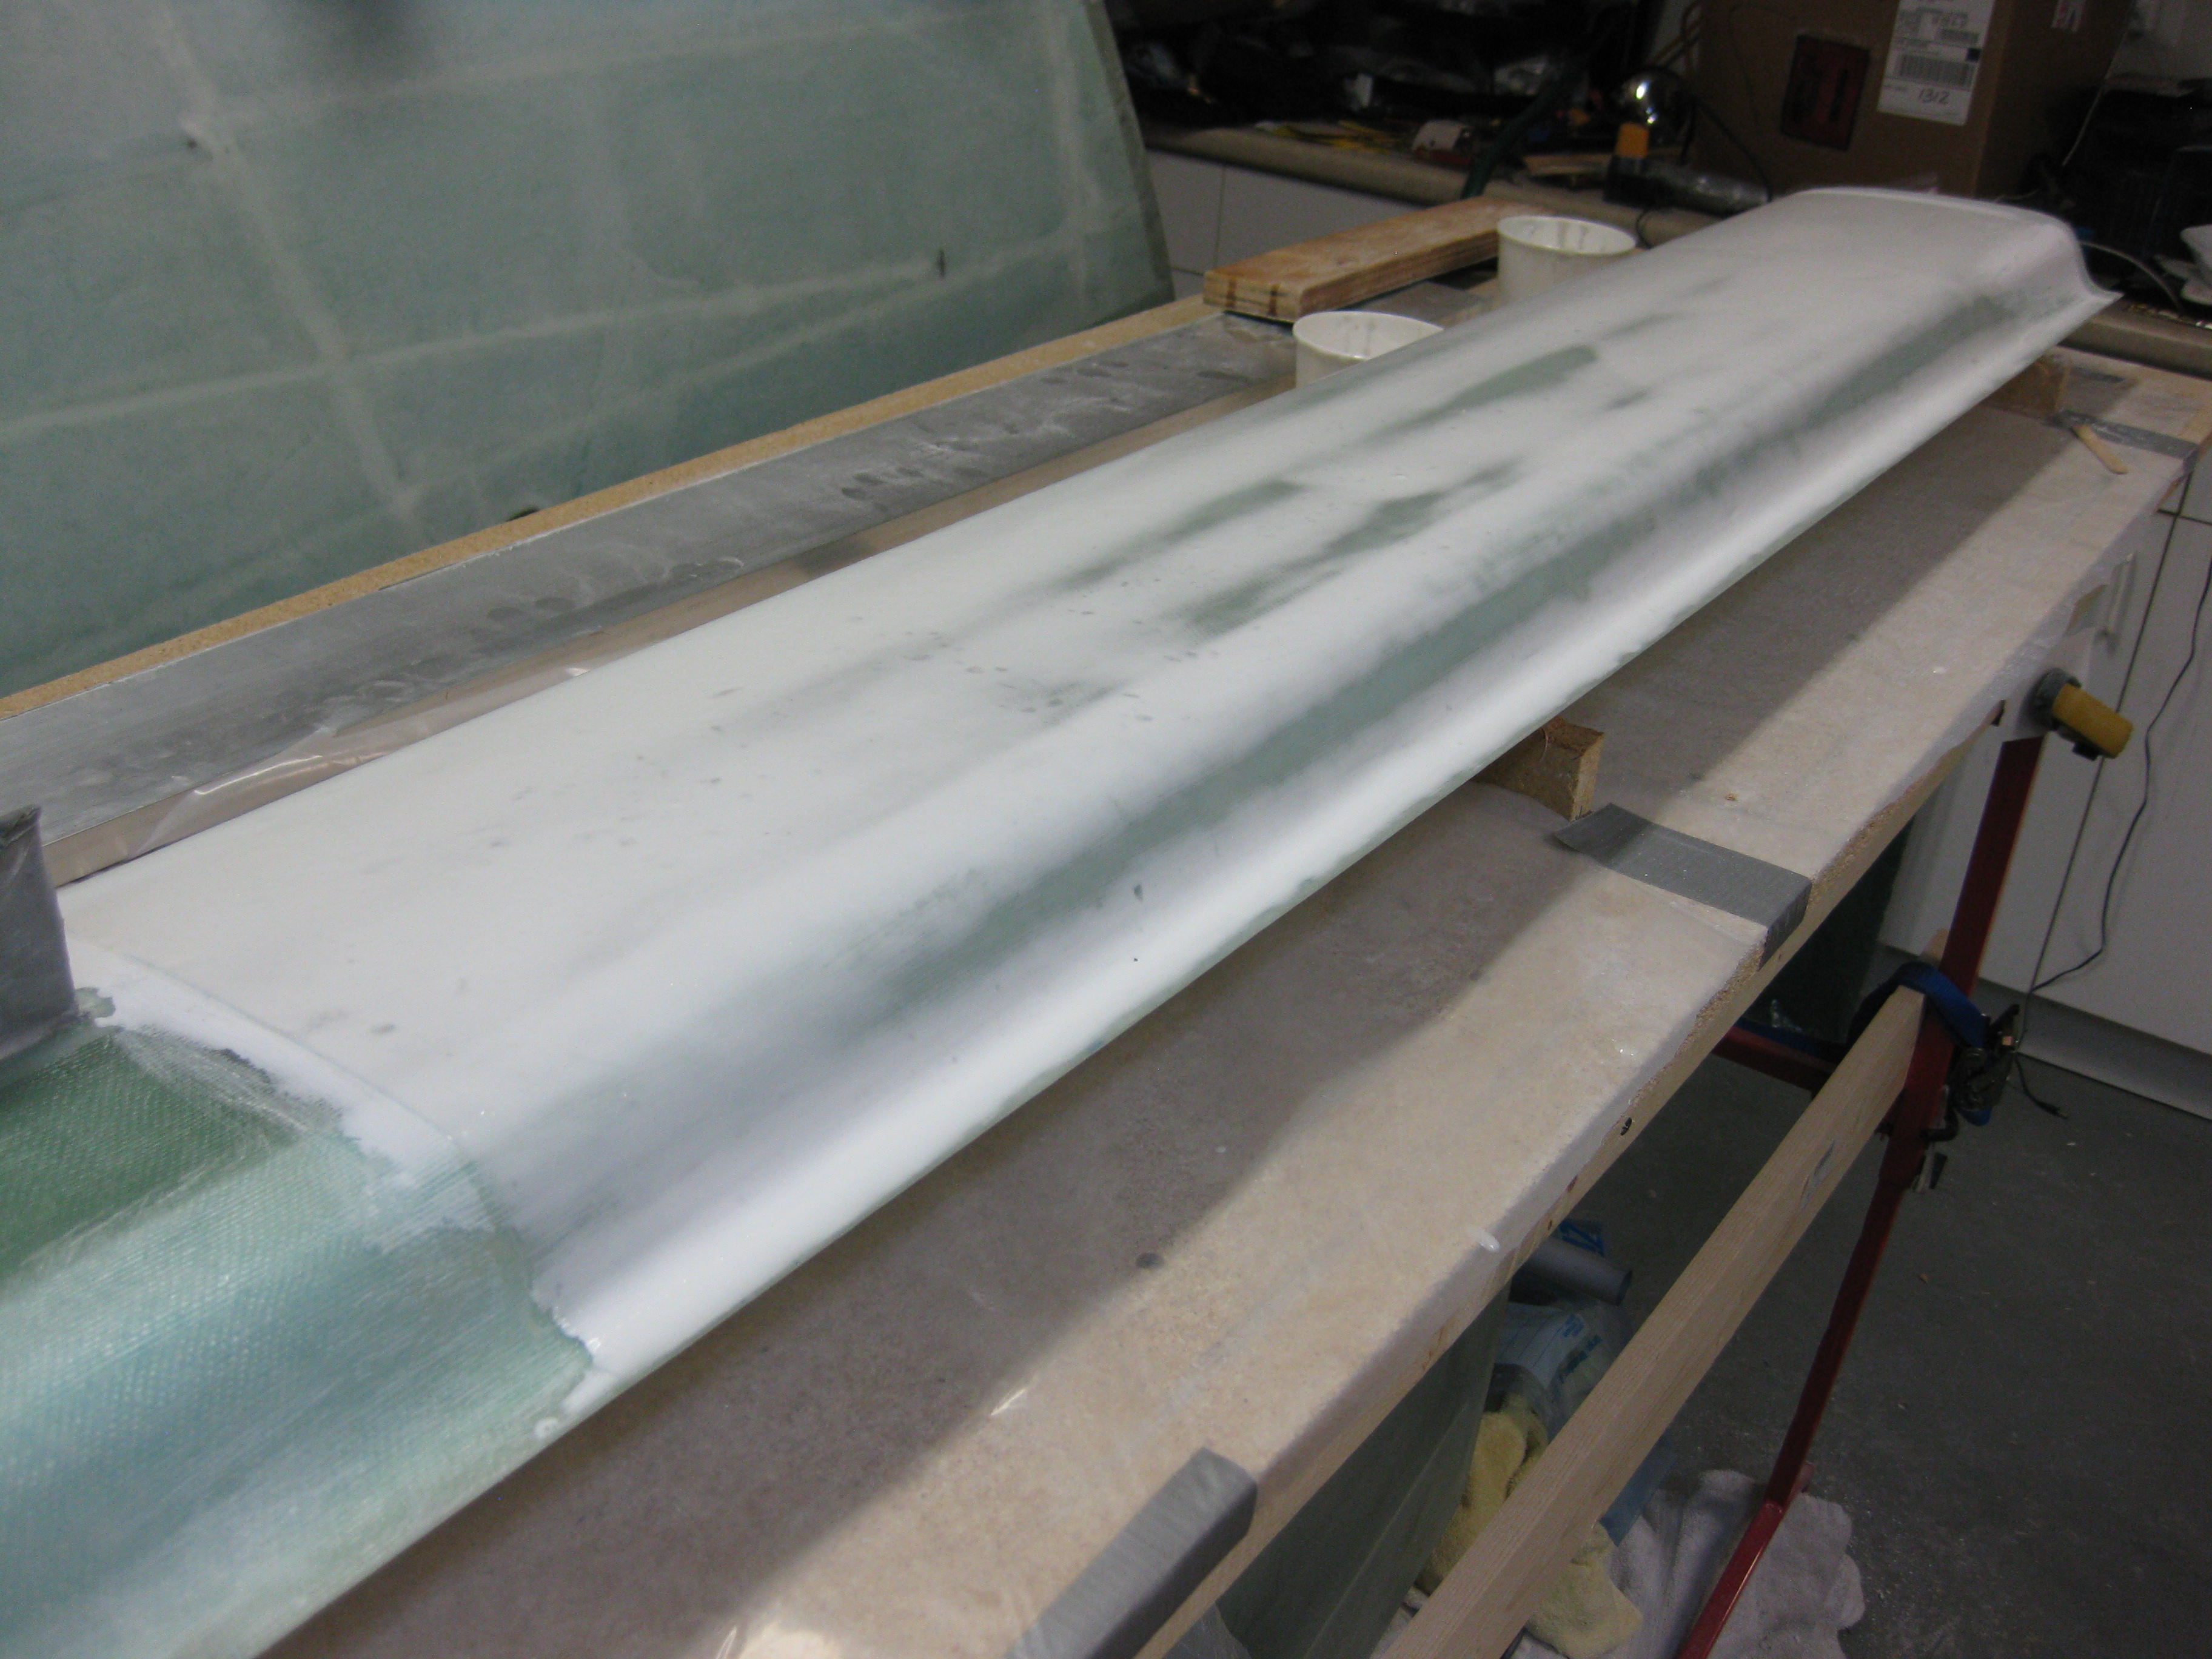
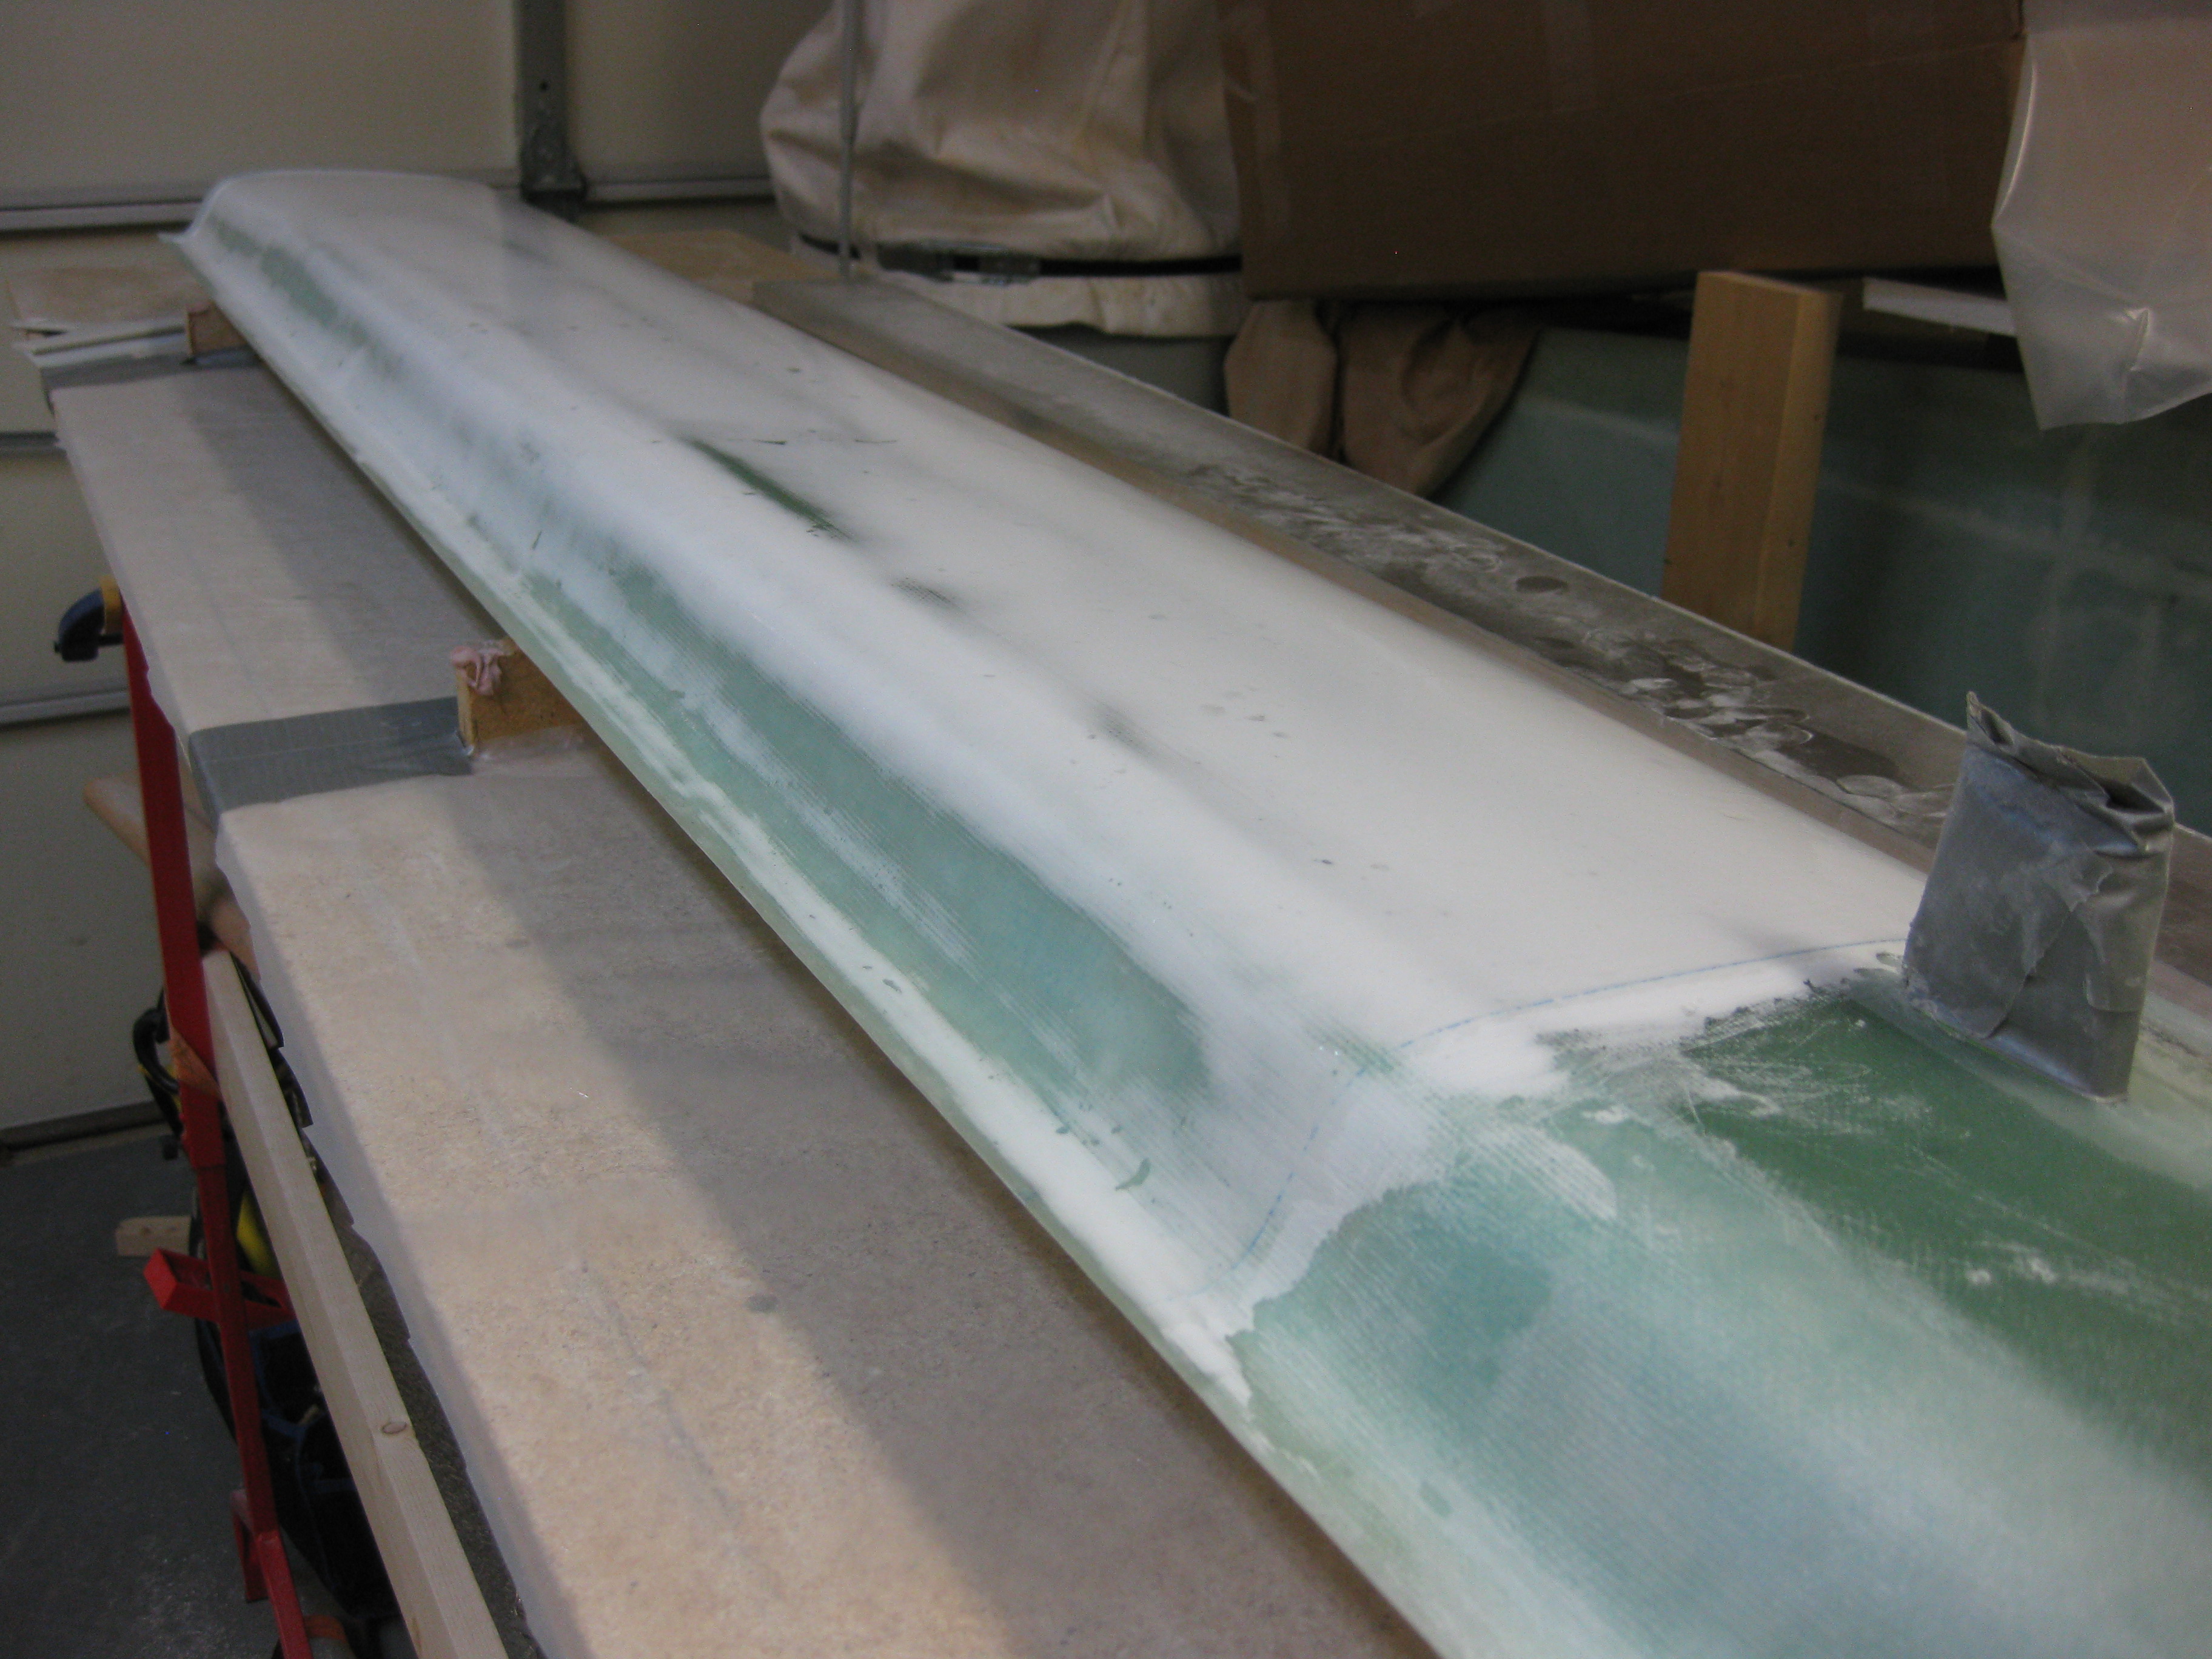
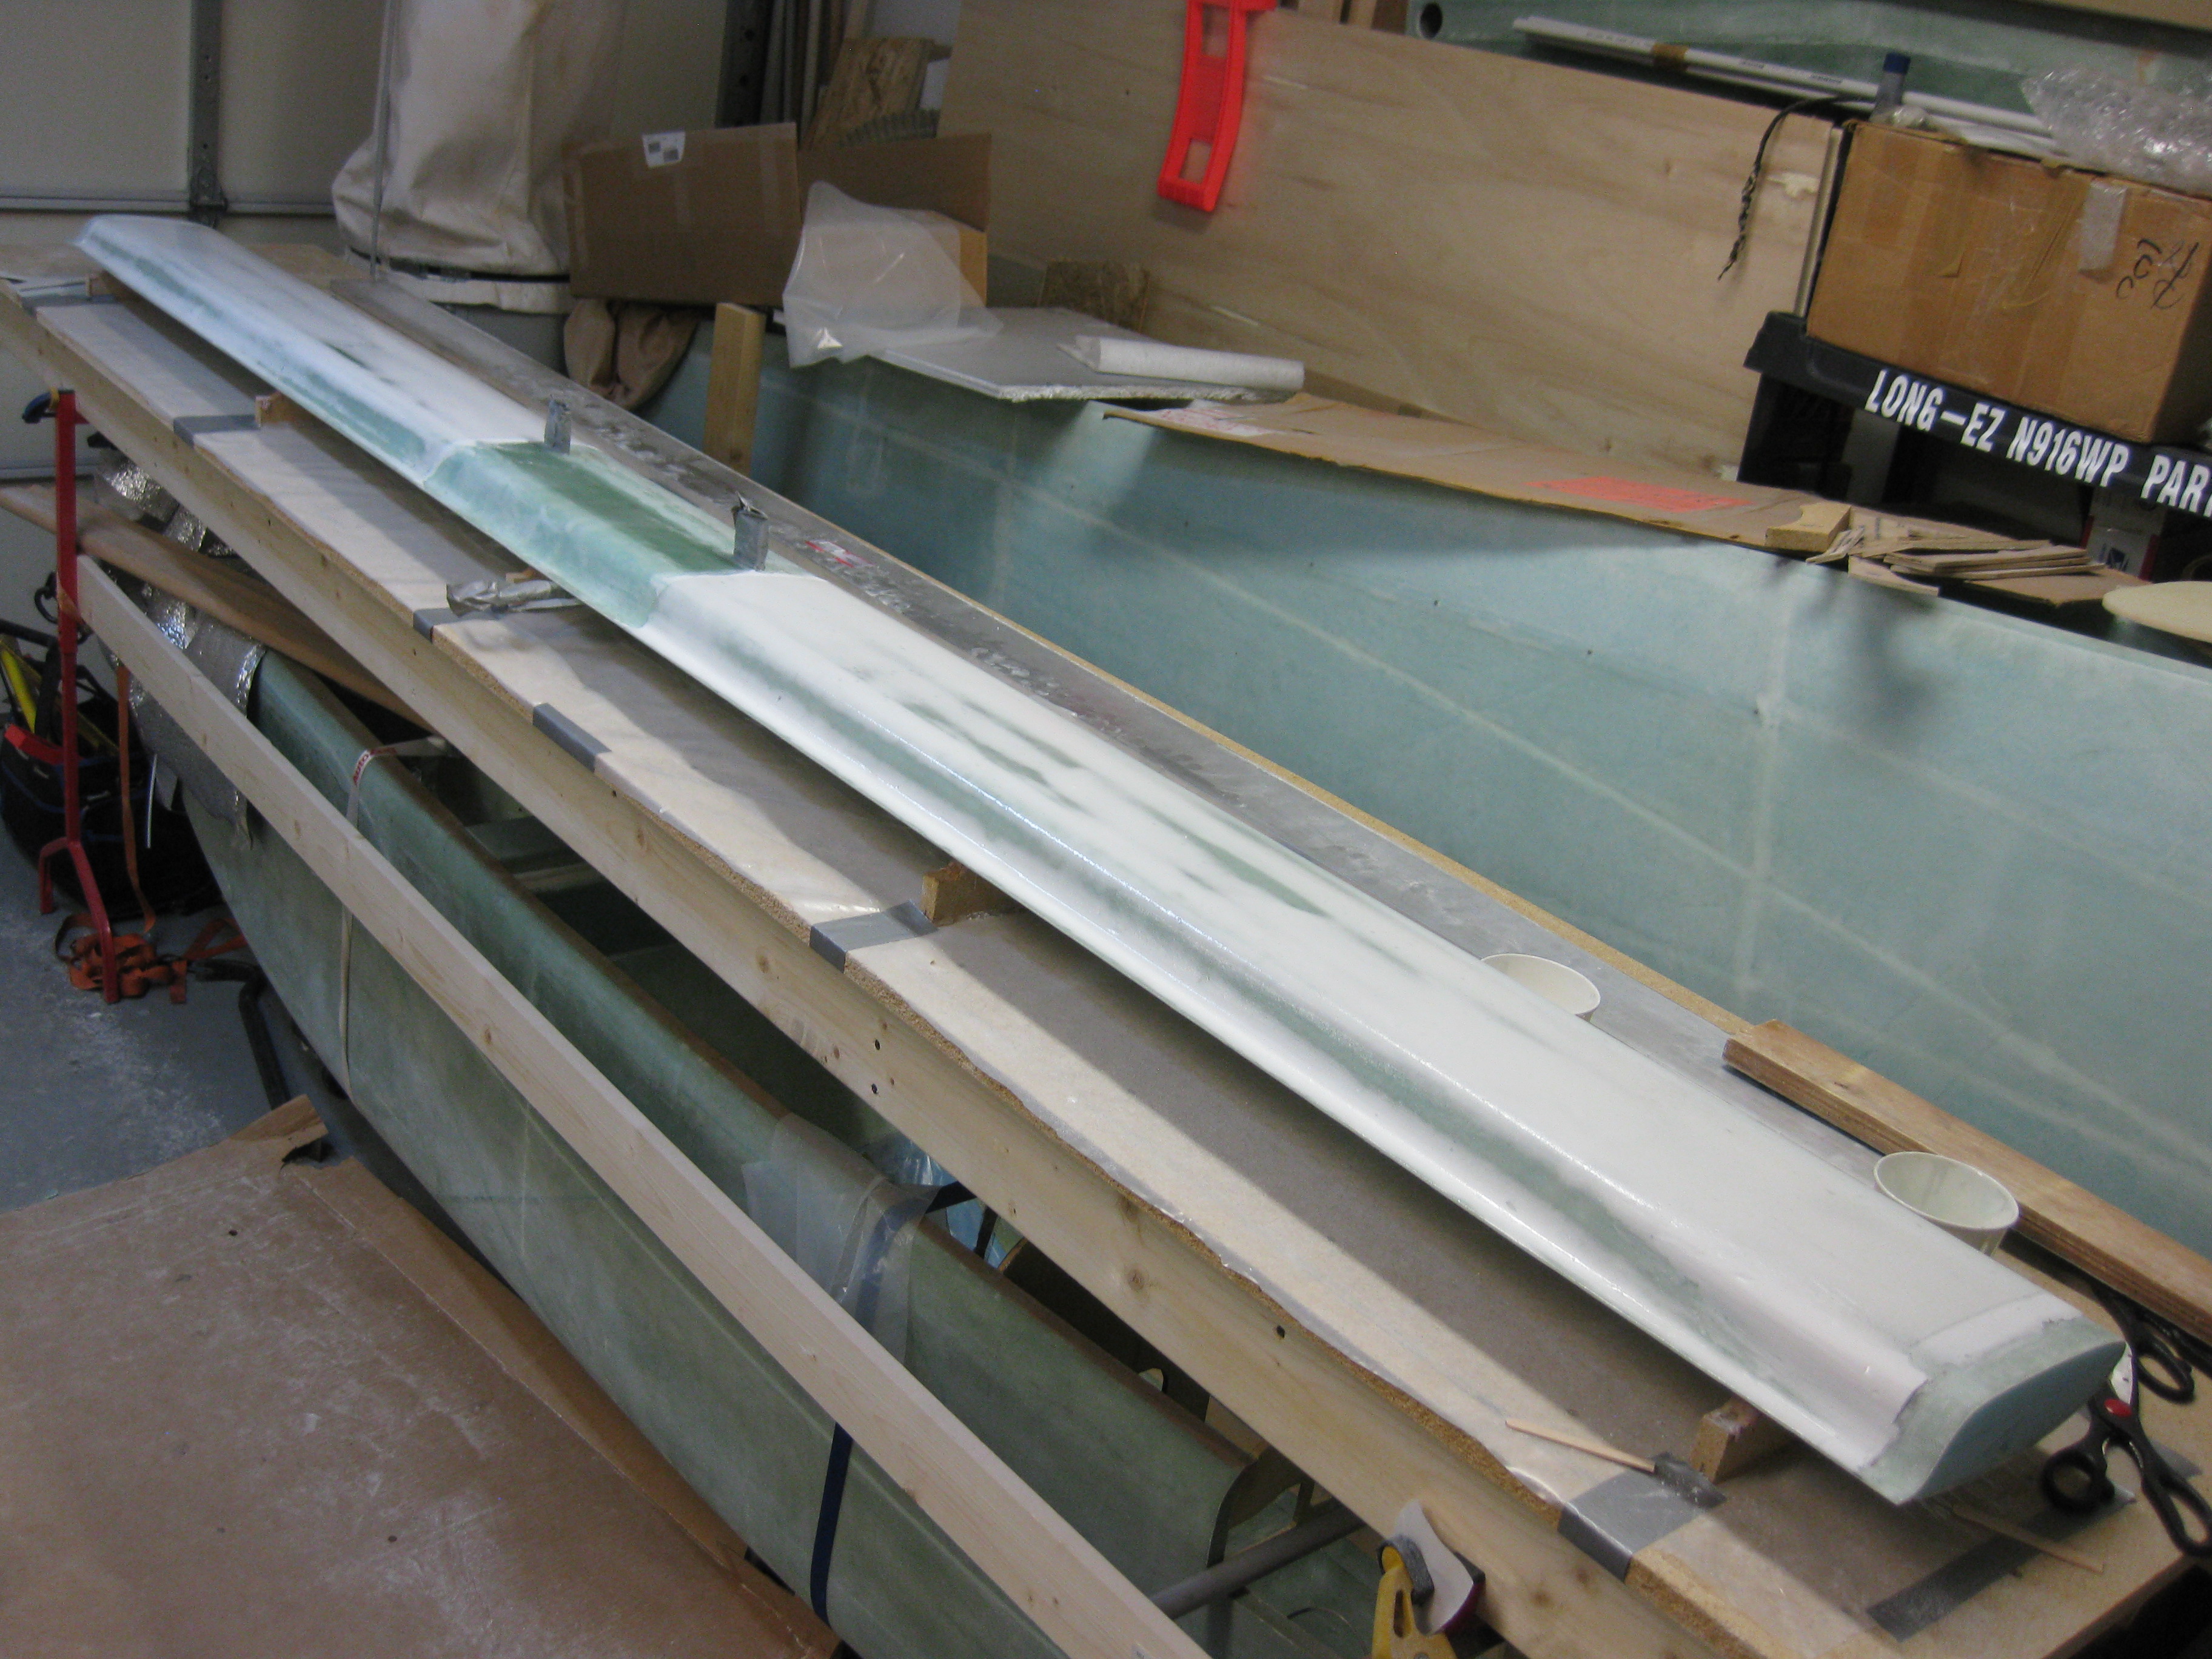
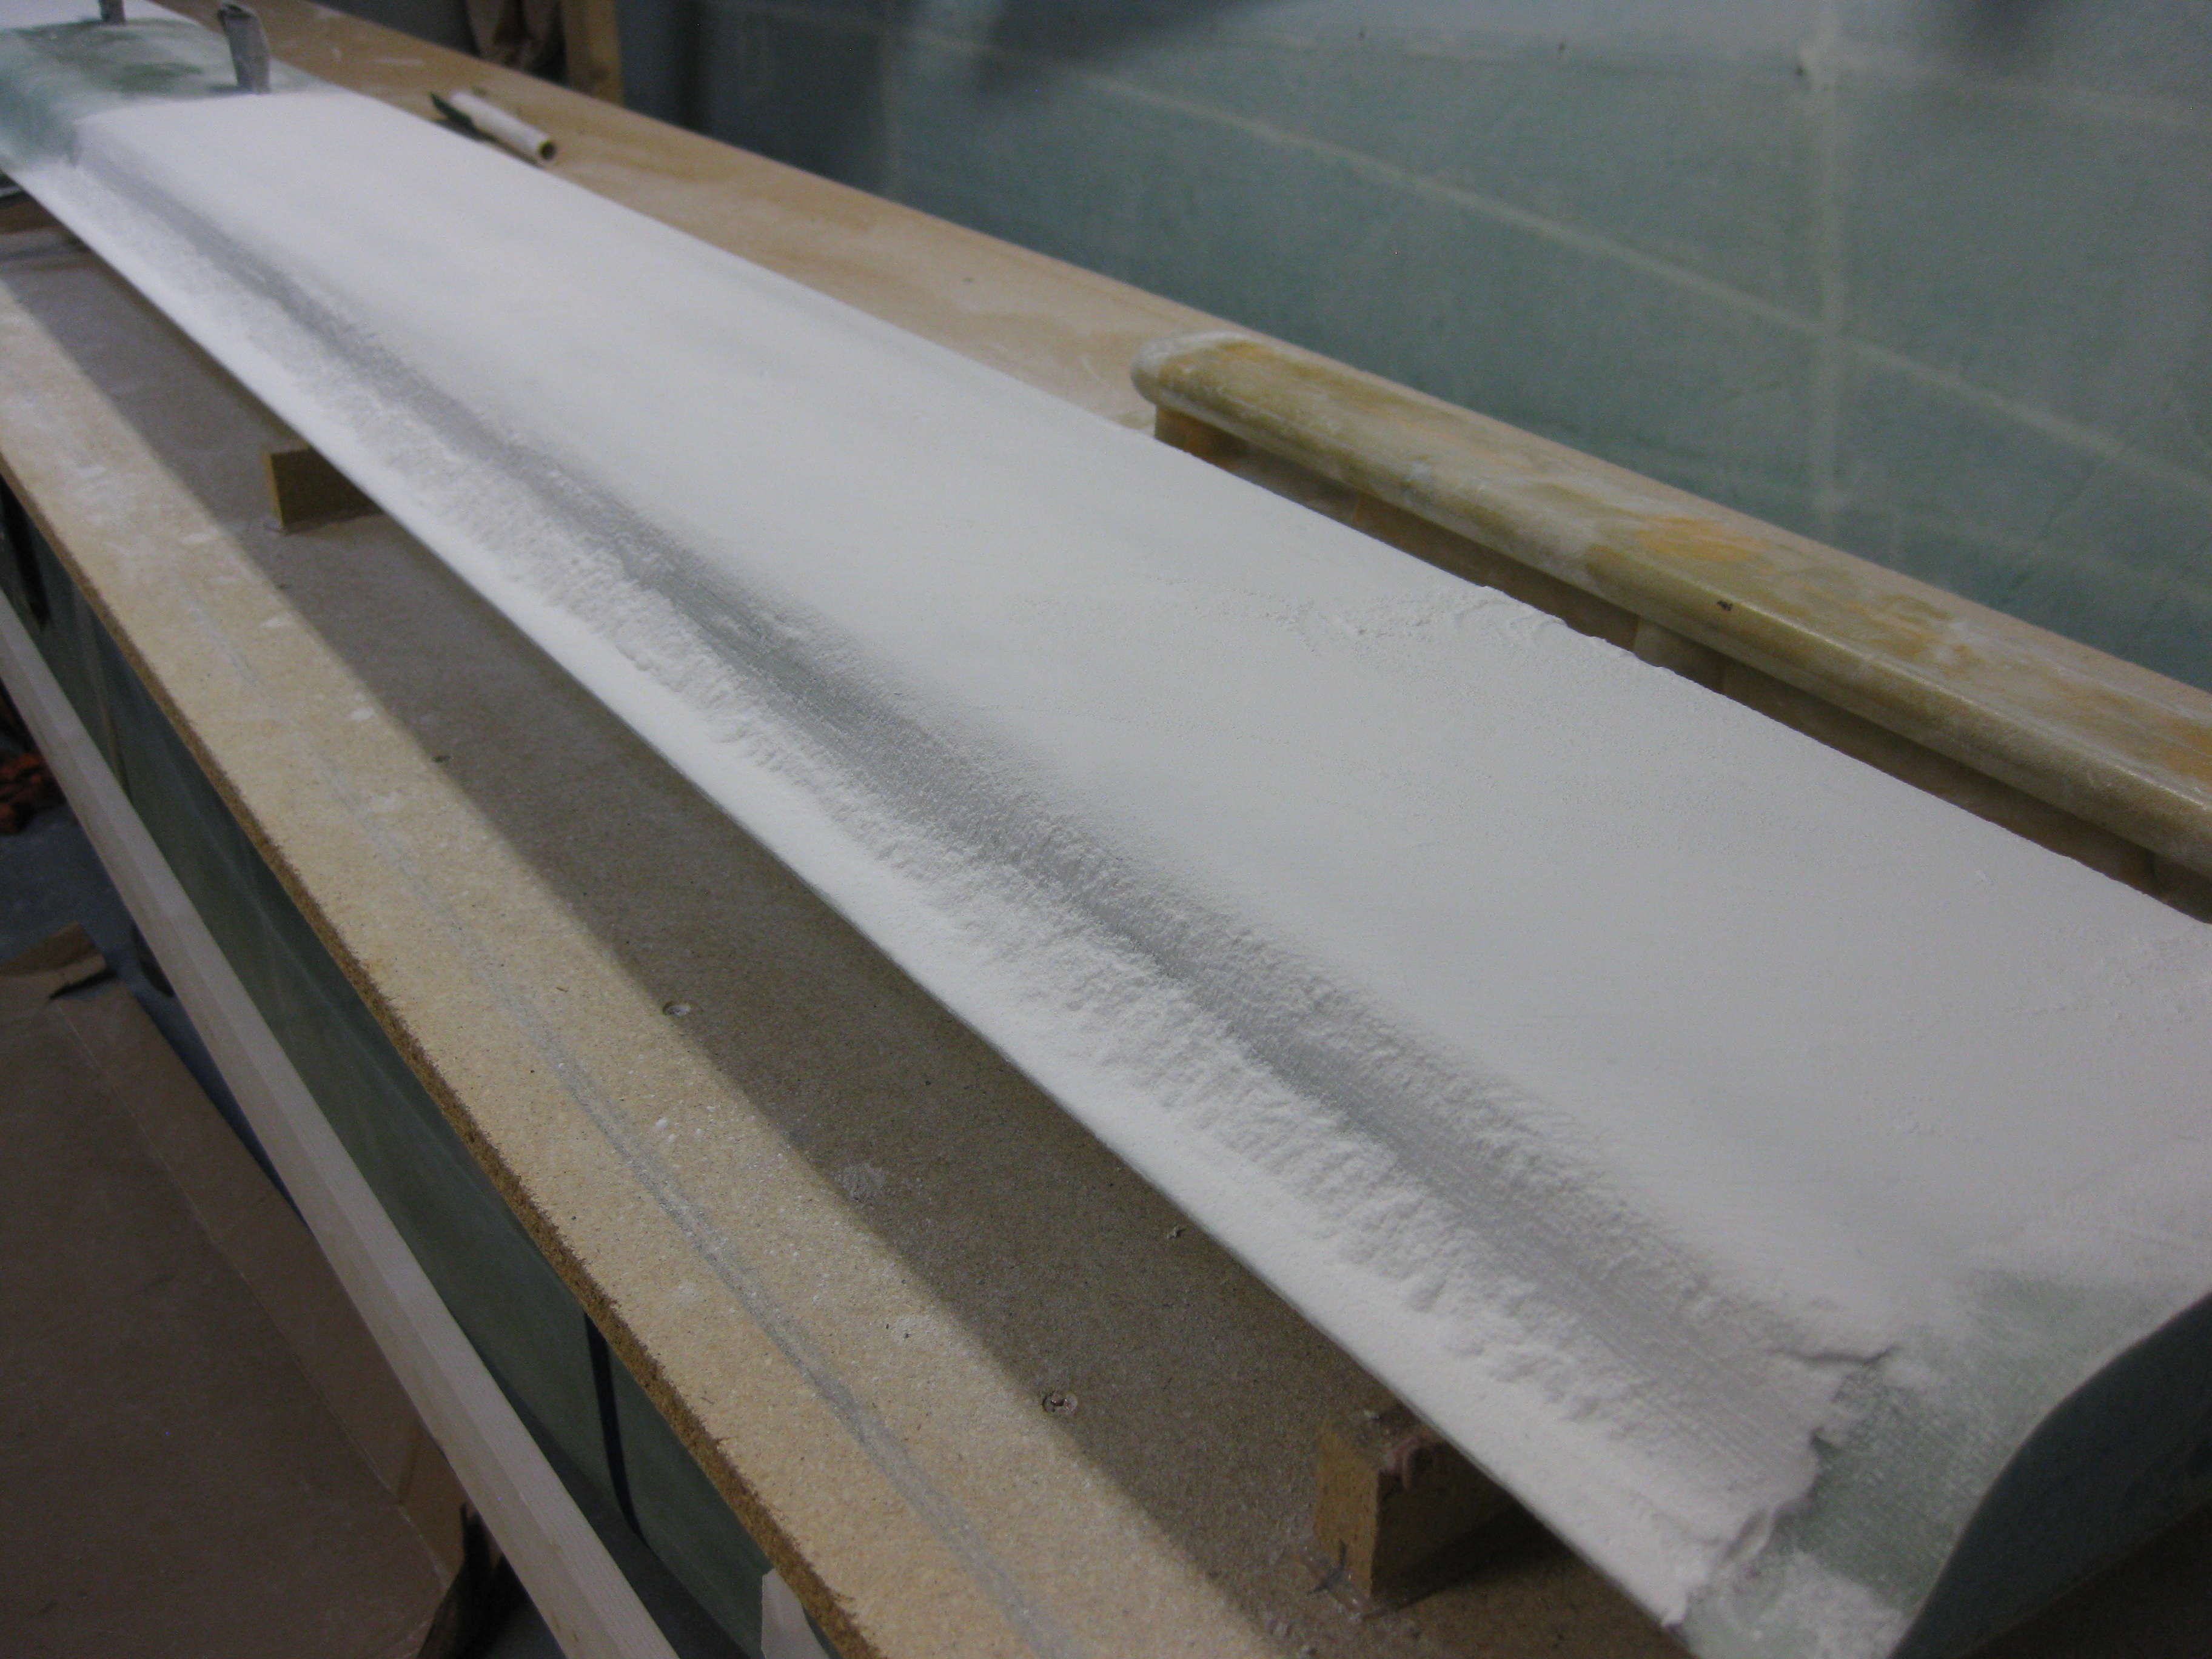
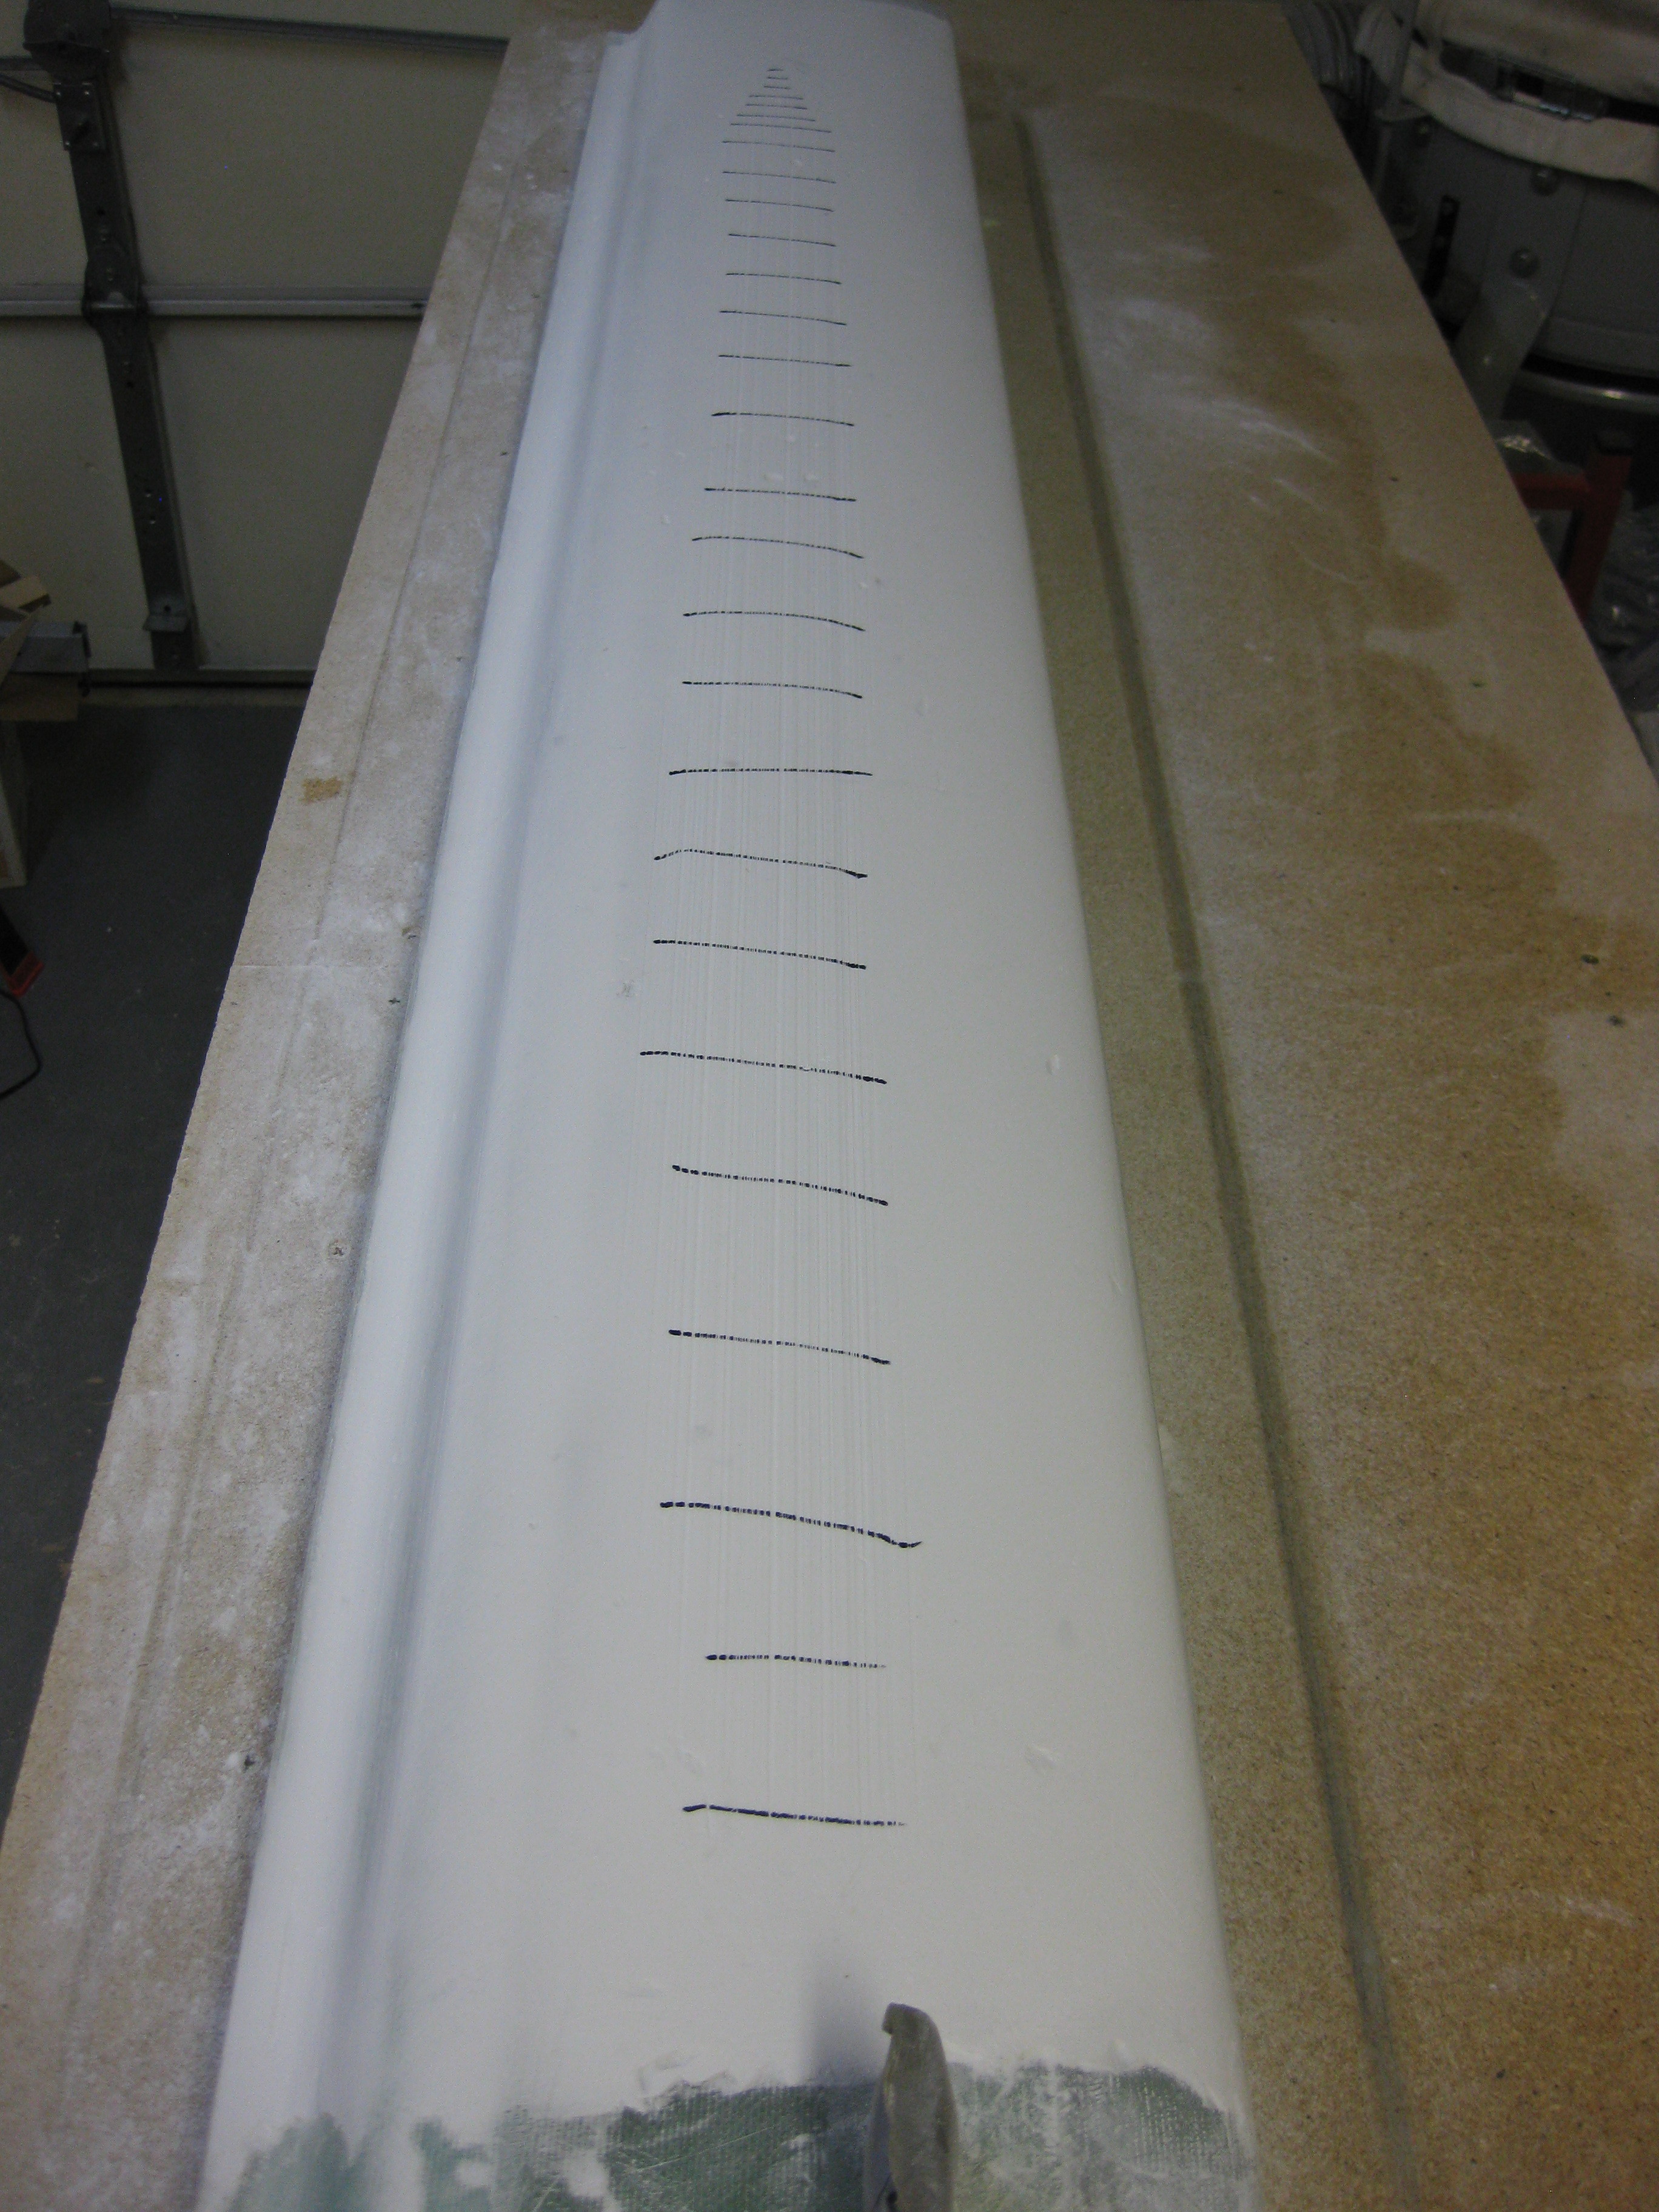
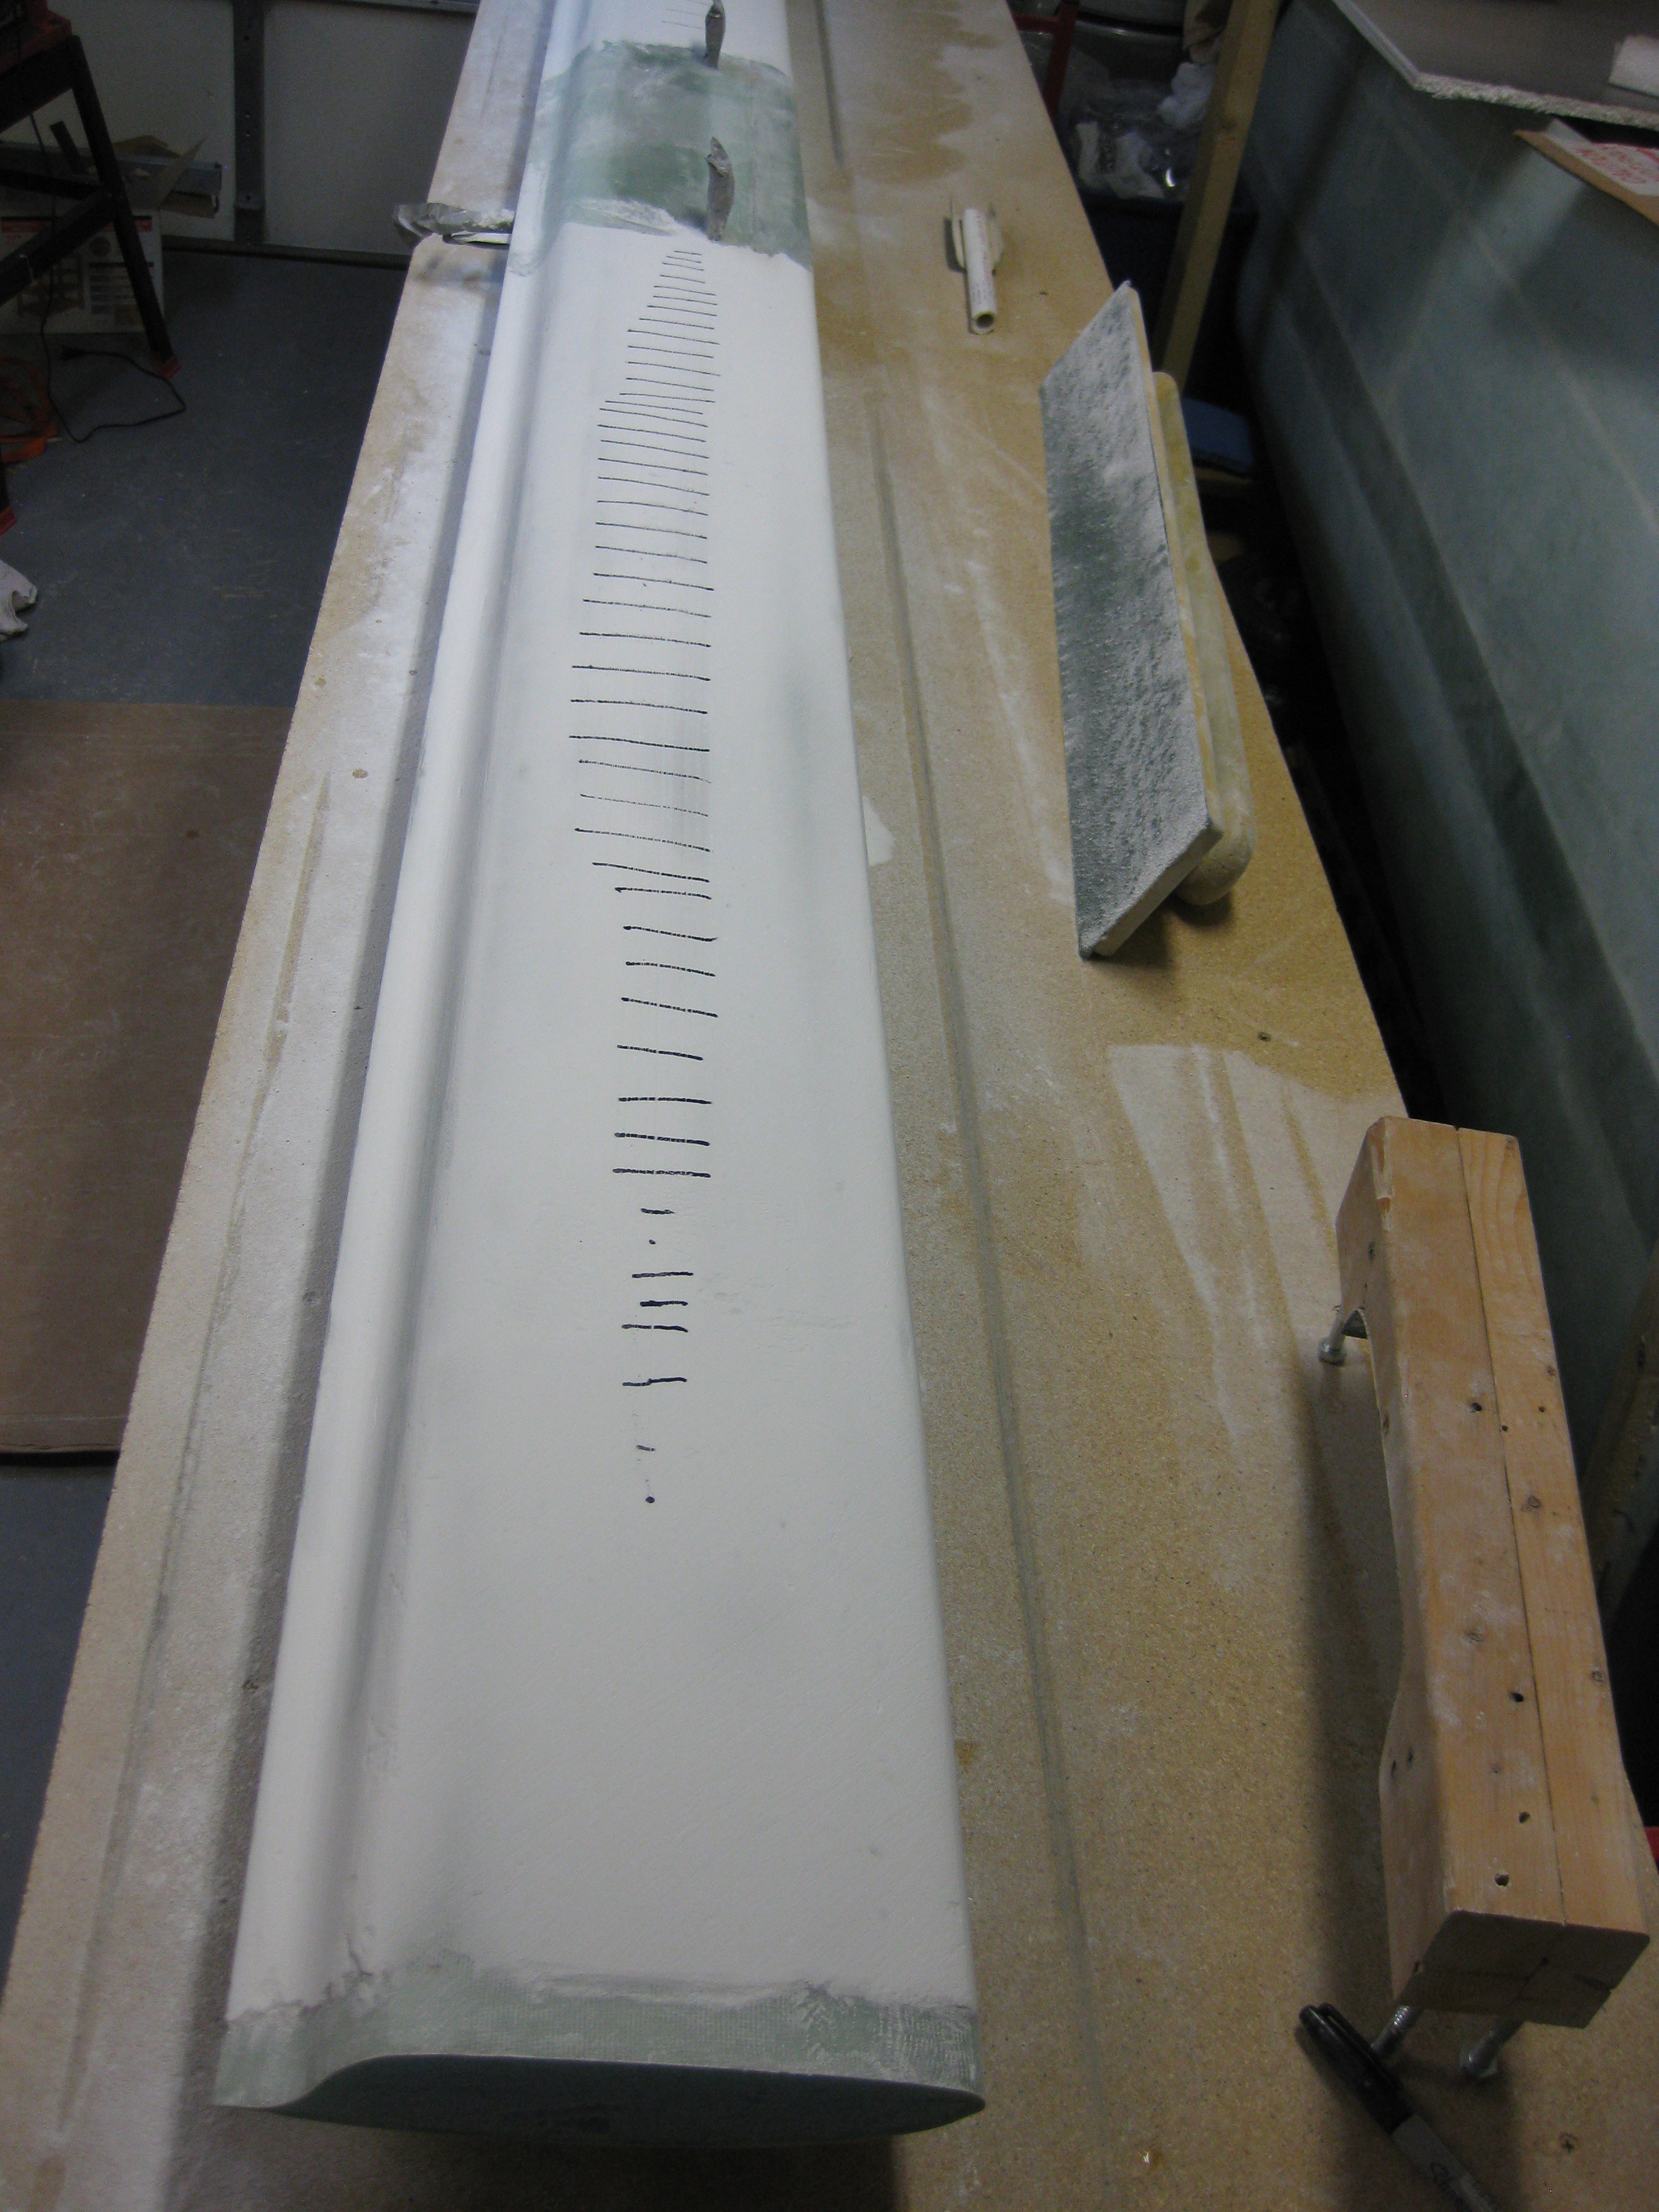
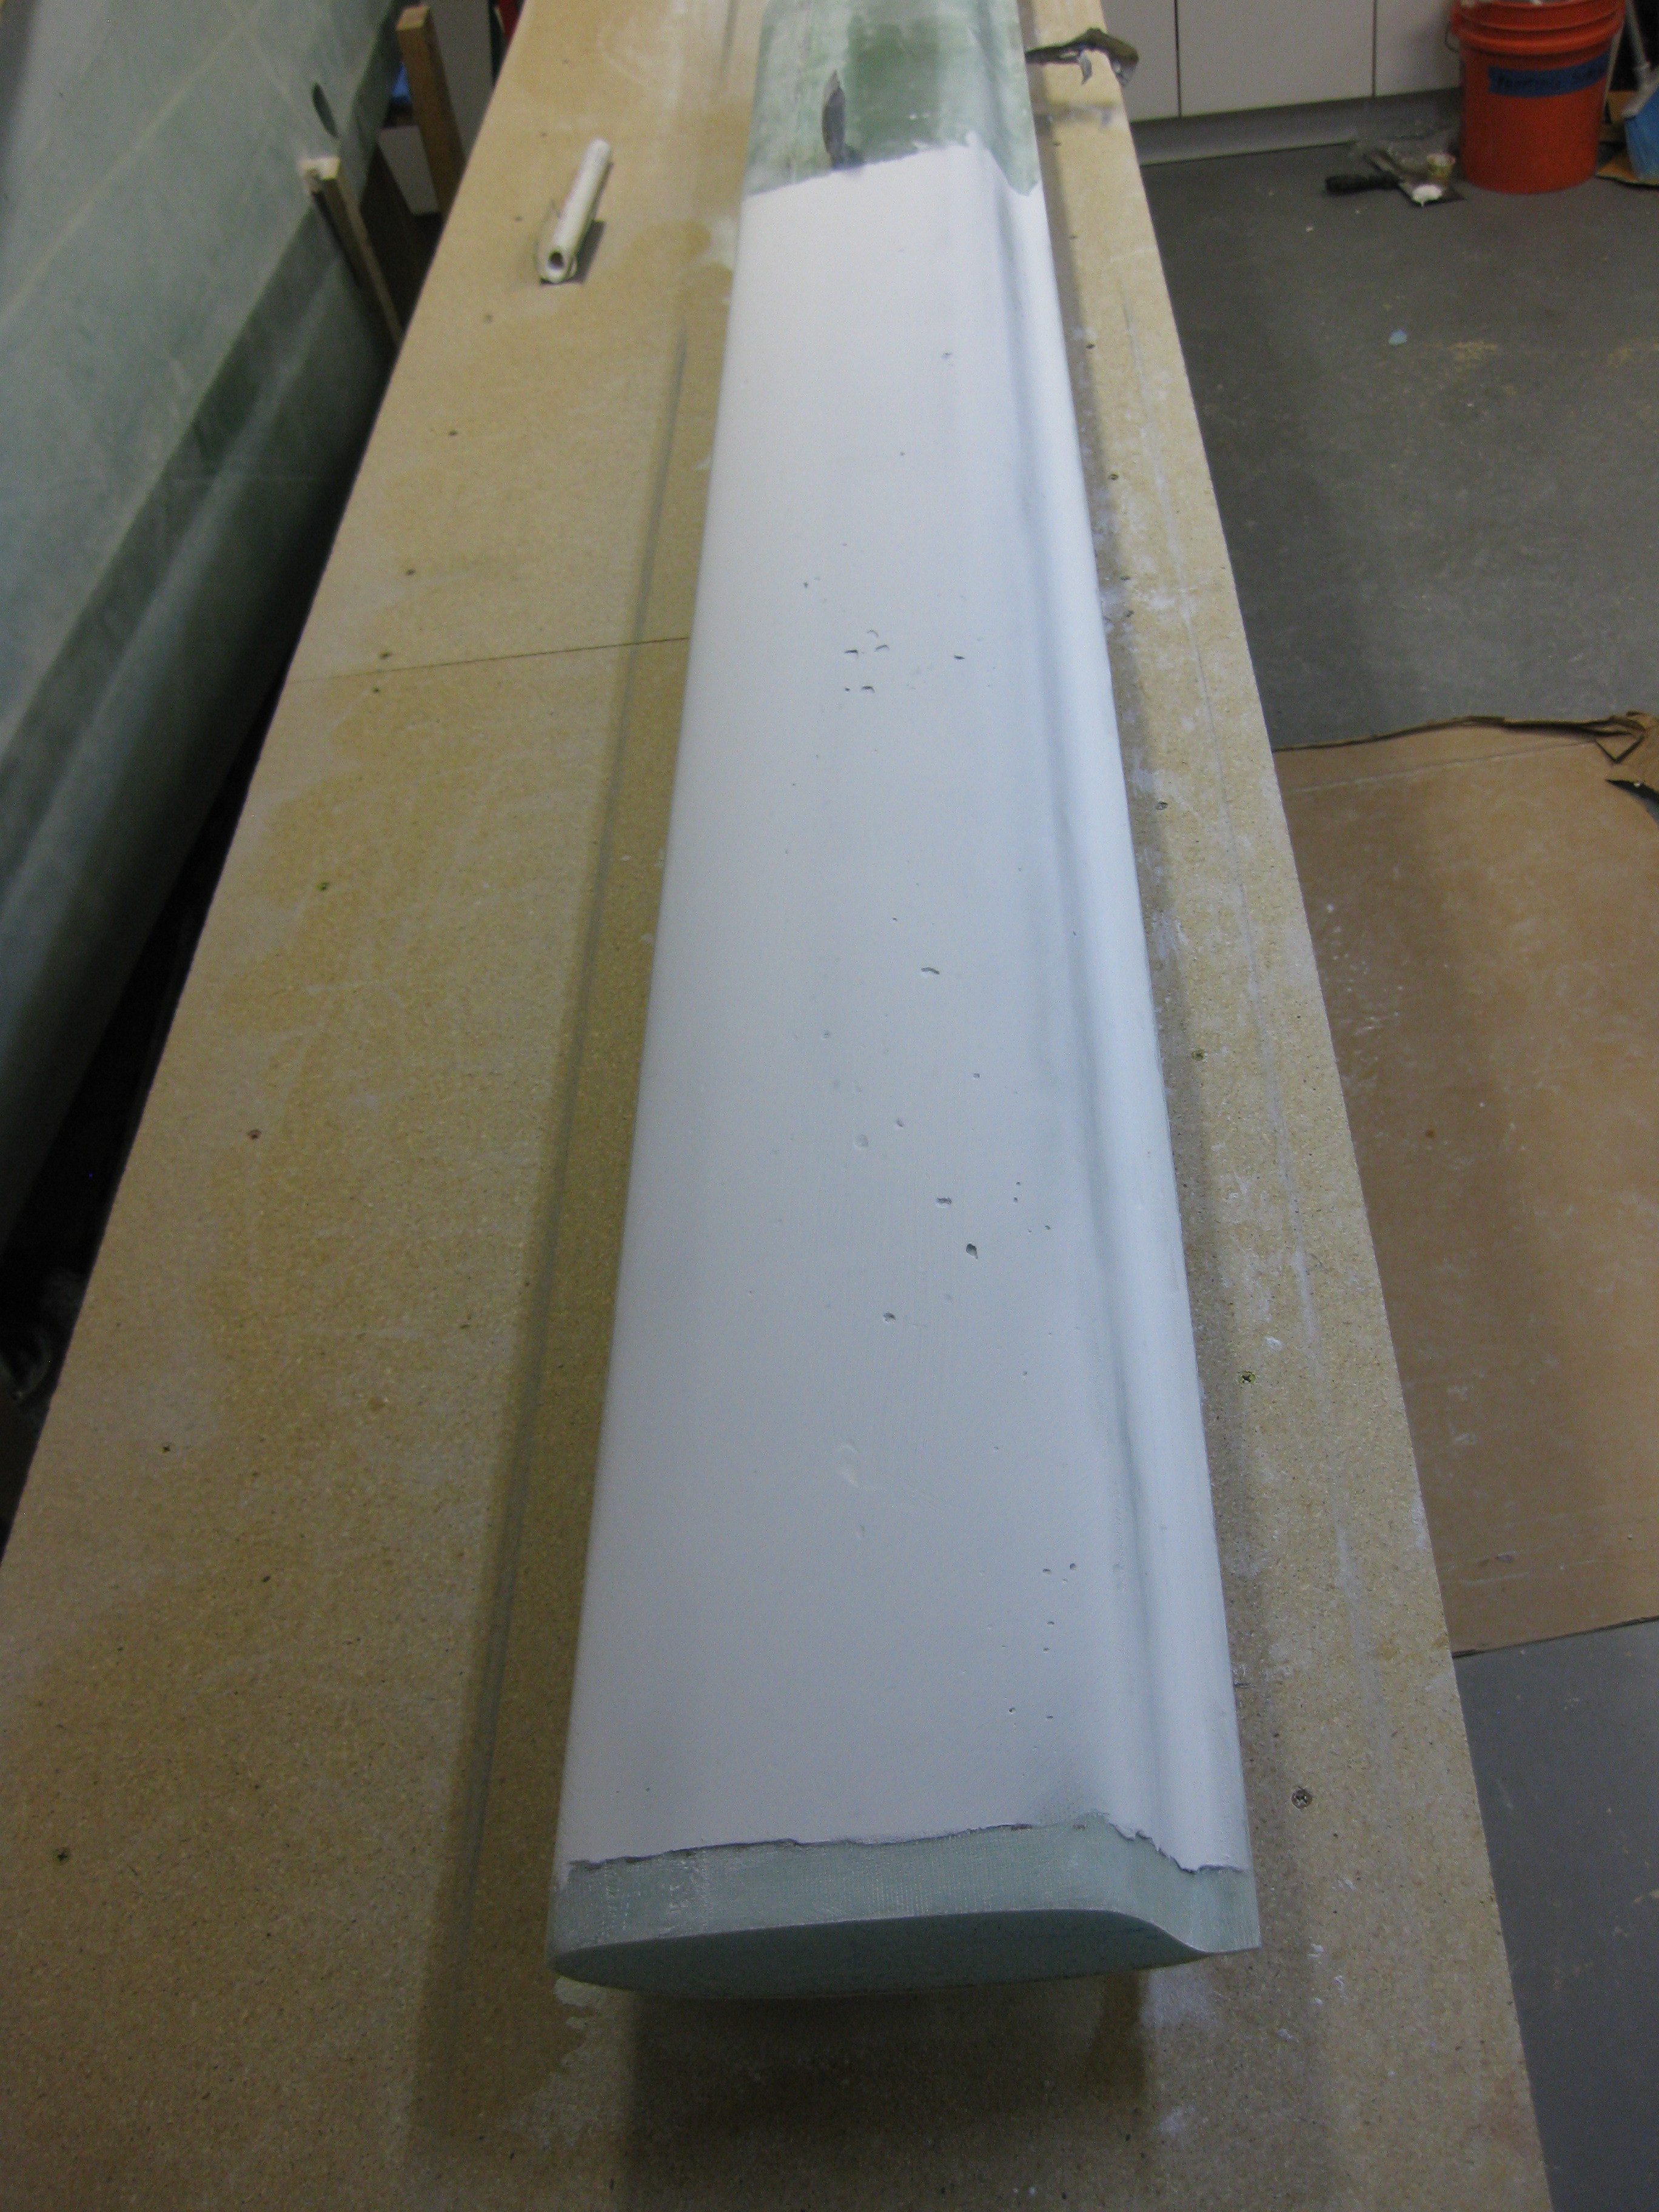
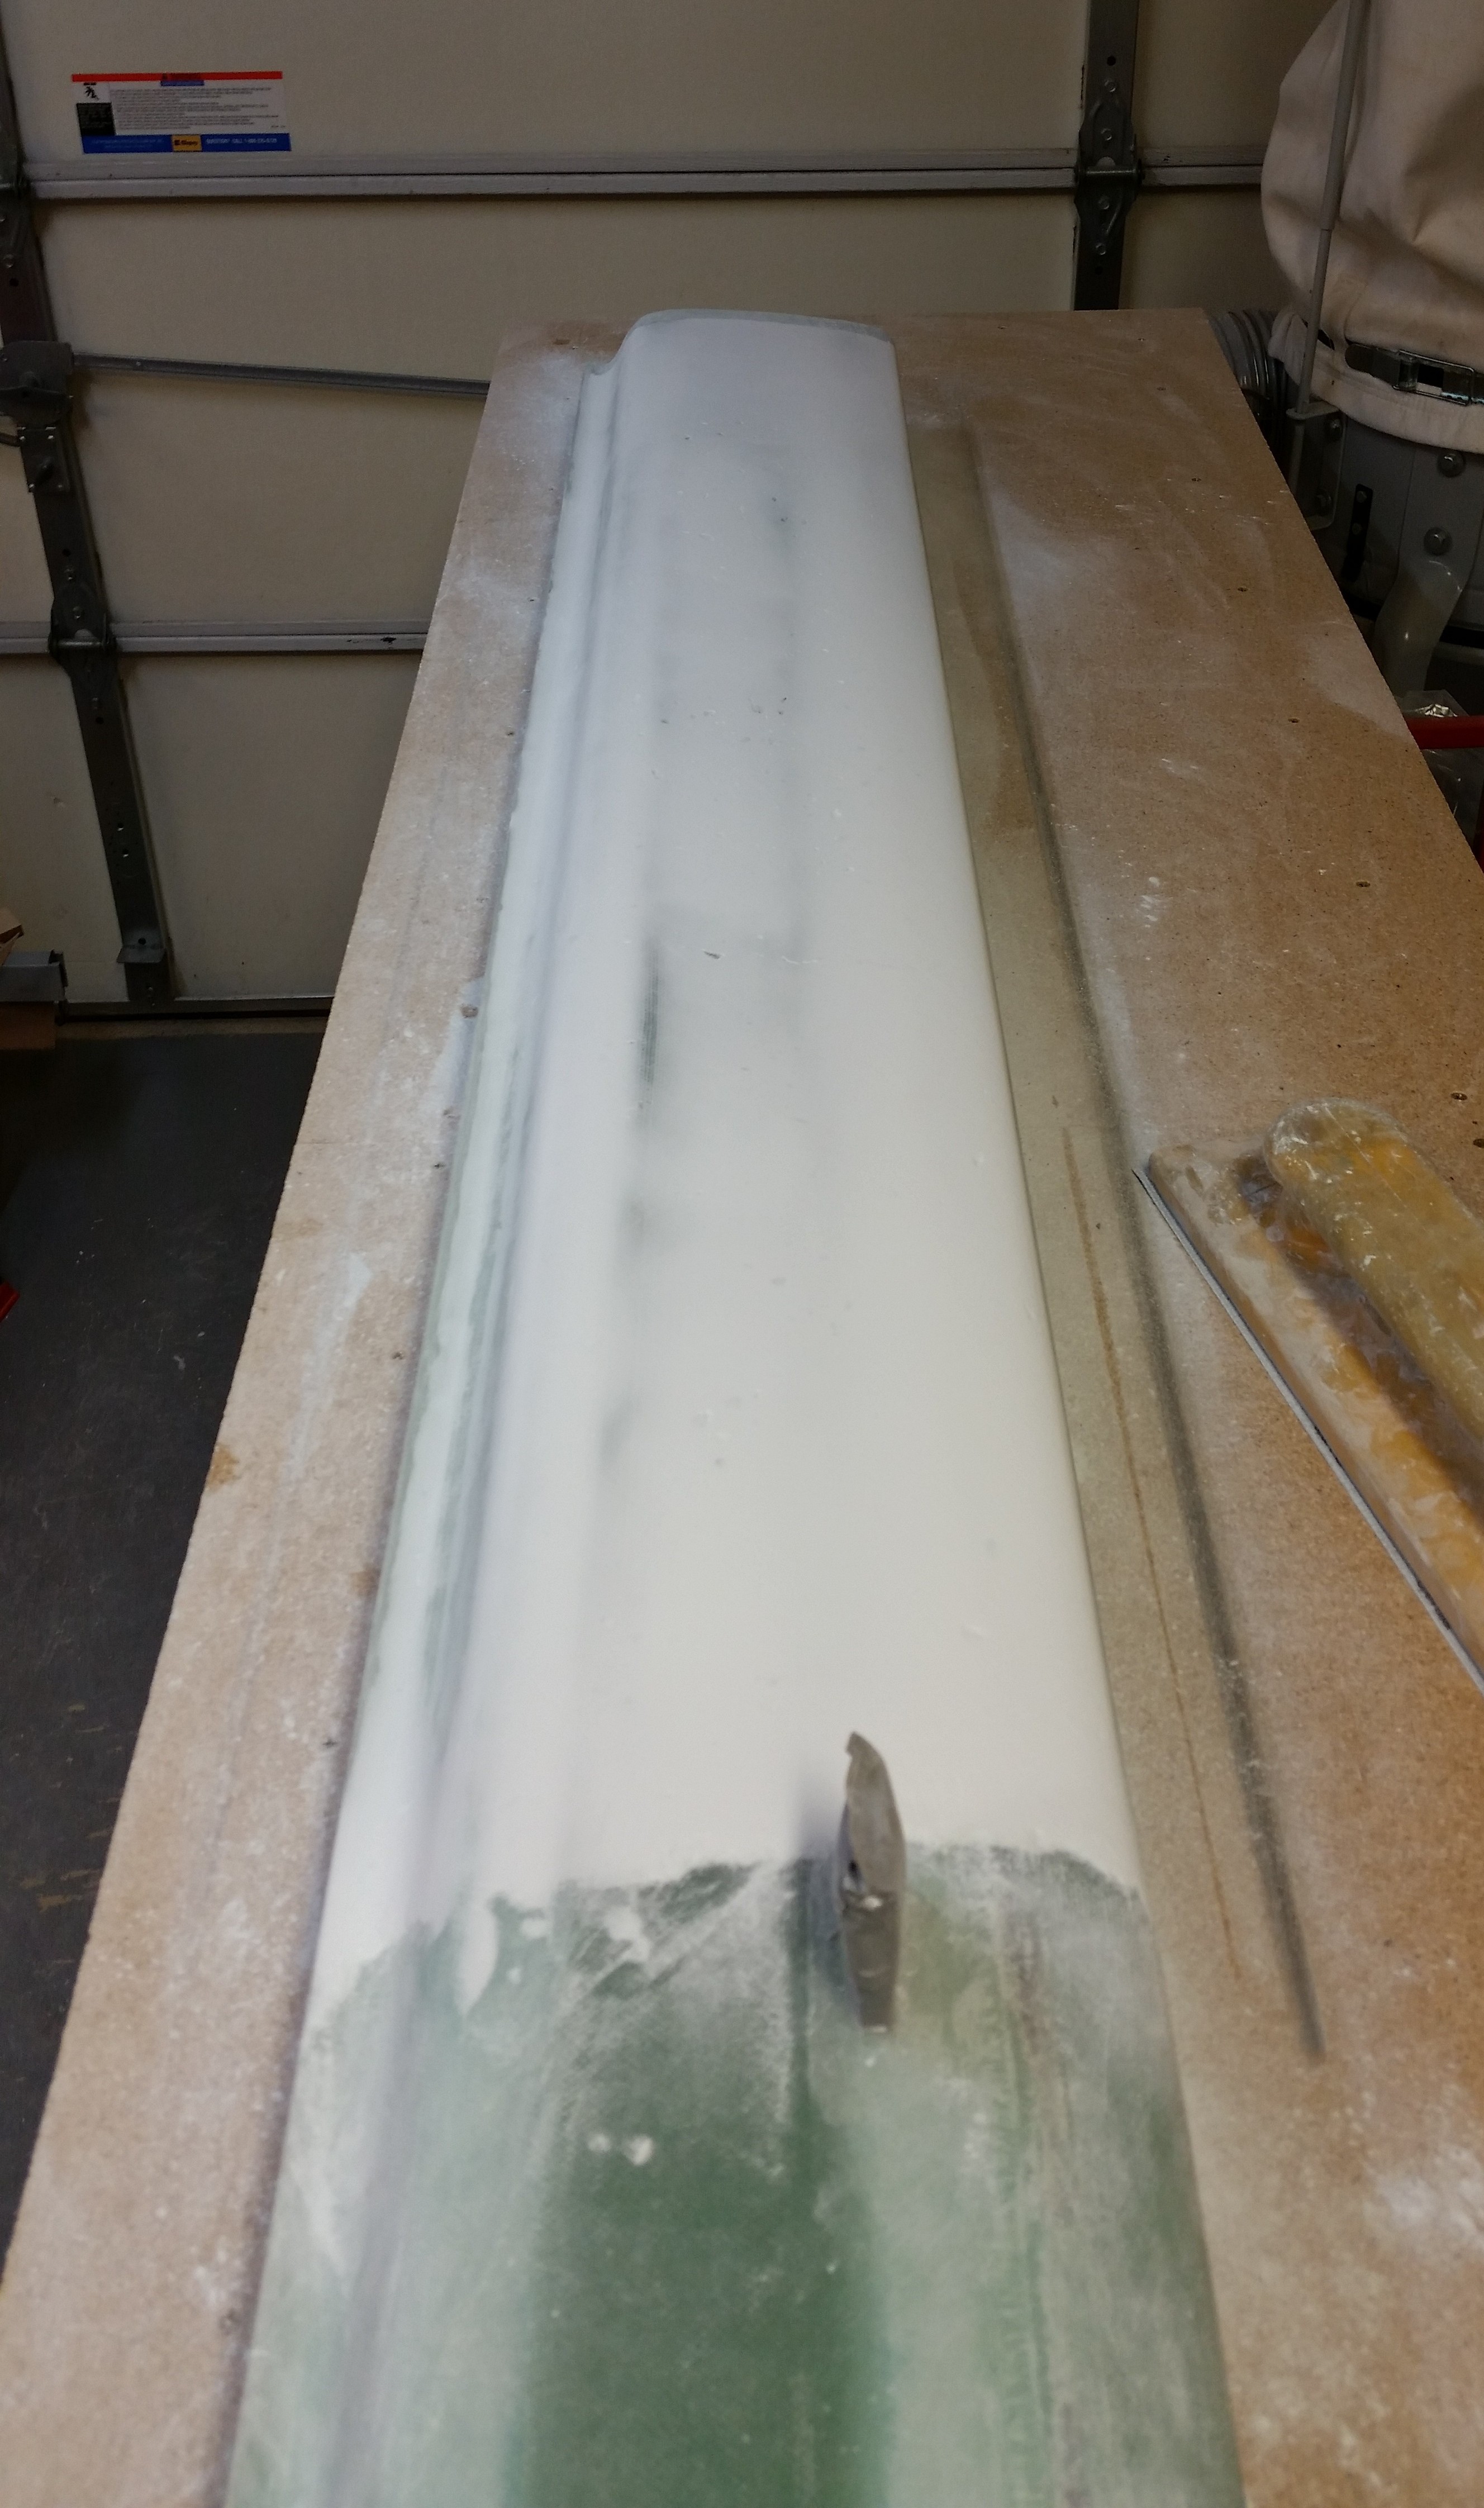
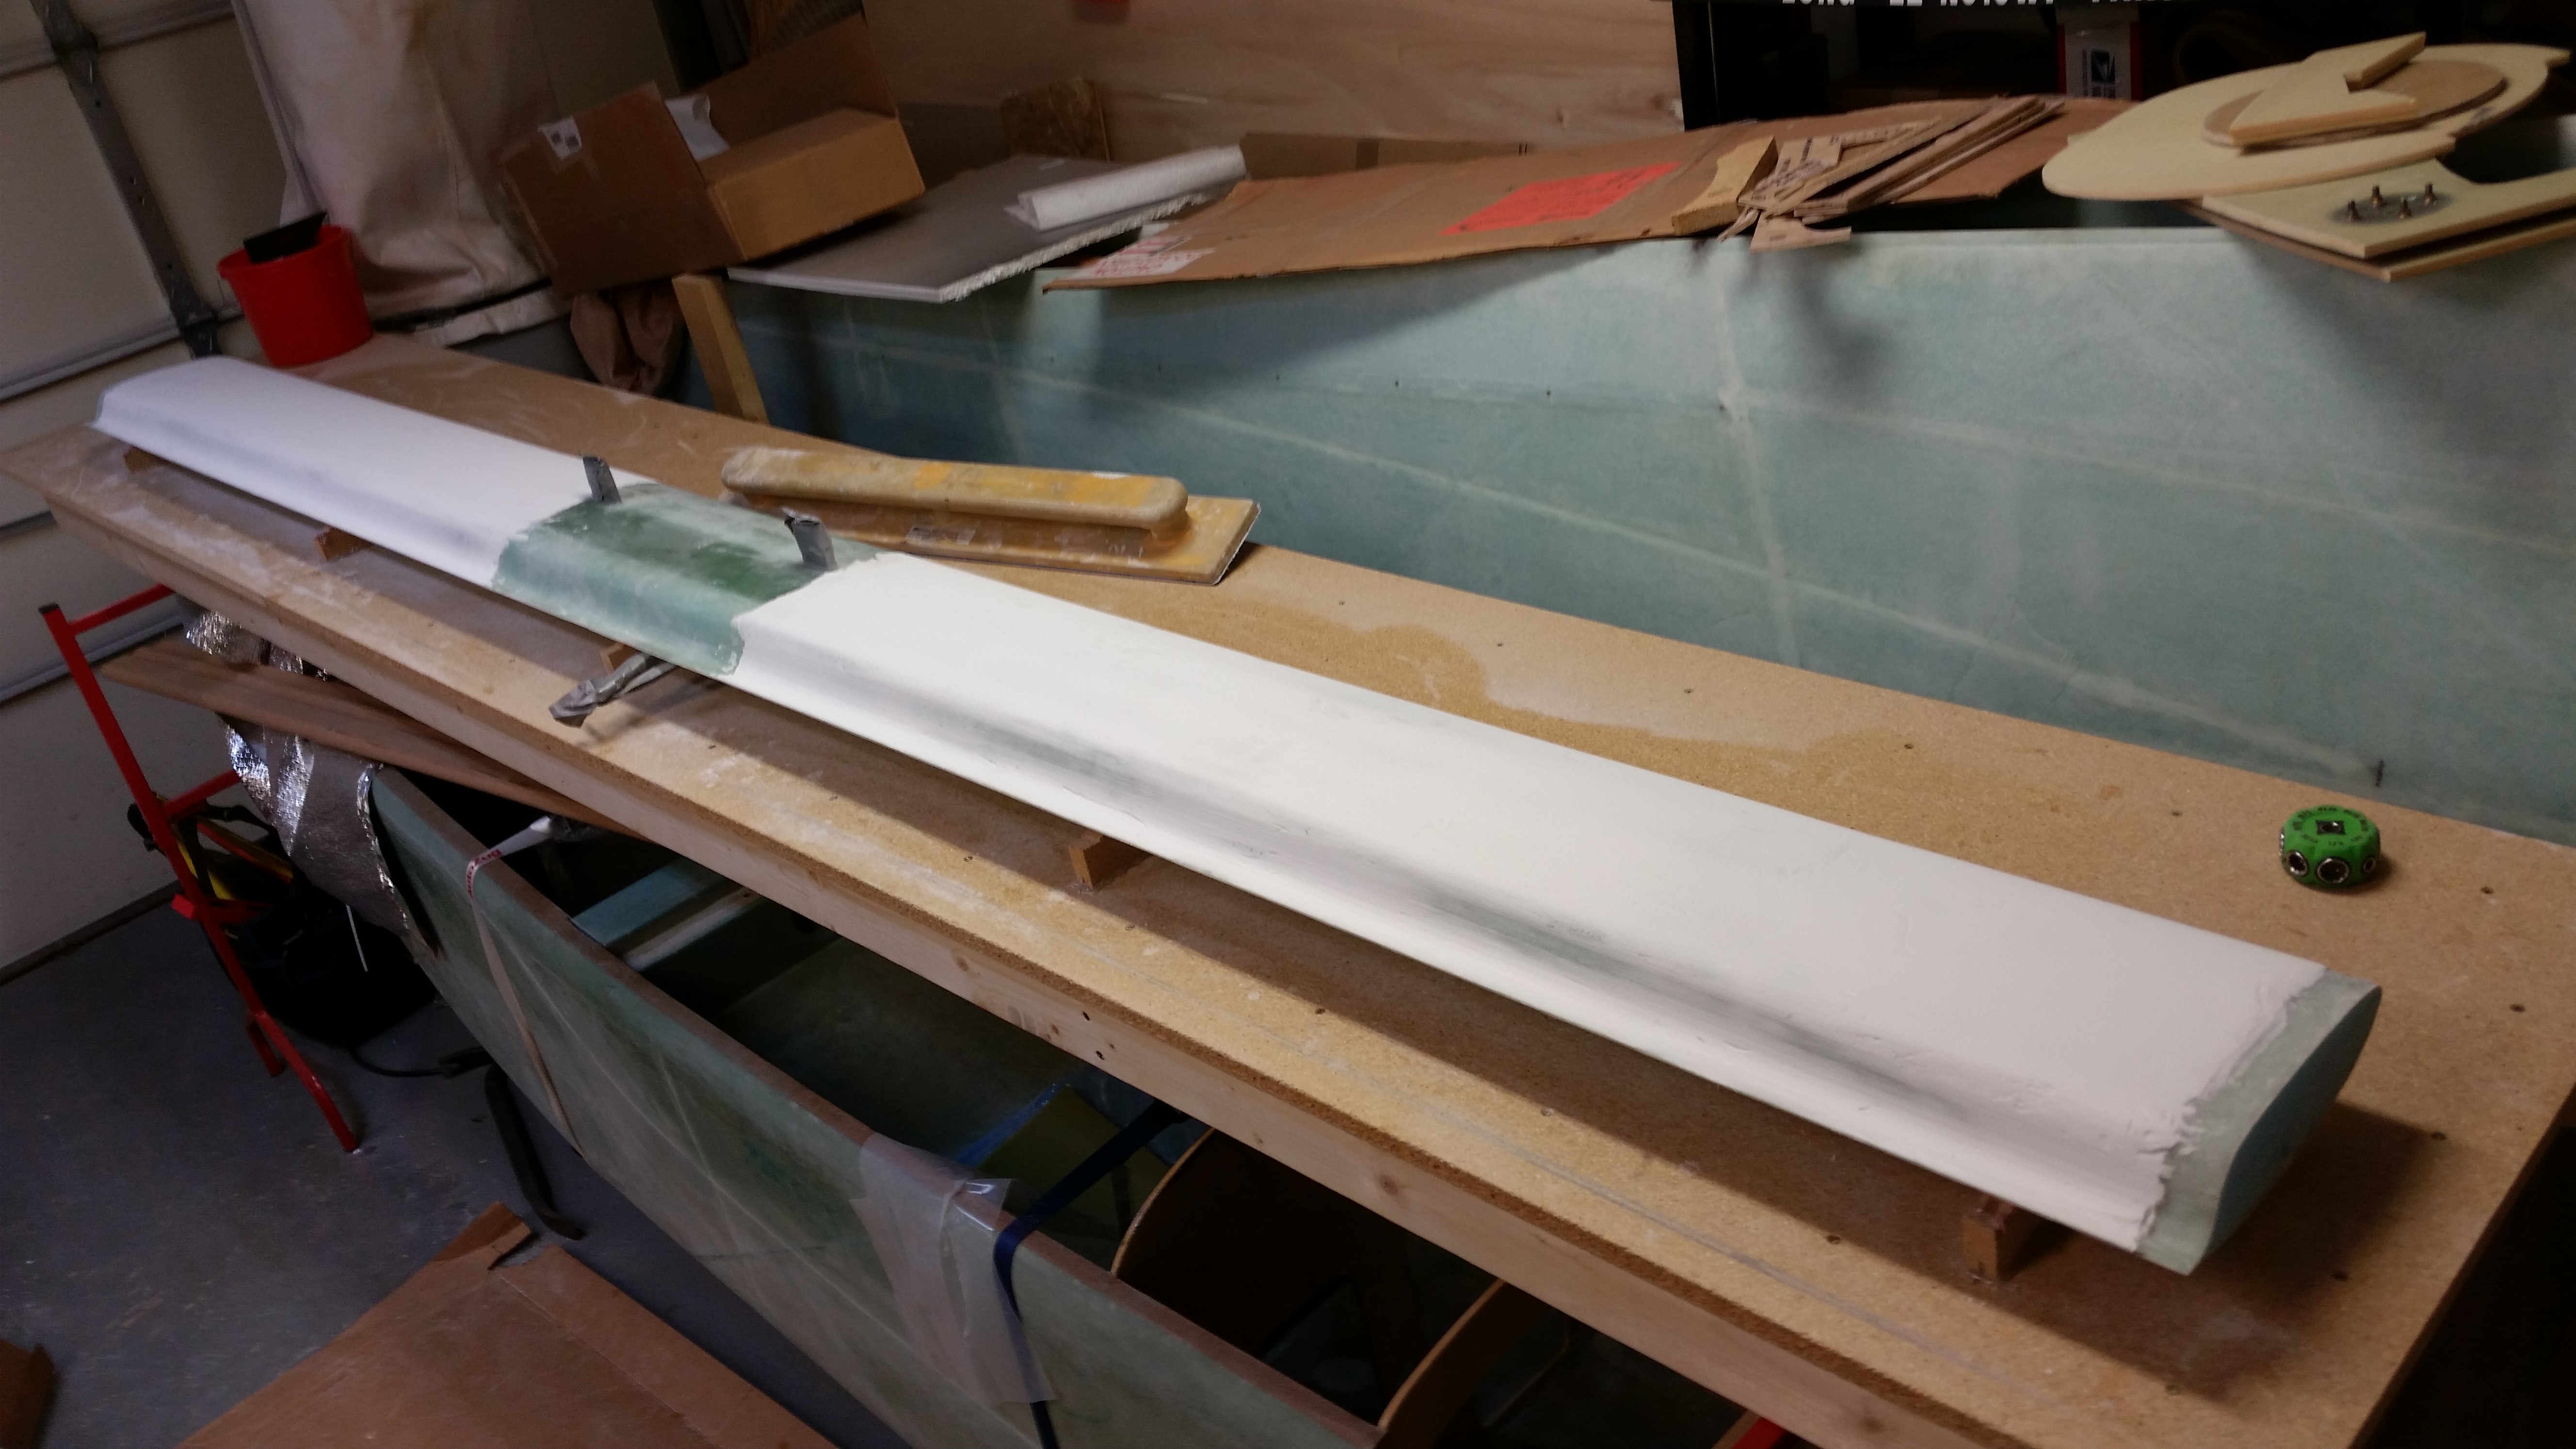
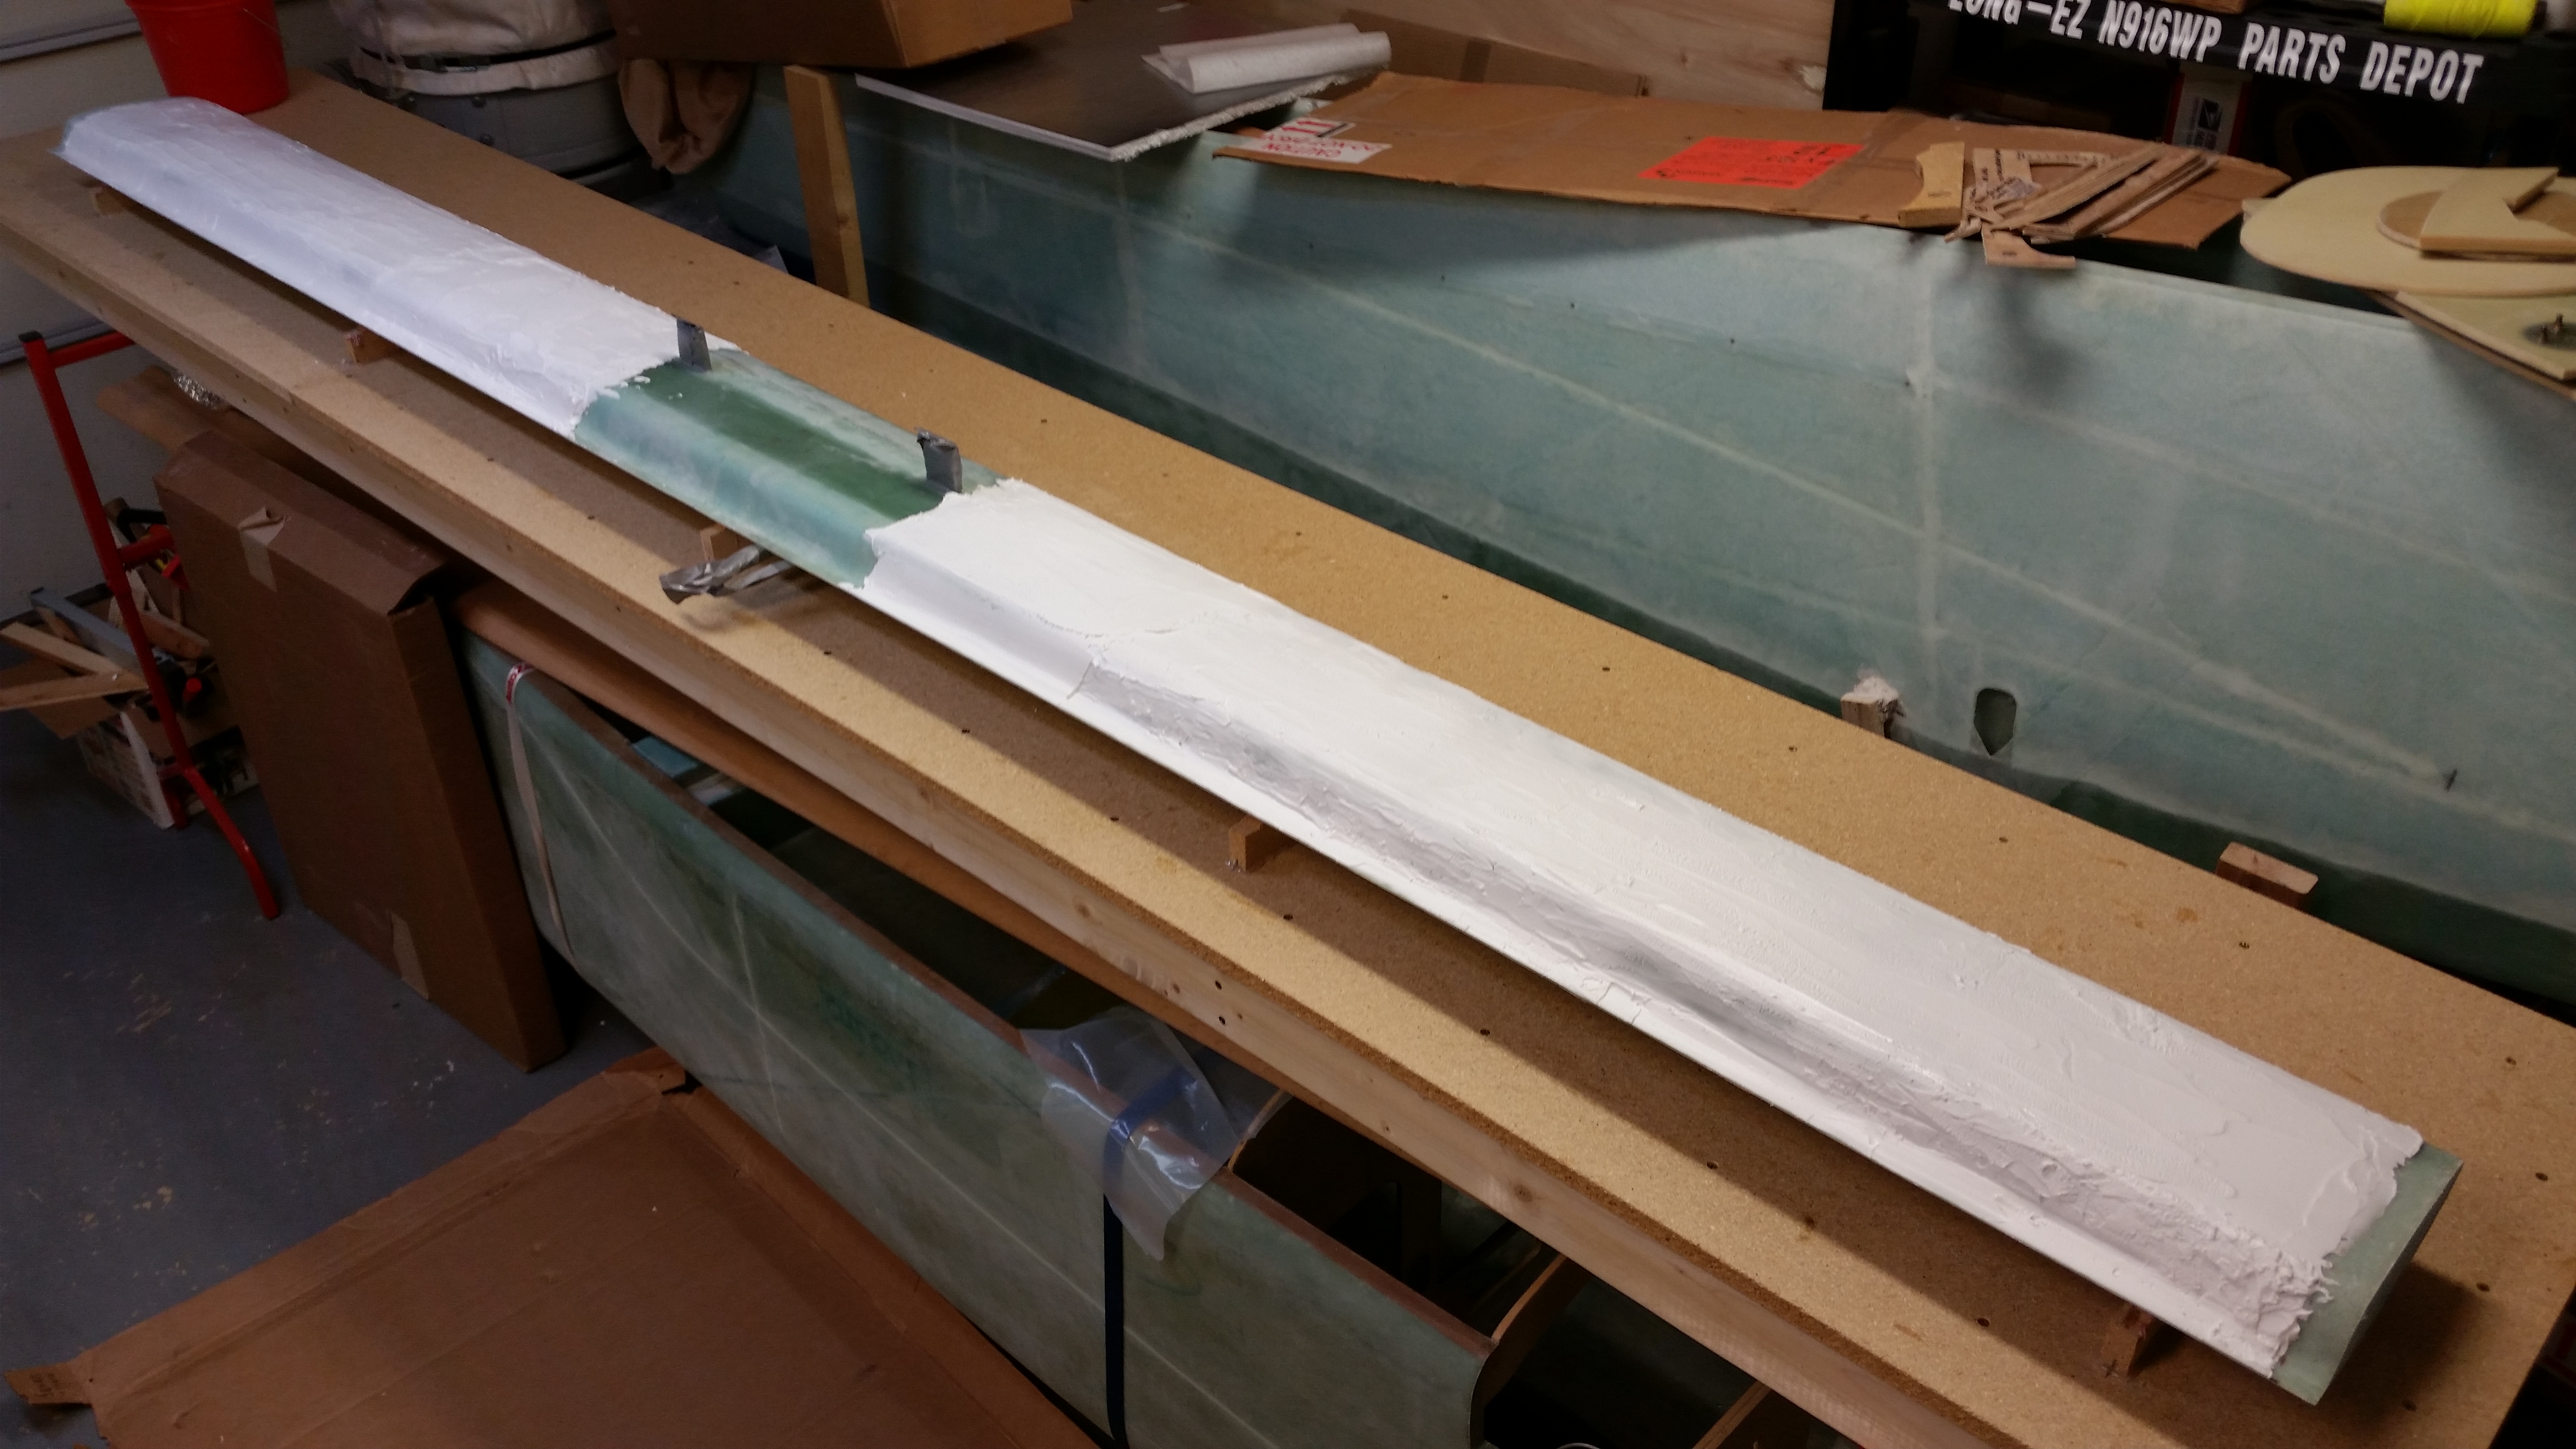
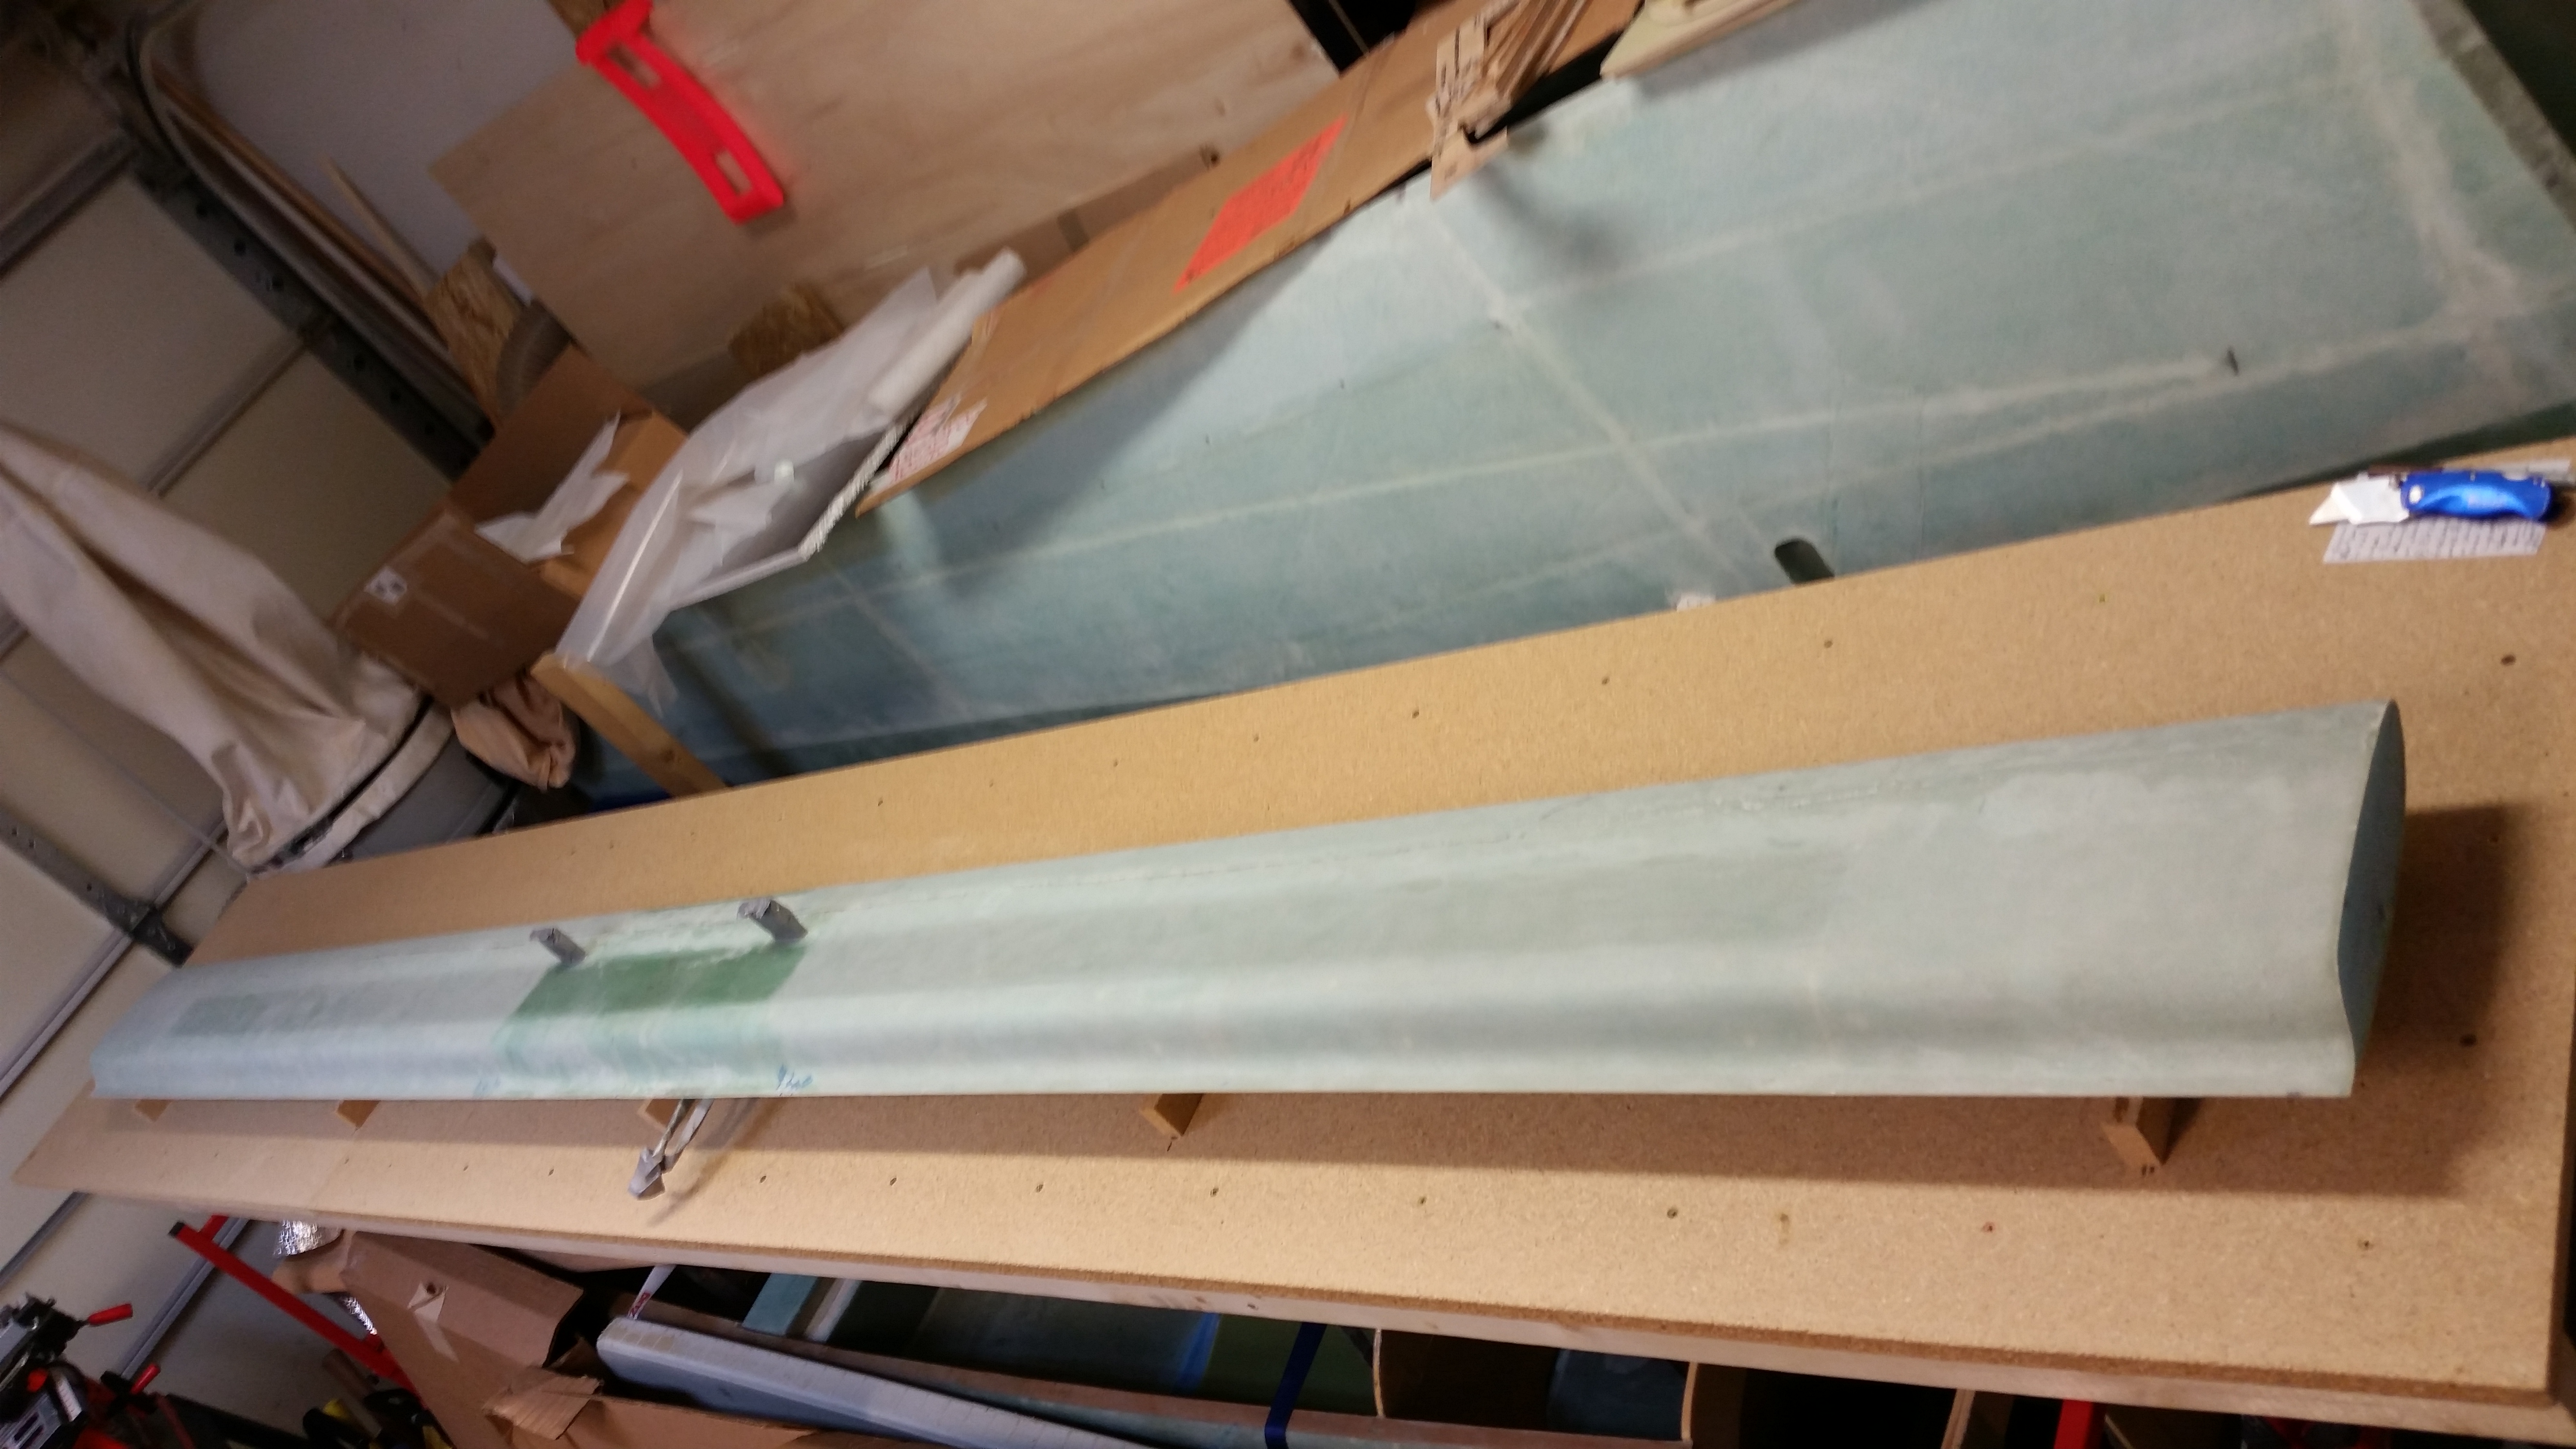
Below are two shots of the canard after the primer was applied.
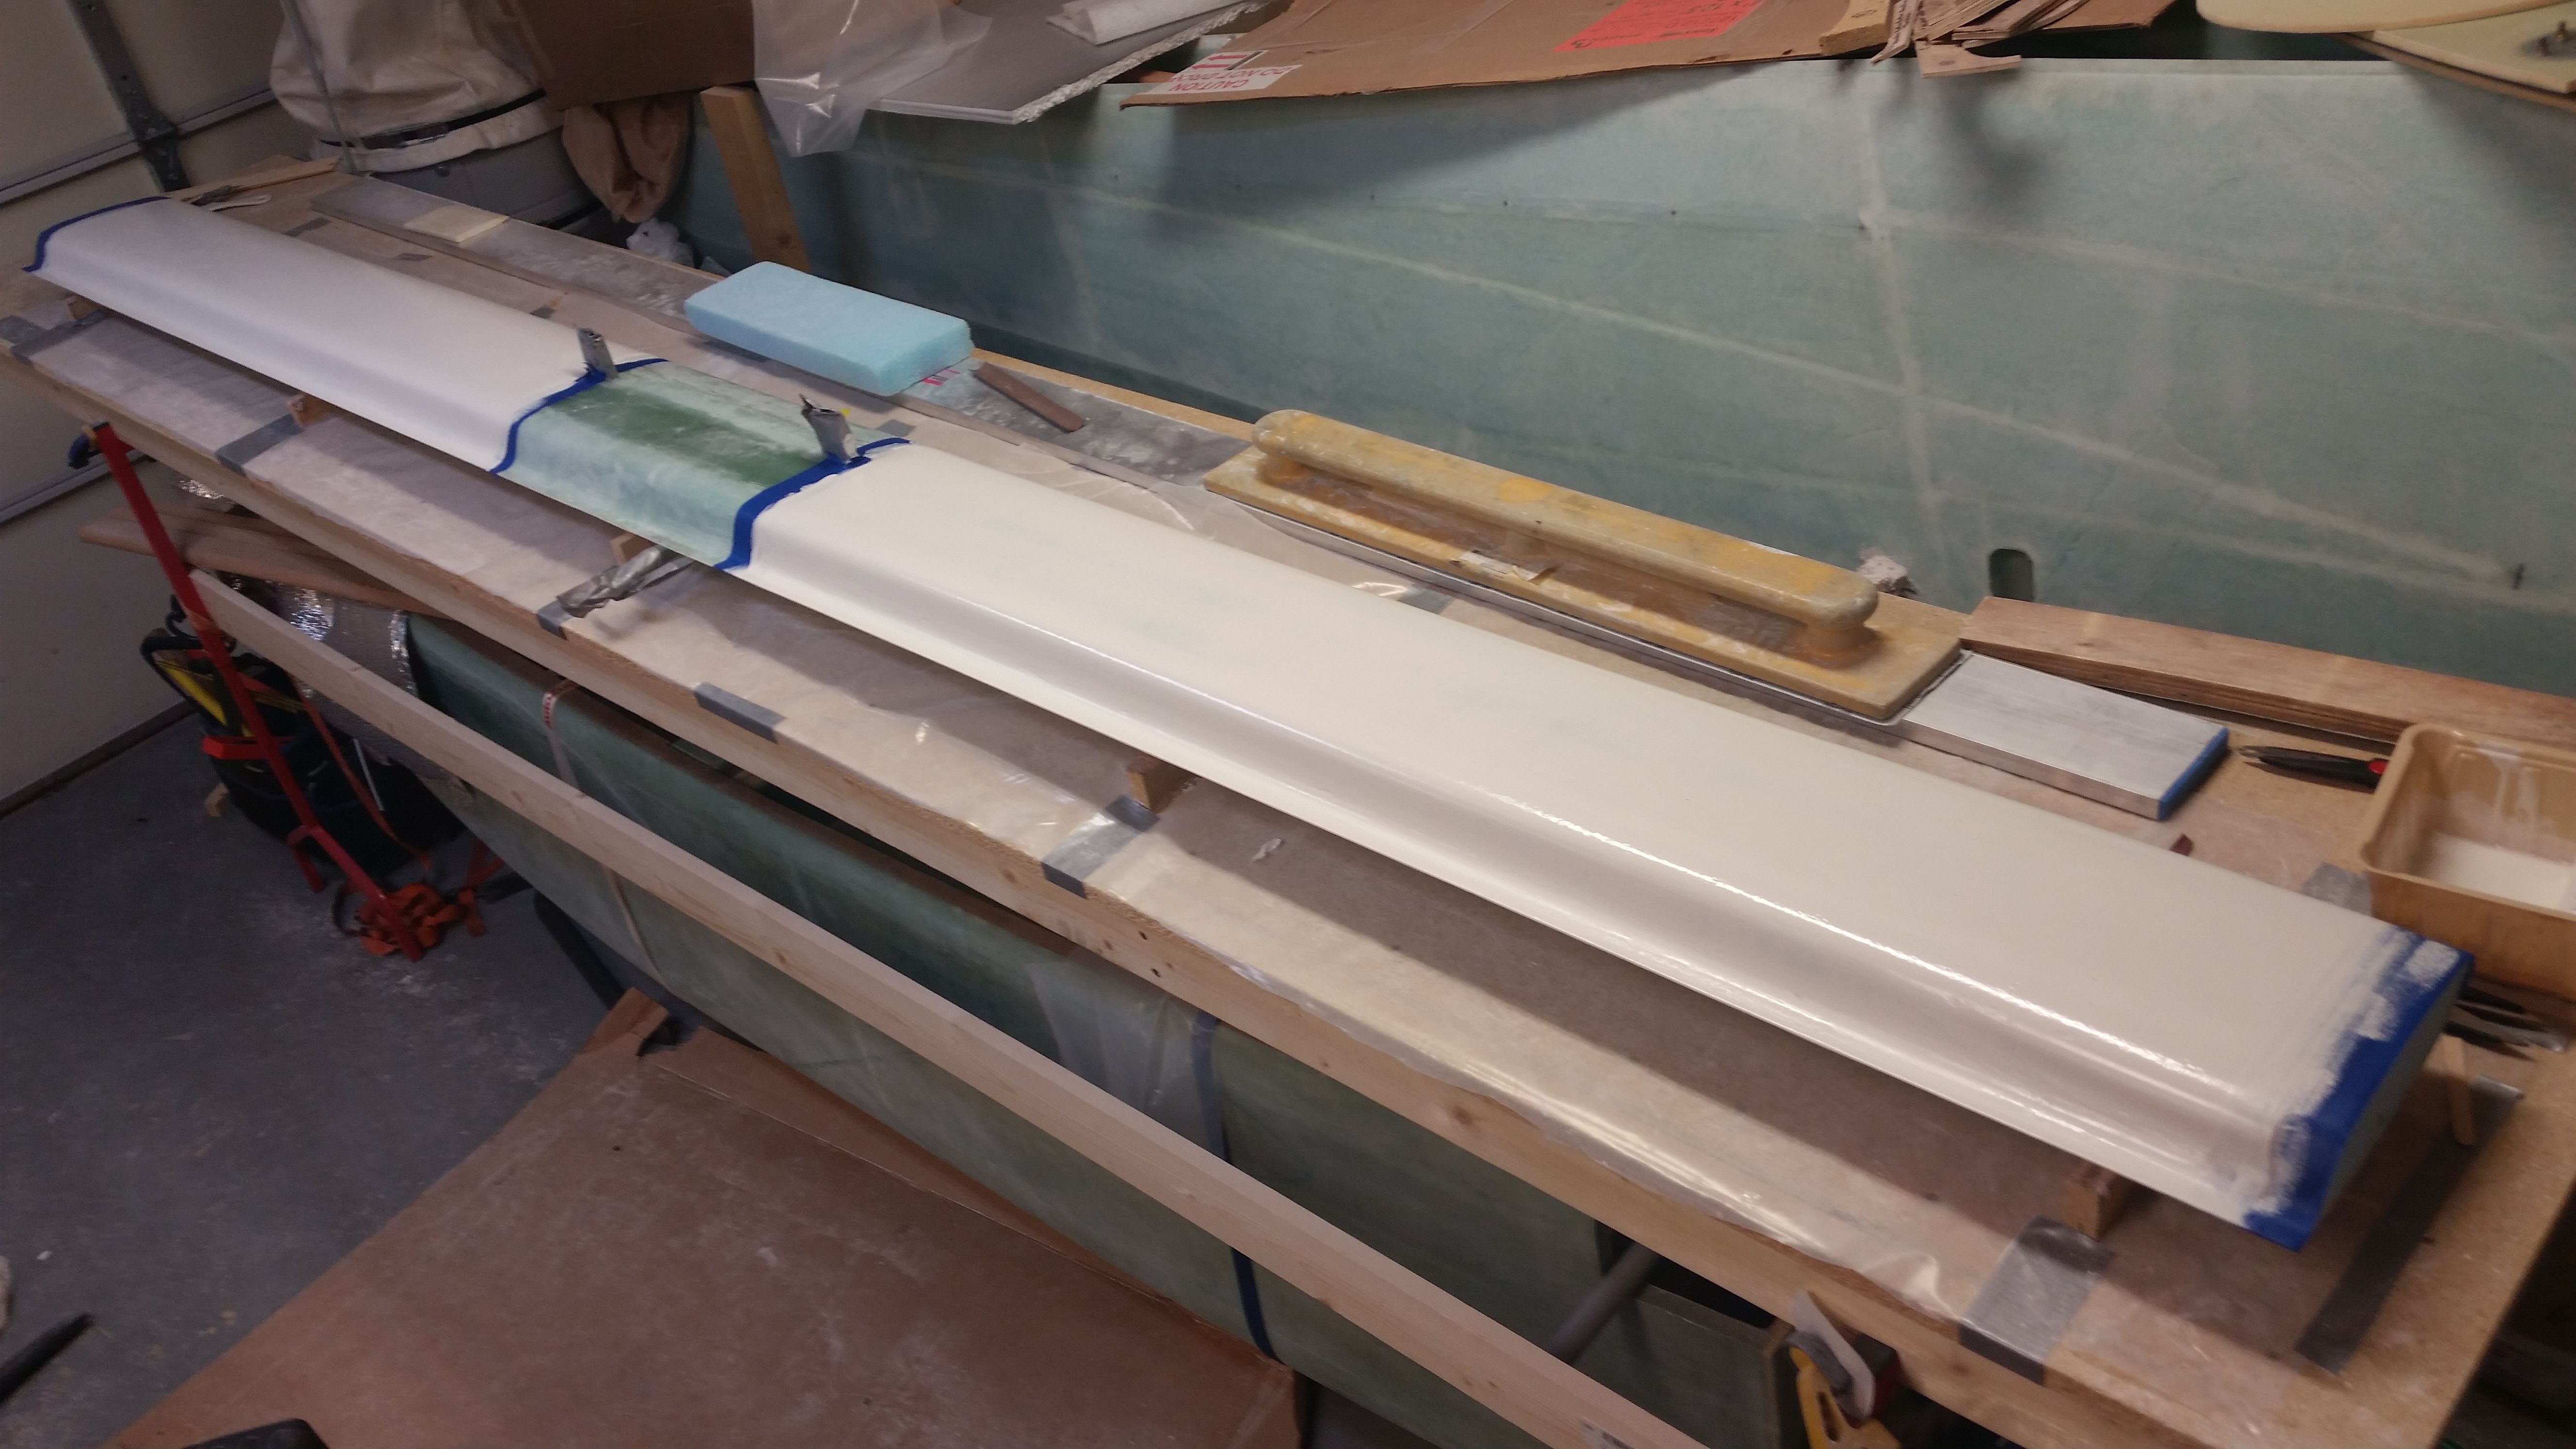
Primed Canard

Primed Canard

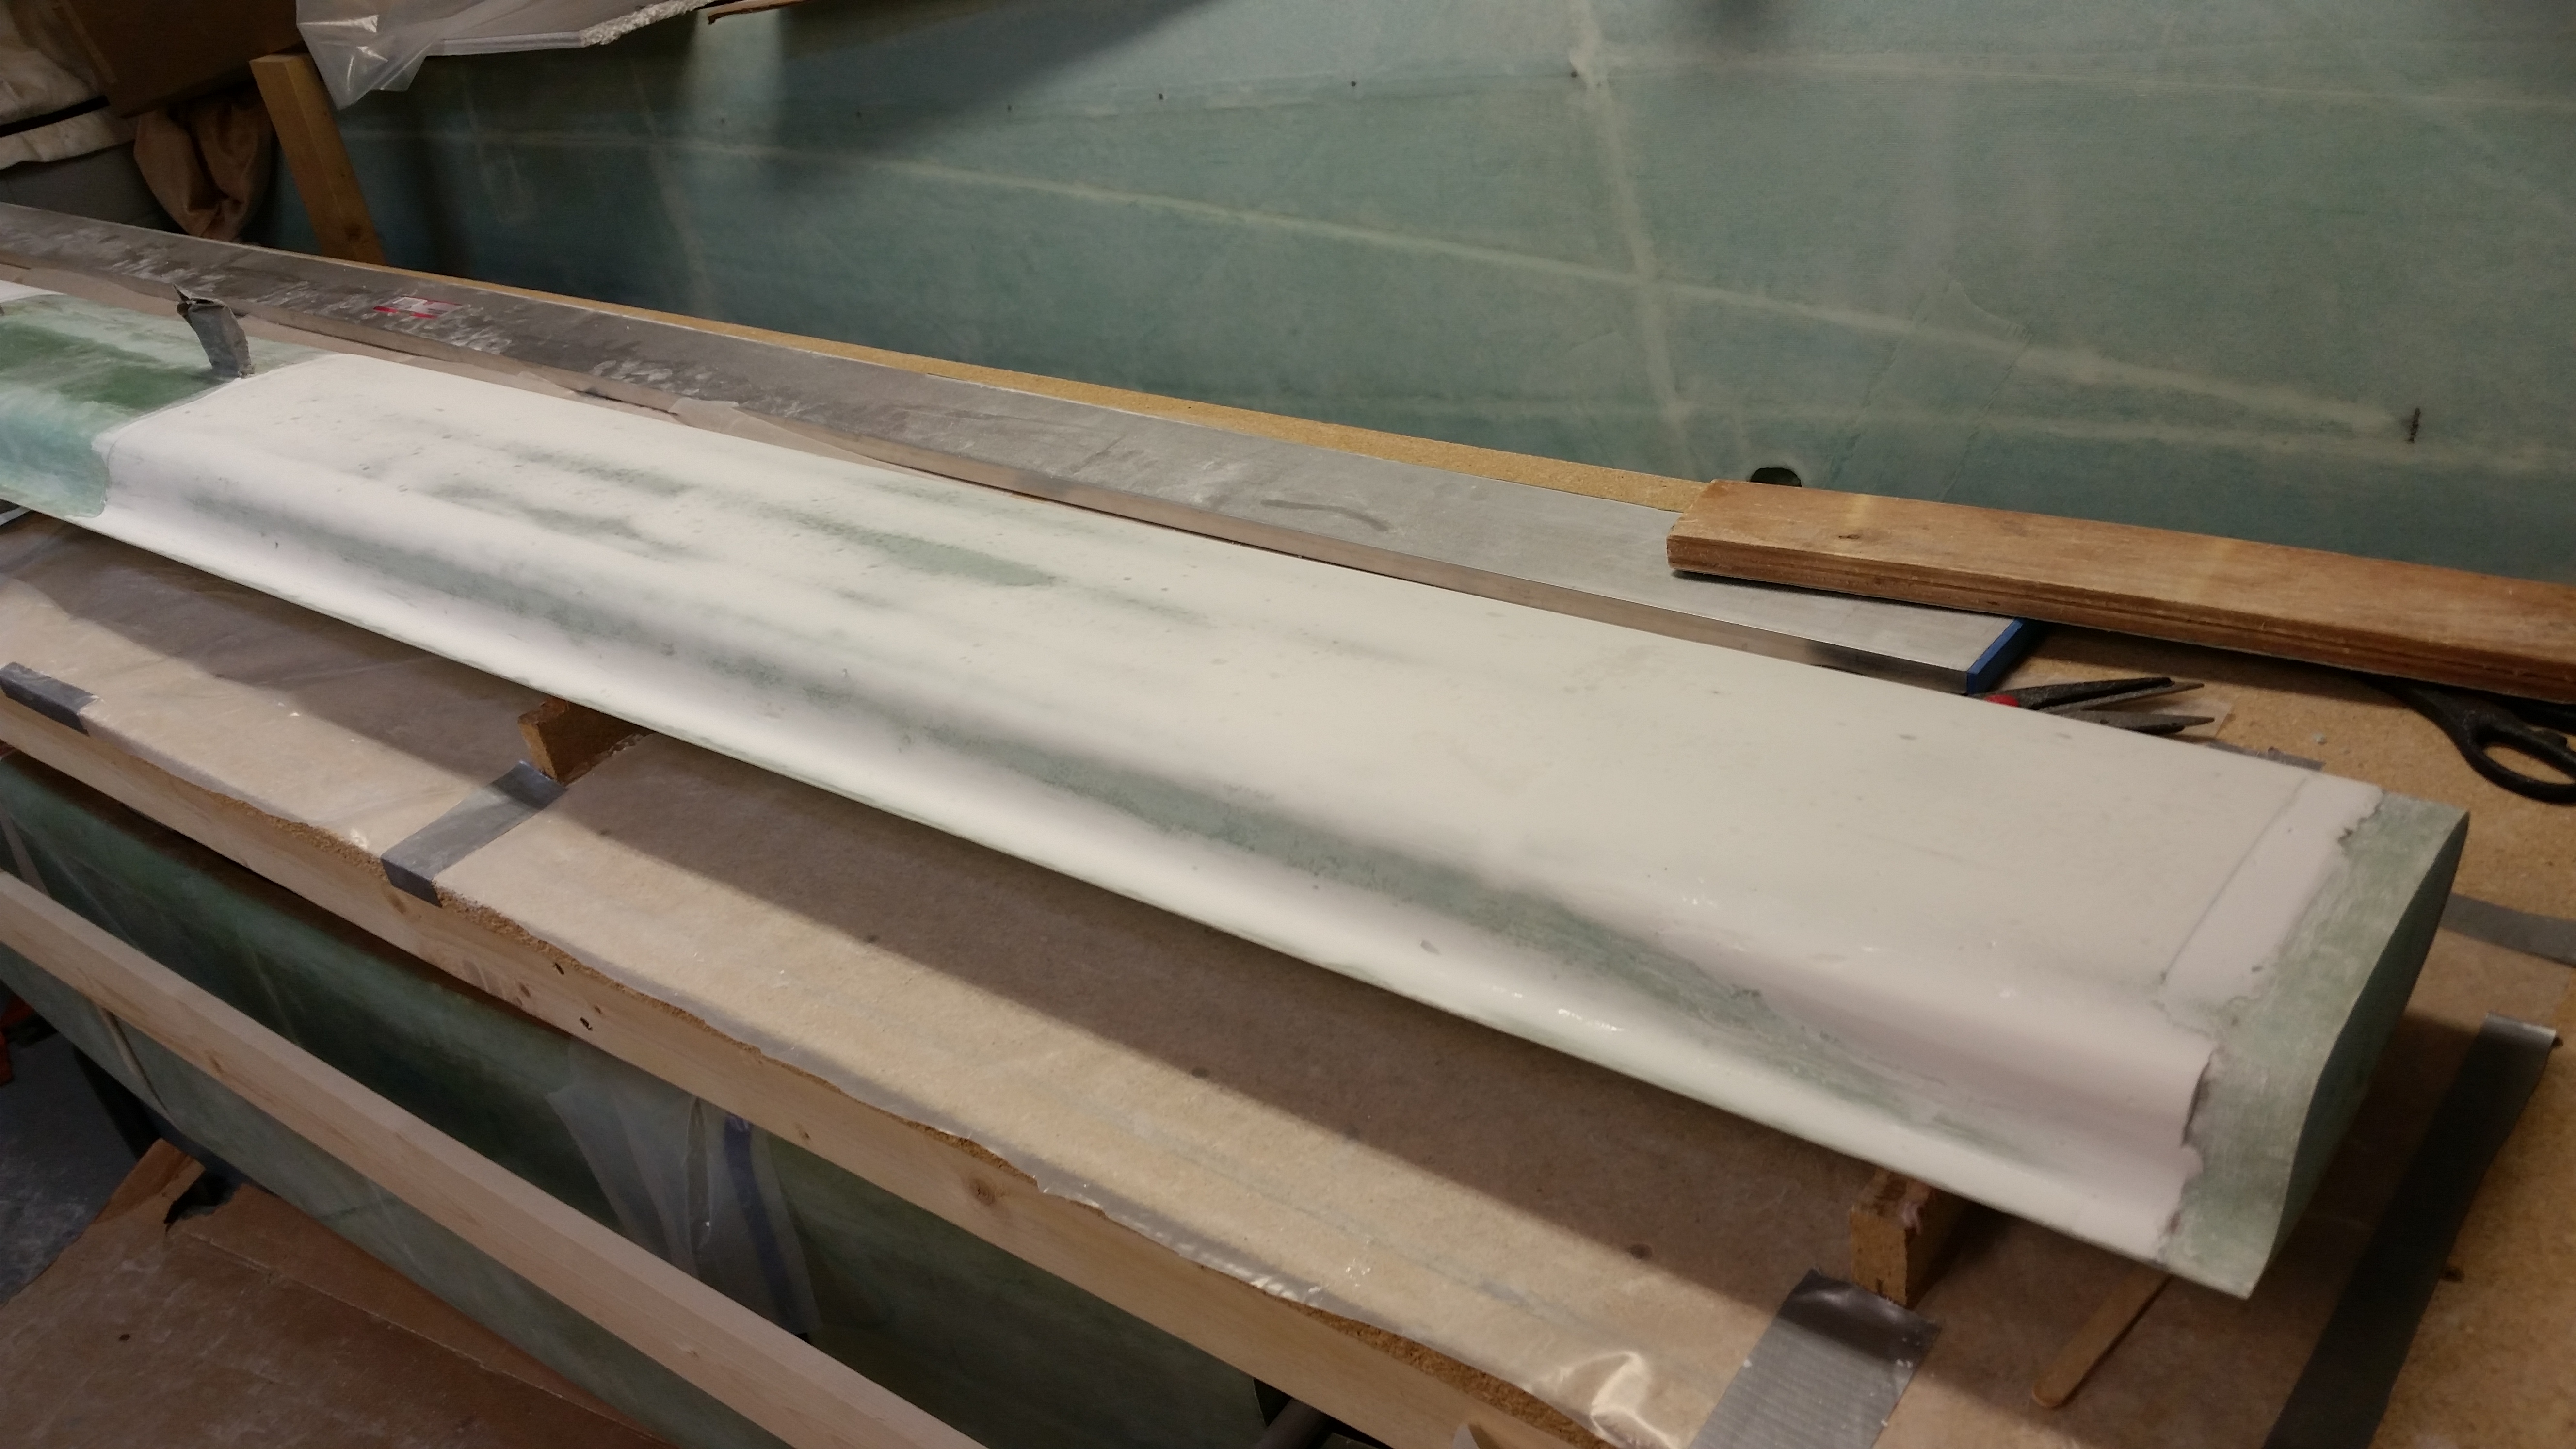
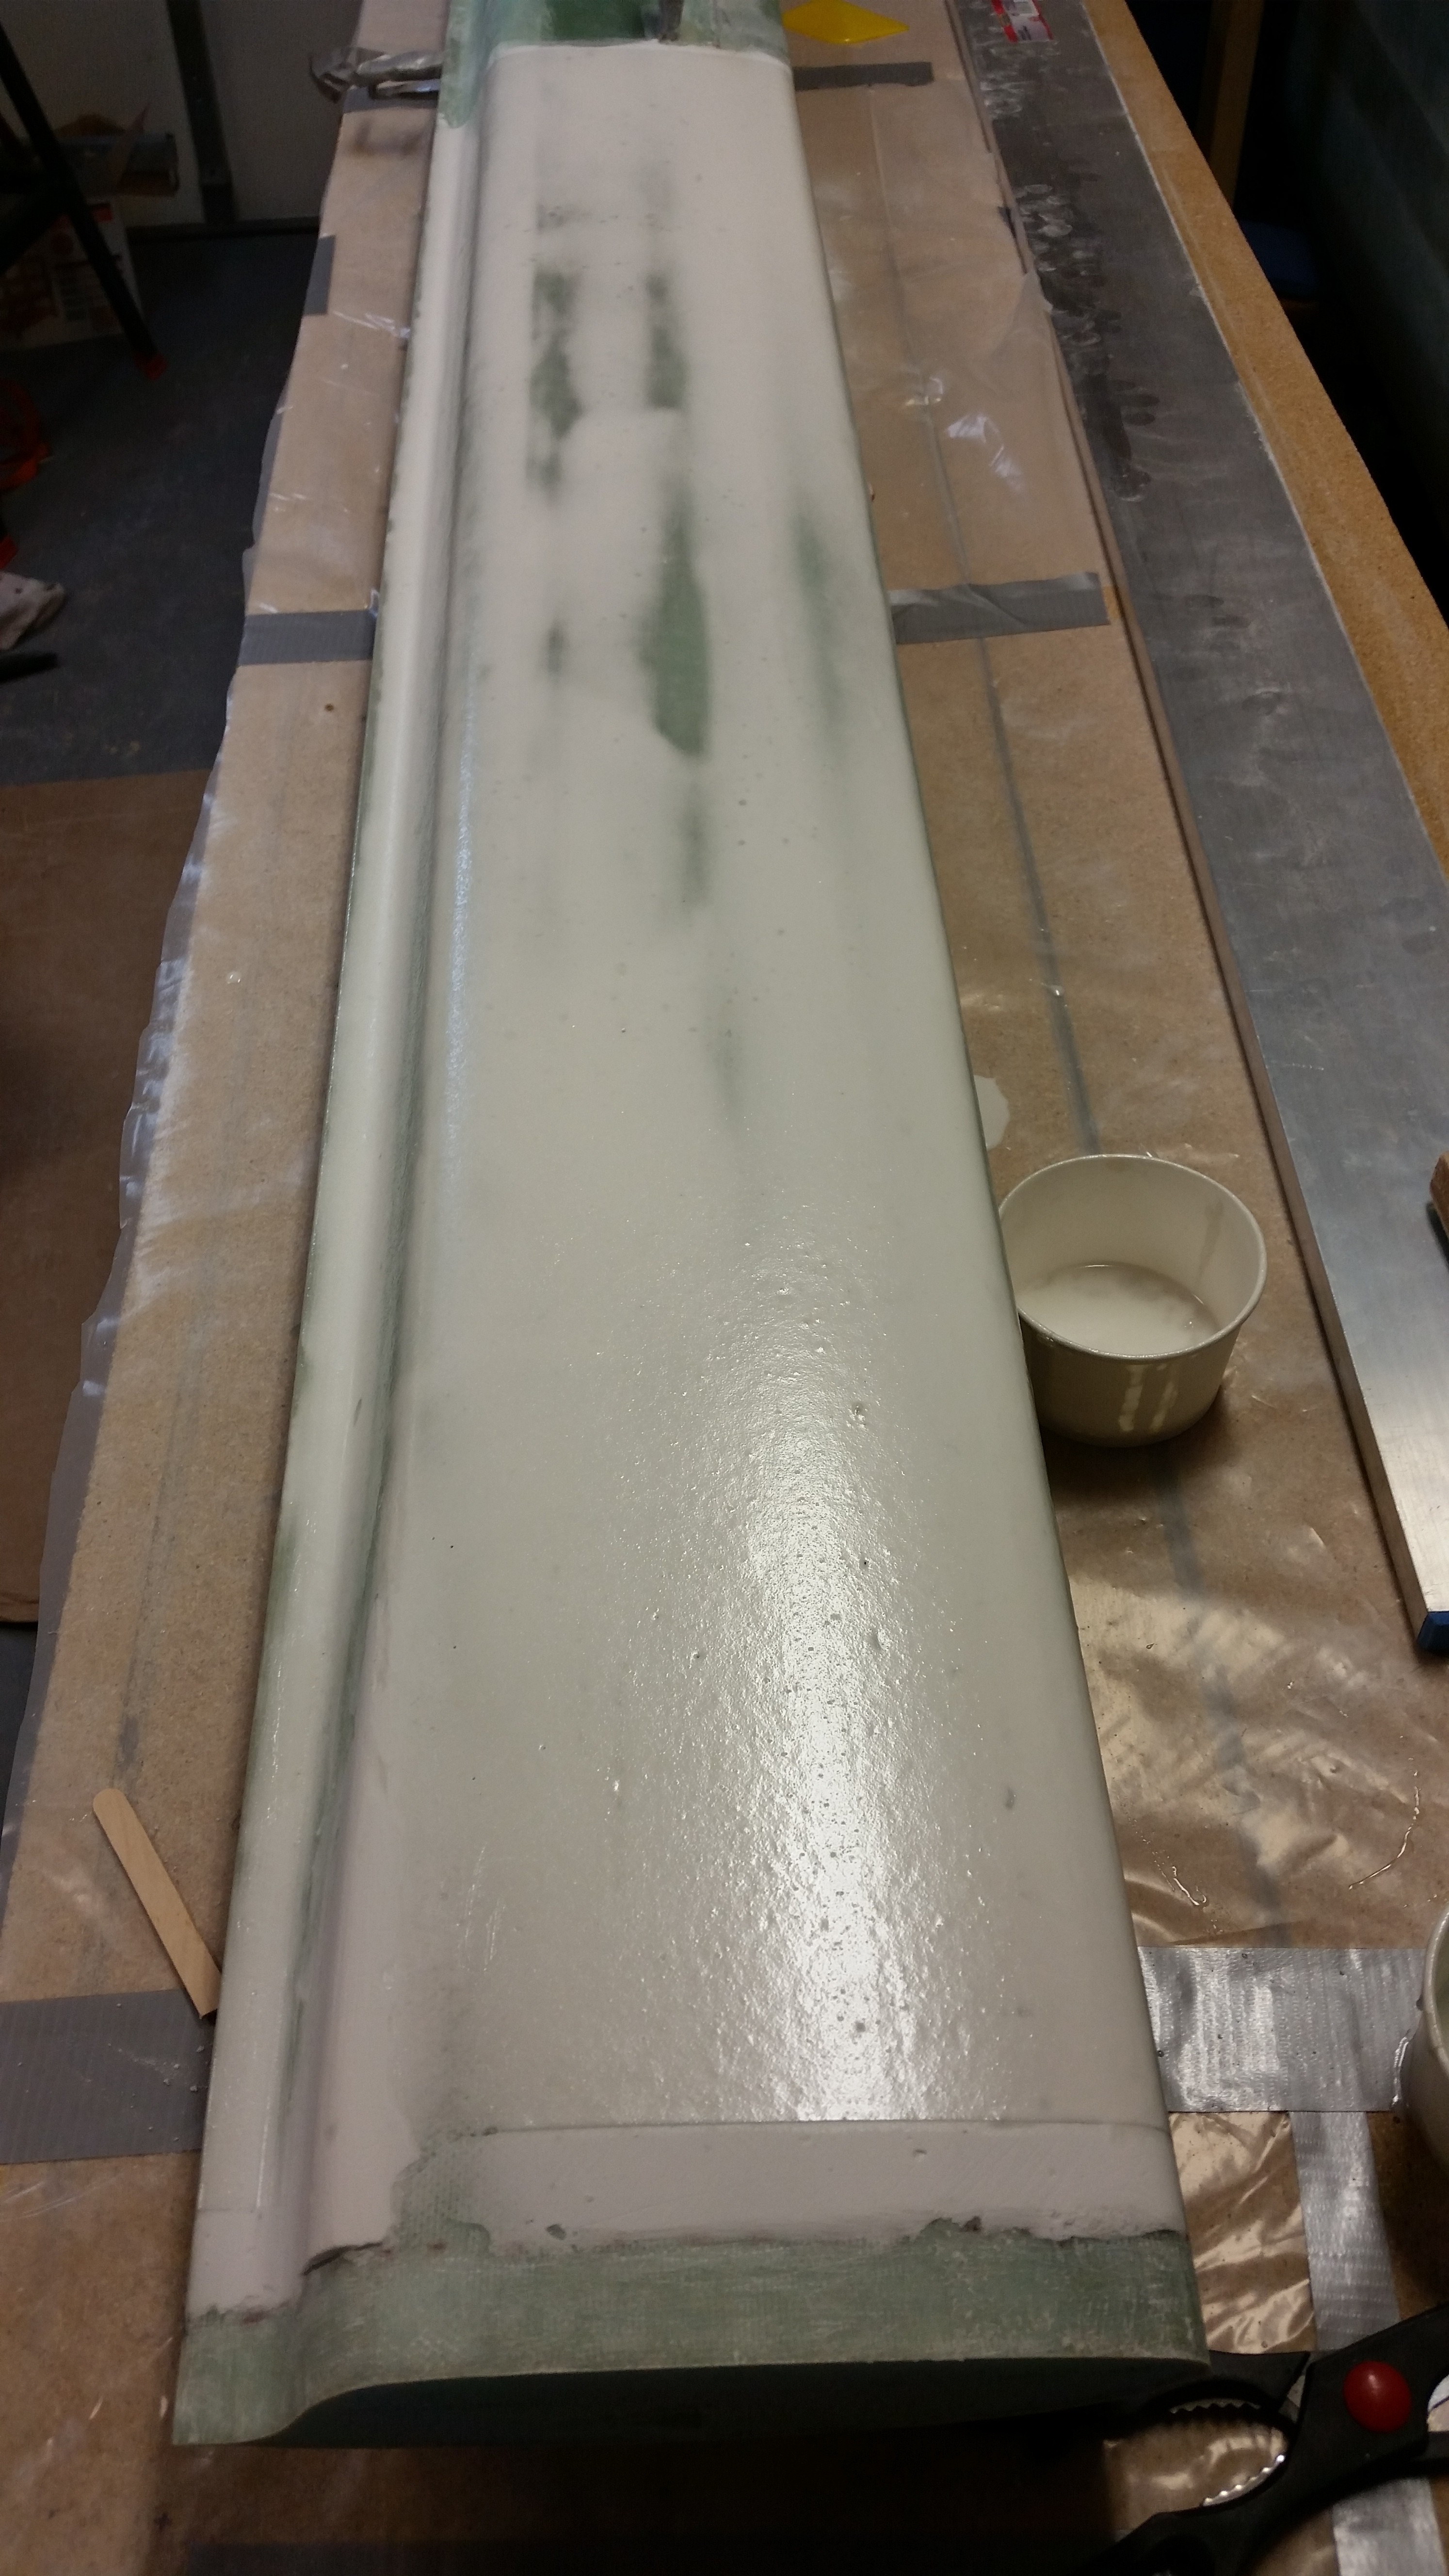
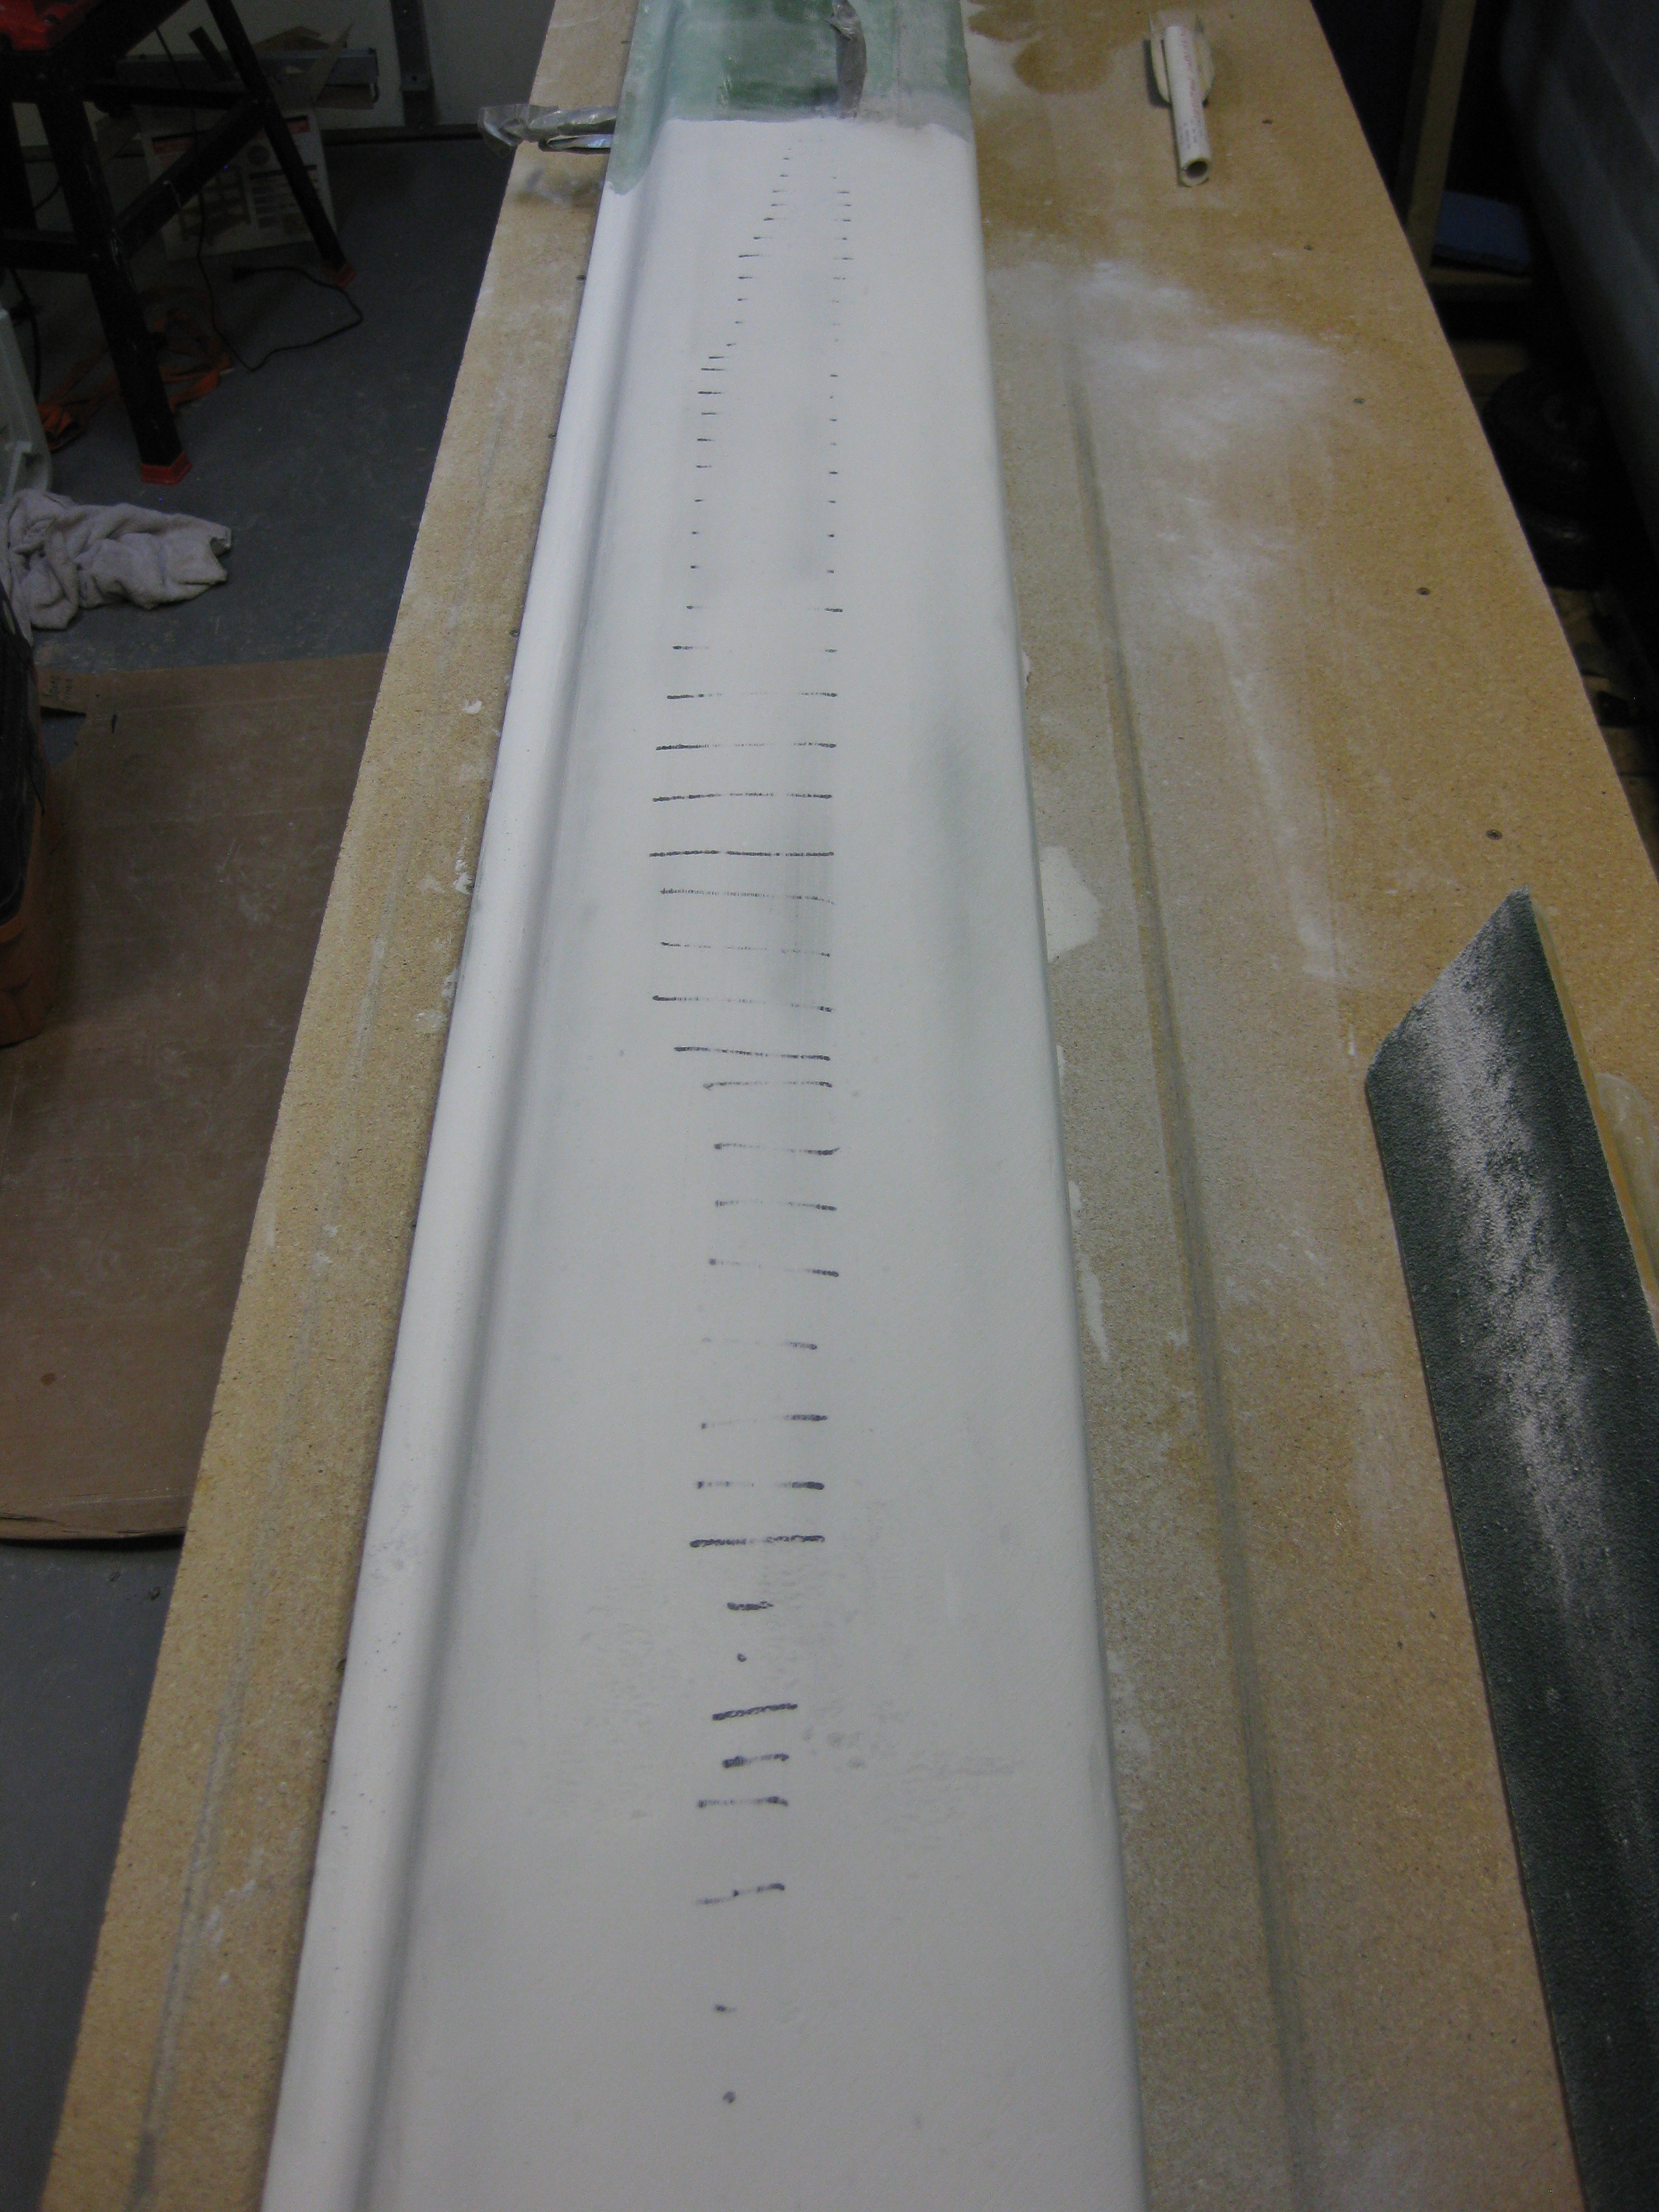
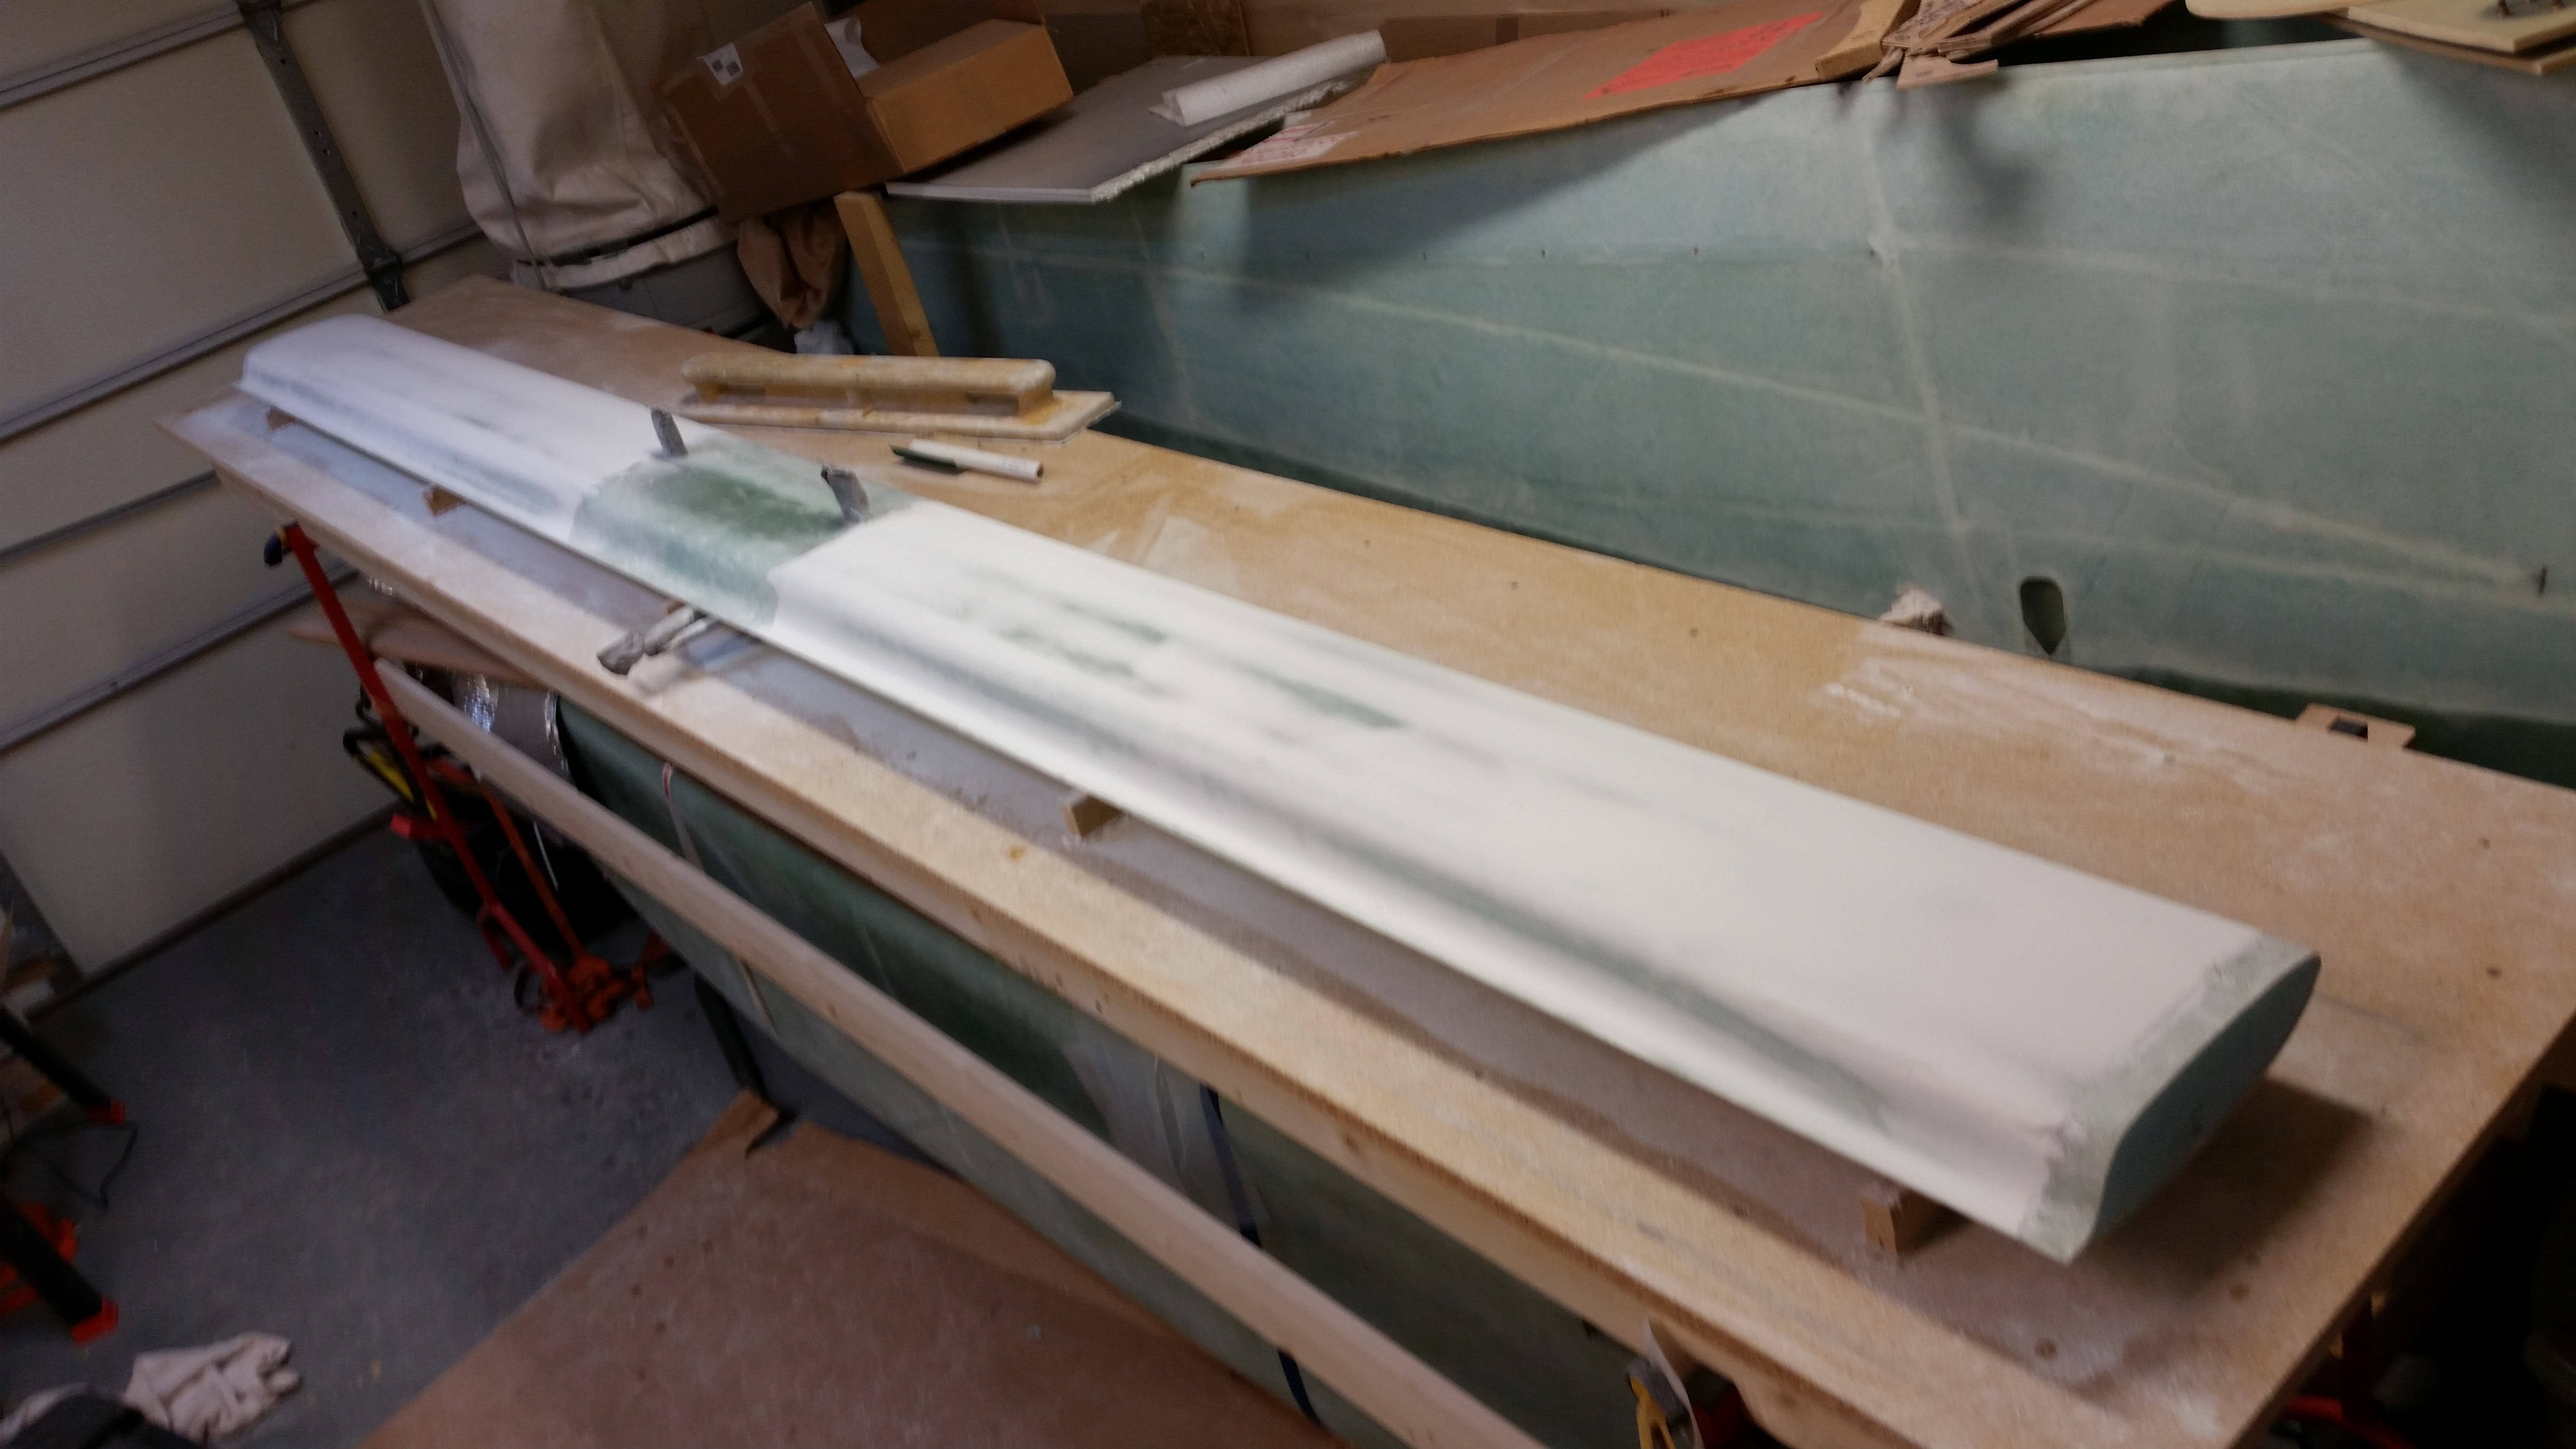
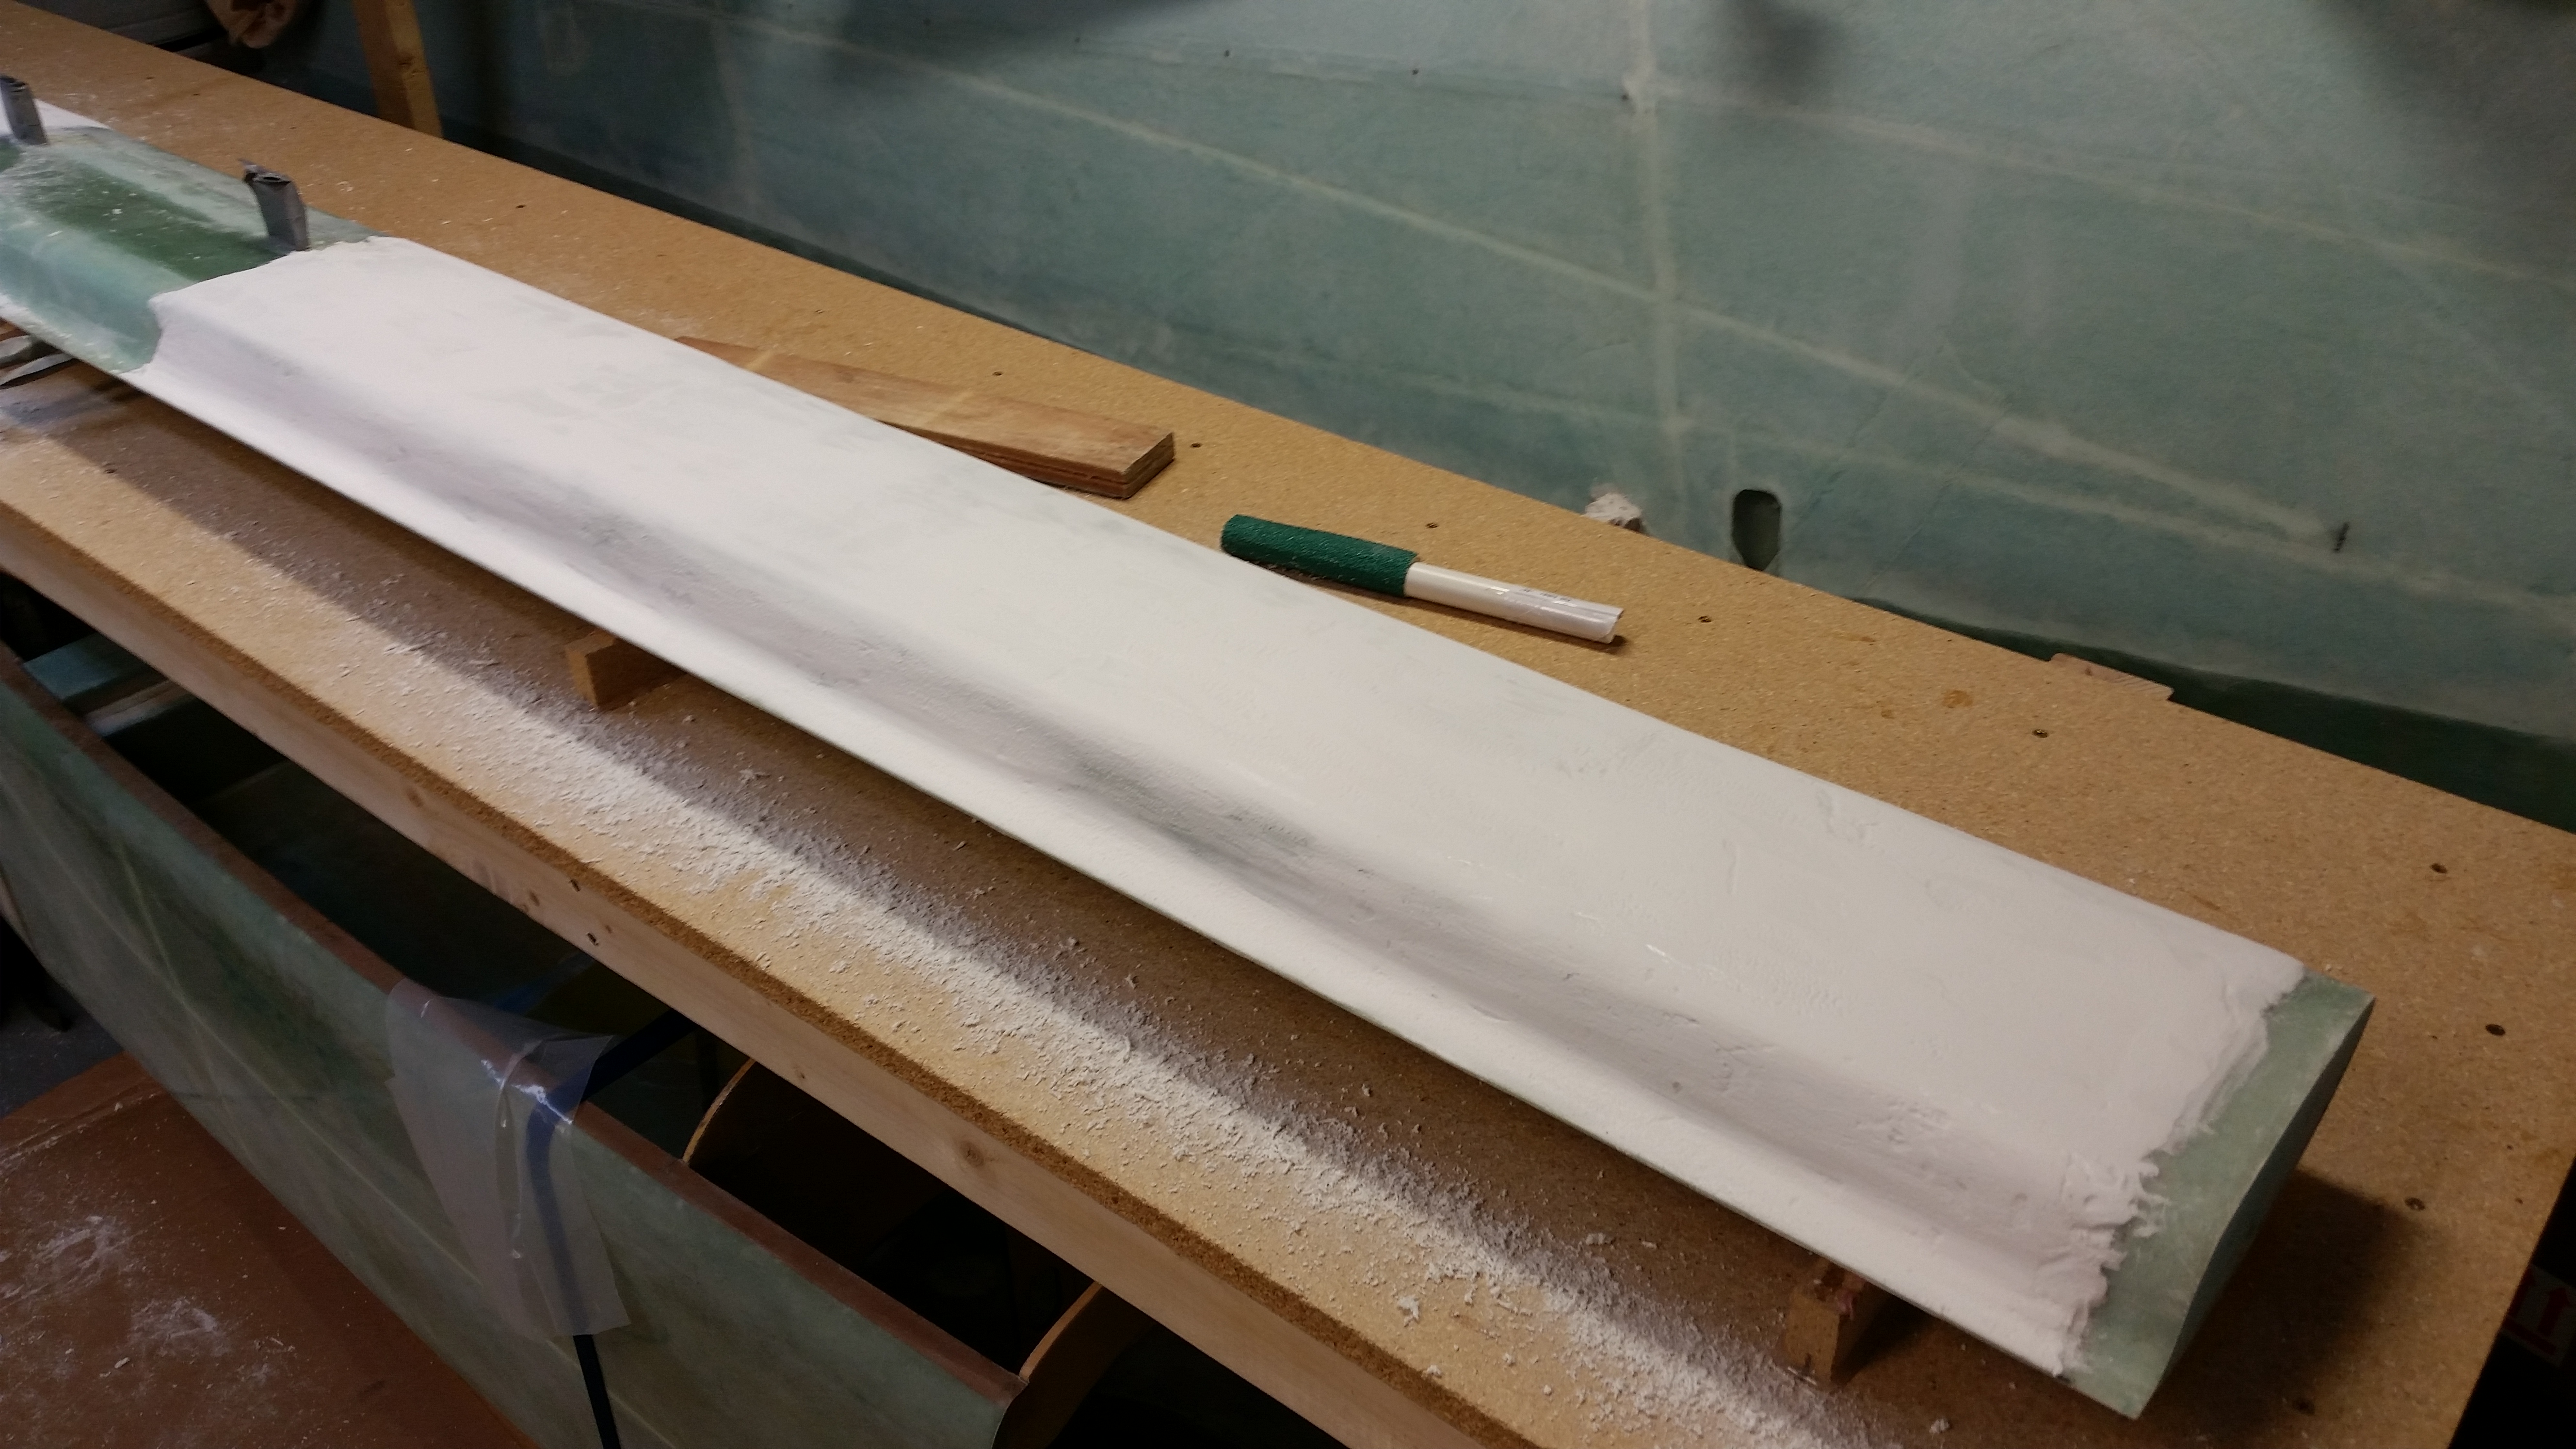
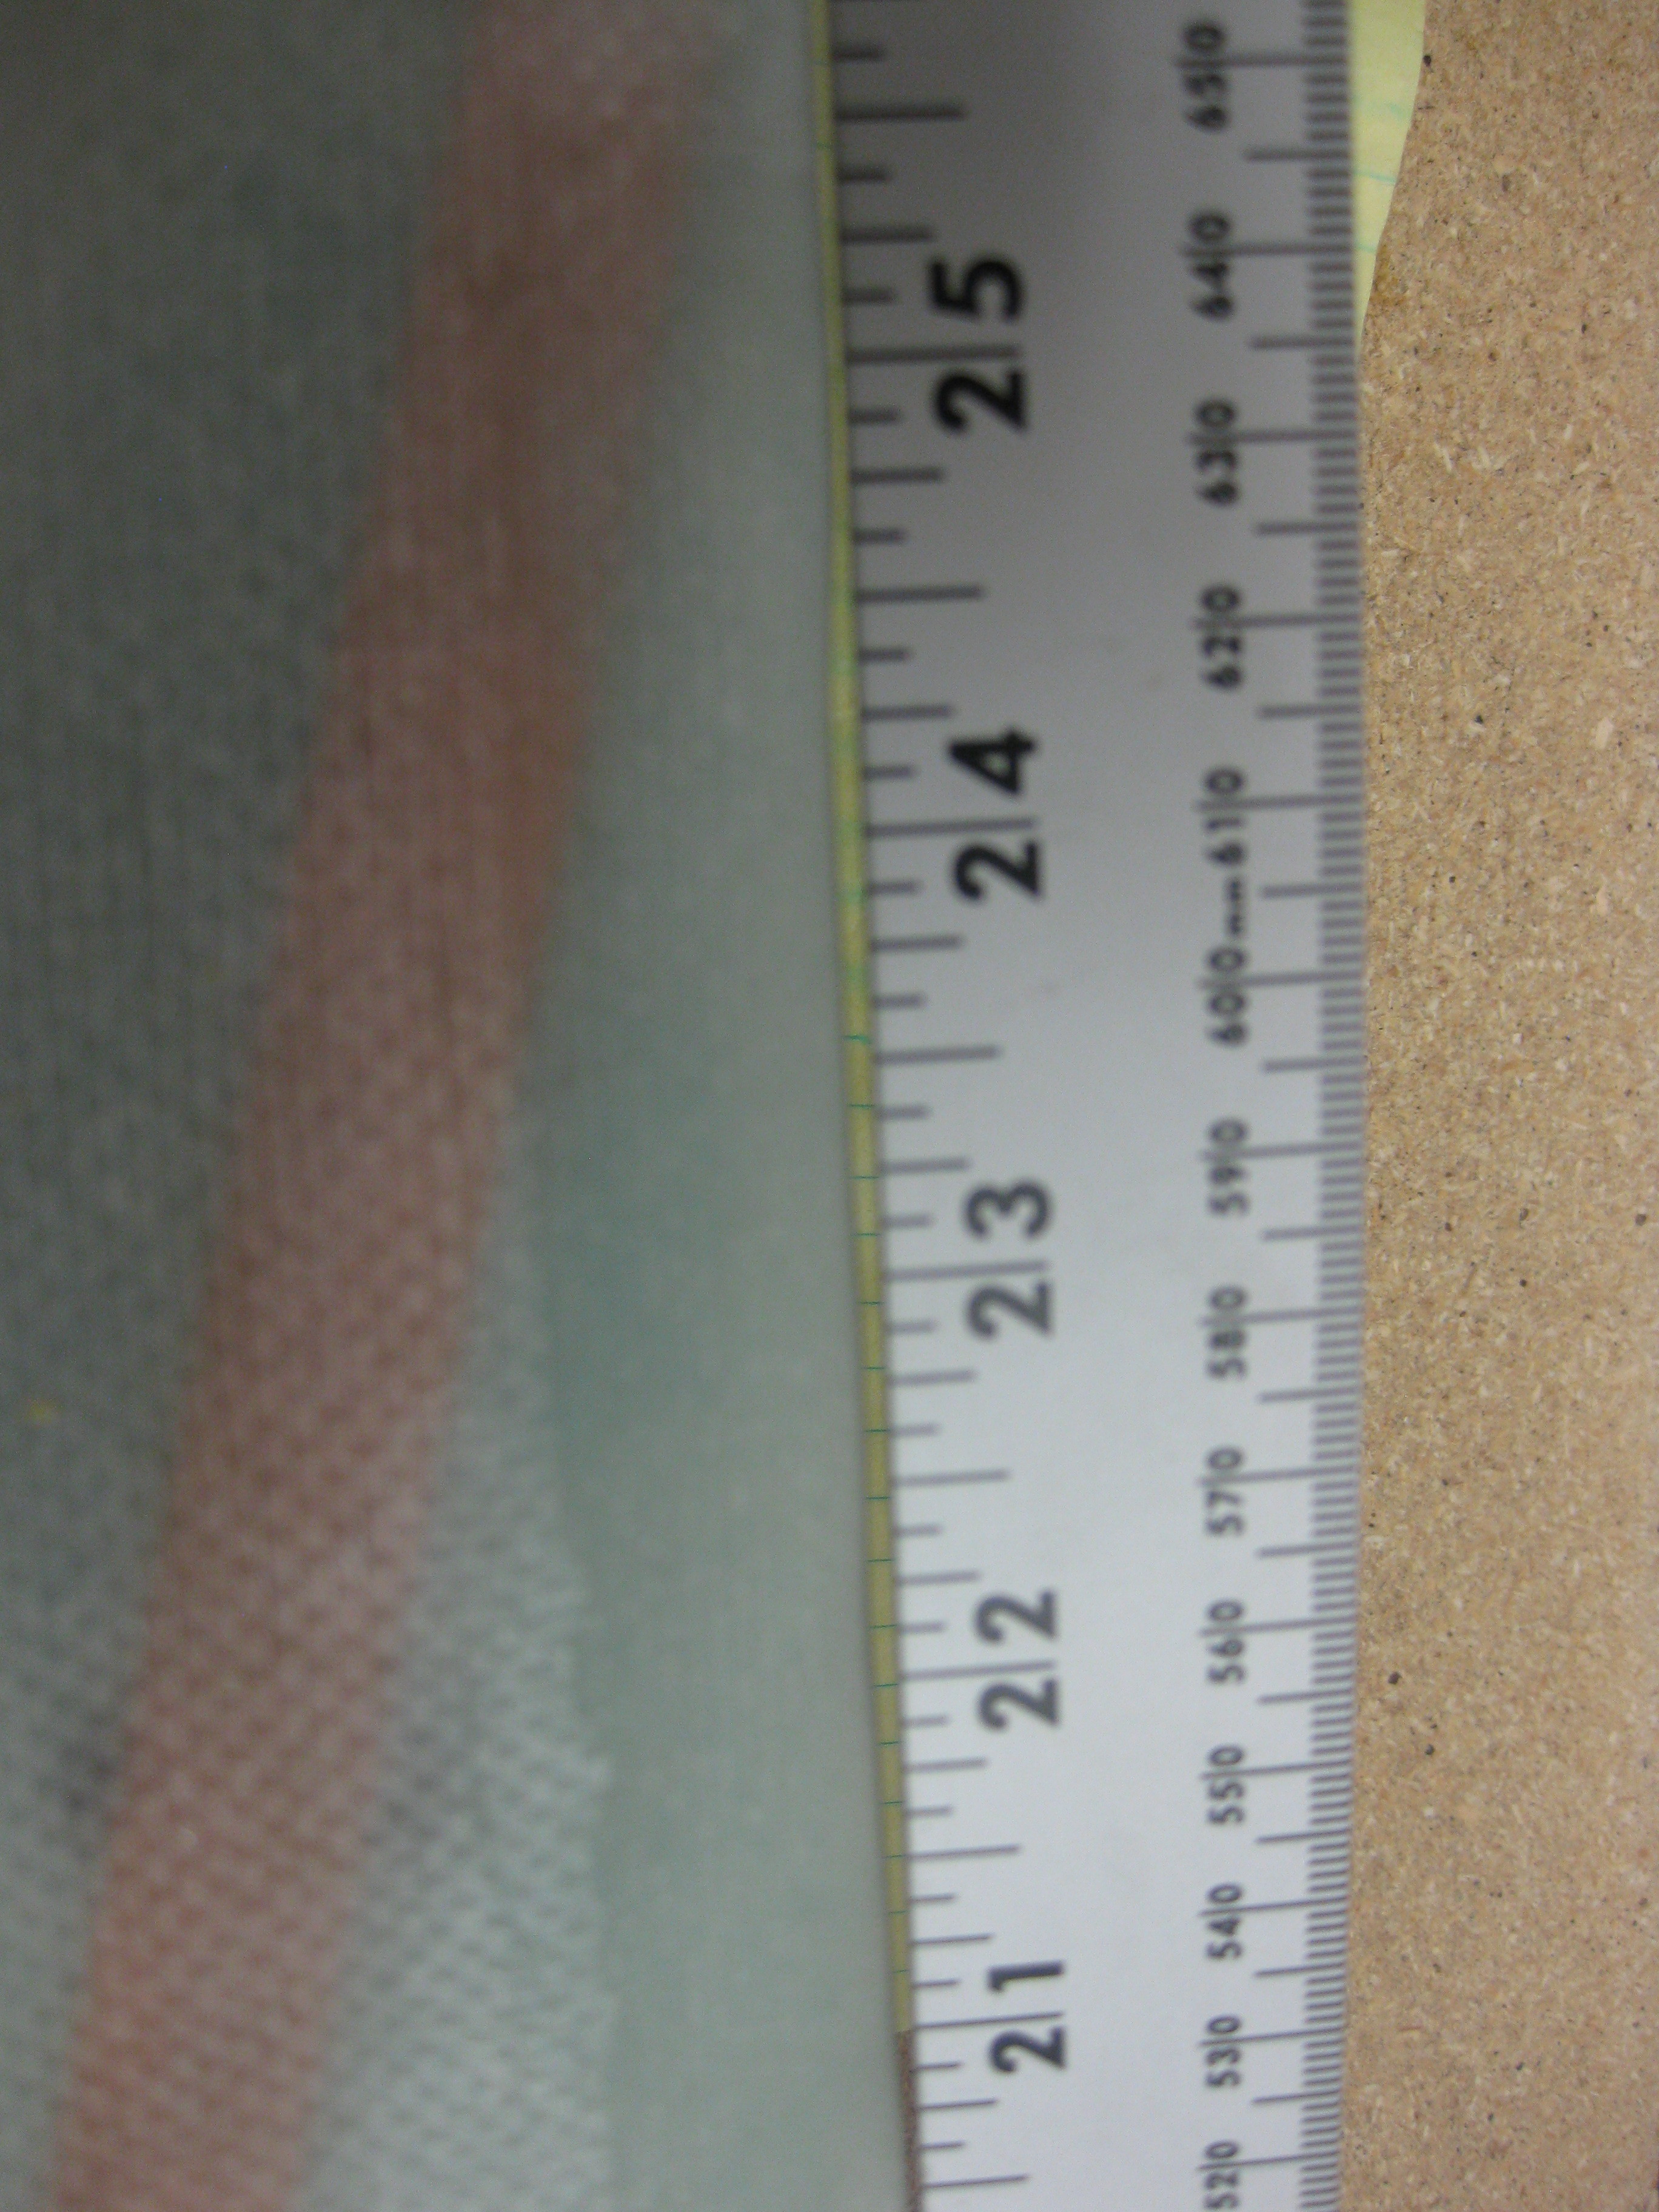
I took this pic of the trailing edge just to provide a general idea of the straightness of the canard.
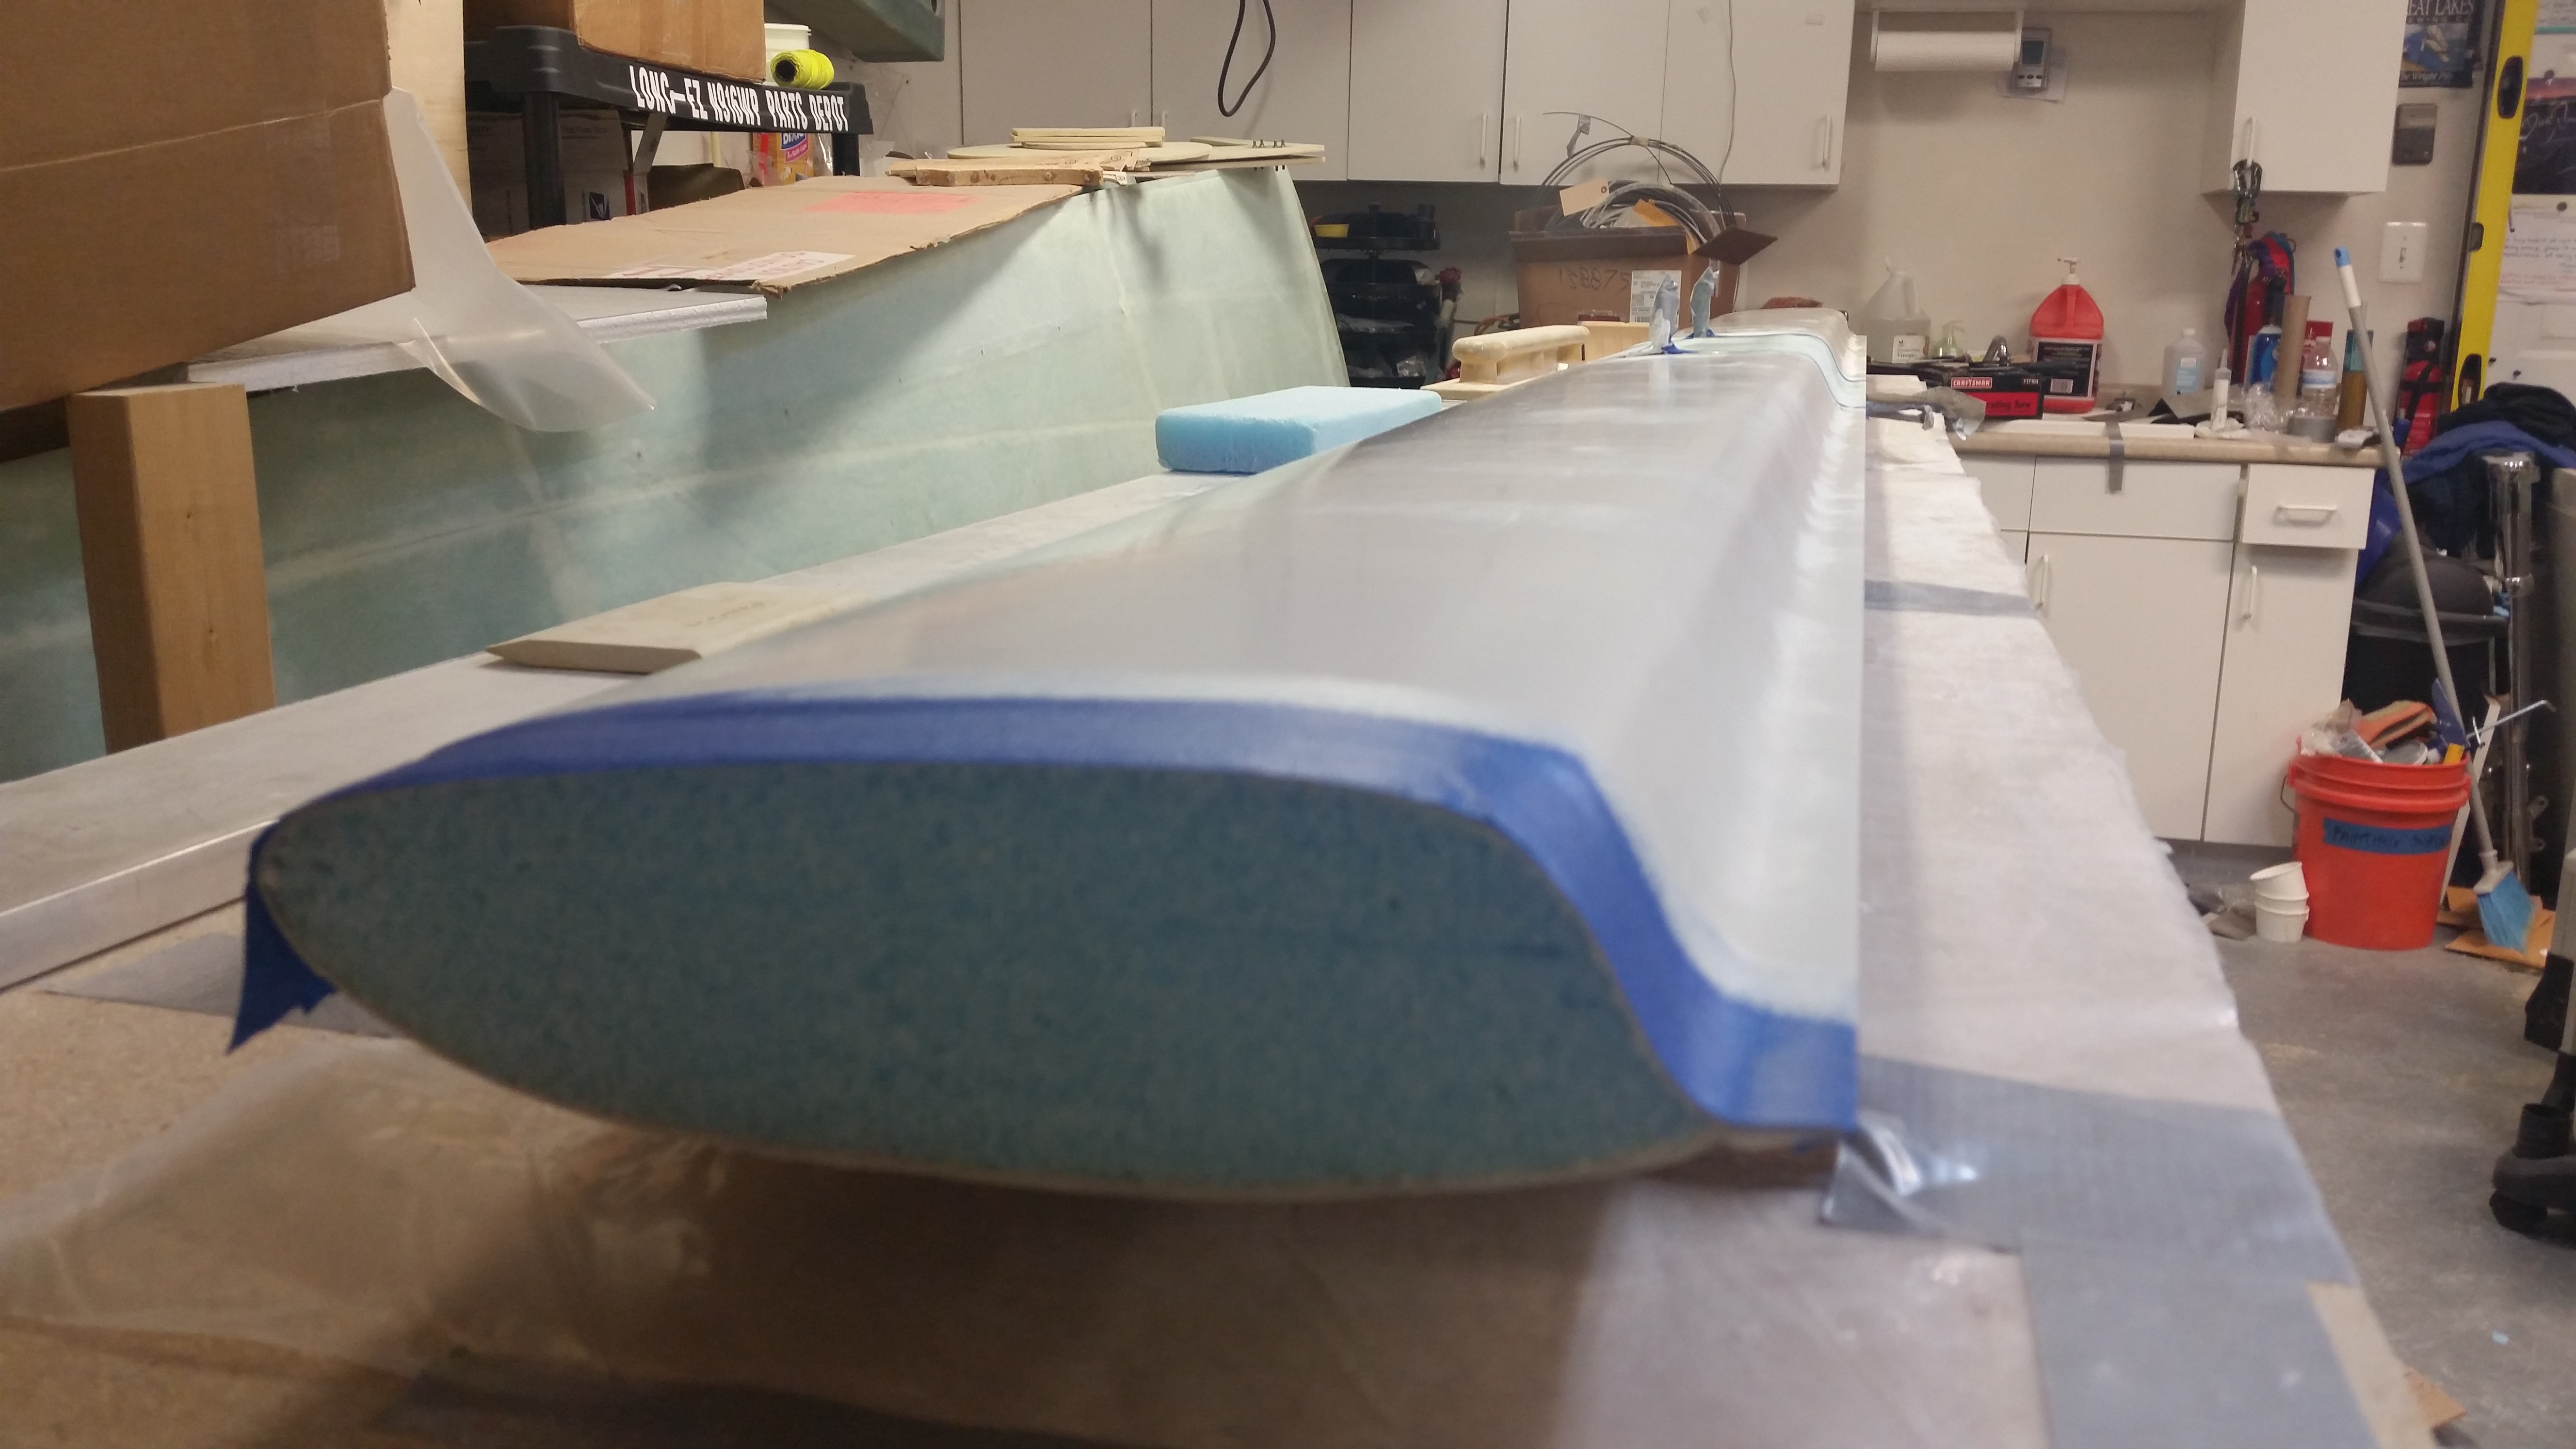
Primed Canard

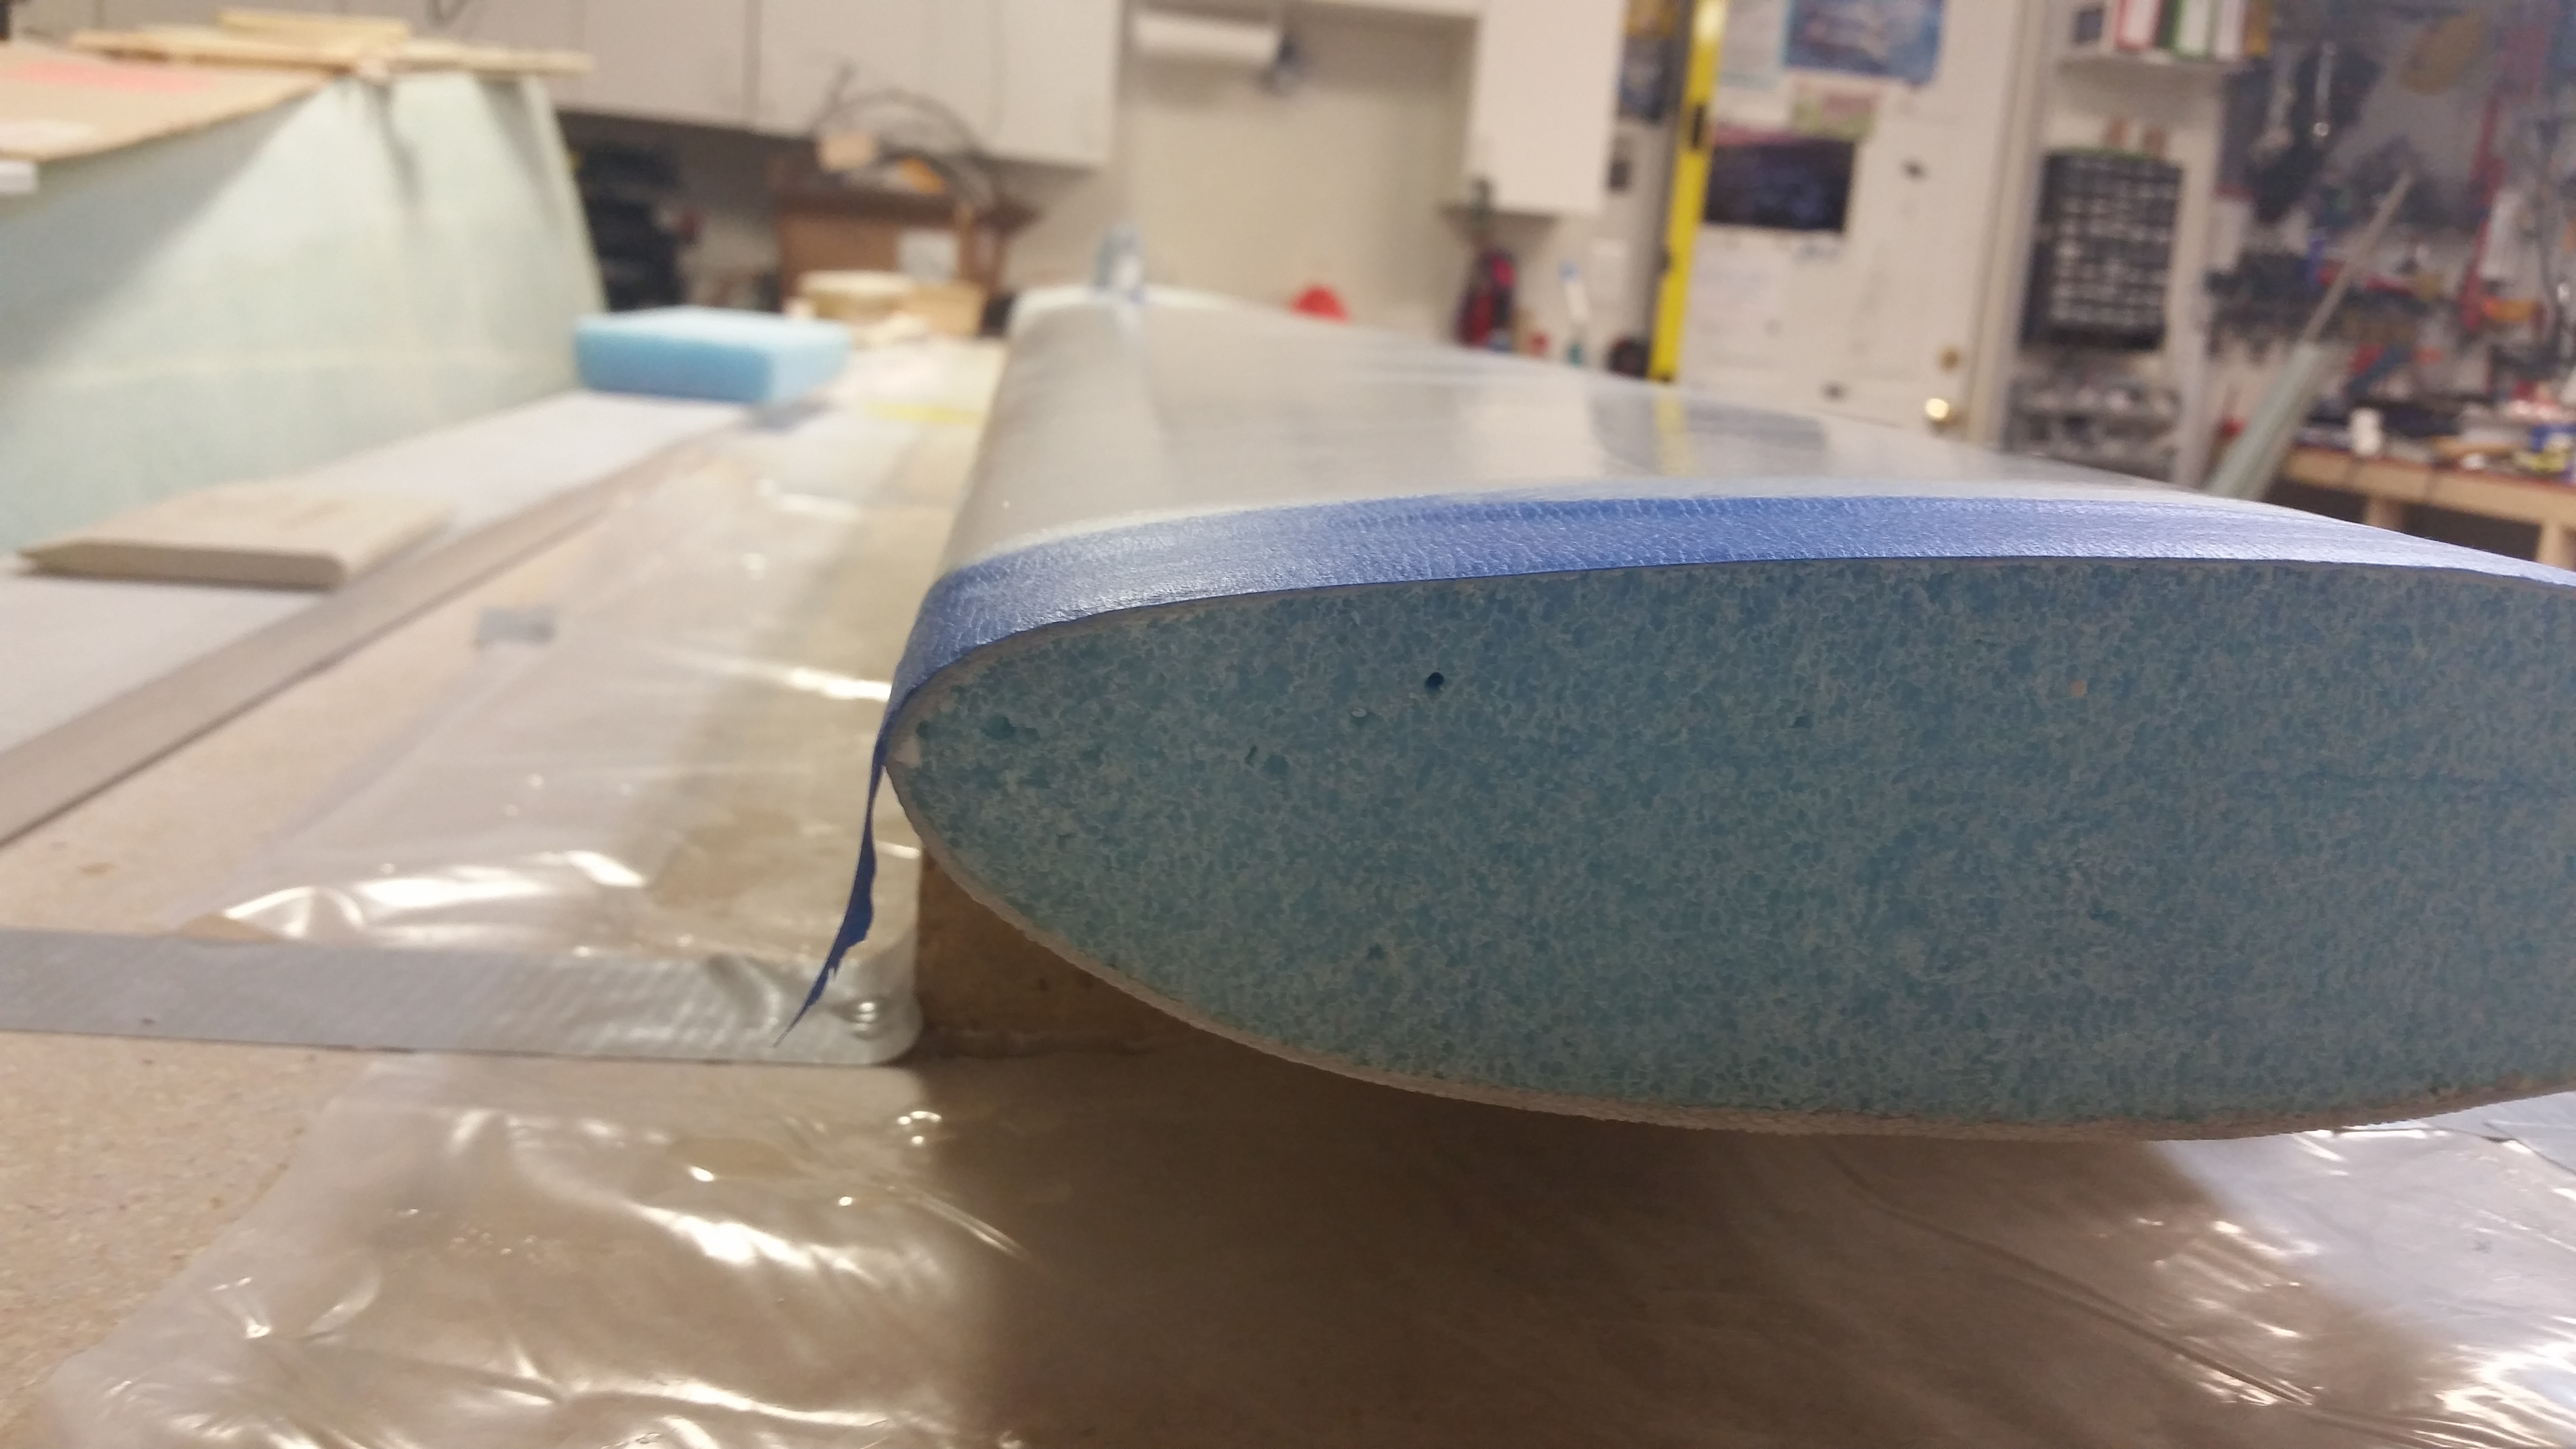
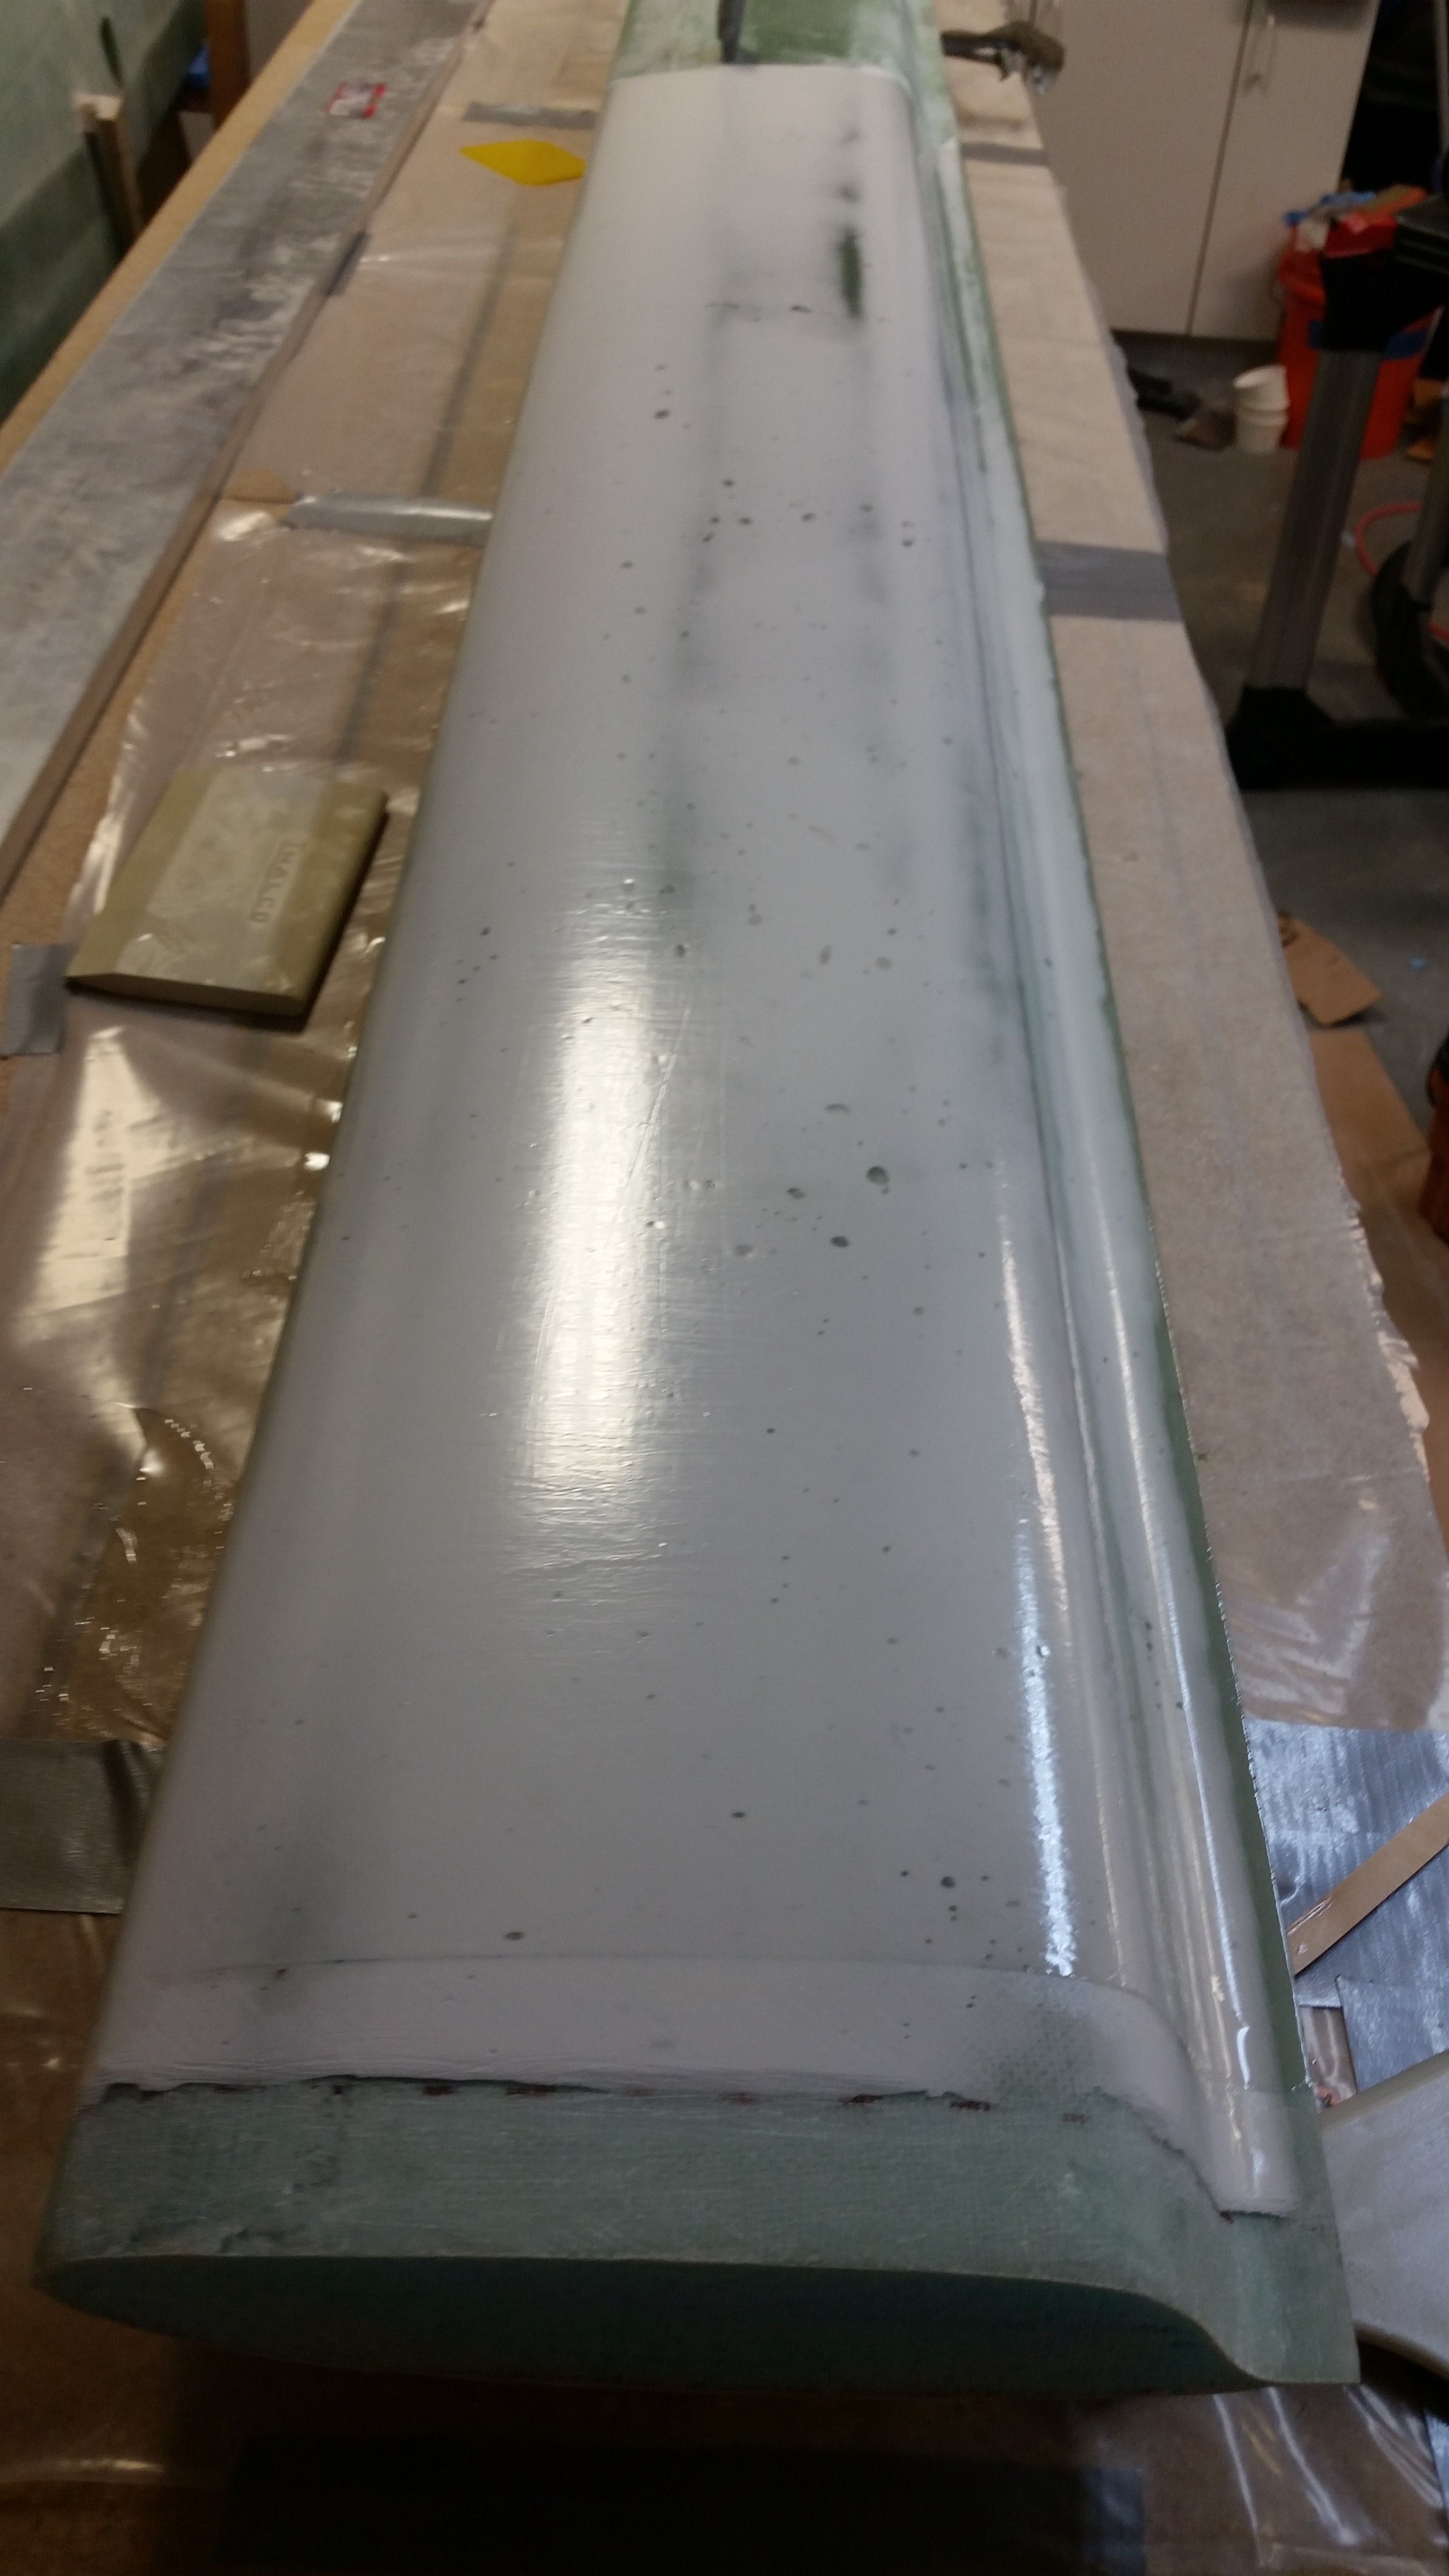
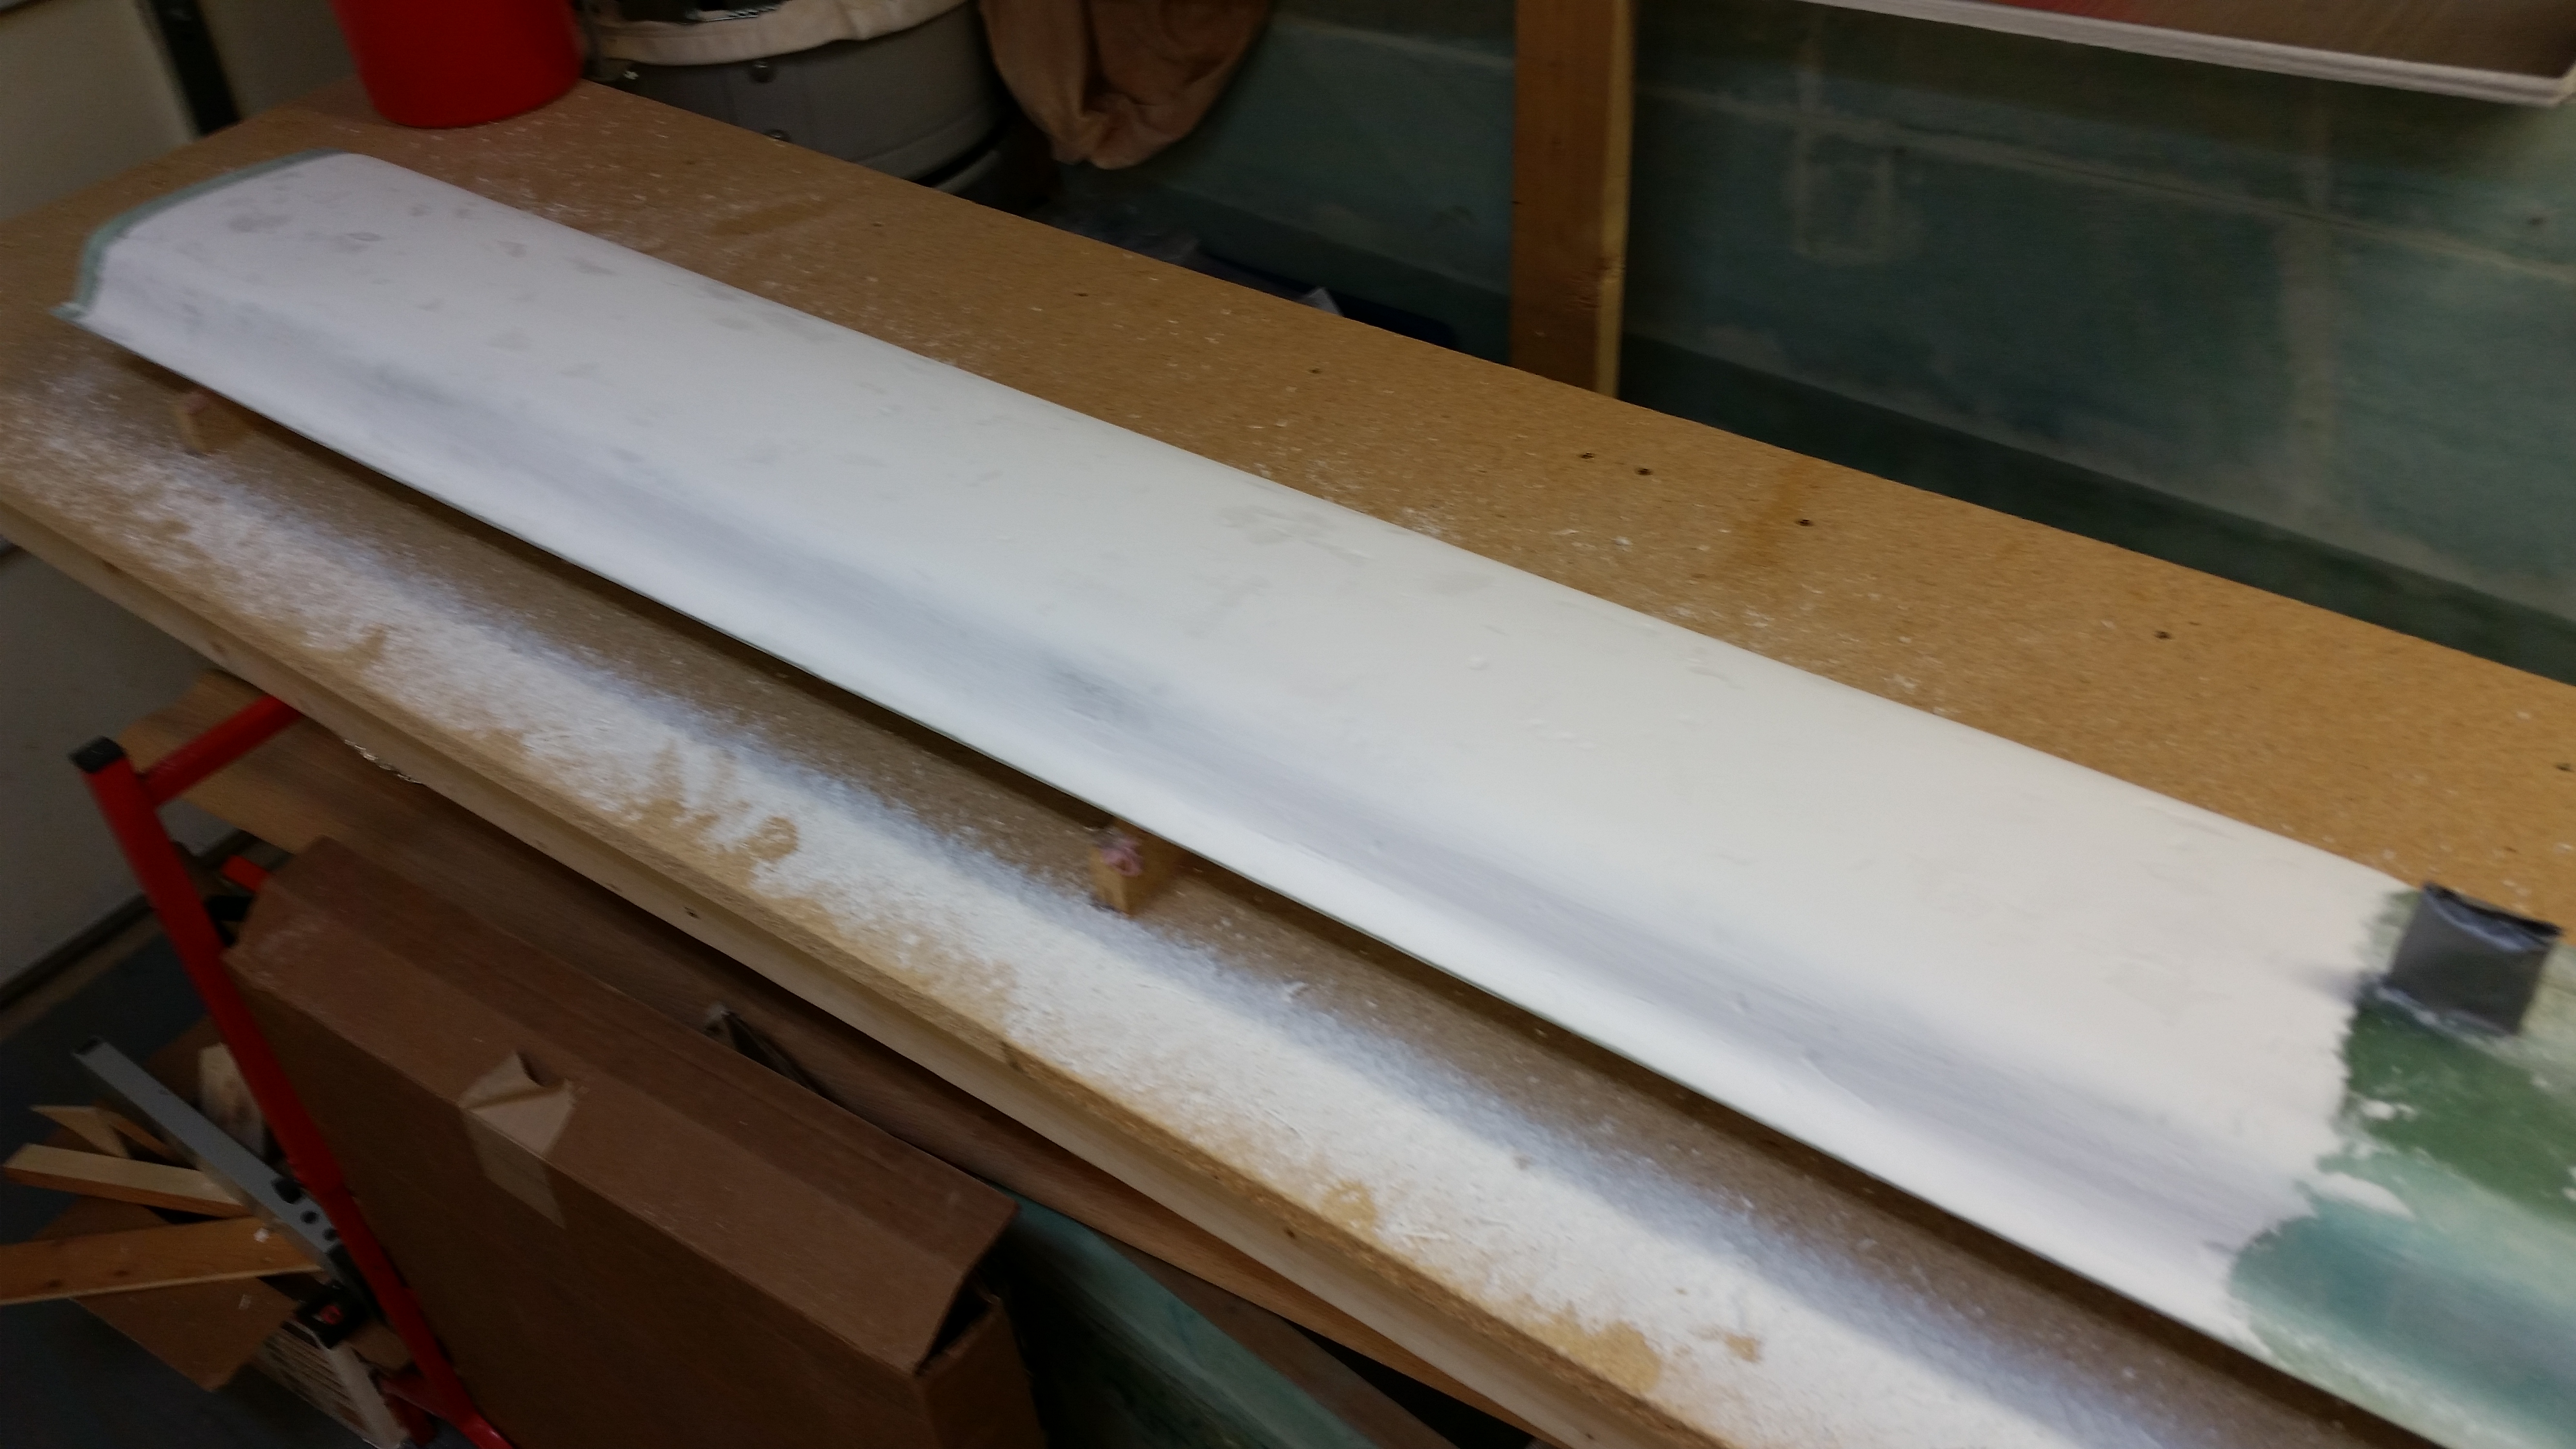
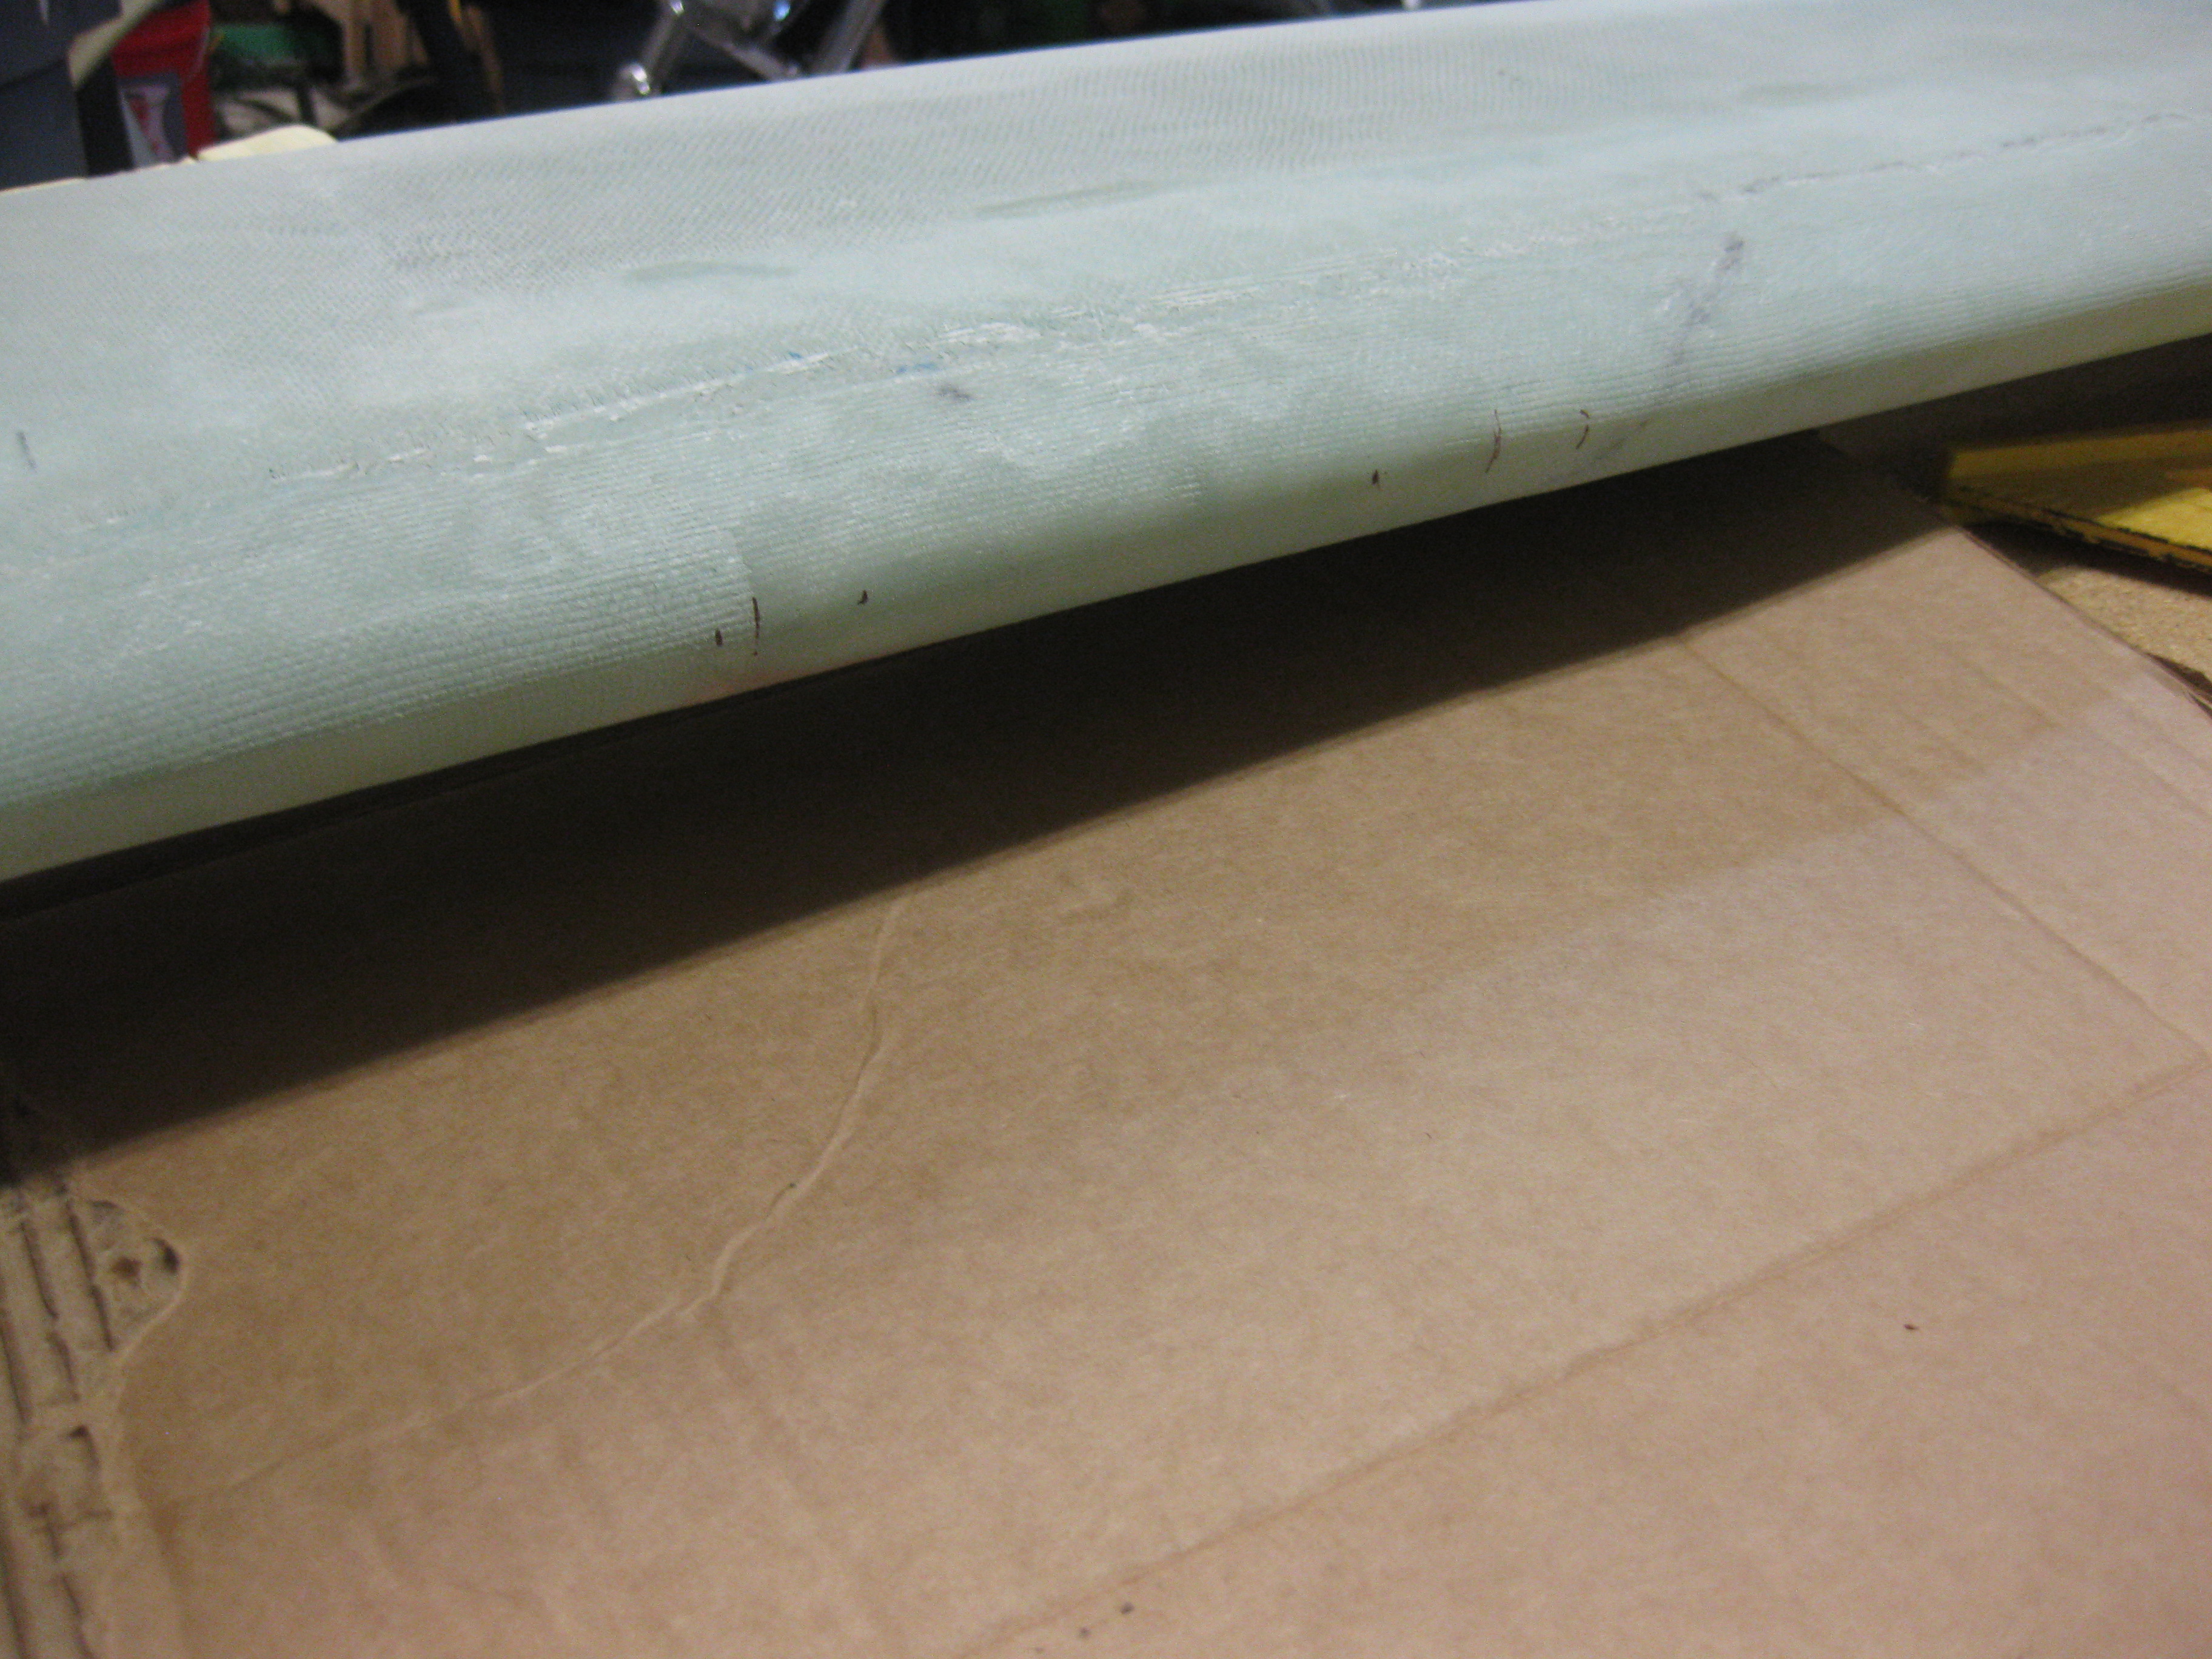
As well as this shot of the LE.

Primed Canard

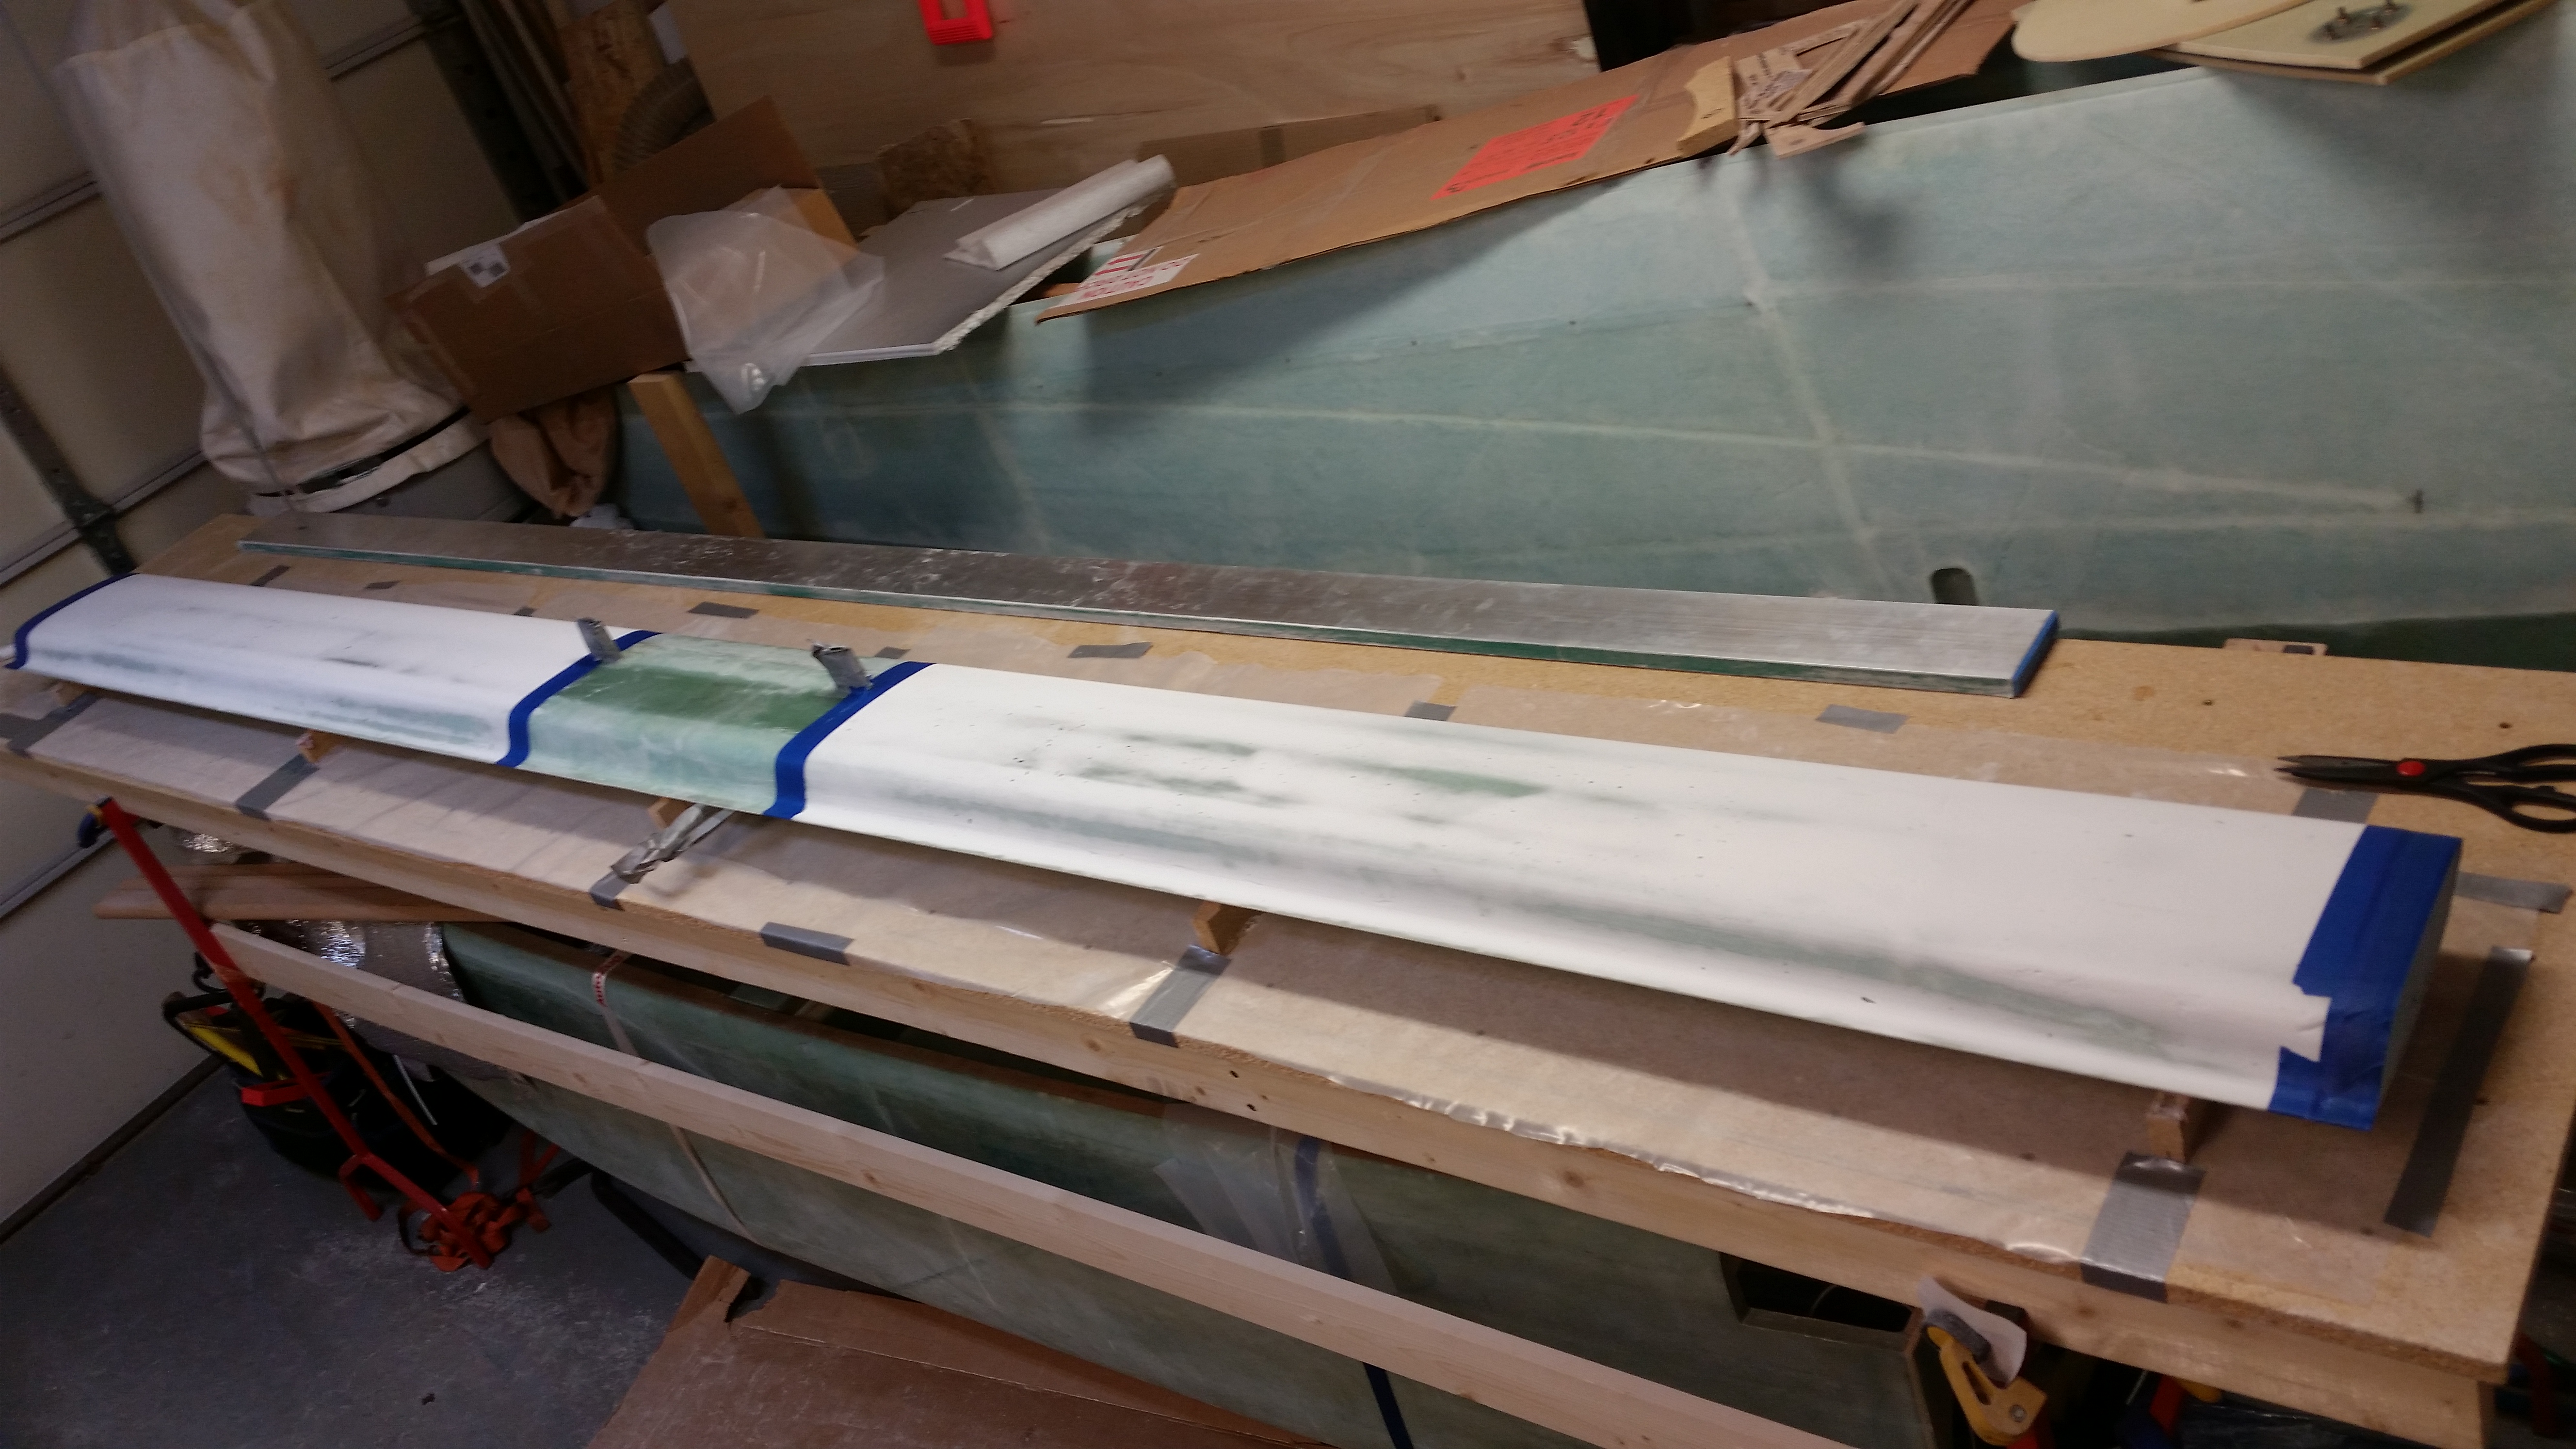
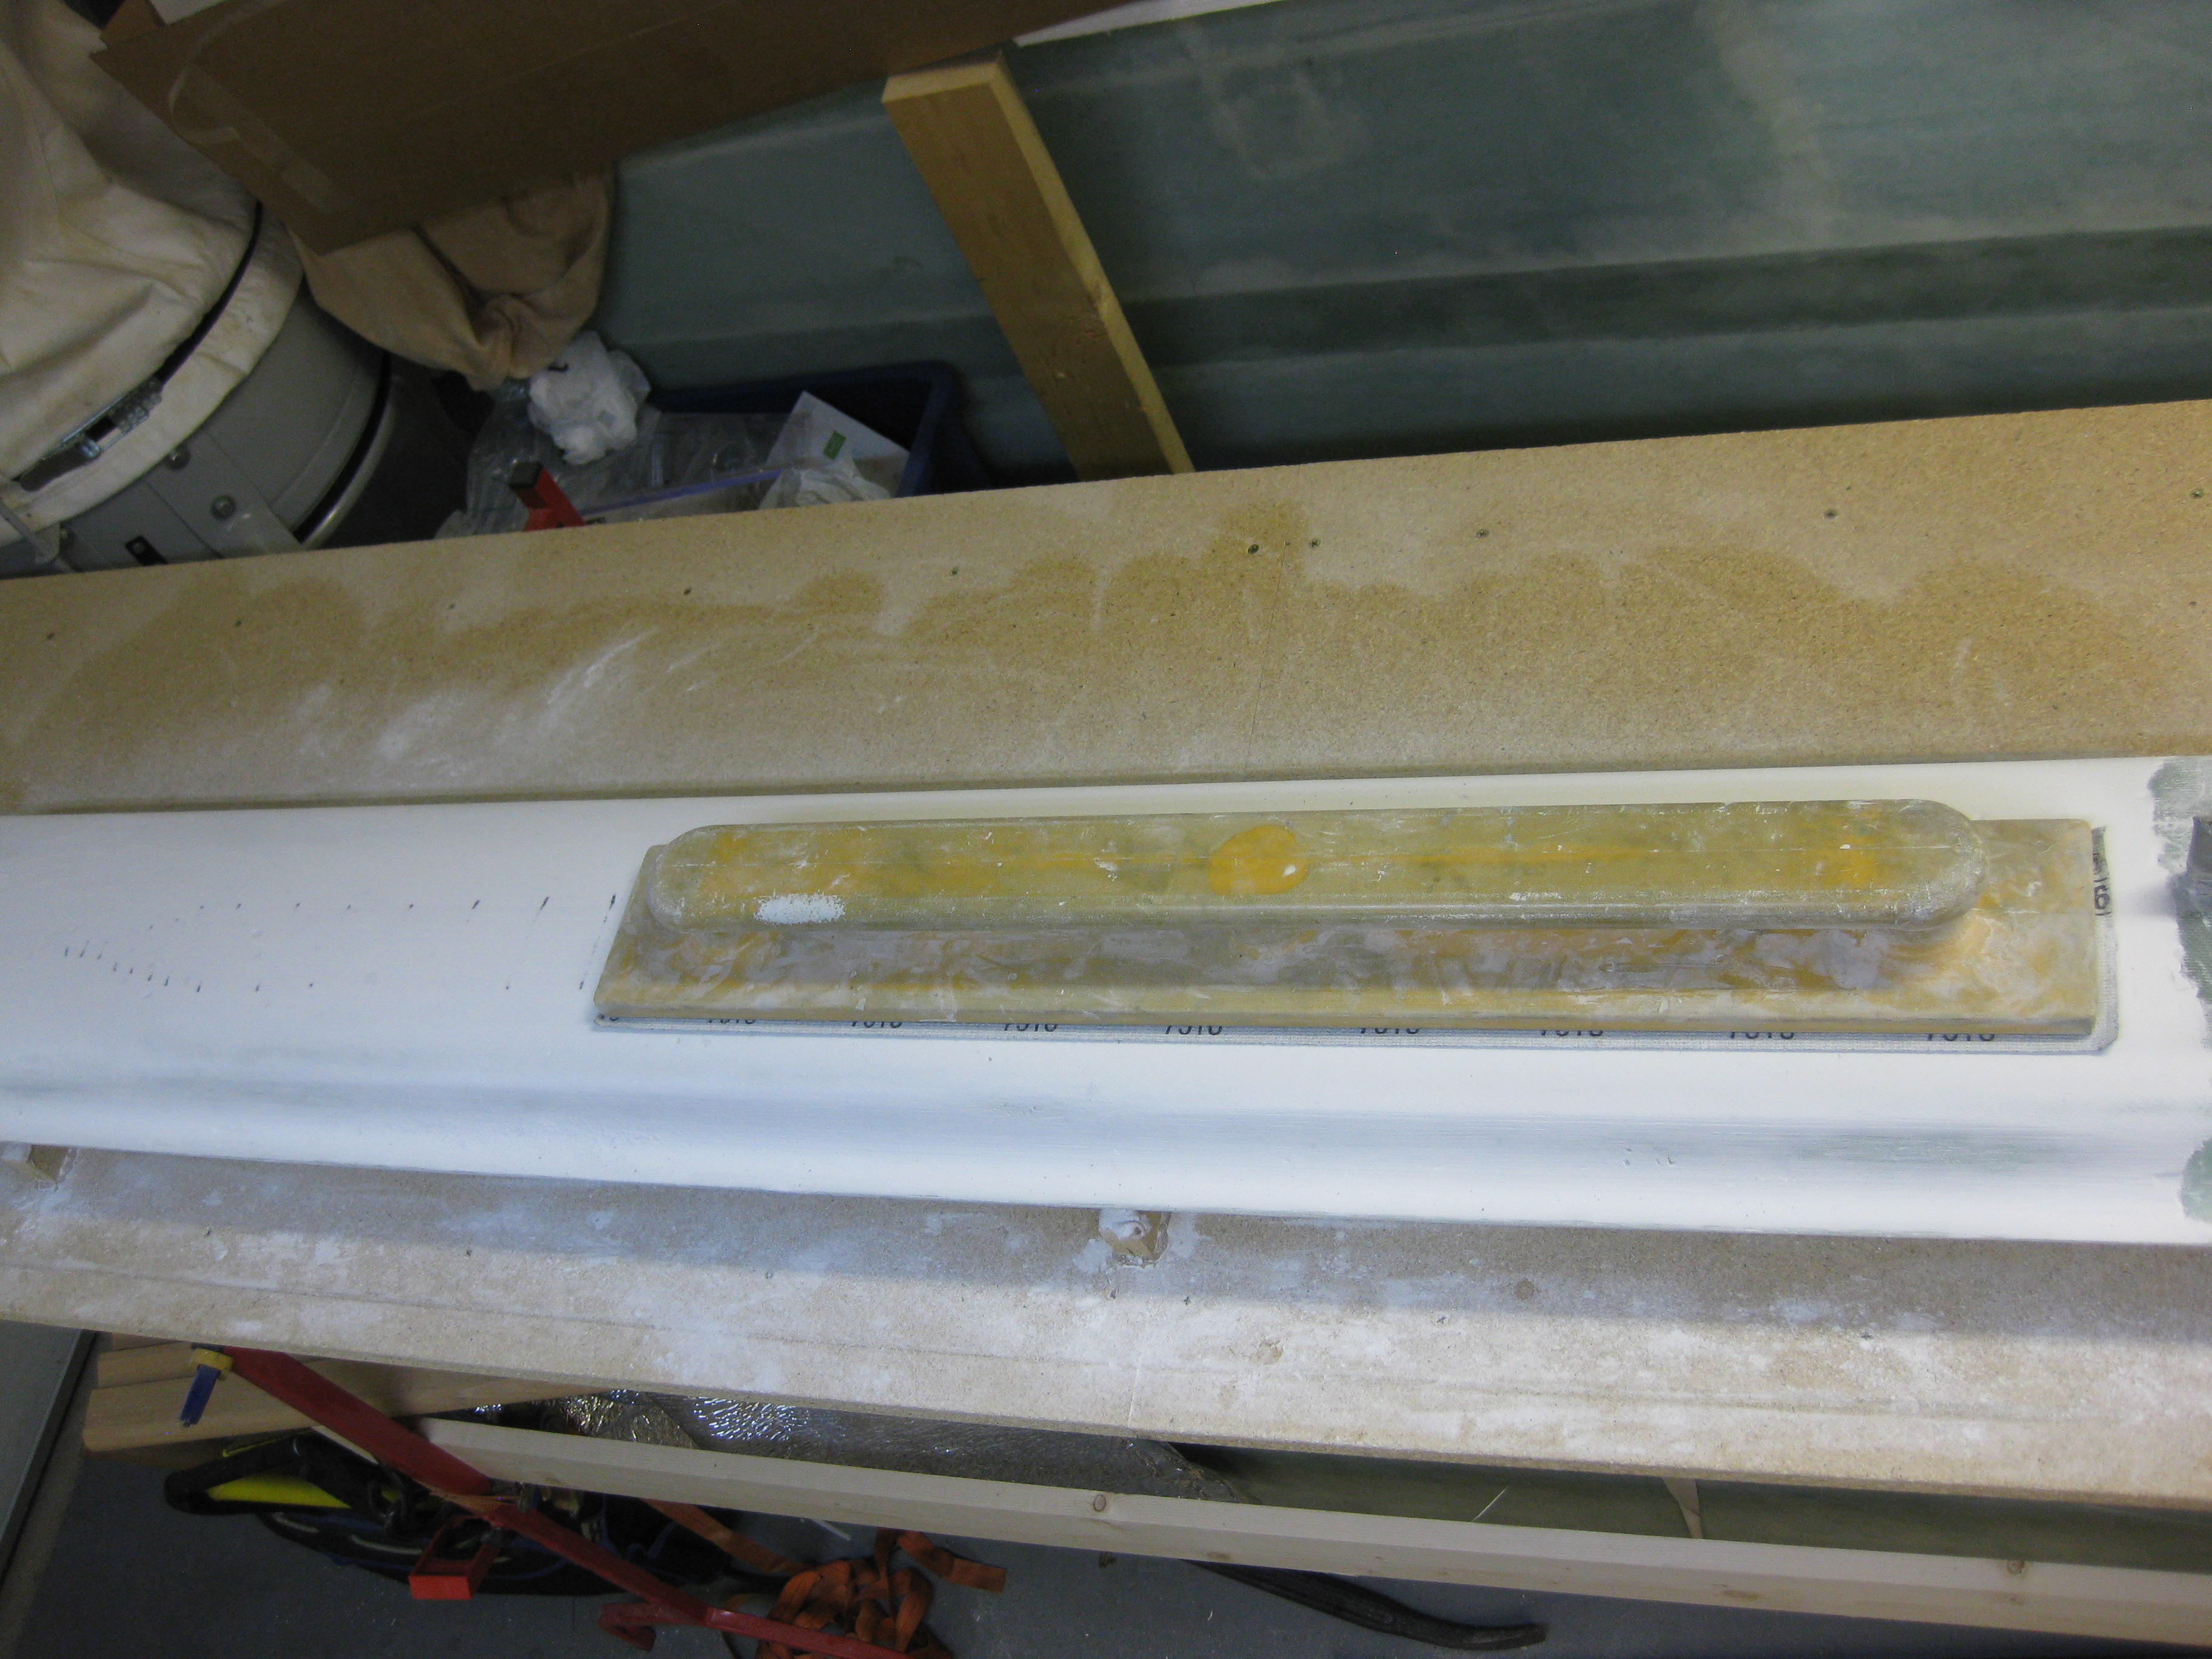
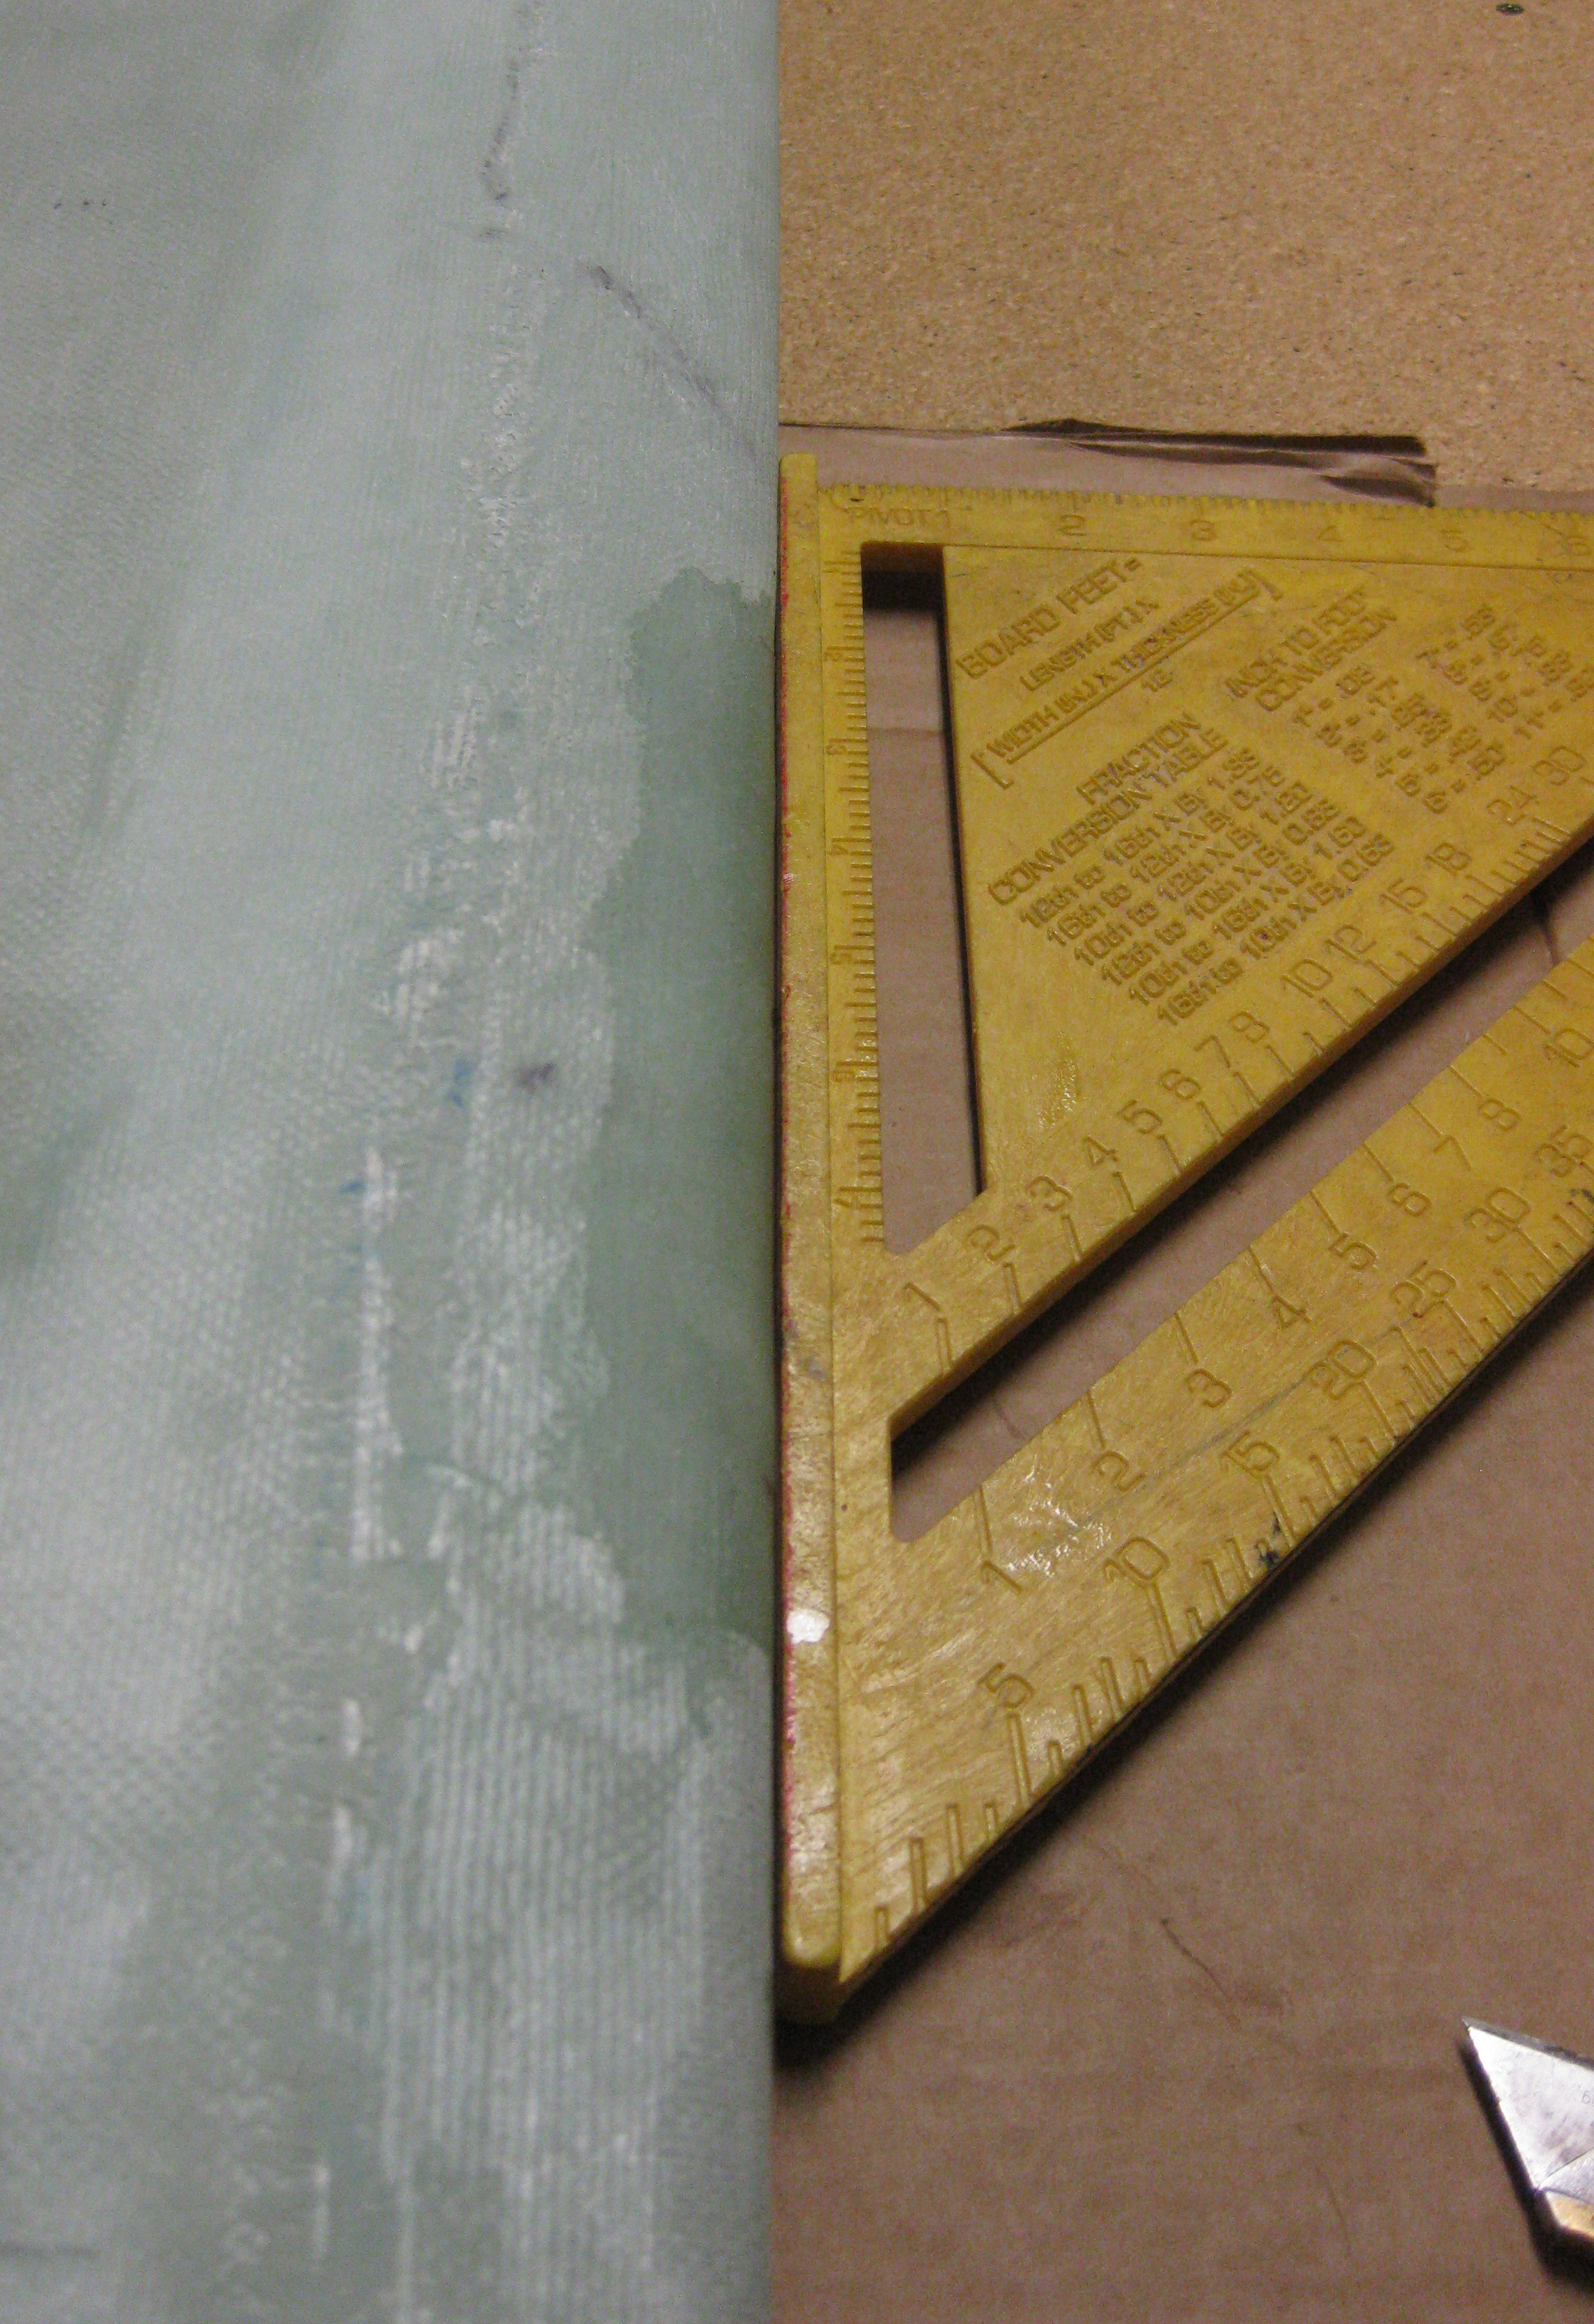
Here’s a shot of the canard after I pulled the tape and sanded it with 100 grit sandpaper. The specs sheet said it should be ready to fully sand after 90 minutes, but even about 2.5 hours later I could tell it was just a tad bit gummy.  Since it wasn’t fully cured, I only focused on sanding the very bottom surface and left the fishtail TE area until tomorrow after it cures more fully.
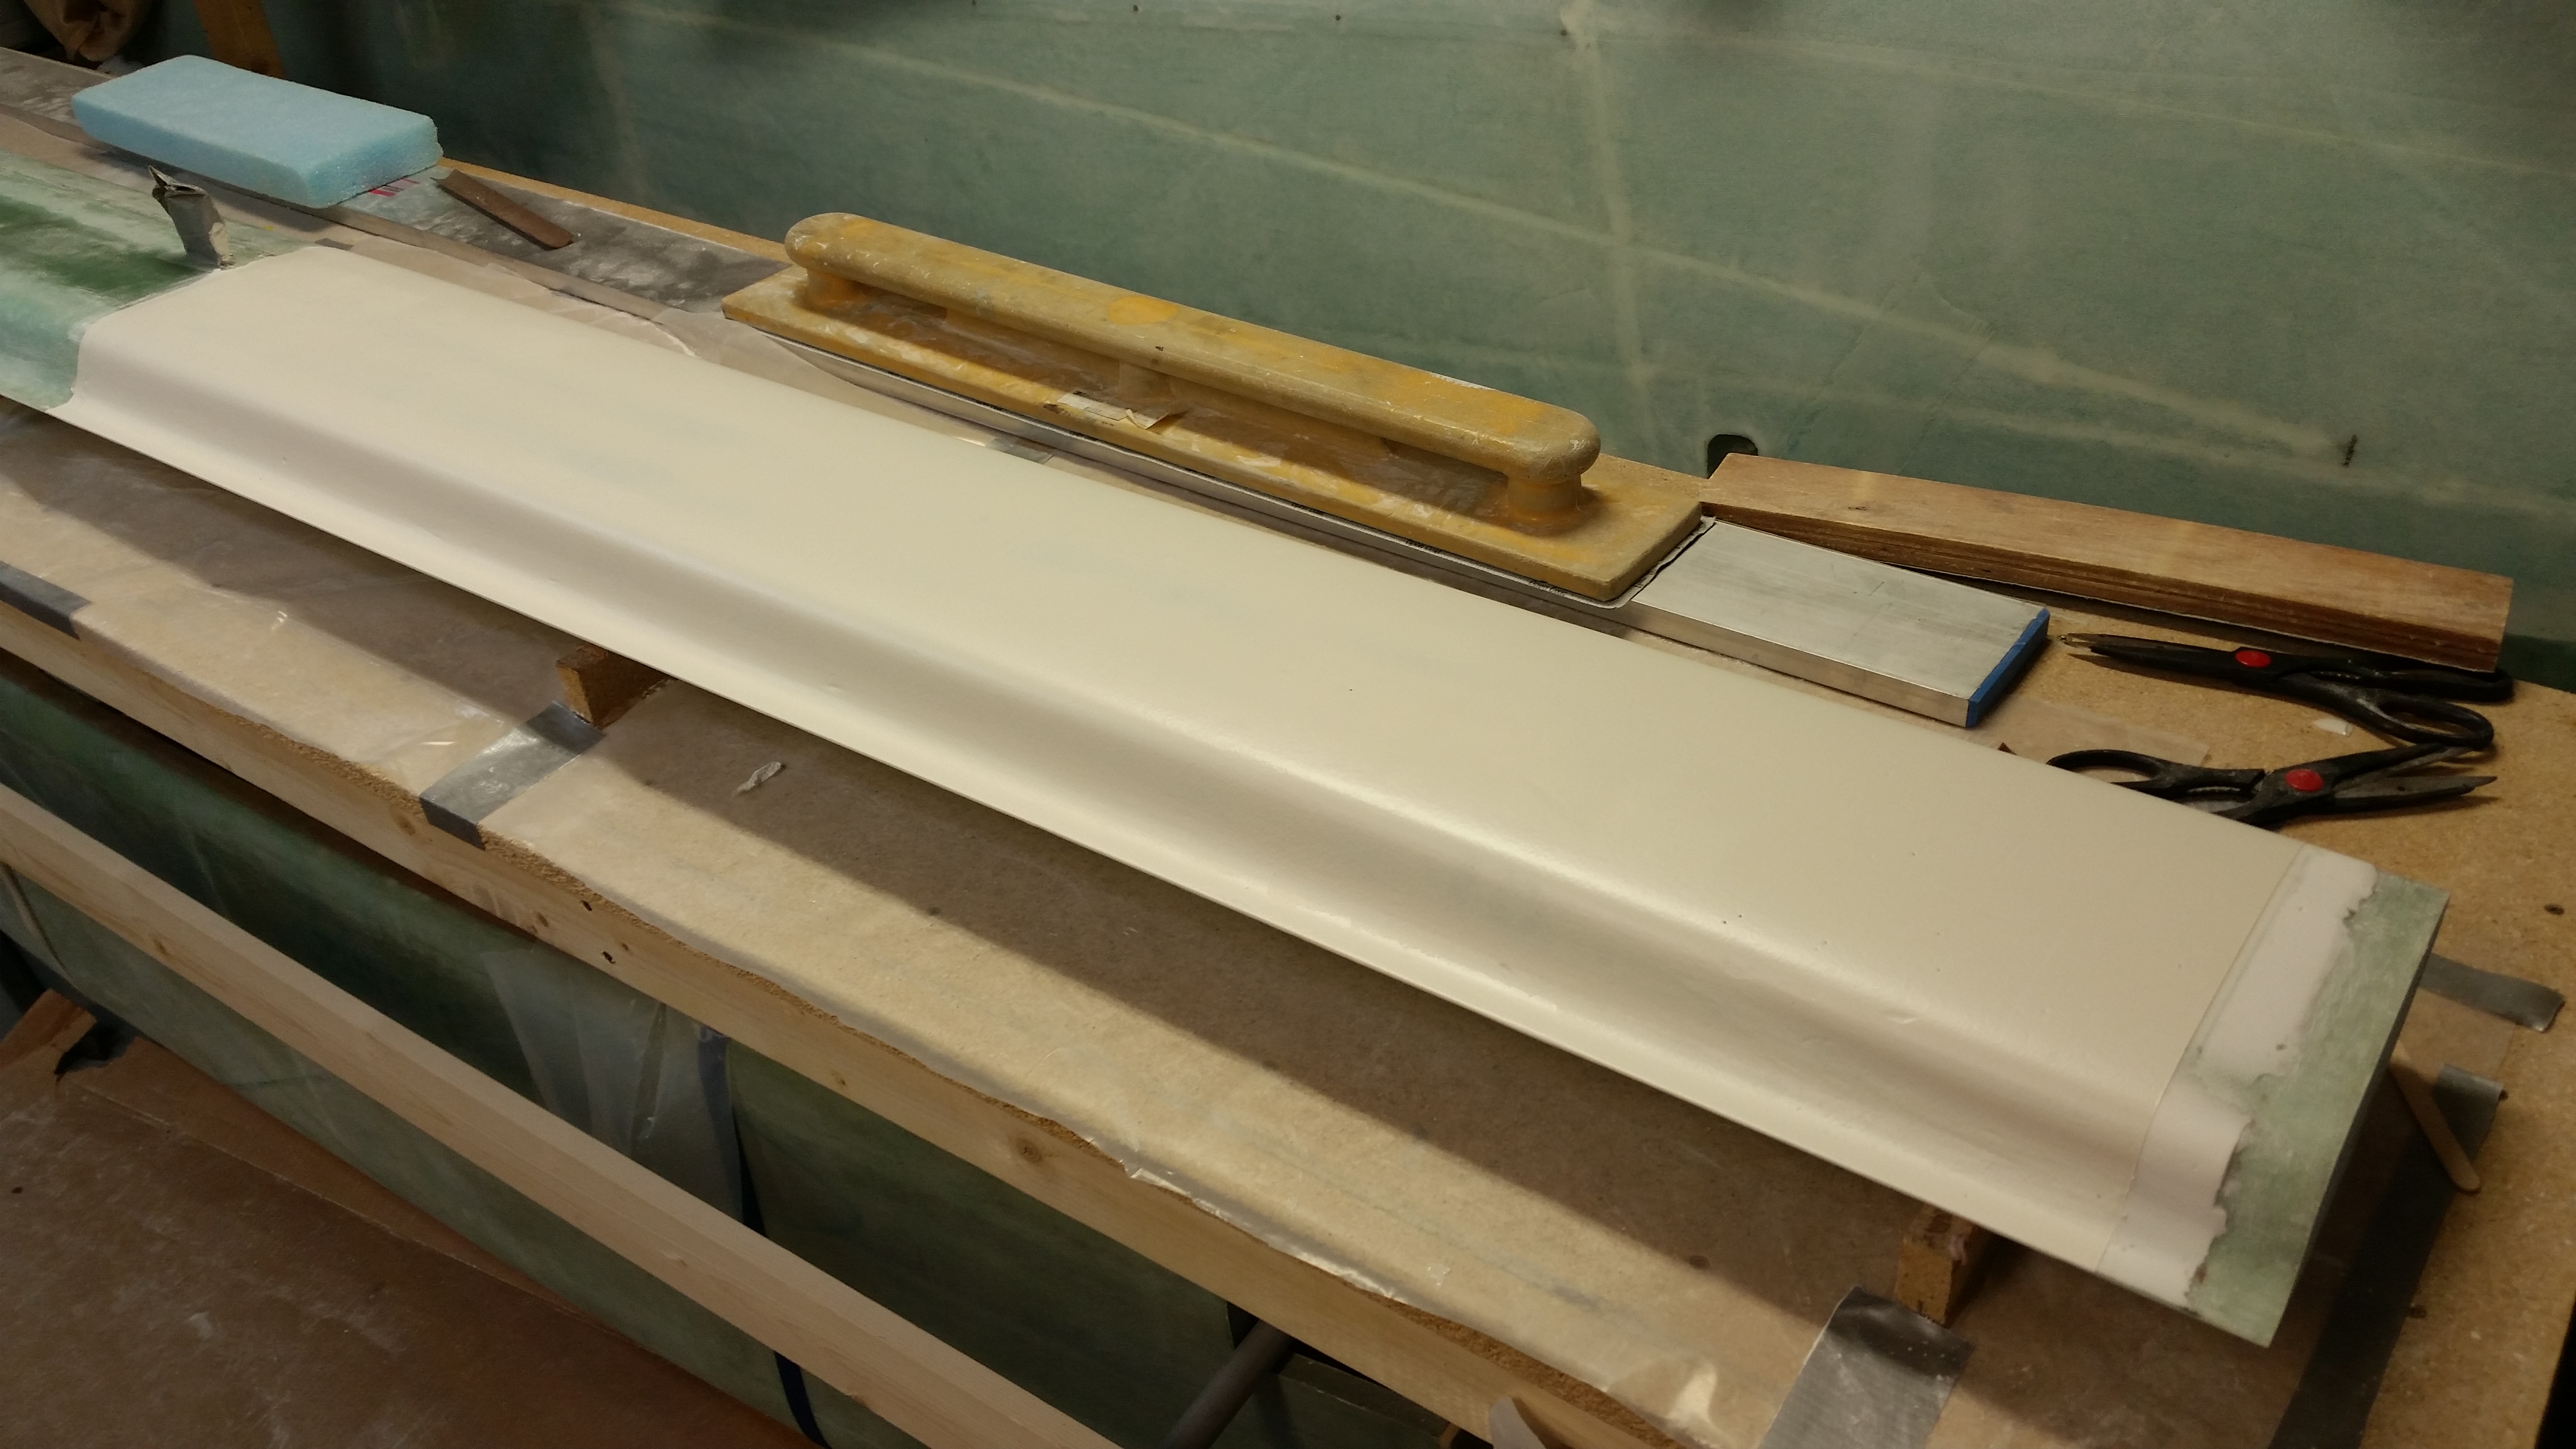
Primed & sanded Canard

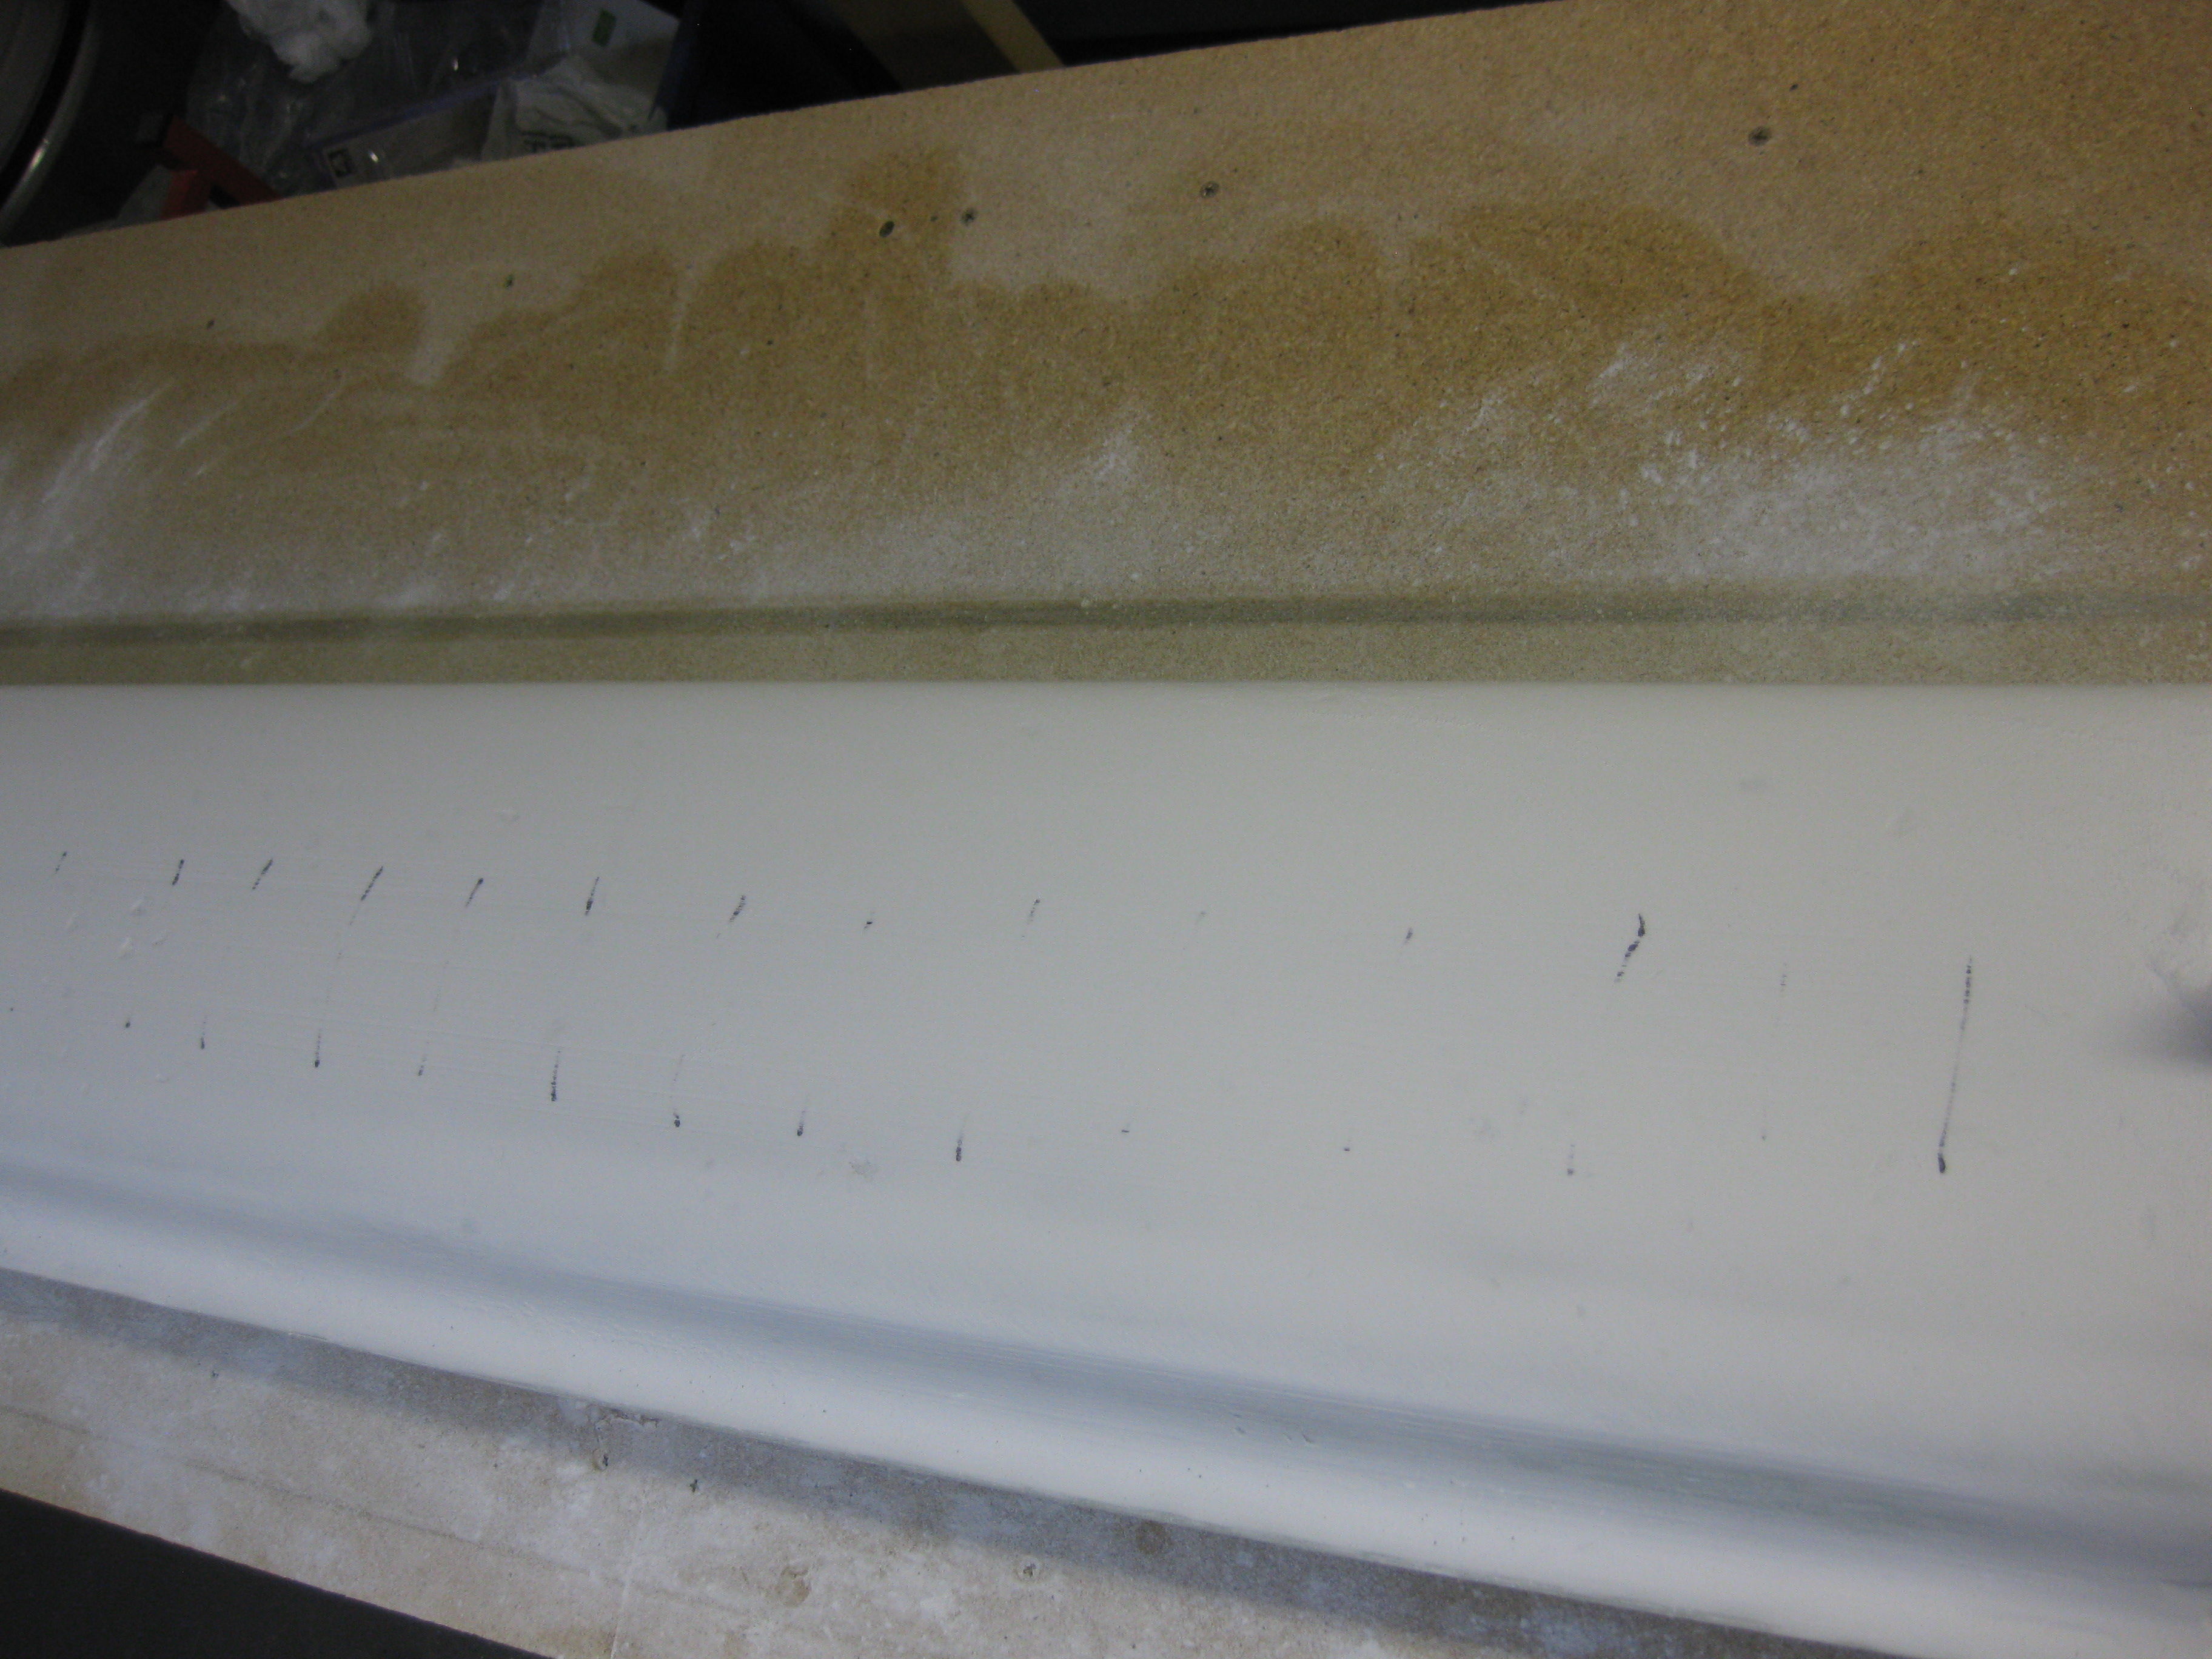
Here’s a shot of the other side after having been sanded with 100 grit.

Primed & sanded Canard - tape peeled

And a quick double check with the lower canard contour template showed that my lower canard is pretty darn close to specs.  The TE is a just a bit high on the back end, but I confirmed with Feather Light years ago that this is within tolerance.
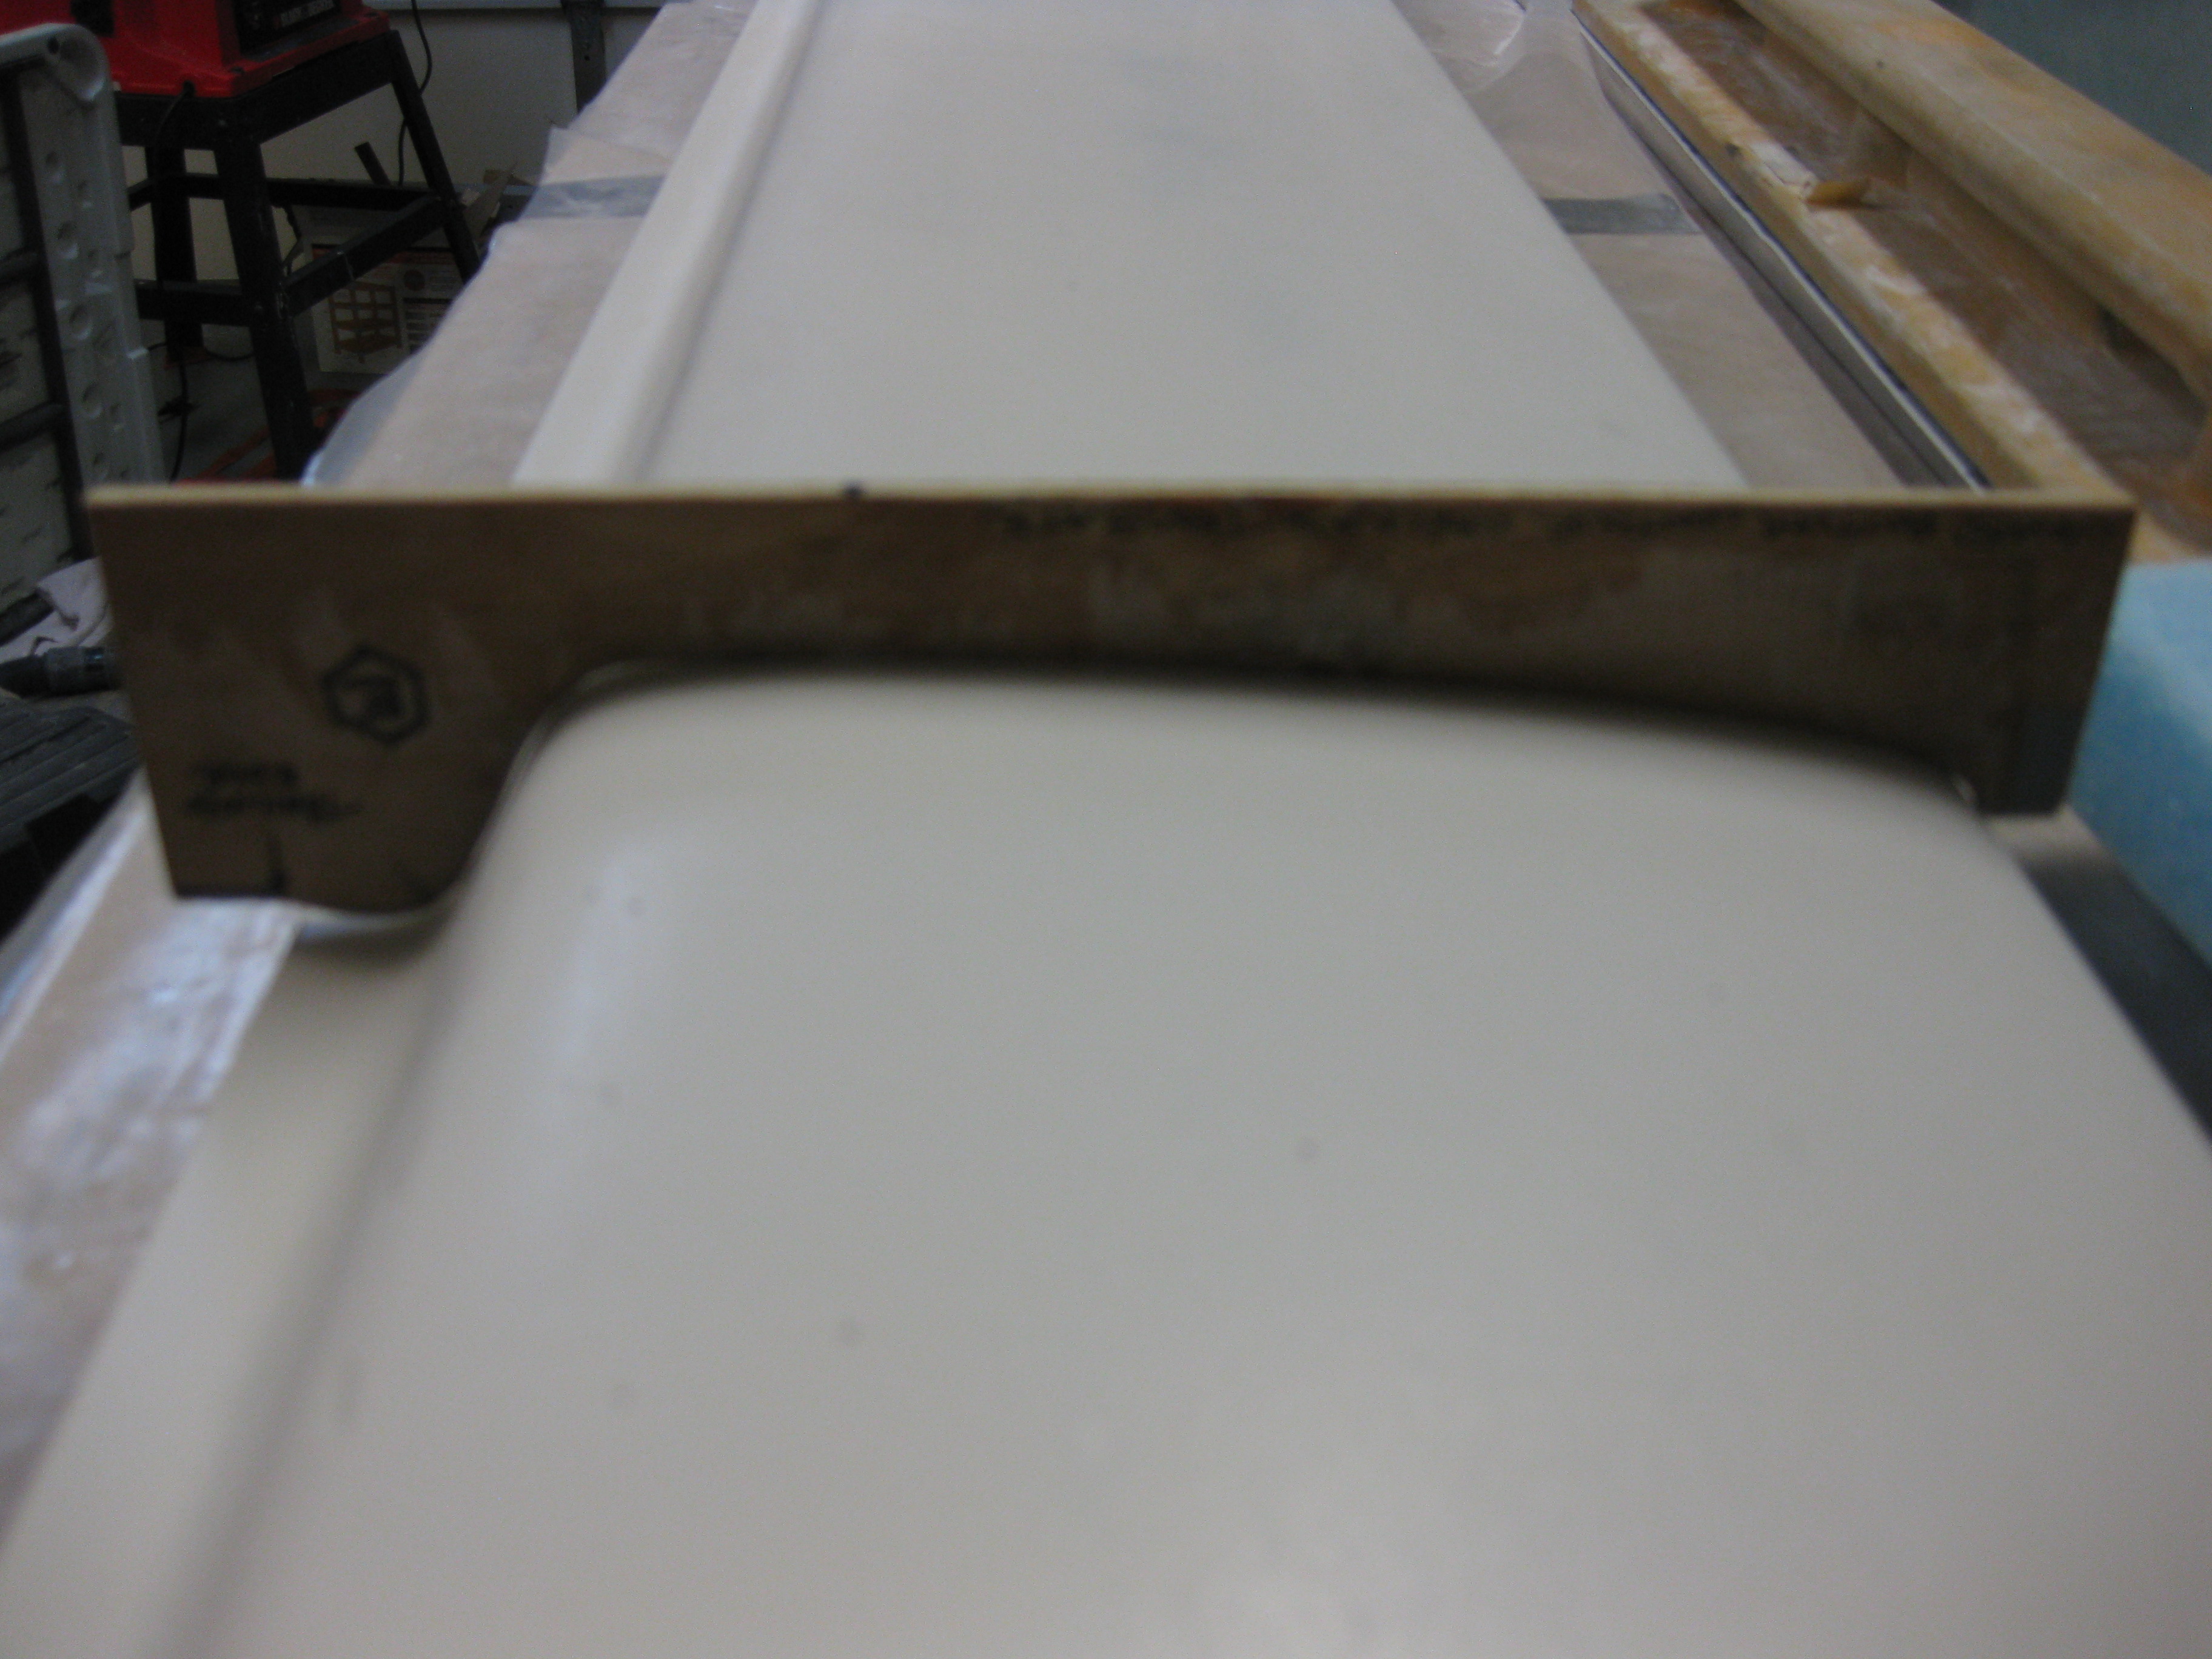
Bottom canard contour template check

After I sanded the canard with 100 grit sandpaper, I finished sanding the slight span-wise trough in the right-side elevator in preparation for applying micro along the trough on each elevator.
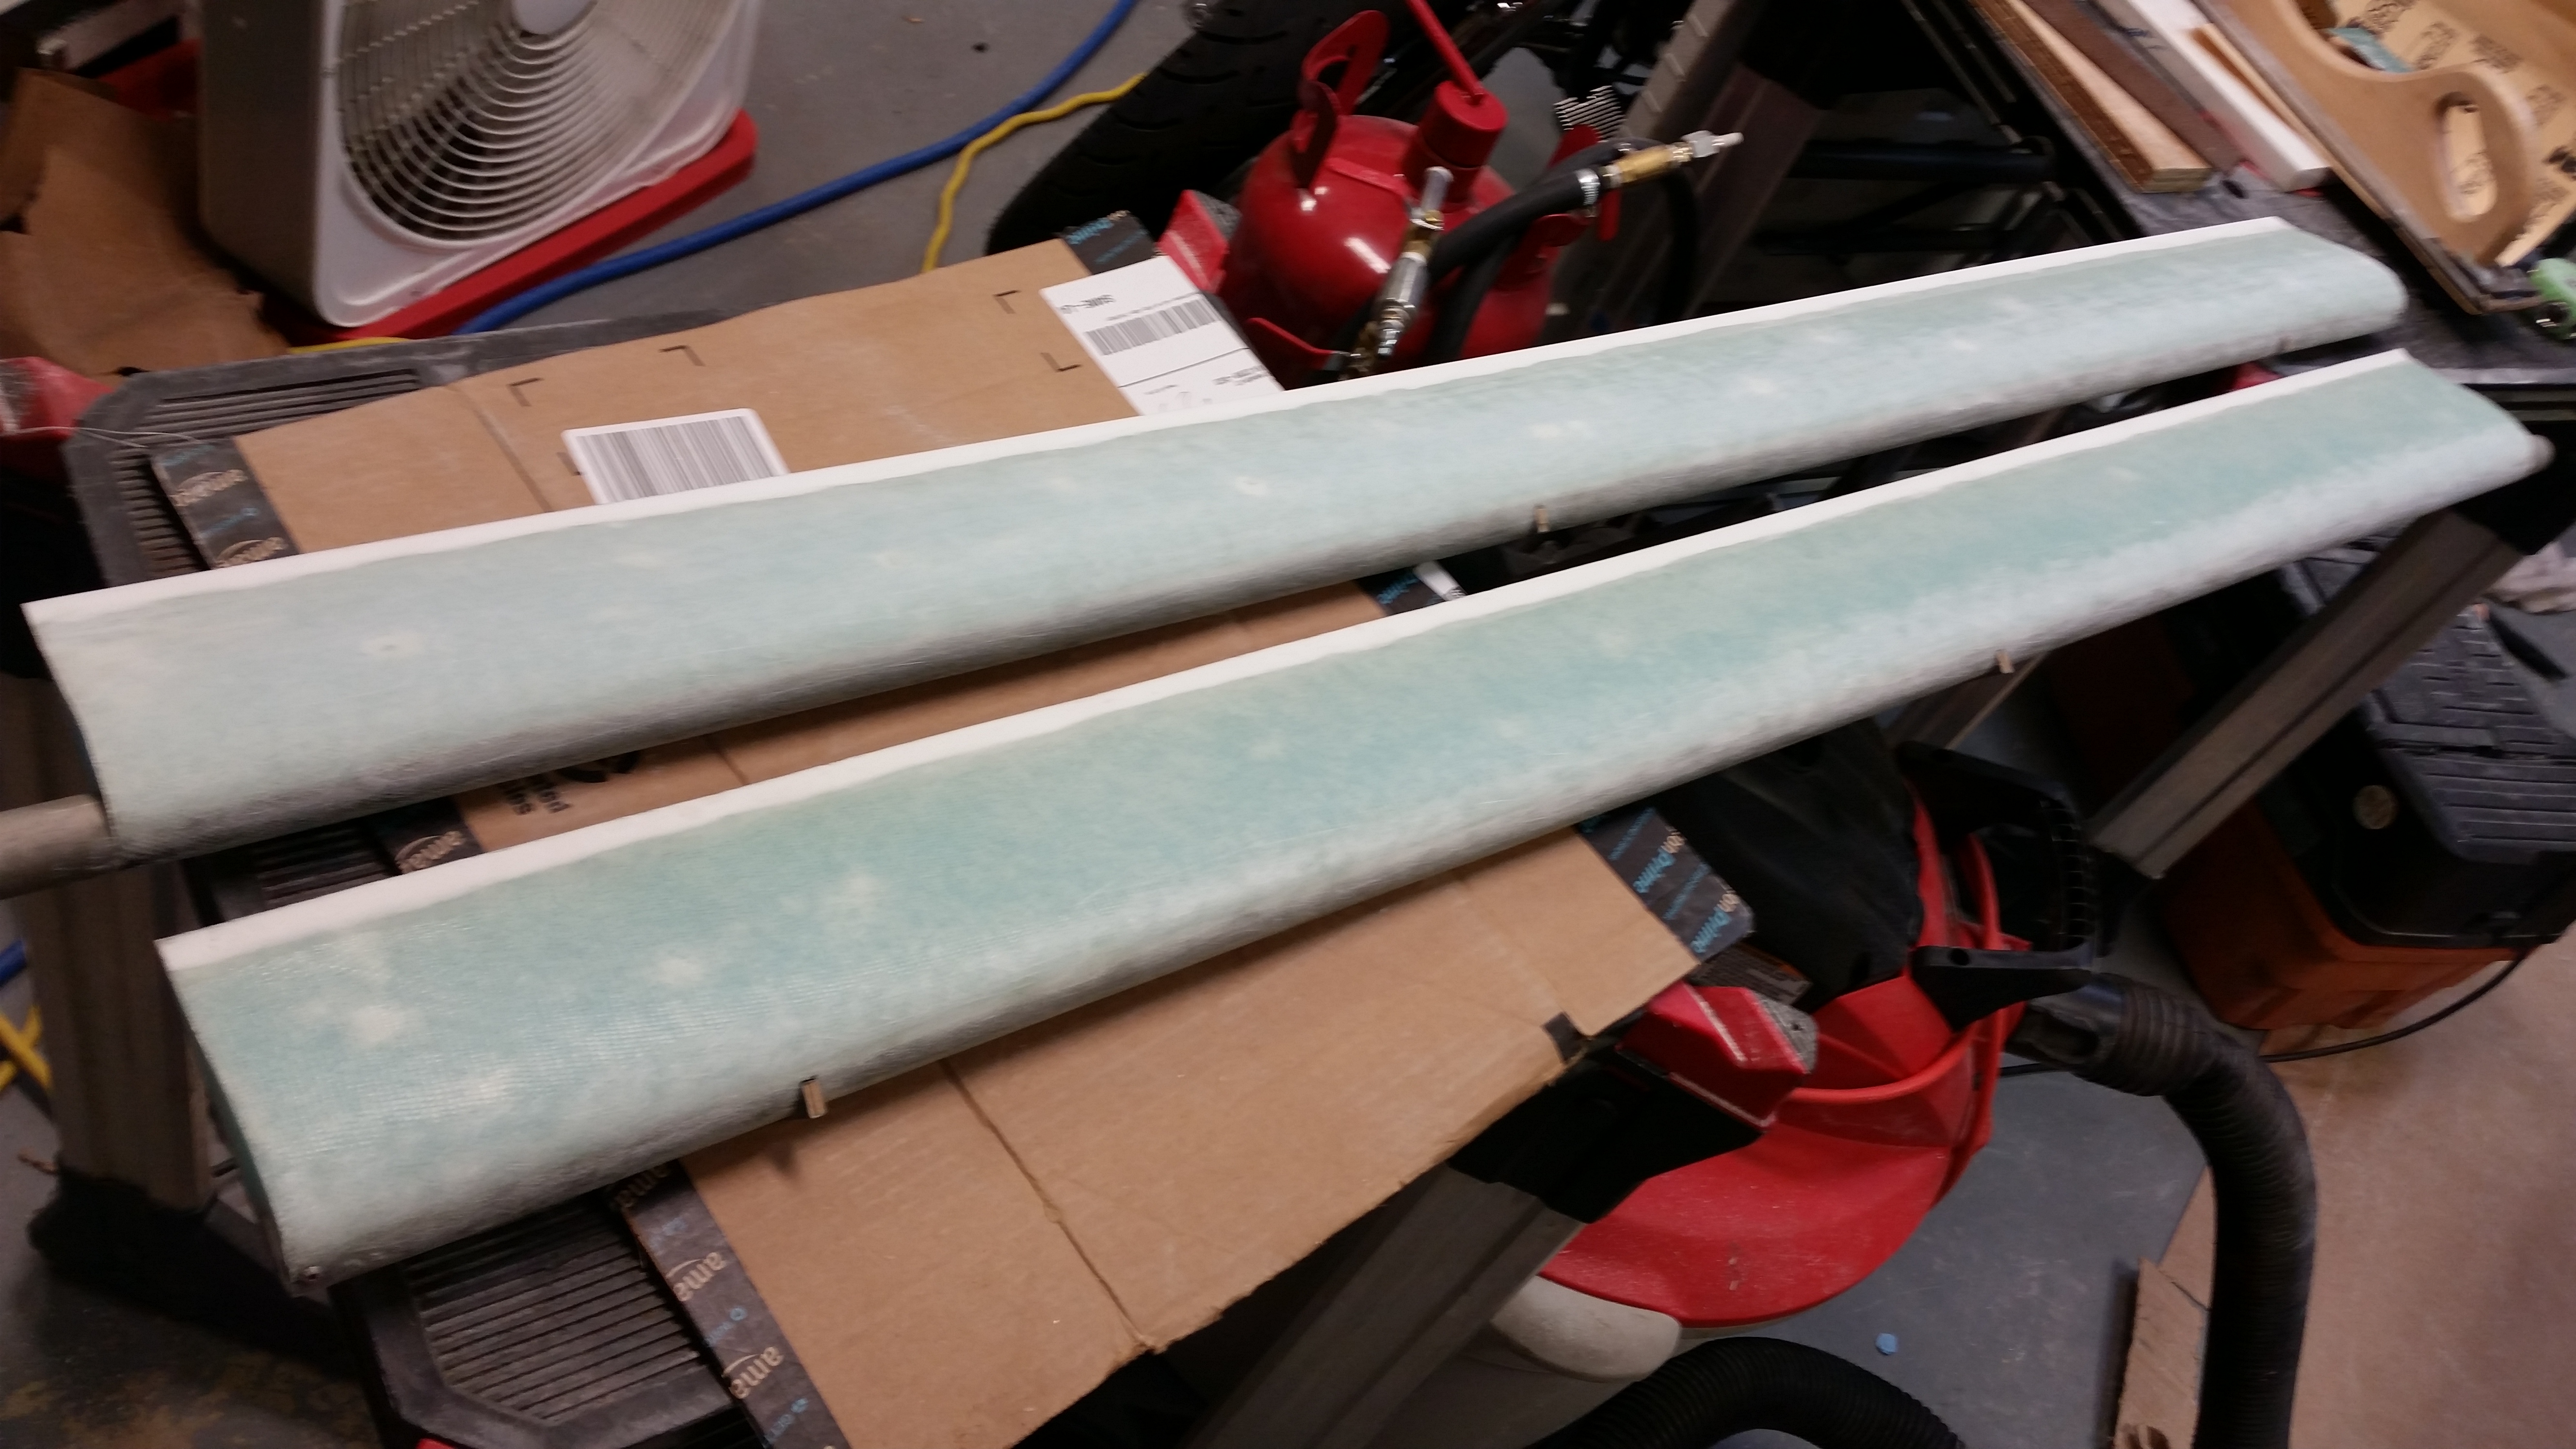
Elevators sanded

Below is a pic of the applied micro in those troughs.  Once the micro is sanded, the elevators will be ready to mounted to the canard.
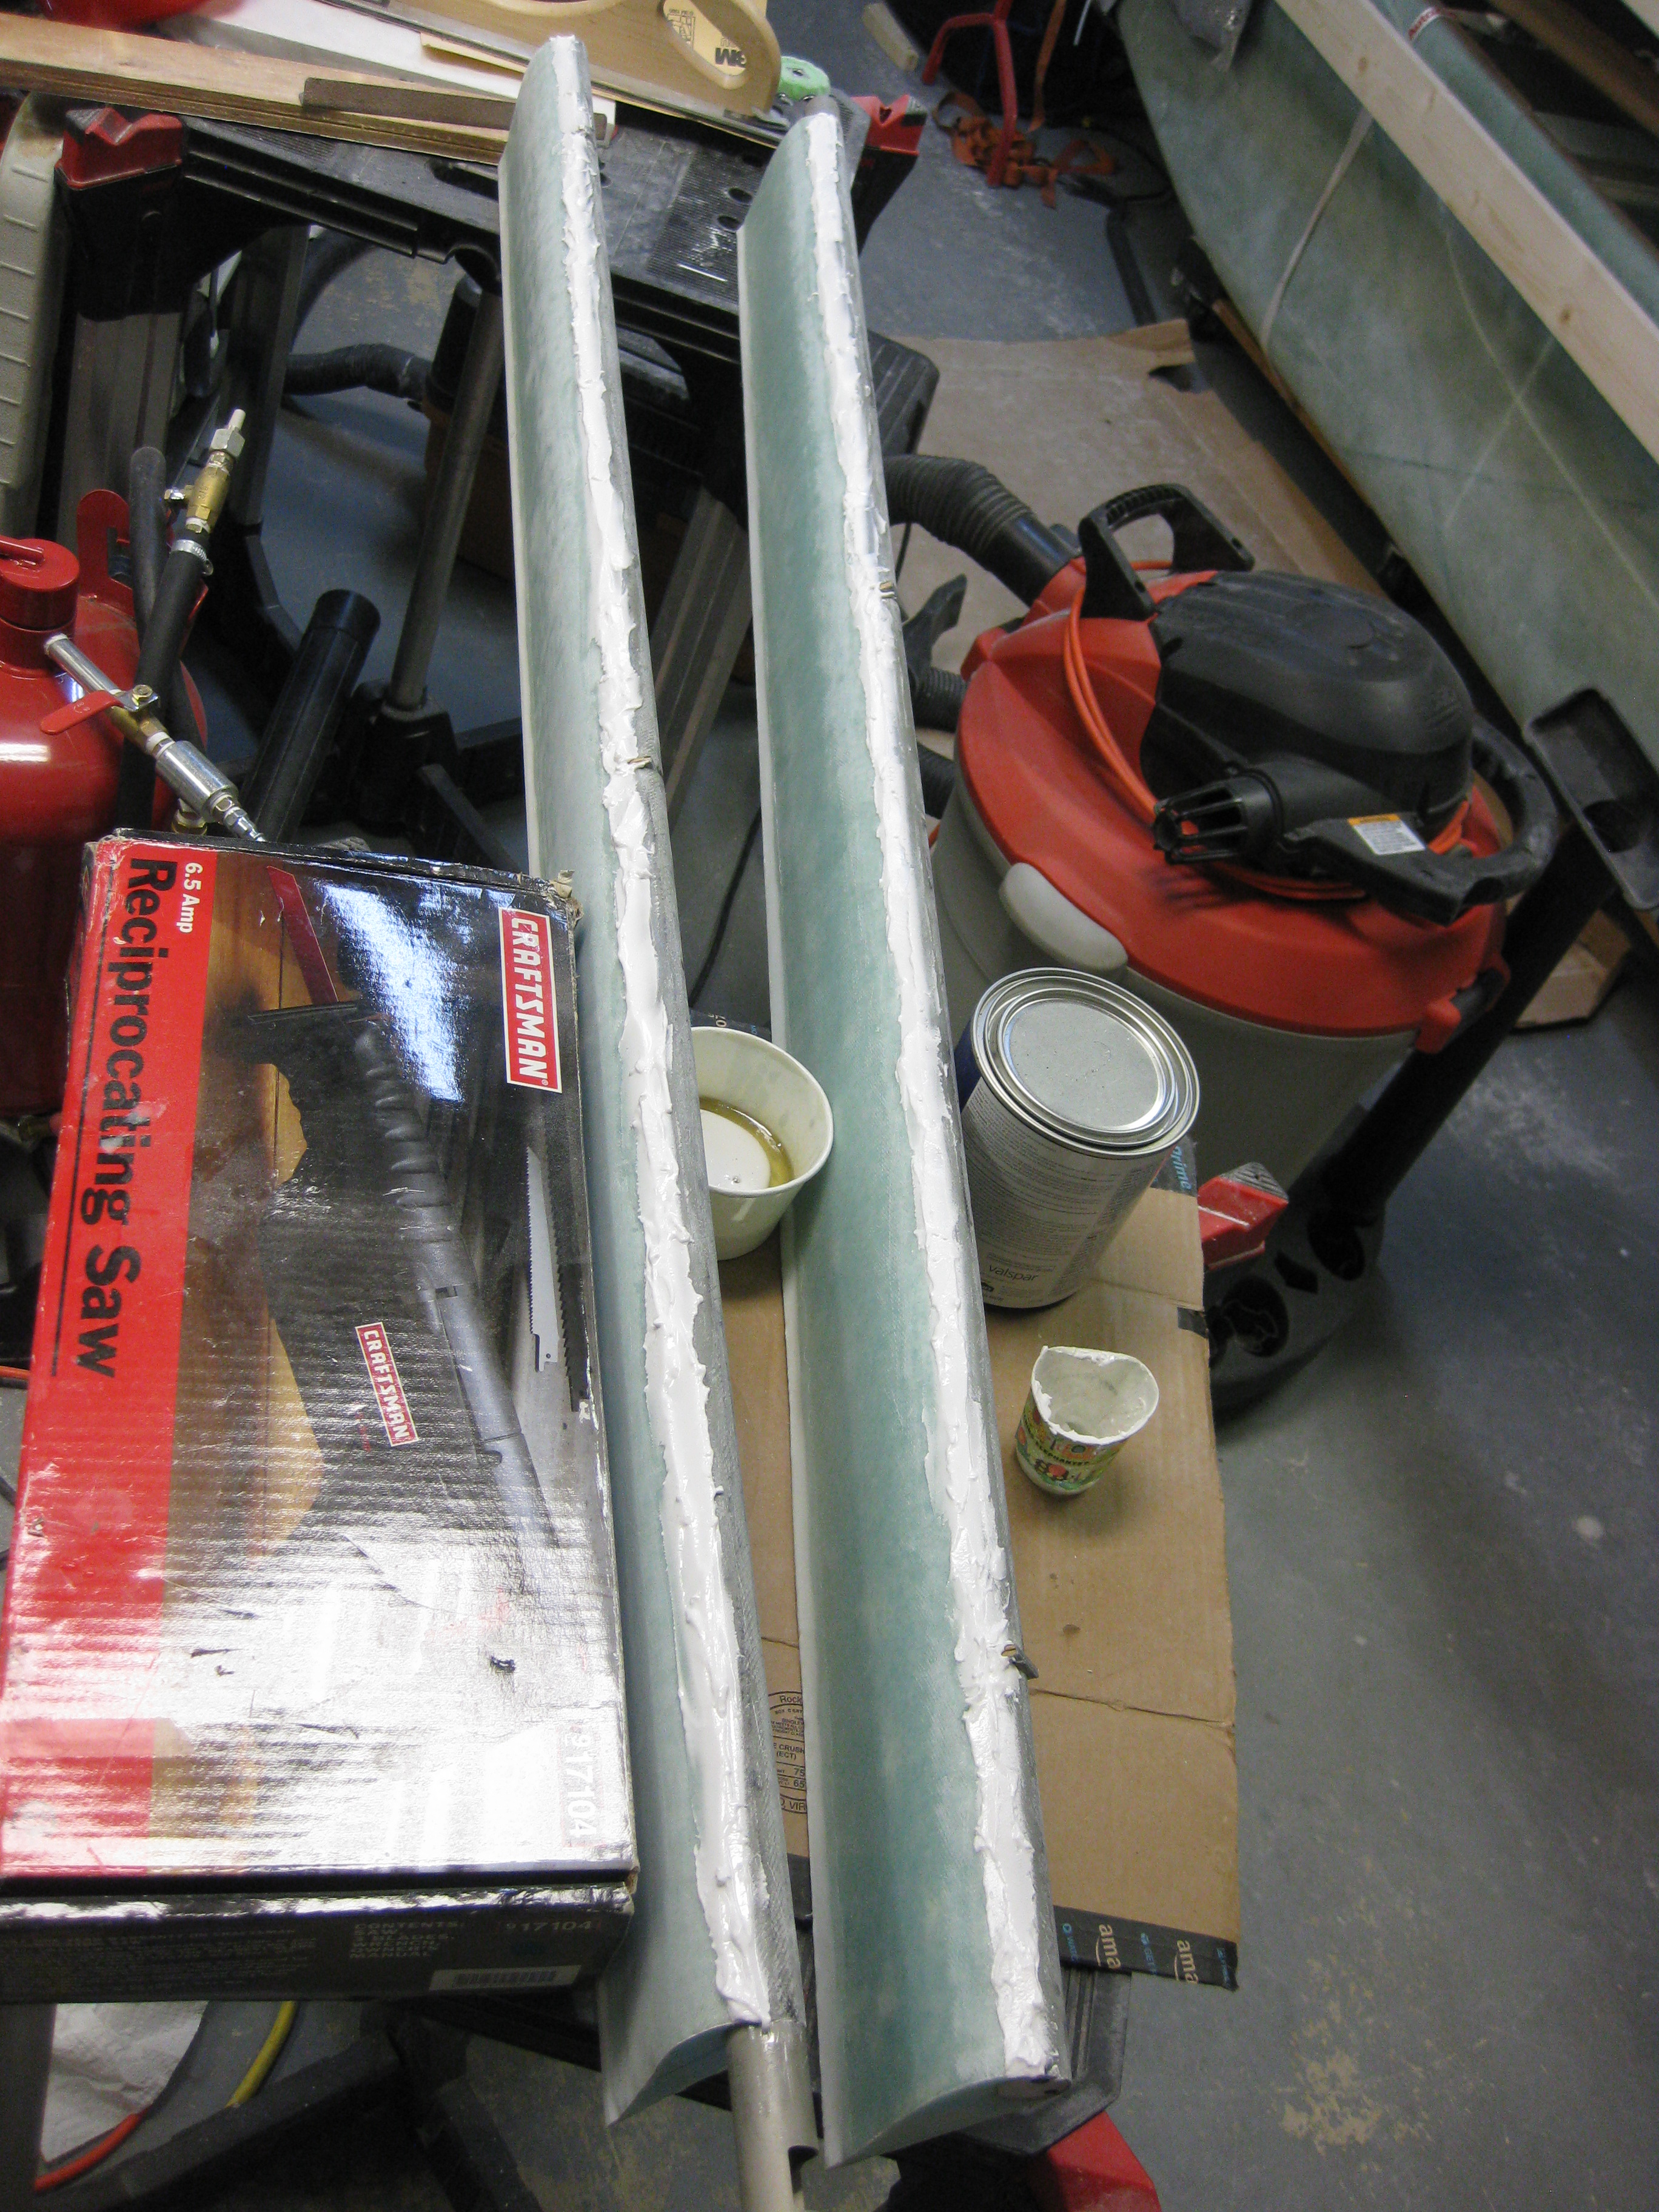
Fixing my "dented" elevators

I waited about 2-1/2 hours and then sanded the micro in the trough while it was in it’s “green” stage.  Unfortunately, it was only at the very beginning of the “green” stage and was still a bit more gooey than rubbery.  But, since it was late, I sacrificed the already well-used piece of 36-grit sandpaper on my sanding board to plow through the gooeyness and knock down the ridges and lumps on the elevator rounded leading edge.

Elevators sanded while "Green"

The next step is to re-sand the primer on the canard until it’s smooth.  Once that is complete, I’ll sand the micro I just added to the elevators.  After those two tasks are complete, I’ll be working on mounting the elevators onto the canard.

Chapter 10 & 25 – Sanding my life away…

Last night I had a couple of buddies come over to watch Thursday night football.  In between the beers, war stories and game, I snuck down to the garage every couple of hours to skim coat the canard.  Well, a late night socializing with good friends that I haven’t seen in a while meant a slow start this morning.

To add to my slow start, I had a business teleconference today and when I finalized yesterday’s post by adding another menu item to this web site, the main menu went bonkers.  My “new” main menu contained every menu & submenu item listed where the main menu bar is normally located.  I don’t know if you saw it, but it was a hot mess.

After messing around some with WordPress to see if I had checked some weird block or initiated some obscure setting, and then doing some Google research, I got on the phone with my service provider to have them increase some site server settings to allow for more menu entries.  Well, that call took 40 minutes the first time around and I was on hold after being transferred to technician #2 when my work teleconference started.  So I got off the phone and an hour later called back to resume my website troubleshooting.  I finally got the menu bar back to normal, but not without some collateral damage.  My video/pics and contact menu tabs were both missing and re-adding them was not without issue.  Thus, I will slowly try to get the website ship righted while continuing to add content.  Thankfully, most of the remaining issues are minor.

After a little bit more information crosschecking on finishing steps & techniques, I headed for the shop to block sand the cured skimmed epoxy.  Since I don’t have any specialized sticky back (PSA) or velcro (HookIt) 100 grit sanding sheets, I had to resort to the old style sandpaper sheets.  This actually worked out pretty good since I grabbed a scrap block of blue wing foam about 6″ wide, 12″ long and 2″ thick to use as a sanding block.  The 100 grit sandpaper wrapped around the foam so I could firmly grip the paper around the foam and still keep control of the foam block while sanding.

I started on the pure epoxy skim coated side and started sanding away in the 45° left and 45° right pattern.  I’m learning that all the sanding during these finishing steps seem to start off with not much happening, but as you just keep working the sanding block you really start to see some results.  Of course the most time spent on the underside of the canard is in the TE area.  The multiple curves and angles make it a bit more challenging to get the fishtail area sanded thoroughly.  But after I was finished, and just as Mike Beasley mentioned the other night, I couldn’t stop running my hand over the incredibly smooth canard surface.  What a feeling to turn a raw glass surface into something that you know that once painted, will turn into a something stunningly beautiful.

All in all I was extremely pleased with the outcome.  Although my initial failings in applying bubble free micro led to having a dozen or so craters on each side of the canard (this was due to applying too dry of micro after aggressively whipping a ton of air into the mix), it was a good learning lesson since I know now how well both skim coating and Micro Skim fill in some major surface defects in the micro.

Epoxy coat sanded - 100 grit

After sanding the pure epoxy skim coat, I was eager to see how the Micro Skim was going to sand out.  Well, just like the other side it started a little slow, but then starting sanding out a little more quickly than the epoxy skim coat.  To be fair, I don’t think there was any clear winner here between the pure epoxy skim coating and the Micro Skim, since they both produced very acceptably nice results.  I’ll still continue to experiment with these two methods, and I’m thinking as my finishing skills improve I’ll be better able to both tweak the process and ascertain the results.

Micro Skim sanded - 100 grit

My plan for tomorrow is to finish round 2 of sanding the canard with 120 grit sandpaper, and then finish sanding, prepping and micro-finishing the front top “corner” of the elevators to get them ready for mounting to the canard.
Chapter 10 & 25 – Canard Wipe-out!

Last night I had a fairly lengthy discussion with my buddy Mike Beasley on the finer points of finishing the composite surfaces on Long-EZs.  In fact, at Christmas-time last year, Joe Caraggio went down to Georgia (does that make Joe the devi . . . hmmmm? Interesting, but I digress) to assist in Mike in finishing (as in micro) his bird.  So, during my discussion with Mike I got both his take and a lot of what he picked up from Joe on finishing techniques.

In addition, after having met the venerable Terry Schubert (Editor of Central States Association newsletter) at Rough River, I’ve been leaning on his guru-ship as well to ensure I don’t muck anything up!  Terry has been very generous in offering me advice & info that has greatly facilitated my build progress.

Let me reiterate: this is the first round of finishing that I’ve done (ever!) and obviously the finish is the one HUGE thing that people see right off the bat when they look at your airplane.  It doesn’t matter if the underlying construction of your airplane is strong or weak, or that it’s a thing of beauty or crying out to be covered in gobs of paint to hide its hideousness . . . none of that is truly judged when your bird is sitting on the flight line somewhere.  Again, what is judged is how the surface & lines of your airplane flow, and how smooth & glossy the finish is on your paint job.

Thus, I want to get this finishing thing right from jump street.

So let me get off my soapbox and on to the build!  Today I started out by taping up the outboard and inboard edges of each side of the canard.  The outboard edges need to be epoxy free so that I can of course glass on the Roncz canard swoosh tips after I’m finished installing the elevators.  Once the canard swoosh tips get glassed in place, then I’ll finish them as well and blend them into the existing finish on the bottom of the canard, and the top of the canard too for that matter.

The inboard areas will get smoothed out and feathered into the non-finished interior of the canard.  This middle area doesn’t get finished to save weight, since once the canard is mounted it remains ‘buried’ & hidden inside the confines of the fuselage.

Skim coating micro finish surface

Now, I performed a little experiment on the bottom of the canard with the next step of finishing.  On the Left surface in the photo below (which is the Right-side bottom of the canard), I used the now standard traditional Cory Bird method of wiping on 5 separate applications of pure fresh West epoxy, with an approximate 2-hour cure time in-between. Just as you might cheese grate the micro finish on the surface of the component after it has cured for around 2 hours so that it’s in the “green” stage, so too we let the pure epoxy cure to a “green” state before adding the next round of epoxy.

Thus, the picture below is the first application of pure epoxy onto the finished & cured micro finish.

Skim coating (aka epoxy wipe)

If the Cory Bird method is test subject A, then Nate Mullins’ Micro Skim method is test subject B.  Nate claims on his site that Micro Skim really cuts down on the post-sanding effort after the skim coat is applied.  After talking with Nate about this method shortly after he developed it, I figured I would try it out on my first skim coat endeavor to see if it really is easier, and if so, perhaps save a fair amount of time & effort in finishing my bird.  The essence of Nate’s Micro Skim coating method is simply adding a little bit of micro to the pure epoxy.  The amount of micro is way less than what you add even for a micro-slurry, but just enough to give the epoxy a little bit of thickness when applied to the surface of the finished part.  Application is a little easier since you simply roll on Micro Skim with a foam roller, whereas with the pure epoxy skim coating you are using a squeegee to apply the epoxy onto the surface (to be clear, some builders like Wayne Hicks have used a foam roller to apply to the epoxy skim coat and then used a squeegee to skim the excess epoxy off the surface).

Thus I used Nate’s Micro Skim on the Right side of the canard in the pictures (which is technically the L-side bottom of the canard when mounted).

BTW, the resulting finish of the Micro Skim, not surprisingly, is much more grainy and opaque than is the pure epoxy skim coat.  Again, the proof will be in the actual sanding & quality of surface finish after these two sides have cured and are block sanded.

Nate Mullins' Micro Skim

Here’s a shot after 3 coats:

Third coat of fresh epoxy applied!

After I applied the third coat on each side, I started work on the Left elevator to get it ready for finishing.  I double checked the width of the elevator and ended up sanding the trailing edge to get it to a uniform width along the whole length of the elevator.  The outboard width of the elevator was 4.578″ inches wide while the inboard was 4.624″ wide.  After some very minor sanding, focusing on the inner 2/3rds of the elevator, I got the very inboard edge right at 4.6″.  With just a tad bit more sanding, while ensuring my TE was straight, I ended up with the inboard edge at right about 4.597″ …. less than 20 thou along that span is golden for me.  Any more sanding was just asking for a “chasing of the numbers” with the result being an elevator that’s too narrow.

I then started sanding then entire front nose area & top of the elevator.  Since I got the elevator foam cores from Feather Light, and since Feather Light uses the original Roncz elevator templates, a decent amount of foam along the razor-thin top front edge of the “C” shaped cutout (where the elevator tube is embedded) was broken off or torn away when I micro’d the foam to the elevator tube.  I think this is fairly common since using the original template results in that “C” channel just being ever so slightly too narrow for the elevator tube to fit into.  In other words, besides either cutting them myself and slightly modifying the channel before hot-wiring the foam, or using Steve’s Eureka CNC elevator cores, the bottom line is that minor carnage on each leading edge of the “C” channel was bound to ensue as the elevator foam is micro’d to the elevator tube.

Why am detailing all of this?  Because after glassing the elevator skins, there remains a very slight depression (trough, if you will) along the length of my elevator right at the top junction between elevator tube and foam core.  In the picture below, it is the line that is even with the top of the elevator hinge slot, and again, runs the full length of the elevator along the “nose”.  Also note in the pic below that the area to the left of the elevator hinge slot is sanded while the area to the right is not.

Prepping elevator for finishing

Back to the canard.  After applying 5 coats to each side (and also filling in the very outboard left aft “corner” of the canard with dry micro – see pic below) I waited for about an hour before pulling up the blue edge tape.  Below is the Micro Skim side about an hour after the final coat was applied.
Finished (5 layers) Micro Skim

And here is the pure epoxy skim coat side about an hour after the final coat was applied.

5 coats pure epoxy wipe (ala Corey Bird)

Here is the entire bottom of the canard after being skim coated & micro skimmed.

Candard bottom skim coated & micro skimmed

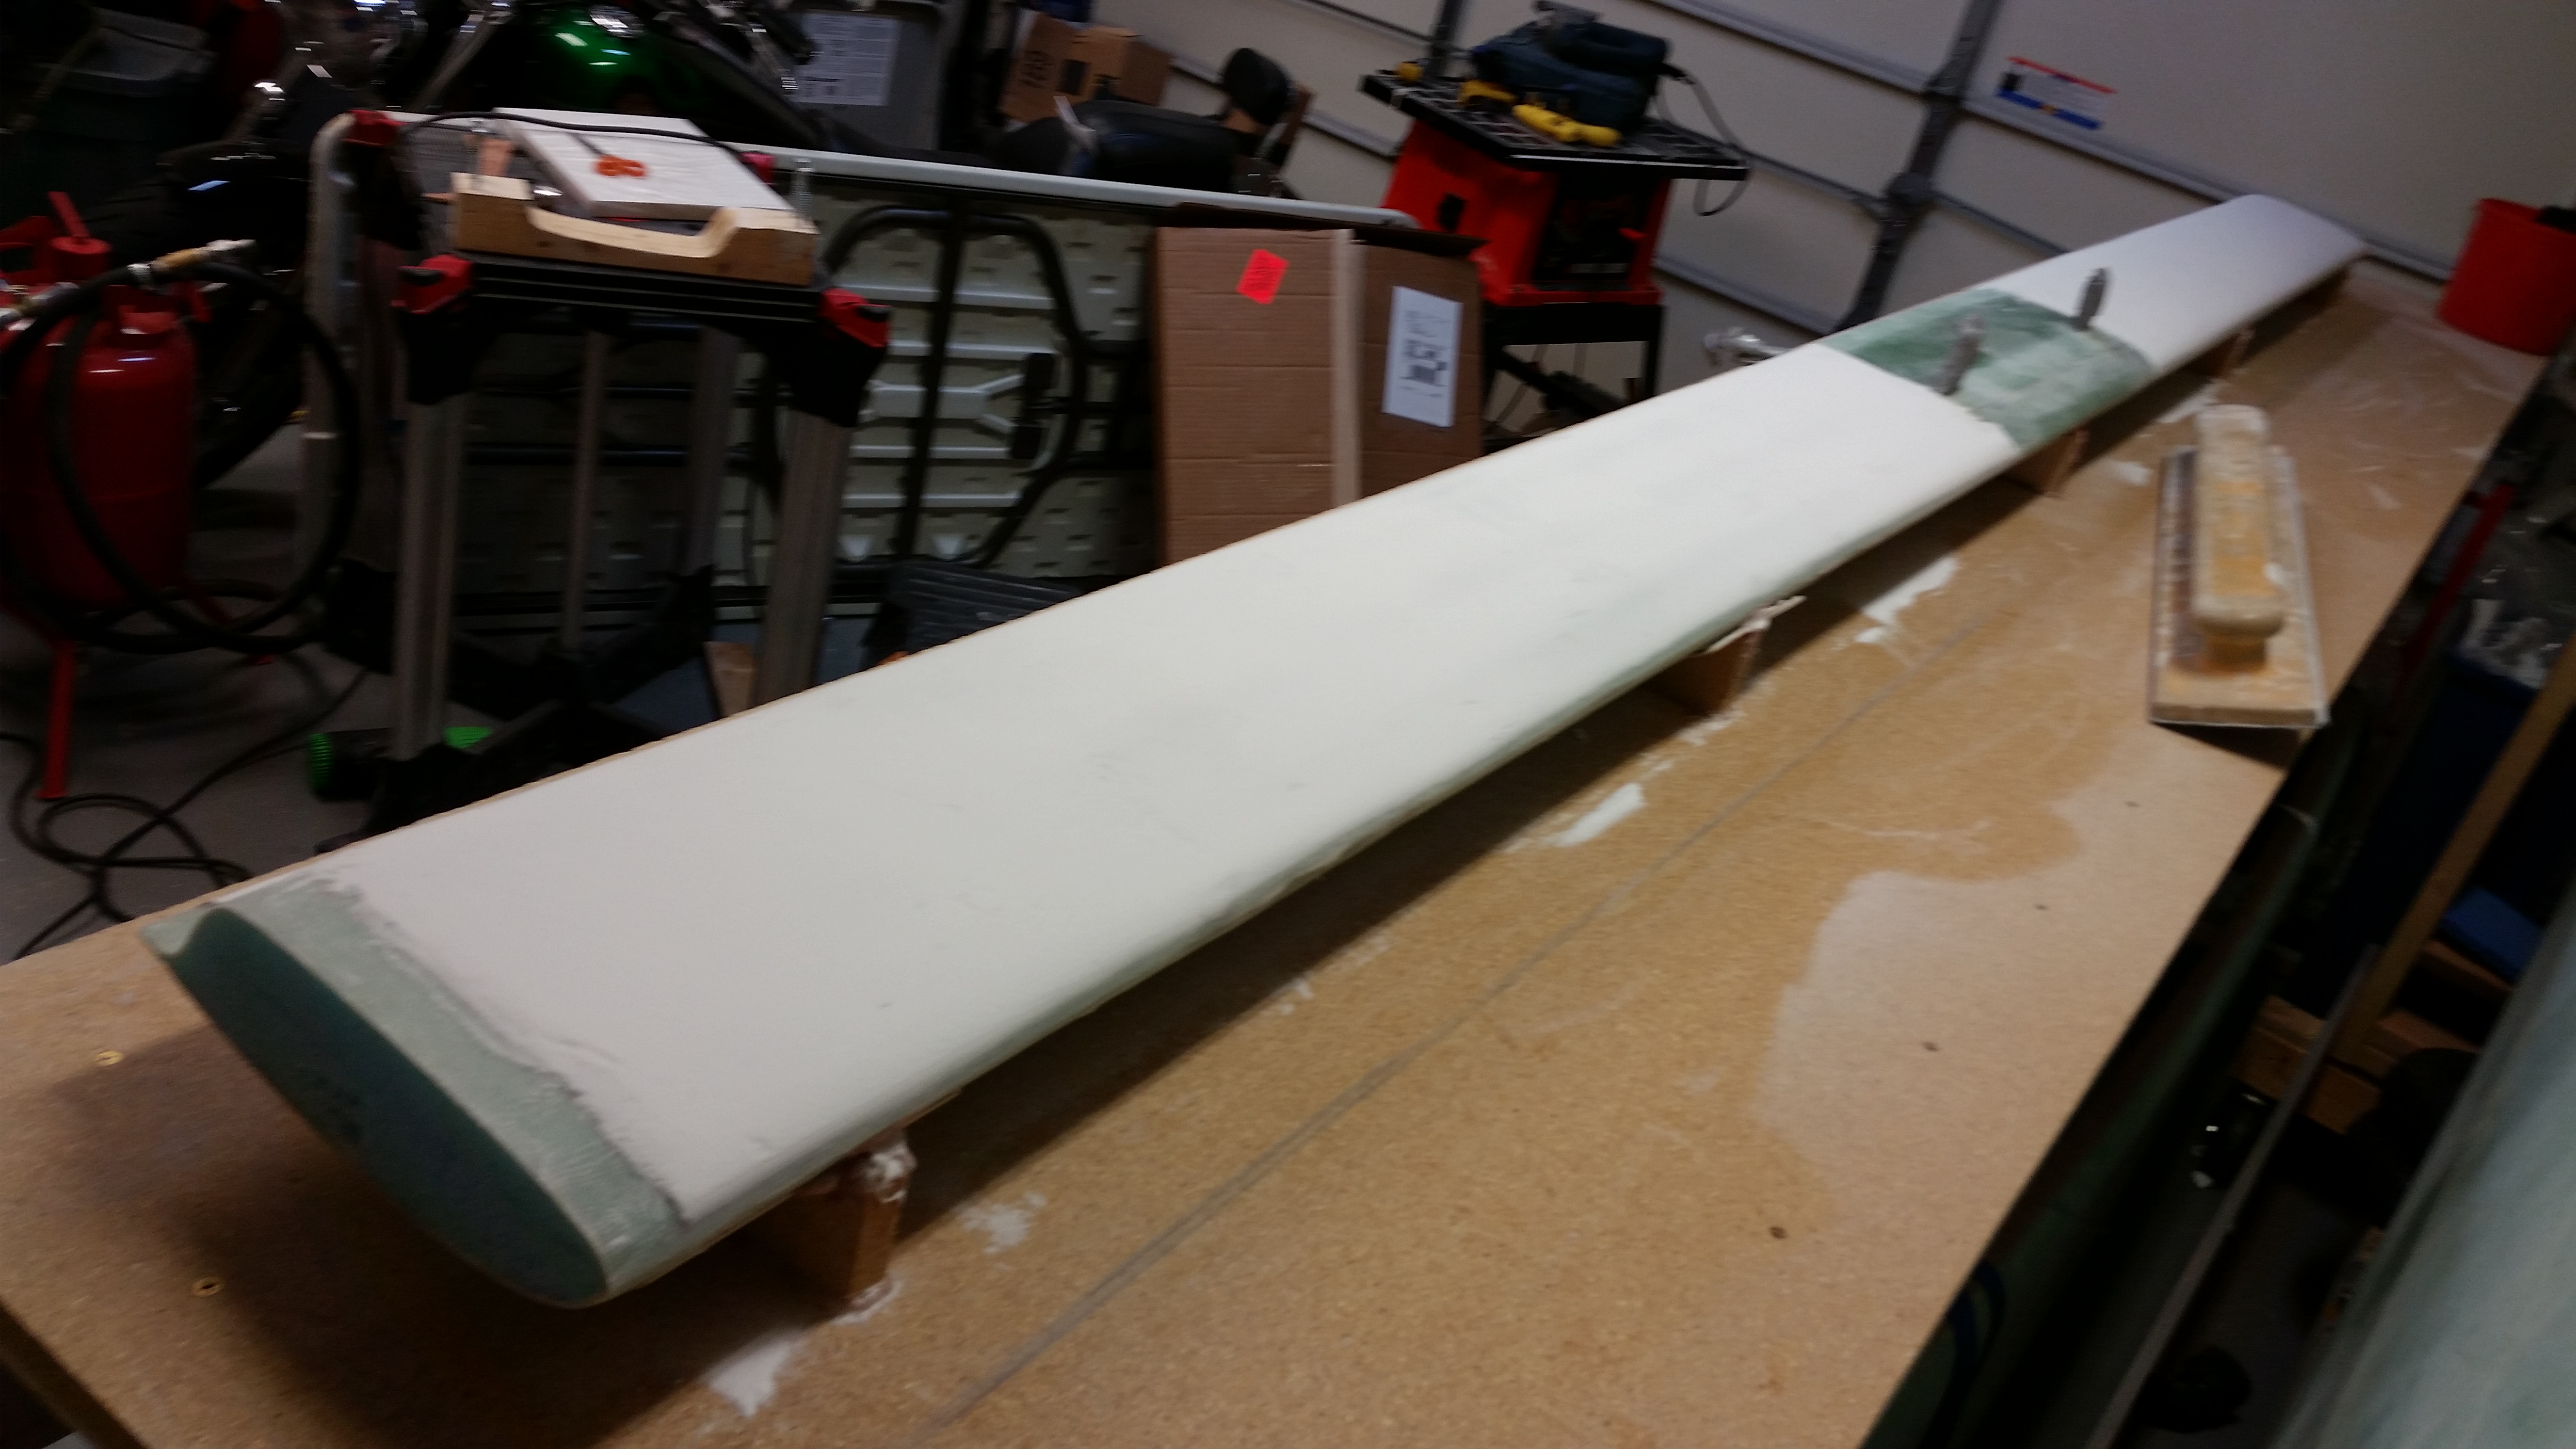
Although these are technically the next day, I added these two pics after the surface was pretty much cured.  Pure epoxy skim coat is on the left, micro skim method is on the right.

Five coats of pure epoxy appliedFive coats of Micro Skim applied

Now, on to the elevators!

Chapter 10 & 25 – Finishing Canard

I wasn’t able to get around to sanding the canard yesterday… but I was today!  I started out by reinforcing the workbench by adding a 1×4 cross support between the two table supports.

Workbench Stabilization

I then started back sanding the canard with the marine long block with 36 grit paper.

Marine long sanding block 36 grit

After I used the long sanding board, I used the contour sanding block with 36 grit paper.  I could tell by the sandpaper cut patterns in the micro that there was entirely too much micro build along and above the spar cap area, both on the left and right side of the canard.  I marked across the width of these prominent gouge line areas with a Sharpie so that I could use the long board to remove the excess micro above the spar caps.
R-side high ridge identified

L-side high ridge identified & marked

Here’s an “action shot” with the long board!

Marine long sanding block 36 grit

About 80% done here . . .

Marine long sanding block 36 grit

And voila.  I repeated this process –alternating between contour sanding block and long sanding board– a couple more times to remove micro from above the spar cap area on both sides of the canard.  This process did essentially two things:  1) It changed the profile of the lower canard to more closely match the “E” contour template by flattening the bottom of the canard and greatly decreasing the existing curve of the lower canard profile.  2) It optimized the TE shaping.  The flatter the canard bottom became and more in line to the “E” contour template, the more effective the TE edge portion of the contour sanding block became since it was able to contact that aft area of the canard more fully.
R-side ridge sanded down - Marine long board

And here’s a shot of the process on the other side of the canard.

Removing L-side micro ridge - Marine Long board

The canard after the second full round of sanding:

Round 2 Sanding Finished

And a closer shot of the lower right side of the canard after tonight’s sanding.

Round 2 Sanding Finished

I’m hoping to get a couple of epoxy coats on the bottom canard micro finish tomorrow… schedule allowing.

Chapters 10 & 25 – Finishing Canard

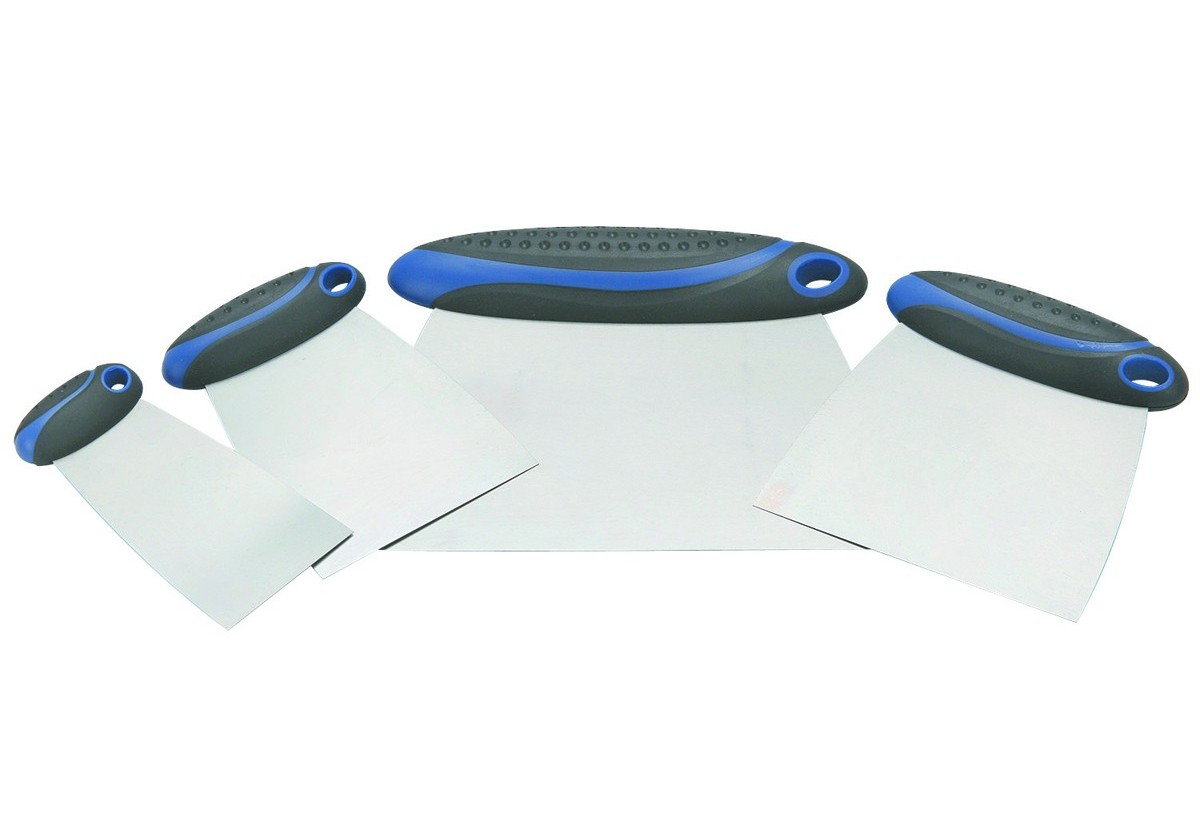
Today, before I changed into my full grunge sanding clothes I ran out to Harbor Freight to pick up some finishing supplies.  Instead of using the construction-type wall mud compound taping knife for applying the micro finish, I wanted an applicator with a low profile handle vs. the one long center handle.  I found exactly what I was looking for in the automotive section with the Bondo applicators.

Harbor Freight Bondo Applicators

Upon returning home, I got to work on sanding the micro’d bottom of the canard.  I quickly realized that I have plenty of micro on the surface.  I’m fairly certain that I’ve definitely met the “it’s better to have too much micro than not enough” criteria for finishing Long-EZ surfaces.  The micro build is fairly thick, and although it may take an extra hour or two to get the surface sanded down to the right depth, in the long run it will be worth it since it will minimize rework & refilling.
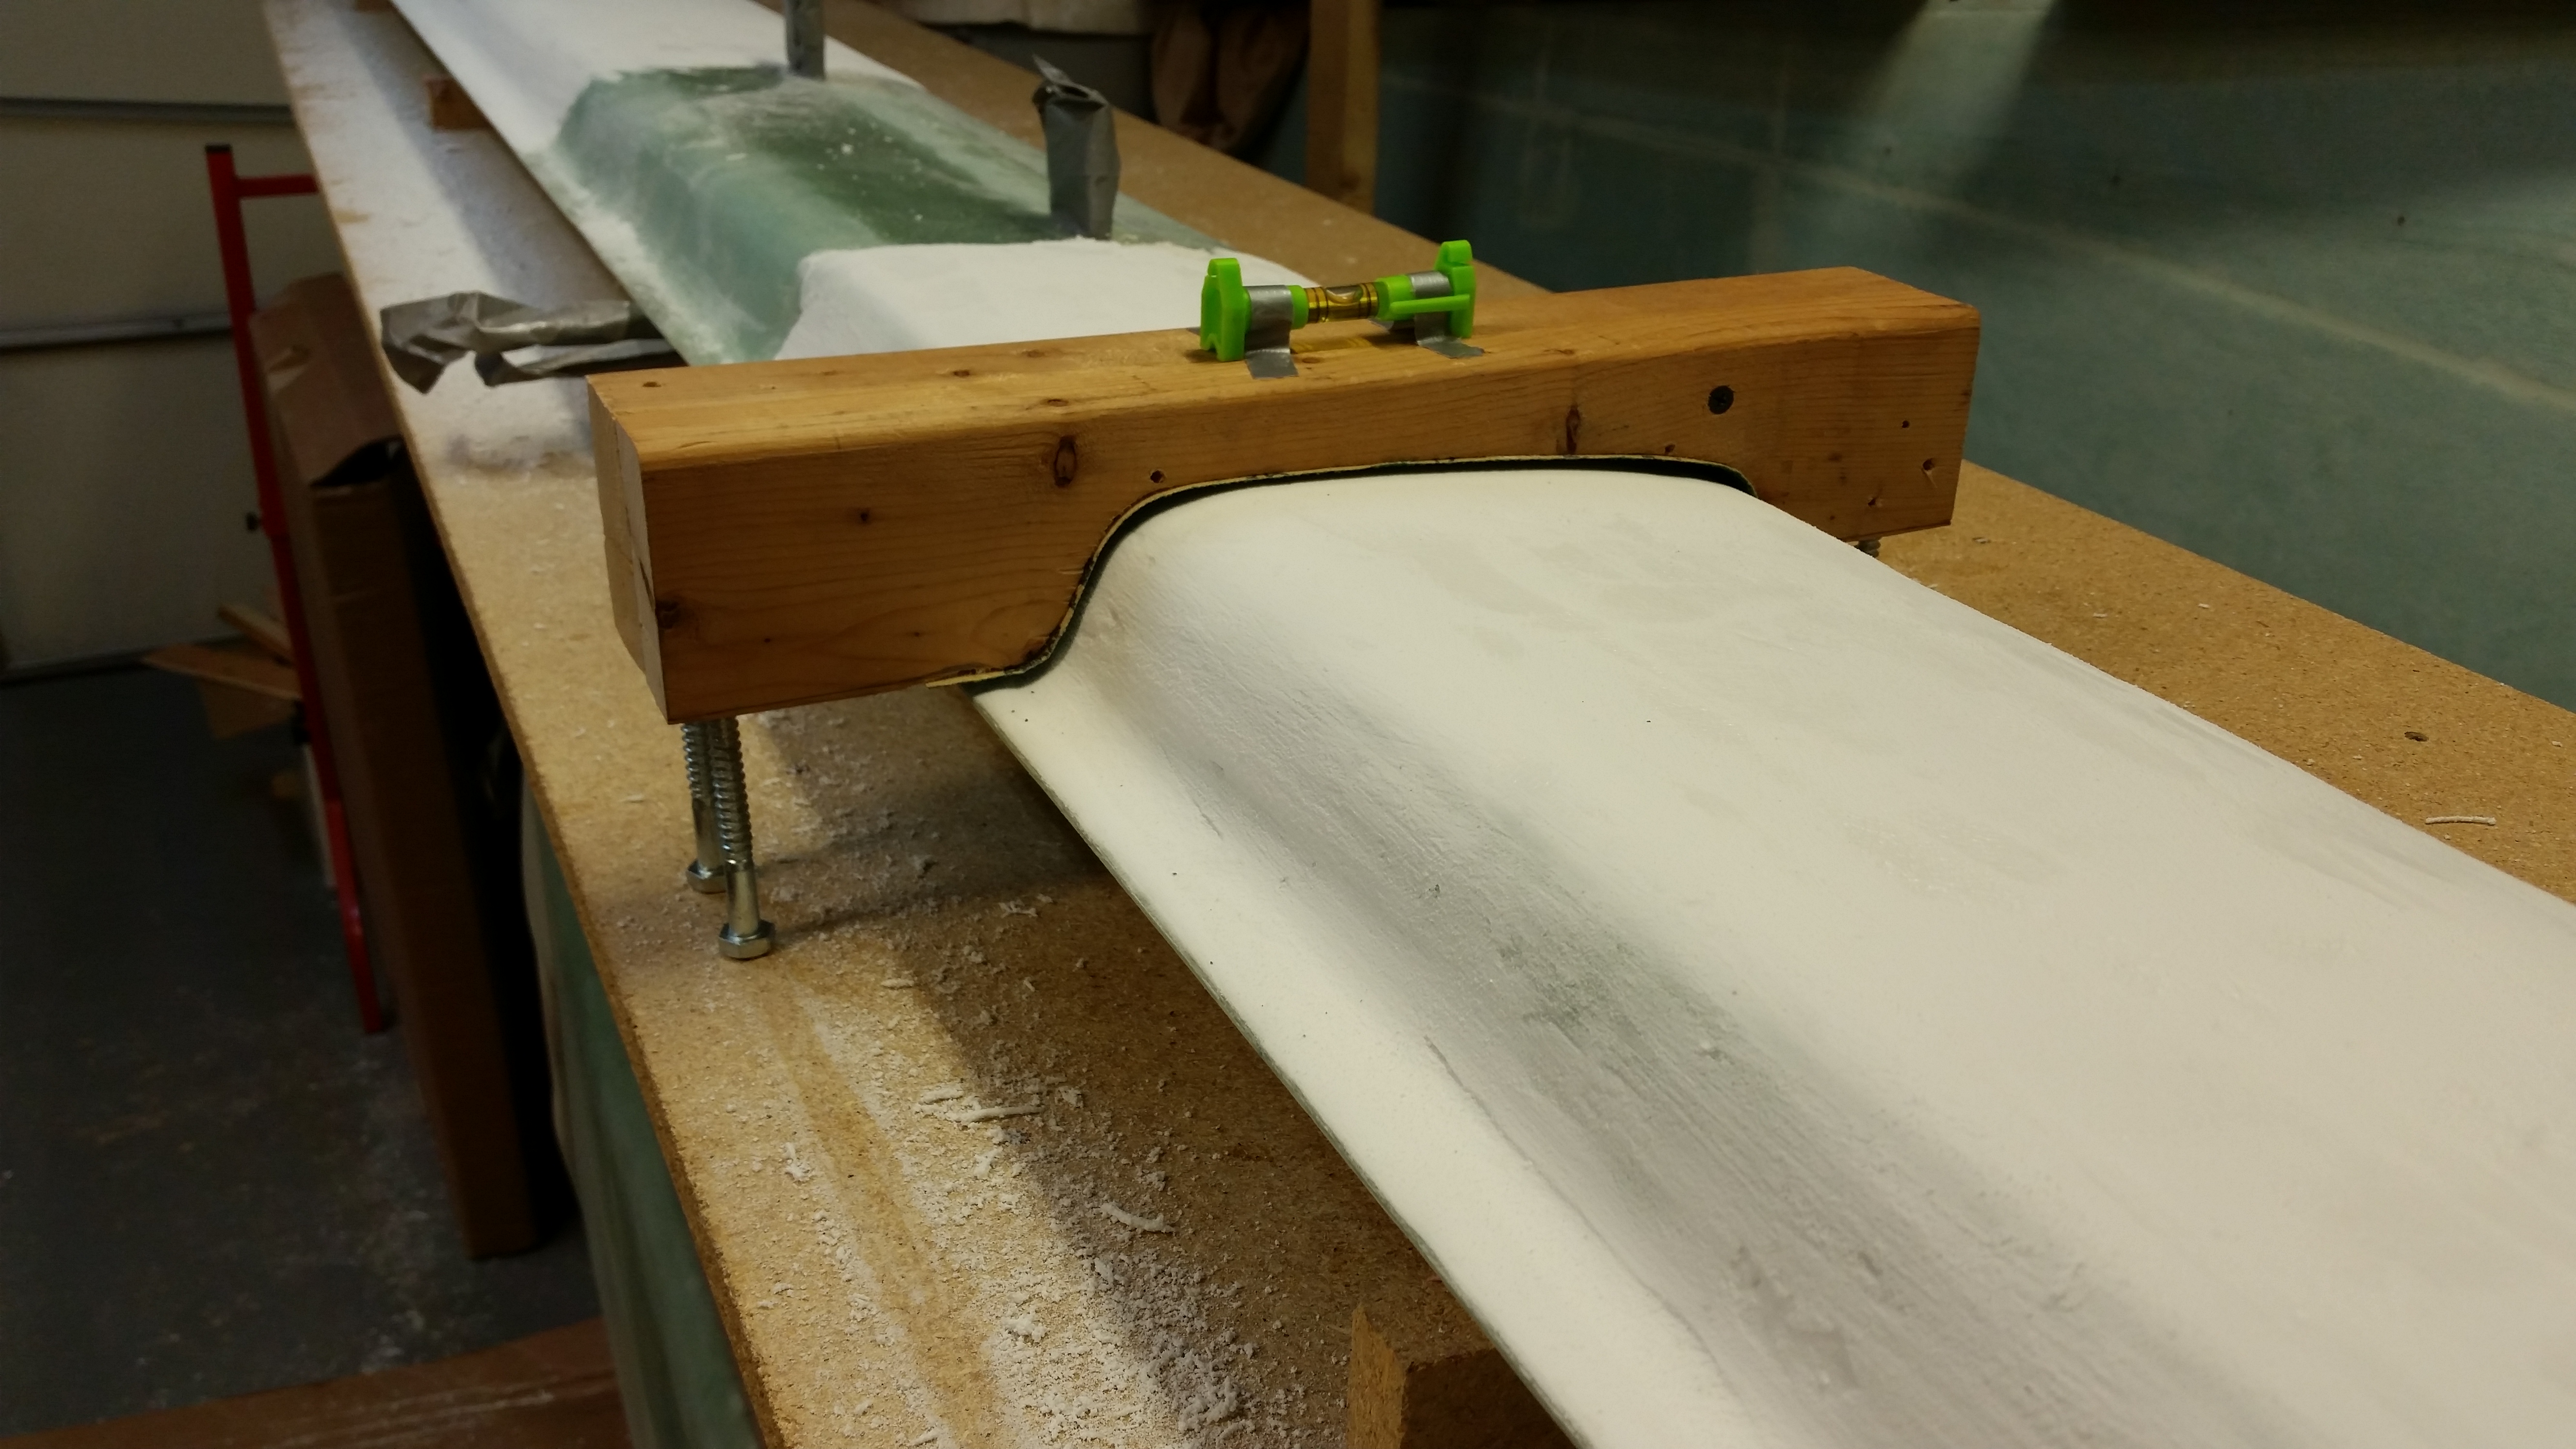
The contour sanding block worked well.  I can see where another inch in width would make it just a hair more stable in tracking the surface, but the advantage of the slightly narrower sanding block (as compared to Wayne Hicks’ 3-3/4″ wide block) is that I would think that the effort is much less to work it since there’s less sanding surface area.  I can see where it would be nice to have a wider sanding block towards the end of the sanding cycle when the finer, higher grades of sandpaper are used.

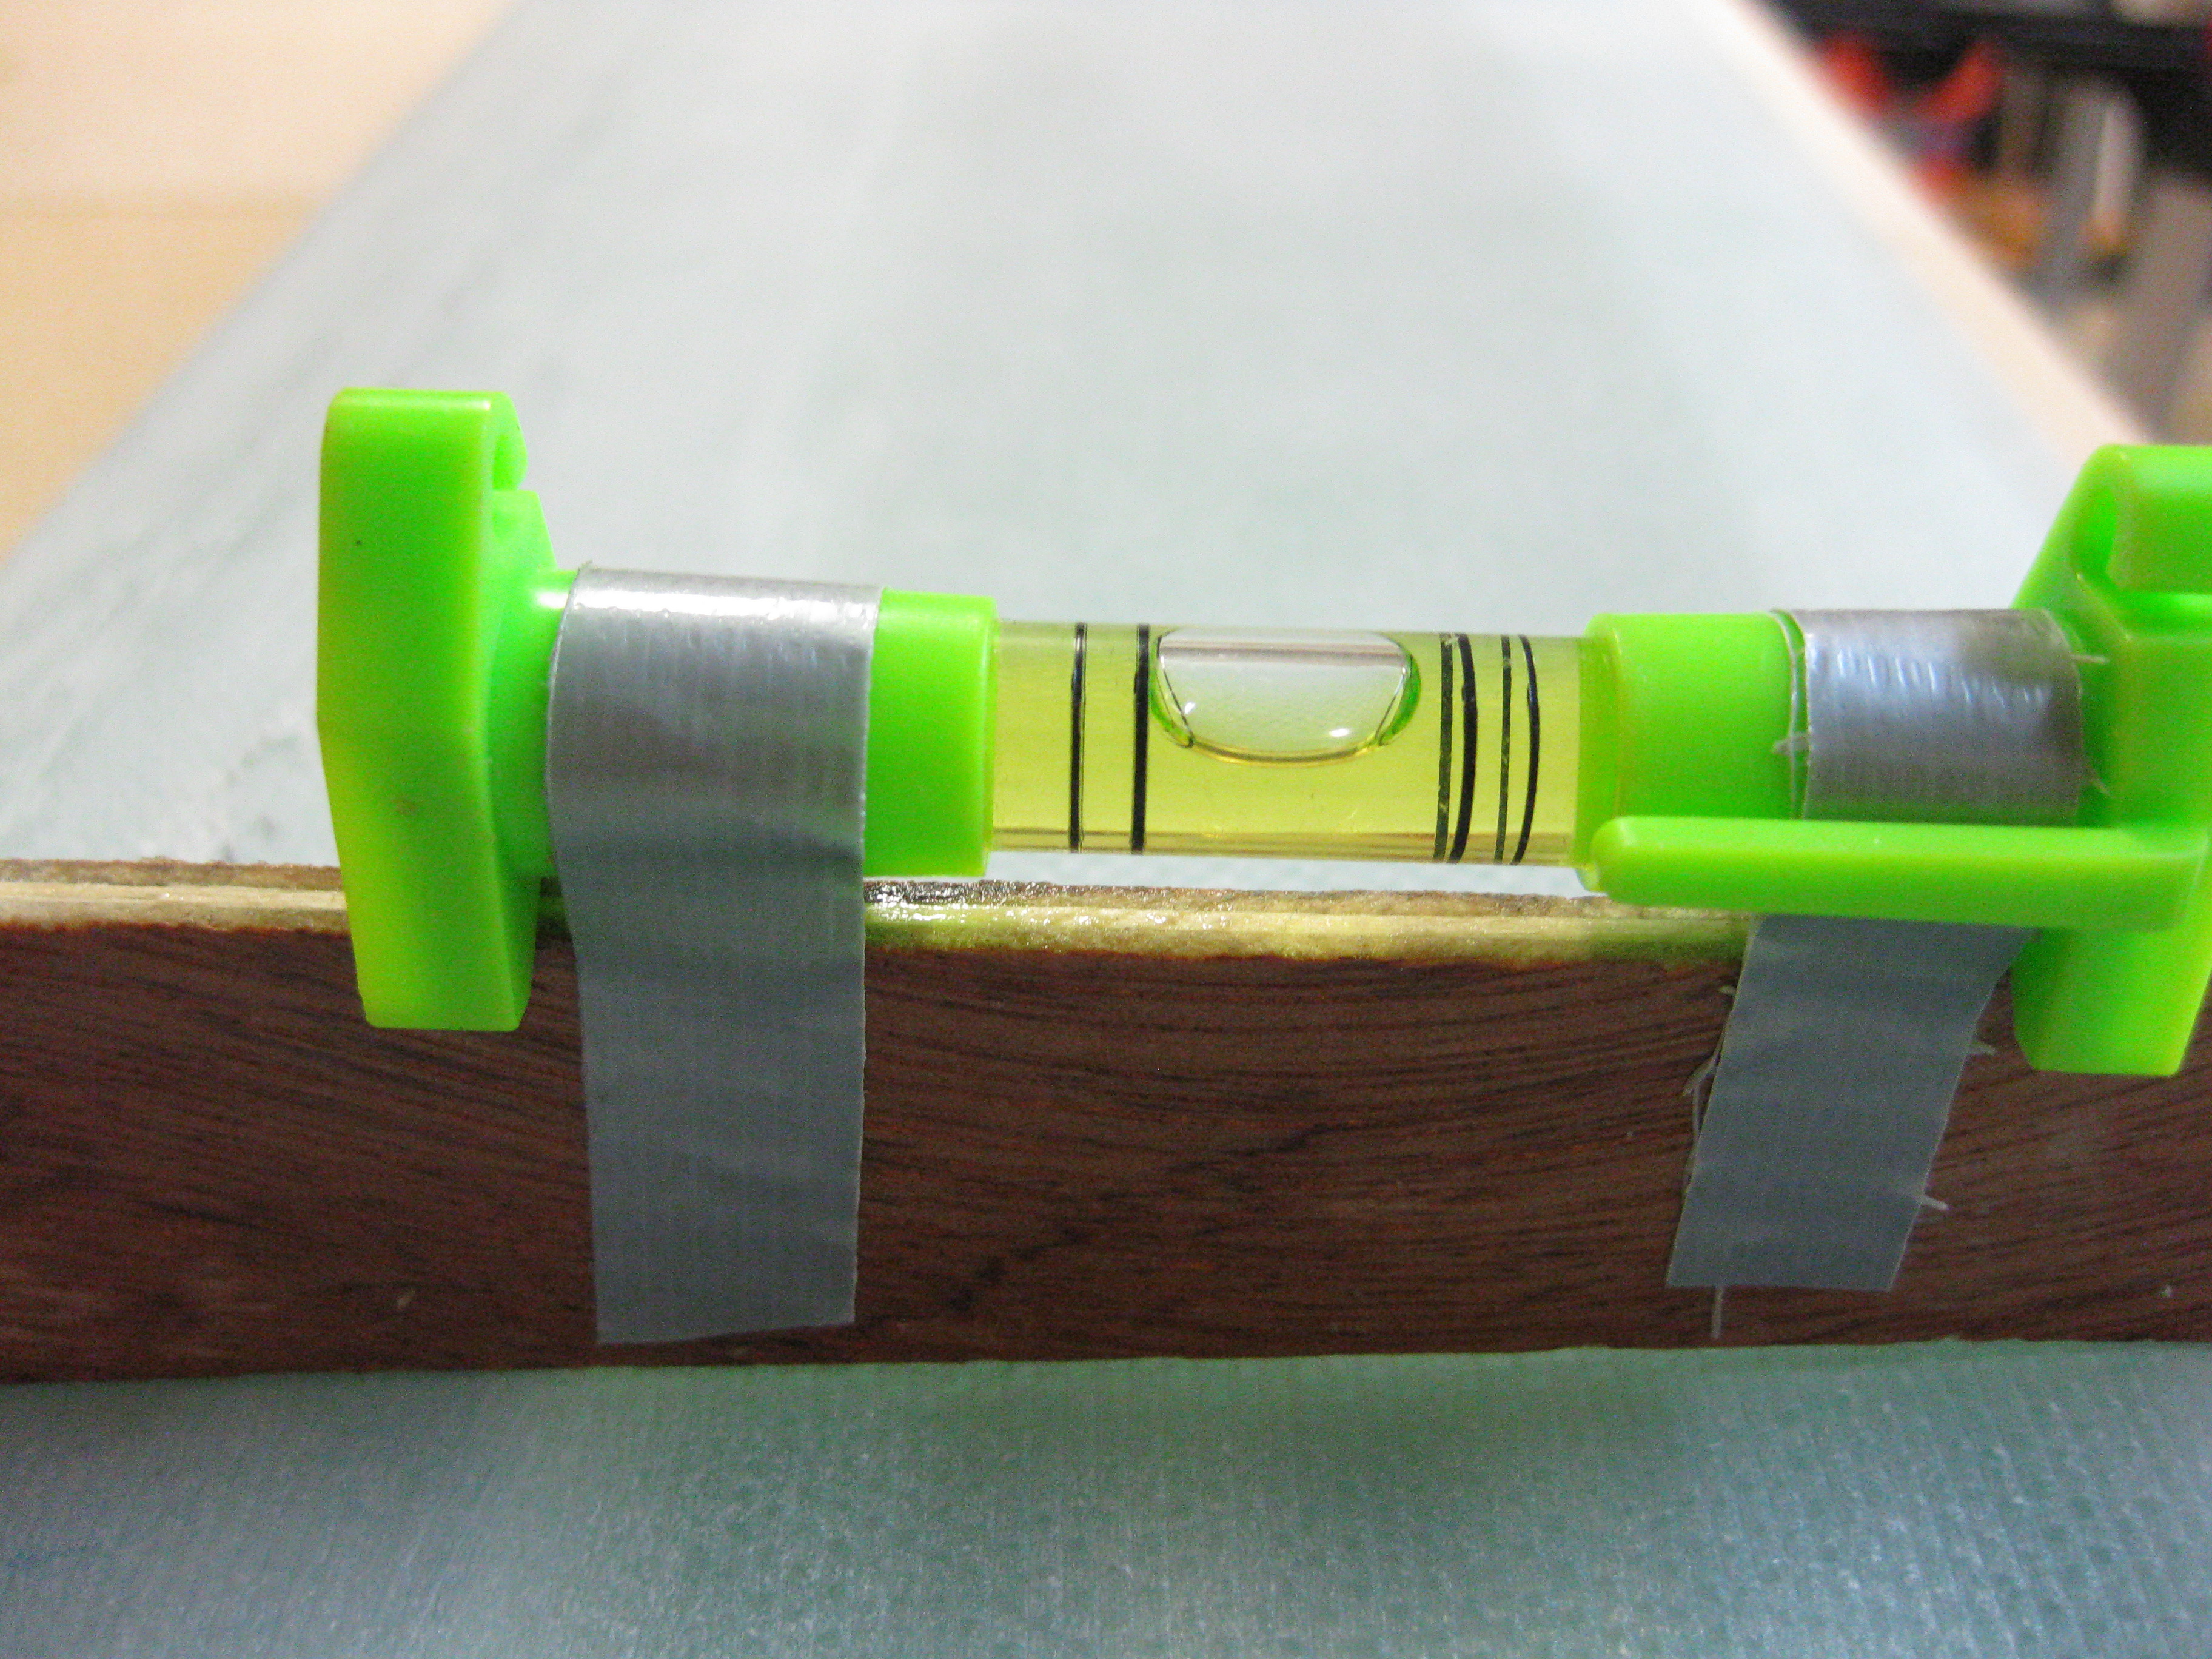
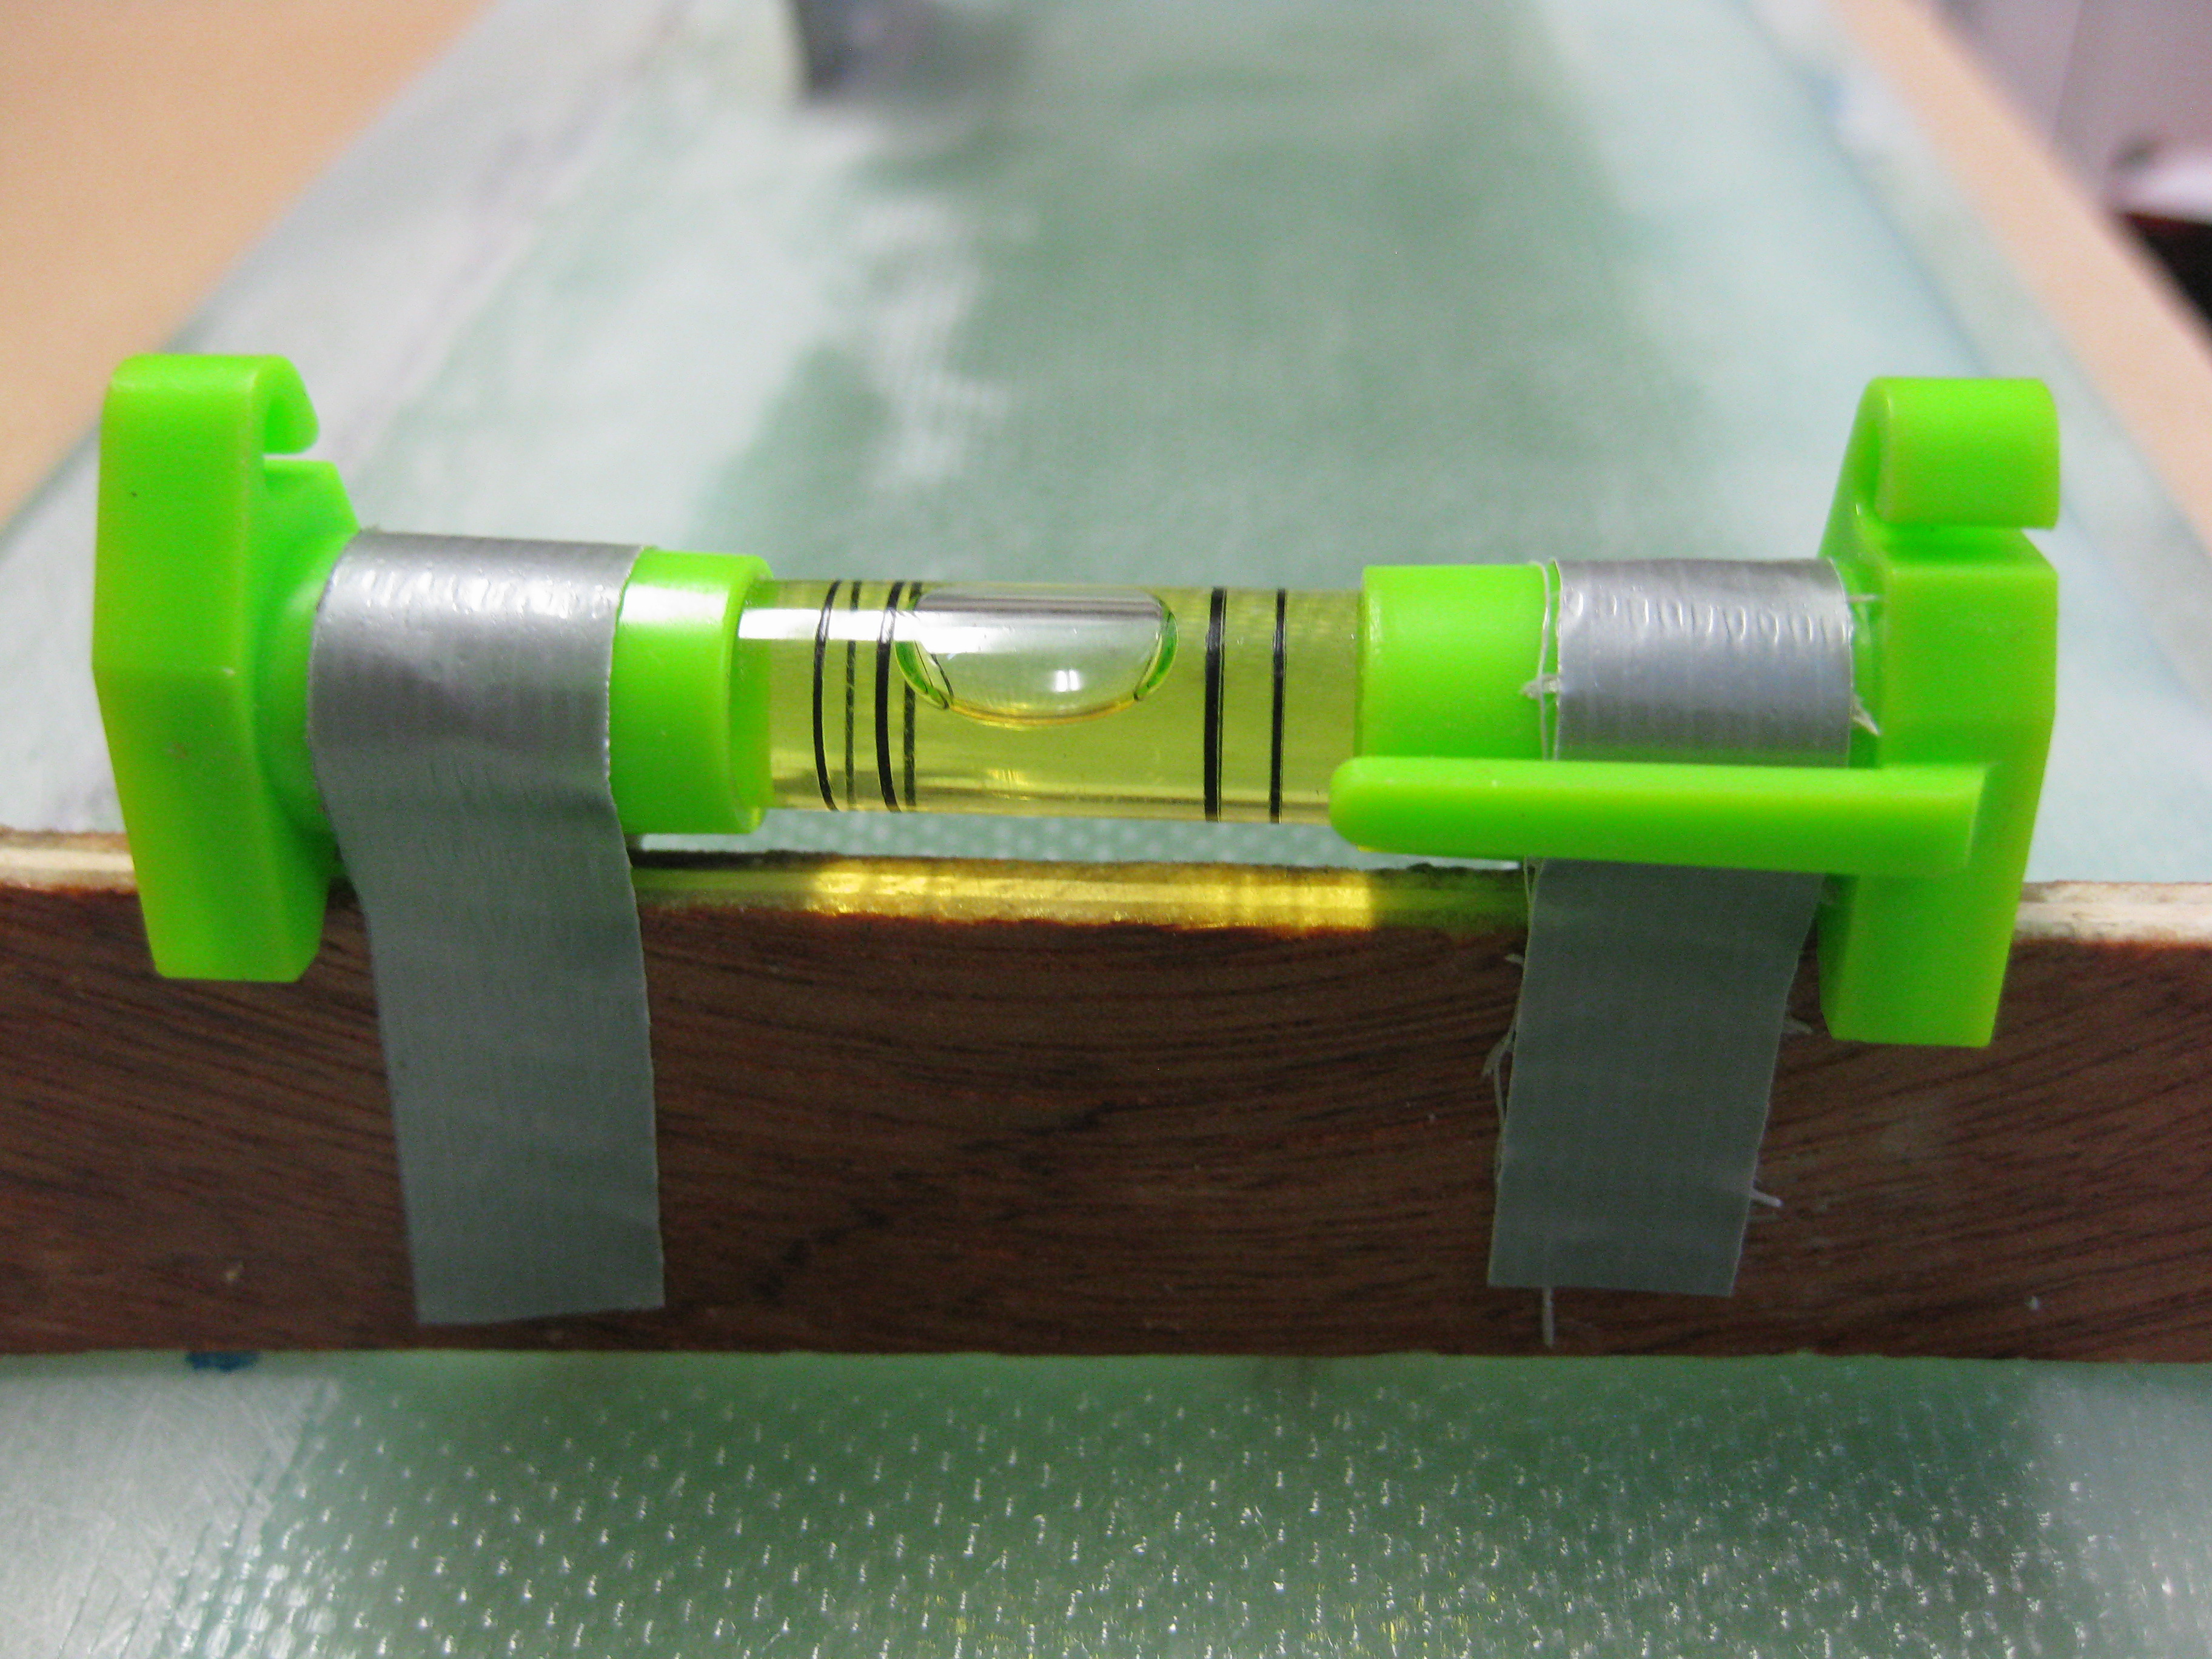
I taped the small level to the top of the sanding block to give me a general idea at all times how the block is angled compared to the table, and in turn the bottom surface of the canard.
Below is a shot after the first few passes on the lower Left side surface of the canard.
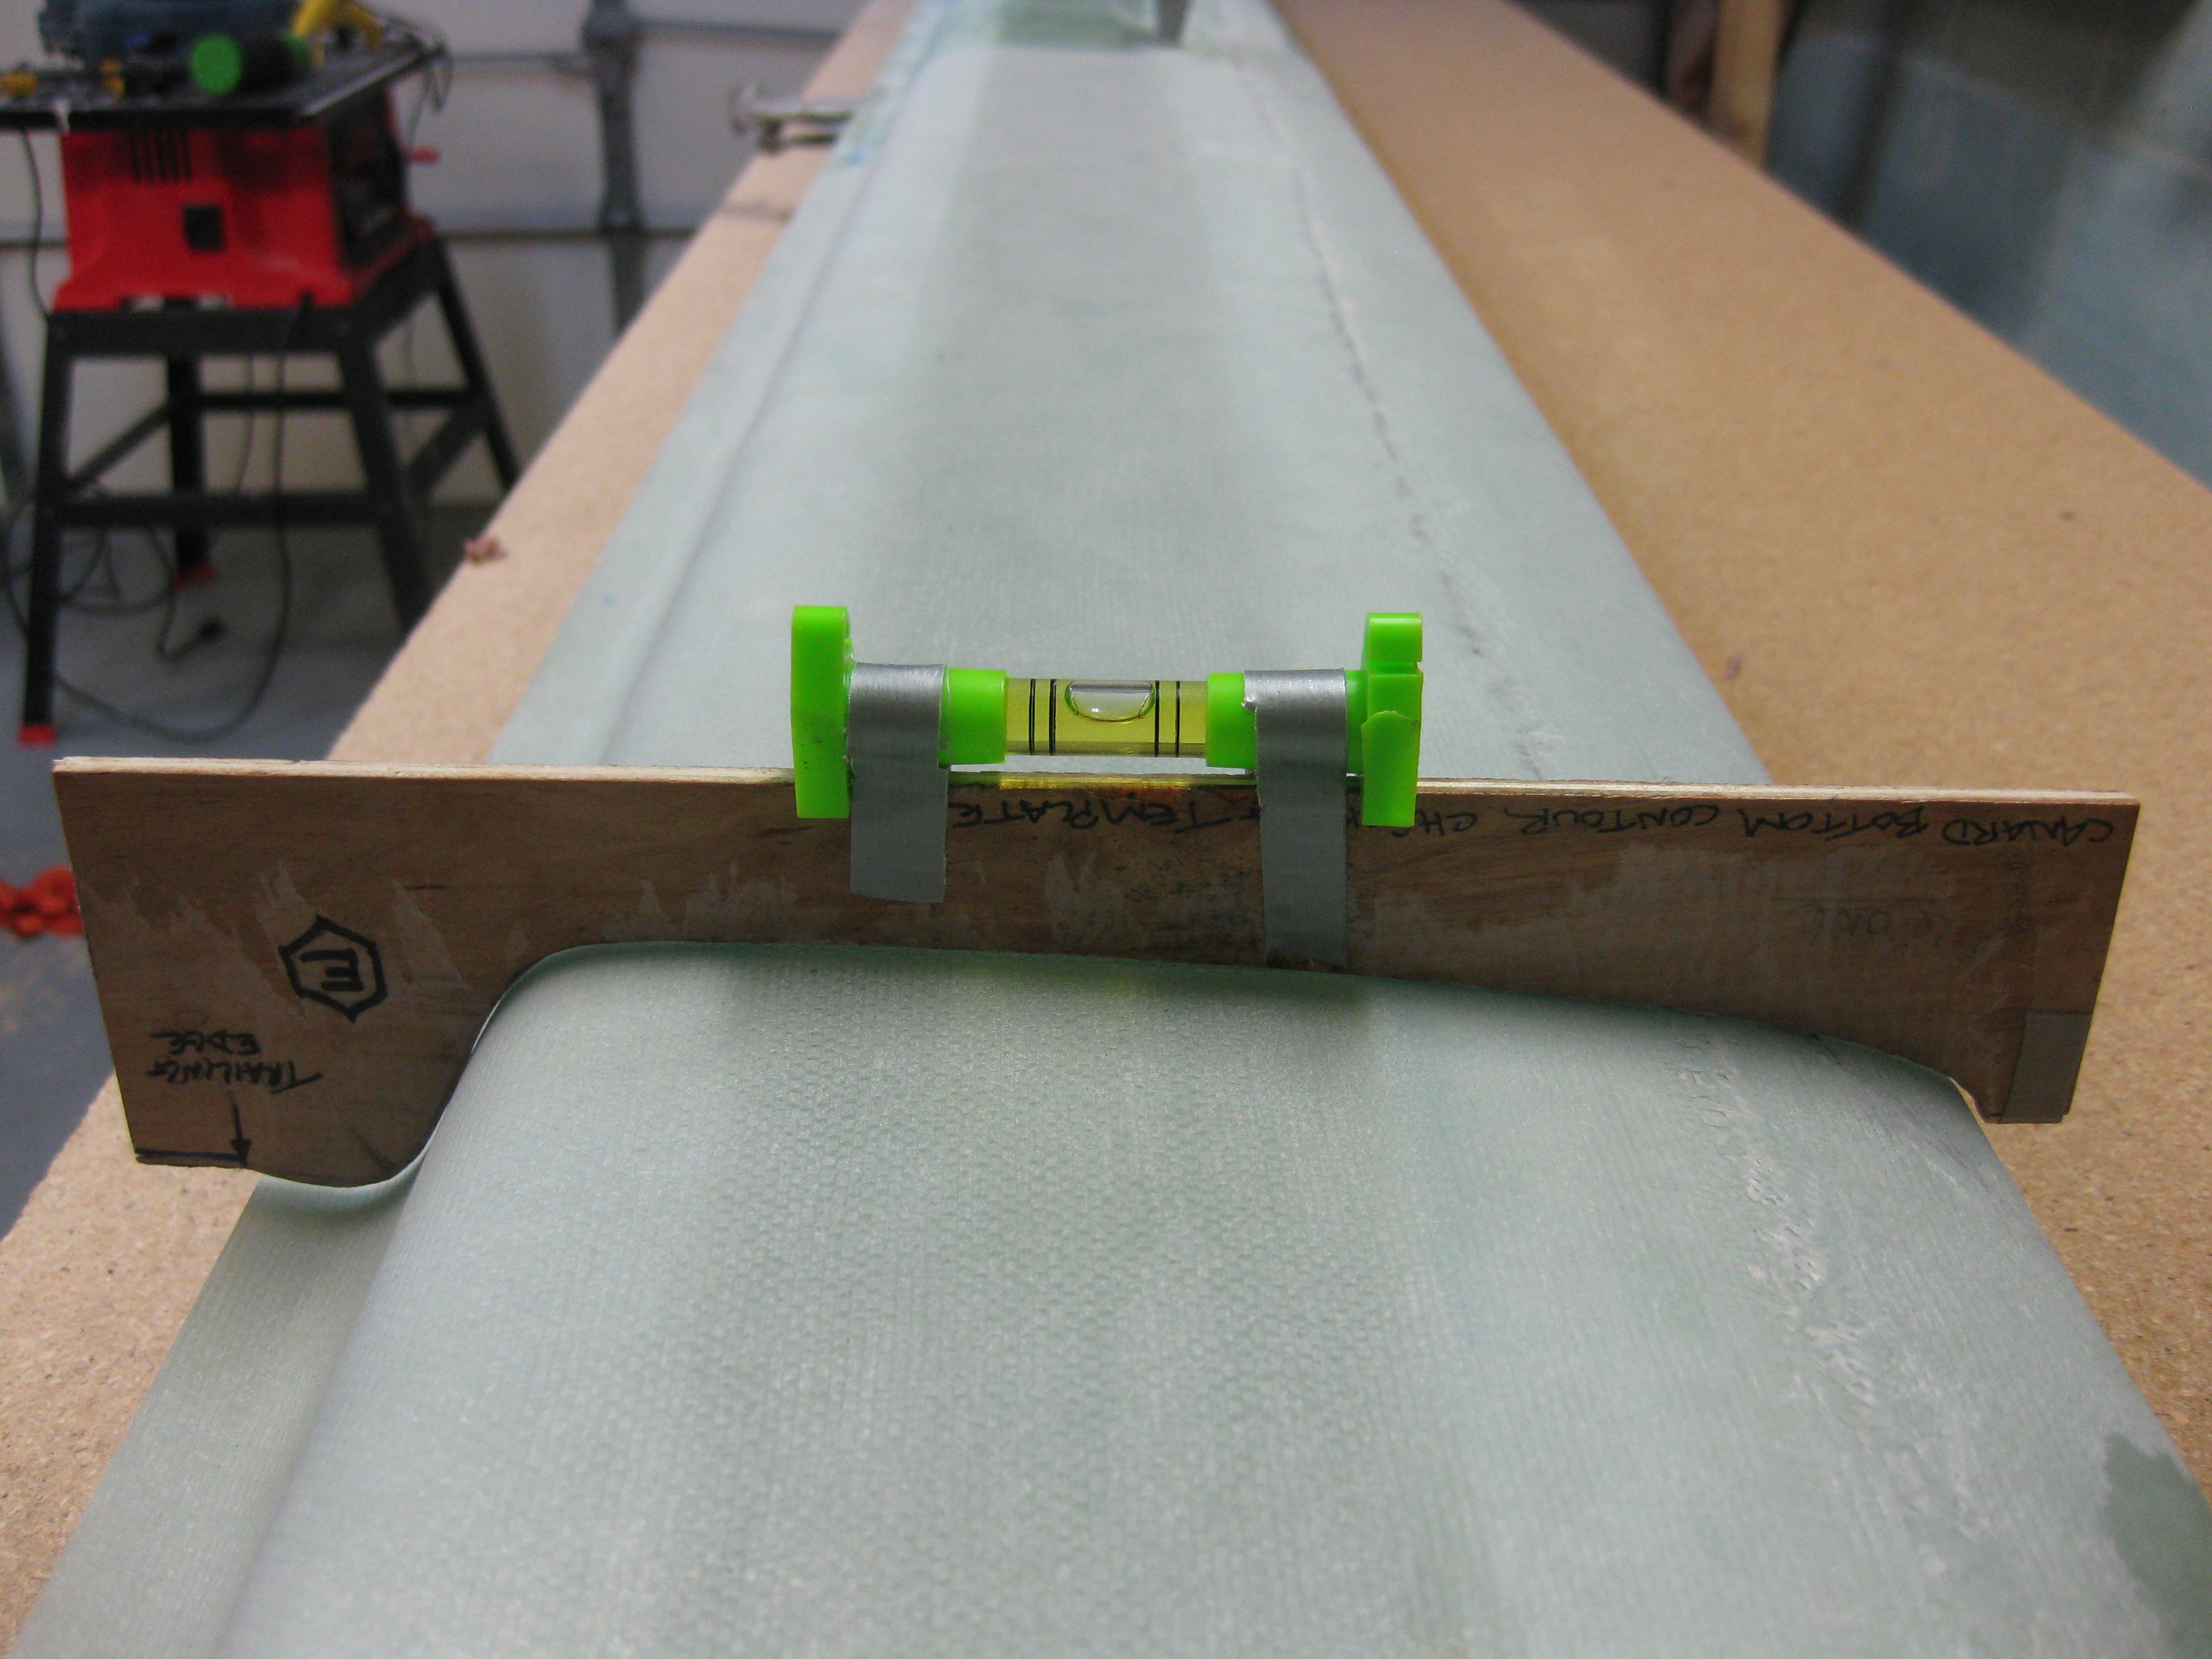
Lower Canard Contour Sanding Block

And another shot after multiple, multiple passes and about 4 lowerings of the sanding surface.

Sanding micro - Round 1

I was happy with the progress, but one minor issue I found is with the relatively high build in the fishtail area of the TE as compared to the lower build of micro on the front LE area. This difference in micro thickness resulted in an affect where the natural flow of the contour sanding was resulting in the LE getting more abrasive action initially than the TE.  In other words, I was either fairly close or already down to LE glass up front with still a relatively decent amount of micro to remove in the TE area.  Part of this issue was the good amount of micro build I had on the entire bottom surface of the canard.  I simply have to get through both the bottom surface buildup of micro before the contour sanding block really starts cutting into the micro on the TE’s fishtail trough, thus, alleviating the current unbalanced cutting action of the contour sanding block.
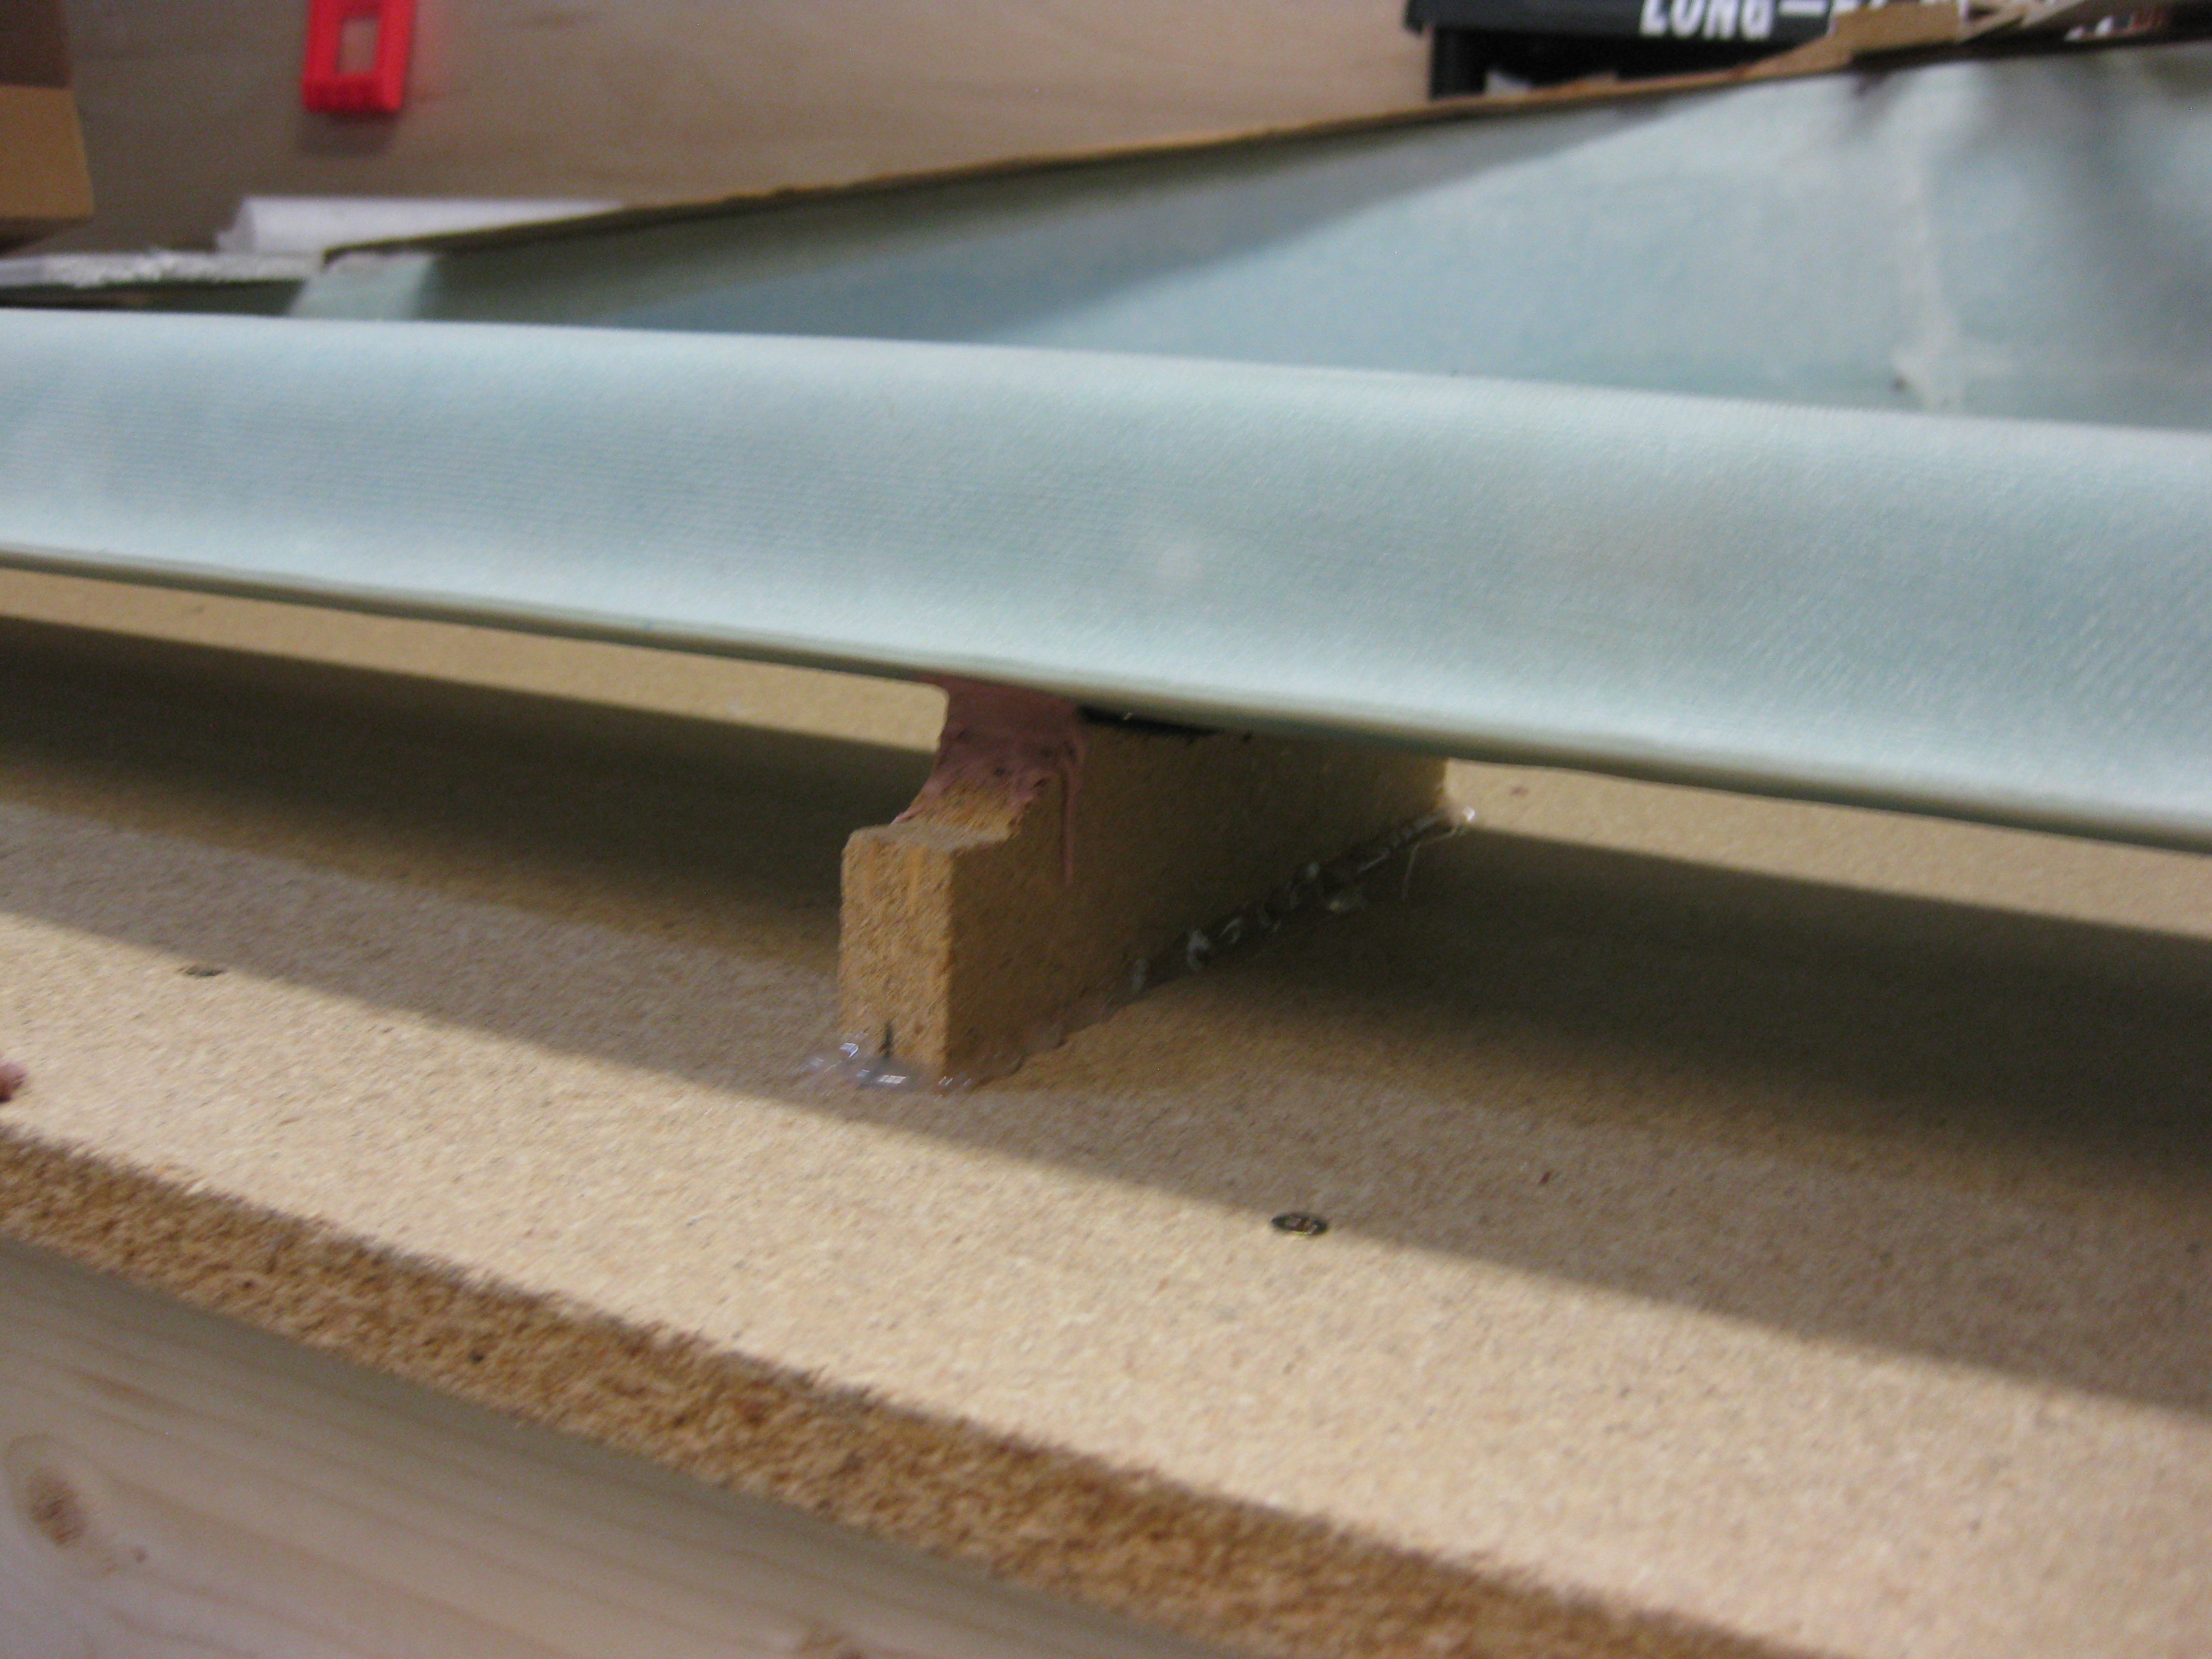
Finishing Lower Canard

Since I had pretty much killed the first piece of 36 grit sandpaper on my contour sanding block (I should say 3 distinct areas of the paper), I set aside the contour sanding block and decided to call in backup.  I pulled out the mo-jamma rigid 30″ x 4.5″ 3M marine sanding block (also recommended by Wayne Hicks) with 36 grit sandpaper.   I worked each side for about 15 minutes each in the standard 45° to the left, then 45° to the right pattern.

I used some fairly hard pressure and was amazed at how tough that micro is after its cured.  But I could tell by the significant amount of micro powder that I was producing that the long block was doing its job.

Finishing Lower Canard

All in all I spent about 2.5 hours sanding yesterday, and have at least that much more to do tomorrow to get this thing into the shape I need.  I’ll start with the long block again tomorrow to knock down a fair amount more of the micro build and then switch back to the contour sanding block.


Chapter 10 & 25 – Finishing Canard

Today I undertook my first official act of finishing a surface on this Long-EZ.  As I mentioned before, I re-read the notes & material I had on finishing to brush up on this endeavor that apparently seems to be half science and half art.

I started out the morning by confirming the side-to-side slant of my workbench so I would know how to position the canard to match the workbench surface.  My first thought was to simply use cargo straps in the center area of the canard, but after playing around with the whole setup I realized that the “K” mounts weren’t entirely even (how I had placed them, and they were now glued to the table… I believe this is in concert with slight differences with the top surface of the canard as well).  This meant that the contacts between the underside (actually the top) of the canard as it lay here was not in perfect contact with the “K” mounts.  When I tightened the tie-down straps on each side of the mounting tabs, I was getting all kinds of weird angles due to the force down on the center of the canard, making the outboard areas seat differently on the “K” mounts.

After playing around with the straps for about 30 minutes, I realized that I had to call “no joy” on this method and resort to something I really didn’t want to use: Bondo.

I spent about another 45 minutes working to get the canard to lie naturally on the supports without any stress from the top (technically bottom canard surface) of the canard in this position.  Since the spar cap may be higher on the aft side in one area of the canard and then higher on the forward side 2 feet down the canard, there are a myriad of tiny surface variances that affect how the level attached to the “E” template will read.  I spent a lot of time figuring out where my “normal” areas were that I was getting good readings, then I found the locations that had weird readings for any surface anomalies rearing their ugly head.

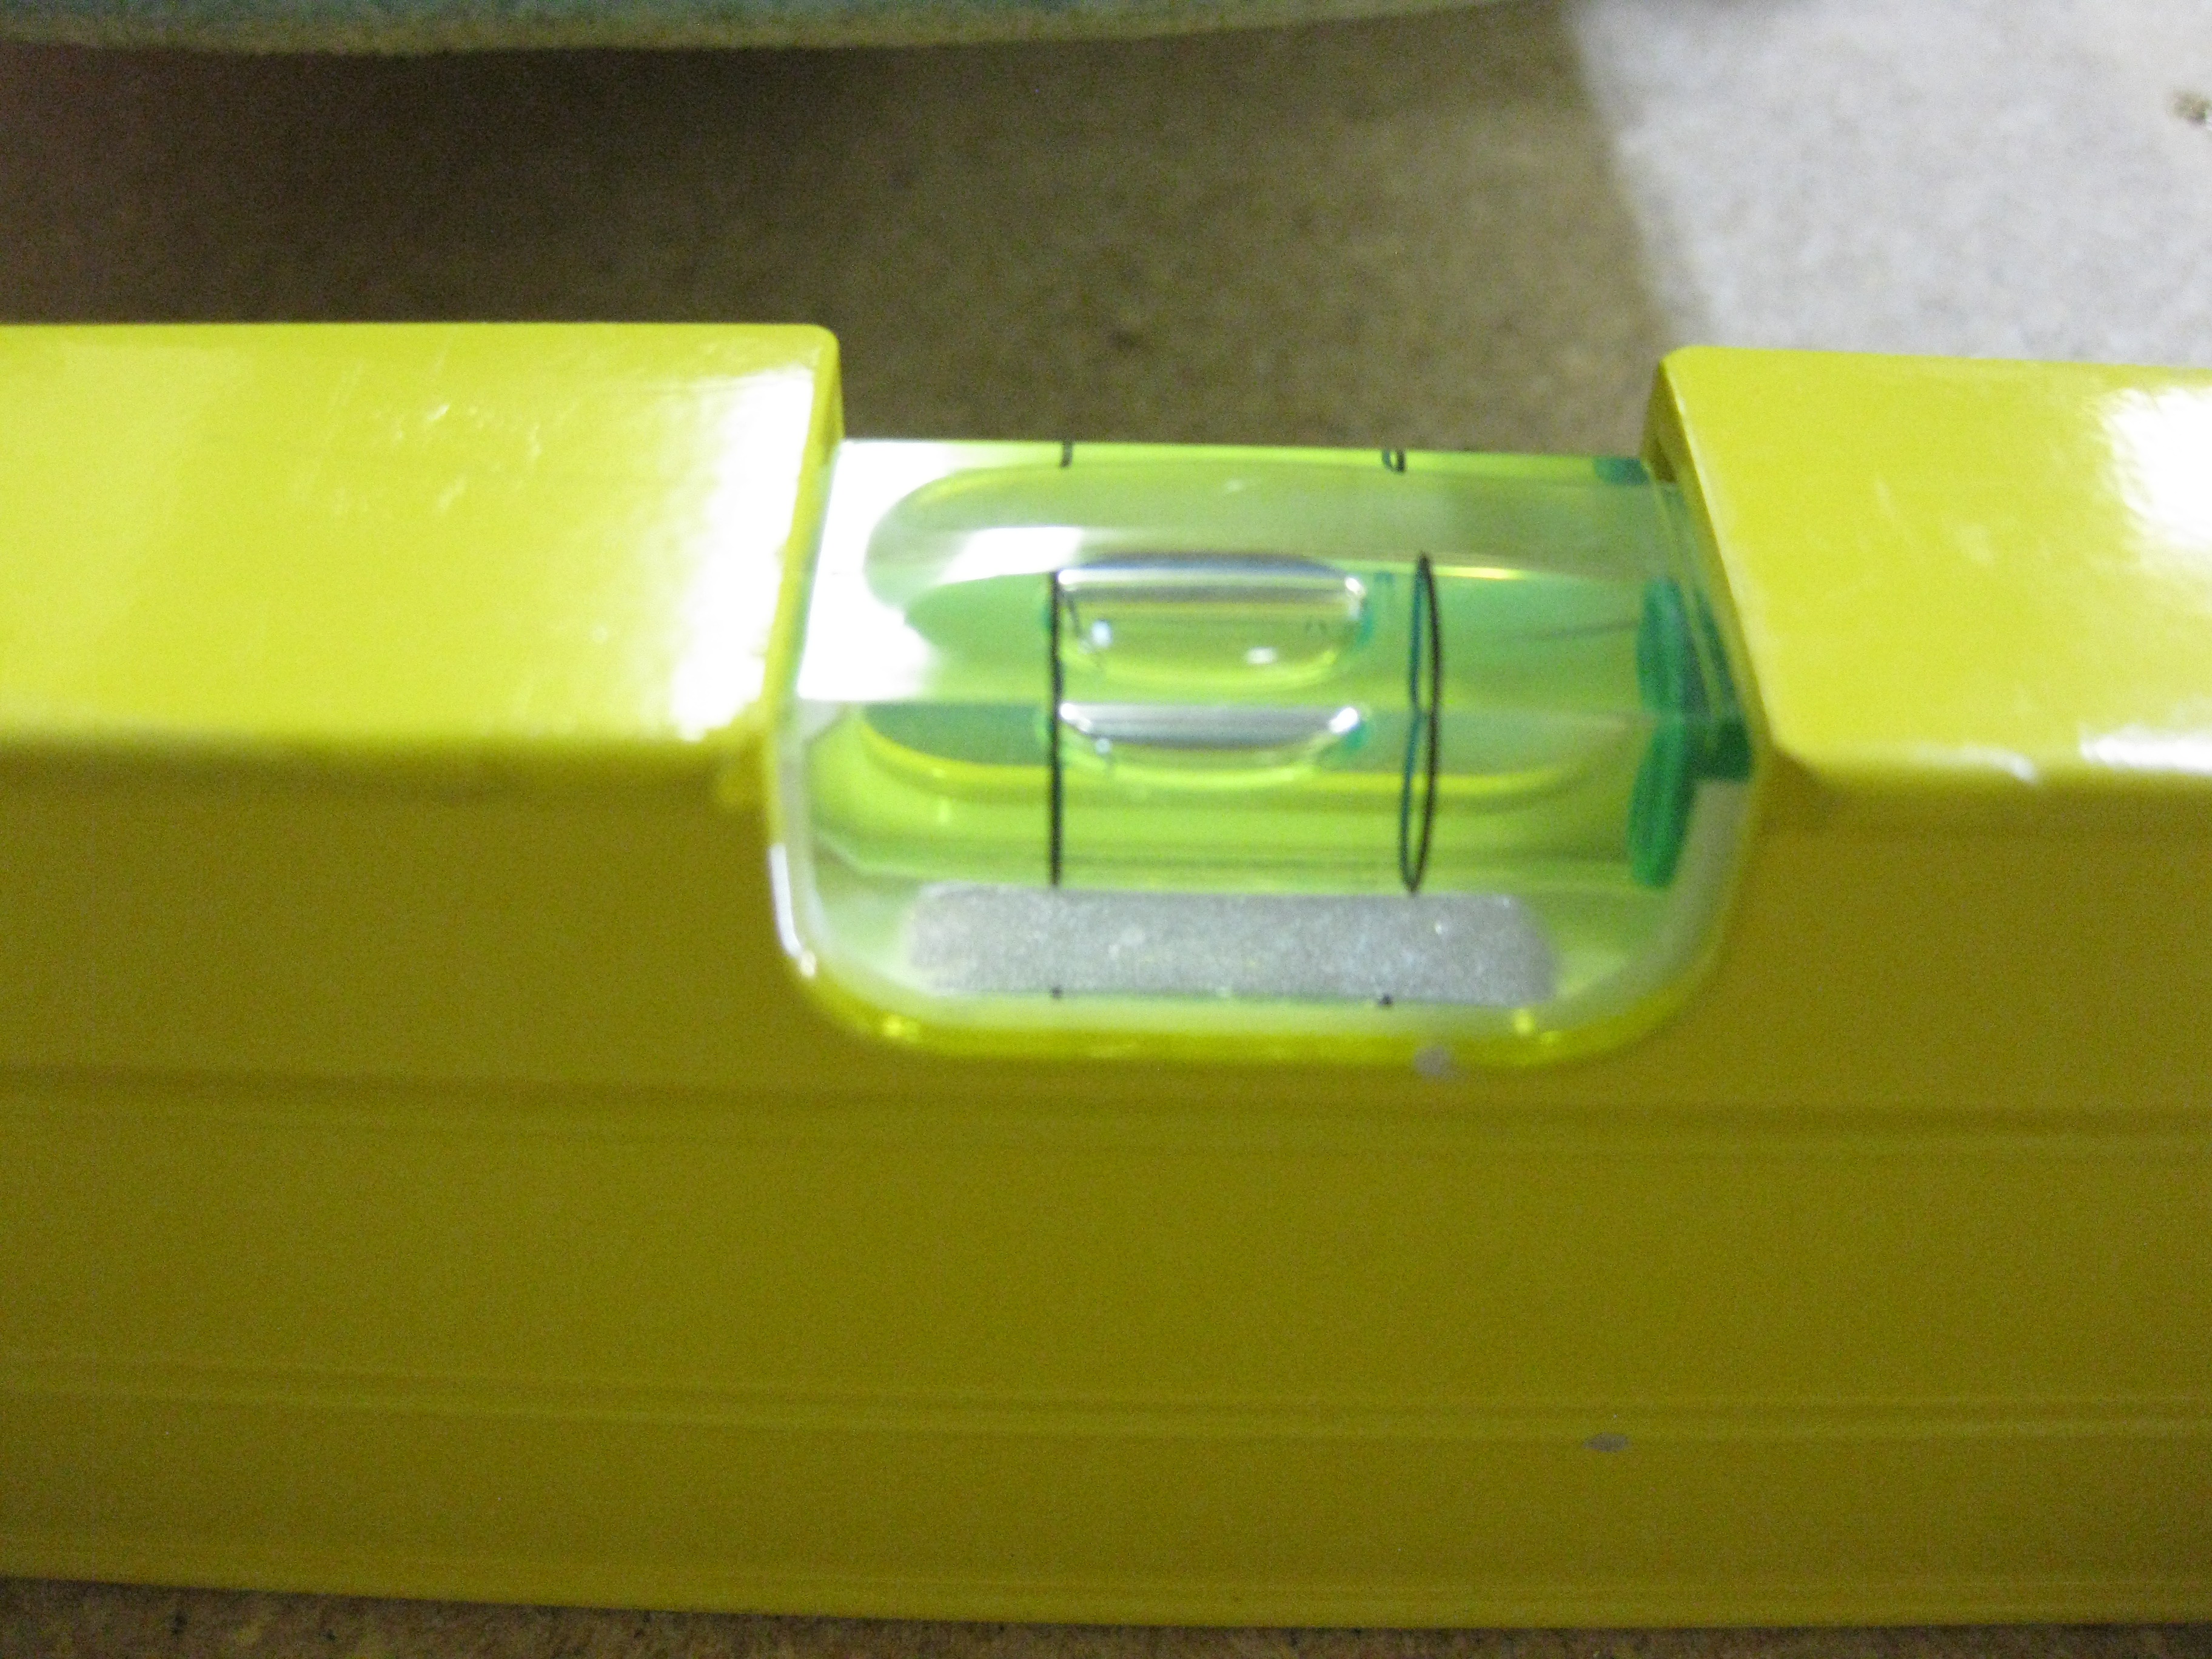
Again, I started with my digital level crossways on the table, as well testing my little bubble level that I taped to the top of the “E” template.

Matching canard incidence with table

Below is the “E” template at the far Right side of the canard, the middle of the canard, and on the Left side of the canard (of course all underside), respectively.   As you can see, the bubble is situated in pretty much the same spot on all of these.

Matching canard incidence with table

Matching canard incidence with table

Matching canard incidence with table

Happy with the position of the canard, I went about the nasty task of Bondo’ing the canard to the “K” mounts.

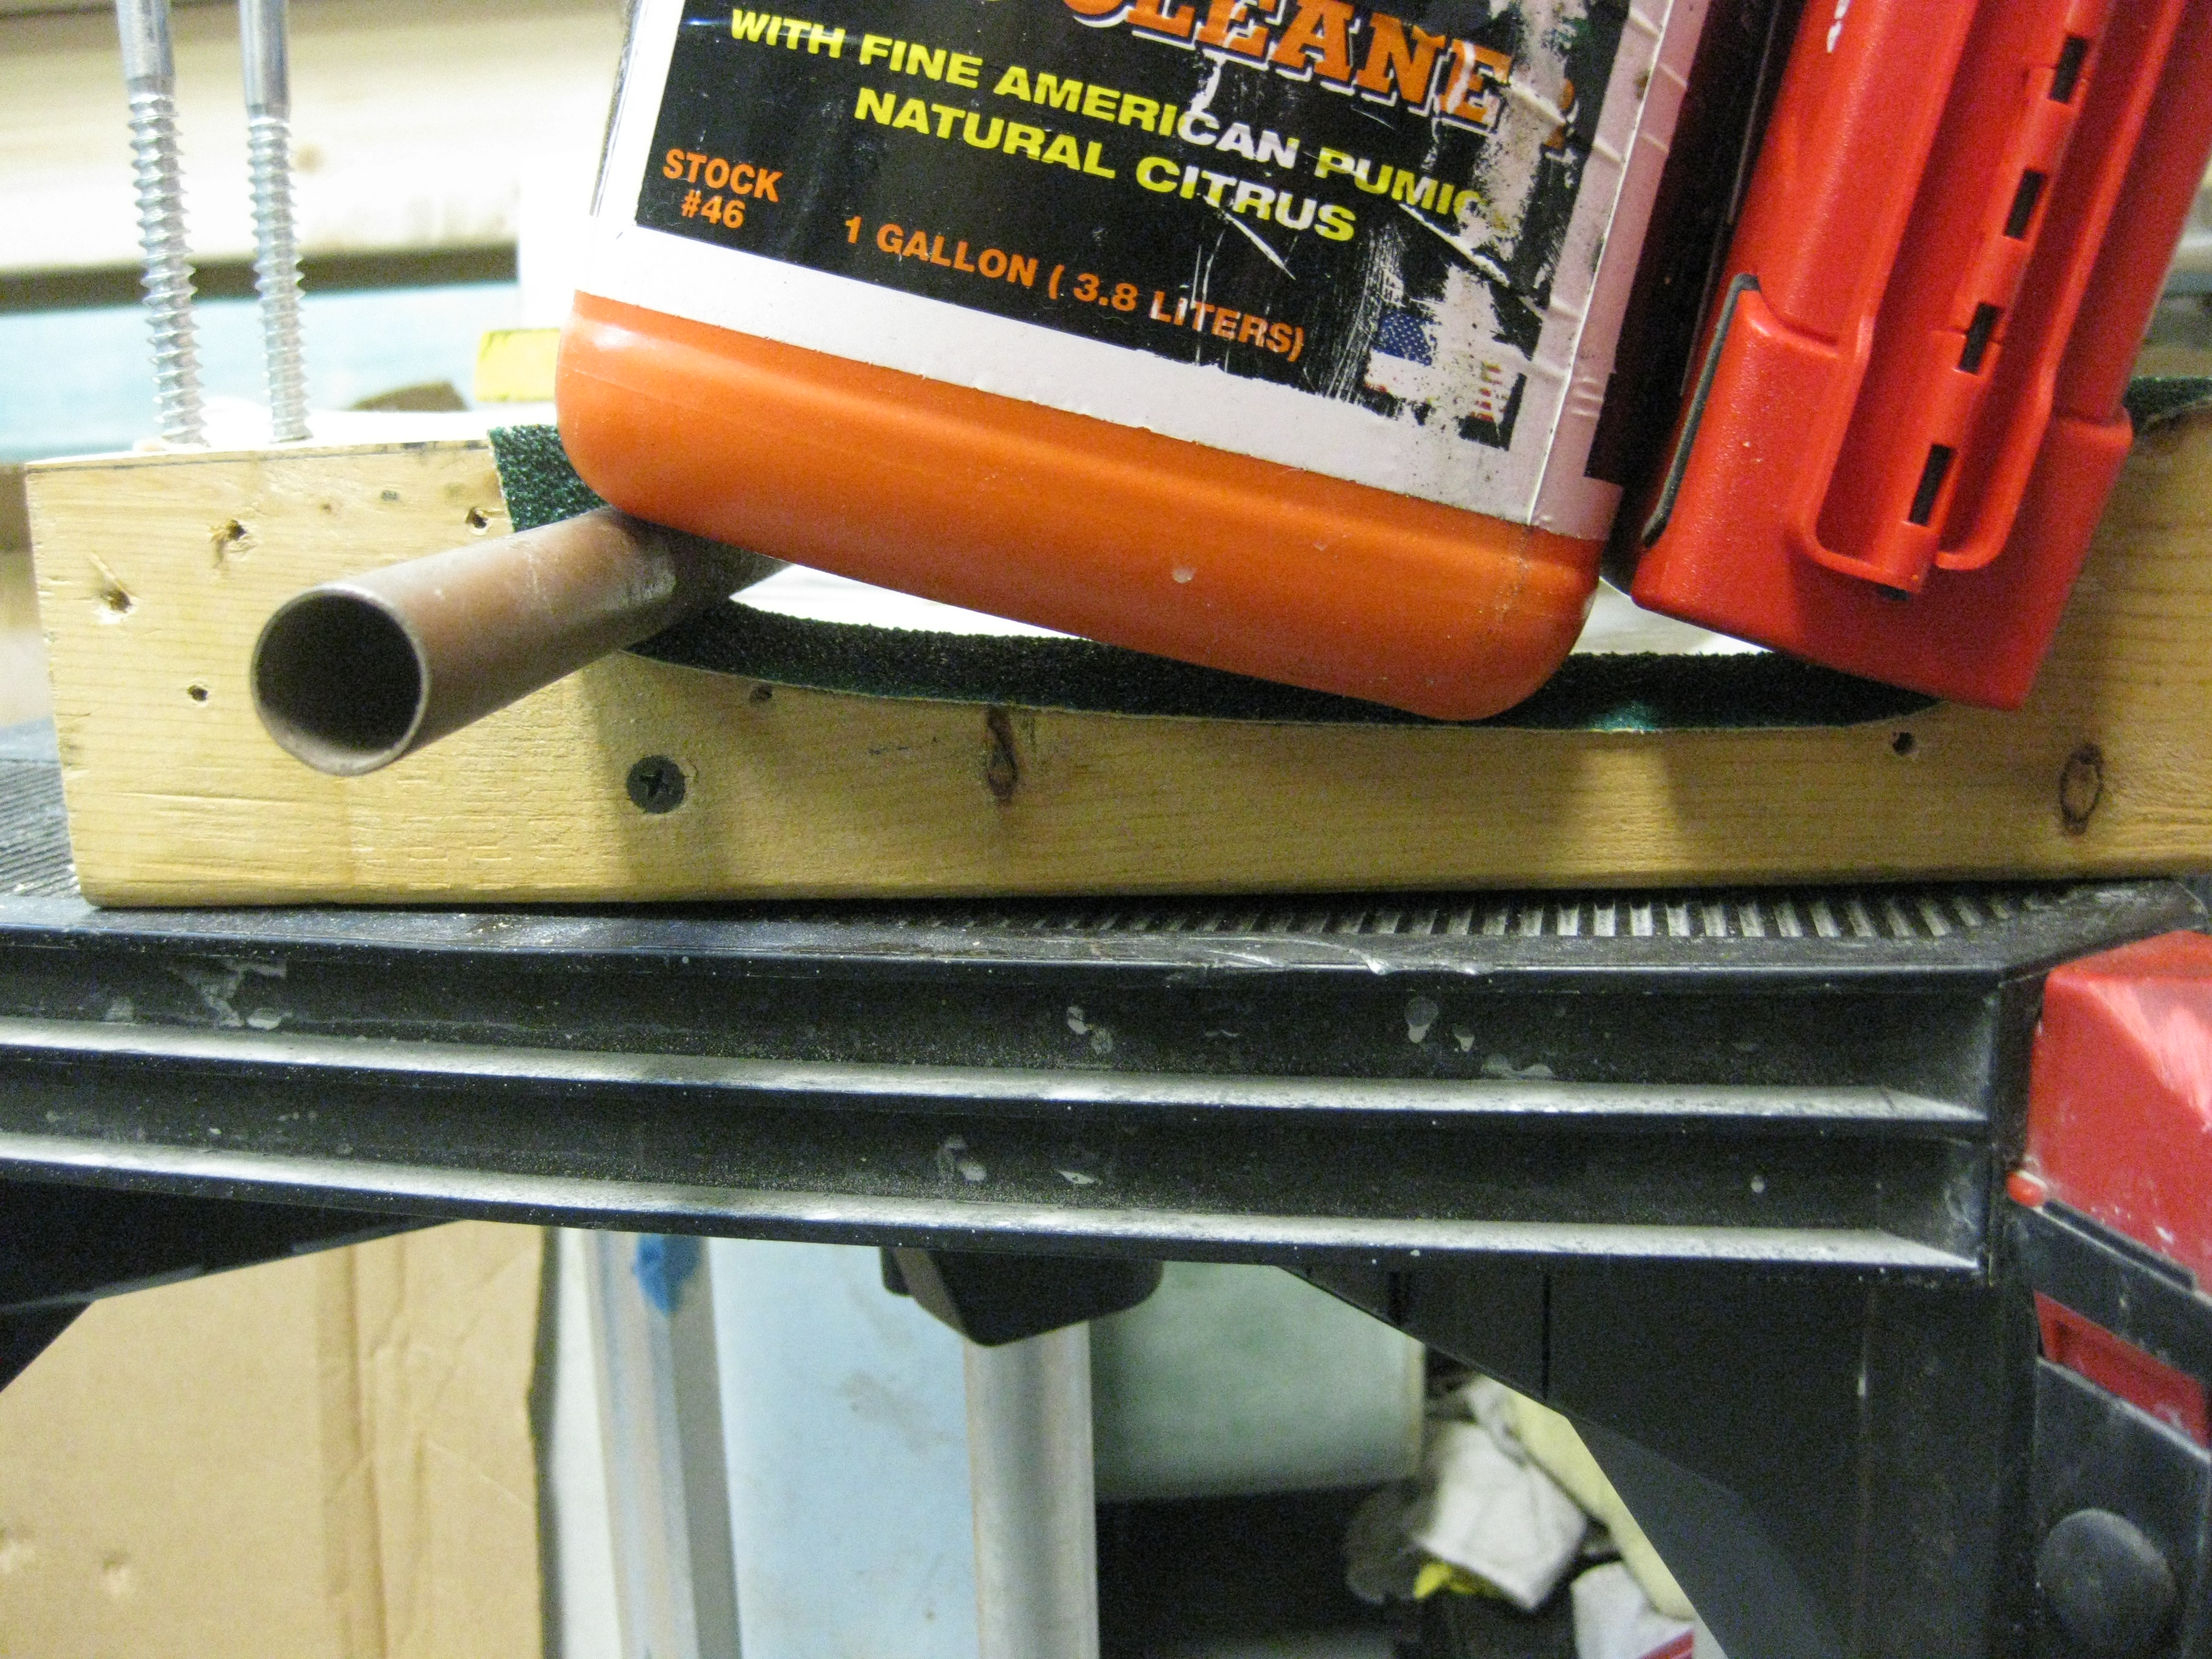
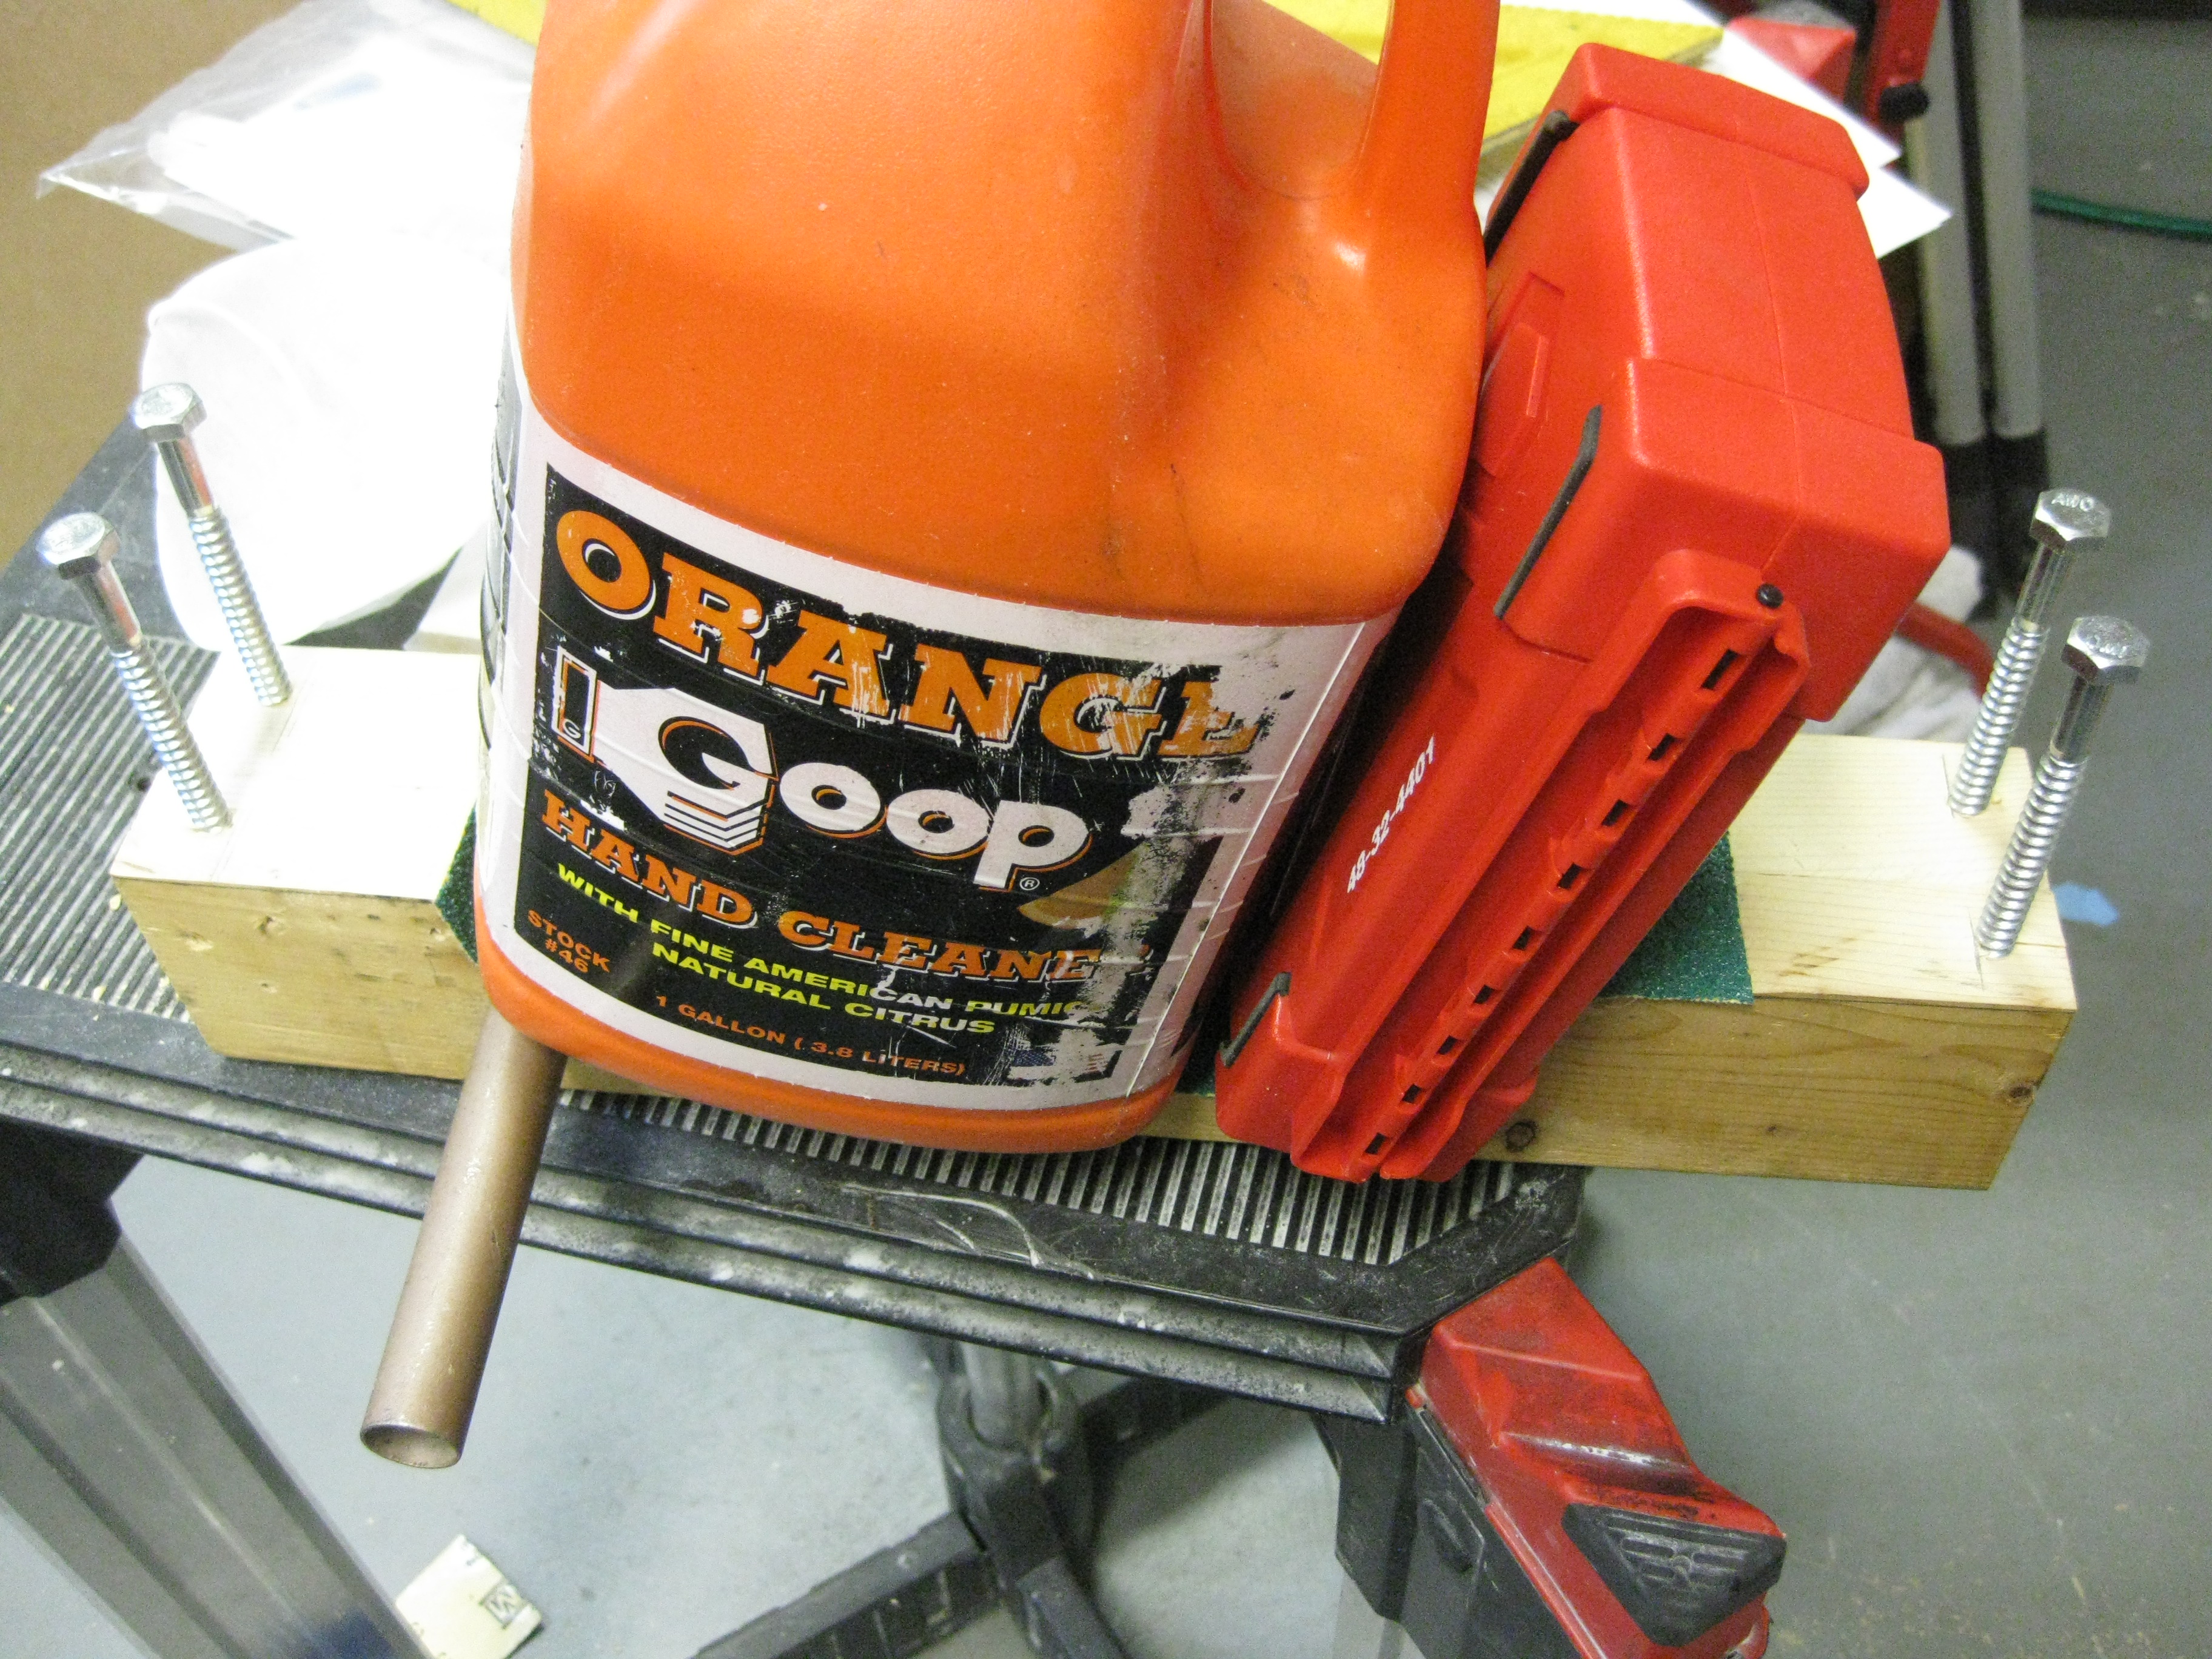
After I was finished with the Bondo and as it cured, I took my Bottom-side Canard Contour Sanding Block outside and shot it with 3M Super 77 spray glue, along with the actual backing of the sticky sandpaper.  Since it takes a bit of time for the spray glue to set up, I went ahead and weighed the sandpaper down to get it to lay correctly in the contoured area.

Weighing down sandpaper while glue dries

Weighing down sandpaper while glue dries

After messing around with getting the sandpaper weighed down, I went back to the canard and spent about 5 minutes double checking that its angle & elevation were correct in relation to the workbench.  Thankfully, it was.

Matching canard incidence with table

And below are some shots of the Bondo holding the canard in its correct position.

Ugh! More Bondo to clean off!

Canard secured to work bench

With the canard nice, snug & secure, I took one last opportunity to sand the LE overlap glass seam and any other overly bright & shiny spots.  After my sanding spree, I vacuumed up the mess and then cleaned the canard surface with an incredible effective cleaning solution: water!

Finishing Underside of Canard

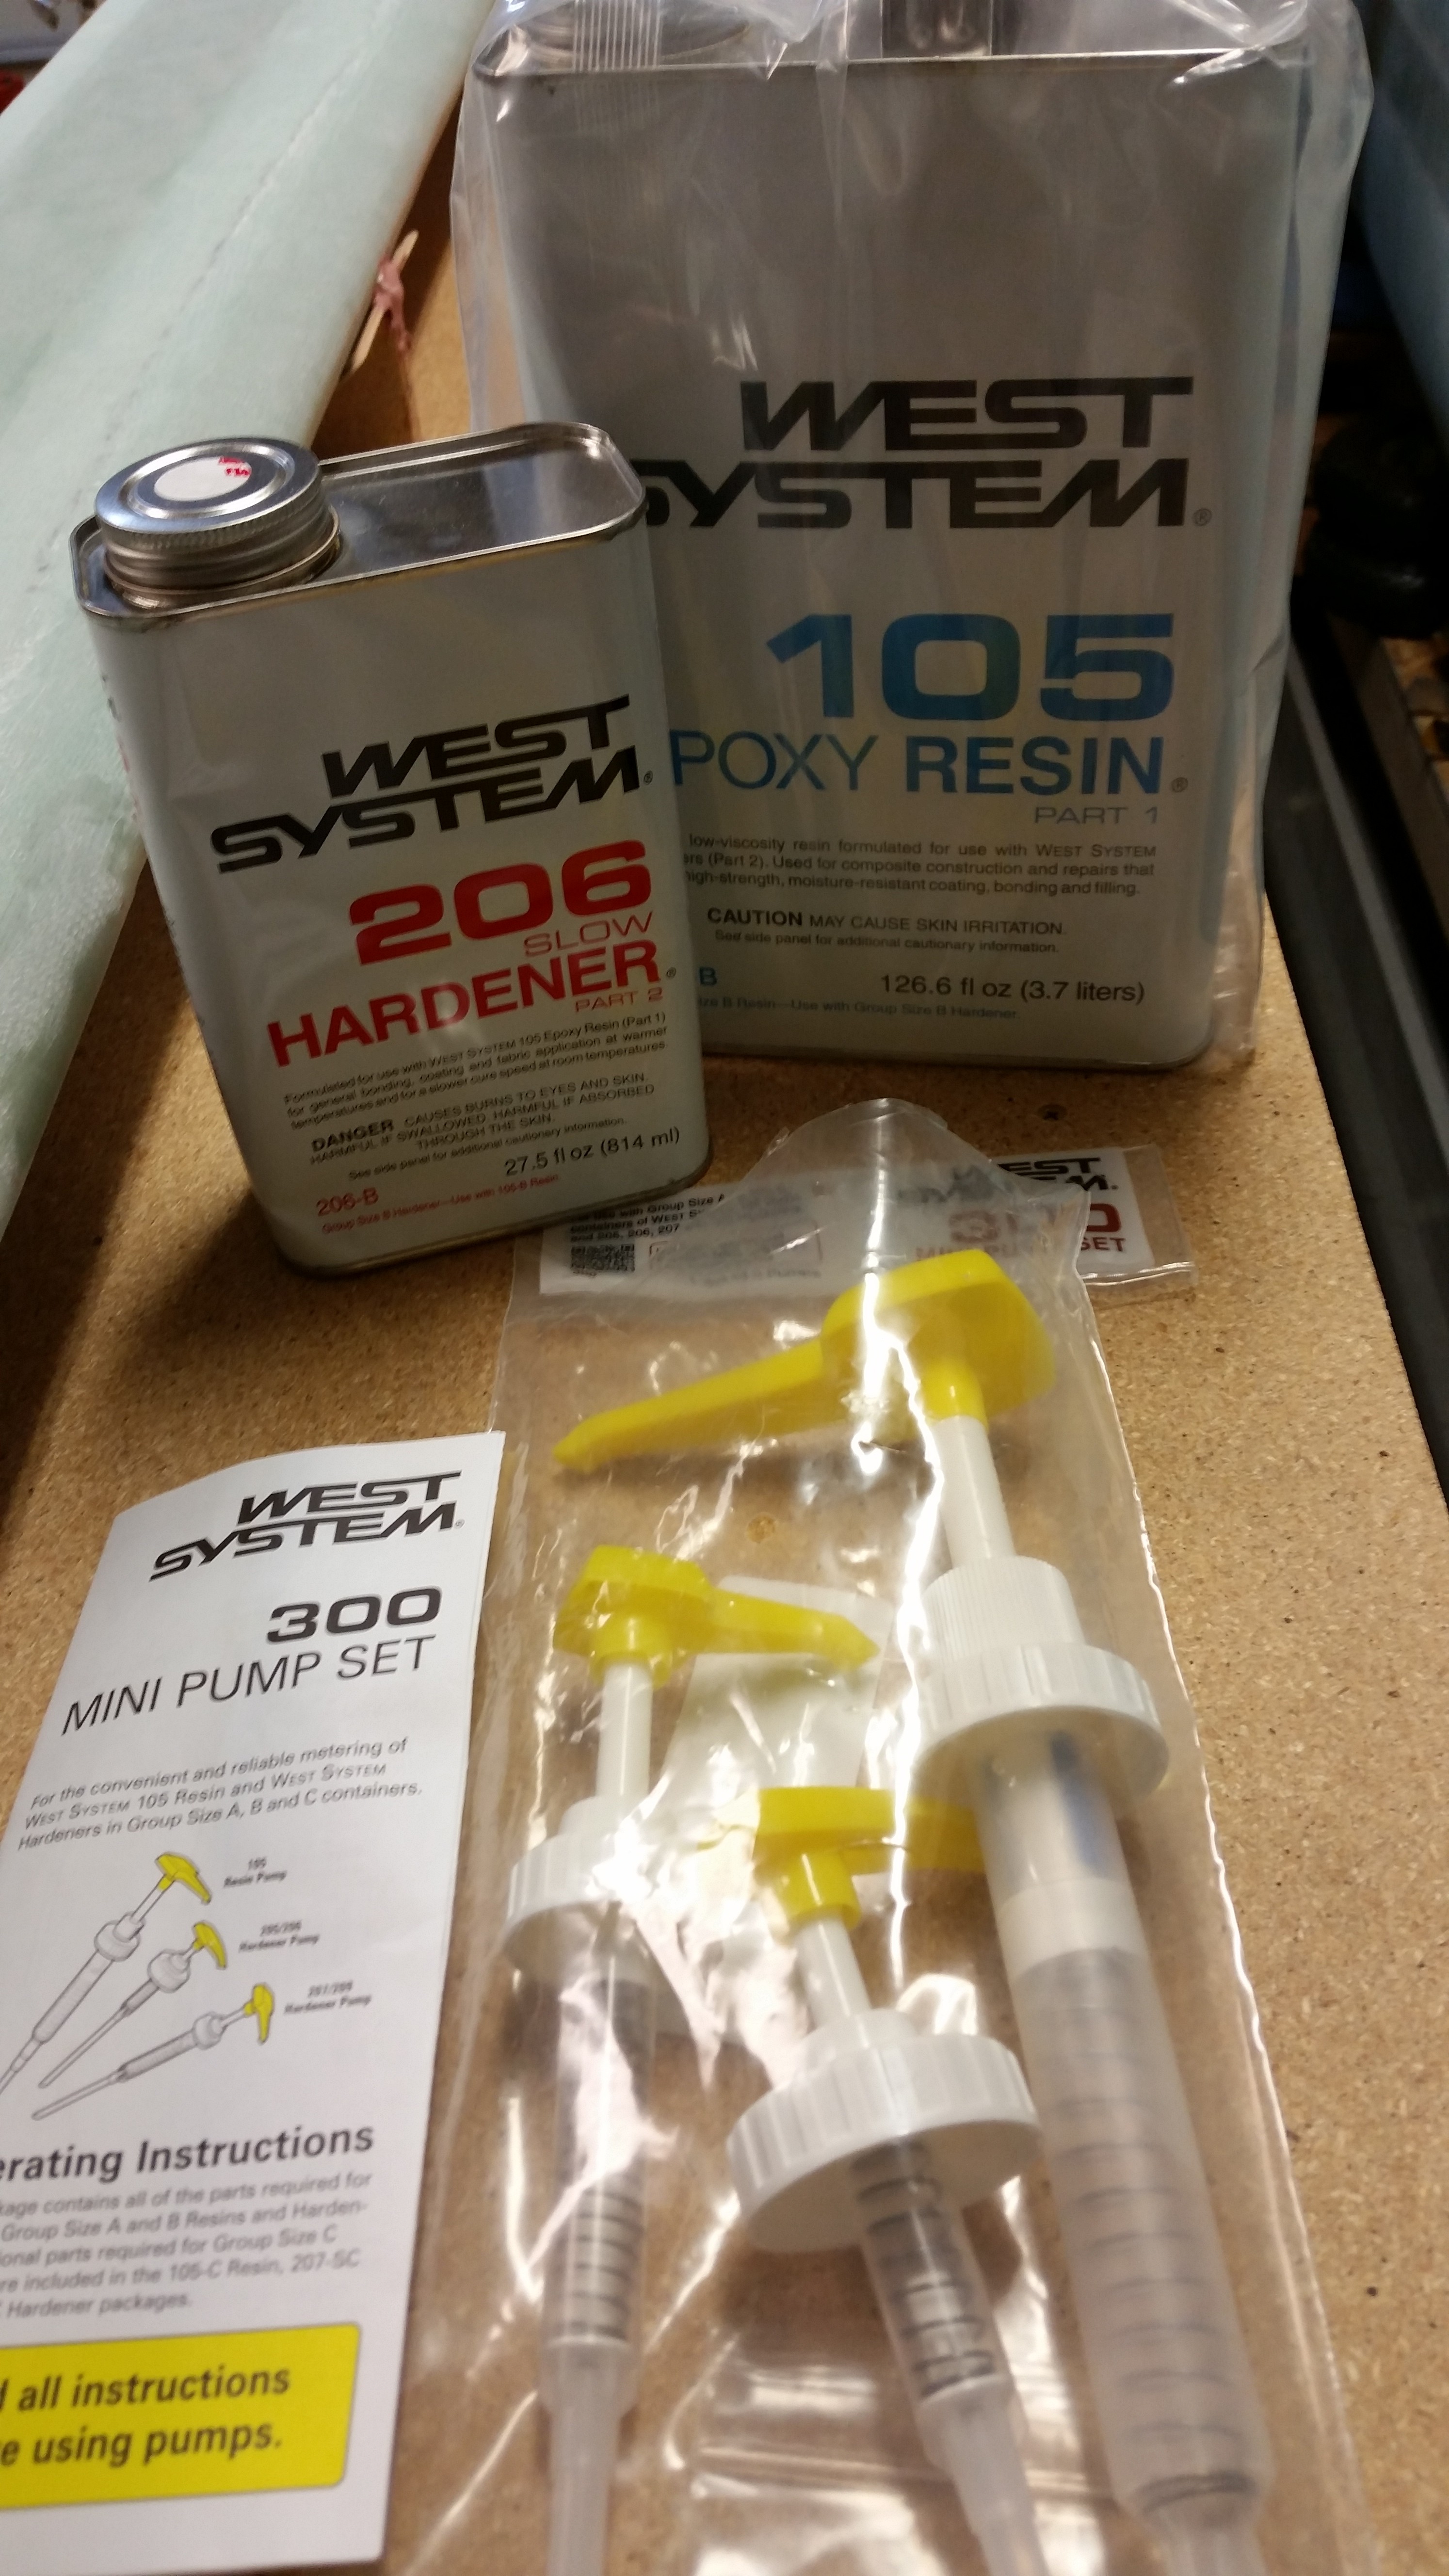
With the canard set to go, I then pulled the West epoxy out of the hot box and gathered up my West epoxy system pump set.  This was going to be pretty fun to use this since the last time I messed around with these pumps was when I took the EAA Composites Course in January 2011.

West Epoxy System

I got my epoxy workstation situated and primed both the epoxy and hardener pumps so that when I pressed on the pump handles I actually got the correct amount of epoxy or hardener per every stroke.

West Finishing Epoxy Setup

Now, I am grateful that my first time out using micro for finishing was on the BOTTOM of the canard, since clearly it’s not as uber critical in shape as the top.  Of course that’s not to say I’m allowing shoddy workmanship, since, yes, I realize that the canard bottom surface & elevators are essentially Fowler Flaps, and clearly the bottom surface shape is important too.

I’ll also admit that in attempting to follow the letter of the micro-finishing law that states that thou shalt use the driest micro possible, after spending 10-15 minutes trying to lay down really dry micro I realized that it was just not working.  I scraped off micro set #1 and it went into the trash.

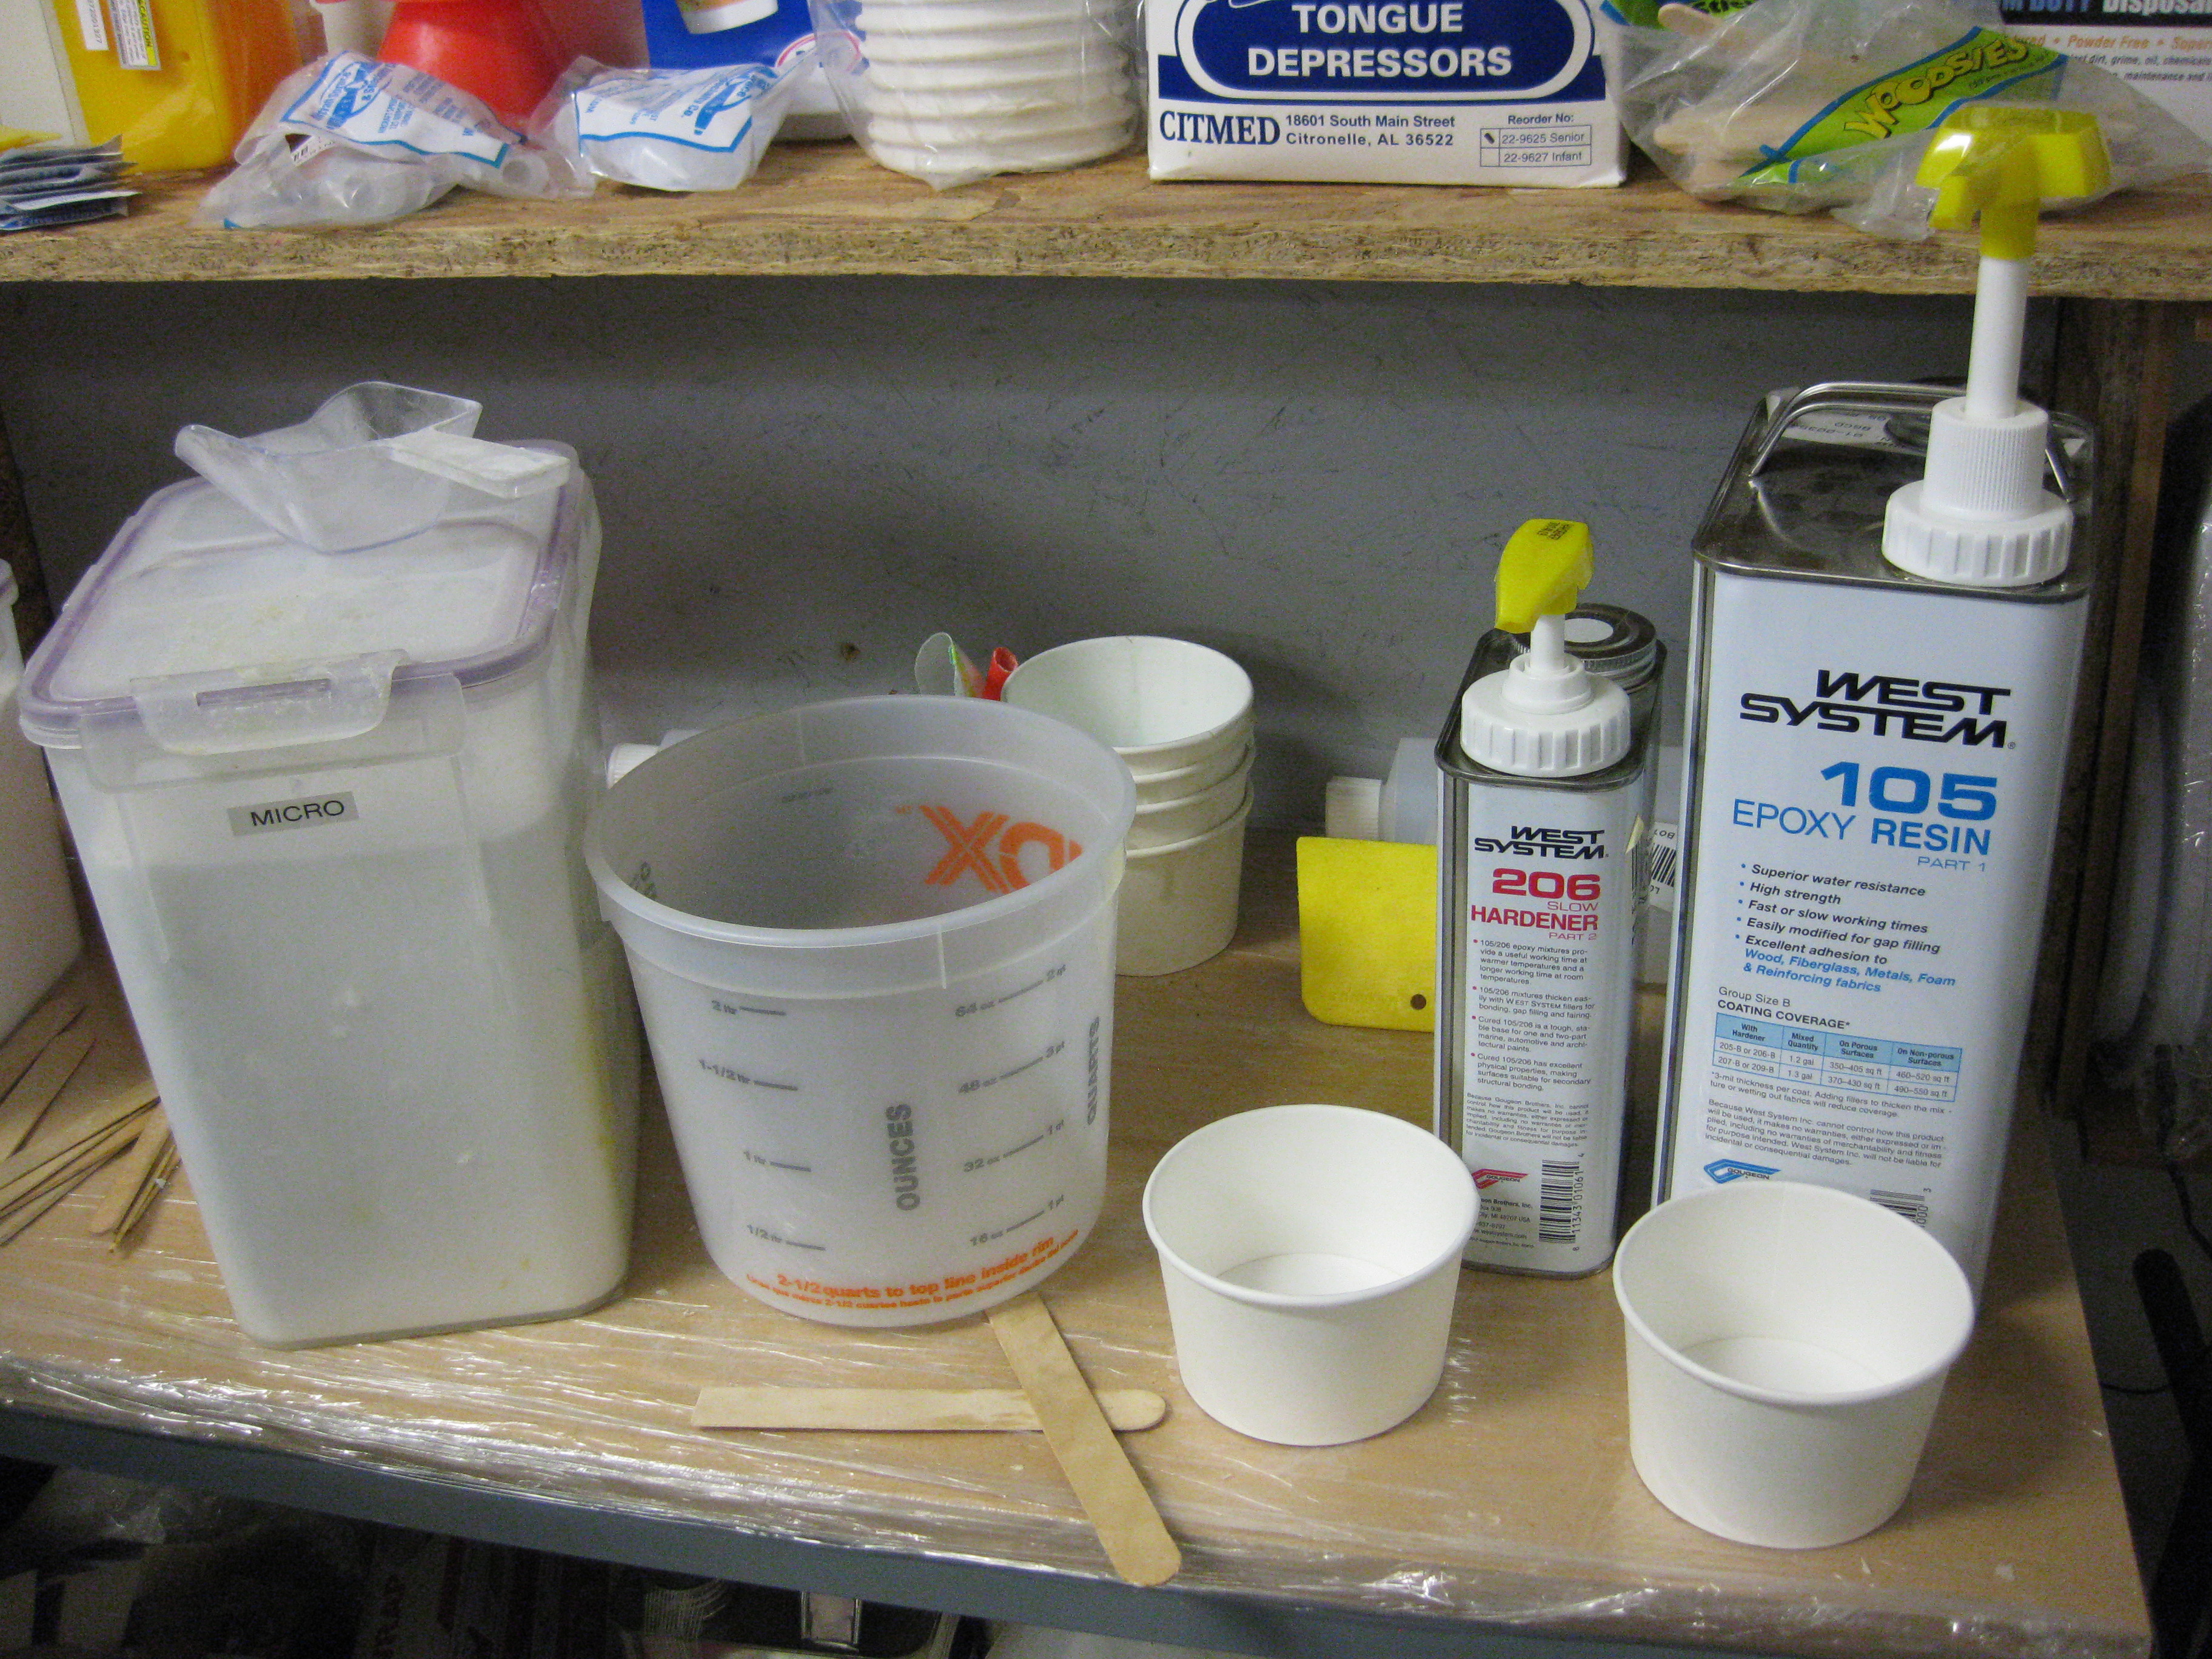
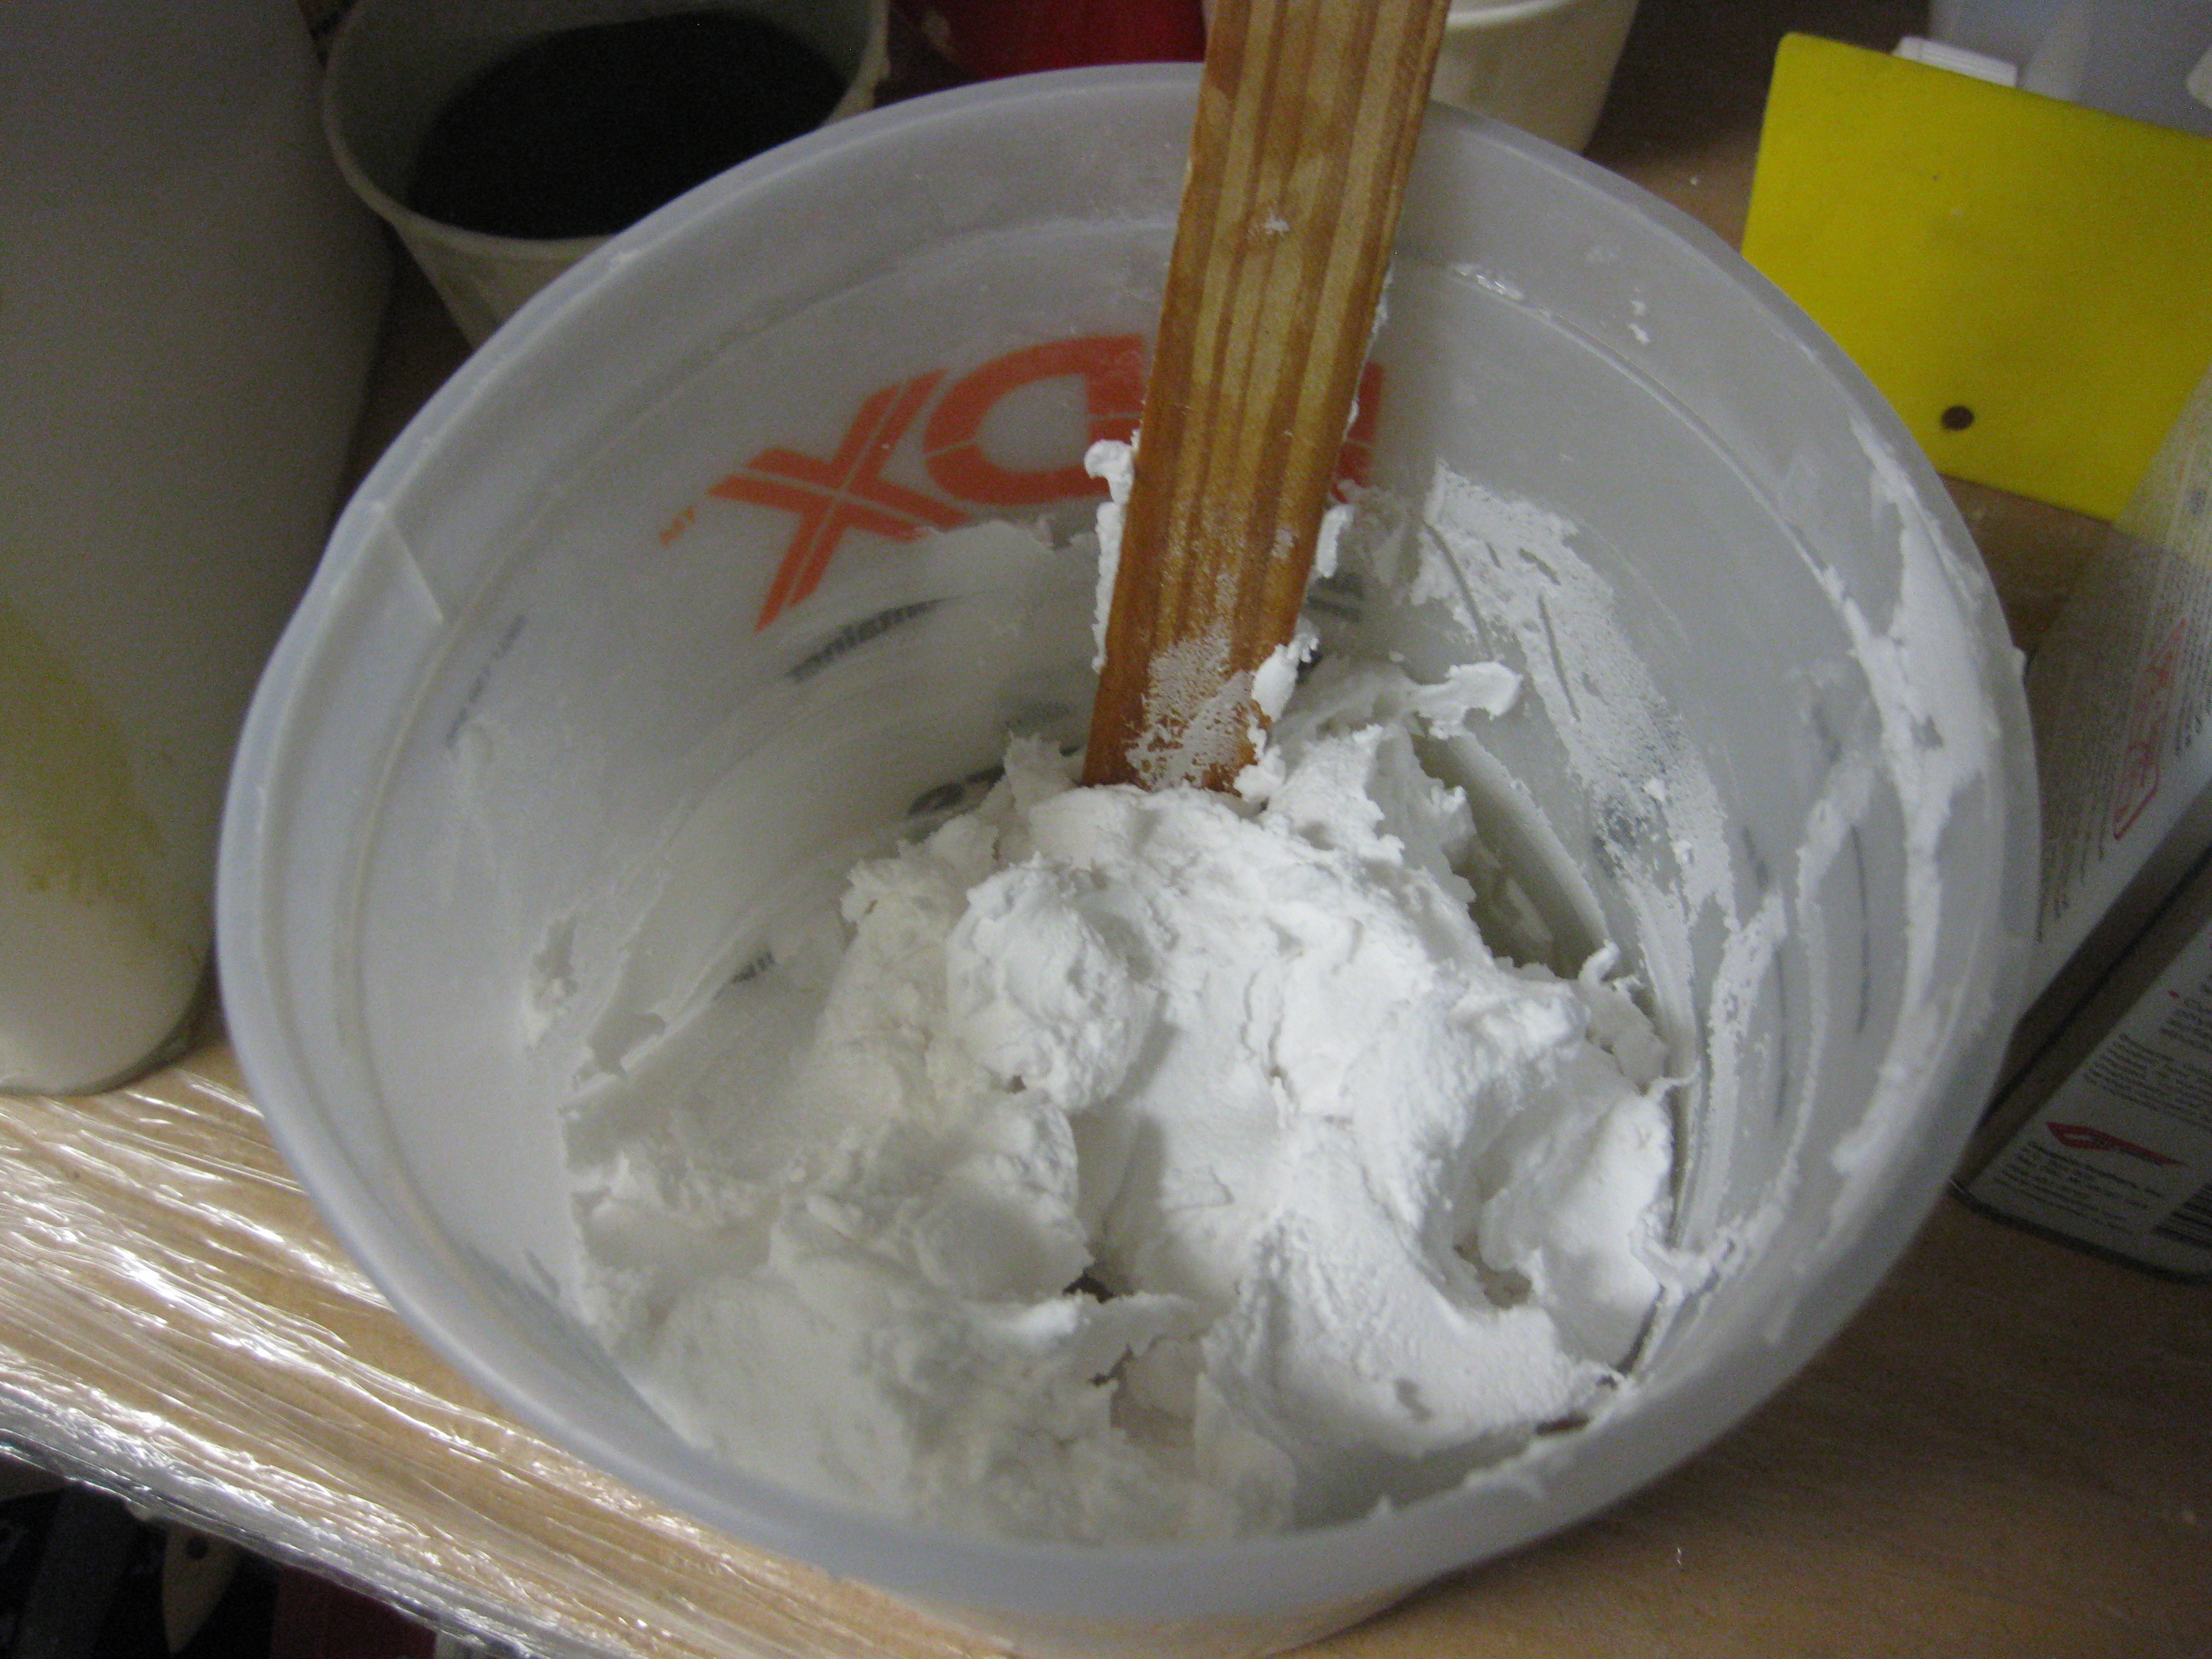
After my on-the-job micro lesson in round one, I simply wimped out and went with only dry micro for the next round.  Amazing what half a cup less of micro in the mix allows one to do!  I may have cheated a hair, but let me tell you, the ability to actually get the stuff to stay on the surface was an awesome feeling . . . and trust me, that doesn’t mean I’m saying it instantly turned easy.  It just went from being an impossible task to an actual possible task, albeit still really challenging (read: PITA!).  I will say though, that with each batch of micro that I laid down I could tell I was getting a better feel for it and my micro-finishing kung fu skills were definitely improving.  Here’s the round 2 stuff:

Micro for finish

And with all that, Voila!  Here is the micro finished underside of the canard, in all it’s glory! (Do you hear something? . . . Are those horns sounding?!)

Initial Micro Finish

After the micro cured for a couple of hours, I followed Wayne Hicks’ advice, who in turn was following Nick Ugolini’s advice, and I started sanding the canard to knock down the high, ugly stuff while the micro was in the “green” stage.  This meant that having only cured for a couple of hours, the West epoxy was still a little rubbery, and thus much more easily sandable than fully cured micro.

Below is a shot of the underside of the Left side of the canard after I tackled sanding the micro in its “green” stage.

Initial "green" micro sanding (L)

And here’s a shot of the underside of the Right side of the canard after I sanded the micro in its “green” stage.

Initial "green" micro sanding (R)

Tomorrow I’ll sand the micro after its cured completely, using the contour sanding block (of course!).


Chapter 10 – Securing Canard

Early afternoon I went to Home Depot to pick up some supplies to start the micro finish on the bottom of the canard.
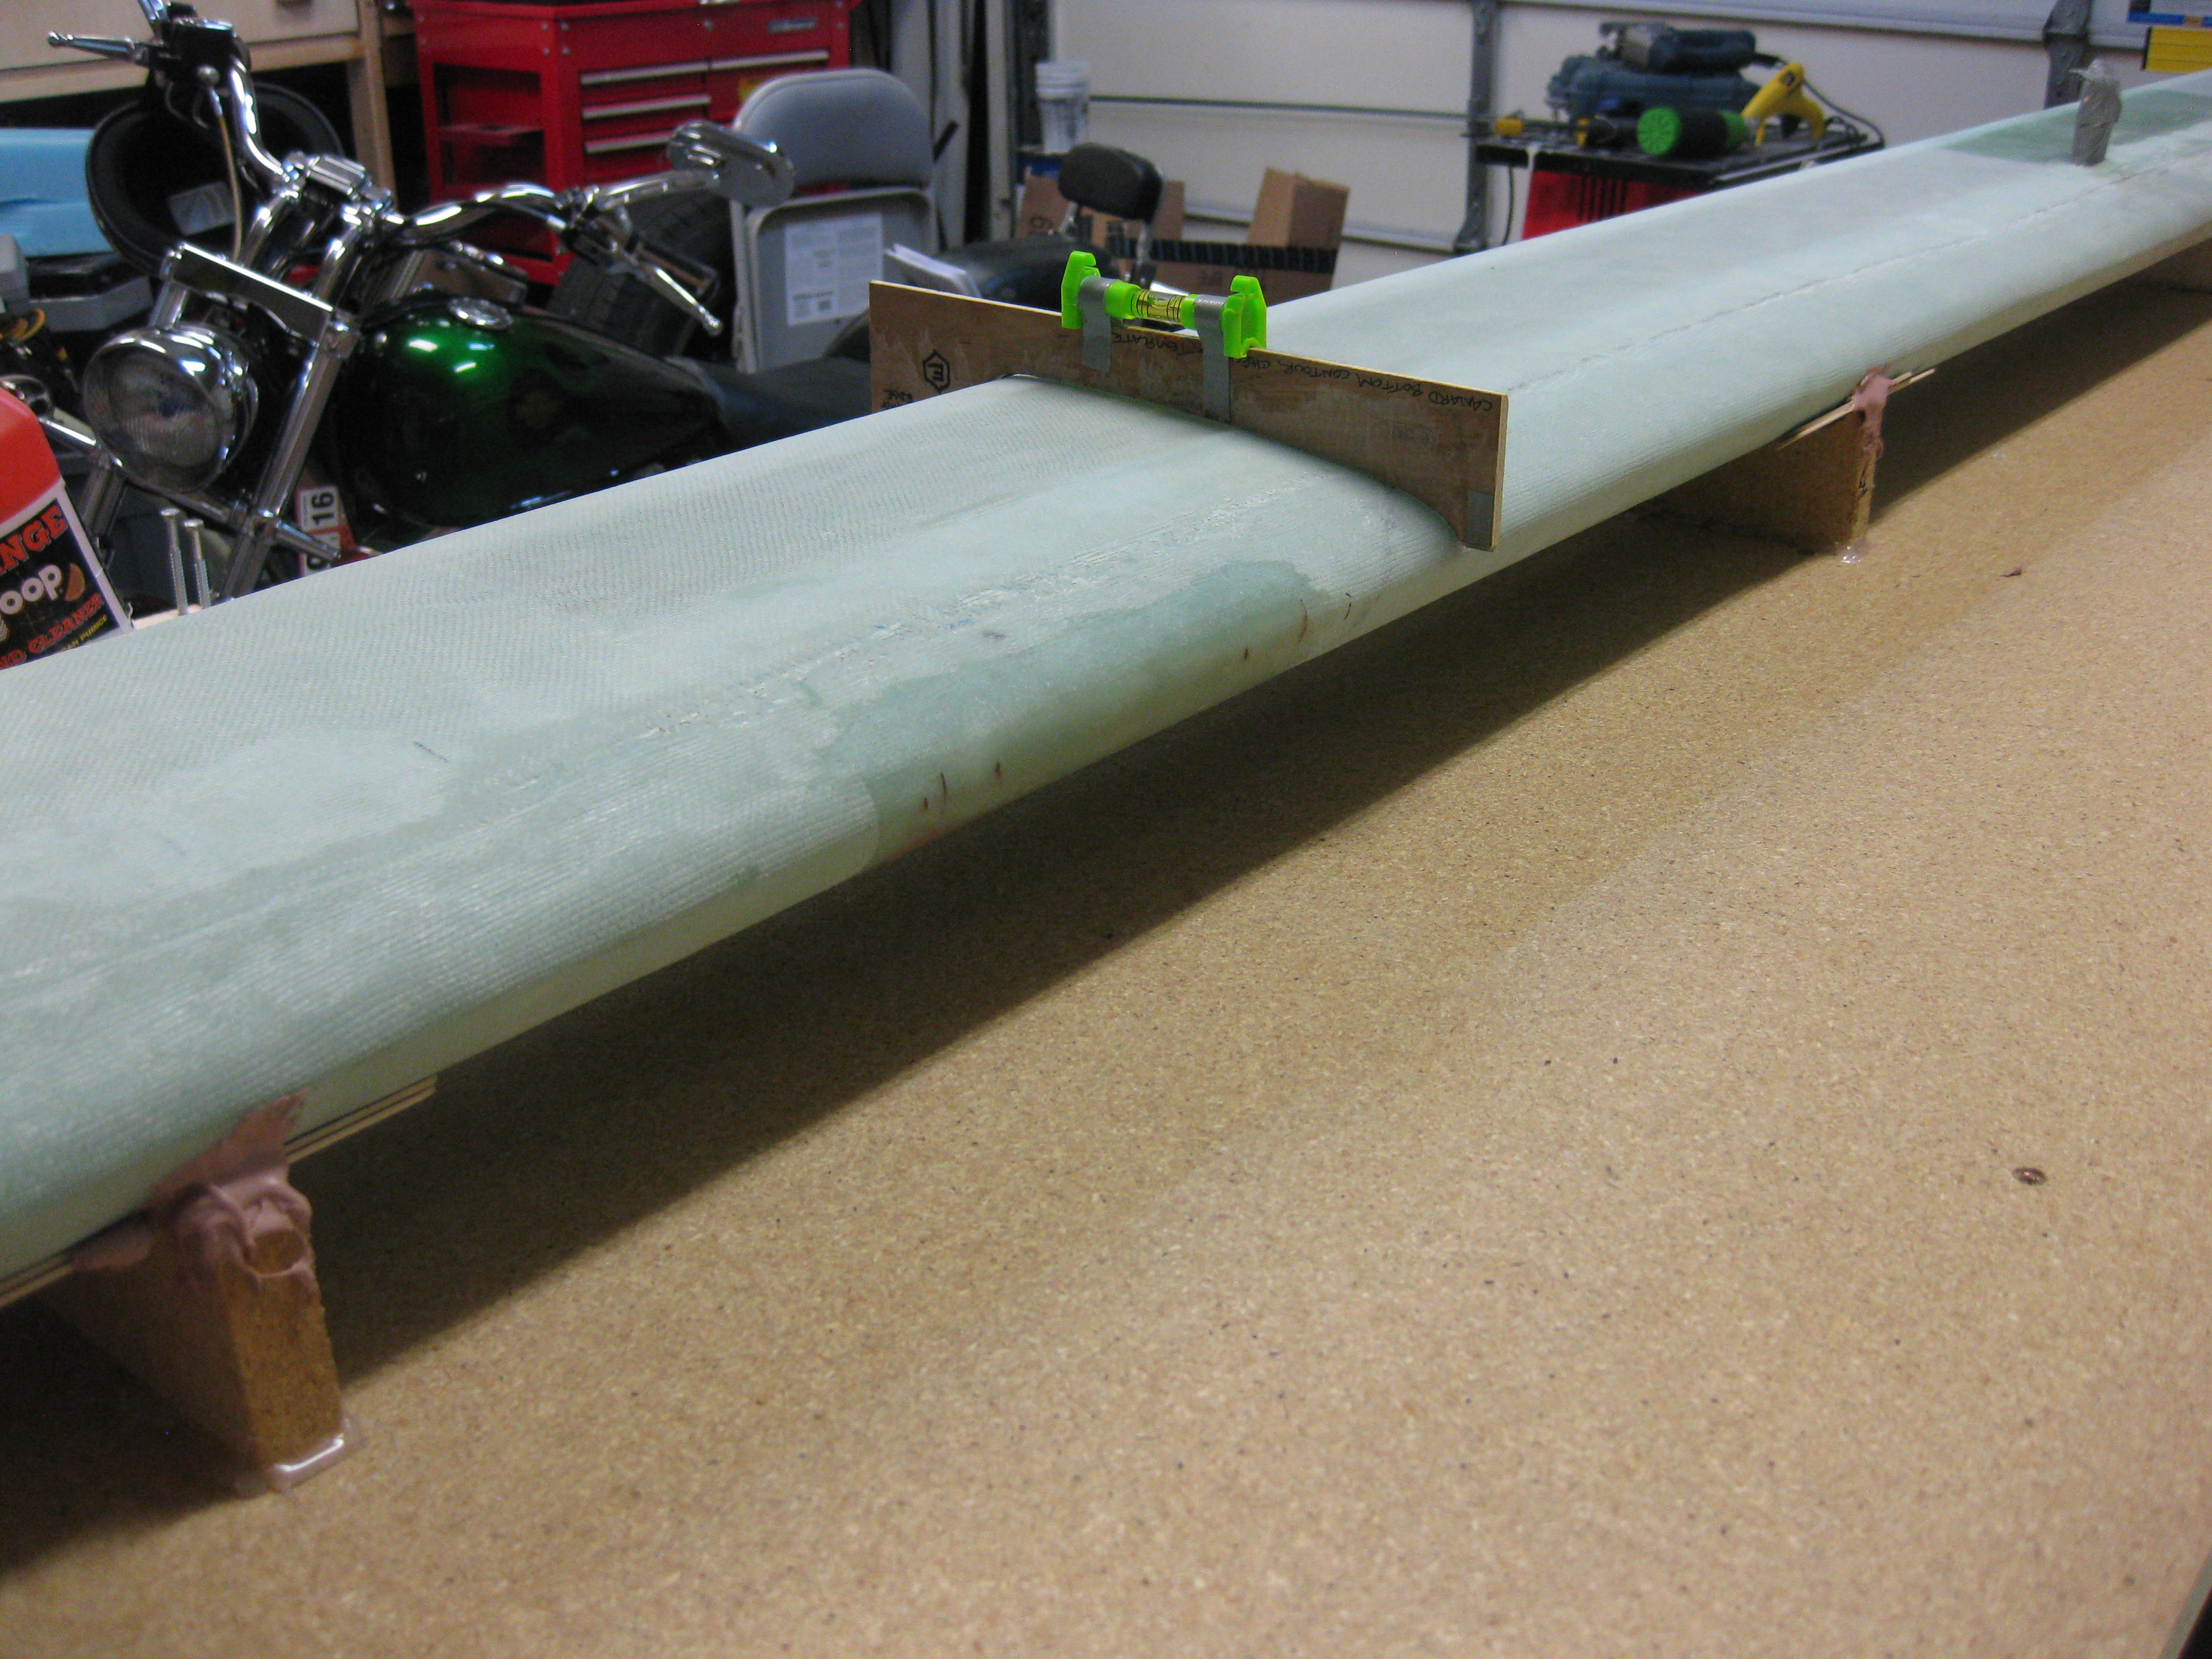
Shortly after I returned home, I met future Long-EZ builder, Sohail, and showed him around my shop, and all the various pieces parts of my Long-EZ project.  Of course what ensued was a long conversation on building Long-EZ’s, canards, and airplanes in general.

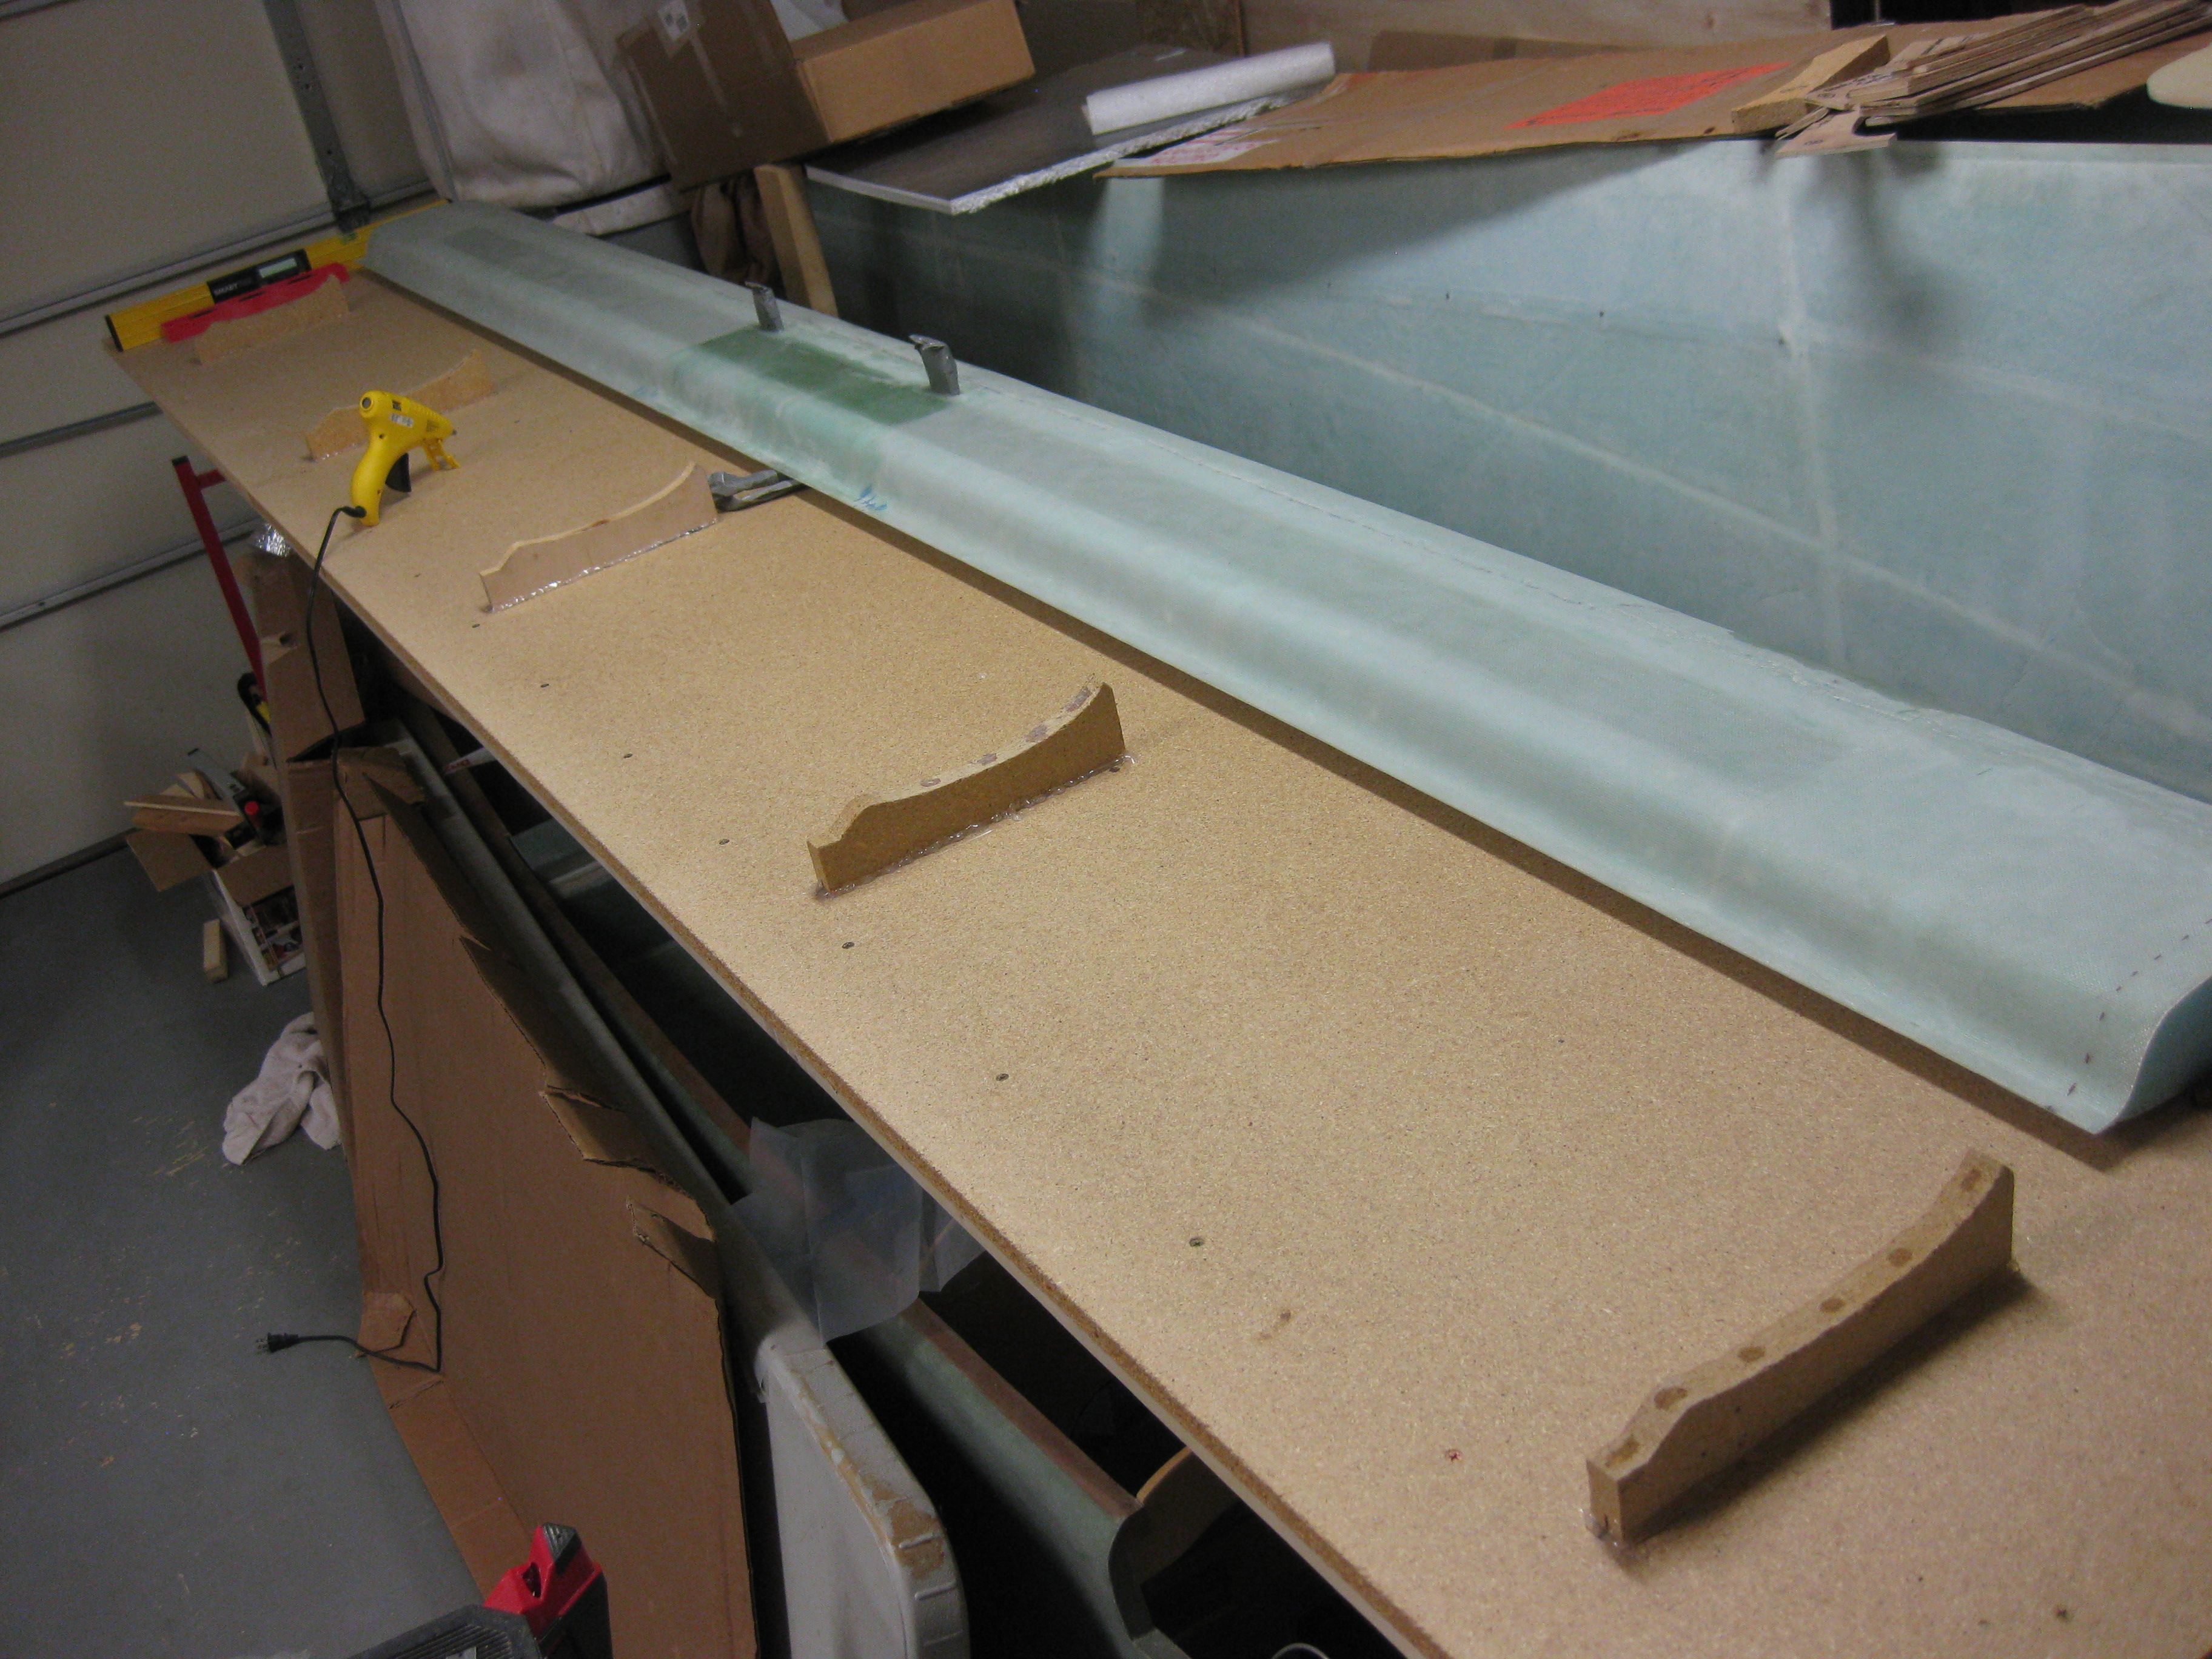
After Sohail left, I worked on getting the canard mounted upside down on the workbench. Thus, my first order of business was to secure the “K” mounts to the workbench surface.

Securing "K" Mounts with Hot Glue

I had thought about either hard-mounting the “K” mounts with screws & maybe some brackets, but I really wanted to minimize the holes in the workbench top.  Plus, all but one of the “K” mounts are made of particle board and I didn’t want to add any stress to them by drilling holes, etc.

Another option was of course bondo, but I didn’t want the mess, the smell or the pain of sanding it off the workbench surface after removing the “K” mounts.  As you can see by the pics, I went the hot glue route.  Hot glue has plenty of strength for the job and it cleans up fairly easily.

After ensuring the “K” mounts were aligned & spaced properly, I hot glued them to the workbench top.

Securing "K" Mounts with Hot Glue

Hopefully tomorrow I’ll get to some micro-finishing!

Chapter 10 – Canard Sanding Block

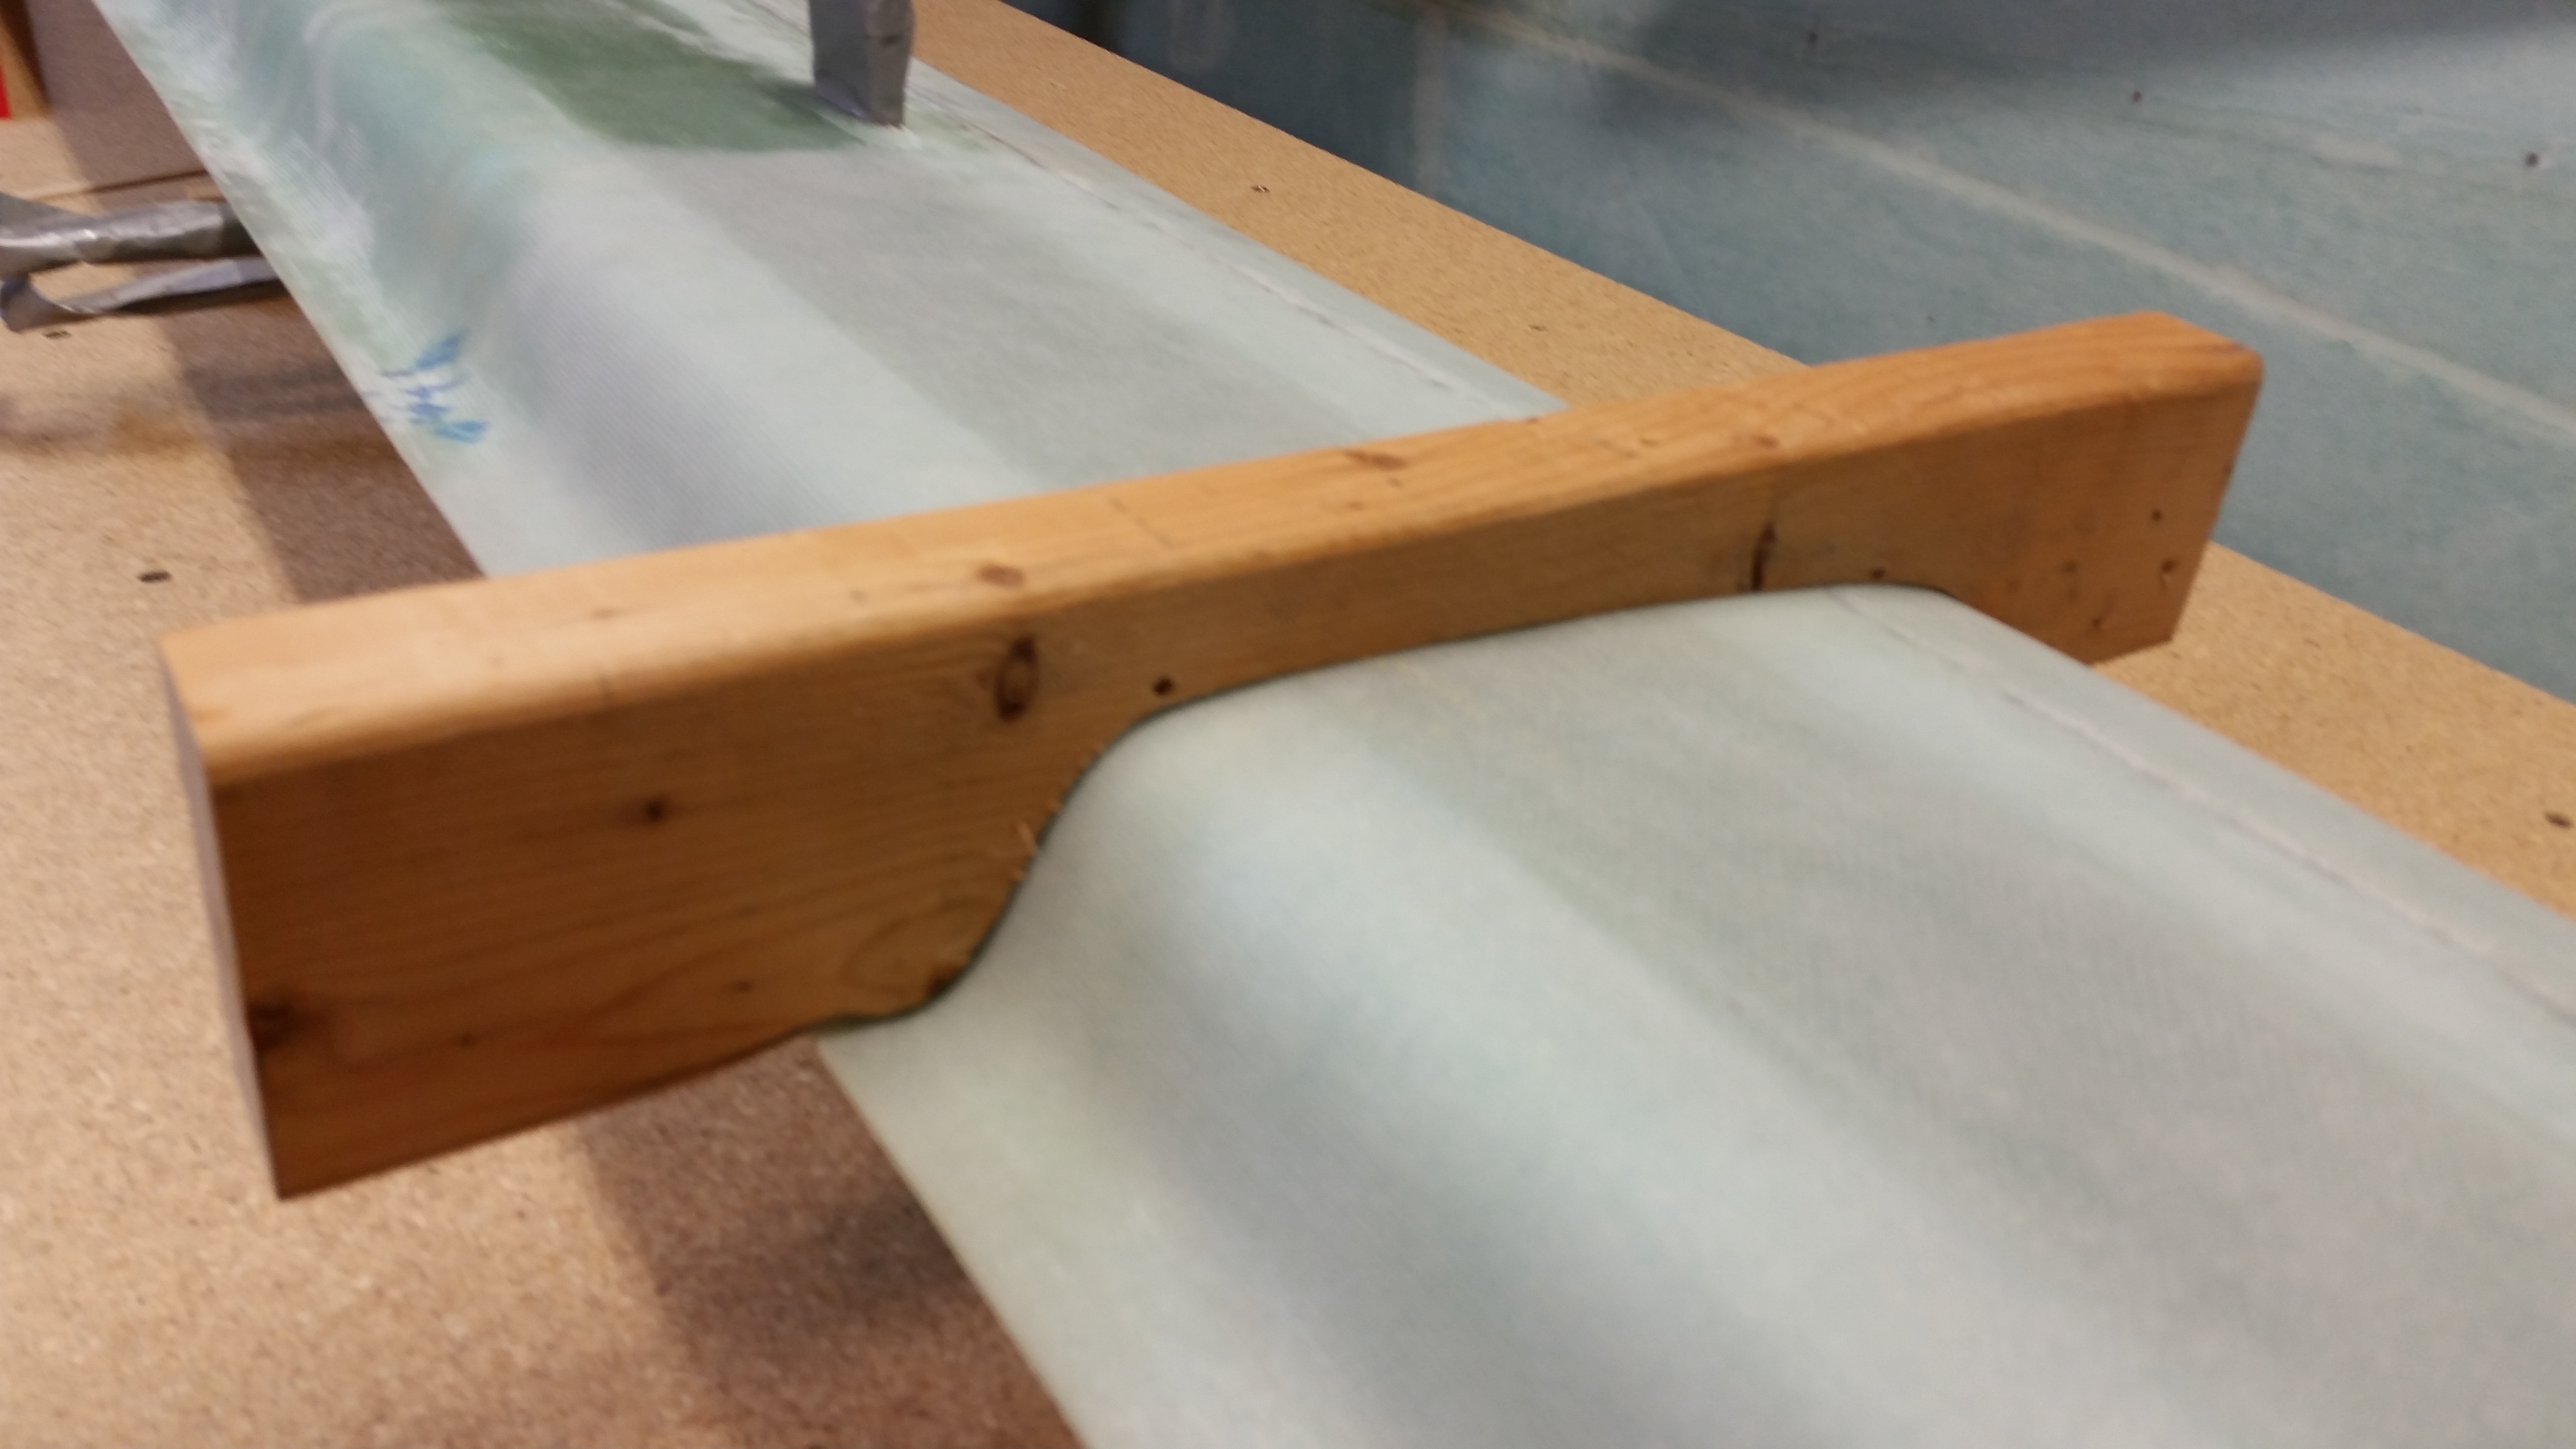
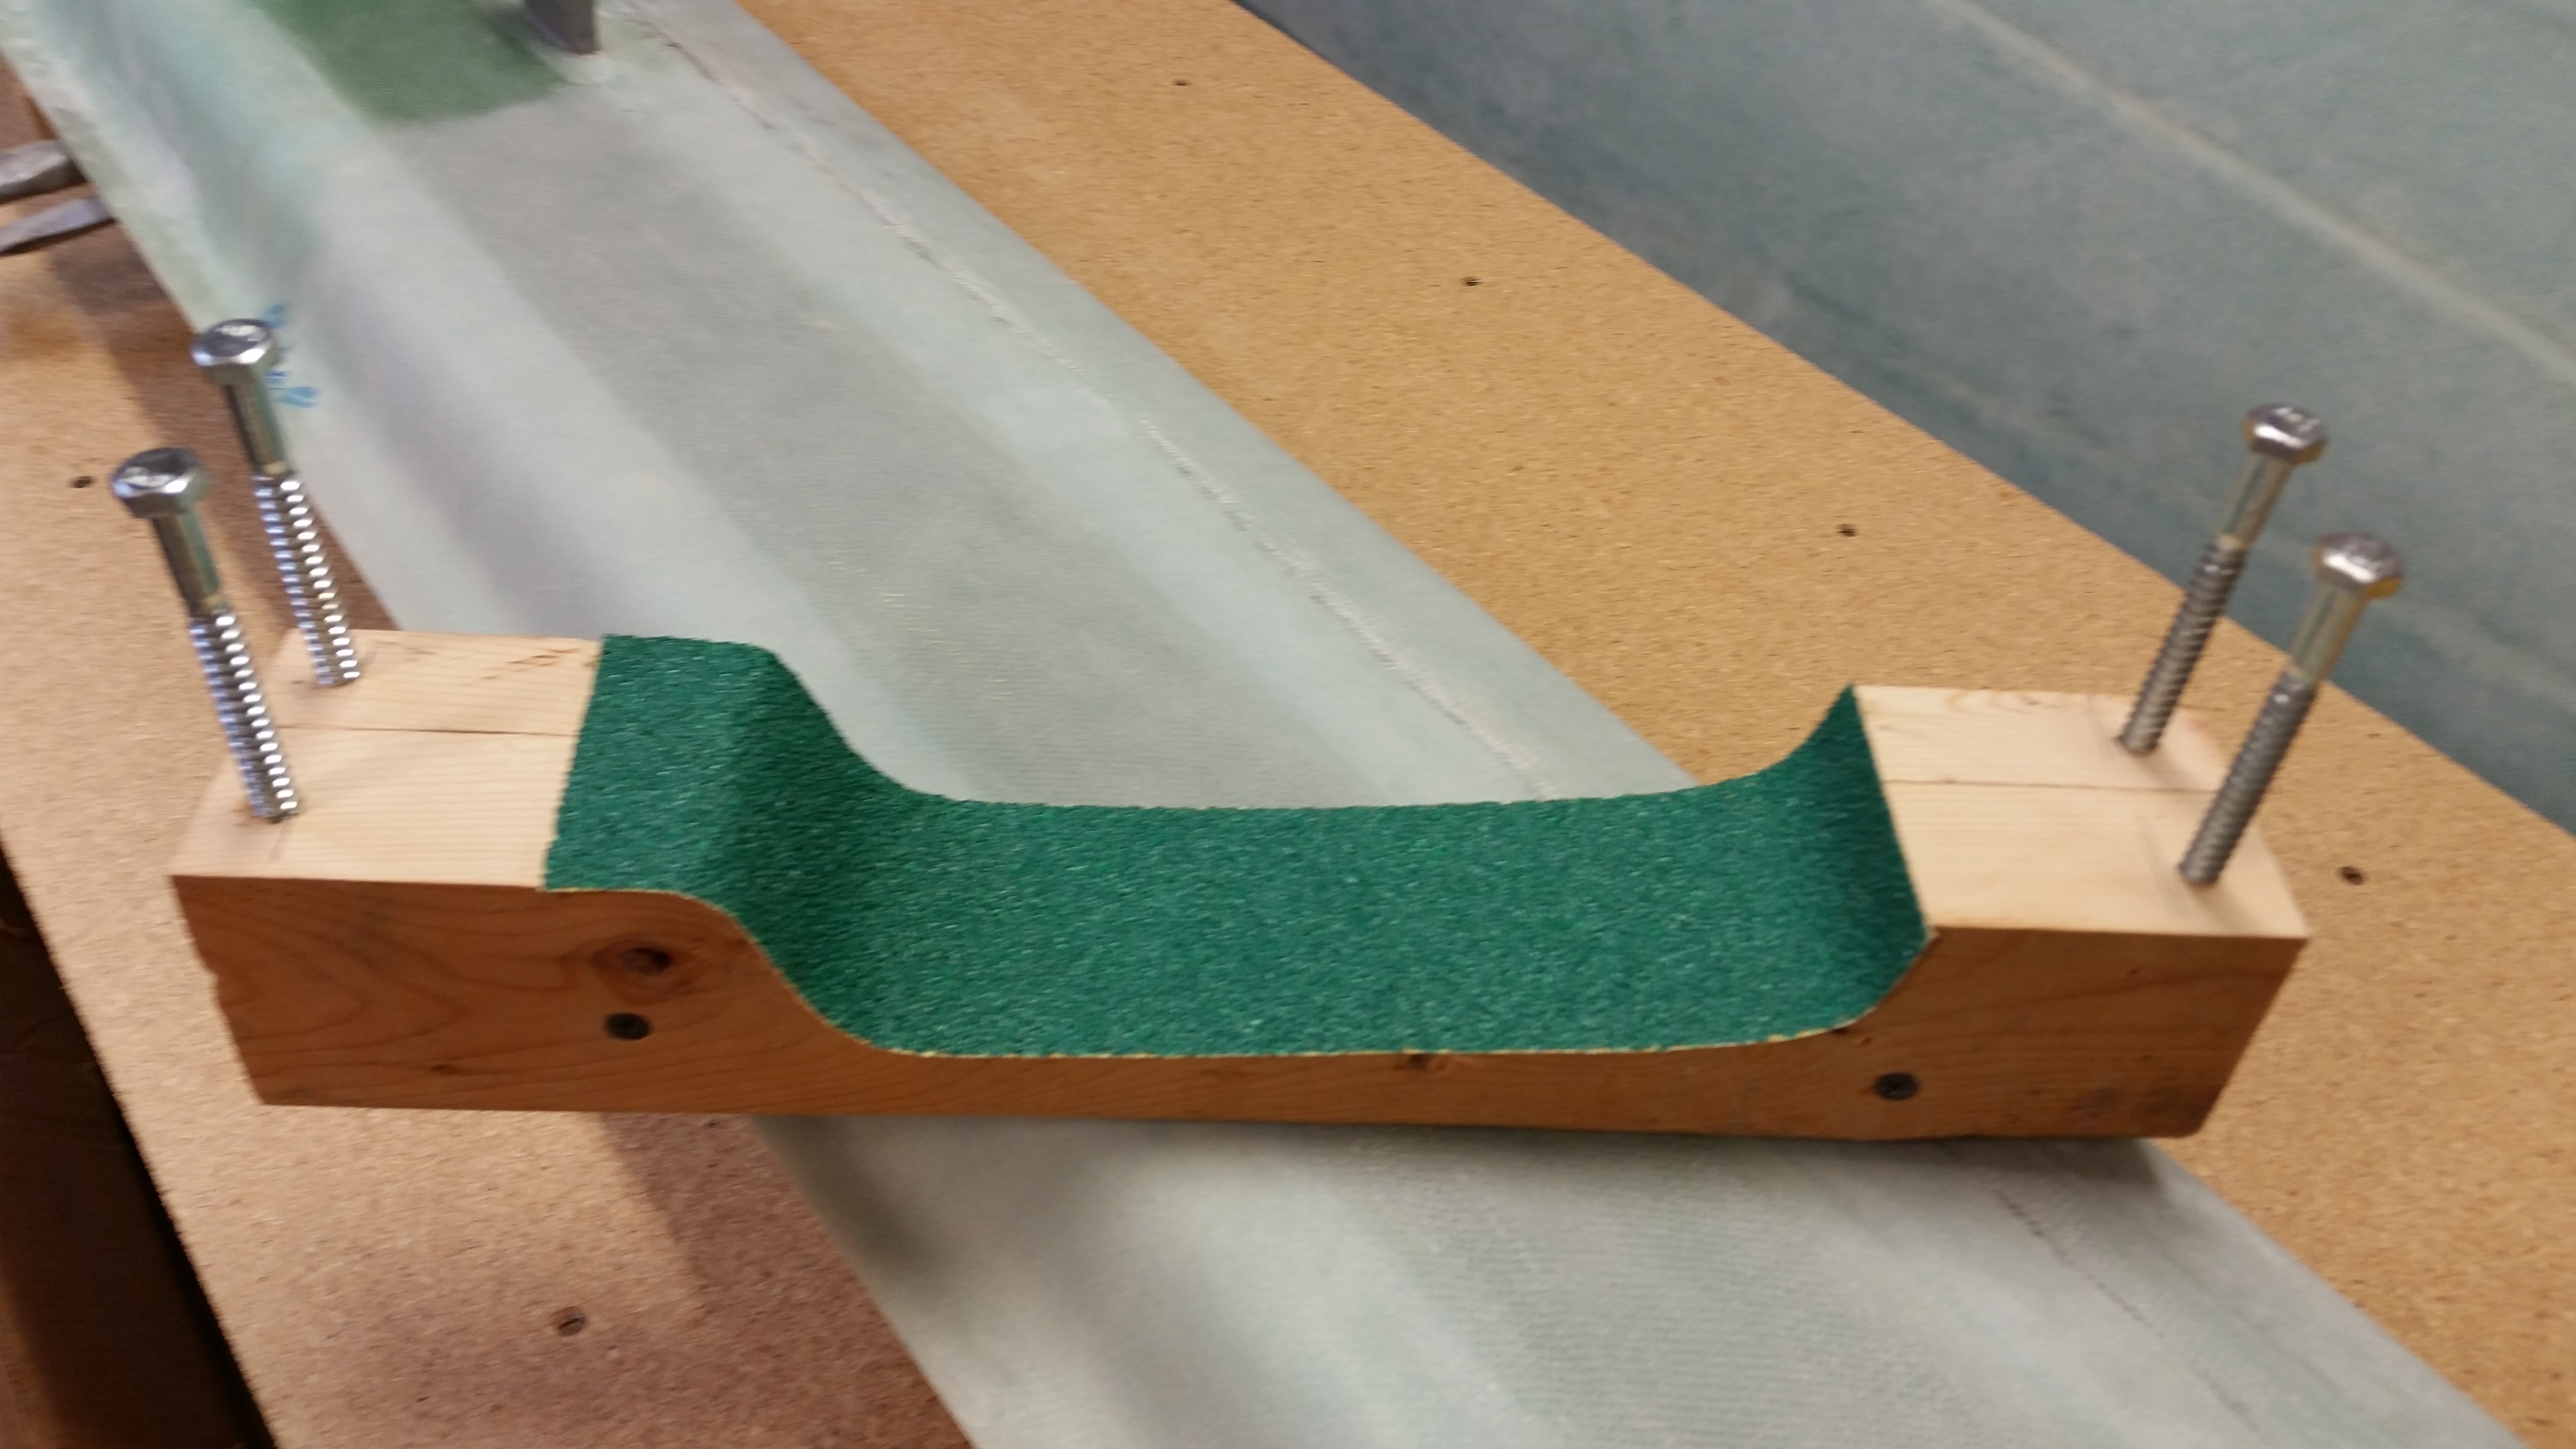
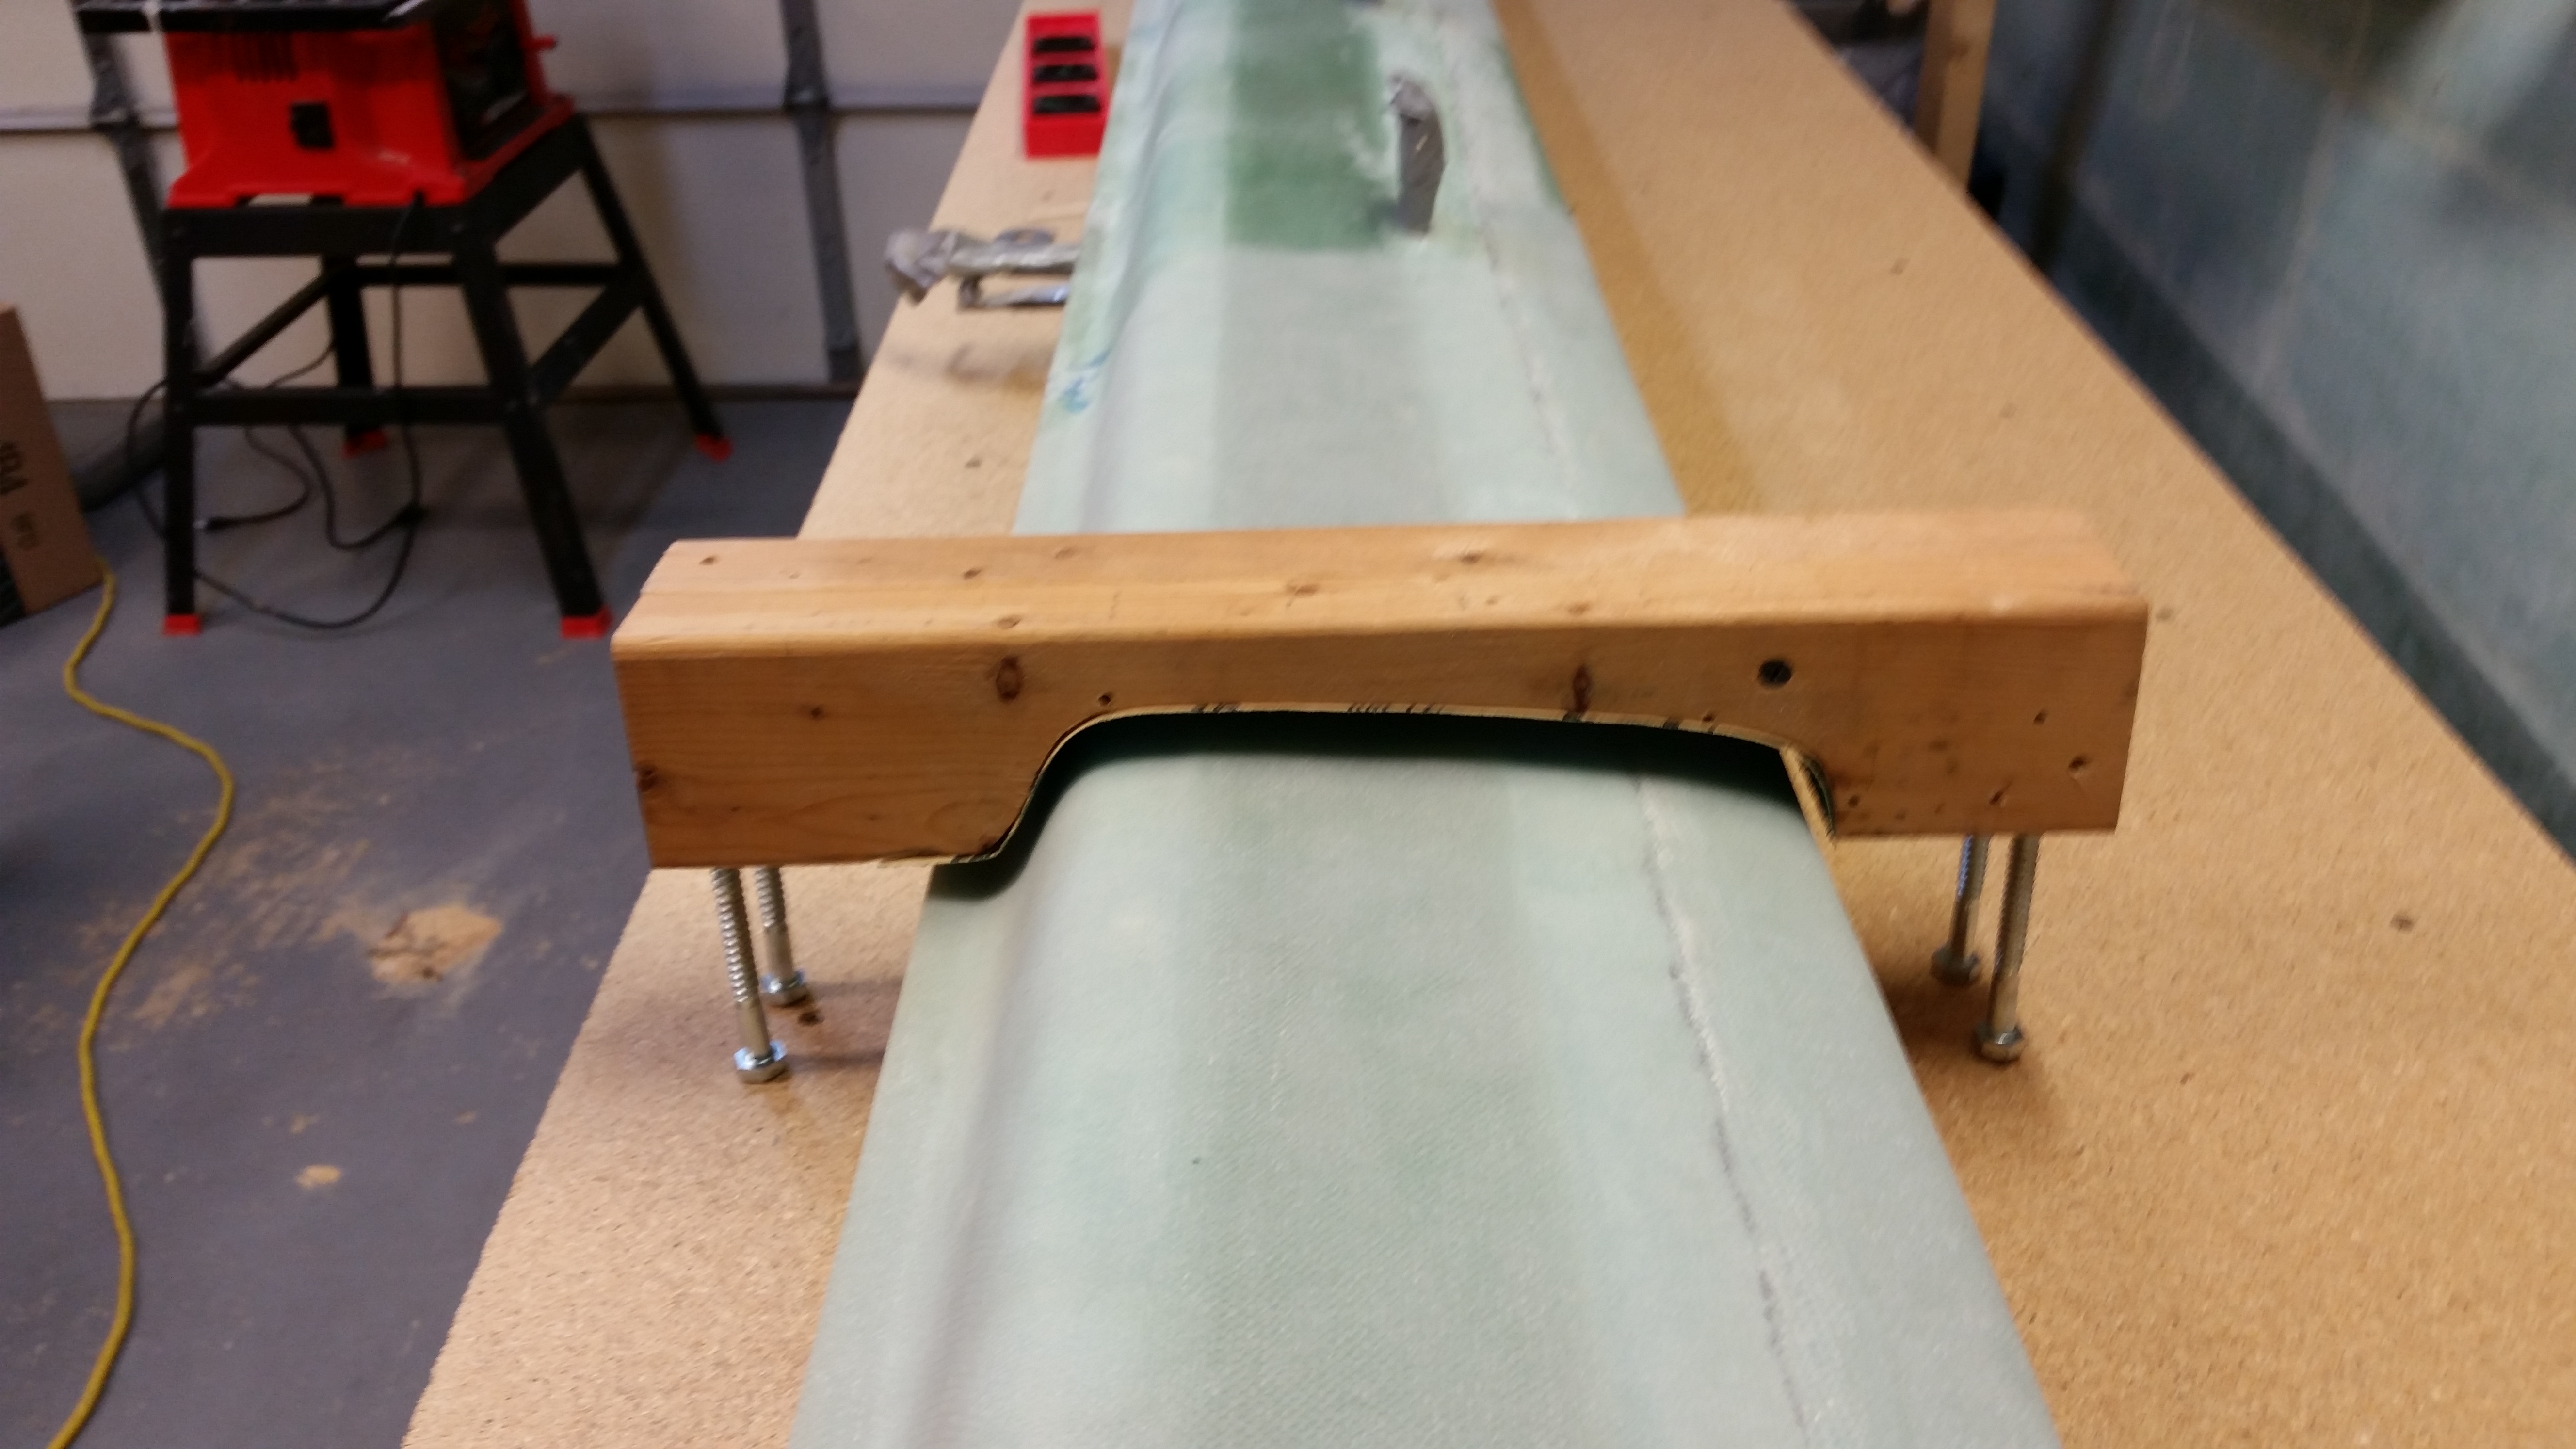
This afternoon was all about making the sanding block for finishing the underside of the canard.  As I described before, this sanding block is nothing more than a 2-3/4″ thick version of the “E” contour template for the Roncz canard.
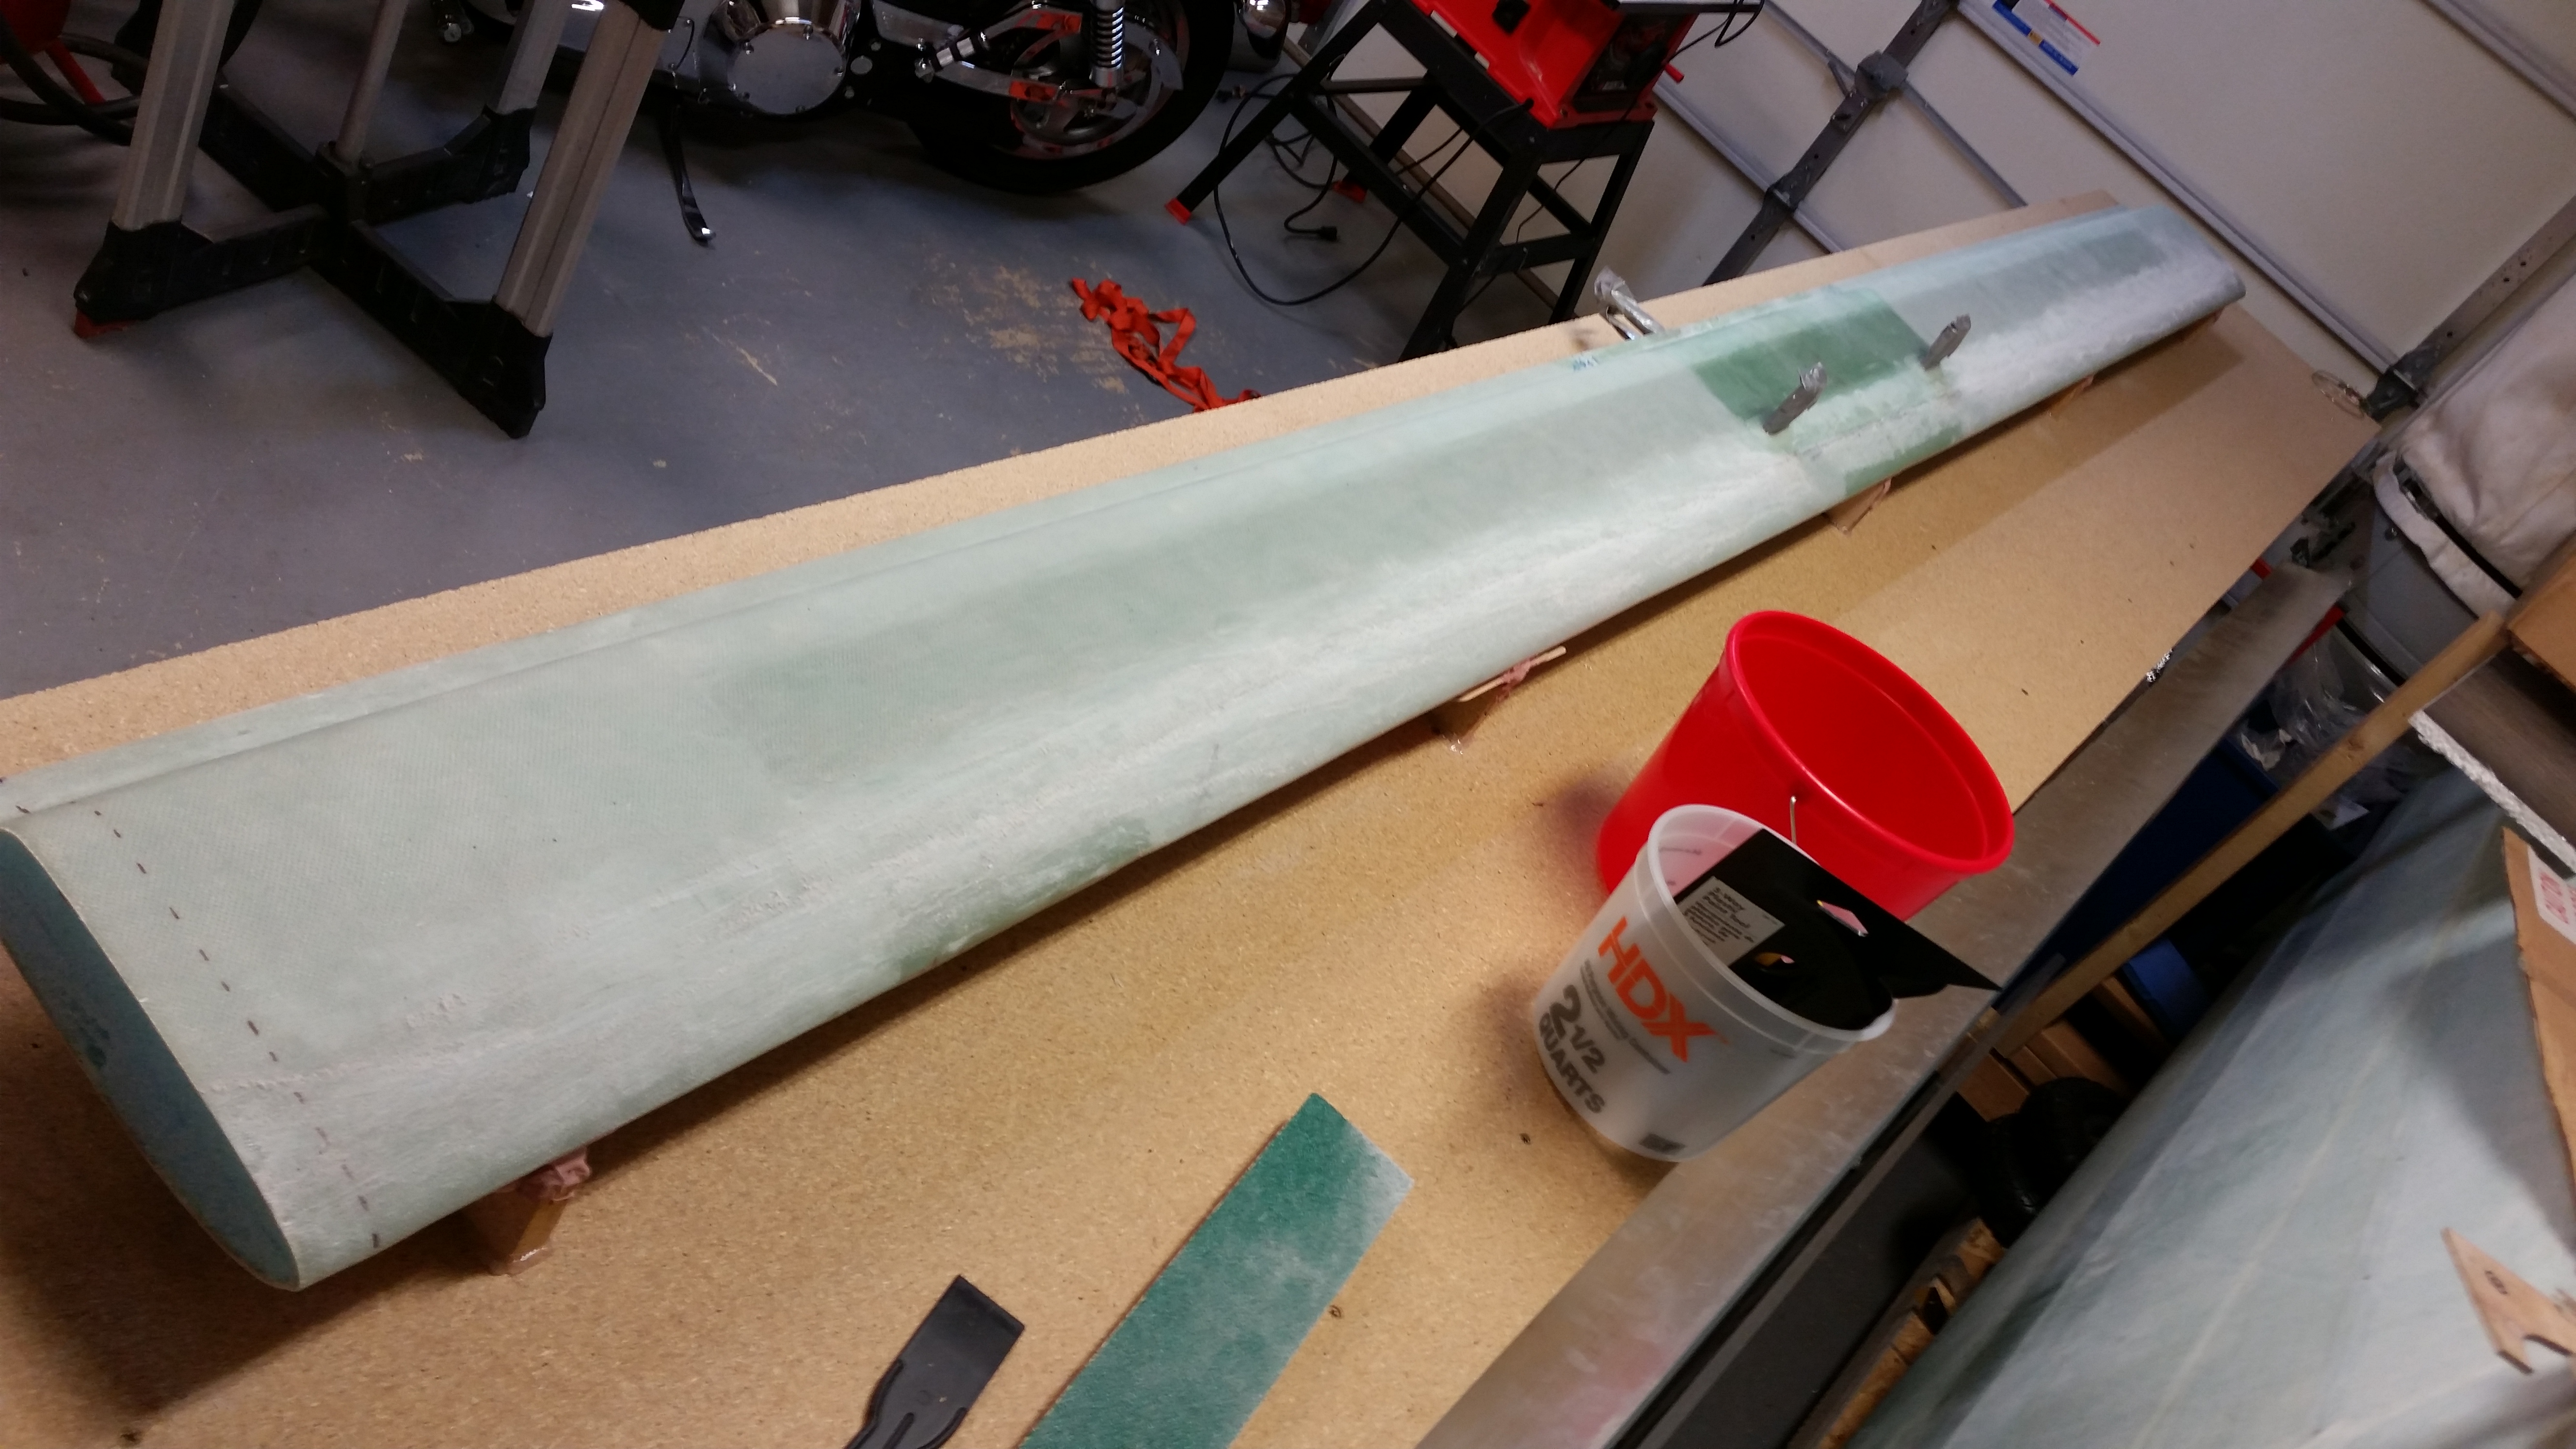
Yesterday I showed a quick pic of the results of my grabbing a 2×4 out of my scrap pile and tracing the “E” contour template on it.  Once the outline was traced, I used a dull pencil to retrace the line to allow for the actual thickness of the sandpaper once attached to the contour sanding block.  BTW, Wayne Hicks used wider sandpaper than I will be using, but since all my 4″ wide sandpaper is attached via velcro, and my narrower 2-3/4″ sandpaper strips are attached via peel ‘n stick, I figured I would go with the cheaper/narrower peel ‘n stick to start out.  If need be, I’ll change this later on.

Again, yesterday I cut two pieces of a scrap 2×4 to length, and then ripped one of them lengthwise to get the correct width, once the two 2×4’s are joined, to match the sandpaper width.

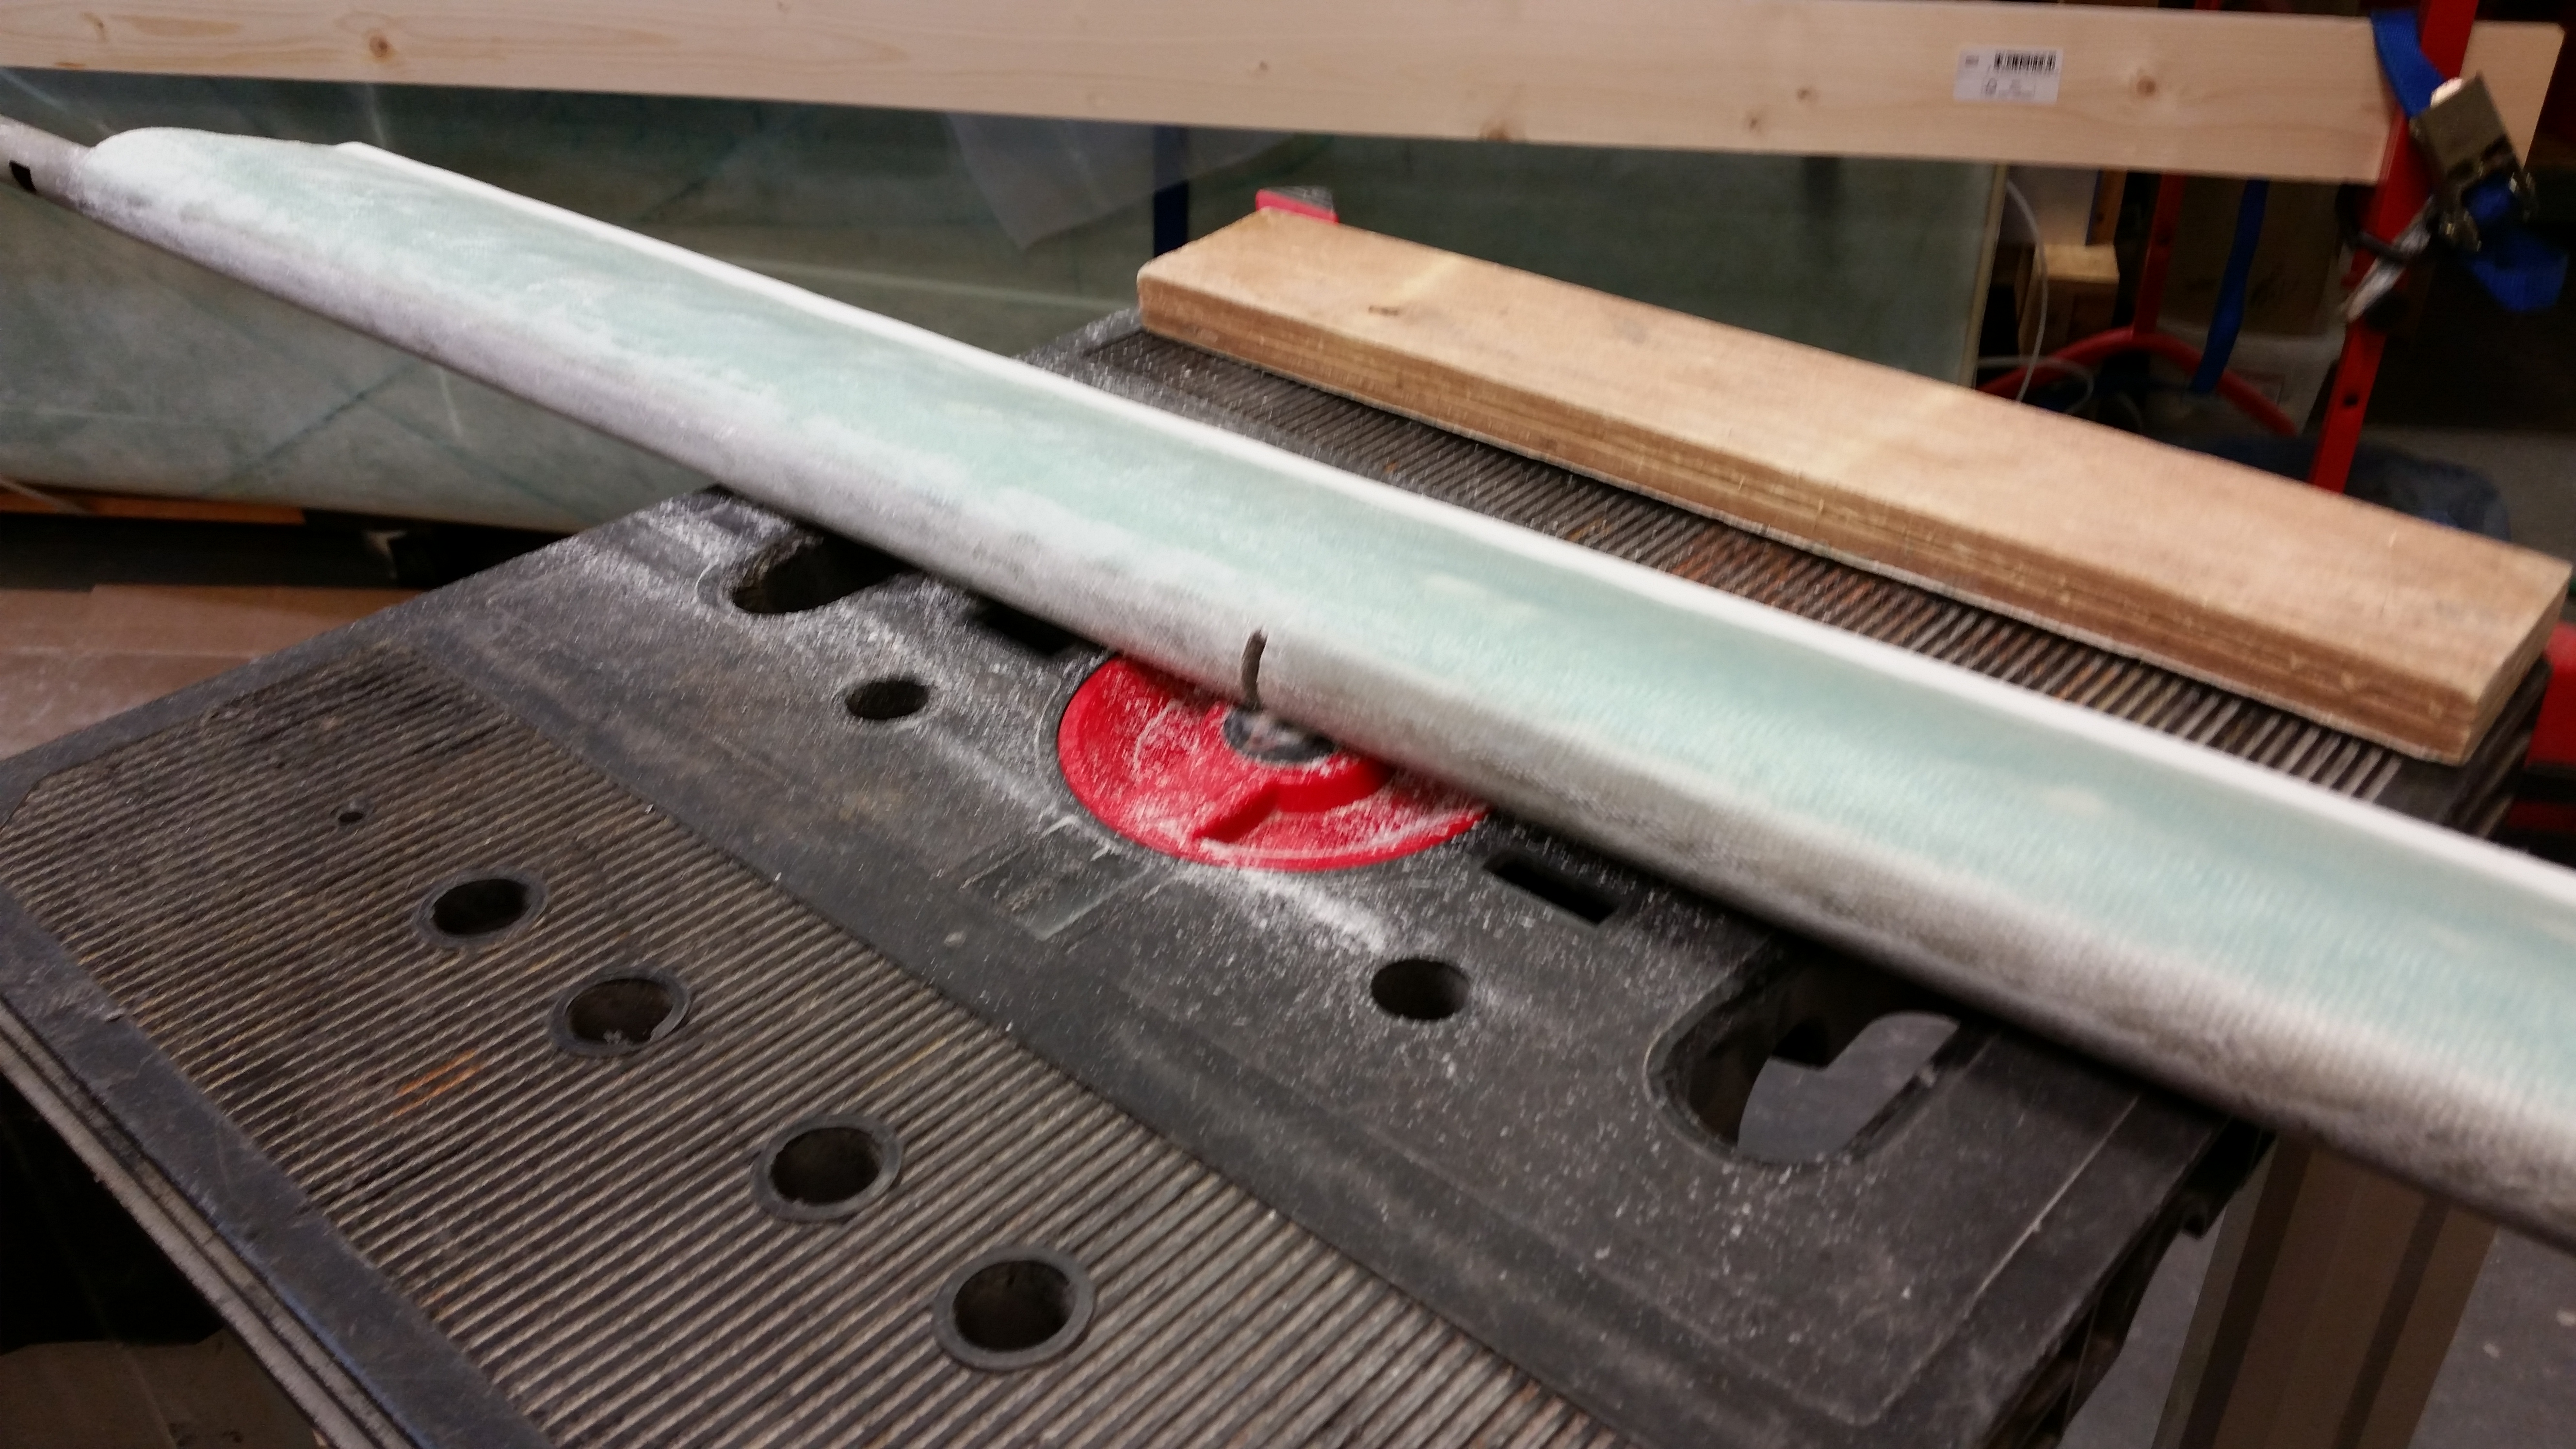
Today I clamped the 2×4 pieces to my “new” table saw as a work bench and used my jig saw to cut the contour profile.  [SIDE NOTE: A friend of mine called me up & asked me if I wanted this table saw as she was getting rid of it because sadly her dad passed away.  I was wanting a cheaper table saw to use to rip the metal engine mount extrusions since I was really not comfortable doing this on my nicer table saw.  I tested this table saw on these 2×4’s, and so far it works like a champ.]

Canard Bottom Contour Sanding Block

Canard Bottom Contour Sanding Block

Here’s the result on 2×4 piece #1:

Canard Bottom Contour Sanding Block

I then transferred the outline of the first (narrower) 2×4 piece to the second 2×4.

Canard Bottom Contour Sanding Block

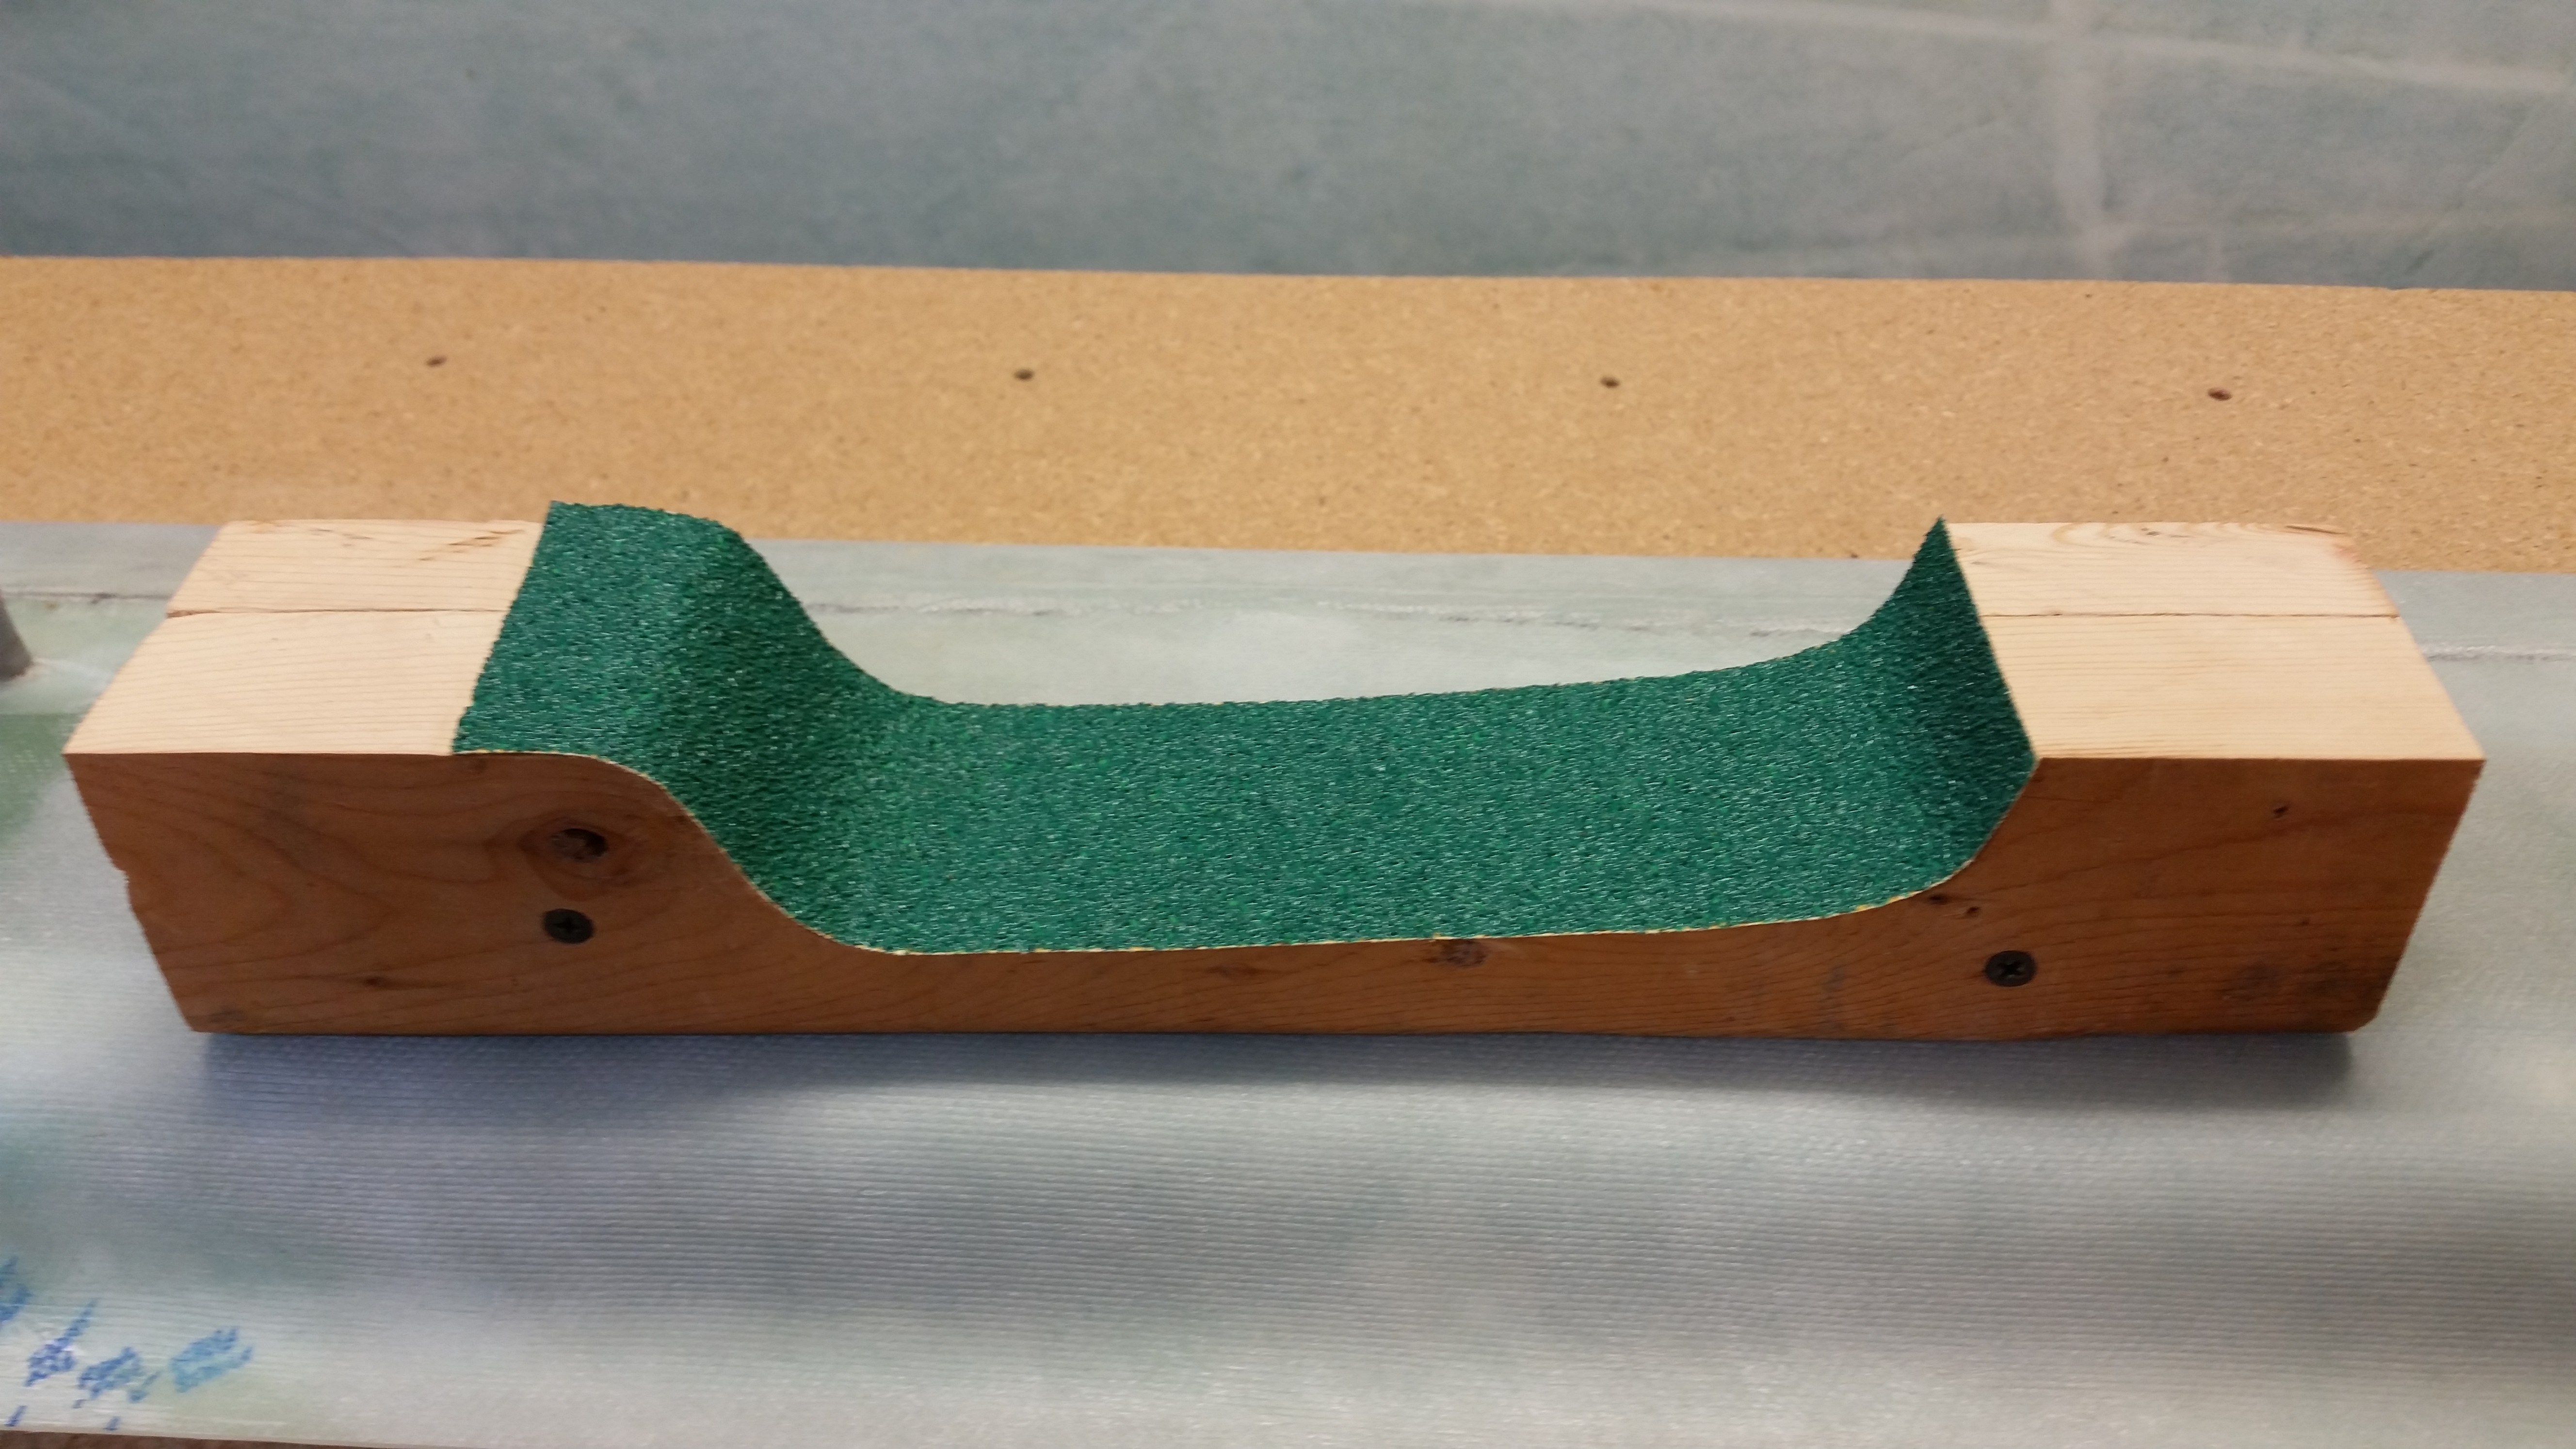
After the profile shape was cut into 2×4 #2 I then clamped the two sides and screwed them together.  I then cut and attached a piece of sandpaper to the contour of the sanding block.  With the shop at about 70 deg F, I noted the sandpaper was having trouble sticking to the more curvy parts of the contour.  I used the heat gun to warm up the sandpaper’s adhesive backing a little, but even after that I’ve come to the conclusion that I will probably have to use 3M 77 adhesive spray to really get it to stick.

Hmm, maybe a good argument for using the velcro-backed sandpaper?

Canard Bottom Contour Sanding Block

Here’s a shot of the finished product sans “legs”.

Canard Bottom Contour Sanding Block

To give this project some legs (yuk, yuk), I drilled a pilot hole in each corner and screwed in a 5/16″ lag screw (I think… don’t quote me on actual size since they were merely sitting there conveniently in my tool bin).  Each lag screw is 3-1/2″ long which will be good for the starting height I’ll need once the canard is mounted.
Canard Bottom Contour Sanding Block

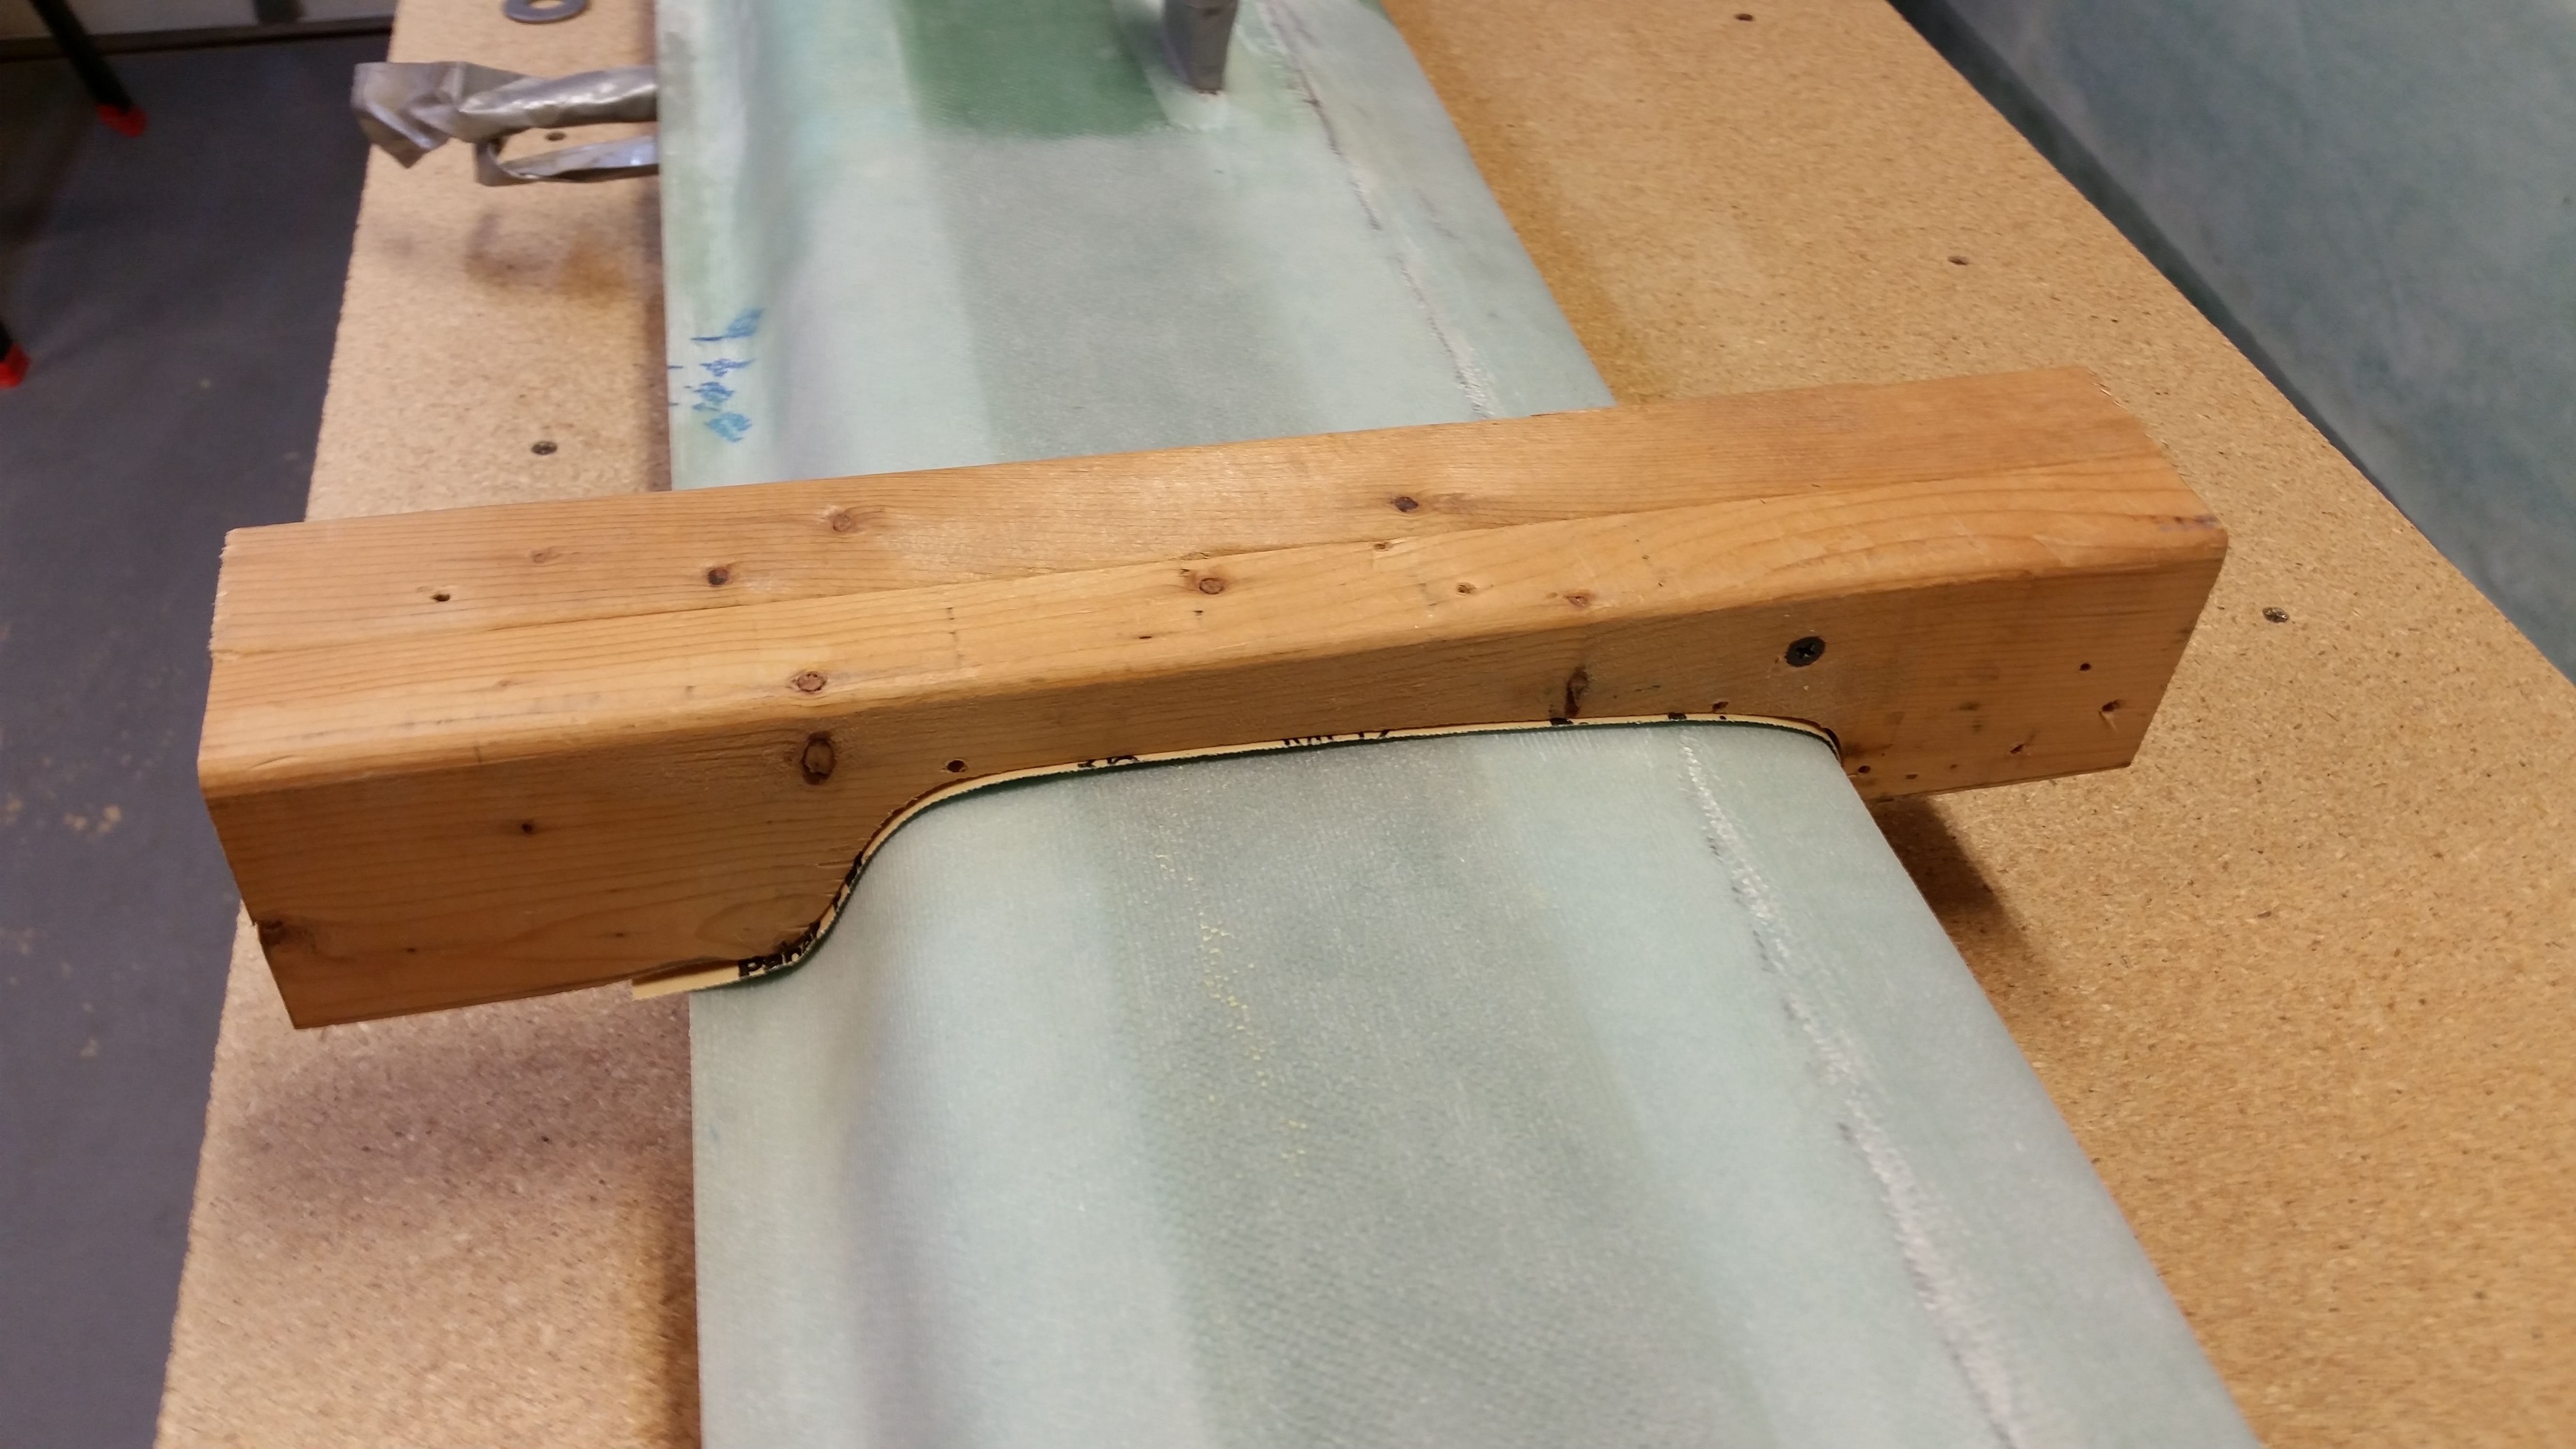
And here’s a quick shot of the finished contour profile sanding block for the underside of the Roncz canard.  Tomorrow, I plan on hard mounting the canard to the table and “K” mounting blocks and then getting to work on finishing the bottom of the canard.
Canard Bottom Contour Sanding Block

In prep for finishing the bottom of the canard, I marked the canard about 1.2″ inboard of each end to show me the point where I need to stop the micro finish on the lower canard surface.  The reason for this of course is that the Roncz canard swoosh tips require 1″ of glass overlap onto the canard ensure that they’re solidly attached.

Finish-to line on canard end

Ahhh, so tomorrow the games begin in earnest!


Chapter 10 – Canard finishing

Yesterday and today I’ve been pouring over my project to-do lists, plans and tasks in order to get back on track with the build.  After spending hours re-covering specific steps in the Long-EZ Plans Chapter 10, the Roncz canard plans, and the Cozy Girrrls instructions on their elevator actuators, I then went back over my notes on finishing the canard with micro, sanding techniques (mainly Wayne Hicks’ methods), etc.

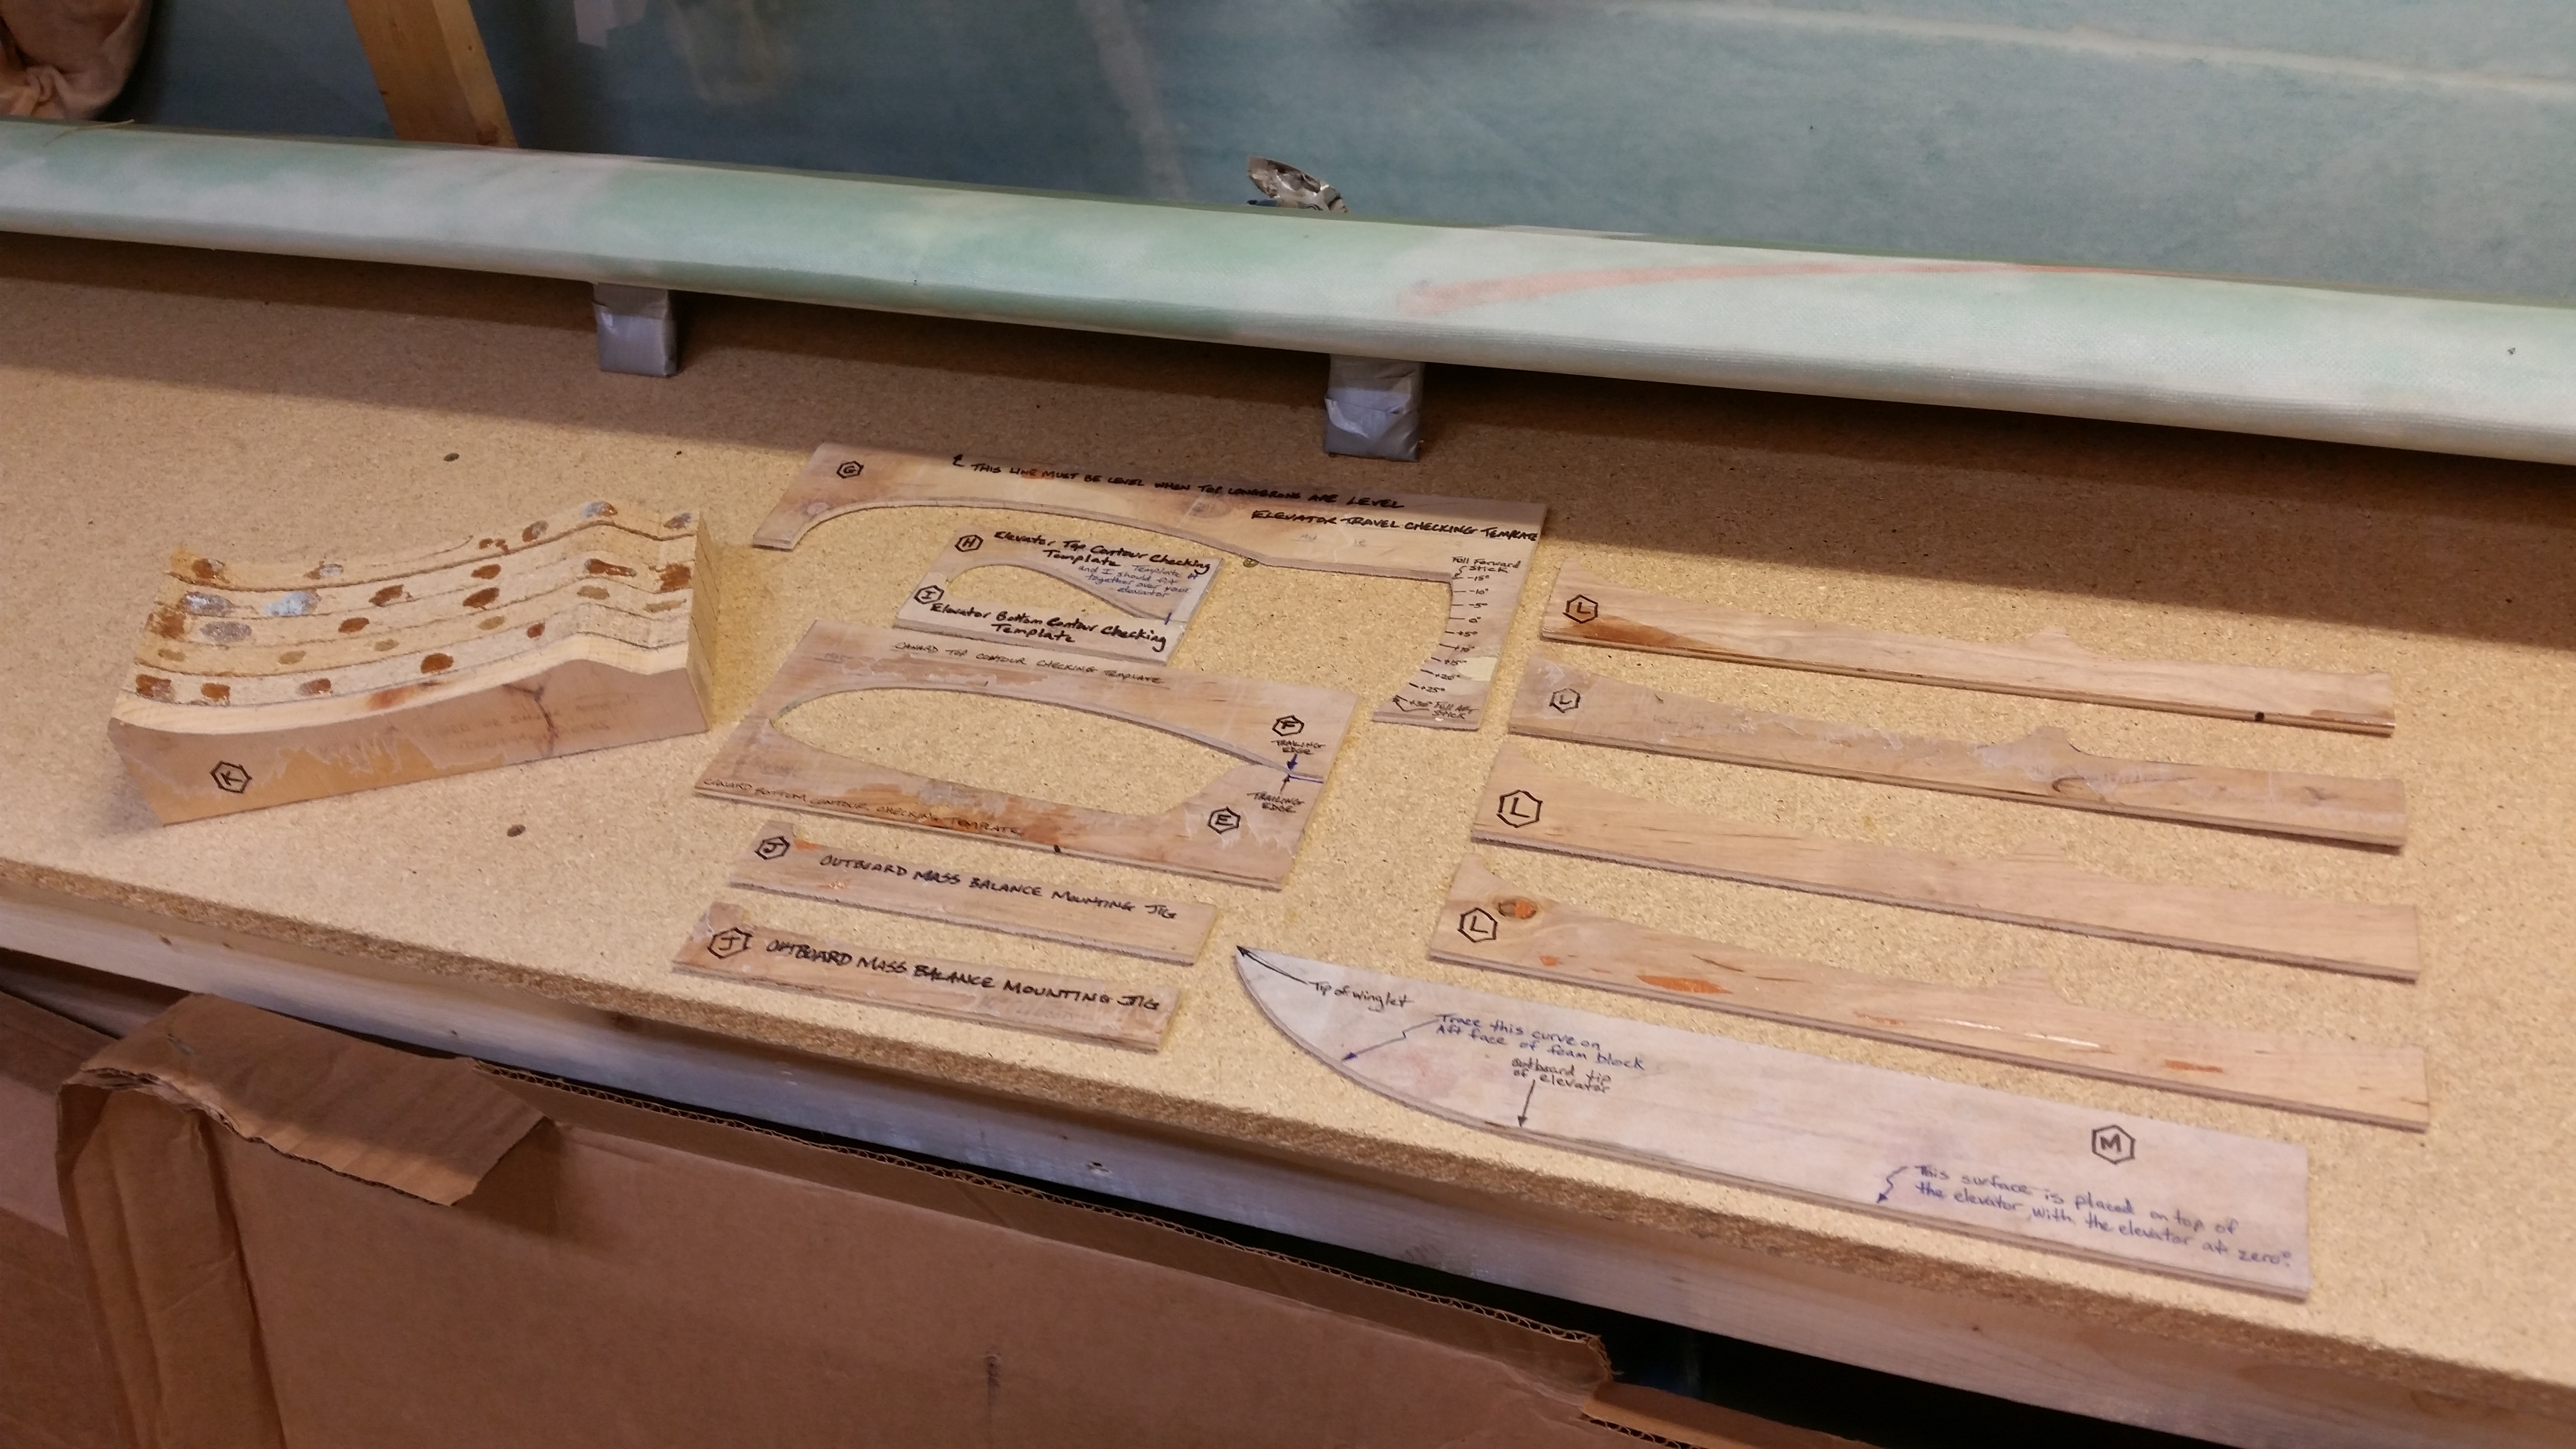
My first order of business, after cleaning & organizing the workshop a bit, was to find all the templates related to the canard and elevators.  That took maybe 5 min since luckily I had the box in which they resided in sitting on the work bench.  Hey, sometimes I guess I am a little proactive!

Chap 10 & 11 Templates

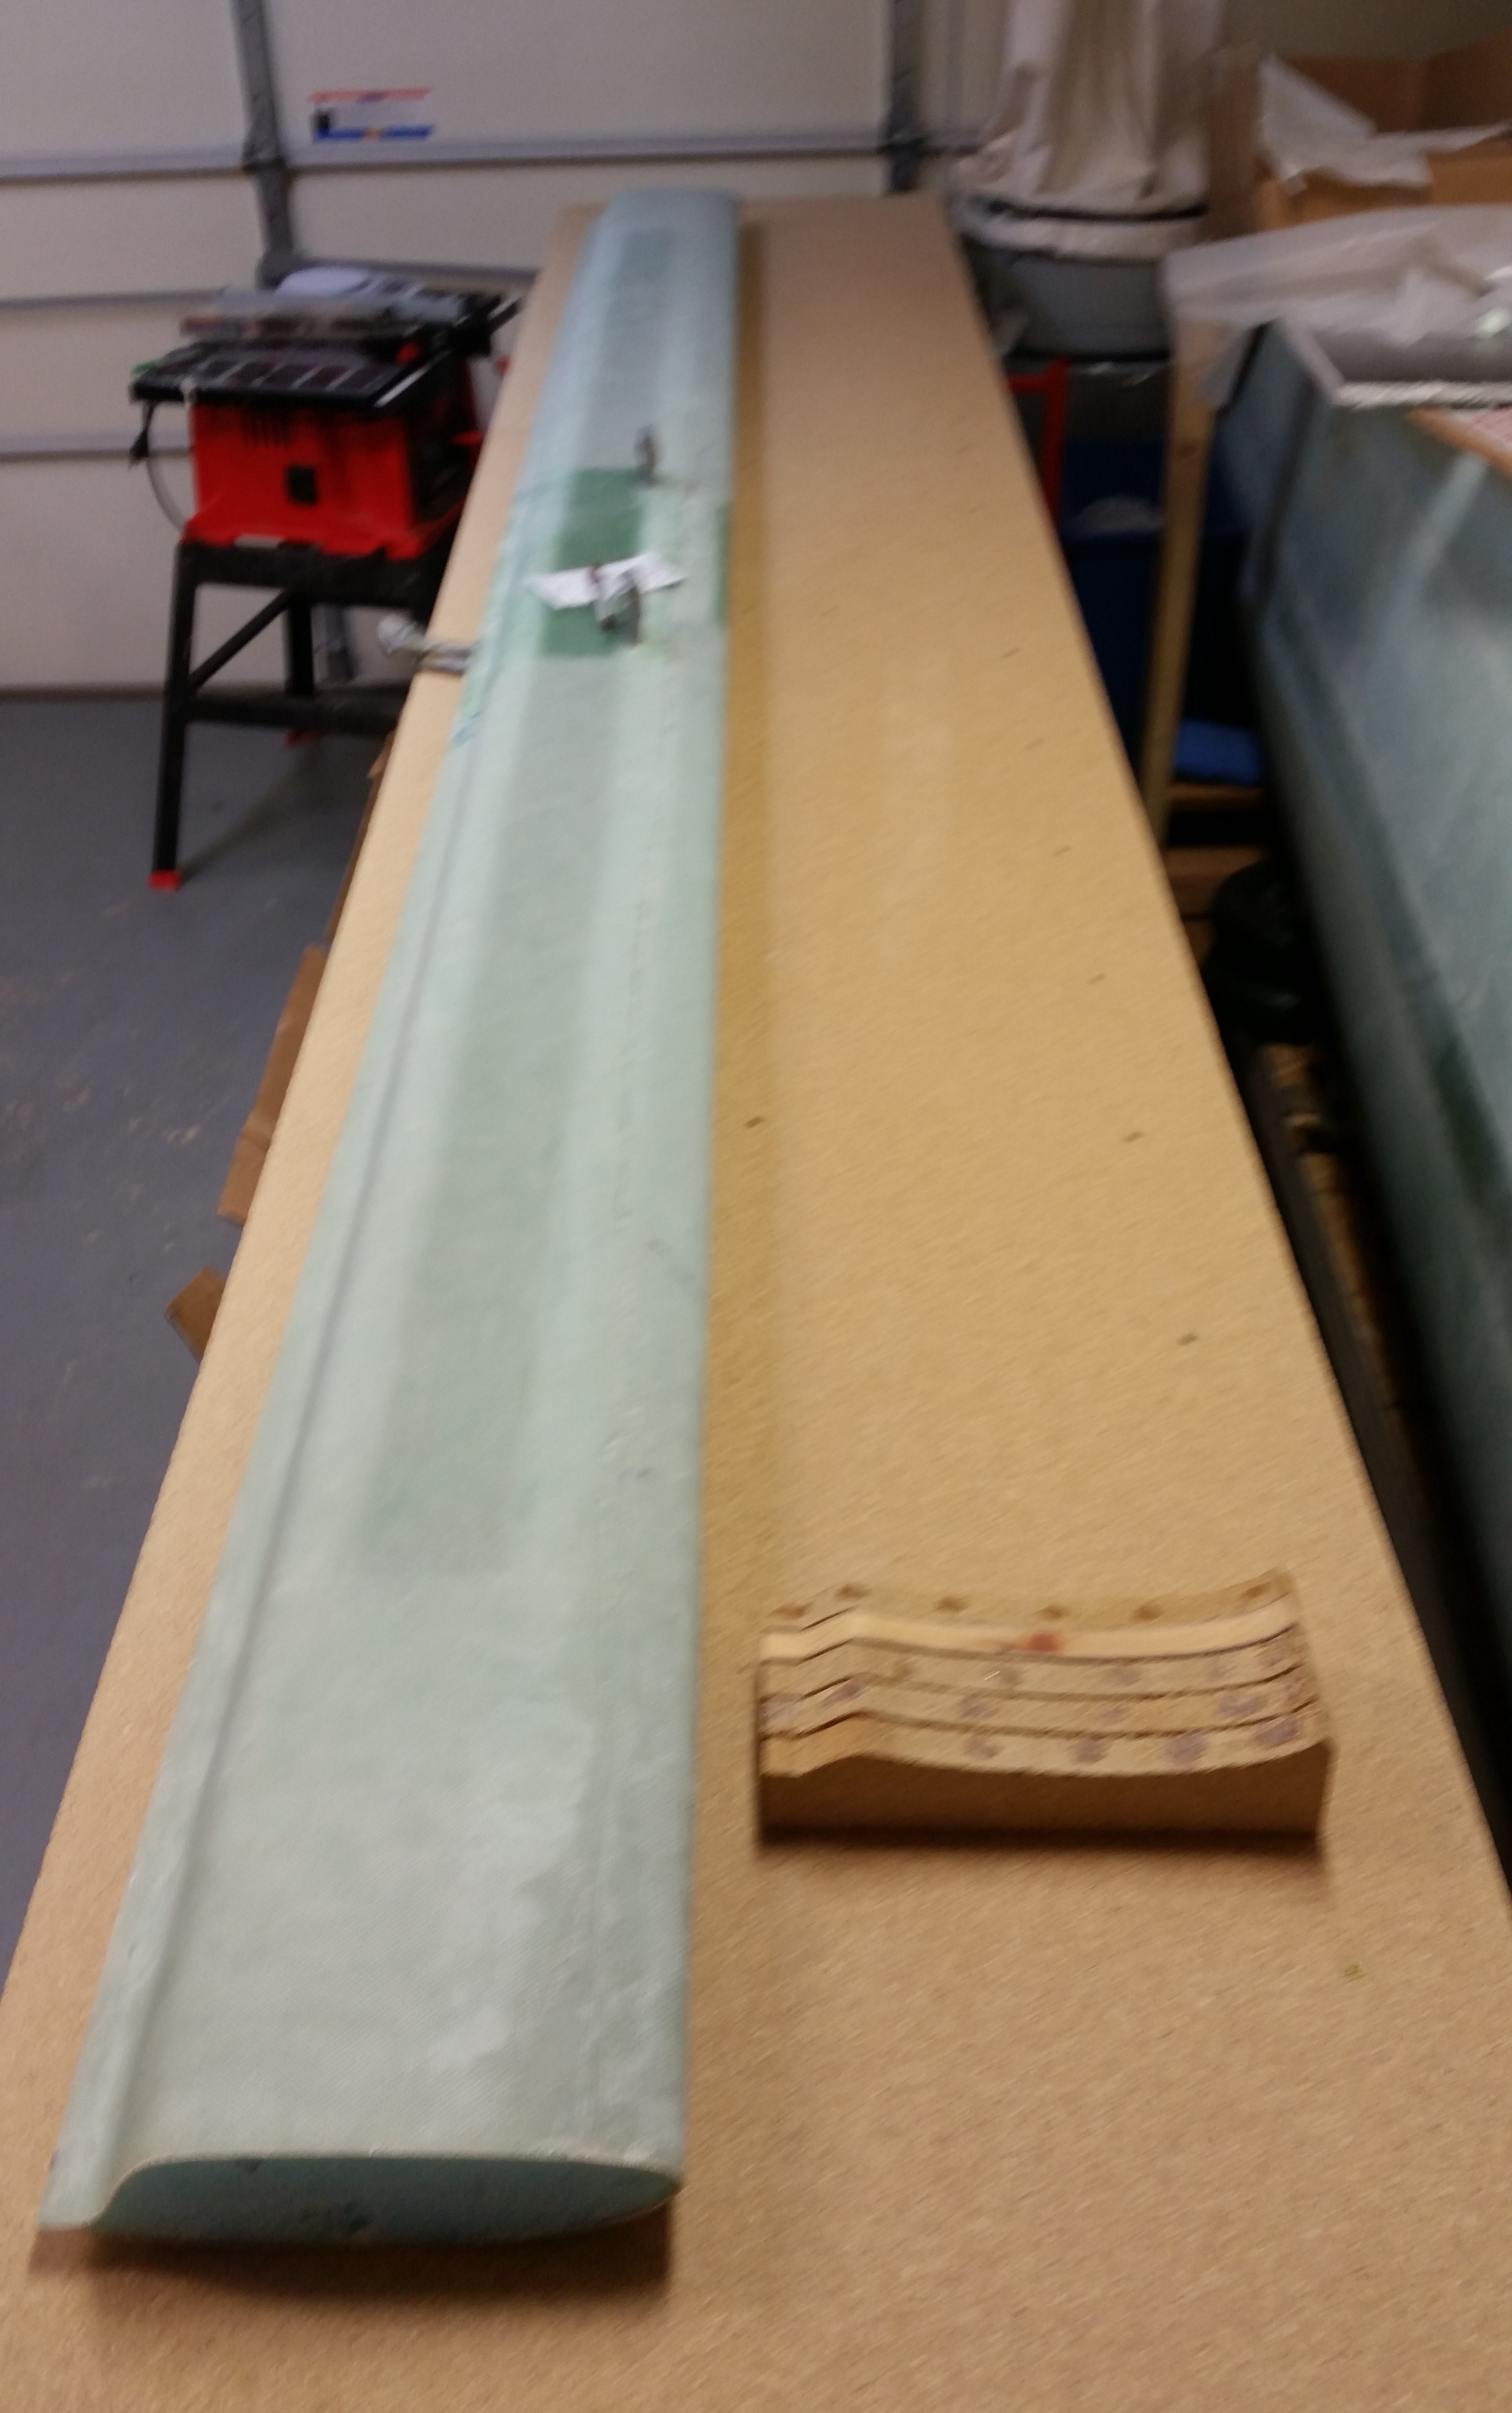
My next task was to clean all the goop off the “K” canard mounts to allow them to be reused while finishing both sides of the canard.  I spent about 15 with a razor knife cleaning up the crud to allow for a fresh clean canard mounting.

Prepping Canard

After calculating the distances between the 5 “K” mounts I’m going to use, I then mocked up the canard upside down on the “K” mounts to ensure a study platform on which to finish the bottom side of the canard.

Now, if you’ve seen Wayne Hicks’ webpage on how to finish the canard, then you’ll know that he uses a 3-4″ wide sanding block which is essentially nothing more than a widened contour template that is adjustable in height and which a wide piece of sandpaper can be attached on the inside of the contoured area.  Well, on his site Wayne explains that you can’t finish the bottom of the canard using the contoured sanding block setup because of the multiple installed elevator hinge mounts that get in the way.

So, a few years ago when I was talking to Randi (aka “Cozy Girrrl”) she gave me a ninja tip to finish the underside of the canard first, then not only would I have a more concise measured gap between the aft tail of the canard and the front of the elevators, but I would also have eliminated a lot of pain & strife trying to finish that bottom of the canard with those darn elevator hinge tabs in the way!  Plus, not only would the finish look much cleaner & nicer, but it would be more aerodynamically correct.  A win-win if you will.

One last thought on finishing the bottom of the canard now, is that as simplistic as it sounds, it will be finished.  And since I plan on finishing the entire canard & elevators before storing it away until later, it will be one less thing I have to finish when I “hit the wall” that is Chapter 25 (aka “Finishing”).

Test mounting Canard

The first actual step that I needed to complete was repairing the Leading Edge of the canard.  You see, back when I glassed the canard as I was pulling the duct tape off the leading edge after the bottom skin had cured, it pulled out a pretty big chunk of the leading edge blue foam underneath.  With the canard being upside down, and with some foam missing under that 4″ leading span, the bottom skin glass naturally depressed a little right in that area as it cured.  When I flipped the canard to glass the top, I had to back fill micro behind that 4″ deformed area on the LE to account for the missing foam.

Canard LE distortion during glassing

When I did the glass layup on the top of the canard, I could tell that I was going to have to repair that damaged LE area later on by adding a few plies of glass.  To “mark” the LE area that would required repair, I simply peel plied it.  The peel plied area on the LE was thus my marker for the future on the exact area that needed further work.

Canard LE distortion

Well, the time to repair the canard LE has finally come . . . after about 2-1/2 years since I finished the canard. (Wow, time flies!)

I took a straight edge to the front of the canard to get an idea of how much glass to add.  I determined I would only add two plies of BID: a) 3/4″ x 4″ and, b) 1-1/2″ x 5.2″.  These would give me just enough glass fill that, after sanding, the remaining surface irregularities would easily be filled by the finishing micro.

As per my usual, I will pre-preg this layup so I cut out a small piece of plastic and prepped my peel ply.

Prepping for canard LE patch

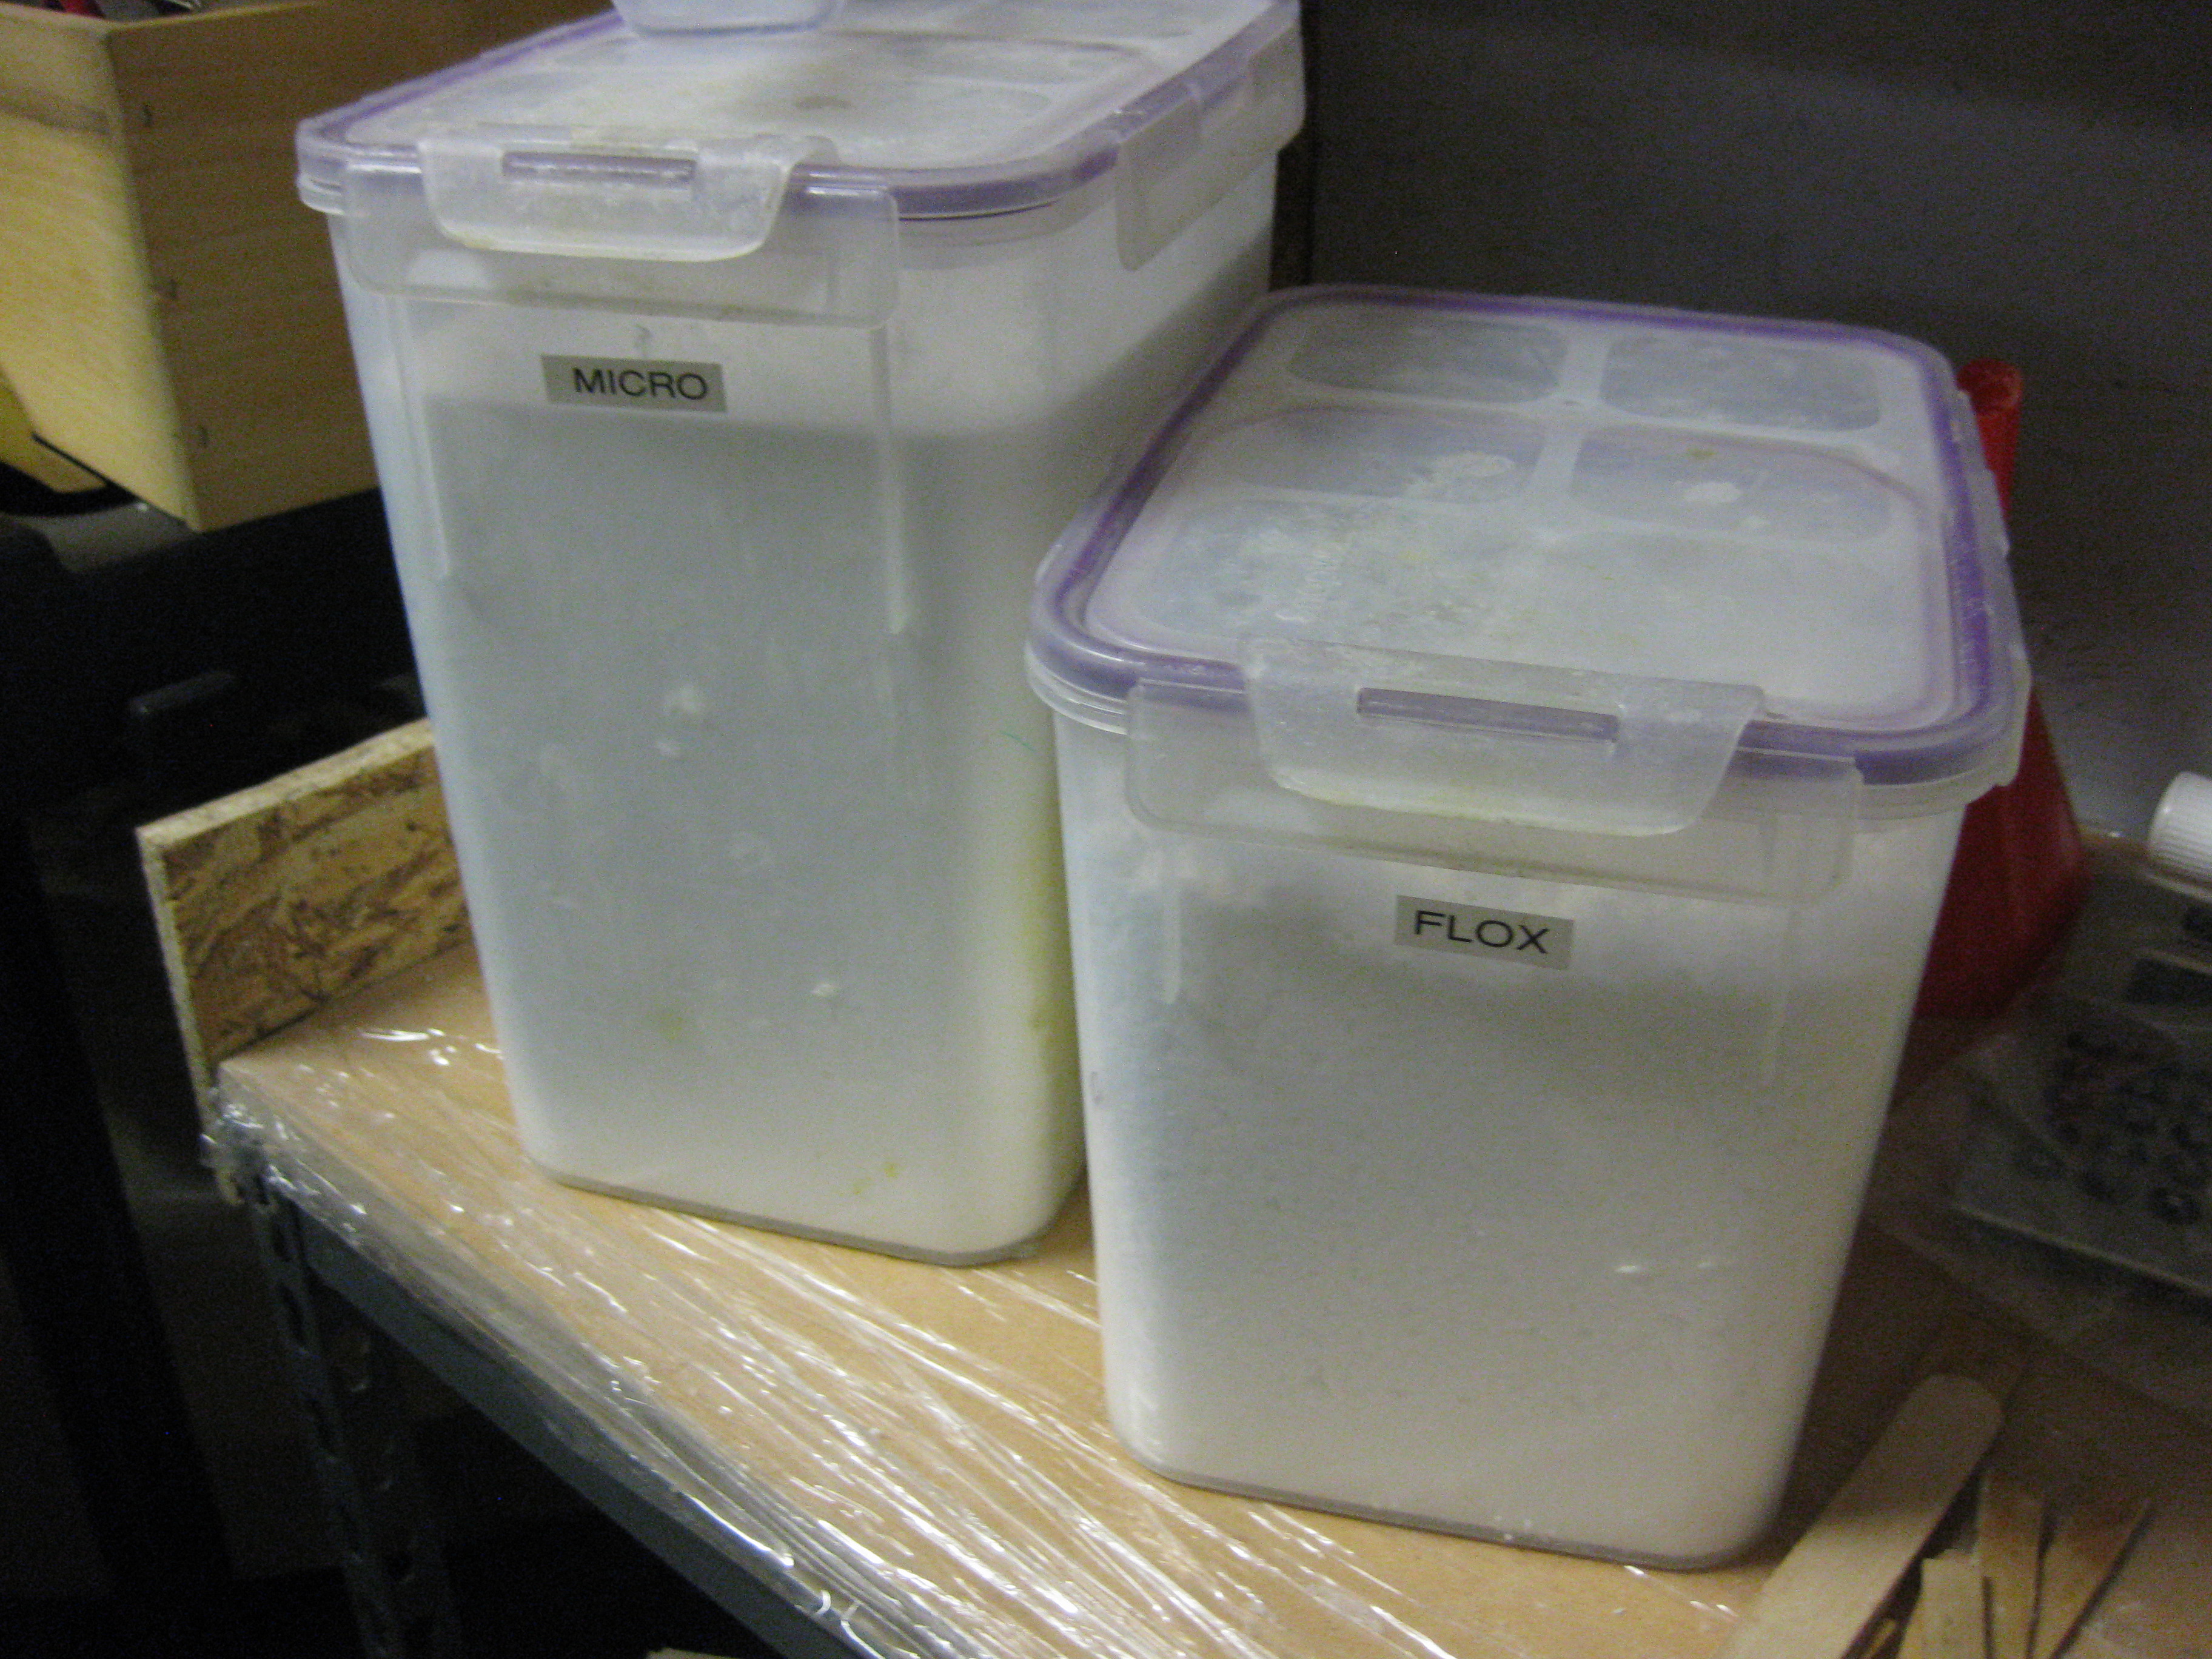
Before getting started on my new build quest, I had to reload both my stock of micro and flox, each container being almost completely empty!

Reloaded for upcoming build operations!

Below is the freshly laid up 2 plies of BID.

Canard LE 2-ply BID patch laid upBelow are a couple shots of the finished layup peel plied.

Canard LE BID patch peel-pliedCanard LE BID patch peel-plied


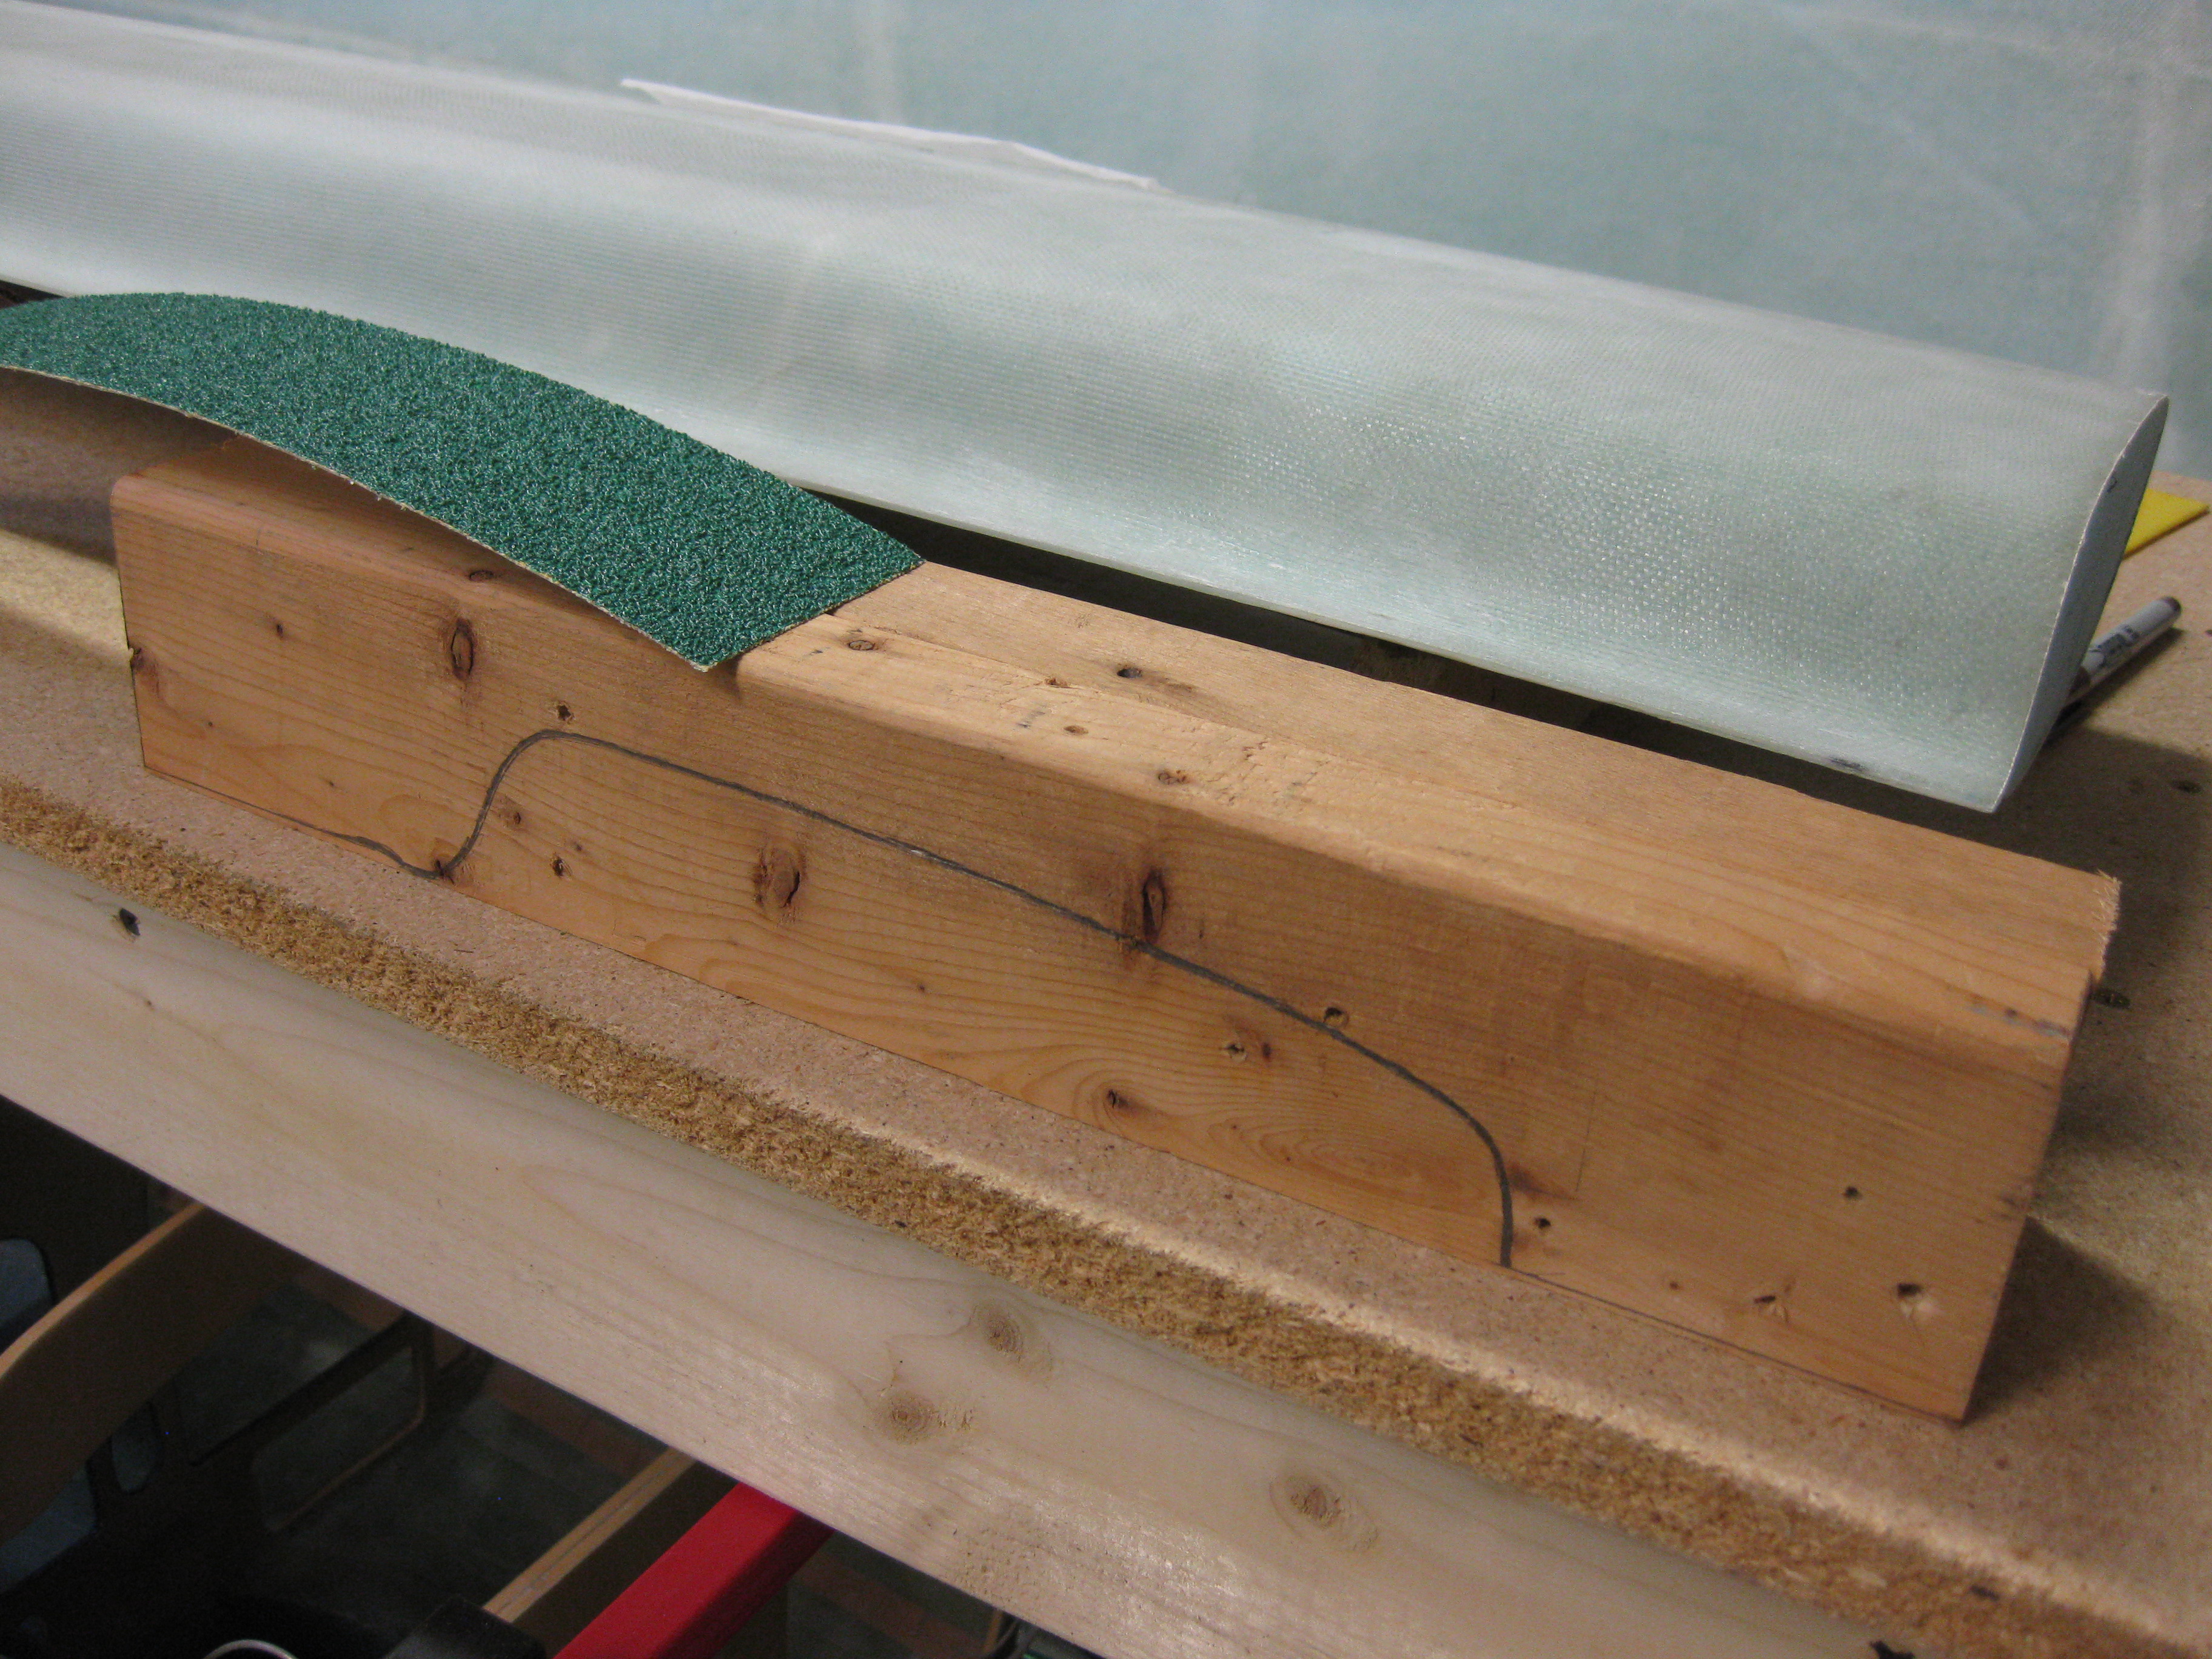
As the LE patch cured, I started working on the canard lower contour sanding block.

Building a Wayne Hicks canard finisher

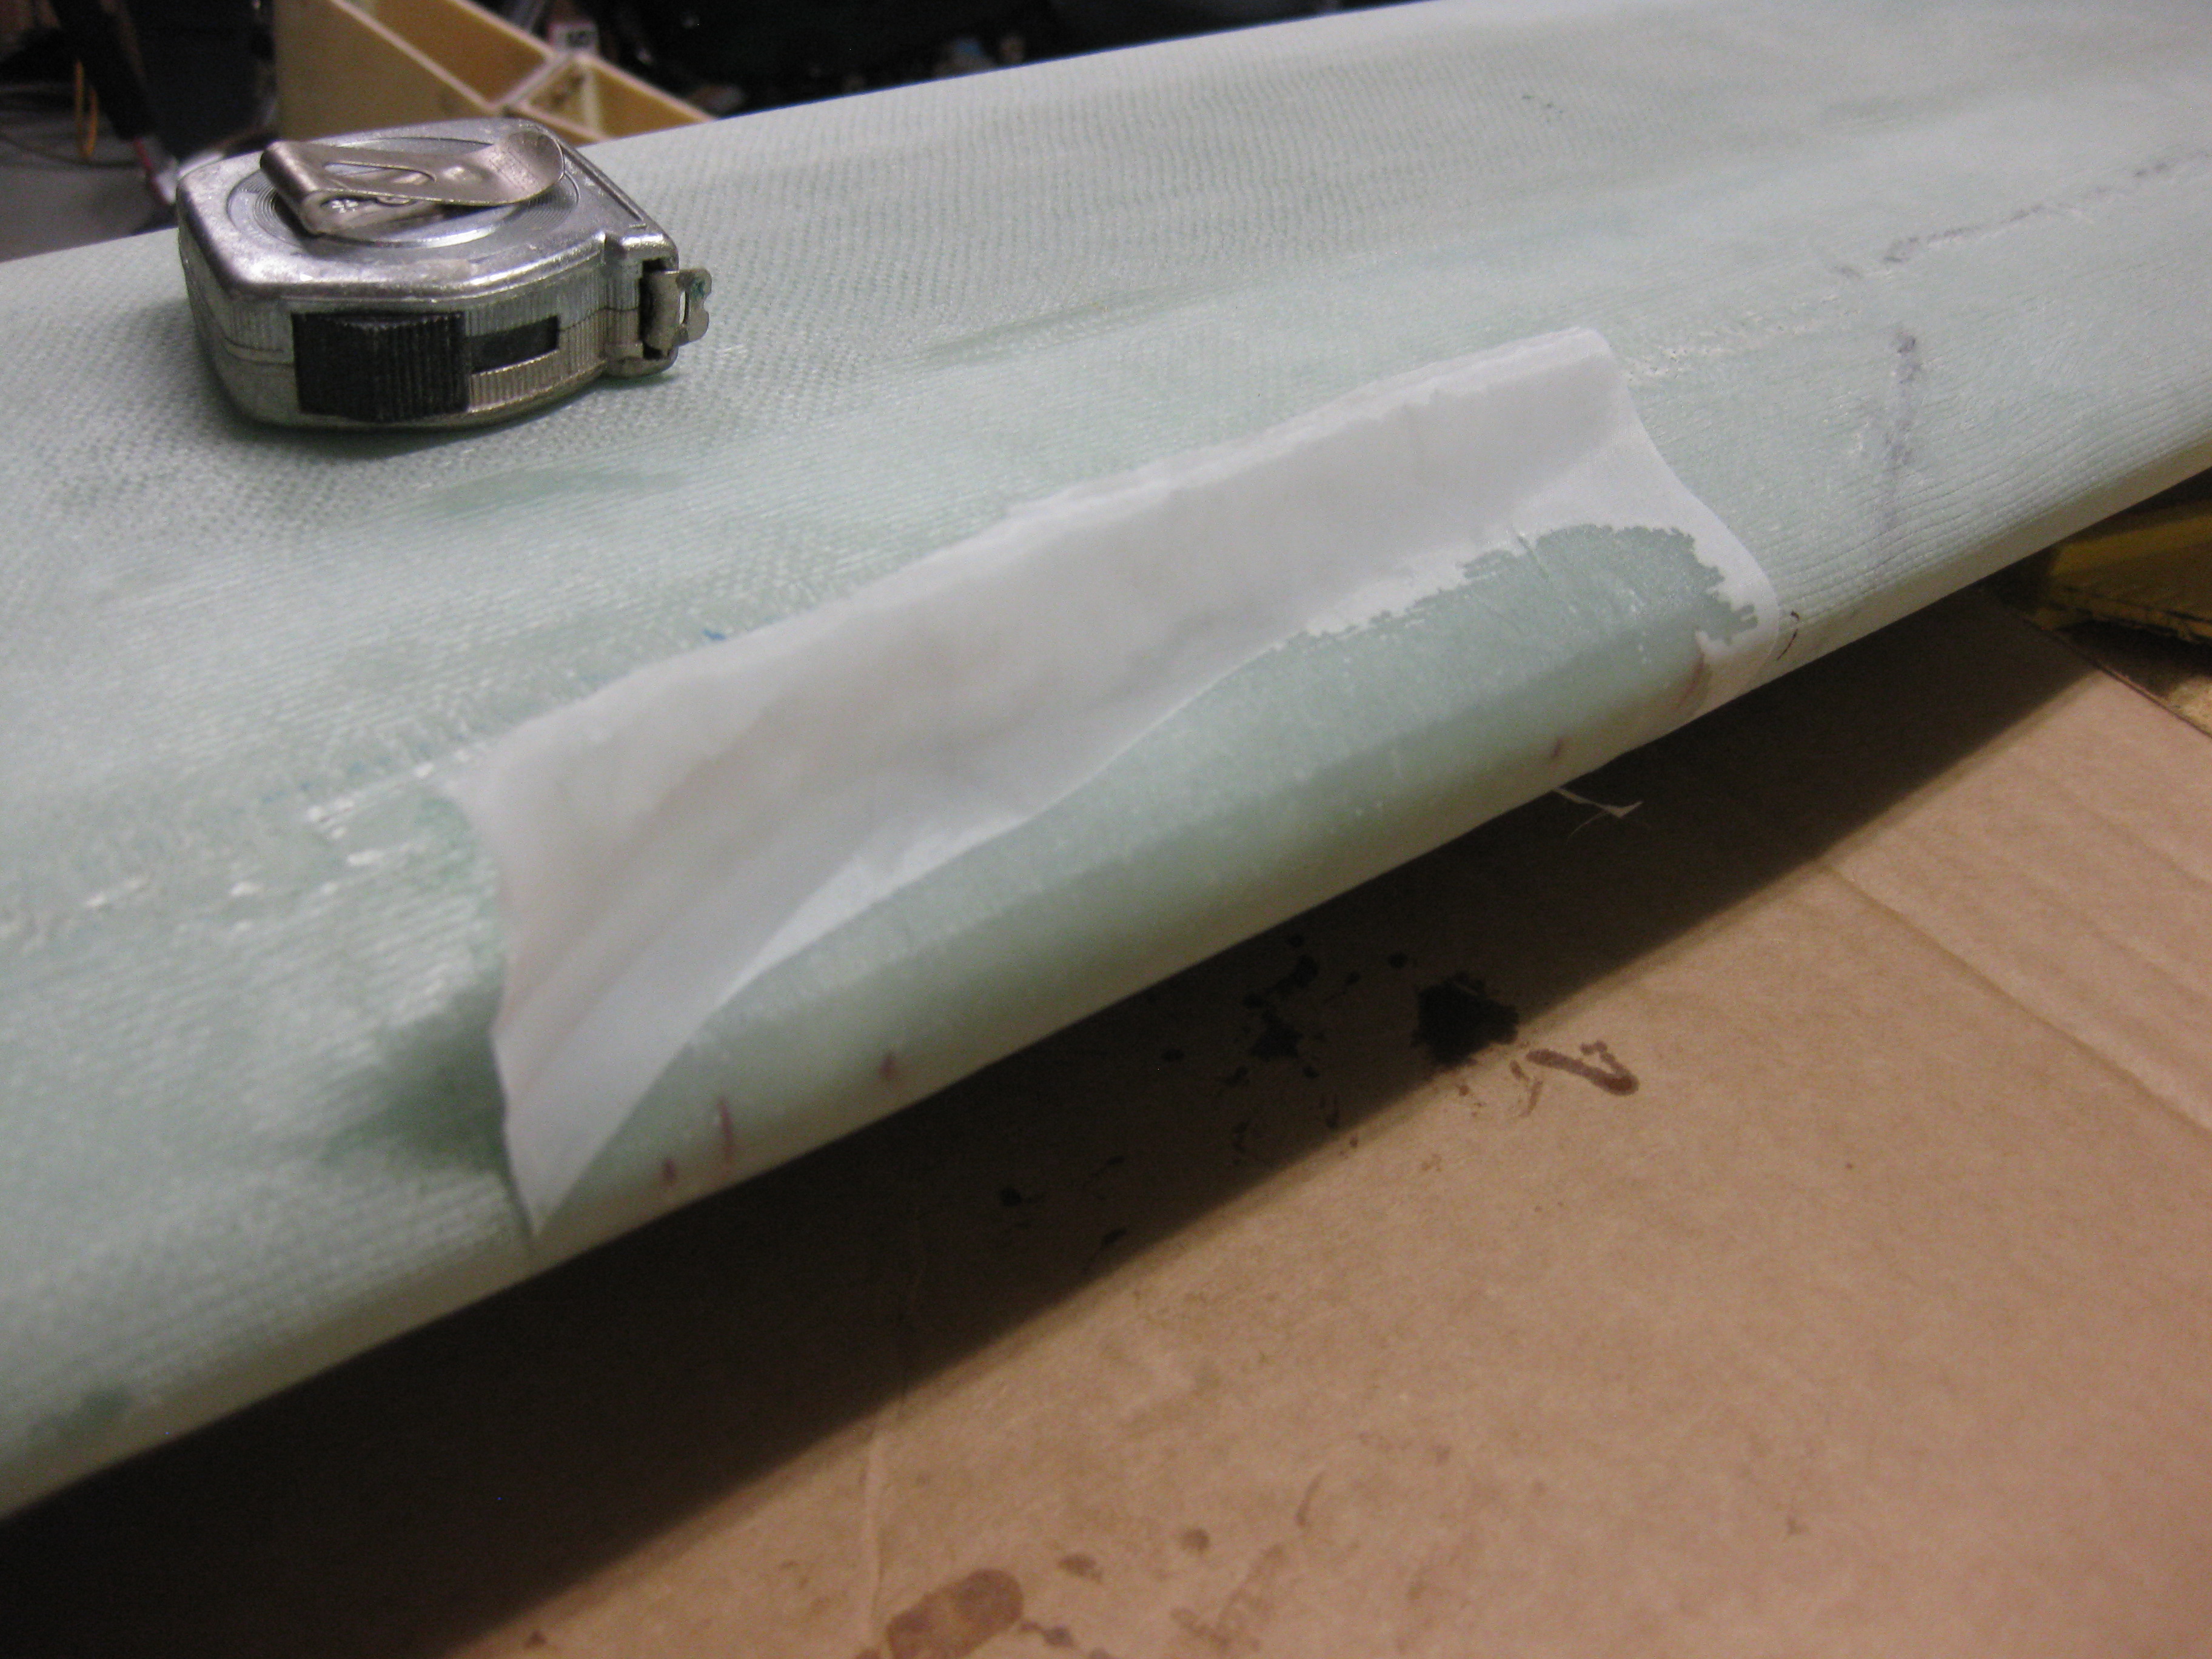
A few hours later I pulled the peel ply off the 2-ply BID patch.

Cured LE BID patch

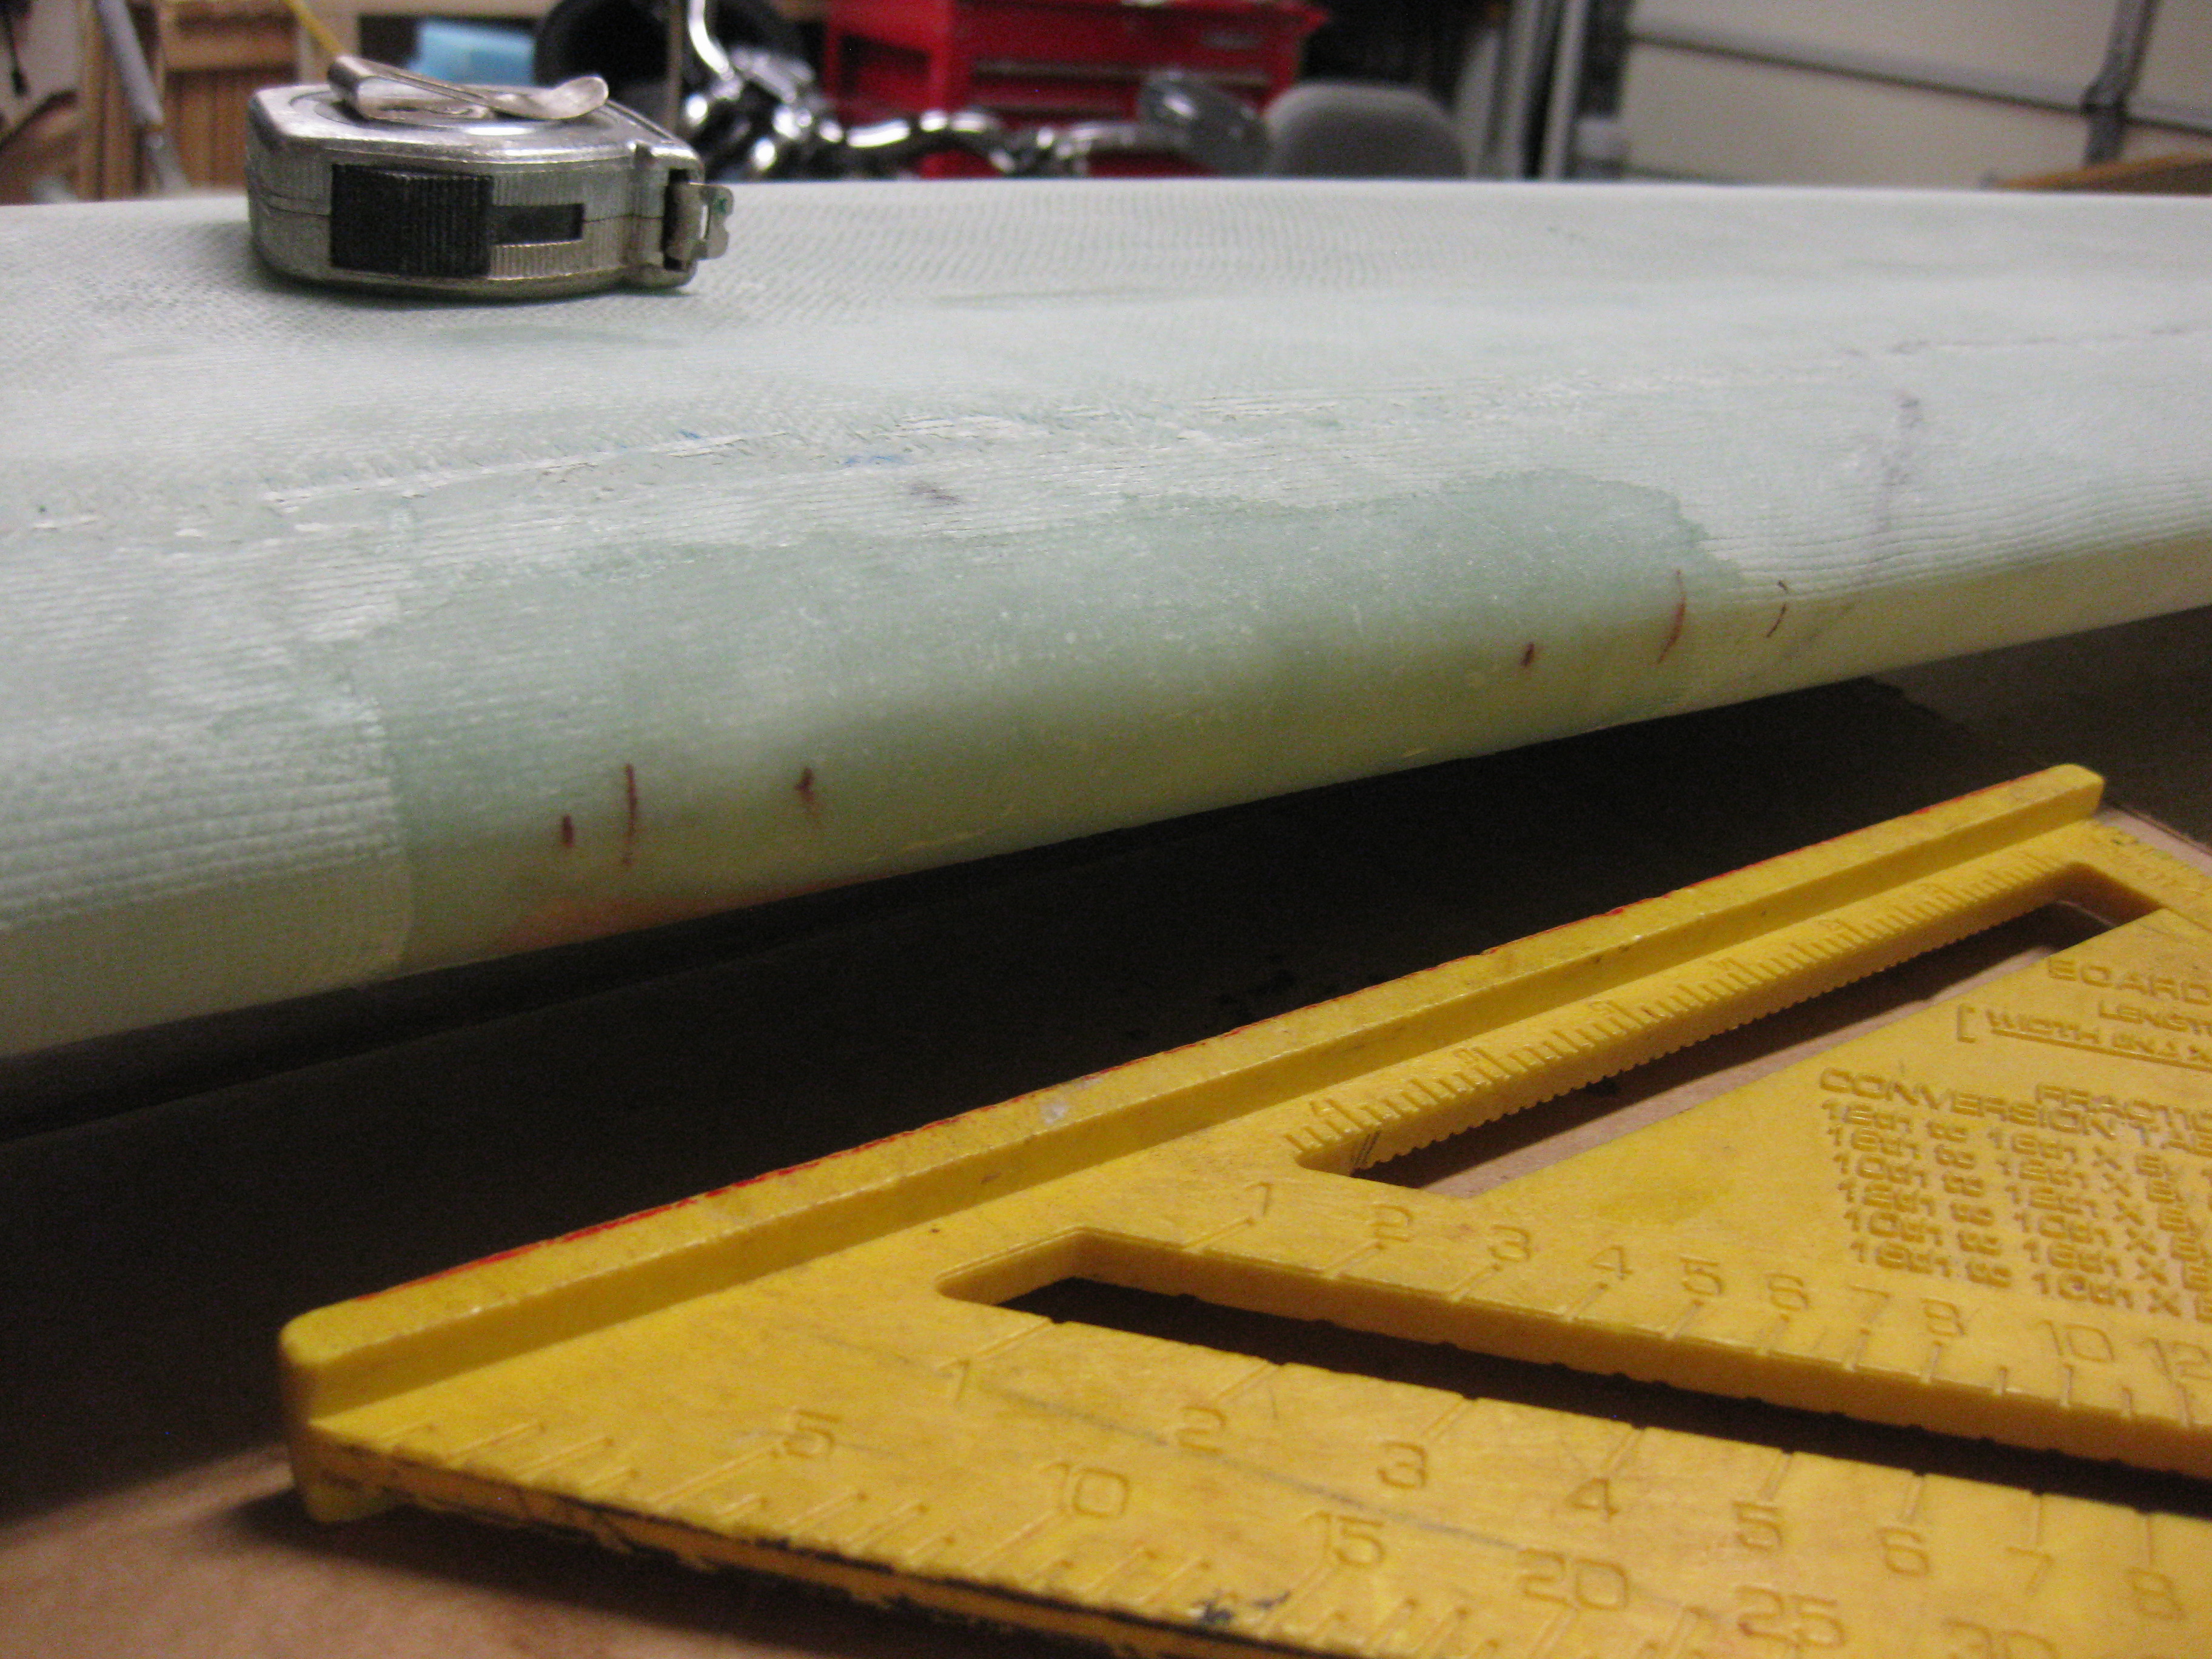
And then tested the patched LE area against a straight edge.  There are still a few minor  irregularities, but nothing that can’t be handled with a little bit of sanding and some micro during the finishing process.

Canard LE patch improved lines immensely