Chapter 23 – Exhaust

Today I pulled the trigger on my exhaust system.  The exhaust had been a huge question mark on my list of things to do for a very long time.  Luckily, a quick email to Long-EZ Buildmaster Mike Beasley quickly cleared up any questions I had on Long-EZ exhaust systems.  He quickly referred me to a Long-EZ exhaust system guru, Clinton Anderson, from Custom Aircraft Parts in El Cajon, California.

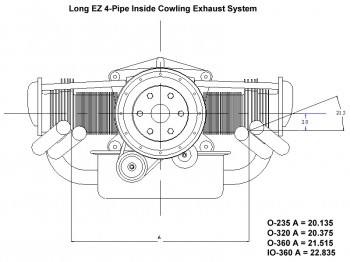
Clinton and I discussed the exact type of exhaust I needed for my IOX-340S.  It came out to be fairly simple, since it’s the same exact exhaust system used on an I/O-320.  Below is the initial technical drawing he sent me.

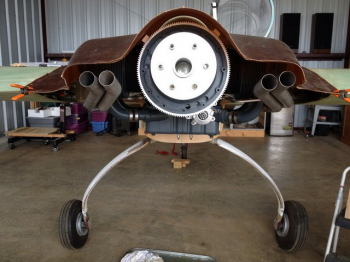
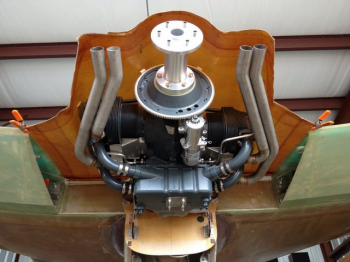
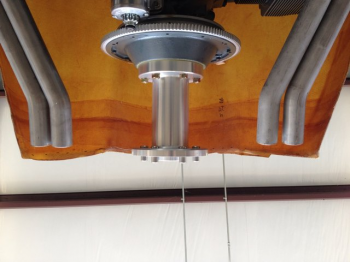
Long-EZ ExhaustAnd here are some pics of these exhaust pipes on Mike Beasley’s fantastic Long-EZ build:

BizMan ExhaustBizMan-ExhaustBeasley Exhaust


Chapter 22 & 23 – Alternator

Well, an alternator is difficult to classify as belonging to ONLY the Electrical System (Chap 22) or the Engine (Chap 23), so I labeled it here as belonging to both categories.

I’ve  held off for quite some time in buying my alternator, which is B&C as well, simply because I didn’t feel I had identified the avionics and electrical components within the electrical system to the degree necessary to know what size alternator I would need.  B&C offers both a 40 Amp and a 60 Amp externally regulated alternator.  Of course an ever-present concern of mine is weight, and at the very aft end of the engine, the 2.4 pound difference (6.1 vs 8.5) between these two alternators clearly has a decent affect on the aircraft’s weight & balance at such a rearward arm.  With technology allowing me to have a lighter battery up front (15 pounds vs the traditional ‘old school’ 25 pounds), even with an extended nose I’m trying to keep the hind end of my bird light.  Especially considering I’ve dumped an O-320-sized engine back there when the Long-EZ was pretty much (Read: “specifically”) designed for the lighter O-235 engine.

Have I made my case?  Quite a bit of yammering over just 2-1/2 pounds, eh?!  Sure, weight is evil!  (I wonder if Burt would be proud of me right now .  .  . )

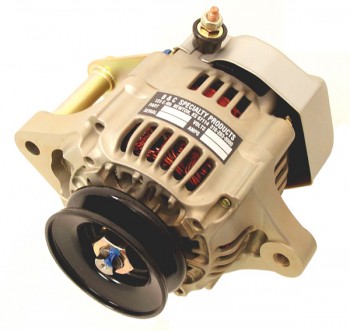
And so it is mis amigos, that I was comfortable enough in my electrical system load analysis at this point in time that I pulled the trigger on the B&C L40 40 Amp alternator below.  Also, as a data point, my main bus with all the components I have listed in my electrical system will have a steady current draw somewhere around 22 amps.  Not bad for a full up IFR glass panel with autopilot.

As per usual, here is a representative picture from the B&C website.

Chap 22/23 - B&C 40-Amp Alternator

Chapter 23 – Engine Electronic Ignition

Well, I understand that I’ve pretty much gotten into the same mode that I was in Tampa, in that I’m merely laundry listing out all the components that I’m allocating for the build.  But trust me, I’d much rather be reporting on progress being made on the actual build.  Here in the near future, as I get closer to finalizing my electrical system, I will try to find a way to transfer it from CAD into maybe a PDF format to post on the site.

Being deployed for a year has given me quite a bit of time to hash & re-hash my component choices ad nauseum.  I’ve been able cross check my decisions, talk to some real gurus and hear & read arguments both for & against various parts & components.

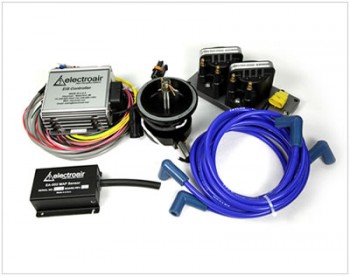
My latest final decision was what electronic ignition system I was going to go with.  I’ve had reports from a number of friends & builders, and scoured the forums to finally come to my decision.  I also spent hours at each booth during SNF13 to figure this out.  In fact, before they closed their doors, I had spent a fair amount of time on the phone with the guys at Mattituck Engines discussing electronic ignition systems for experimental engines.  My final decision for my ignition system is an Electroair on one side paired with a Slick magneto on the other.

Chap 23 - Electroair Electronic Ignition

And although it may sound silly or incompatible to some, after a discussion with a few engine gurus I’m holding out the option (and will research) in the future to replace the Slick mag with a PMag.


Chapter 23 – Engine Ram Air System

In early September I went with a one-off type component: Rod Bower’s Ram Air System. Normally Rod works with the RV gang, but I spoke with him at length about using this on a Long-EZ, and I think this is the polished, albeit more sexy version of what James Redmon built (himself!) for his Berkut.  And since James’ Berkut is literally one of the nicest canards in the world, I gotta have something nicer than him!  Ha!

If I haven’t explained it previously, a Ram Air system is fairly straightforward in operation and does what it’s named: It simply takes an external, isolated source of air and rams it into the intake manifold via the fuel injector servo WITHOUT being filtered.  Yes, I did say it’s UNFILTERED AIR being RAMMED into the engine intake.

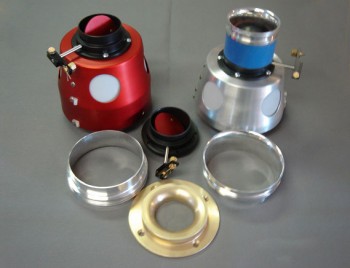
“Ok, is that smart?” you ask.  Of course not!  At least not on the ground!  Ahhh, so the beauty of Rod’s system is that you throw a lever (or a servo switch) and a butterfly valve closes off the outside air source.  The air, then, is brought in through the 4 reed valves on the side of the aluminum coffee-can sized housing that just so happens to have a K&N filter therewith inside.  Thus, on the ground, or close to it, the air is in fact filtered.  Bit once airborne, the valve is opened to let the ram air do its magic, ala Red Bull Racers, thereby providing anywhere from about 1–1.5 inch gain in manifold pressure.  Brilliant!

And here’s what it looks like:

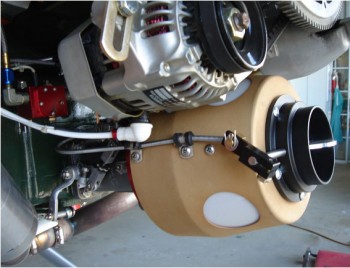
Chap 23 - Rod Bower Ram Air SystemAnd installed on a tractor setup:

Chap 23 - Rod Bower Ram Air System


Chapter 23 – Engine

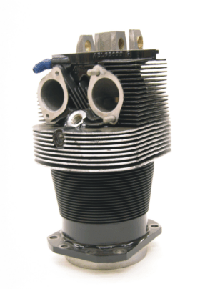
Today I ordered a set of 4 ECi Tapered-finned Nickel+Carbide Cylinder Assemblies for my IOX-340S engine.  The set also includes 9.5:1 compression pistons.  Since I picked up the engine case, the crankshaft & camshaft a few weeks ago, I’ll start purchasing the accessories over the next year so that when I get back I can put this thing together with Tom Schwietz.

A nice thing about buying the cylinder assemblies as a set is that ECi ensures that all the cylinders are flow matched, making for a much smoother and efficient engine.

Here’s a representative pic for context.

ECi IOX-340S Cylinder Assembly


Chapter 23 – Engine/Starter

Besides starting to pick up the main parts of the engine, in July I also started down that long road of picking up all the engine accessories as well.  There were a few components that I still wanted to do a fair amount more research on, to be sure I was getting what I felt was the best fit for my engine and airplane.  Of course I read a ton & made quite a few phone calls to some really smart folks.

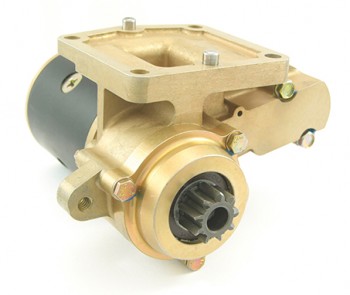
One thing that I new for certain was that I was going with a B&C starter.  While B&C starters ARE NOT the lightest starter you can get out there (by a few pounds), from every bit of feedback I could garner these guys are bulletproof.  Thus, a B&C starter was the first engine accessory that I pulled the trigger on (example pic here).

Chap 23 - B&C Starter


Moving time!

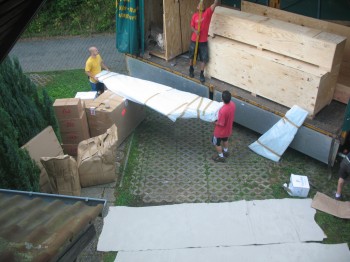
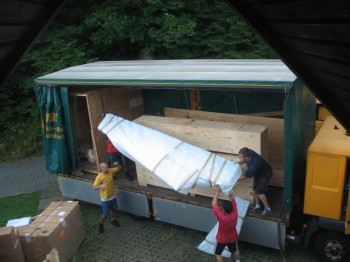
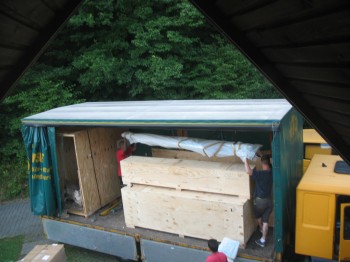
Well, moving day is finally here.  A couple of weeks ago, just before my 2-week jaunt back to the States, I had a rep from the shipping company come out and measure all my stuff, including all the airplane components, to figure out what kind of crates would need to be constructed.

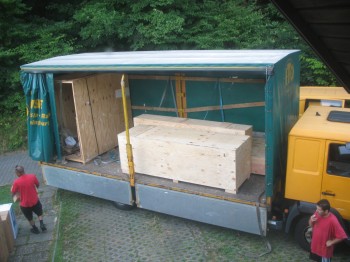
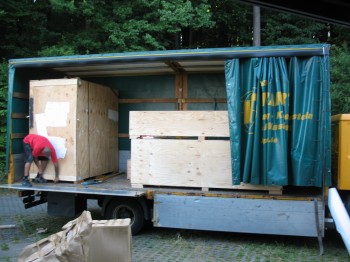
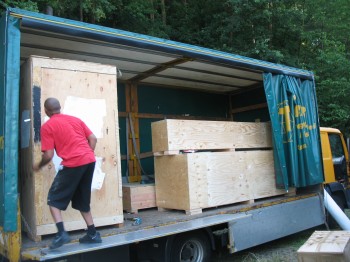
I was fairly impressed when the moving truck showed up today with 3 large crates specifically for the major Long-EZ components.  I have to tell you I was a bit concerned that the military was going have a conniption over my aircraft project.  Of course that’s one reason why I built all my components to the minimum length I could, and didn’t mount the winglets to the wings, etc.  The first large crate was for the fuselage, which much to my pleasure was large enough so that I could keep the firewall mounted onto the longerons (ensuring that the back end of the fuselage didn’t endure any undue stress).

The second crate was a smaller, longer crate for both the Canard & CS spar.  This too had plenty of room to allow for lots of overpacking to keep these guys from rubbing holes in each on the boat ride back to the US.

The last crate was the mo-jamma!  Although I had specifically requested that this guy be constructed so the wings would be crated vertically & leading edge (LE) down, it was constructed so the wings would be horizontal, but plenty big enough to allow for a lot of extra padding between the wings.  Also, although the wings would be shipped and stored horizontally, I figured since they were built last summer that they’ve had nearly an entire year to cure in the correct position/LE down to lock in their shape, so I’m not too concerned about them warping. In fact, I was thinking about this in regards of flying Long-EZs: I don’t hear stories about EZ drivers removing their wings and storing them LE down when not using the airplane!  Nope, the wings pretty much stay attached to the CS spar and seam to do just fine without any major warpage!

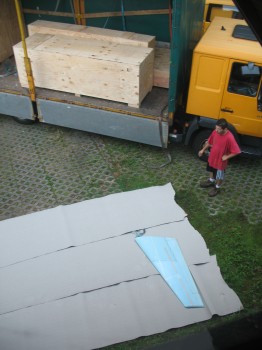
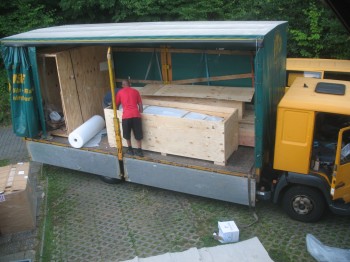
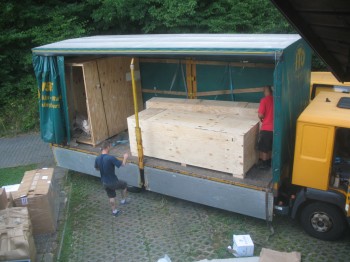
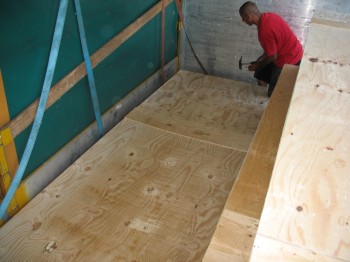
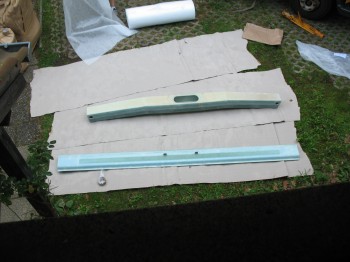
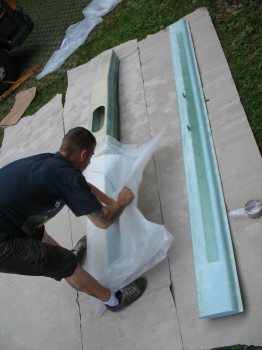
So, here are the pics of the wrapping, packing, crating & shipping of Long-EZ 916WP:
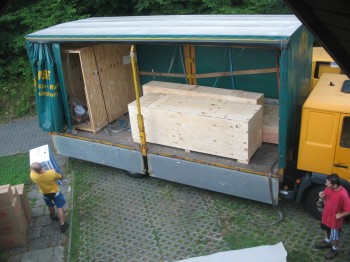
Fuselage, canard/cs spar & wing cratesFuselage, canard/cs spar & wing cratesFuselage, canard/cs spar & wing cratesCrating fuselageFuselage & canard/cs spar cratesCrating wingsCrating wingsCrating wingsOne thing I want to point out is that I was with these these guys the whole time that they were packing up my LEZ components, then when we finished prepping each part for crating I would sprint up 3 flights of stairs to take a picture or two, then run back down to work the next piece, sprinting back up the stairs in an attempt to get good shots of all these parts getting packed up & crated as part of documenting my build.
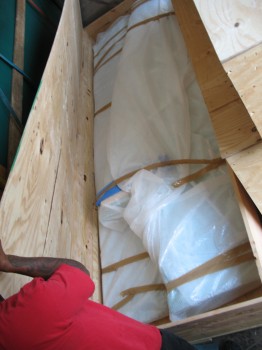
Crating wingsFuselage, canard/cs spar & wing cratesFuselage, canard/cs spar & wing cratesCrating Canard & CS SparCrating Canard & CS SparFuselage & canard/cs spar cratesFuselage, canard/cs spar & wing crates


A fond, bittersweet farewell!

I’m back in Germany for the final push before I head off to the land of heat, sun & sand.

Well, unfortunately my moving mimics the plane build in many ways in that the name of the game for shipping my stuff back to the US to spend a year in storage is: lightweight. At least, as lightweight as possible (thus, how the move parallels my build).

I came over to Germany with a lot of wood & building materials that I wasn’t sure would be available here. Some of it was, but a lot of it wasn’t.  The bottom line for my return trip however is–just like in building my Long-EZ–if I don’t absolutely need it, then it’s getting sold or chucked.  Of course this was in my plan all along since I new as I built the various components of the Long-EZ over here that my aircraft project would be significantly heavier on the return trip.  Thus, a good majority of my shop either ended up getting sold, dumped or burned in my chimenea.

Which leads me to my Long-EZ glassing & building shoes.  These faithful troopers have been in the game since day one.  But since they’re at the end of their life cycle, and they add weight, they have to go!

Farewell faithful build shoes!  I hope your replacements do as fine a job of catching errant epoxy drops as you did!

A Bittersweet Farewell!


Chapter 23 – Engine

I’m back in the States for a couple of weeks before I head over to the Sandbox.

Today I pulled the trigger on my Lycoming O-320 engine case along with an ECi IOX-340S strokered crankshaft, balanced connecting rods, and camshaft from Tom Schwietz at Aero Engines in Winchester, VA at Winchester Regional Airport (OKV).  I met Tom at his shop and talked with him at length on various engine options, the build, etc. and toured his shop.  Tom was incredibly knowledgeable and the facility was quite impressive.

However, since I apparently had a huge brain fart and failed to get a picture of my new engine components, I tried to find a good representative picture online but couldn’t find anything fitting.

Yesterday, I got to spend all afternoon/evening with my buddy Marco down in Virginia Beach and tour his build facilities as well (impressive garage my friend! ha!).  He showed me his Long-EZ project and of course we talked Ad nauseam.  I also dropped off my TIG Welder for him to try out, evaluate & use while I’m gone this next year.  If he likes it he’ll most likely use it build his rollover assembly.  It was great to visit with him and get some good Long-EZ shop talk in with my fellow Canardian.  Build on my friend!


Chapter 19 – Left Wing Repair

Today I finally got around to marking something off my long-standing “To-do” list that includes all the nit-noy ancillary tasks that I need to accomplish.  So what was this mysterious task?

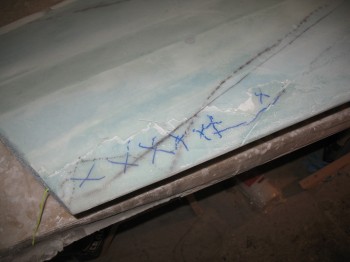
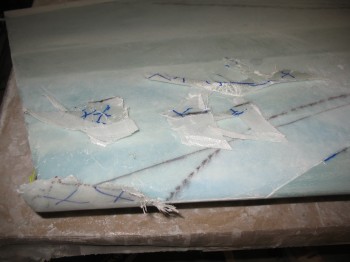
Well, in my haste to glass the top side of the Left wing, I forgot to pull the big piece of triangular peel ply off the bottom of the wing.  This peel ply covers the large triangular 1-ply BID layup that is glassed at the end of the wing as a foundation for multiple plies of glass that will attach to it to structurally hold on the winglet.

Chap 19 - Left Wing Tip Repair

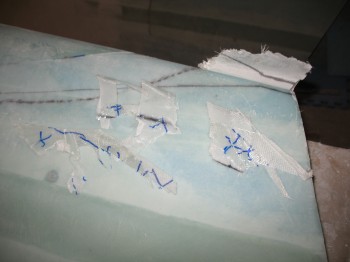
On the Right wing I had simply pulled the peel ply back off the leading edge a few inches. Since I forgot on the Left wing, the top skin glass overlapping onto the bottom skin is now actually overlapping onto the bottom skin peel ply.  Not exactly structural.  Luckily, since the peel ply is a triangular piece, only about 6-8 inches of the very end of the wing’s leading edge is affected.  Nothing that can’t be fixed.  I just had to mark it and then carefully Dremel away the ineffective overlapping top skin glass & underlying peel ply.

Chap 19 - Left Wing Tip RepairChap 19 - Left Wing Tip Repair

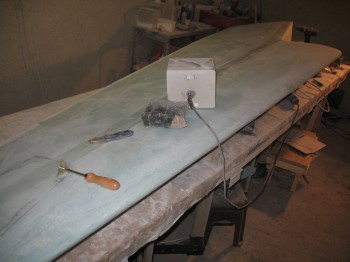
Once I removed the offending glass & peel ply, I continued on in my quest to give the wings a good once over with the sander.  The leading edge overlaps with the snarly, prickly glass especially needed sanding down so when we handled the wings nobody would get inadvertently punctured with wayward glass barbs.

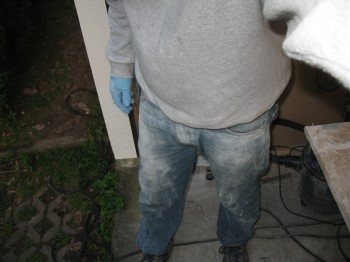
Chap 19 - Left Wing SandingOf course sanding fiberglass is never a joy.  It’s itchy, messy & not particularly good for the lungs.  Of course I was covered head to toe on what proved to be a fairly warm day in Germany.  So below is just a couple of pics of the ensuing personal carnage that sanding glass does to one’s own person!  Build on!

Darth Vader's 1st Experimental TIE FighterSanding carnageAfter I finished sanding the wings & winglets, I vacuumed up the insidiously ubiquitous glass dust that completely covered everything in the garage and got into absolutely everything.  Not surprisingly, sanding and vacuuming was my last official build effort for the next upcoming year!

But fear not, I will continue to post my progress on the build!