Back to it … baby steps!

Sorry, but I don’t have any pics to load just yet, but I quickly knocked out a few items on my list that I thought were important to complete in order to establish some data points:

#1 – Elevator weigh-in.  As Canardians and canard builders know, elevator weight and balance is critical.  I established a baseline weight for both my elevators since when I followed the plans method of glassing them, the heat of the curing bondo used to hold the bottom of the elevators in place caused glass-foam delaminations exactly where each blob of bondo was placed.  There’s a great work-around using aluminum duct tape that’s spelled out in a CSA newsletter, but unfortunately the issue with that helpful tidbit came out well AFTER I built my elevators. Besides getting a general idea of each elevator’s weight, the baseline will let me know how much epoxy weight was added after I inject each delam area with epoxy.  If too heavy, I may end up having to rebuild new elevators.

#2 – Fuselage straight & true.  Another issue I wanted to get the skinny on was exactly how straight and true my fuselage is, since I know that I didn’t get it exactly right when I glassed the bulkheads into the fuselage sides.  I still  have to diagram it all out, but although not ecstatic that it was off to any degree, I was relieved to find out that no measurements were off by more than a 1/10th of an inch.  Not great, but definitely workable.

#3 – Landing & Taxi Light Test.  I also grabbed my LED landing and taxi lights, and quickly connected them up to a 12V battery to ensure that they all worked, first off, and to also get a good idea of the light strength and beam pattern of each respective light.  I have to say that I was quite impressed with the lights and I will definitely move forward with my designed electrical plan for the landing and taxi lights.

Engine Hoist Saga Over!

Ok, I know it may not seem like such a huge ordeal, but before I stowed this engine hoist away I wanted to ensure it was working properly.  As you saw from a couple of weeks ago, I had added a full bottle of hydraulic oil to the jack so that the jack would stay up & not move with a load on it.

No joy!

I eventually had to buy more hydraulic fluid and bingo, that did the trick!  After a few days of working the jack & bleeding the air out I finally got this lemon to work!

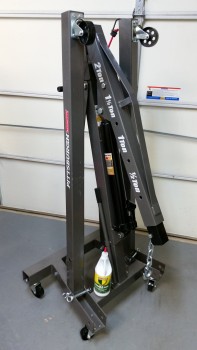
With the drama over, I folded it up and took a pic before it went into the storage closet.

Engine Hoist

BTW, I used over a third of the hydraulic fluid from the bottle shown in the pic.  Now that this is out of the way, I should be able to finish up the shop SOON and get moving on the build.  As many of you know, working in a tight space requires a fair amount of organization!

Getting there . . .


Visiting an old friend . . .

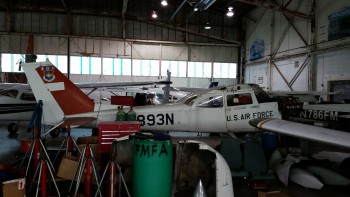
I stopped by my old Aeroclub at Tipton Airfield near Ft. Meade today to visit the old gang. I got my PPL here many years ago.  It was great to see some of the guys that were around while I flew there, but I was sad to see an old friend–the Cessna T-41 that I soloed in–sitting in a hangar after being parted out.  Apparently it was smacked hard in a vicious windstorm that hit the airport a couple of years back.  The tail assembly was banged up pretty good, to the point that the tail boom was misaligned so much that it was uneconomical to repair.

Old Friend Fairwell N7893N!

Long-EZ back home!

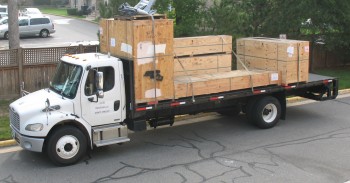
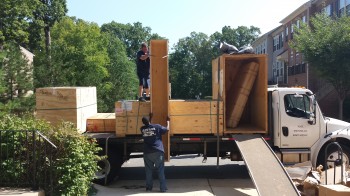
Today all the components that will someday make up Long-EZ N916WP arrived back home!

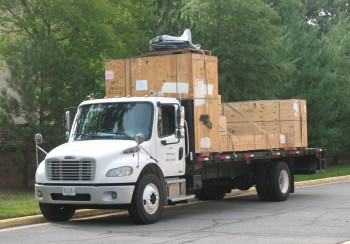
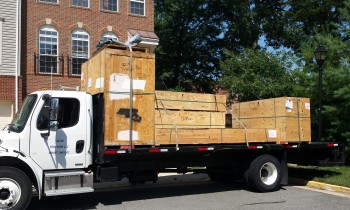
Delivery TruckThe project was crated into 3 big boxes, with the wings being the largest of course.  The large crate at the very front of the truck bed is regular household stuff and the large crate at the very back of the truck bed is my motorcycle.

Delivery Truck

After many hours of unloading my household goods from the other truck, we were finally finished so they pulled this truck into position.

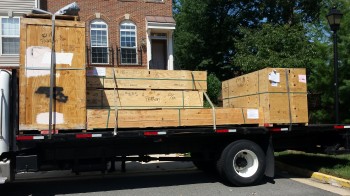
Hello old friend!Again, the wings are in the long, low flat crate located closest to camera (Left side of truck).

Big boxes!The large lower box next to the wings’ crate is the fuselage, and the long smaller crate on top of the fuselage is the CS Spar and the canard.

Lets do this!

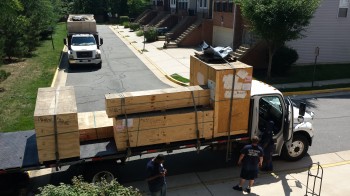
Once the large household goods crate at the front of the truck was unloaded, we were able to start unloading the plane assemblies.  The first thing that came out of the crate was the CS spar.  I don’t know how much experience you’ve had with movers, but I was very adamant about them being slow and careful with these parts, which in the end they were.

CS Spar

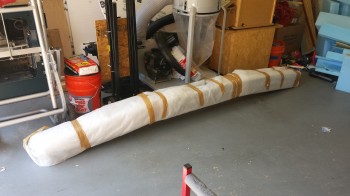
I was a little unnerved for a bit since the only thing in the long crate atop the fuselage was the CS spar!  I had watched them put both the CS spar and the canard in the top crate when it was packed up in Germany.  Unfortunately, I would have to wait until AFTER the fuselage was unloaded to ensure the canard was in the wings crate, which is the only place it would fit!

CS Spar and canard crate

While they removed the empty CS spar crate from the truck I quickly unwrapped the CS spar to check it over and make sure there was no damage, which there wasn’t.

Looking good!

I let out a huge sigh of relief when we cracked open the wings’ crate and I saw the canard laying on top of the wings!  However, I wasn’t overly happy with them moving the canard out of its original crate, where it was in a leading edge-down orientation, to simply laying it on top of the wings.  As a point of note, I had originally stated the requirement that the wings crate be built to hold the wings vertically, but although they said they understood my requirement, they still built it so that the wings laid horizontally, as you see in the pics.

Plane parts

No worries . . . at least everything made it back to the States in one piece and undamaged!  Welcome home Long-EZ 916WP!


Keeping it hot!

I can’t really finish the shelves or the glass cabinet until I get the epoxy hotbox knocked out.

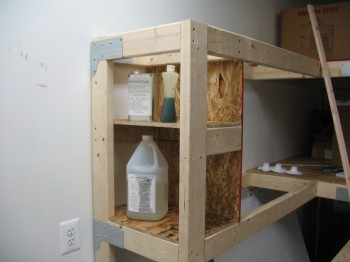
Epoxy hotbox

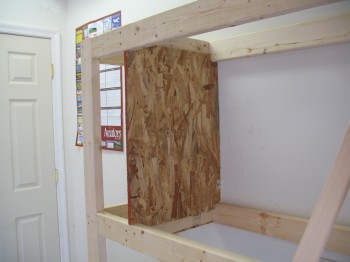
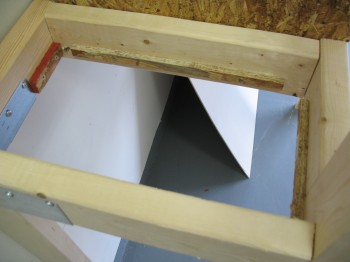
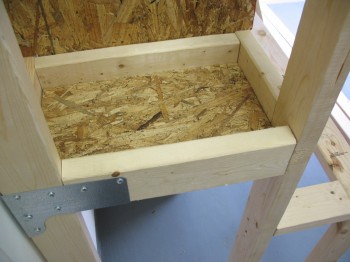
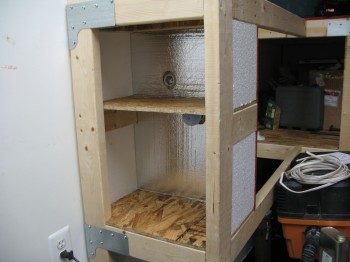
Once the back wall was in place, I started on the bottom shelf.  Now the hotbox will be insulated all the way around, with both 1″ Styrofoam and aluminum covered foam used in building houses.

I installed edges for the bottom shelf “tray” to sit on:

Epoxy HotboxEpoxy hotbox

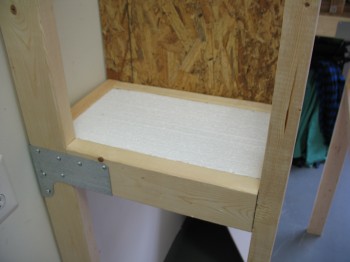
Now, the pain involved with building the hotbox is that it takes a fair amount of time to cut the Styrofoam insulation pieces.  Luckily I had retrieved the hotwire cutter that I built back in early 2011 from storage at my buddy Marco’s shop.  This made the insulation cutting a lot quicker and cleaner!

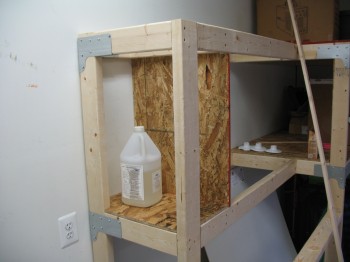
Below are 2 pieces of 1″ foam inserted into bottom shelf area and sitting upon the shelf tray built above:Epoxy hotboxAfter installing the bottom shelf-top, I then had to refine my measurements for the epoxy jug storage on the bottom shelf and the quart & bottle containers of hardener on the top shelf to place the middle shelf.

Epoxy hotboxEpoxy hotbox

The epoxy you see here is MGS 335 that I had left with my buddy Marco to use if he wanted.  Being busy on his build and machining projects, he never really used it, so I’ll play around with it on some non-aircraft/non-structural projects.

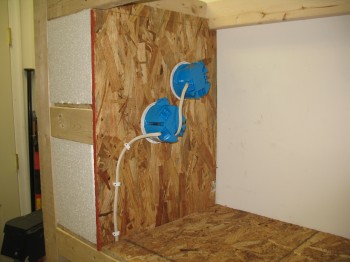
I then insulated the back and side walls, and installed the light bulb heating elements.

Epoxy hotbox

Epoxy hotbox

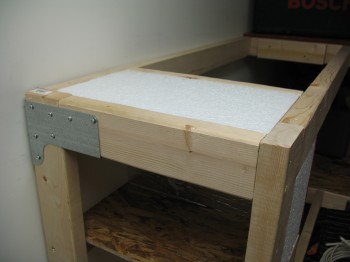
Finally, I finished insulating the top of the hotbox as I did the bottom shelf, and will use the actual top shelf sheeting to cover the upper 2″ foam insulation pieces.

Epoxy hotbox


Back in Virginia!

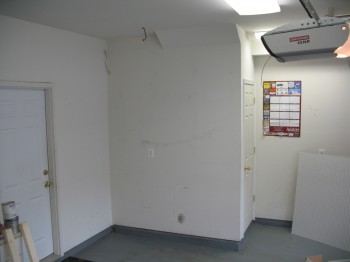
So I’m back in my old house in Virginia.  Actually a different house than where I started the Long-EZ project back in 2011.  Since I won’t be getting my household goods or my plane parts for another couple of weeks, I figured I would get the garage shop prepped as much as possible to minimize the scrambling when all my stuff arrives.

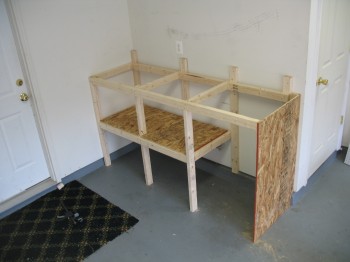
My first order of business was to take out the 3 small incandescent bulb light fixtures and replace them with fluorescent light bars.  Also, I figured out where I was going to place my workbench.  Below you can see the workbench location, and the new light bars at the top of the pic.

Work space

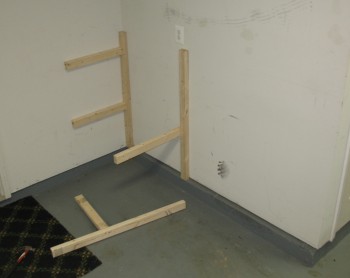
I then started in building the workbench . . .

Work Bench

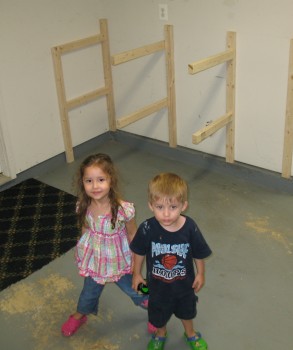
. . . then my neighbors stopped by to let me know that I was doing it all wrong!  Luckily they straightened me out, remeasured a bunch of boards for me, and I was back on track!  (There Dad and my good friend Dave lent me his old Craftsman circular saw to use until I get my tools delivered to me with my household stuff.  Since I don’t have any of my own tools, I’ll use that saw and a cheap 12v I picked up at Home Depot to build the workbench and shelves before my stuff arrives . . . Thanks Dave!)

Little Helpers

Workbench

Workbench

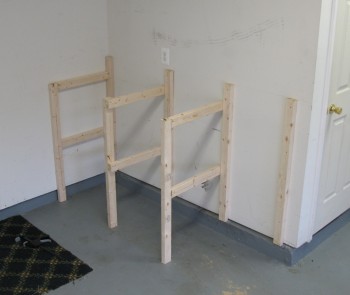
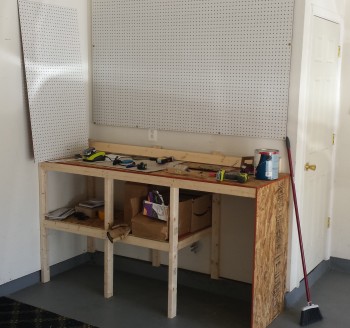
With the frame done I had to wait a couple of days because of the pesky rain (ahh, DC…) before I could cut the top shelf sections.

Workbench

With a few hours reprieve from the rain, I was finally able to cut the top shelf and peg board and get this workbench in the bag.


New Old Pics

Hey Folks!  I found some old pics off my cell phone from Germany and am not quite sure if I posted them previously or not.  Yes, I’m being lazy right now by not going back to look through my myriad of posts to see if they were previously posted or not.  My excuse is that I’m in a mad rush to get everything wrapped up here because I’ll be leaving the Middle East in a few weeks and have a ton of non-build related stuff to get through to get out of here on time in early July.  I’ve got another assignment to the Pentagon and will be heading back to the States sometime in early July.

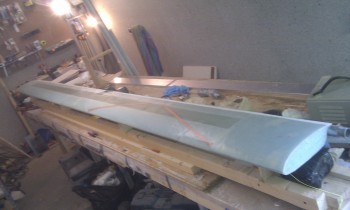
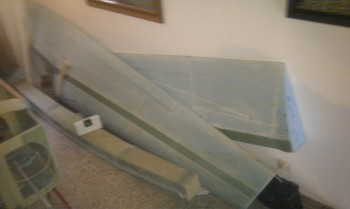
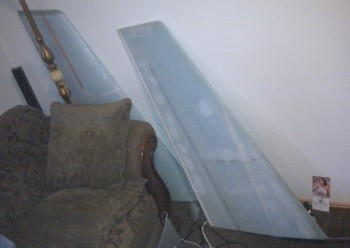
So here goes.  Some are a bit blurry, but I included them anyway.  Again, these are all build pics from Germany.  A number of them show the assemblies in storage in my Climate Controlled Storage Facility (again, my house… hehe!)

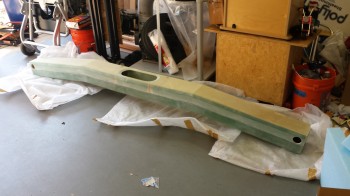
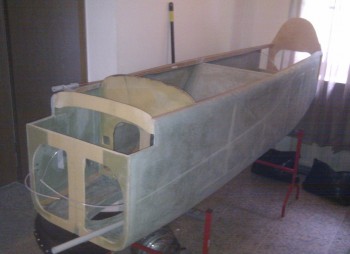
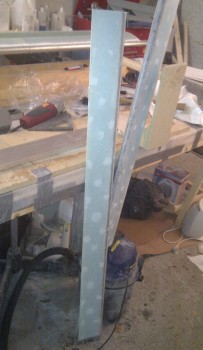
Chap 7 - FuselageChap 11 - Elevators

Chap 10 - Canard

Chaps 19 & 14 - Wings & CS SparChap 20 - Winglets

As oddly as it sounds, I’m going to title the picture below: “Why Microsoft Sucks!”

Normally I use Google Chrome as my browser, but it had uncharacteristically locked up on me, so I opened IE to build this post.  This is the first time I’ve used IE to create a post in probably 6 months.  And I couldn’t even get one post loaded without issues.  I had created this post in it’s entirety, but then when I saved it to go live on my site, it only saved from the first two pics up.  So I guess this post helps support the adage that 40% of work is rework.

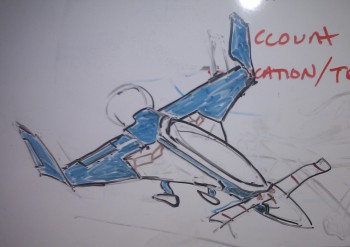
Now, (back on Google Chrome) this pic below is a crude drawing that I made on my whiteboard at work since the folks that worked for me would ask me almost daily as to the progress of the plane building project.  This was long before I built this web site, so I would color in the completed components in blue, and would use this crude diagram to answer any questions they had.  I would guess that this pic was taken circa late August-early September 2012 since the CS Spar wasn’t completed yet.

Long-EZ Build Progress Tracker Cheers!

Chapter 23 – Cold Air Induction Sump

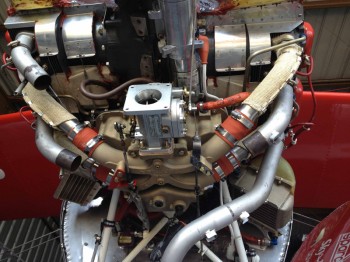
Today I sent a check off to my engine builder, Tom Schwietz, at Aero Engines for a Superior Cold Air Induction Sump Kit.  I have been doing a ton of research on my cold air induction system over the past few weeks, and finally decided to go with Superior over the Sky Dynamics cold air induction system [Note: None of the pics below are of my particular set-up, but merely included as representative of the Superior cold air sump system].
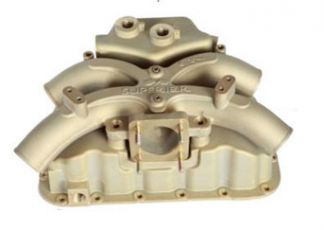
Chap 23 - Superior Cold Air Sump

Why Superior?  Cost and size.  Ok, there’s no doubt, in my mind at least, that Sky Dynamics’ cold air sump is the best cold air sump for a Lycoming that money can buy. This makes sense, since the Red Bull Air Racing team uses this system on their race planes.  But although the Sky Dynamics is the best that money can buy (again, my opinion), it takes a whole lot more money to acquire this system than it does the Superior cold air system.  The Superior system works well enough for what I need it to (more on that below) and is about $2000 cheaper, which of course is money that can be used to acquire other cool airplane stuff.  Also, even though Superior is about 3 lbs heavier than the Sky Dynamics, it is still about 6-7 lbs lighter than the original Lycoming vertical oil sump.

Now, why not ECi’s cold air induction?  ECi makes a great, lightweight magnesium cold air induction sump, but the two main issues with the ECi have to do with shape and configuration.  First, the shape of the oil sump is much like the original Lycoming cold air induction sump in that it has “wings” that stick out on both the right & left side of the oil sump.  These “wings” probably aren’t an issue in a normal downdraft cooled tractor airplane like an RV or Glastar, but for an updraft cooled pusher I want as much unimpeded airflow up through the cylinders as possible.  Unfortunately, ECi’s oil sump “wings” sit in the path of cylinder cooling airflow.  Next, the configuration of the cold air plenum sits farther forward on a tractor configuration than both the Sky Dynamics and Superior cold air sumps.  On a pusher canard, this of course means the cold air intake plenum, and thus the fuel injection servo, are situated farther aft… and in such a tight cowling as on the Long-EZ, space is a premium.  Especially when I’m going to have to do a near 180° U-turn on my intake ducting to bring air into the rear-facing fuel injection servo. So above are the primary reasons that I eliminated ECi from consideration.

As for the positioning of the fuel injection servo as it’s mounted to the cold air plenum, the Superior has the best (farthest forward in a pusher configuration) of the cold air induction systems I assessed.  As you can see in the pics below, on the Superior the fuel injection servo is pretty much mounted in line parallel with the aft edge of the oil sump, unlike either the ECi or Sky Dynamics sumps.  As I mentioned above, this provides more room in the aft end of the cowling for not only routing the intake air duct, but clearance between the fuel injection servo and both the alternator and starter.
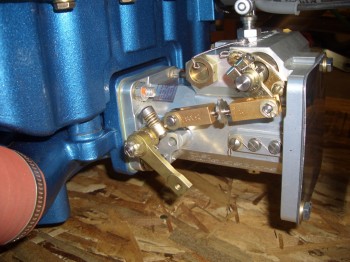
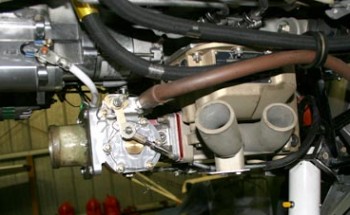
Chap 23 - Superior Cold Air Sump

Chap 23 - Superior Cold Air SumpChap 23 - Superior Cold Air Sump

Now the intake plenum on the Superior is significantly smaller than both the ECi and Sky Dynamics plenums, but still, the reviews on the Superior Cold Air Sump are pretty darn good.
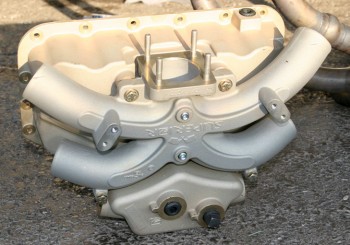
Chap 23 - Superior Cold Air Sump

One other distinguishing feature on the Superior sump is the robustness of the fuel injection servo mount.  The Sky Dynamics requires extra mounting brackets to secure the servo since the cantilevered weight of the servo would prove too much for the mounting interface.
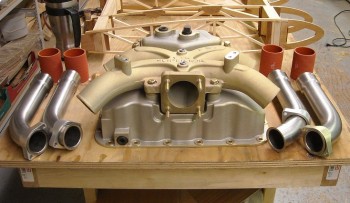
Chap 23 - Superior Induction Sump

Finally, after reading some discussions on the advantages of cold air induction–or lack thereof–from R. Mahlon and Rod Bower, I seriously considered giving up my goal on cold air induction and simply going with the standard Lycoming vertical oil sump.  The problem with a regular oil sump though is weight.  Going with a cold air induction sump actually saves a good amount of weight, if nothing else.  Moreover, the normally accepted value for increase in horsepower using cold air induction vs. a vertical oil sump is 5-7 HP.  If I can gain even half of that while saving weight, I’ll still be happy with the system.
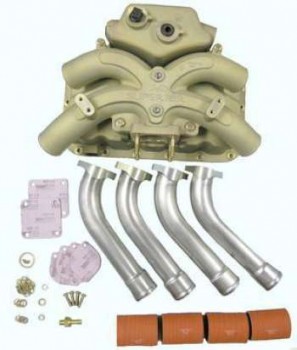
Chap 23 - Superior Cold Air Sump Kit


Chapter 19 – Left Wing Repair

Today I finally got around to marking something off my long-standing “To-do” list that includes all the nit-noy ancillary tasks that I need to accomplish.  So what was this mysterious task?
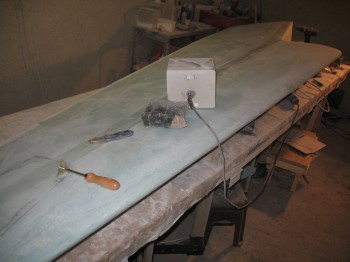
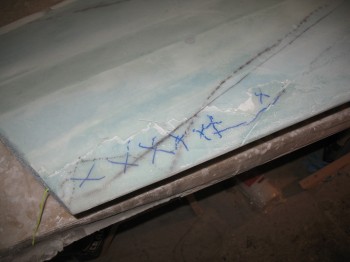
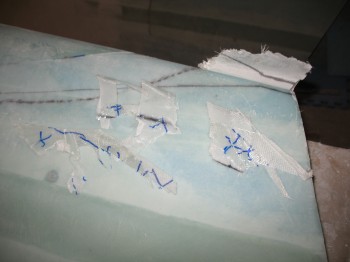
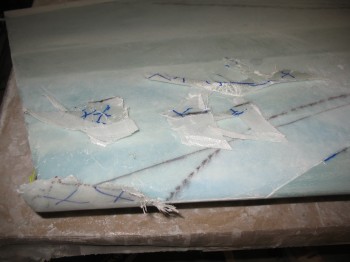
Well, in my haste to glass the top side of the Left wing, I forgot to pull the big piece of triangular peel ply off the bottom of the wing.  This peel ply covers the large triangular 1-ply BID layup that is glassed at the end of the wing as a foundation for multiple plies of glass that will attach to it to structurally hold on the winglet.

Chap 19 - Left Wing Tip Repair

On the Right wing I had simply pulled the peel ply back off the leading edge a few inches. Since I forgot on the Left wing, the top skin glass overlapping onto the bottom skin is now actually overlapping onto the bottom skin peel ply.  Not exactly structural.  Luckily, since the peel ply is a triangular piece, only about 6-8 inches of the very end of the wing’s leading edge is affected.  Nothing that can’t be fixed.  I just had to mark it and then carefully Dremel away the ineffective overlapping top skin glass & underlying peel ply.

Chap 19 - Left Wing Tip RepairChap 19 - Left Wing Tip Repair

Once I removed the offending glass & peel ply, I continued on in my quest to give the wings a good once over with the sander.  The leading edge overlaps with the snarly, prickly glass especially needed sanding down so when we handled the wings nobody would get inadvertently punctured with wayward glass barbs.

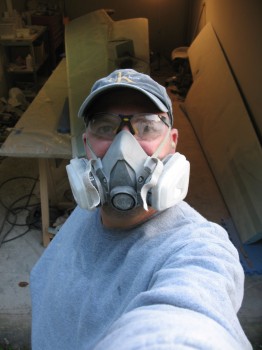
Chap 19 - Left Wing SandingOf course sanding fiberglass is never a joy.  It’s itchy, messy & not particularly good for the lungs.  Of course I was covered head to toe on what proved to be a fairly warm day in Germany.  So below is just a couple of pics of the ensuing personal carnage that sanding glass does to one’s own person!  Build on!

Darth Vader's 1st Experimental TIE FighterSanding carnageAfter I finished sanding the wings & winglets, I vacuumed up the insidiously ubiquitous glass dust that completely covered everything in the garage and got into absolutely everything.  Not surprisingly, sanding and vacuuming was my last official build effort for the next upcoming year!

But fear not, I will continue to post my progress on the build!