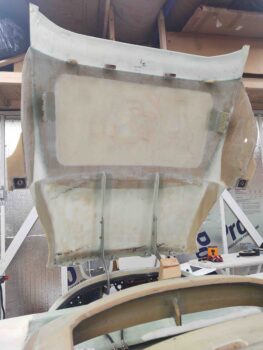
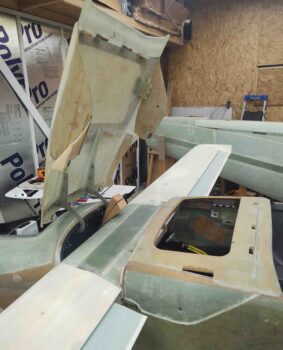
I continued on today with my work on the aft nose/avionics cover. To reiterate, I want the aft nose/avionics cover install complete before I flip the bird over to shape and glass the bottom strake skins.
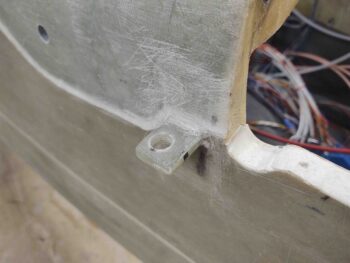
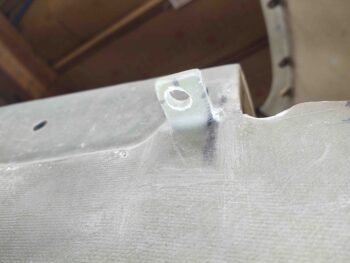
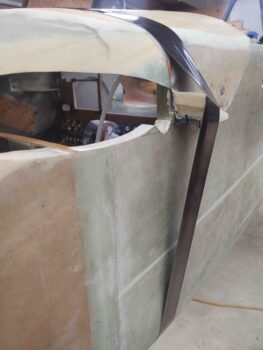
I started off by drilling the hole in the front right flange that will allow the nose side CAMLOC stud to engage the lightweight stainless steel CAMLOC/SkyBolt receptacle I riveted in place on the flange.
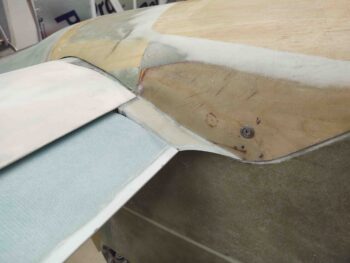
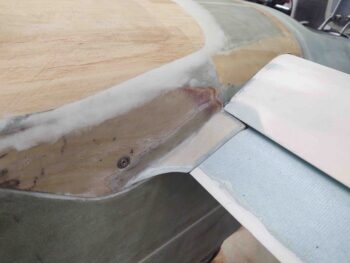
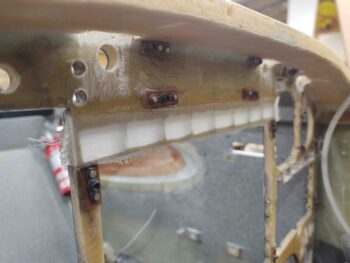
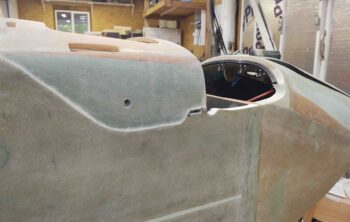
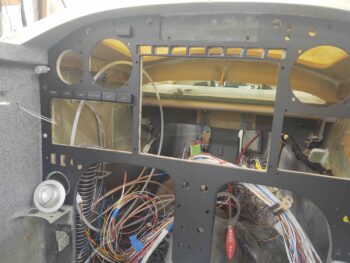
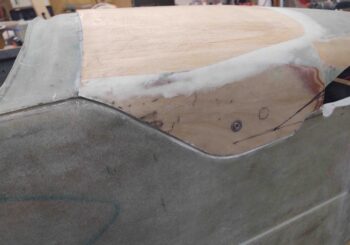
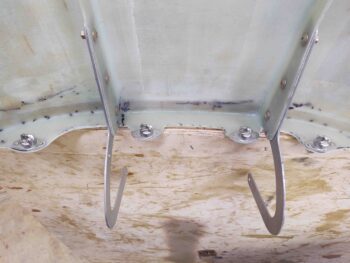
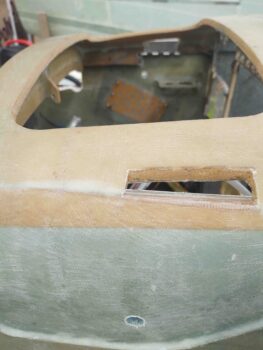
I then tested out the fit of both the aft nose cover and specifically all the 4 mounted CAMLOCs located on the front flange. So far so good!
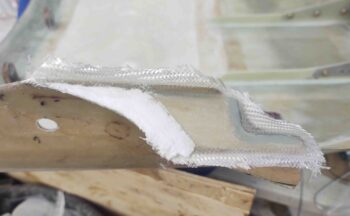
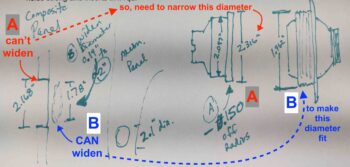
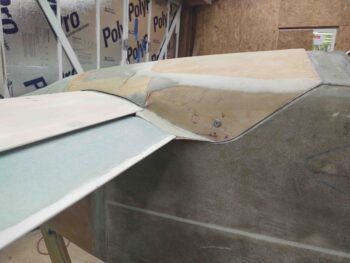
Note that I will be extending the outer flanges further outboard with glass to conform and compress the “B” seal as far outboard as possible. This part of the nose curves to intersect the mating curve with the canard leading edge, so clearly I could not use straight G10 phenolic stock to create this section of the flange. Moreover, I don’t consider this super critical and will do this task after I flip the bird back upright.
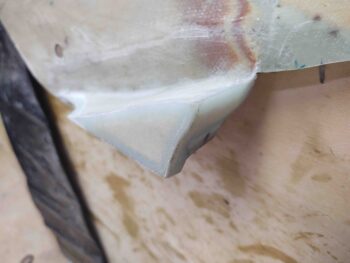
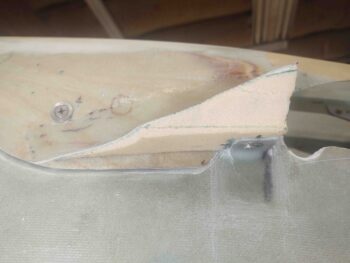
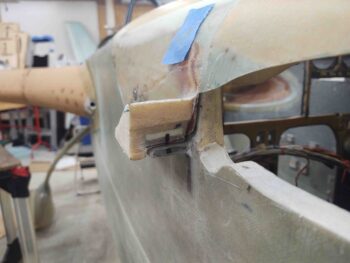
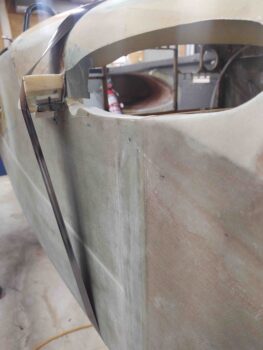
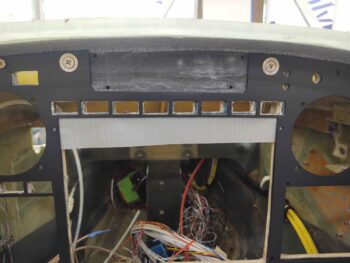
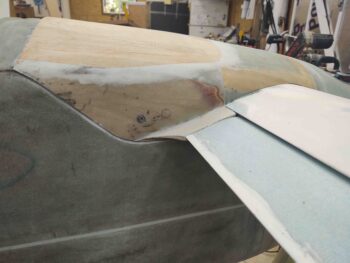
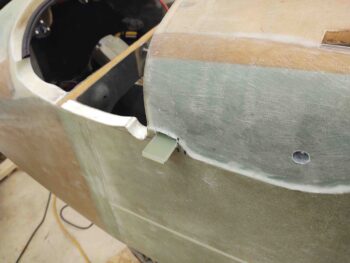
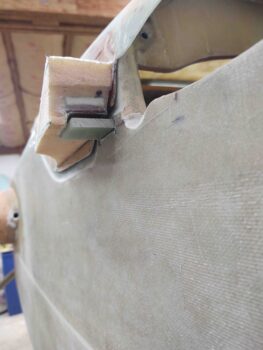
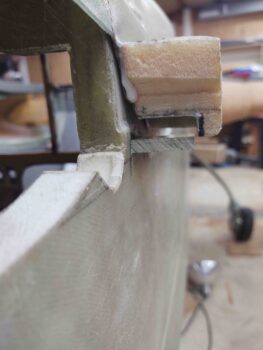
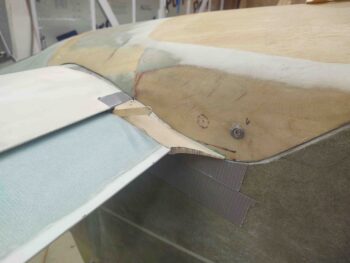
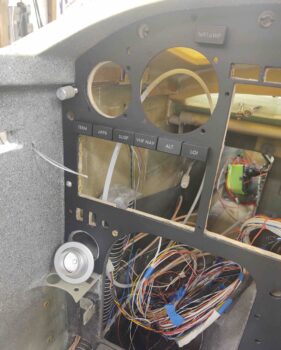
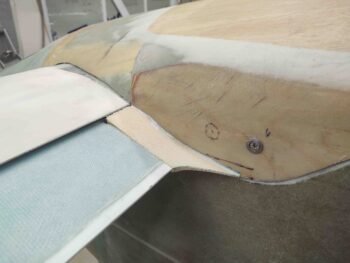
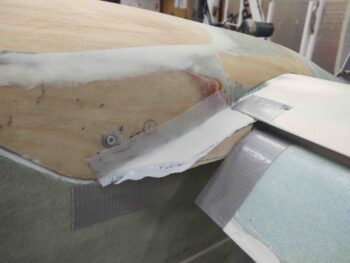
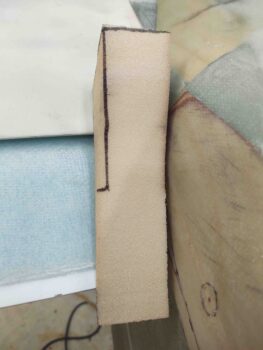
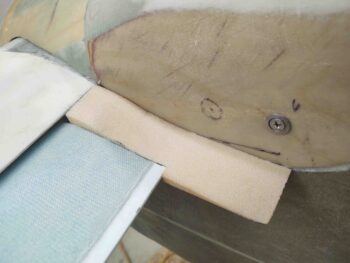
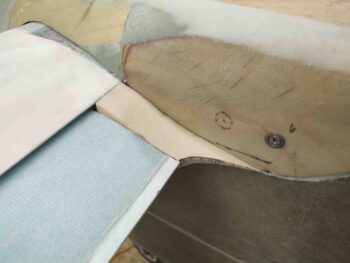
To ensure clearance with both the forward-situated nose bridge corner edge and with the canard as the cover swings either up to open or down to close, I trimmed the outboard flanges as close to each CAMLOC receptacle as possible.
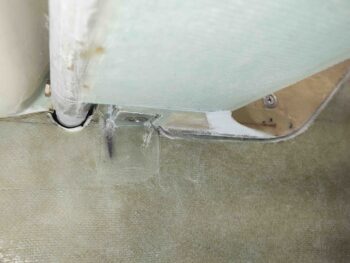
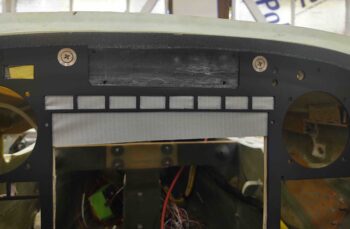
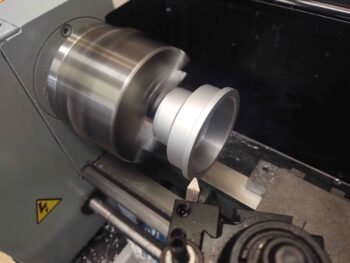
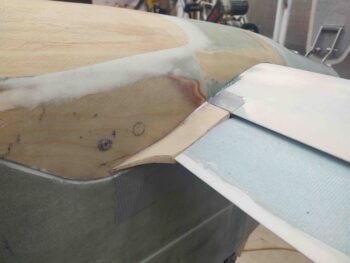
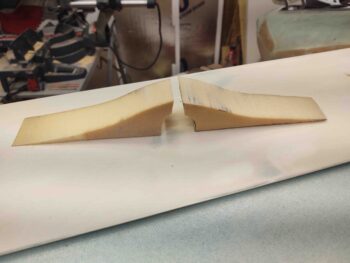
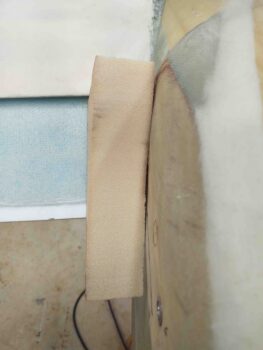
Here’s a before shot:
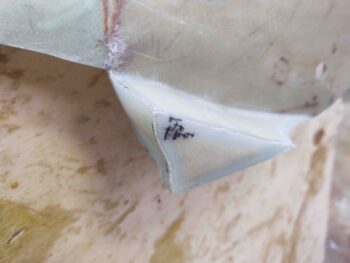
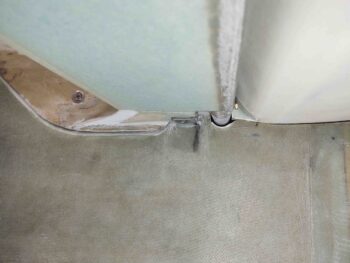
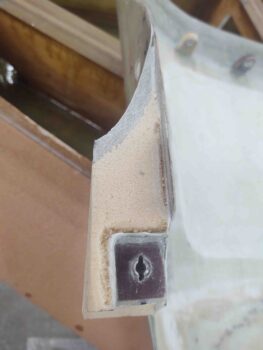
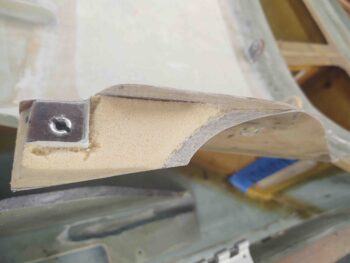
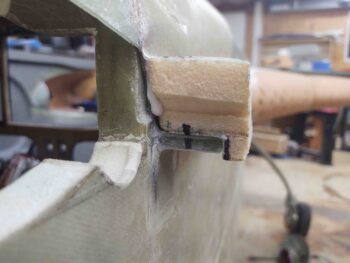
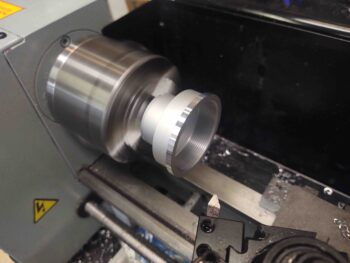
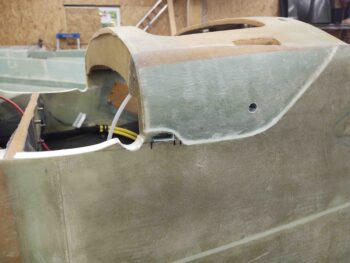
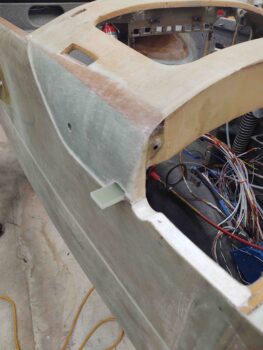
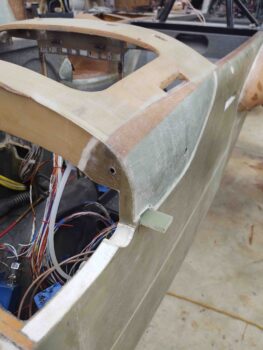
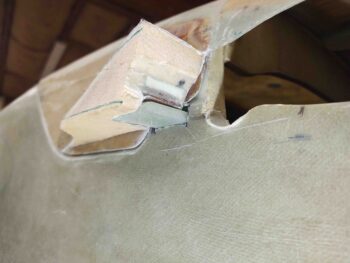
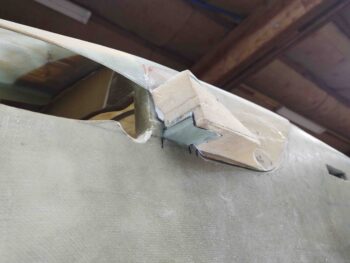
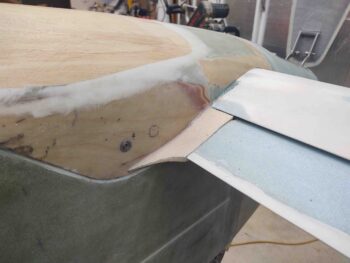
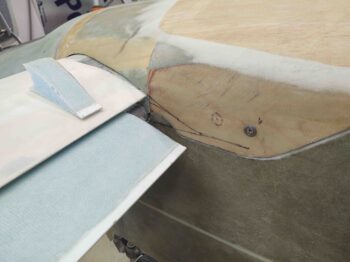
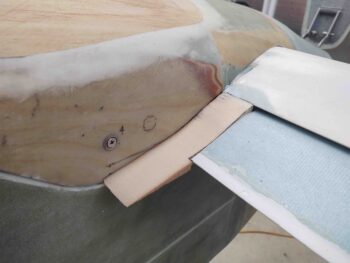
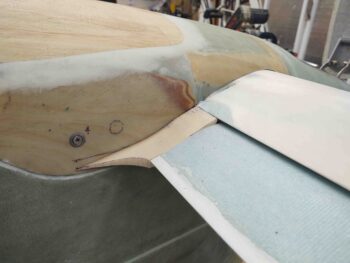
And post trim.
As I alluded to above, my priority is the securing of the aft nose/avionics cover to the airplane. Secondary is sealing the gaps to keep moisture out as best possible. So besides the very outboard flange extensions that will need to be glassed, the front flange with its 4 CAMLOC receptacles that secure it to the forward nose section is complete.
So just how is the aft nose/avionics cover secured to the airplane? Well, there are 16 points that secure it (green denotes completion):
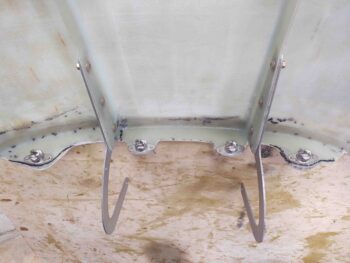
– 2 hinges that allow opening and closing of cover without removing from plane.
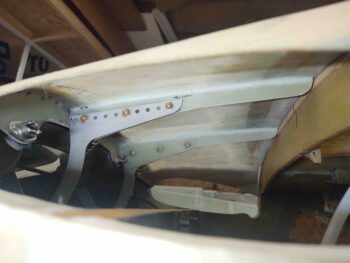
– 4 forward CAMLOCs (above)
– 4 aft CAMLOCs (across top of instrument panel)
– 2 interlocking hinge segments with hinge pin (upper corner each side of panel)
– 2 CAMLOCs on each “flap” to pin them to the aircraft (discussed below)
– 2 inboard elevator fairing CAMLOCs that secures fairing to sidewall tab
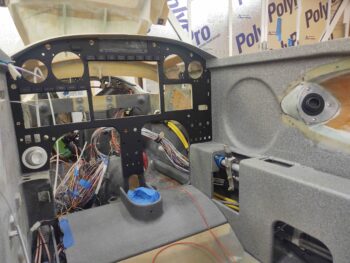
To have better access into the avionics bay to mount these next pair of CAMLOCs I chose to install them with the canard off. Plus these are much less complex and a quicker kill than tackling the inboard elevator fairings.
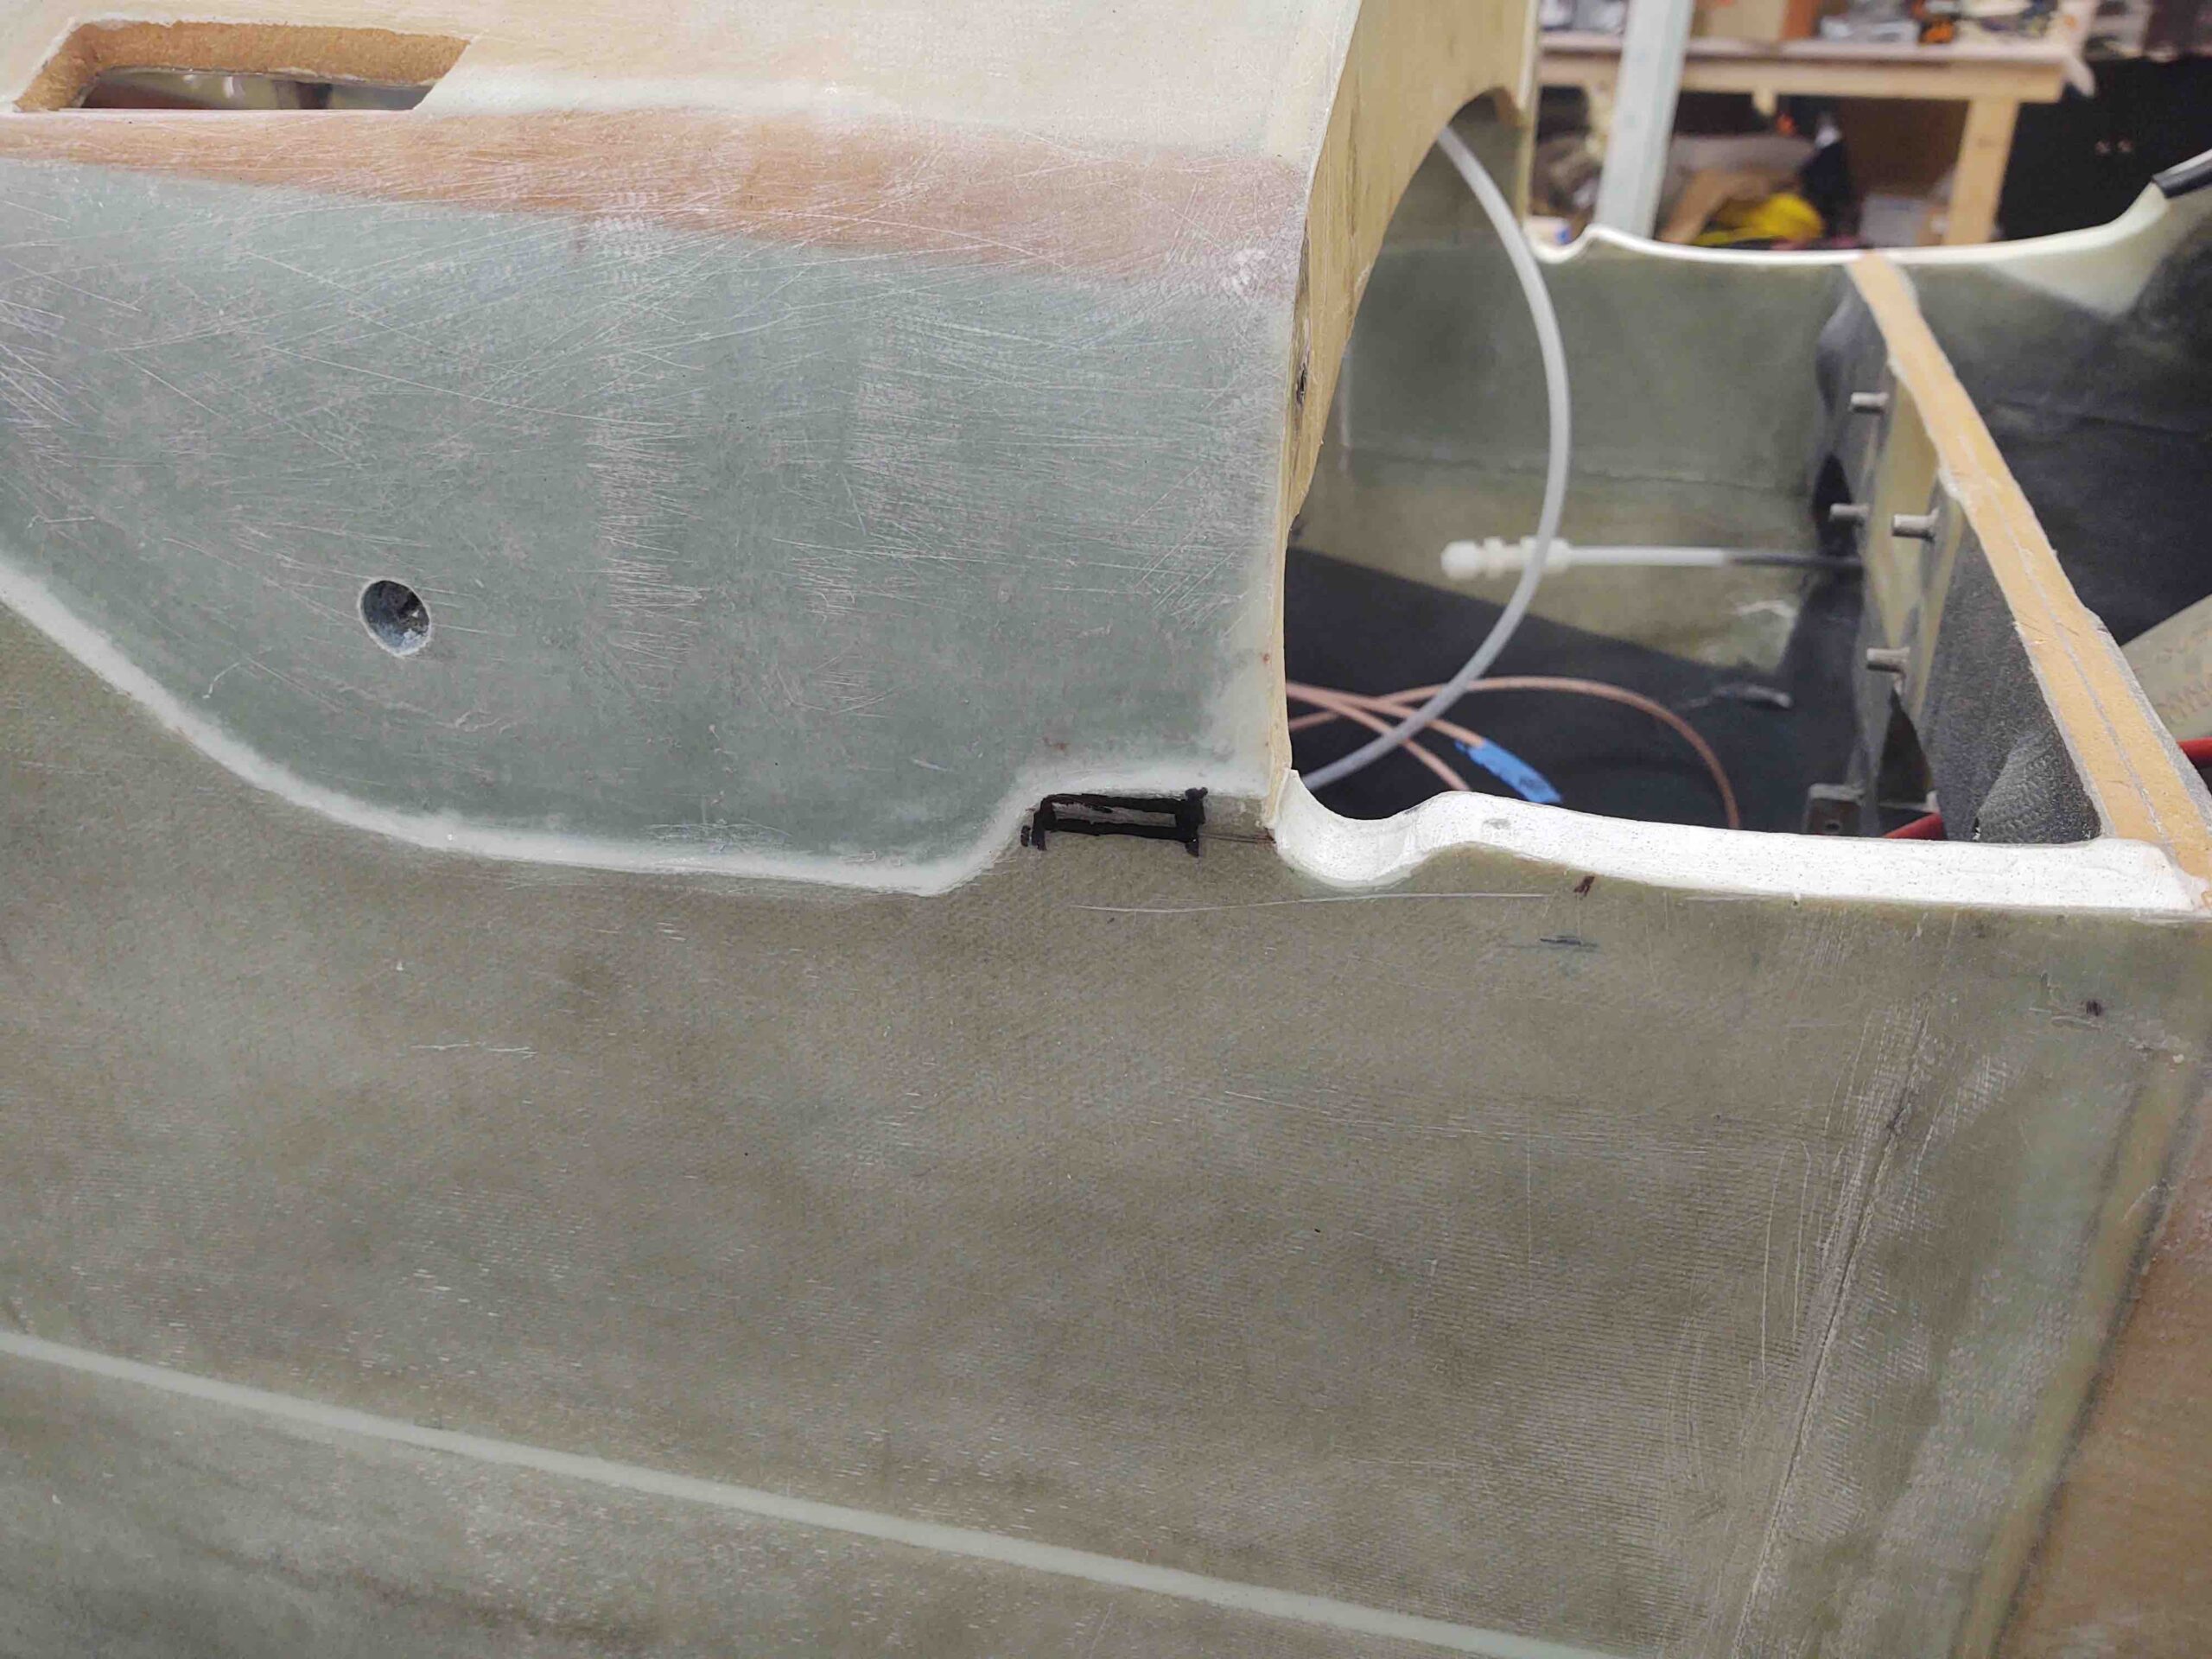
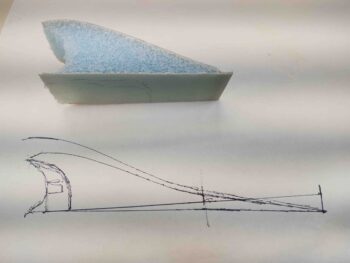
I started by doing an assessment on the final position for the CAMLOC on each side. Again, these pin down the flaps, which are fairly thin, to ensure they are literally not flapping in the breeze.
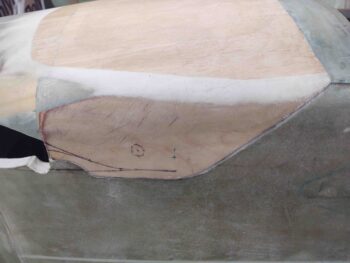
The factors as to where to locate these side CAMLOCs is a combination of optimum placement for securing the flap, relationship and clearance with the future elevator fairing, and also —and one of the most important— avoidance and clearance internal to the avionics bay side wall.
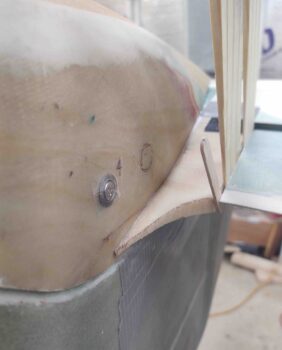
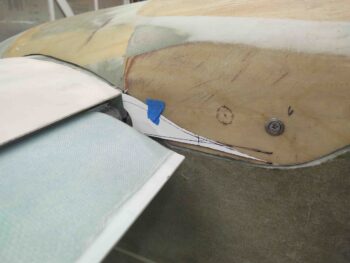
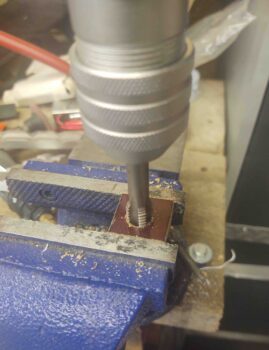
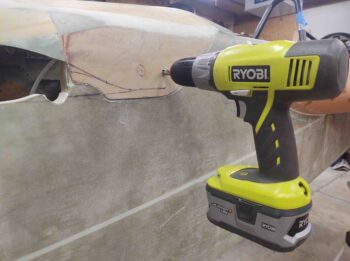
Once I cleared myself hot… and after confirming the position with a small pilot hole, I drilled the left side flap CAMLOC hole.
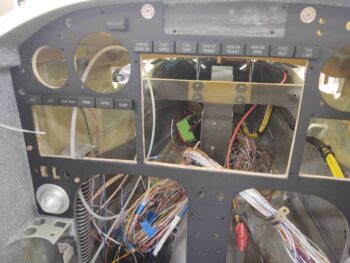
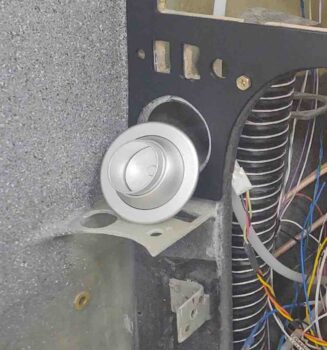
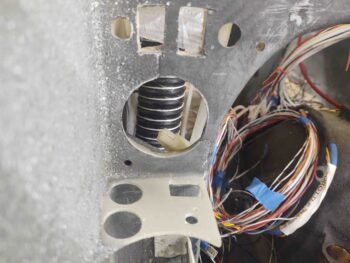
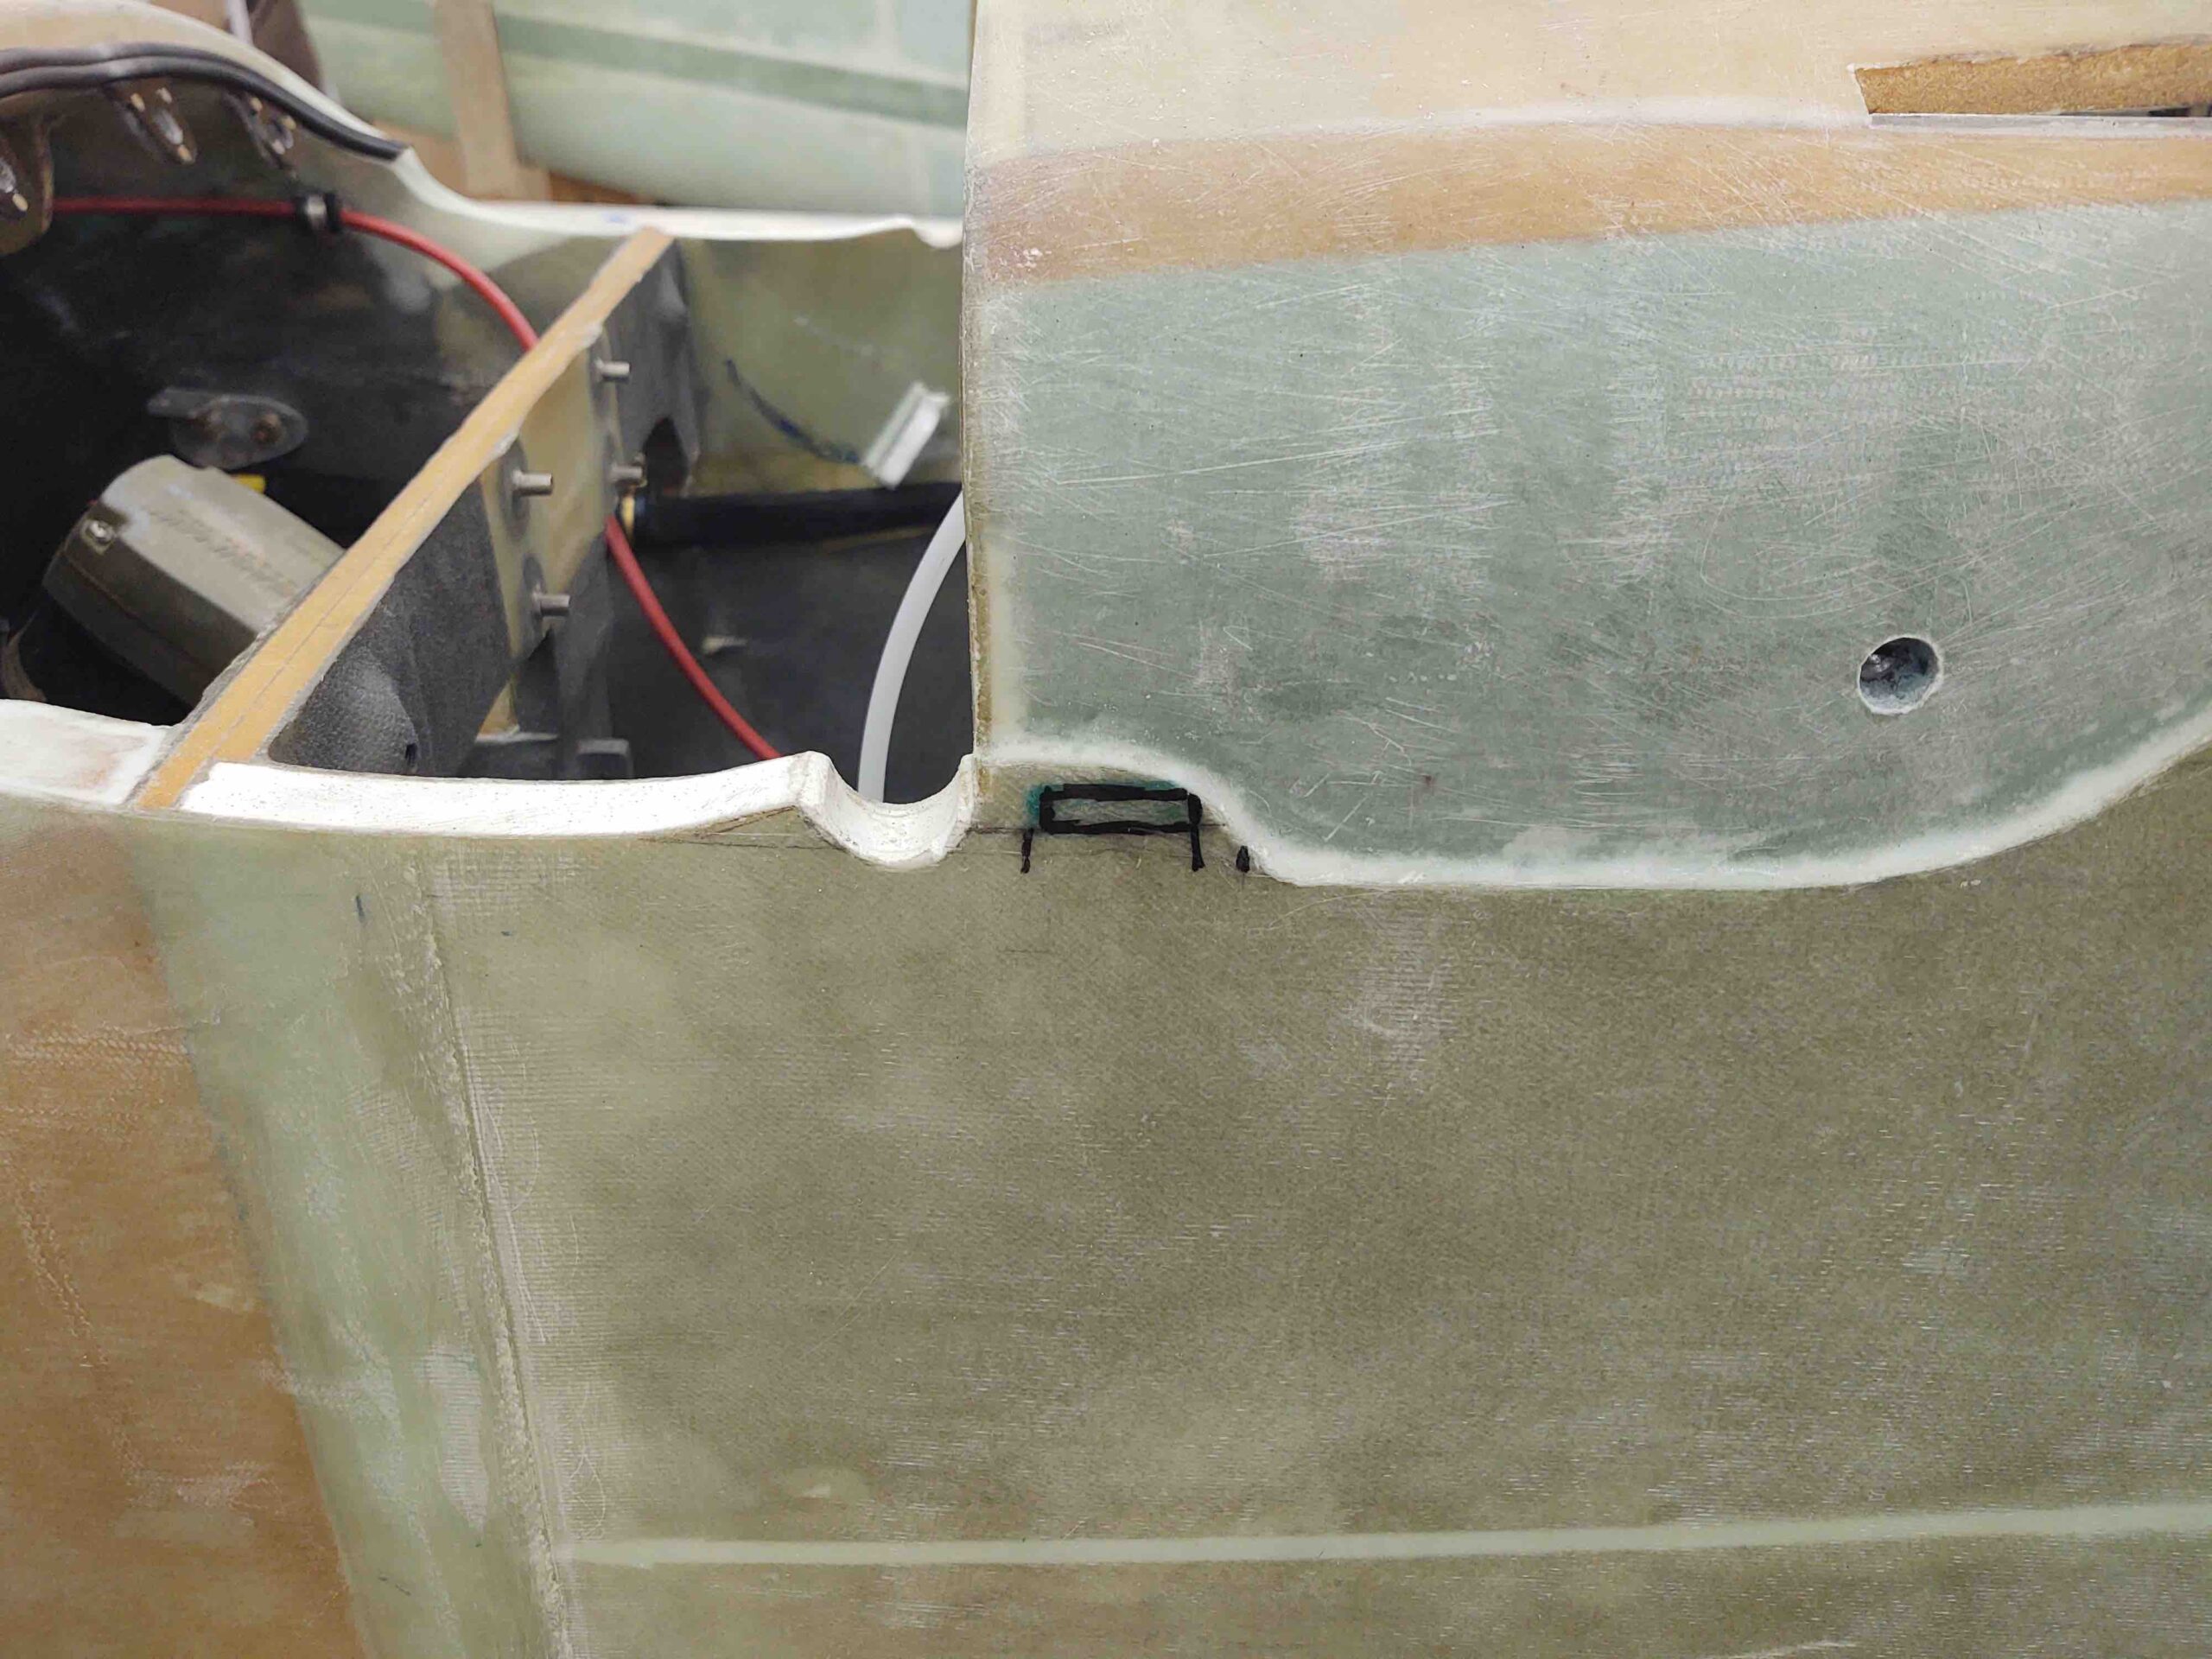
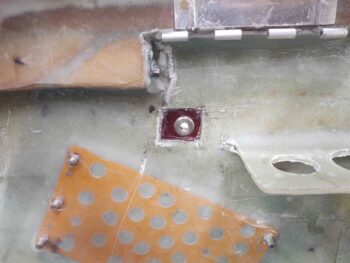
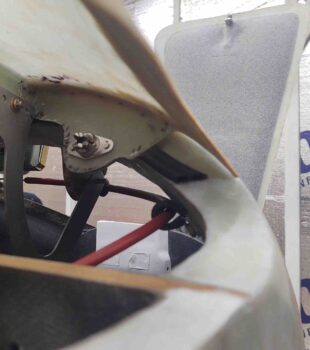
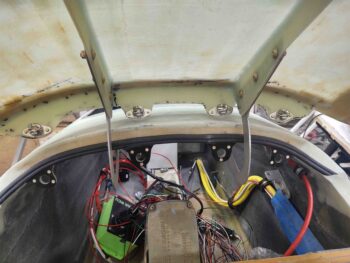
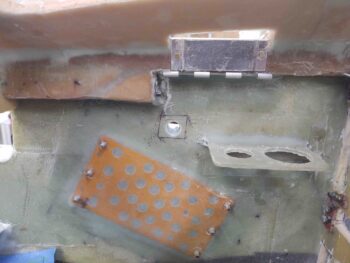
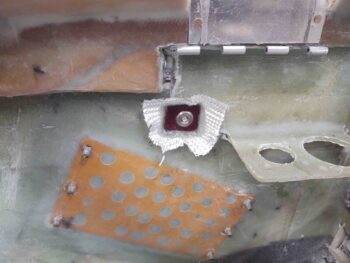
I then drilled the right. As you can see, the right side (far side below) has both a cable connector bracket and the autopilot pitch servo to avoid. Admittedly, and to be clear, these side flap CAMLOCs are in the same general location, but are not exactly symmetrical.
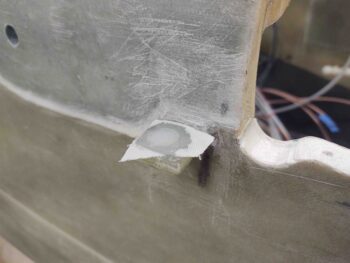
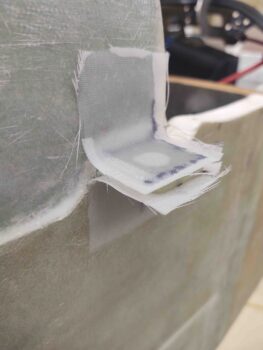
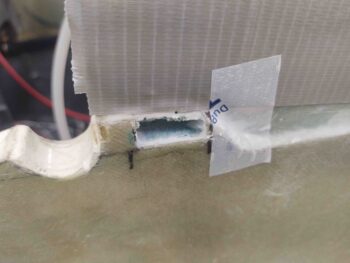
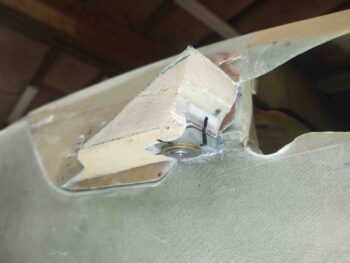
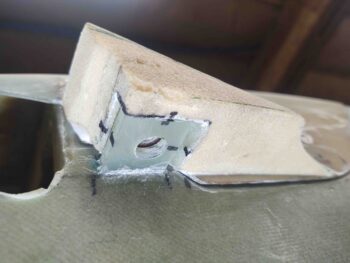
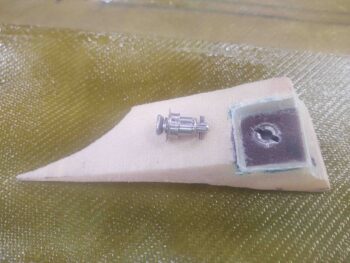
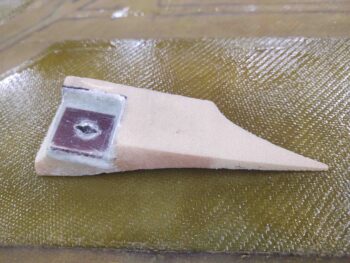
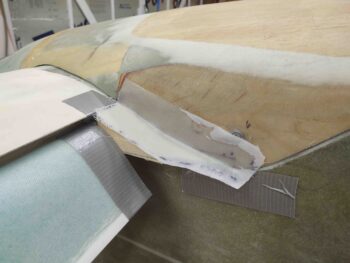
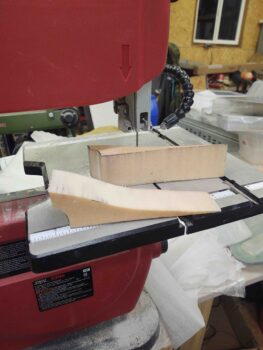
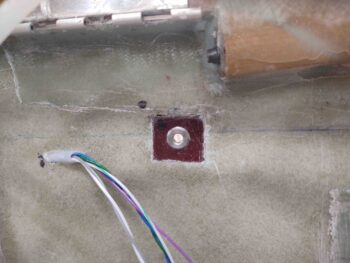
I then temporarily mounted the 1/4″ thick phenolic threaded CAMLOC receptacle block onto the surface of the right sidewall. I then traced out the edge to mark the sidewall for cutting.
Then cut the sidewall and dug out some foam. Although not really visible here, I dug out foam at the edges to create a flox corner.
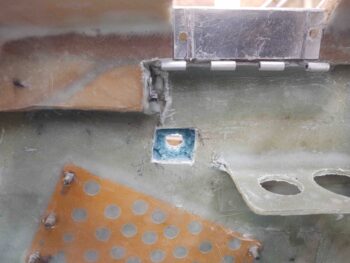
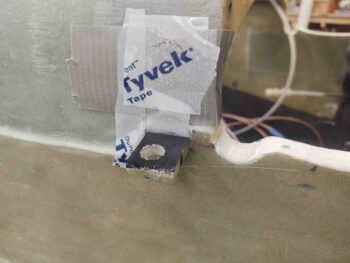
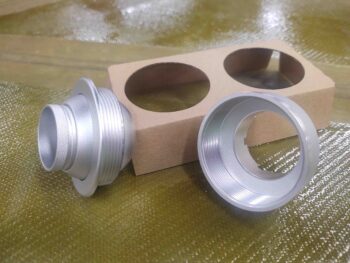
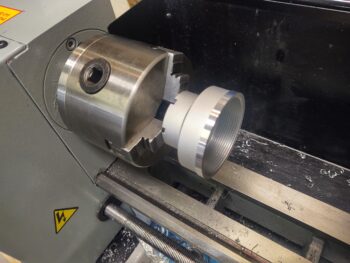
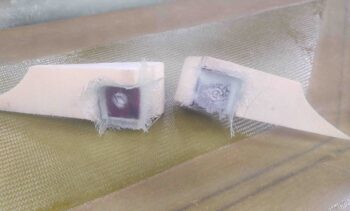
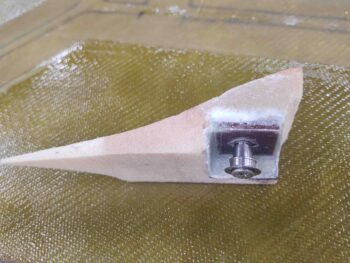
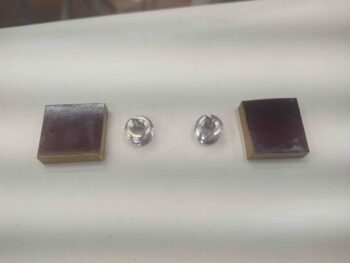
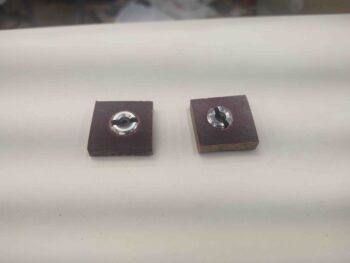
I then test fitted the 1/4″ thick phenolic threaded CAMLOC receptacle block. I made up these phenolic receptacle blocks quite a few months ago (November maybe?) and am just now installing them.
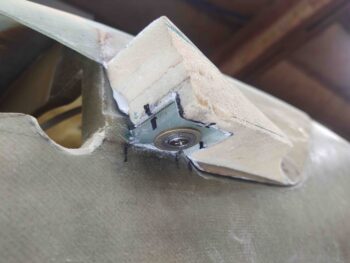
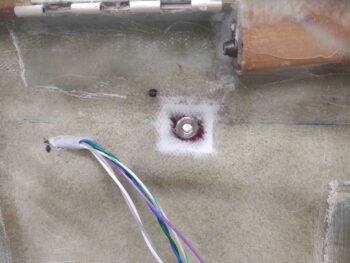
I then floxed the inside of the foam to create the flox corner around the perimeter of the hole, and then to also even up the foam surface a bit. I then placed a small patch of BID into the hole, wet it out a bit and pressed the phenolic receptacle block –also slathered with wet flox– into the hole.
I then repeated the same thing on the left side . . . I temp mounted and marked the phenolic receptacle block perimeter edge.
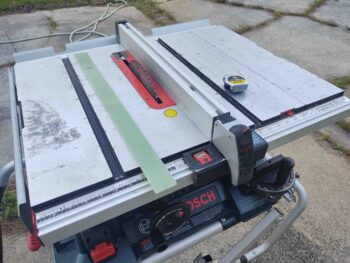
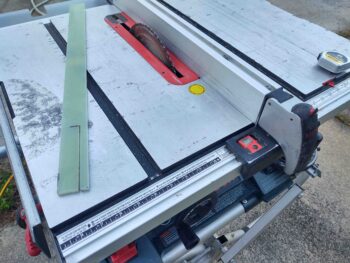
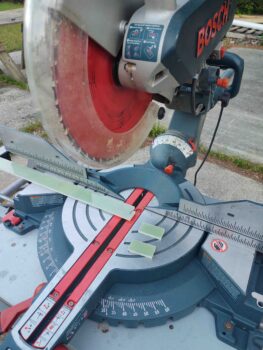
And cut the side wall glass with the Fein saw.
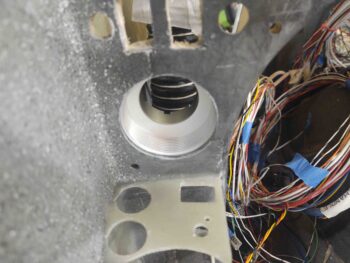
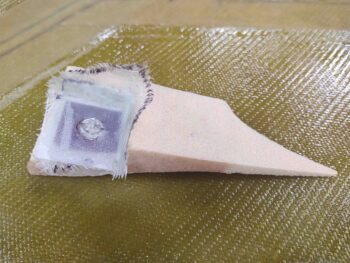
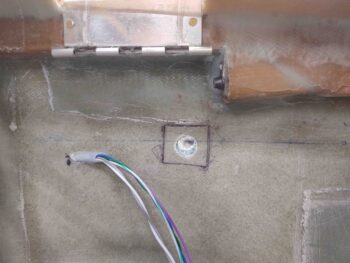
Same flox corners around the edge of the hole, with a ply of BID before I pressed the phenolic receptacle block into place. Here you can see that I did prep the threaded CAMLOC receptacle by stuffing it with plastic (saran) wrap and then covering the front face with a patch of tape. I did this previously on the right side as well.
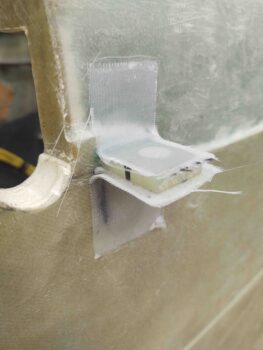
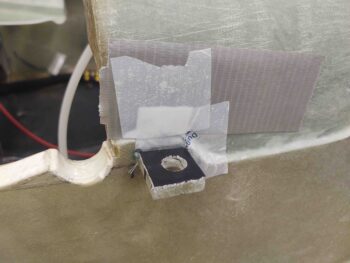
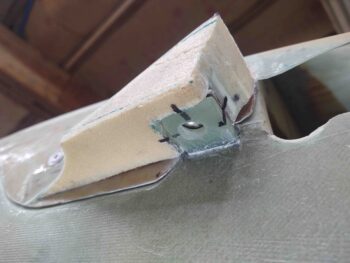
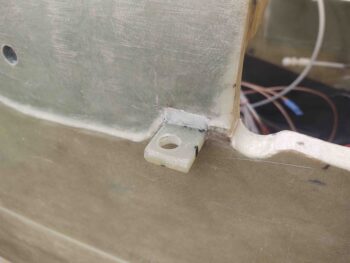
And here we have the left side phenolic receptacle block floxed and glassed in place. These steps for both sides were the initial, round 1 of glassing.

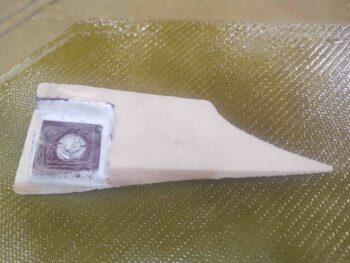
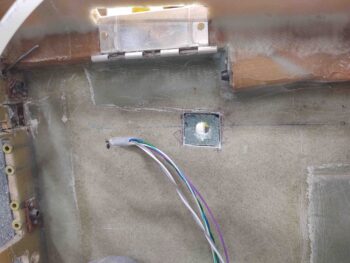
A few hours later I cut the cured glass around the phenolic receptacle block on the interior side. The real fun was removing the glass, flox and plastic from the front face of the threaded CAMLOC receptacle. It wasn’t overly difficult, but it did take a good 20 minutes per side.
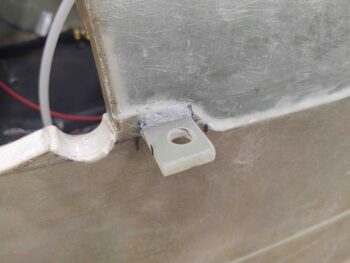
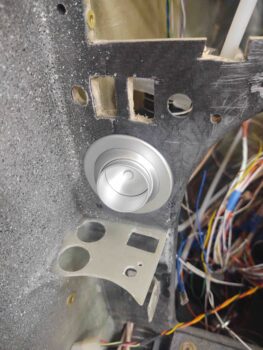
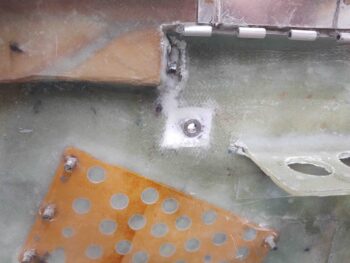
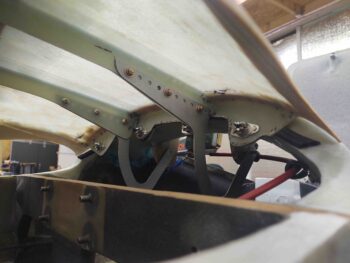
To ensure that the phenolic receptacle blocks are secure from the pushing of the CAMLOC stud from the outside in, I added a ply of BID on the inside that overlapped from each phenolic receptacle block onto the surrounding sidewall glass around it. Since there was slight difference in elevation between sidewall and phenolic receptacle block on each side, I used micro to smooth out the transition.
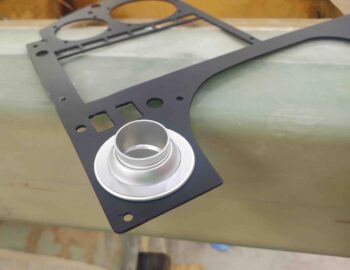
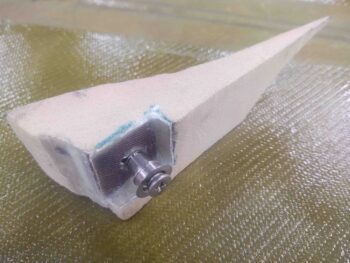
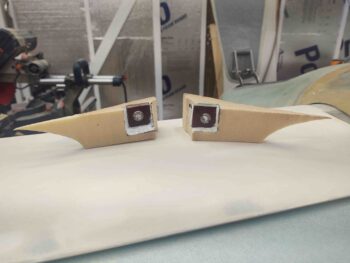
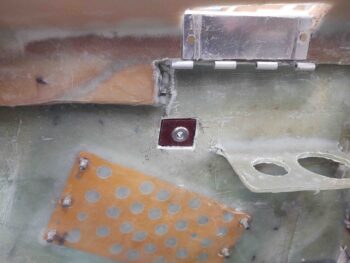
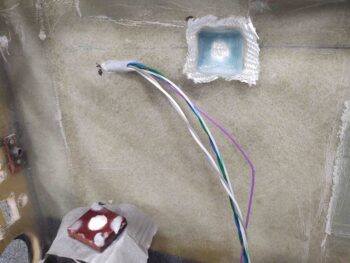
And Voila! These layups complete the aft nose/avionics cover side flaps’ CAMLOC installation.
Since the interior ply of BID didn’t cover the center of the threaded CAMLOC (again, these are actually from SkyBolt) receptacle, I went ahead and placed the aft nose/avionics cover in place and locked it down at all the other CAMLOC stations as well. Then I installed CAMLOCs at these freshly installed side flap CAMLOC points to have them cure completely in as correct position as possible.
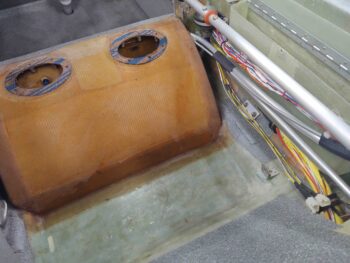
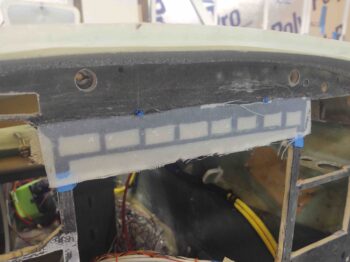
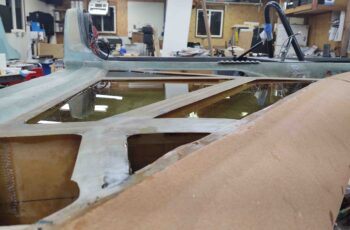
Although it was late, I wanted to get the test “fuel” (AKA water) transferred from the left tank to the right tank. It took nearly 2 hours as I had to first prep the right tank (rubber stopper, drain valve install, remove tape, etc.) to be ready for the test fill. As I did on the left tank I applied a strip of blue painters tape along the front edge of the fuel sight gage to annotate fuel levels in 2.5 gal. increments.
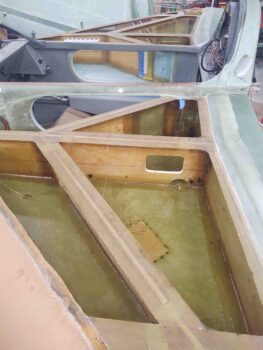
I then proceeded to transfer the water over from the left tank to the right tank (2x 1 gal, 1x 0.5 gal) and annotate the fuel site gage every 2.5 gallons.
I’ve been curious for quite a while just how much fuel my tanks will hold, and with this exercise I now know:
Left tank max capacity: 26.7 gal
Right tank max capacity: 26.3 gal
That’s obviously 53 gallons max capacity if I need it. Not bad considering the elbow room mod takes such a big chunk of fuel out of the mix. I’ve very pleased with the fuel capacity . . .
And even more pleased that again, just like the left side: NO LEAKS!!
I’ll be out of town for a quick trip this weekend (Sat & Sun) so no building on those days. I will of course be mentally contemplating my inboard elevator fairings and any ways to optimize or simplify those.

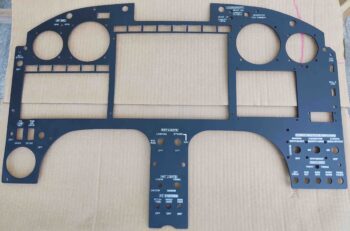
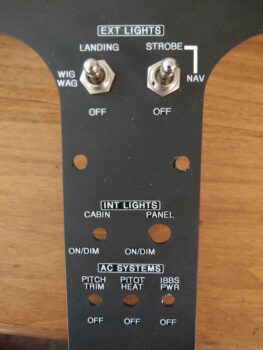
 Again, the labeling isn’t perfect, but I’m very happy with it and it definitely supports my “Industrial Chic” aircraft interior design . . . ha!
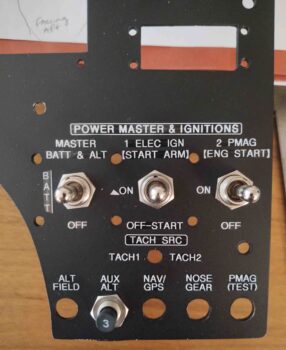