Chapter 25 – Fuselage finish prep

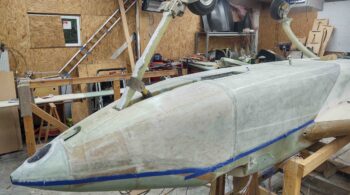
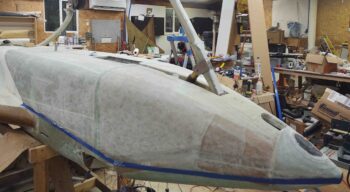
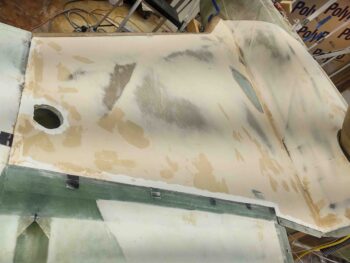
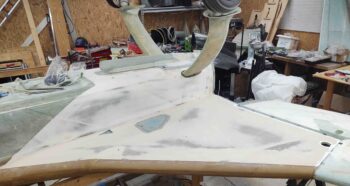
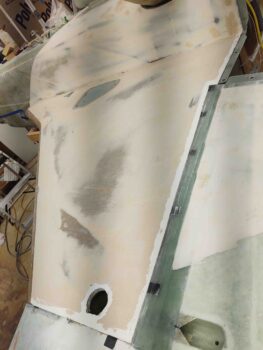
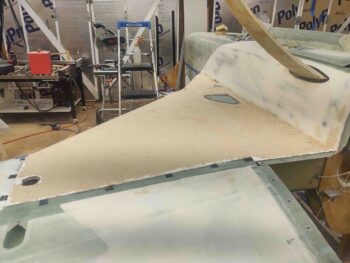
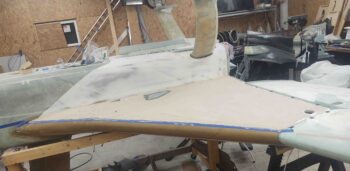
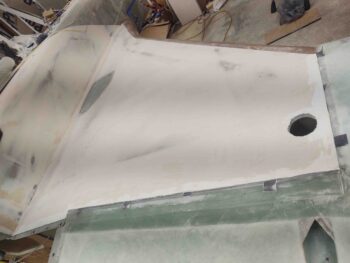
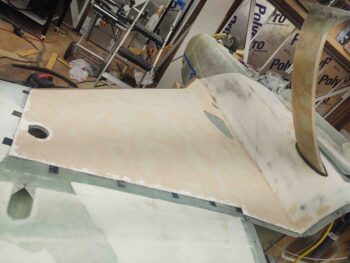
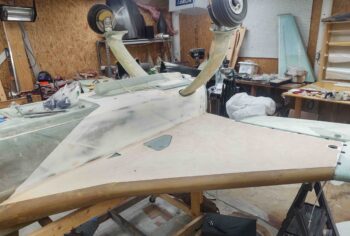
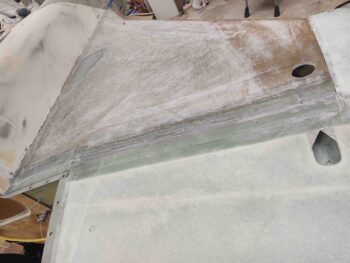
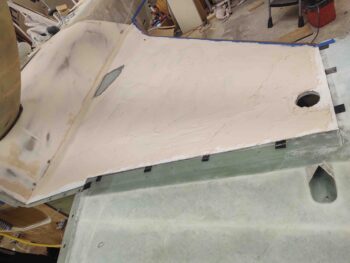
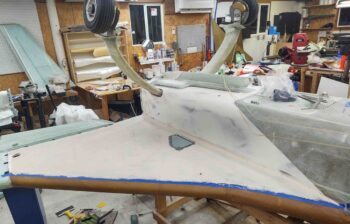
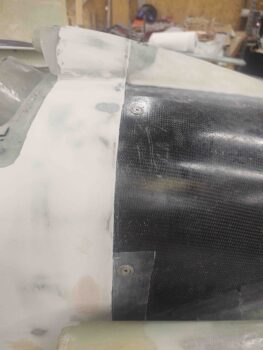
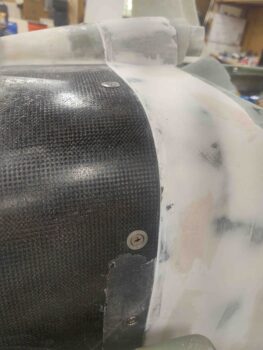
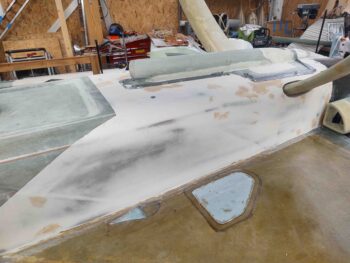
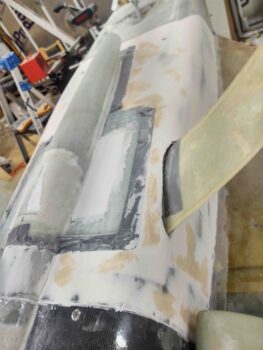
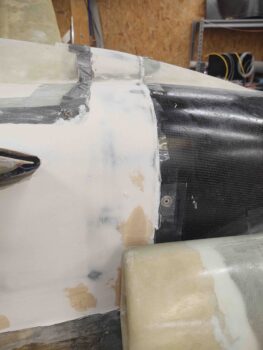
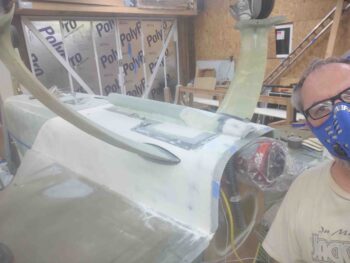
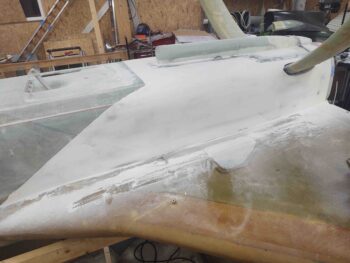
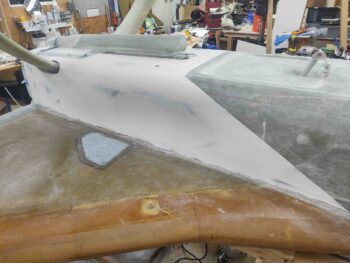
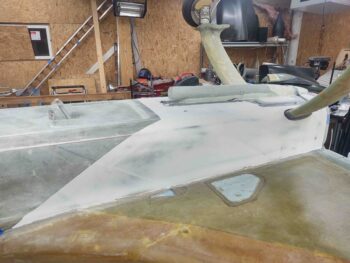
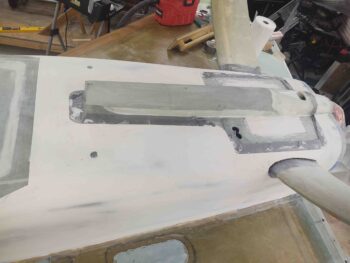
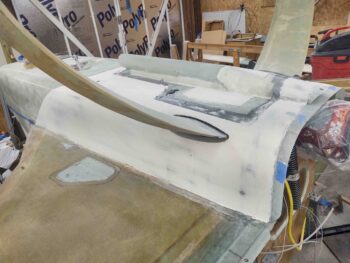
Today was all about prepping the forward lower fuselage and nose for micro finish.  I spent well over 3 hours sanding these areas in prep for micro-finishing.

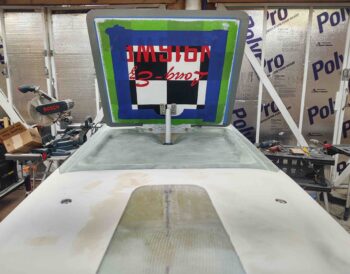
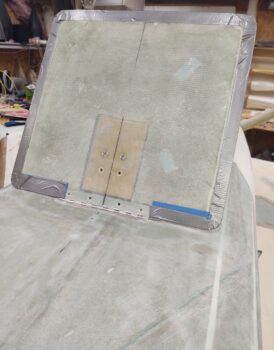
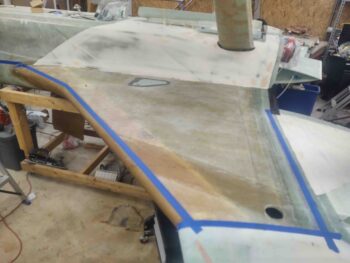
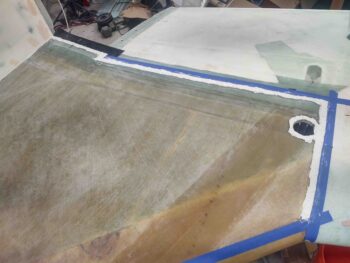
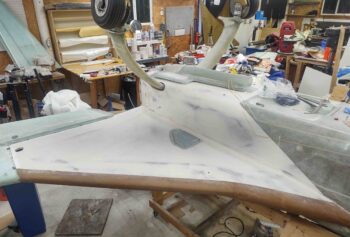
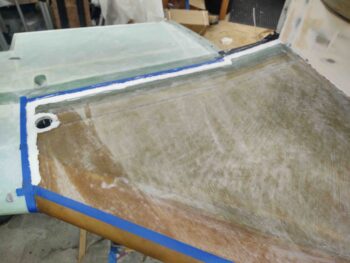
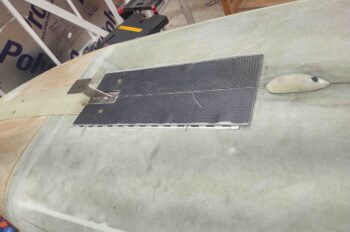
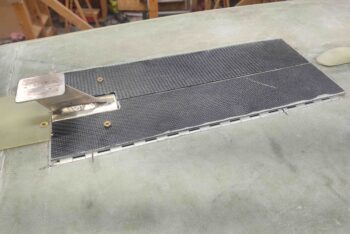
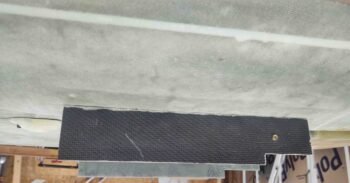
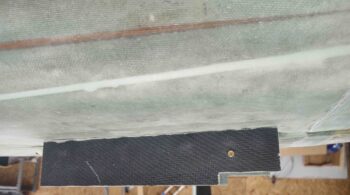
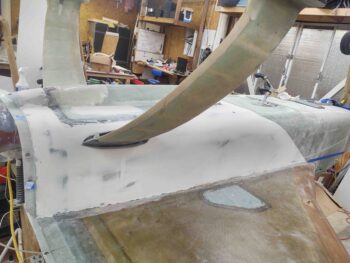
Then, after taping up the outer edge, I re-installed the landing brake onto the bottom of the fuselage.

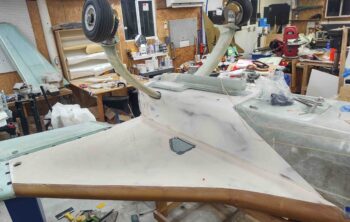
Another shot of the taped up landing brake.

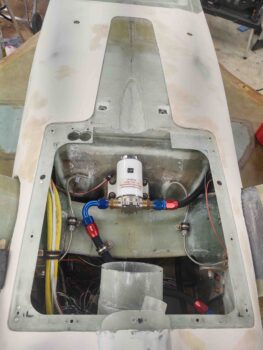
My battery was quite low from having previously operated the landing brake and from running the gear up and down to dial in the nose gear doors, so I pulled it and put it on the charger overnight.  Tomorrow I’ll close the landing brake and have it in position to create a micro edge and transition around it.

My plan tomorrow is to get the micro finish complete on all the areas I prepped today.

Chapter 22/25 – Ancillary Finish Tasks

I started out today by applying primer to the outer perimeter of the inside of the landing brake. I then set the landing aside for the primer to cure.

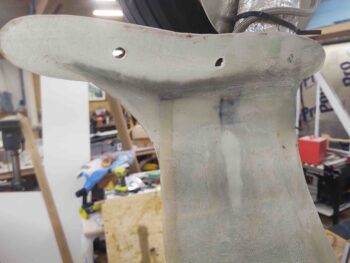
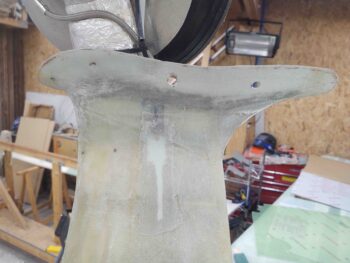
I then took the nose gear doors and the nose gear strut fairing outside and sanded down the flocro to shape.

Once I was happy with the sanded flocro shape, I then hit these components with the first of 5 epoxy wipes.

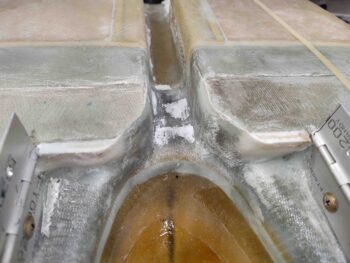
I then knocked out another task I had on my pre-fuselage flip (back upright) list, and that was to actually finish the floxing and glassing of the armpit intake scoops on the bottom engine cowling.  There was about a 6″ strip of the scoop flange on each side that was secured to the cowling by flox, but not by any glass.

So I sanded down the area, added a bit more flox, laid up a ply on each, and then peel plied the layups.  Voila!  Here we are:

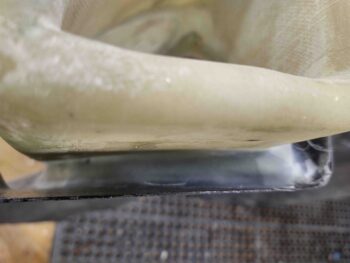
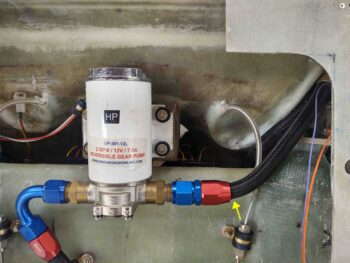
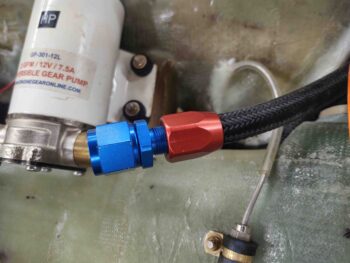
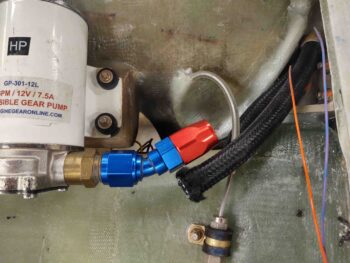
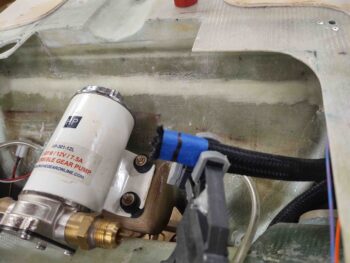
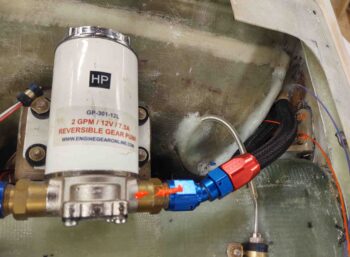
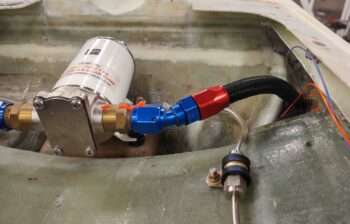
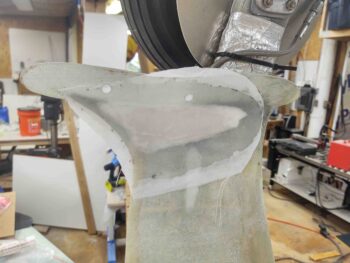
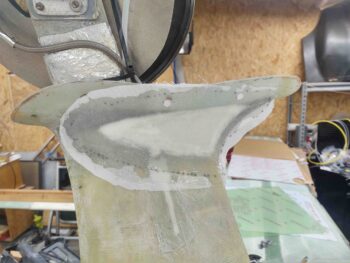
Another task I wanted to get knocked out was replacing the oil heat pump OUT hose attach fitting.  As you can see in the pics below, the straight fitting was causing the hose to pull towards the front side of the fitting.  Of course it’s not good to have this type of stress on a hose over time, so I ordered a 30° fitting and it came in today.

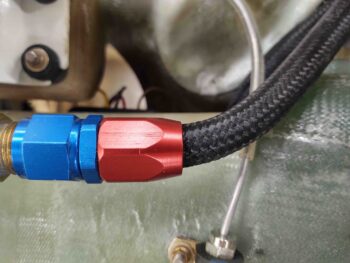
Here’s a closer up look of the oil heat pump OUT hose attach fitting.

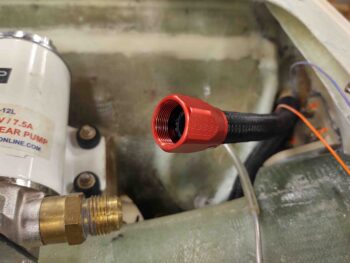
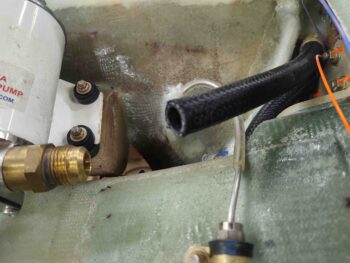
I then dismantled the existing straight fitting.

With the resulting ragged looking hose end… usable, but not overly attractive.

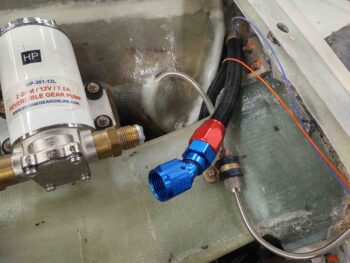
I then test-fitted the new fitting to get an idea of how the hose would sit.

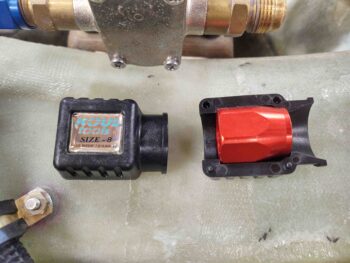
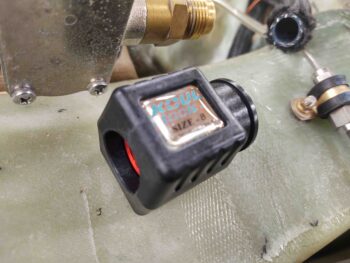
Since the hose is mounted inside the fuselage all nice and secure, I didn’t want to go through all the hassle of removing it just to add a fitting.  Thus I bought this neat little “Koul Tool” kit that is actually made to make it easier to add hose-ends to hoses still using a vise. However, I am using it here as a funnel (which is essentially what it is) to easily get the hose end fitting onto the hose.

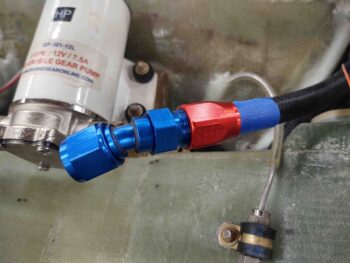
And Voila!  Yes, the red piece looks the same as above when I dismantled the straight hose end, but this is actually part of the new 30° fitting (pic #2).

After installing the new 30° hose end fitting, I realized the hose was a tad too long and was bunching up a bit more than I wanted it to.

So I removed the fitting and trimmed about a half inch off the hose.

I then reinstalled the new hose end fitting, finagled the angle a bit and all was good.  No more stress on the hose!

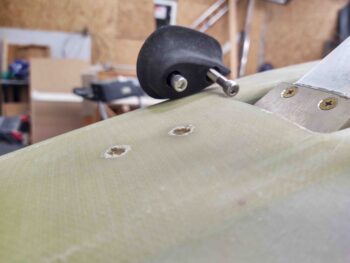
As a bit of prep for clearing off the nose for the coming soon sanding for micro-finish, I removed the cool nose bumper that Marco made me many moons ago.

Also, every hour or two all day I knocked out epoxy wipes on the nose gear doors and the nose gear strut fairing.  Here is the last of 5 epoxy wipes, and my last task of the evening.

With the epoxy wipes done on these components, I called it a night!

Chapter 25 – Paint Prep, etc.

Today was yet another lackluster day on the build due to me helping a friend with getting their car fixed, which burned up a few hours.  That being said, I did still get a few significant things done.

First, I was able to flocro up the nose gear doors and the nose gear strut fairing.  I then set them aside to cure.

Next, I whipped up some straight West 410 “micro” fill to apply to the divots and deep scratches on the bottom right strake “micro” fill.

I then carefully pulled the protective tape from the perimeter of the interior landing brake and carefully taped up the inboard perimeter of the now painted area.  This obviously leaves the outer edge to be primed then painted.

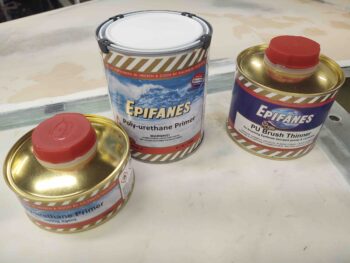
Which leads me to the paint itself.  I spent well over an hour reviewing the painting process and procedures for the Epifanes 2-part polyurethane paint system that I will be using.  I specifically focused on getting the process dialed in for applying primer to the landing brake outer edge that I just exposed, before taping up the interior paint surface to protect it.

With that all in the bag, I called it a night.


Chapter 25 – Bottom right strake sanded

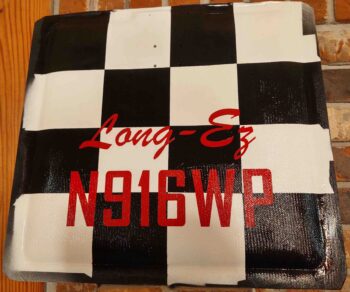
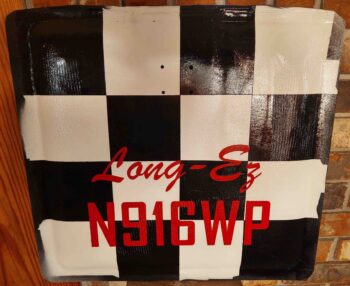
I started off the work day today by cleaning up the checkerboard lines and touching up the red lettering on the landing brake, all with a very fine brush and by free-handing it.

I then let the touched-up/cleaned-up landing brake paint dry for about 20 minutes before taking it outside and spraying on 3-4 coats of clear… and yes, gloss clear coat.  I want this thing to be shiny, glossy and loud, kind of like the fixtures in a big city like New York or Paris that have been painted a million times with shiny, glossy paint.  BTW, I had taken both pics from different angles for the varying light reflection and just decided to add them both so you can see the “glare” variances… keep in mind this will be under the plane!

I then spent about a half hour final sanding the left bottom strake finish fill.  After the final sanding I whipped up some West 410 “micro” and applied it to the areas in need.

Here’s another shot of the left bottom strake West 410 “micro” fill.

I had also taped up certain edges on the RAM air scoop/hell hole hatch cover to repair the bottom fuselage raised lip/edge in some areas.

I then got to work on sanding the straight West 410 “micro” fill I completed last night on the right bottom strake.  Remember, I slathered it on fairly thick, and it allowed me to learn an important lesson this evening: it doesn’t matter if it’s “EZ-to-sand” West 410, when there’s a lot of it piled high on the surface it’s going to take a lot longer to sand… about 2.5x longer than the left strake to be exact! (that equates to over 2.5 hours)

The good news is that it’s finished.  It looks and feels good, but will still require some subsequent straight West 410 “micro” fill tomorrow.

Here we have another shot of the sanded and contoured right bottom strake West 410 micro fill.

I was beat from all the sanding tonight, and it was getting late, so after I got the right bottom strake sanded I called it a night.

Chapter 25 – Bottom right strake micro

Today I was able to “micro” finish the bottom right strake surface just as I did the left previously.

I started by sanding down the surface of the bottom strake skin in prep for micro finishing. I say “micro” as a generic term here because I actually used only West 410 on the bottom of the right strake… but I’ll get to that below.

I then added a flocro edge at the intersections of the strake with both the cowling and the wing.  As with the left side I used the fast West 205 hardener for this flocro.

Also as I did on the left side, I started at the very front inboard side and then applied the West 410 moving aft to give the flocro time to cure as much as possible.  Here you can see that I’ve already removed the blue border tape around the edge of the flocro.

Here we have the bottom right strake covered in West 410.  I’m fairly certain I was able to get a little bit thicker application here, but as we know most of it will get sanded off anyways.  This photo shows the strake leading edge blue painters tape in place…

Which I then removed.

A bit later I spent about 50 minutes sanding the left strake micro/410.  It sanded fairly well, but just as on the aft fuselage I need to use some straight West 410 to fill in some divots and deep scratches.

Here’s another shot of the sanded and contoured bottom left strake.  I have to say the surface is pretty darn smooth and I think it’s really close to being ready for epoxy wipes.

After I finished sanding the left side, I spent nearly a half hour “cheese grating” the West 410 fill on the bottom right strake.  I was able to knock down quite a bit of the ridges and lumpier application, so I think I’m getting a good head start on the sanding and contouring of this right side.

Here’s one last shot of the cheese-grated bottom right strake West 410 fill.  Tomorrow evening I’ll sand it to near-final contour as well.

I also plan on finishing up the touchup paint and clear coating of the landing brake tomorrow, so hopefully I can get that installed and get the bottom fuselage micro finish knocked out ASAP.


Chapter 25 – Bottom left strake micro

I started off today by finalizing my requirements for the engine compartment oil lines and fittings, and also a replacement 30° fitting for the OUT side of the oil heat pump (its alignment is off a bit with the current straight fitting pulling/stressing the hose to one side), before pulling the trigger on an order from Summit Racing.

I then spent about an hour assessing and finalizing my trim paint design on the bottom of the fuselage, and as it flows back onto the cowling.  I will be tweaking it so I’m not showing it here since I know some things will change on it.

I then got to the major task at hand for the day: micro finishing the left strake bottom surface.

I started with about an hour of sanding the surface dull.  I will say that I plan on following yet another piece of advice from Wayne Hicks and that is to peel ply the surface on the top strake skin layups so I don’t have to mess with this incessant crazy sanding.

I vacuumed and cleaned up the major sanding dust with Simple Green, then wiped down the strake with acetone.

After taping off the strake’s boundary I mixed up some flocro with some fast hardener (West 205) and applied it around the interfacing perimeter edge (wing and bottom cowling) of the strake.  As you can see, I applied it thick and about an inch wide.

I then whipped up my micro/410 mixture… a bit heavier on the West 410 this time (about 50/50).  Remember, I want to learn all I can about micro finishing these planes, so the bottom of the plane is what I consider my experimental playground.  Thankfully this stuff just works, and it really isn’t overly finicky.

Case in point: after I finished there was a bit of it stuck to the un-sanded surface of the wing, and I can tell you it did not just pop off and allow itself to be removed without a fight. This stuff STICKS with any reasonable modicum of preparation.

I should note I started the strake fill from the front inboard corner to provide the flocro edge as much time as possible to cure and harden.  I used slow hardener (West 206) for the main fill, and sure enough, by the time I got to the outer perimeter the West 205-based flocro was fairly cured.

I then pulled the tape from around the flocro edge to expose nearly all the seam between the strake and wing.  The black Gorilla duct tape tabs are a fail-safe to ensure I didn’t lose the seam so I can get a hacksaw blade in there to clean it up when it all cures.

Here’s the micro/410 finished left strake bottom surface from the front.  I realized when I grabbed this shot that I needed to remove the front leading edge tape.

Which I did here.  I then left this applied micro to cure overnight.  The ridges are fairly small and I’ll knock them down with the air sander, so I’ll note I’m not overly concerned with cheese-grating this micro after it nearly fully cures.

Tomorrow I plan on doing the right strake in pretty much the same fashion.  Although I may try 100% West 410 on that surface to see how it does (still using a flocro edge of course).

Chapter 21/22/25 – Secret Projects

So I’ve recently been working on a couple of projects that I didn’t highlight until I knew they were a go.  I call them “secret” projects, but the reality is I didn’t want to take the time to blog about them if they ended up being fails, or undoable.

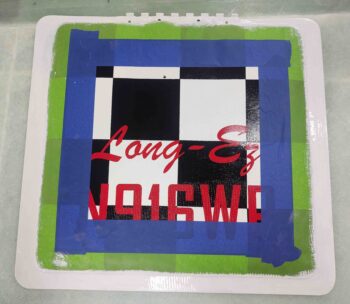
I actually started project #1 shortly after I primed the landing brake interior surface. I had seen a pic of an RV with checkerboarded flaps and really liked the look of it, so I wanted to incorporate some type of checkerboard theme on my landing brake.

I decided I wanted a checkerboard background with red text in the foreground, so I had to figure out how to accomplish it.  I decided to actually lay the red down first, then apply the text over the red before painting the checkerboard.
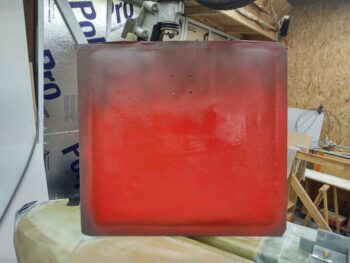
I was trying to figure out how to apply the text, and then Jess lent me her Cricut to cut out some vinyl to use as a reverse stencil, if you will (thanks hon!).

Note the cursive text I’m using for the “Long-Ez” label is nearly identical to the cursive text on some of the plans.  I’m not overly fond of the cursive, but it’s a bit historic and symbolic of that era, so I’m happy to have it as part of the scheme.  And of course it does help set it apart from the plane’s N-number.
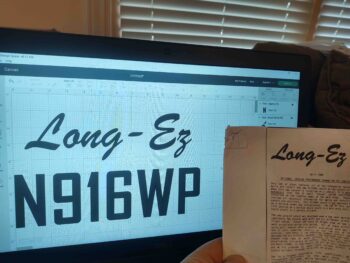
Jess got me a pack of permanent red vinyl, but I thought I would try out using the background red paint first. Then if that didn’t work out well I could use the red vinyl as a backup option.  So I went out and picked up a variety color pack of temporary (vs the permanent) vinyl to use as my reverse stencil.  I chose green and then cut out the letters.

As you can see below I then applied the letters onto the landing brake.
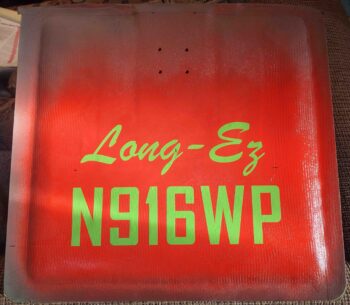
I then used some other yellow protective vinyl –no, those are not post-it notes– to mark off what will be the black blocks of this simplified checkerboard.
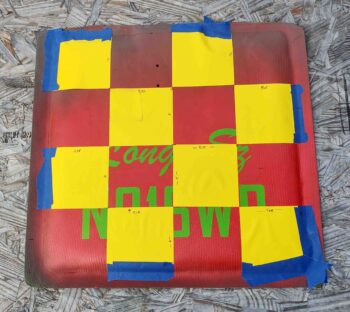
I started out with a couple of coats of light gray primer.

Then of course forgot to get a shot of the white paint laid down.
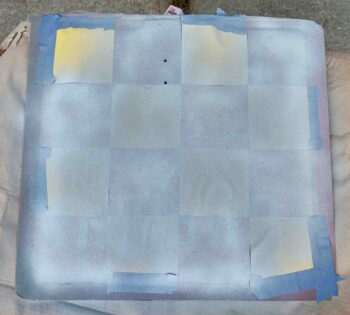
After the white cured I then covered up those blocks, with the final bit of red background showing.
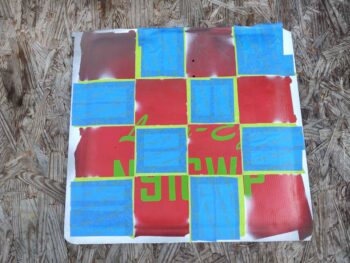
And then gave the exposed blocks a few good coats of black.
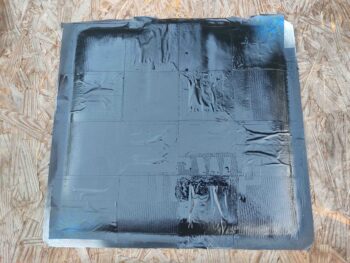
Later in the evening I pulled the protective tape from the white blocks, then carefully removed the lettering vinyl.  BTW, the blue tape on the border represents the blue that I will paint the airplane trim, and this border.

I still have a good bit of touchups to do, but being that it’s the landing brake and will be under the plane, I’m not looking for perfect… I’m looking for FUN and DONE!
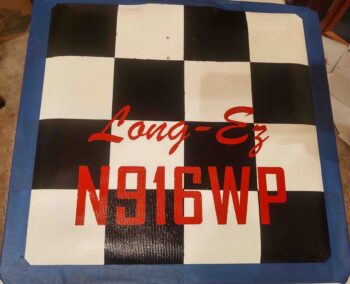
“Secret” Project #2 is running a pair of 22 AWG wires down each gear leg… on the top side trailing edge in the micro trough.

I first of course had to make sure it was doable, which obviously it turned out to be.  I have a few ideas of some thing(s) that might get mounted in the wheel pants, and just in case I decide to go for it later on I wanted to have my electrical wires pre-run while I have “access” to do so.

I first measured out the required length for the wires: 48″ each side, and cut them.  I then drilled the top hole (as situated) into the micro channel and under the securing wheel pant skirt glass.
Over a couple of days I carved out a bit of time each day to Dremel a small trench in the trailing edge micro and then micro the wires into the trench.
I then peel plied the micro.  Here you can see the right gear leg wires are embedded and almost completely encased in micro.
I did a few of other small tasks on my list as well.

I drilled a couple small holes in a delam on the side of the RAM air scoop, syringed some epoxy into the delam and then clamped it up.
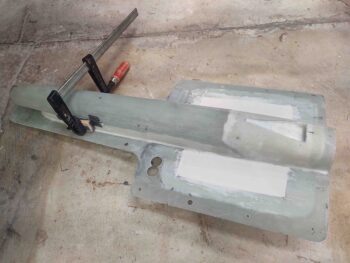
Later in the evening I pulled the clamp off and all looked good.  However, when I was sanding some of the excess epoxy off the delam the bottom half of the glass tore out and I was left with a half-repaired delam.  So I simply sanded the cured epoxy on the other half and called it good.
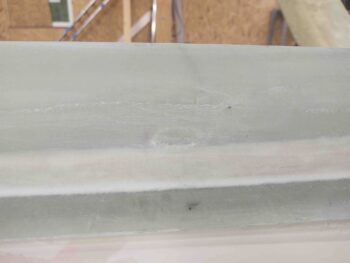
I also tightened up the AN fittings per specs on the fuel line in the hell hole.  I still have to secure the line to the fitting coming through the firewall, but that will be finalized after I put the metal firewall covering in place.
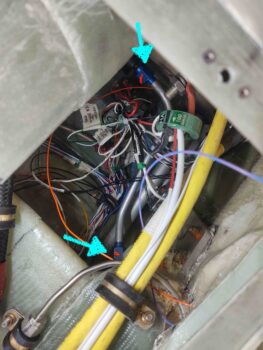
Lastly, after reading a tale of woe in a CSA article about a builder not being able to run his rudder cables through the conduits many years after building his wings, I ran a long piece of wire through ALL the rudder cable wing and fuselage Nylaflow conduits to test that they were clear and unobstructed.  Thankfully they were, so I can put that little check behind me.
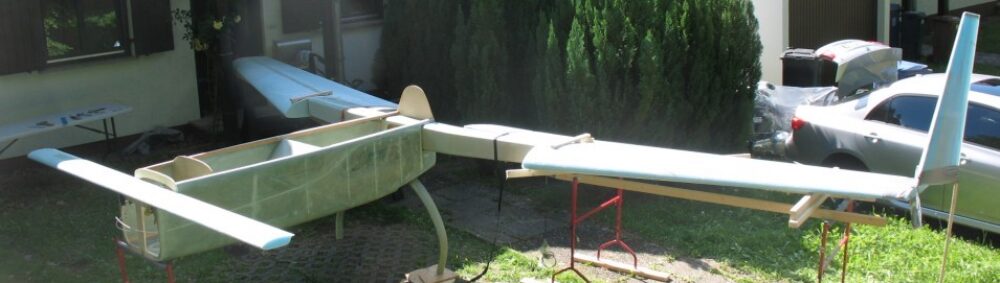
 

Chapter 25 – More fuselage finishing

Today I removed the CAMLOCs and screws securing the RAM air scoop/hell hole hatch cover to the bottom of the fuselage.  I also removed as much of the protective edge tape as possible.
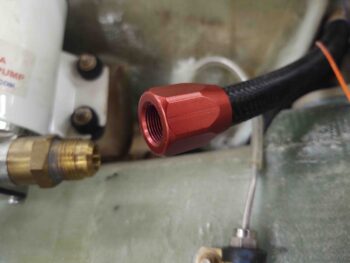
Then, as carefully as possible, I popped off the RAM air scoop/hell hole hatch cover from the bottom of the fuselage.  I had to give it quite a sharp rap from the front side to dislodge it from the serious grip the raised micro edge had on it.

I then inspected the micro edge and cleaned it up a bit.  Of course I have a few spots that need filled and/or repaired, but overall it looks great and I’m very pleased with it!

I then cleaned up the RAM air scoop/hell hole hatch cover before re-mounting it to the bottom of the fuselage.  It went back on nicely and barely got hung up on the micro edge, just a very minute bit of fiddling to get it back in place.
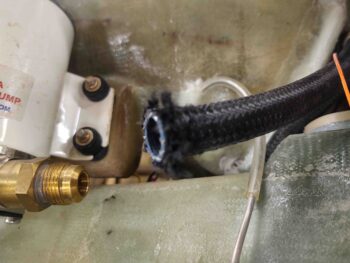
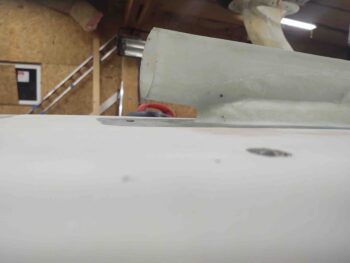
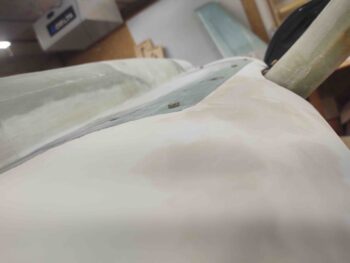
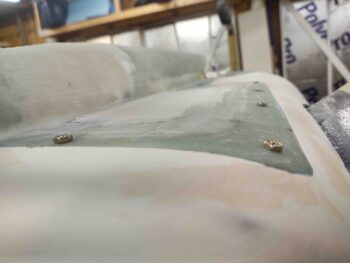
I then tried to get some pics to show the elevation of the bottom fuselage finishing micro as compared to the RAM air scoop/hell hole hatch cover surface.  Of course I still have to micro finish the RAM air scoop/hell hole hatch cover so some dialing in on the surface levels will be required.  But again, I’m very pleased with how this came out.

Here’s a shot looking aft along the right lower “corner” of the fuselage.
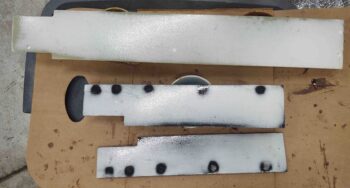
In addition, in these pics you can see where I had lightly sanded over the entire aft fuselage micro finish West 410 repair patches.  Not that I doubted Wayne Hicks in any way, but he nailed it again with using straight West 410 for repairing scratches and filling the big holes… it sands level very nicely.

And a shot looking forward from the left side, right near the firewall.

I then spent a bit of time cleaning up the junction at the firewall-to-bottom cowling where I slathered in some flocro to fill some gaps and clean it up.  I need to add a bit more flocro in the junction gaps behind the armpit scoops, and level out the surface elevation between firewall/bottom fuselage and cowling.  I’ll do that by adding a bit of micro to the front edge of the cowling and fair it level with the firewall area micro finish.

Again though, it looks really good and I see no issues moving forward whatsoever.

I then reinstalled the freshly trimmed nose gear doors and tested out the fit and look of them.  Here’s a couple shots of the doors in the closed position… which look way better IMO!

And then another couple shots where I inverted the pics to show how they would look on the bottom of the plane…. again, much, much better looking to me!

And with my baby-step successes in hand for the day, I called it a night!

Chapter 9/13/24 – Landing gear tweaks

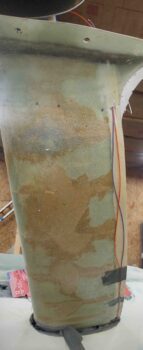
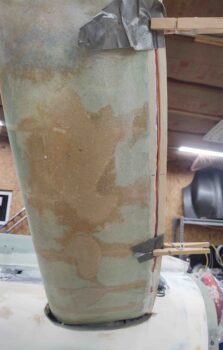
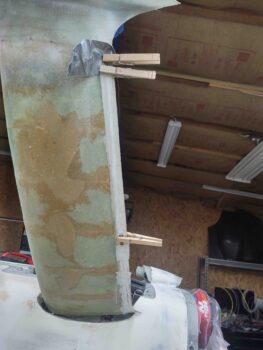
I started off today quickly pulling the peel ply, razor trimming the overhanging glass and hitting the corners with a sanding block on the nose gear wheel well front wall extenders. They look good and may need some very minor tweaking in elevation for the gear doors to rest against, but I’ll evaluate that when everything is back together.

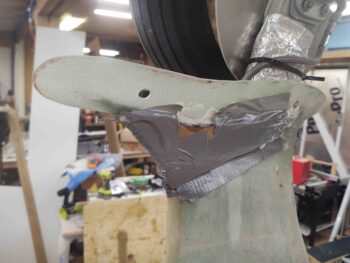
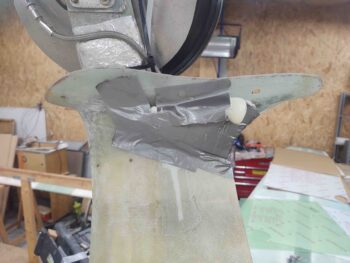
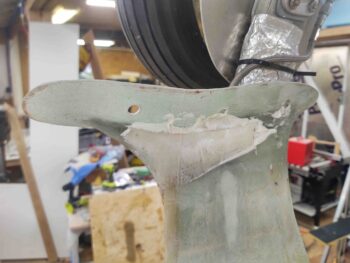
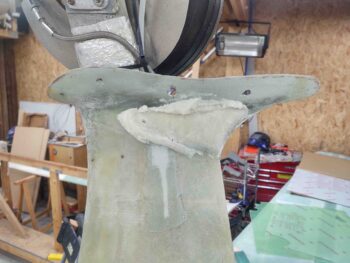
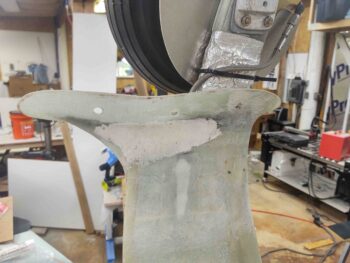
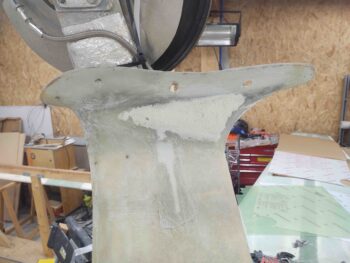
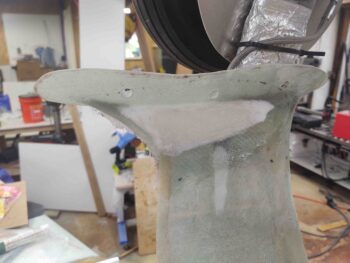
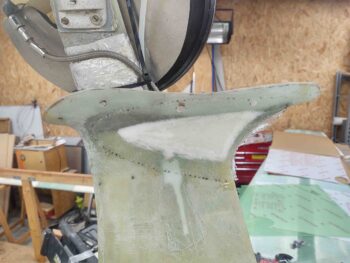
I then got busy knocking out yet another prerequisite task before I flip the plane back upright: filling the depression on each gear leg just above the wheel paint skirt on the inboard side.  Grant it this depression was created by adding the small fairing on the aft side, and the slight off angle between this fairing and the gear leg.

In my armchair engineering mind, for air to flow smoothly here and not get all burbled up, I need to fill these respective depressions and smooth out this junction.  In addition, I plan on finishing the bottom of the gear legs very soon and want to get as much done as possible on the underside before flipping the plane back over.

Here are the before shots.

I then cut a small triangular-shaped duct tape-covered cardboard dam and taped it in place. Once in place I snuck some pour foam in behind the dam.

Here’s the resulting pour foam addition to the bottom inside of the gear legs.

I then shaped the foam on each side…

And laid up a single ply of BID over the foam… after micro’ing the foam.

I then peel plied the layups.

I have to say I’m very pleased with these tweaks and with a little micro think they’ll really clean up these bottom gear legs and allow the airflow to be “trip” free.

I then got back to work on the aft/bottom fuselage.  To fill in the deep scratches and divots I followed Wayne Hicks advice and simply used West 410 “micro” mixed into West epoxy all by itself.  I had intended to use fast hardener, but forget and used the slow instead… no big deal of course.
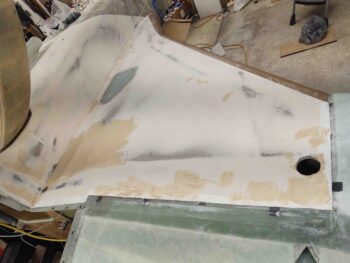
The 410 worked great and was pretty much smooth and creamy as you would expect from something like Evercoat’s Metal Glaze to be… however, having read the warnings in the CSA articles I want to stay away from any application that is NOT epoxy based.  I prefer my airplane’s finish to be as bubble free as possible, thank you much!

I had a decent amount of 410 (as par usual) left over so I actually filled in a bunch of the smaller holes as well… why not eh?

I remounted the bottom cowling with the lower front edge taped up to allow me to apply a flocro edge to the firewall area/cowling intersection micro finish on the lower fuselage. There were some gaps, chips and low spots that of course needed filling in, so I figured flocro would give me a nice hard edge that would be less prone to chip or get dinged as I removed and mounted the bottom cowling over the upcoming years.
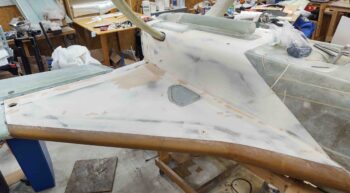
I then left the repairs and added flocro to cure overnight.


Chapter 13/25 – Finishing aft fuselage

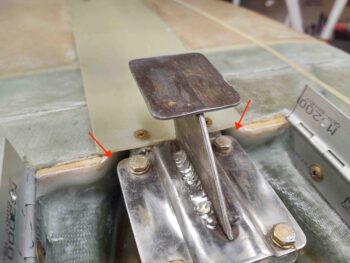
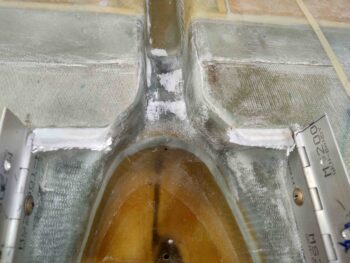
I started off this morning by lowering the nose gear (as positioned, inverted) into the nose wheel well to check the clearance between the nose wheel assembly and the newly attached wheel well wall extenders (red arrows).  As you can see, there was plenty of clearance.

That cleared me hot to go ahead and glass the top of the wheel well wall extenders and then peel ply the layups.

Not shown is a small layup I did on the front foam piece of the taxi light pocket and also another ply of BID on the bottom outboard delam repair on the right wing…. I’m hoping that’s the last added ply of BID that needs to go on there.

With my wheel well wall extenders looking good, and with no clearance issues with the nose gear, I proceeded to mark the very front tab on the nose gear doors for elimination…

Which I did here.  I think removing these tabs will really clean up the nose gear doors and make them look much cleaner, and much, much better.

I then got busy sanding the micro I had applied to the aft/bottom fuselage. I took this pic for Terry Lamp when he shot me a text to see if I was at Oshkosh… nope, sanding away in the shop!
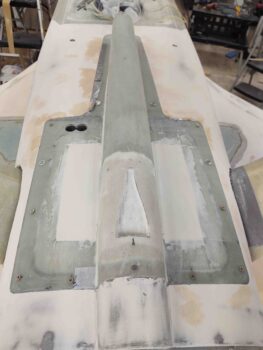
Here’s just a small sample of the mess I made . . .
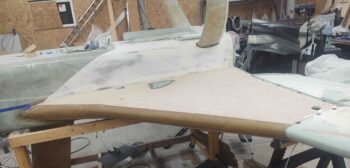
And some cleaned up shots of the micro removal process.

An overhead shot of the sanded micro.

And a couple more side shots.

I won’t be micro’ing up the middle of the fuselage until I get the landing brake prepped and mounted back in place, so I expect it to be a few days.  In the mean time, as I’m working on the landing brake, I’ll also continue to do some sideline tasks that are on the list to be completed before the fuselage can be flipped back upright.  In addition, I’ll start sanding the bottom airplane surfaces for the upcoming micro finish.