New Canopy Arrives!

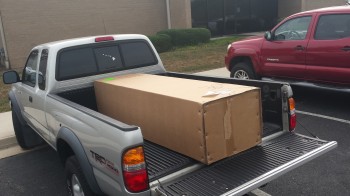
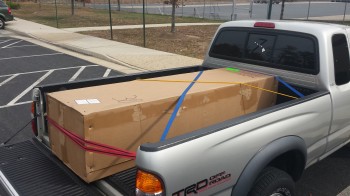
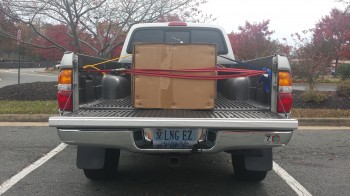
Today I went down to a freight terminal 40 miles south of my house to pick up my new canopy that Todd Silver sent out last week.  Todd had shipped out the canopy in hopes of getting a look at the canopy mocked up on my fuselage when he stopped through town as part of a multi-state canopy install tour that he was on.  Unfortunately, Todd stopped by last night (Tuesday evening), but since I had originally received an estimated delivery for Wednesday (today), that’s when I picked up the canopy.

New Canopy

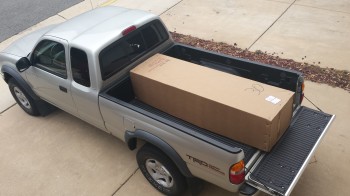
Canopy - SecuredCanopy - with plate!Canopy Overhead Shot

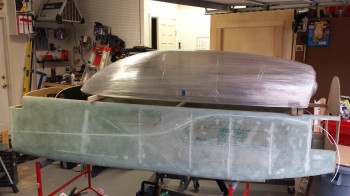
Here’s a shot of the new canopy that Todd had hoped to see!

New Canopy Profile

As you can see by the pic above, the new canopy’s profile is excellent and the dimensions are spot on.  I am VERY happy with this canopy!


Main Landing Gear Fairings

Today I received my Main Landing Gear Fairings from Steve at Eureka CNC.  Although I got a delivery confirmation from FedEX an hour before I got home, the box was nowhere to be found.  Apparently FedEx delivered them to the wrong house, requiring me to go on a 45-minute goose chase for my box.  My neighbors let me know that was a common occurrence so I eventually found them at the house at the end of the street!

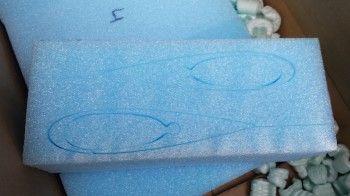
These gear fairings are often called “Wortmann” gear fairings, and as I’m sure most of you know they solve a big drag problem on the Long-EZ by streamlining the main gear in two ways:  First, it takes the oval shape of the main gear and converts it into an airfoil shape, which is exponentially more aerodynamic than virtually any other shape.  Second, it twists the  gear’s angle of incidence so that it meets the oncoming air straight on and fixes the stock gear’s offset profile (read “dirty”) which creates a lot of drag.

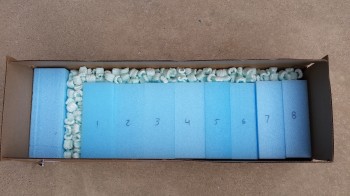
After the delivery drama was over I opened the box to find some very precisely (of course!) hot-wired gear fairings!

Gear Fairings

Eureka CNC Gear Fairings

I can’t wait to get these babies glassed onto the main gear.  Thanks Steve!


New Canopy

I’ve been talking with Todd Silver for a number of months now on getting a new canopy.

Why?  Well, here’s the story:
The first canopy I got from Todd was one that I went down and picked up out of his shop in Ft. Lauderdale in early 2013 while I was deployed to Tampa, FL.  I had wanted a little bit larger/longer canopy so that I wouldn’t have the windscreen up so close to my face, and a little bit taller to have just a little bit more “cabin” space.  However, I should have analyzed the shape of the canopy more thoroughly before throwing it in the back of my vehicle and hauling it back up to Tampa.

Fast-forward to late 2013, once I was settled into my job in Qatar, where I had more time to ponder various build aspects since I wasn’t actually making layups or sniffing epoxy fumes.  I took my pics of the canopy, traced them out (poor man’s CAD) and then overlaid them onto an outline of a close depiction of my fuselage.  I checked this out a number of times from as many angles as I could find.  The main depiction of what I found is here:
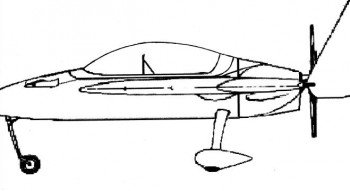
Old CanopyThe canopy profile is very close to a true section of a circle on a standard curve. What this meant is the highest point of the canopy sat behind the rollover structure and really wasn’t adding any usable space, but was most certainly adding drag.  Now, to be clear I picked this canopy out of a lineup and the result of my dissatisfaction with it was my fault, not Todd’s.  Todd was nothing but exceptionally helpful as I was looking at his canopies.  In addition, the shape of the canopy also meant a fairly flat and low profile directly in front of the pilot’s seat, and a sharper curve aft where the canopy met the firewall structure.  To be clear on another point: this canopy is beautiful.  It just happened to have the wrong characteristics that I was looking for.

Now, I confirmed my misgivings with the canopy when I came back to the states for a couple of weeks from Qatar in March 2014.  I hauled the canopy down to my buddy Marco’s shop (since my project–but obviously not my canopy–was in storage) and we trial fitted it on his fuselage.  Now, I widened my fuselage 1.4 inches at the pilot seat, but the rest of the fuselage is widened at the same ratio as the original plans fuselage (except my firewall).  Being more of a maverick, Marco chose to widen his fuselage 2 inches the entire length.  When we put the canopy on his fuselage it displayed and confirmed the characteristics I was concerned about (see pic above), but it also proved to me that the dimensions were just too big, since the canopy was close to being oversized even for Marco’s bigger fuselage.

With confirmation in hand, I approached Todd and let him know my concerns.  I sent him the pic above along with this pic below depicting more of the shape I was looking for (BTW, I used Steve Volovsek’s canopy as a style reference).
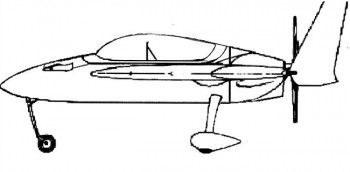
Desired Canopy

As you can see, the most “bubbly”part of the canopy is directly over the pilot as it flattens out behind the pilot for a good intersection angle with the firewall.

Thus began a conversation over the next few months about the size, shape, etc. of the canopy I was wanting.  Since I wasn’t in a hurry to get a new canopy until after I returned from overseas and settled in, Todd and I waited until I got back to finalize my choice of a new canopy.  Well once back, Todd of course delivered in spades.  He sent me a lineup of pics of a few different canopies (I think knowing full well which one I’d pick) that were all very close to what I wanted, with one being spot on:
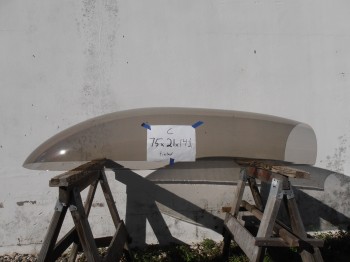
New Canopy

Compared to my existing canopy on-hand:
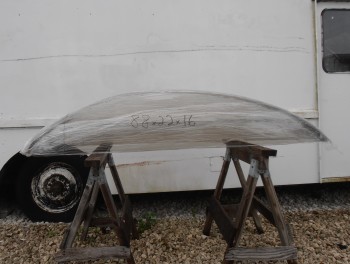
My CanopyTodd was a champ and gave me a great deal even though I was the one who initially picked the “wrong” canopy.  Once I picked out my new canopy he shipped it out the same day.
 

Workshop Finished!

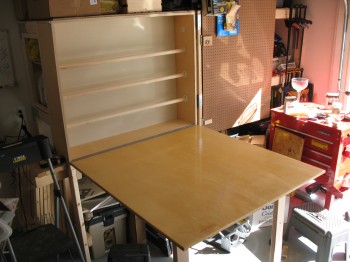
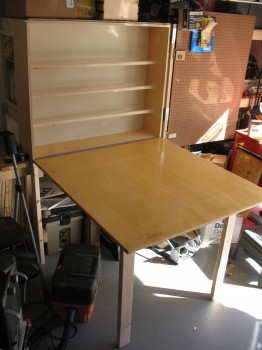
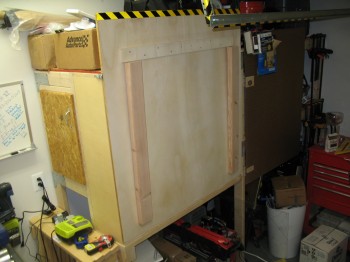
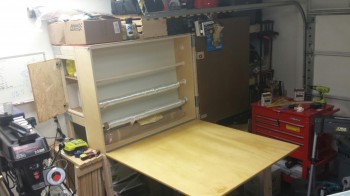
I finally finished the glass storage cabinet & cutting table and the epoxy hot storage cabinet!

Glass cutting table

Epoxy hotboxIt took about a week on & off to varnish the epoxy cabinet door and the glass cutting table. I’m pleased with the outcome and could then press on with the final install steps.

IMG_0261IMG_0257

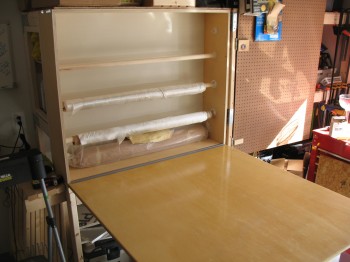
I mounted the swing out support legs for the glass cutting table.  This table BTW is almost twice the surface area as my last table that I used before in Virginia and Germany.
Fold-up cutting table

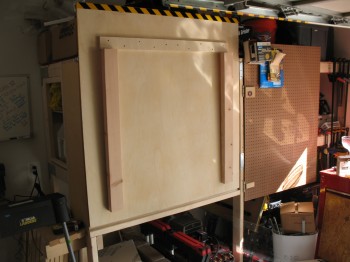
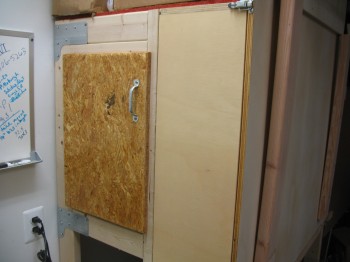
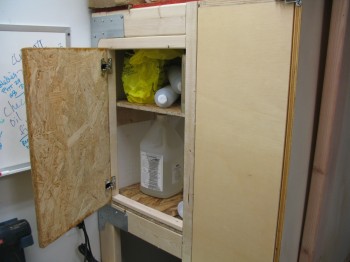
I then drilled the hinge holes in the back of the epoxy hotbox cabinet door with a forstner bit, added a handle and then mounted the cabinet door.
Hotbox door

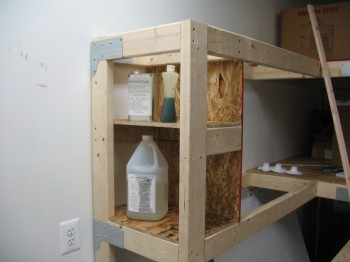
Hotbox cabinet

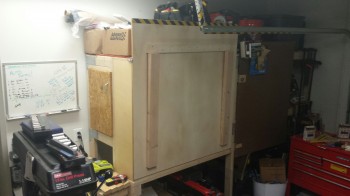
Here’s some shots of the entire setup:

Hotbox & glass cabinets

Glass cutting table/cabinet

Glass/epoxy station

And one last shot of the whole shebang . . .

Glass cutting table


Need MORE build space . . .

Ok, while it’s nice to have all my tools back on hand and available to use, my garage work shop is much more crowded than it was in my other house in Virginia.  The simple cause for my work space woes is that at my old house I had a nice 10×10 ft shed that I kept all my woodworking saws and tools in.  At this house I have no shed, yet.  The issue here is that the HOA folks won’t allow me to put in a normal sized shed.  Soooo, after a bit of research I decided to install a plastic slide top storage unit and build a smaller shed out of leftover materials that I ironically pulled out of my shed located at my other house (which is currently rented out).

Thus, my shed projects begin… all to allow build space for the Long-EZ!

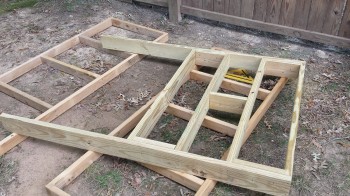
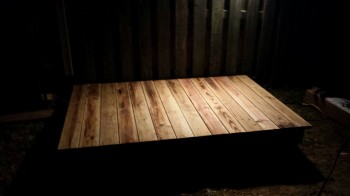
The first order of business for the plastic shed was to build a stable base on uneven ground.  Luckily I had plenty of 5/4 board for the top, but I had to buy a few pressure treated 2×6’s for the base.  After those were on hand I set to work building the base:

Tool Storage Shed Base I finished right about 8 pm, the bewitching hour that I prefer not to arouse the neighbors’ ire with saws buzzing and nail guns blasting.  Here’s the finished base:

Plastic storage shed base

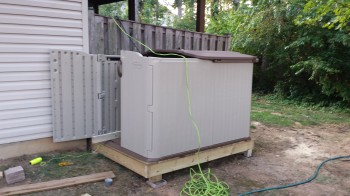
Once that was completed, I was now at the EZ part which actually putting the shed together… this took all of about 30 minutes.

Tool Storage Shed

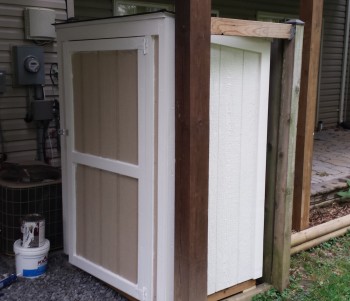
Finally, I spent another good 5 days off and on building the smaller, yet taller, shed underneath the deck.  Here’s a shot of it before the final paint went on:

Shed

Huzzah!  Now I finally have places for my woodworking tools and space in my garage to build the Long-EZ.


More toys!

Well, after numerous initial discussions with my good OZ-based EZ-building buddy Dave Berenholtz (check out his build log here), the Sky Dynamics engine gurus, and my engine guy Tom, I decided to forego the pain that would ensue if I decided to go with a traditional Slick mag along with my Electroair electronic ignition, and then swap the initially cheaper Slick for a PMag many hours later.  Yes, after Dave so graciously shared his tale of woe as to the difficulty of doing exactly what I had in mind, and after researching the electrical connections required, and the switches, and the  . . . you get the idea.  Much easier to just bite the bullet, design it right the first time, and then get ‘er done with one shot/one kill. [See my 12 May 2014 post]

Thus, being able to fully & justly blame my mate Dave for a much lighter wallet, I called (from Qatar) up Brad at E-Mag back in late May and had a wonderfully enlightening conversation on the myriad of capabilities of the P-Mag system.  Convinced that I was VERY CLOSE to making the right decision, I told Brad I would call him back to pull trigger once I was 100% sure I was going in the right direction and had researched every option. In addition, I knew with Oshkosh looming on the horizon that I would want to put an order in not too far out to ensure that Brad wouldn’t be sold out when I wanted to have a P-Mag on hand.

Well, after some more intense research and another half-dozen discussions with home-builders around the world, I called Brad back a few weeks later and told him that I was completely sold on the P-Mag and would need a unit come late August/early September.

But why did I need a P-Mag then?  Well, I had discussed with my engine builder Tom at Aero Engines in Winchester, VA, that after arriving back in the States I wanted to get the engine built within a month or so.  Although it will be delayed just a bit, within the next month or two I should be building my new ECi IOX-340S under his watchful eye. The PMag was the last major component for the engine build that I needed, and I wanted to make sure that I had it on hand so that an experienced engine builder–knowledgeable on P-Mags–would ensure that I installed it 100% correctly.

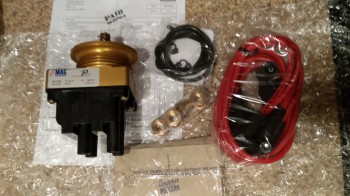
P-MagWell, sure enough Brad gave me a call in late August and my P-Mag unit arrived just a few days later, with a bag of microwave popcorn included no less!  Now that’s customer service!


Long-EZ back home!

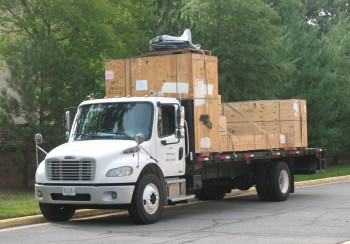
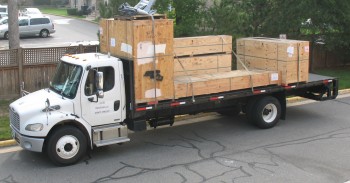
Today all the components that will someday make up Long-EZ N916WP arrived back home!

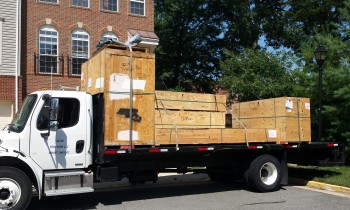
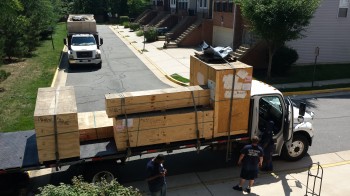
Delivery TruckThe project was crated into 3 big boxes, with the wings being the largest of course.  The large crate at the very front of the truck bed is regular household stuff and the large crate at the very back of the truck bed is my motorcycle.

Delivery Truck

After many hours of unloading my household goods from the other truck, we were finally finished so they pulled this truck into position.

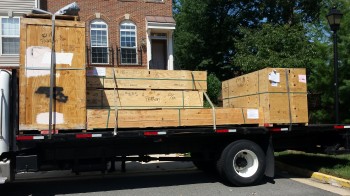
Hello old friend!Again, the wings are in the long, low flat crate located closest to camera (Left side of truck).

Big boxes!The large lower box next to the wings’ crate is the fuselage, and the long smaller crate on top of the fuselage is the CS Spar and the canard.

Lets do this!

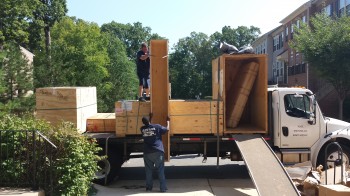
Once the large household goods crate at the front of the truck was unloaded, we were able to start unloading the plane assemblies.  The first thing that came out of the crate was the CS spar.  I don’t know how much experience you’ve had with movers, but I was very adamant about them being slow and careful with these parts, which in the end they were.

CS Spar

I was a little unnerved for a bit since the only thing in the long crate atop the fuselage was the CS spar!  I had watched them put both the CS spar and the canard in the top crate when it was packed up in Germany.  Unfortunately, I would have to wait until AFTER the fuselage was unloaded to ensure the canard was in the wings crate, which is the only place it would fit!

CS Spar and canard crate

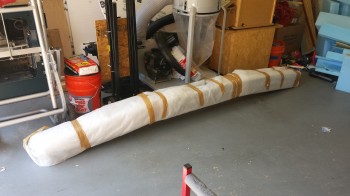
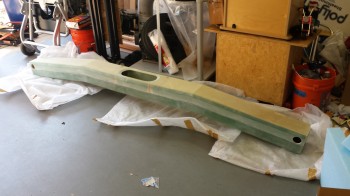
While they removed the empty CS spar crate from the truck I quickly unwrapped the CS spar to check it over and make sure there was no damage, which there wasn’t.

Looking good!

I let out a huge sigh of relief when we cracked open the wings’ crate and I saw the canard laying on top of the wings!  However, I wasn’t overly happy with them moving the canard out of its original crate, where it was in a leading edge-down orientation, to simply laying it on top of the wings.  As a point of note, I had originally stated the requirement that the wings crate be built to hold the wings vertically, but although they said they understood my requirement, they still built it so that the wings laid horizontally, as you see in the pics.

Plane parts

No worries . . . at least everything made it back to the States in one piece and undamaged!  Welcome home Long-EZ 916WP!


Keeping it hot!

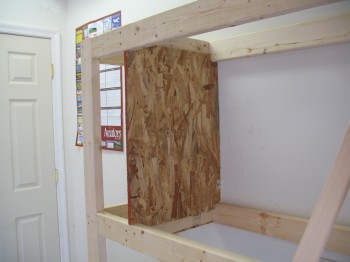
I can’t really finish the shelves or the glass cabinet until I get the epoxy hotbox knocked out.

Epoxy hotbox

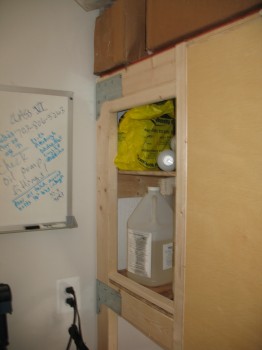
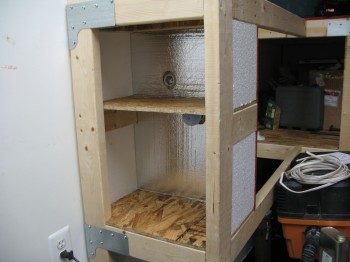
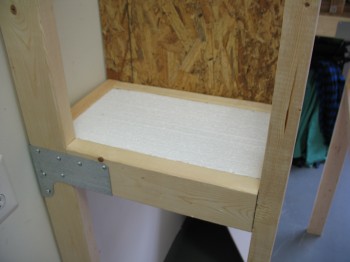
Once the back wall was in place, I started on the bottom shelf.  Now the hotbox will be insulated all the way around, with both 1″ Styrofoam and aluminum covered foam used in building houses.

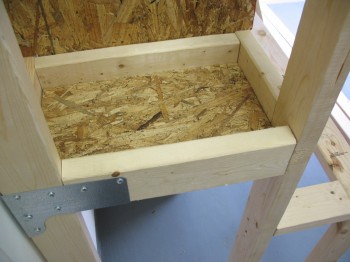
I installed edges for the bottom shelf “tray” to sit on:

Epoxy HotboxEpoxy hotbox

Now, the pain involved with building the hotbox is that it takes a fair amount of time to cut the Styrofoam insulation pieces.  Luckily I had retrieved the hotwire cutter that I built back in early 2011 from storage at my buddy Marco’s shop.  This made the insulation cutting a lot quicker and cleaner!

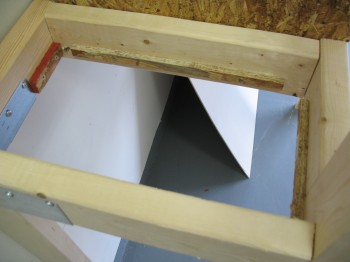
Below are 2 pieces of 1″ foam inserted into bottom shelf area and sitting upon the shelf tray built above:Epoxy hotboxAfter installing the bottom shelf-top, I then had to refine my measurements for the epoxy jug storage on the bottom shelf and the quart & bottle containers of hardener on the top shelf to place the middle shelf.

Epoxy hotboxEpoxy hotbox

The epoxy you see here is MGS 335 that I had left with my buddy Marco to use if he wanted.  Being busy on his build and machining projects, he never really used it, so I’ll play around with it on some non-aircraft/non-structural projects.

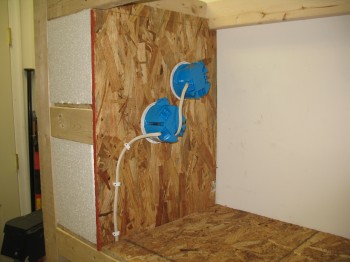
I then insulated the back and side walls, and installed the light bulb heating elements.

Epoxy hotbox

Epoxy hotbox

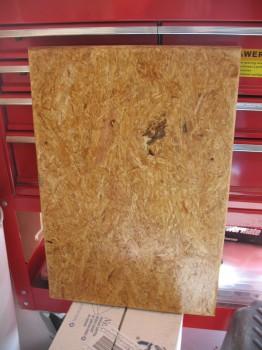
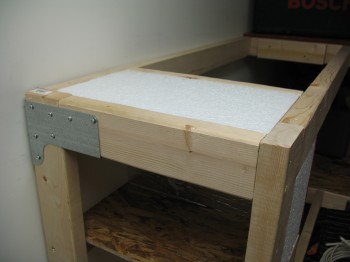
Finally, I finished insulating the top of the hotbox as I did the bottom shelf, and will use the actual top shelf sheeting to cover the upper 2″ foam insulation pieces.

Epoxy hotbox


Workshop prep – shelves

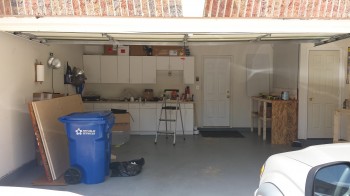
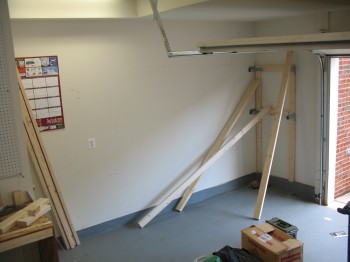
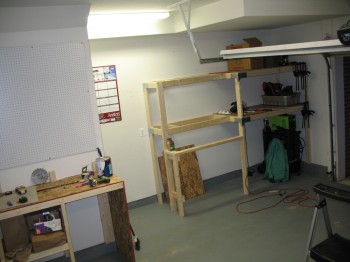
Here’s a picture of my garage workshop in a fairly clean state (read: empty!)

New Workshop!

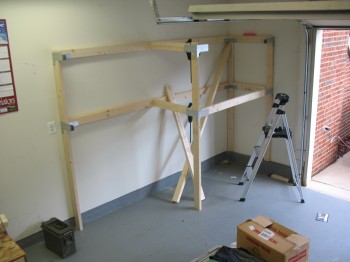
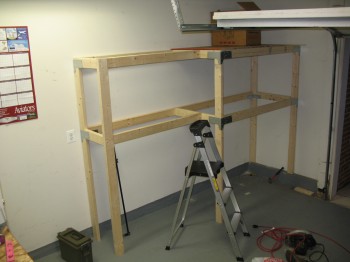
After getting the workbench knocked out, I started in on building some decent shelves along the right side wall in the forward (closest to the garage door) corner.  Since I posted the pic above out of sequence, you can actually see the front corner of the shelving structure in the right side of the pic, just above the hood (or bonnet for some you!) of the truck.

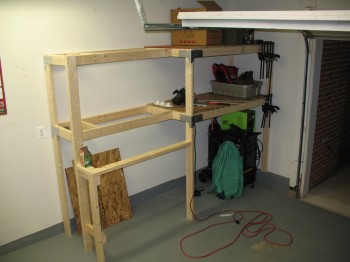
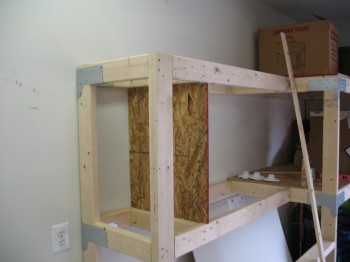
Here’s the beginnings of the shelf project:

ShelvesShelvesShelves

The narrow shelf structure that makes up the left side is a notch I’m making that will allow for a cabinet that will be used for storing the fiberglass rolls.  Of course the front door of the cabinet will rotate out & down for use as a glass cutting table.

Shelves

As you can see in the pics I retrieved my neon green welder back from the clutches of my now TIG-welding crazed buddy Marco (if you haven’t seen his new TIG welder, check it out on his Long-EZ building site).  I also bought a cart (on sale!) at Harbor Freight to put the welder on and keep things nice ‘n spiffy.

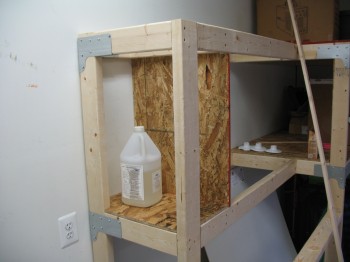
ShelvesThe opening at the narrow side/left end of the shelves is where I’ll place my insulated epoxy/resin hotbox.  Below you can see the back wall of the hotbox.

Epoxy hotbox

If you look closely on the middle shelf, you can see the 3 light bulb fixtures that I pulled off of the ceiling.  These will be re-purposed as “heating elements” for the epoxy and glass storage cabinets.