Back to it … baby steps!

Sorry, but I don’t have any pics to load just yet, but I quickly knocked out a few items on my list that I thought were important to complete in order to establish some data points:

#1 – Elevator weigh-in.  As Canardians and canard builders know, elevator weight and balance is critical.  I established a baseline weight for both my elevators since when I followed the plans method of glassing them, the heat of the curing bondo used to hold the bottom of the elevators in place caused glass-foam delaminations exactly where each blob of bondo was placed.  There’s a great work-around using aluminum duct tape that’s spelled out in a CSA newsletter, but unfortunately the issue with that helpful tidbit came out well AFTER I built my elevators. Besides getting a general idea of each elevator’s weight, the baseline will let me know how much epoxy weight was added after I inject each delam area with epoxy.  If too heavy, I may end up having to rebuild new elevators.

#2 – Fuselage straight & true.  Another issue I wanted to get the skinny on was exactly how straight and true my fuselage is, since I know that I didn’t get it exactly right when I glassed the bulkheads into the fuselage sides.  I still  have to diagram it all out, but although not ecstatic that it was off to any degree, I was relieved to find out that no measurements were off by more than a 1/10th of an inch.  Not great, but definitely workable.

#3 – Landing & Taxi Light Test.  I also grabbed my LED landing and taxi lights, and quickly connected them up to a 12V battery to ensure that they all worked, first off, and to also get a good idea of the light strength and beam pattern of each respective light.  I have to say that I was quite impressed with the lights and I will definitely move forward with my designed electrical plan for the landing and taxi lights.
Final Shop Prep – Part Deux

. . . RISE OF THE MACHINES!!!

You can’t be totally prepared unless your MACHINES are online & ready to go!

My initial objectives starting back on the Long-EZ build is that now that I have my project physically located in one place, I will go back and finish those chapters that I left hanging for various reasons.  For example, chapter 8 of the original plans is where the trademark triangular foam/fiberglass rollover assembly is constructed.  However, since I’ll be employing a metal rollover assembly, it took me a while (actually while I was in Tampa, FL) to design it and to figure out what material I was going to use.  And although I’ve done a fair amount of MIG & stick welding, I of course needed to get trained on TIG welding since I had finally decided that the rollover would be constructed of 4130 steel.  Although I posted this previously, I attended a local welding course in Tampa and the EAA’s TIG welding workshop in Georgia.

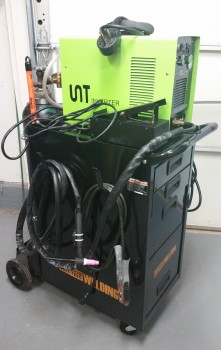
As far as equipment goes, the TIG welder needed to be assembled and checked out. Since I added 220v power to the garage for a heater, I changed the welder plug-in side of my HEAVY duty 220v extension cord to a plug that matches my MIG welder.  I then also changed out the plug on my TIG welder to match the plug on my MIG welder, thus both 220v welders can be used with the same extension cord.  I also have an old Lincoln “Buzz-Box” Tombstone welder, but with my change in plugs it won’t be usable for the time being.  With the swap-out of the plug on the TIG welder, and a couple nit-noy issues with the Argon line filter, it’s now all hooked up & raring to go!

TIG Welder

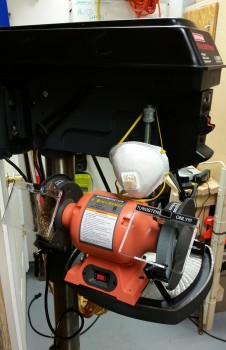
This evening I also finished cleaning up and oiling the drill press, literally knocking some of the rust off of it.  Once I got the drill press good to go, I turned my sights on the bench grinder (I picked it up cheap from Harbor Freight) which I will use primarily for sharpening the tungsten electrodes for TIG welding.  As I was hunting around for a place to mount the bench grinder, I figured that two of the things that I really don’t use that often in building this Long-EZ is the drill press & bench grinder, so why not use that space for a dual purpose and mount the bench grinder to the drill press table and save some space!

And so I did!

Bench Grinder

After finishing the drill press & bench grinder, I spent another hour or so simply cleaning off a bunch of my tools and gear that had years of dust and grit on them.

Thus, from here on out, besides work, flying and my Instrument Training course, any spare time I have I will be putting towards getting this bird finished!

Final Shop Prep

I am very close to the point where everything is organized, functional and operational to begin building.  The major issue I have is storage.  As I mentioned before, my other townhouse in Virginia has a 10’x10′ bumpout in the downstairs area that I used as extra storage, and what really helped was that I also built a large shed in the back yard that held a ton of tools and equipment.

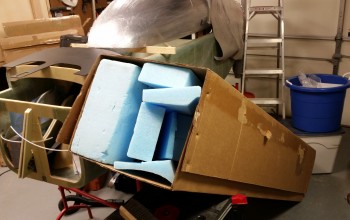
Ok, back to here.  I have a pool table in a room just beyond the garage, which until tonight was covered in a myriad of pieces of blue wing foam, all different shapes and sizes.  Well, I consolidated as much of the pieces that are less likely to be used in the immediate upcoming steps that require blue foam (i.e. canard tips & nose construction) and stuffed them into the box that I just received the new canopy in from Todd Silver.

Blue Foam Storage

The foam I was able to cram into the repurposed canopy box is about half of the blue wing foam that I have, and since this stuff is not cheap to buy, and especially not cheap to ship, then I will keep as much of it as I can on hand until I’m done building this bird.

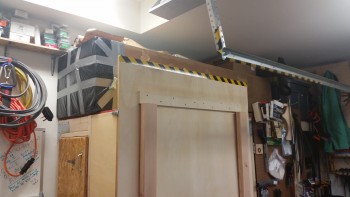
Once I got it all situated, I covered the end of the box with a doubled up garbage bag, and taped ‘er up.  Then this gargantuan box went up on the top shelf over the epoxy box & glass storage cabinet.

Blue Foam Box

I still  have some room in front and top of the box to store stuff as well.  The rest of the blue foam went into the garage closet that is situated about 4′ in front of the epoxy hot box, so off to the left in the pic above.

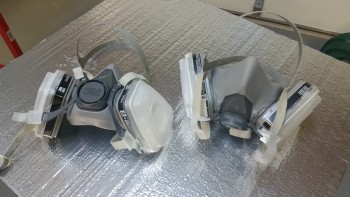
Also, to get ready for glassing I wanted to clean up the respirator masks that I use when working the MGS hardener and mixing up batches of epoxy.  Last night I dumped the respirators into the sink in some hot soapy water to let them soak overnight.  Luckily I had two sets of new filters on hand so I swapped those out and now my masks are ready to go! Let’s get some epoxy flowing!!!

Respirators

Engine Hoist Saga Over!

Ok, I know it may not seem like such a huge ordeal, but before I stowed this engine hoist away I wanted to ensure it was working properly.  As you saw from a couple of weeks ago, I had added a full bottle of hydraulic oil to the jack so that the jack would stay up & not move with a load on it.

No joy!

I eventually had to buy more hydraulic fluid and bingo, that did the trick!  After a few days of working the jack & bleeding the air out I finally got this lemon to work!

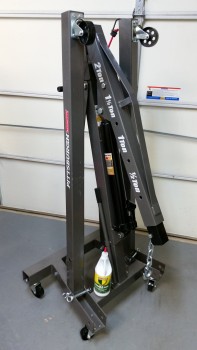
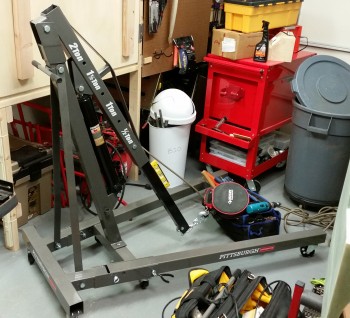
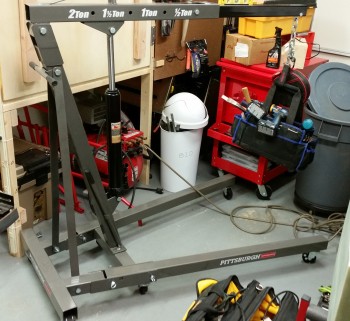
With the drama over, I folded it up and took a pic before it went into the storage closet.

Engine Hoist

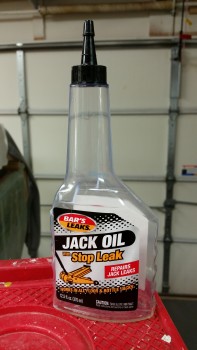
BTW, I used over a third of the hydraulic fluid from the bottle shown in the pic.  Now that this is out of the way, I should be able to finish up the shop SOON and get moving on the build.  As many of you know, working in a tight space requires a fair amount of organization!

Getting there . . .


Engine Jack

I picked up an engine jack from Harbor Freight on sale and have had it assembled for a couple of months now.  I haven’t stored it away since I noticed when I first jacked up the crane arm that after returning a few hours later it was not in the up position but was actually resting in the down position touching the garage floor.

Engine Jack

Since the past week I’ve been focused on finalizing the organization of the garage shop, and set about to figure out what was going on with my engine crane.  The plan is once I get the engine crane working correctly I can fold it up and get it stowed out of the way.  I pulled the user manual out and watched a couple of videos to figure out the fix actions.

I bought a bottle of hydraulic oil to add to the hydraulic jack after multiple attempts to bleed out all the excess air clearly didn’t work.  Apparently, the jack was dry since I dumped an entire bottle of hydraulic oil into it.

Engine Jack Juice

So, now I’m able to jack up a significantly heavy load with a very, very slow crane arm descent rate.  After a couple more times of bleeding out air, if the crane arm doesn’t hold its elevation, then I’ll add some more “Jack Juice.”

Engine Jack Level

Getting there . . . parts depot

Well, while I’m sure reading about what seems to be perpetual shop prep is not  overly exciting, believe me it’s a long slog to stay motivated to get this shop prepped.  But I’m very close to getting to the point where I can start building.

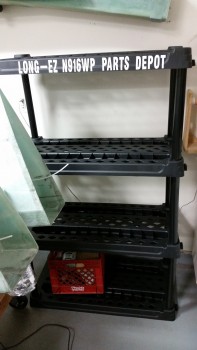
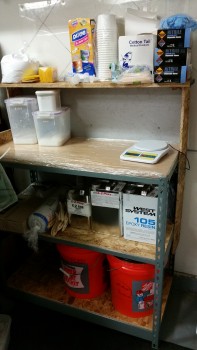
I realized that I needed two things to be able to work effectively in this shop: a storage shelf for EZ specific parts and an epoxy mixing station.

So I picked up some shelves at Lowe’s and installed them.  Since I had some white lettering I couldn’t resist labeling my “parts depot” late in the evening after putting the shelves together.

More Storage

Once I had the shelving unit in place, I assembled the epoxy mixing station, cut the shelves for it (since I dumped/burned all my wood pieces in Germany) and put it into position.

Epoxy Station

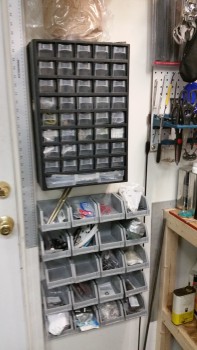
While I was organizing all my building materials, over the last few days I’ve also accomplished a near 100% inventory of parts, pieces, components and hardware.  It’s been literally years since I’ve had all my building stuff in one place, so I spent hours consolidating my hardware and electrical components into their appropriate storage bins (which I also mounted).

Parts Storage

More power!!!

With cold winter weather continuing and temps consistently dipping down into the 20’s (F) I clearly needed to heat the garage before I could start building again.  I did some research and ended up buying two heaters from Northern Tools.

The first heater is a 120 volt ceiling mounted heater that I positioned towards the large door side of the garage.  I quickly realized that with such a hot heat source blazing away at the front corner of the garage, that I had to have some type of cutoff switch to keep the garage door from being able to be opened . . .  lest I end up with a scorched garage door as it would sit–when opened–just a foot or so below a very hot heater.

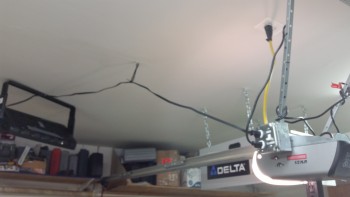
I installed a box to the side of the garage door opener with plugs for both the heater and the garage door, and an either/or switch that allows only the heater or the garage door to be powered at any one time.  This solved the potential issue of frying my garage door paint and/or a possible fire.

Heater Switch

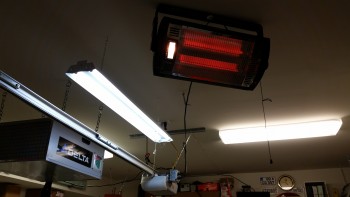
While I had the ladder positioned to install the heater and switch, I went ahead and installed a hanging light bar to add some much needed light to the front of the garage.

Shop Heater

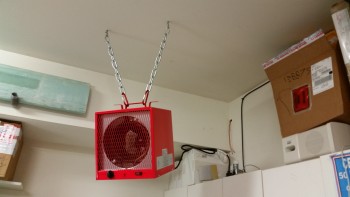
After the front of the garage heater was installed, I turned my sights on the second mo-jamma heater I received from Northern Tools: Big Red!  The issue with Big Red was power since it required a 240 volt / 30 amp circuit, which I didn’t have in the garage. Behind the back wall of the garage sits an HVAC/utility room and a half bathroom.  Behind that is a billiards room, with the electrical junction box on the back wall in the corner.

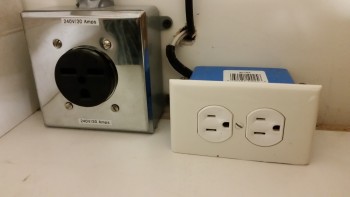
Thus, to use “Big Red” I needed to run a heavy 10 ga cable from the electrical box to the back wall of the garage.  I should add that this new cable run would allow me to use the 240V/30Amp plug for my TIG & MIG welders in addition to “Big Red.”

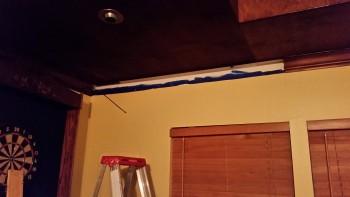
I decided the best way to run the cable from the electrical box to the garage was behind the crown molding that I had put up in the pool room.  Since I will pull this circuit when I eventually sell this house, I’m not concerned about someone discovering this cable run by accident.  So, I started by pulling down a piece of crown molding to get access to both run the wire cable forward to the garage and down behind the wall into the electrical box.

Wire Run

It was quite a pain to run the line behind the crown molding, but through trial, error, blood, sweat, tears and some cussing, I eventually got it.  While I was running the 10 ga cable I went ahead and ran a 14 ga 120V/15amp line as well to have a plug on top of my cabinets.

Added Power

Here’s a pic of Big Red installed!

Big Shop Heater

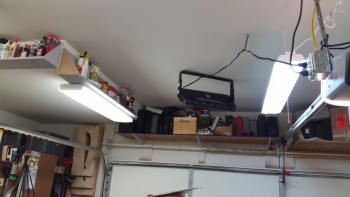
After I got Big Red installed, I grabbed a light bar from my old shop at the other house to add the final light coverage I could really use at the front of the garage.  Here’s a pic of the installed light bar (on the left) below.

More Light

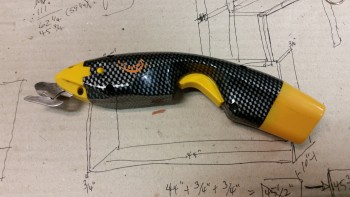
Dritz Electric Scissors

I’ve been working on my Dritz electric scissors over the past week along with everything else.  I charged the battery as soon as I unpacked the kit, but when I installed the battery and tested out the scissor the blades were jammed & not moving.  They were definitely trying, but clearly something was restraining the scissor action.  Well, after disassembling the nose of the scissor, which requires taking apart the entire handle, I found a whole lot of corrosion inside the nose on the scissor blade assemblies.

I sprayed it down with WD-40 and hit it with a soft wire brush, and repeated this every couple of days for about a week. Finally, I was able to remove all the corrosion and get the scissor set back together.  When I tested the scissors, they worked as well as the first time I pulled them out of the box and used them!

Dritz Scissors

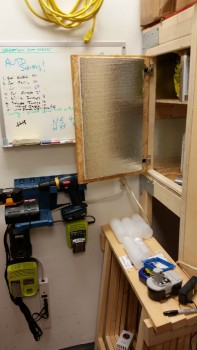
Epoxy Hot Box

I finally finished the epoxy hot box.  I wired the two heating lights through a regular light switch that plugs into the wall.  Also, I finished hot wire cutting the Styrofoam insulation tiles & installing them.

Epoxy Hot Box

After finishing the hot box, I installed a 75 watt light bulb in the bottom bay and a 40 watt bulb in the top bay.  After firing it up, I quickly realized that the insulation was working as advertised… it may have been working a little too well.  The hot box quickly shot up over 125° F.

Over the last few days, I tweaked the bulb strength to dial in the temp between ~90-100° F.  The box is so well insulated, that I finally ended up with ONE 7.5 watt bulb in the bottom bay and the box stays right around 100° F.


Visiting an old friend . . .

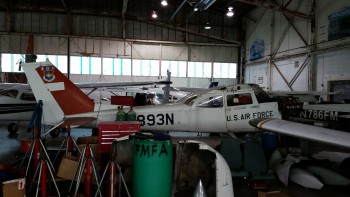
I stopped by my old Aeroclub at Tipton Airfield near Ft. Meade today to visit the old gang. I got my PPL here many years ago.  It was great to see some of the guys that were around while I flew there, but I was sad to see an old friend–the Cessna T-41 that I soloed in–sitting in a hangar after being parted out.  Apparently it was smacked hard in a vicious windstorm that hit the airport a couple of years back.  The tail assembly was banged up pretty good, to the point that the tail boom was misaligned so much that it was uneconomical to repair.

Old Friend Fairwell N7893N!