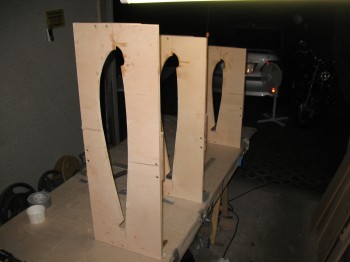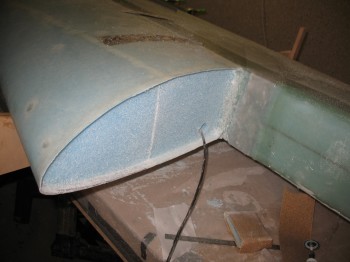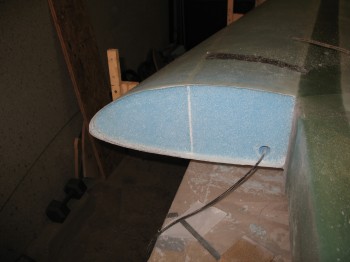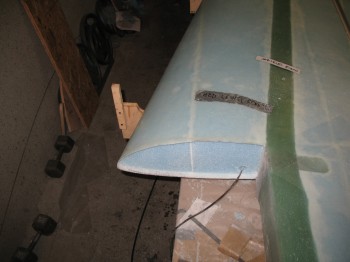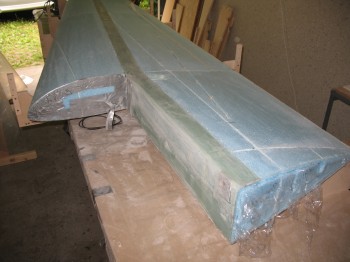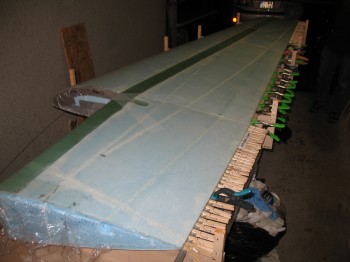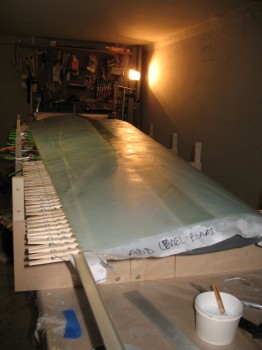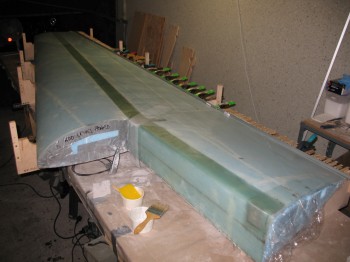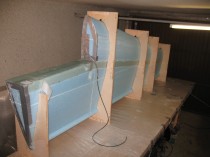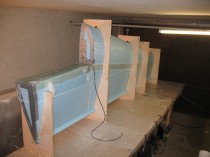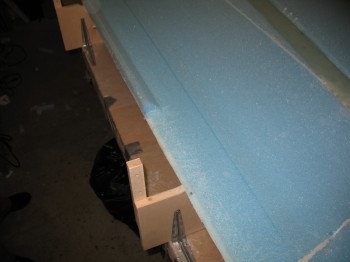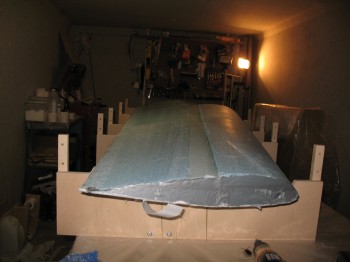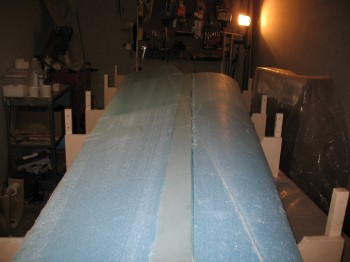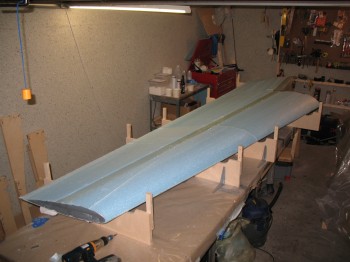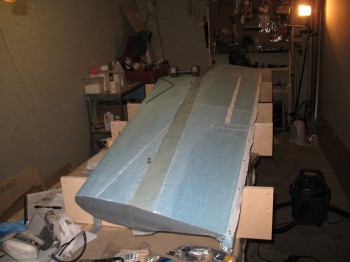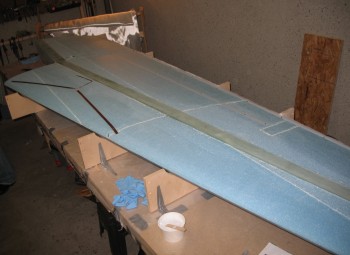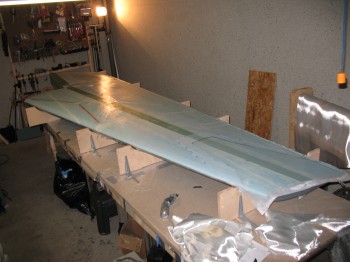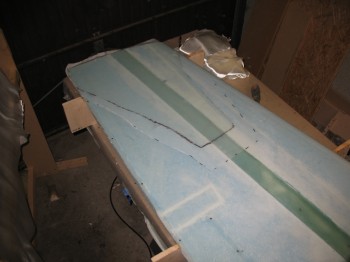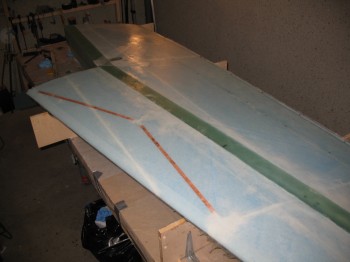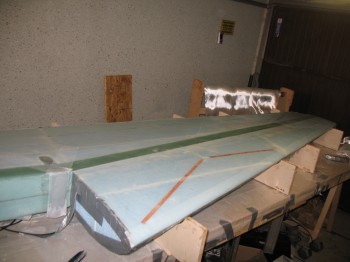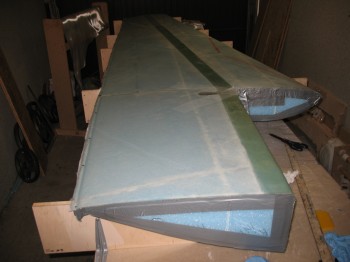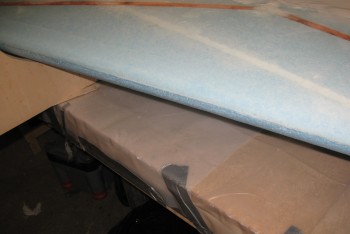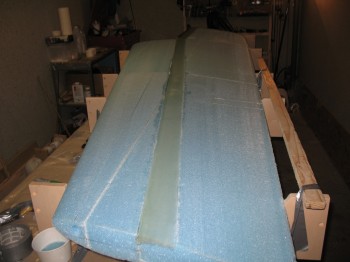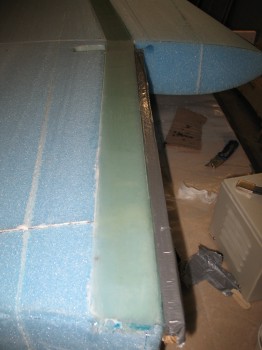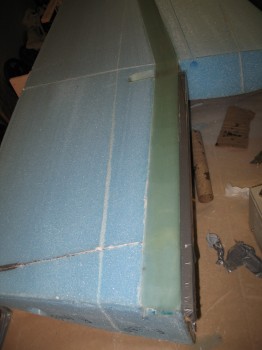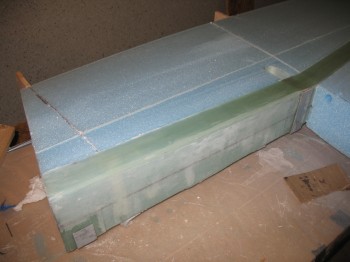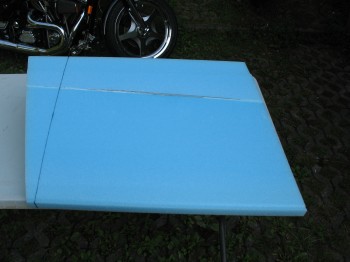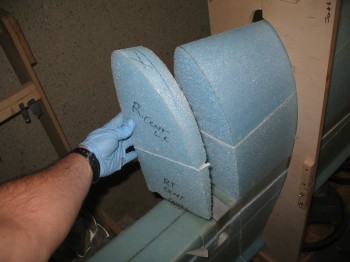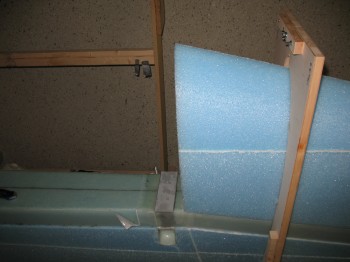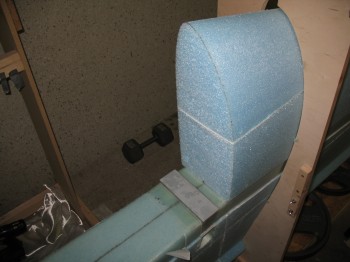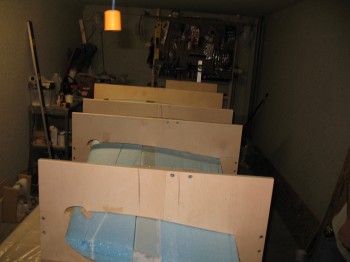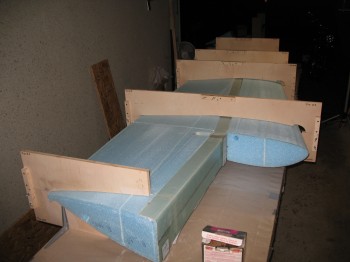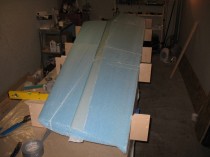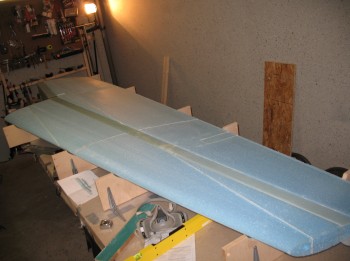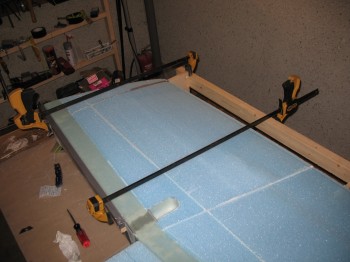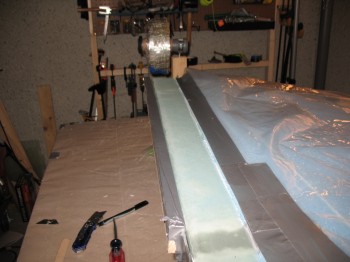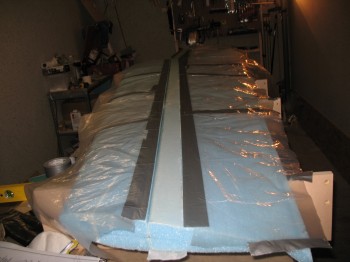
Chapter 19 – Fixin’ Left wing SNAFU!

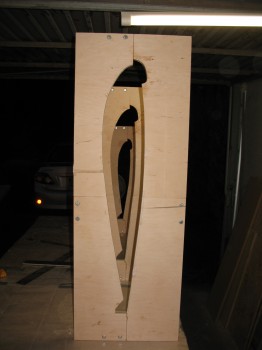
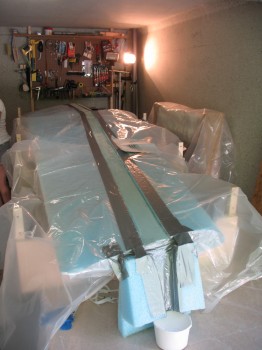
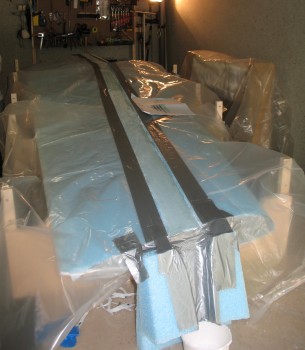
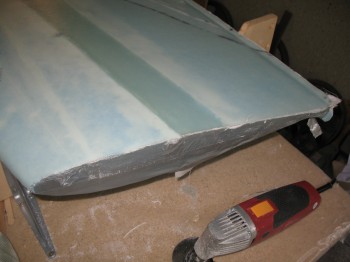
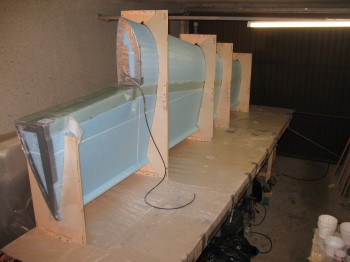
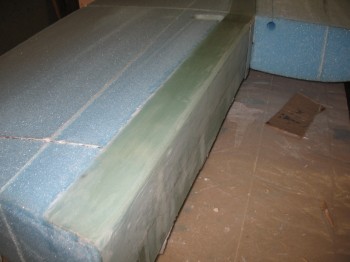
Today I very carefully routed & sanded the aft/bottom of FC5 (the Outboard front wing section) to remove the dead epoxy on the surface where it will mate to FC3 (sandwiching the Shear Web), and then made a 0.1″ thick filler piece for FC3.

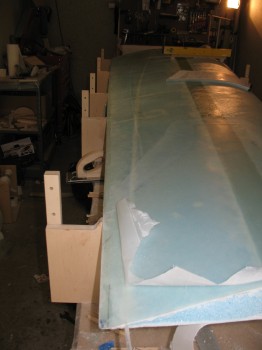
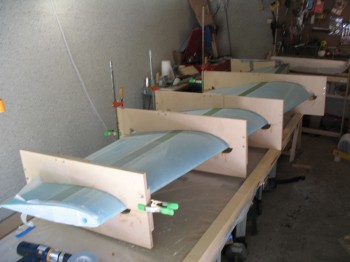
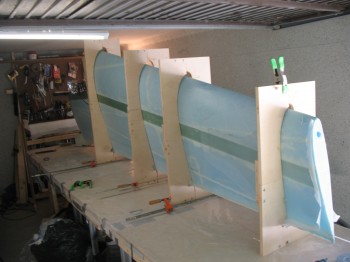
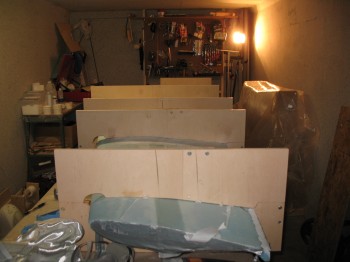
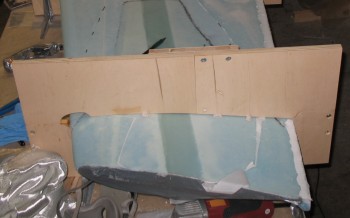
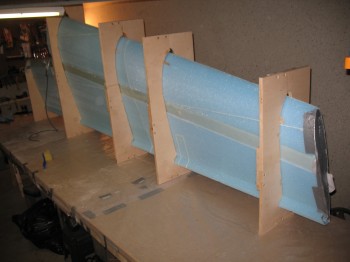
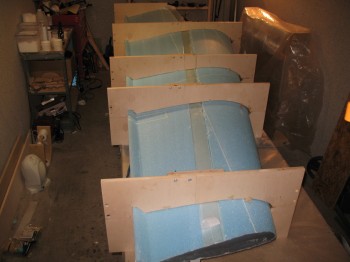
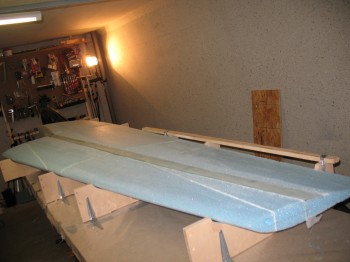
I micro’d FC2 & FC3, and then set up Jig #5 & micro’d FC1 to FC2.  Again, from the Inboard to the Outboard on the aft of the wing are 3 sections: FC1-FC2-FC3.
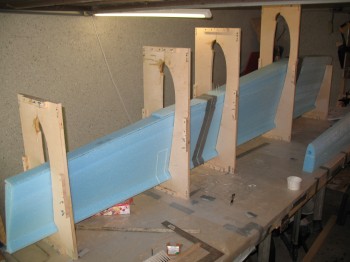
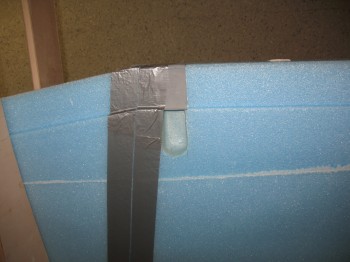
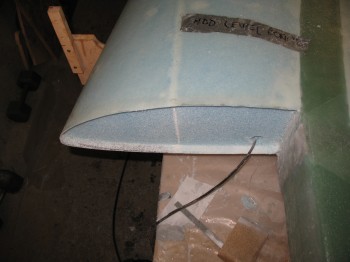
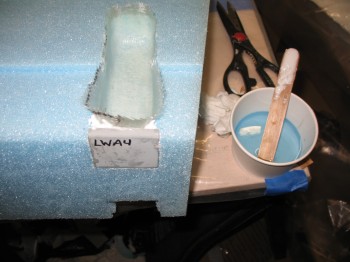
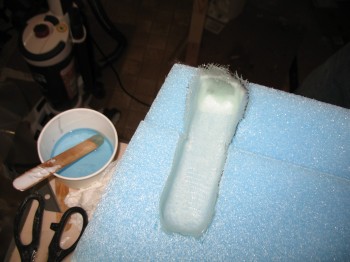
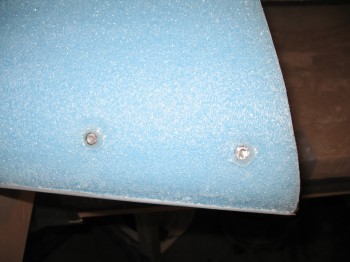
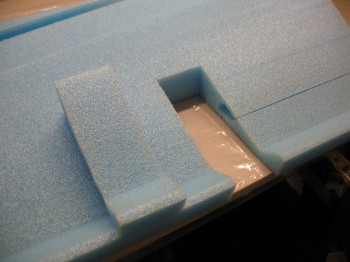
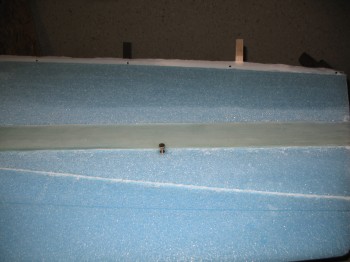
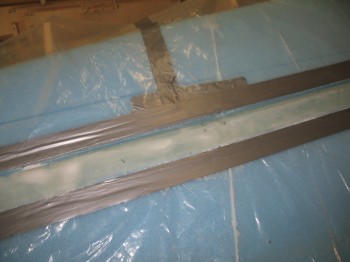
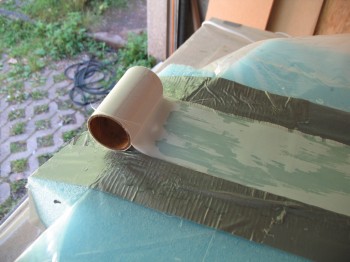
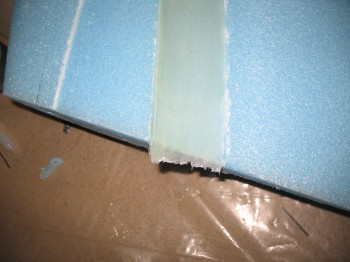
Chap 19 - Fixing Left wing FC3 top edge

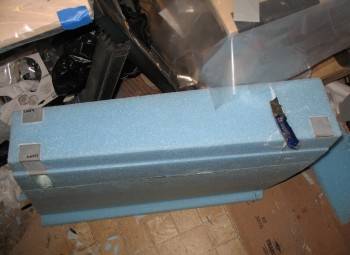
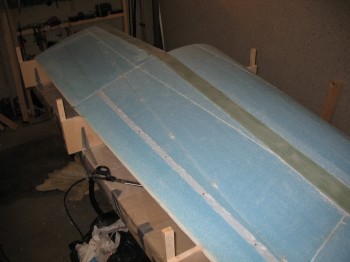
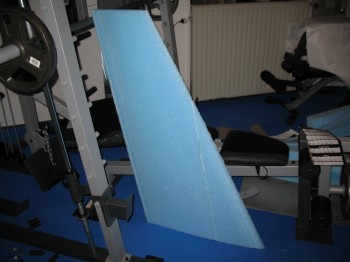
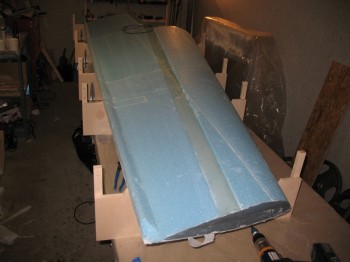
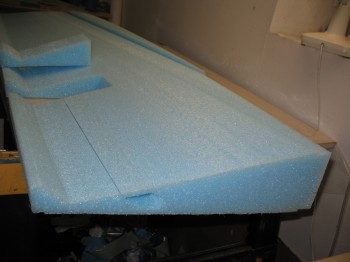
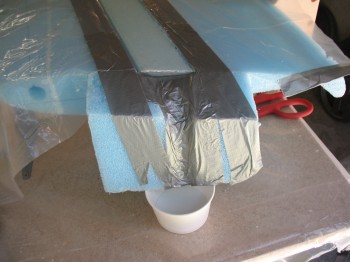
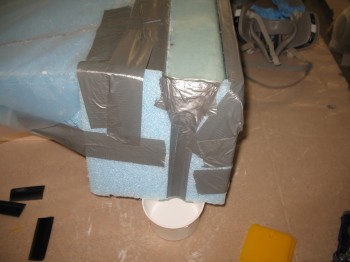
Chap 19 - Left wing FC2 & FC1

I prepped the wing assembly for the Shear Web.  First off, I micro’d in the inverted L-shaped piece at the junction of FC1’s Inboard 6″ wedge for the inset rib, and the solid portion of FC1.
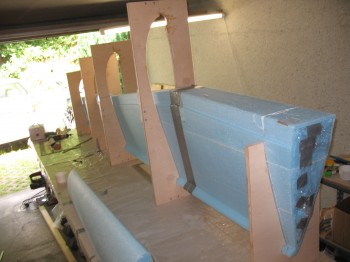
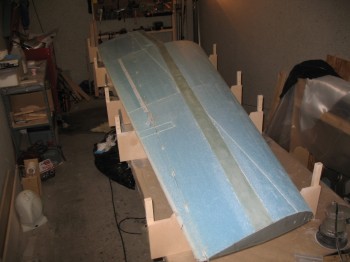
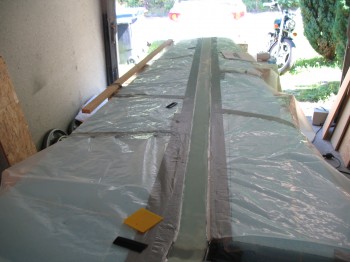
Chap 19 - Left wing Aft sections jigged

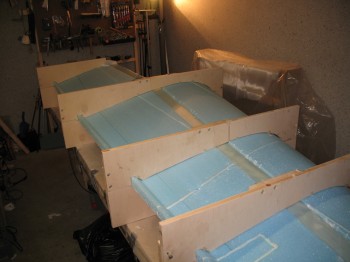
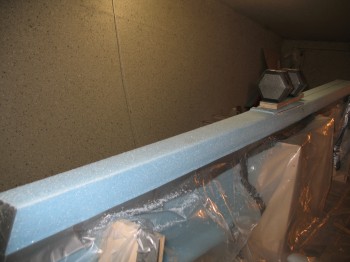
I micro’d on the 0.1 spacer that covered the entire top of FC3.  It was just a tad thick so I could sand it down to nearly the exact thickness required for the entire FC2/FC3 shear web foam to be straight and even.
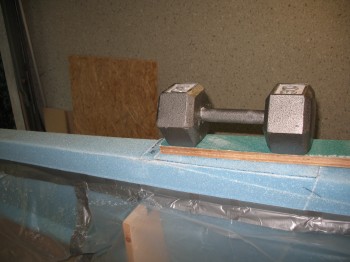
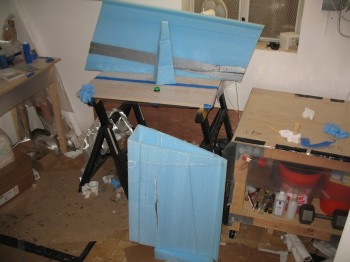
Chap 19 - Fixing Left wing FC3 top edge

Chap 19 - Fixing Left wing FC3 top edge

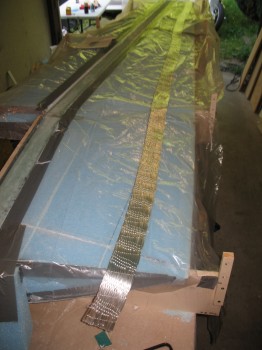
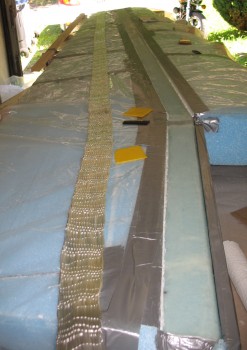
I then pre-pregged Shear Web UNI (that Gina had precut) like I had on the Right wing & micro’d the spar cap shear web area.  I then laid up the shear web.

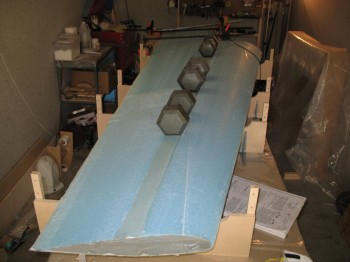
After the shear web was laid up & set, we micro’d the FC4/5 front wing section to the top of the wing assembly/shear web.

Then the real emergency kicked in!

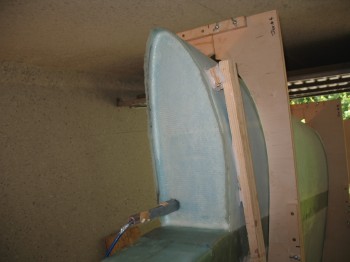
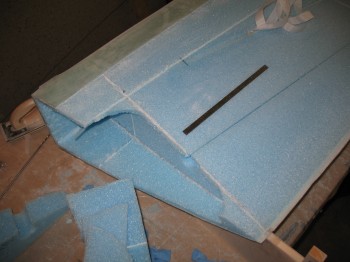
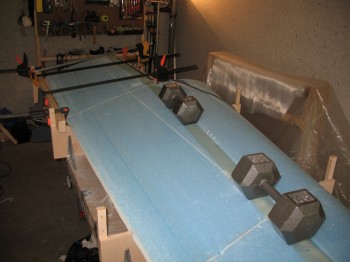
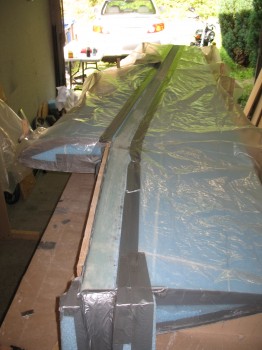
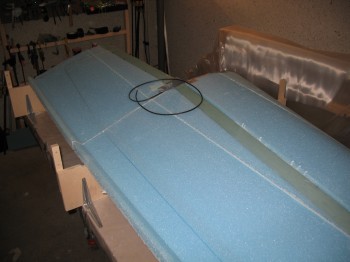
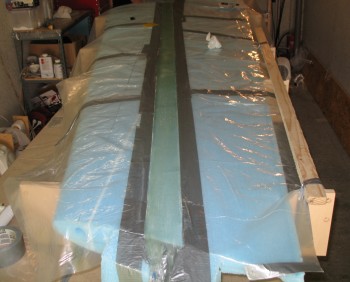
If you look in the picture just above, you’ll see a weight holding down a micro’d piece of foam.  By weighing down the foam, and then sanding the top of the wing assembly (top as it is in the picture) there was apparently too much pressure on the seam of the FC2 and FC3 wing sections.  I had checked the micro at that seam & it appeared cured, but I assumed wrong.  Moreover, this entire scenario that follows was exacerbated by A) my trying to get the Shear Web layup in & get the build back on track, and B) the plastic skirt taped around the wing assembly just happened to be doubled up right in the FC2-FC3 seam area, so it made for a rather opaque view of the underlying wing foam structure.

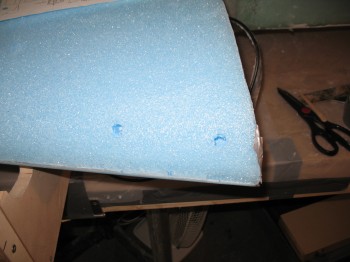
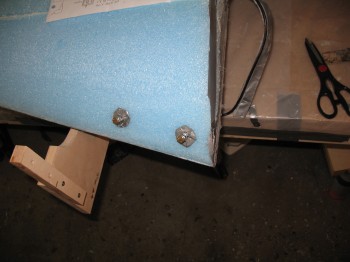
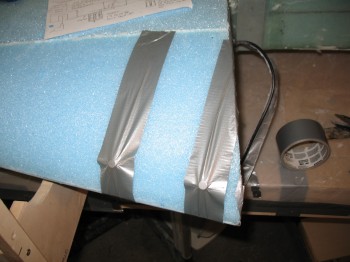
It wasn’t until the after the Shear Web UNI layup was glassed, squeegeed and Dritz scissor-trimmed and the FC4/5 front wing section was attached that we pulled the plastic protective skirt off.  It was then that I saw what could have been a major & costly setback to this build: The FC2 & FC3 sections had split–apparently from the weight applied during the top surface repair–at the Trailing Edge of the wing by about a 1/4″.

My first reaction was quasi-panic mode … a million options rushed through my head.  The first issue was that the micro in between FC2 & FC3 was completely cured, or at least nearly so.  The next issue was the effect of just leaving the wing that way, and filling in the gap with micro.  I quickly measured the TE edge of the wing.  As I suspected, the new gap would make the Left wing significantly longer in span than the Right wing.  Plus, although probably slight, the geometry & airflow would be different.  In addition, I would have to rework the end of the wing & mess with its angle to install the Winglet, greatly increasing the difficulty of yet another part of the build.  I decided the wing had to be put back to the right configuration (this all happened in the span of about 5 min).

I told Gina (who was there to help thank God!) to whip up some semi-dry micro.  I then ran around the garage & house to find anything that was long enough and strong enough to go all the way through the meat of the wing to hold it up, one on the FC2 side & one on the FC3 side.  I used a long socket extension and a piece of round metal tubing as my wing supports.  With those in hand, I grabbed 4 long clamps & reversed the heads to make them spreaders, or in this case jacks.  I installed a 1/2″ auger bit in my drill, took a deep breath and drilled a hole all the way through FC2, and then did the same on FC3.  I tested my improvised metal supports and they fit great.

Once I had all the parts assembled, I faced the toughest challenge:  I had to remove the almost completely cured micro out of the seam between FC2 & FC3.  I grabbed my wood saw and slowly worked from the bottom (TE) up.  Another downside to this scenario was the location… the TEs (bottom) of FC2 & FC3 were very fragile because the whole TE of FC2 & the FC3 TE section near the seam make up the aileron.  Thus, the first 4-6″ of FC2 & FC3 on each side of the seam was literally attached on only one side of the wing by not much foam (I’m not sure, but I would say definitely under 1/2″).  With this being the case, as I slowly cut out the micro, 2 small pieces of the thin aileron foam chipped off.  After 10 minutes or so, I had the micro out for about 2/3 the way up the wing assembly. The remaining top 1/3 of the FC2-FC3 seam was fairly tight and converging, so I didn’t feel that the micro required removing.

With the bad micro out, it was time to install my improvised wing section lifts.  I stuck the socket extension through the wing and used the reverse clamp to put very slight tension on the wing FC2 foam.  I then did the same on the other end of the socket extension on the opposite side of the wing, still on the FC2 foam.  I then did the same thing on the FC3 section.  With my wing section lifts in place, but still with the gap exposed, and even with new tape applied to edge of the foam up to the seam, I applied the new micro into the gap/seam. Once the micro was in place, I slowly applied pressure to all 4 clamps.  The gap began to close and we wiped away the excess micro as it squeezed out of the seam. I kept rotating the pressure between all 4 clamps until the gap was completely closed and the seam was tightly closed once again.

We finished cleaning up the seams and stuck a myriad of finish nails into the foam seam edges to keep everything aligned.  I then re-squeegeed the Shear Web layup, which thankfully was minimally impacted by this quasi-disaster.  I then rechecked the entire rest of the wing to ensure nothing else was out of whack.  After a few hours I pulled the tape, rechecked the alignment & then used some more micro to lightly set in the broken pieces that had been chipped out with the wood saw.  The wing was now whole once again… with no gaps!

Sorry, but I have no pics of the actual repair due to the obvious mass panic that ensued and then working frantically against the clock to repair the wing.

One last thought.  It’s amazing how microing one small piece out of place can snowball into a huge crisis.  Lesson learned: Be mindful to attention to detail & Be careful in performing the build tasks!


Chapter 19 – Right Wing Wrap-up

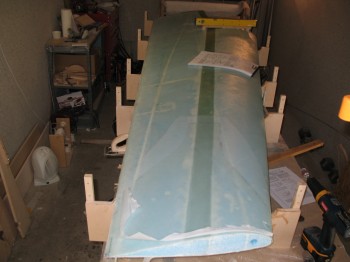
I started off today by knife cutting & finished glassing around the wing bolt access channel holes.

I cut the Trailing Edge (TE) on the Right wing, then sanded it & cleaned it up a bit.

Chap 19 - Right wing buildChap 19 - Right wing buildChap 19 - Right wing build

I stood the jigged wing up on end to glass the BL 55.5 rib.

Chap 19 - Right wing buildI pre-pregged 3 large pieces of BID, micro’d the foam and filleted the inset corner between the glass & foam with dry micro.  I then laid up the BID plies into the BL 55.5 rib inset.

Chap 19 - BL 55.5 Rib Layup

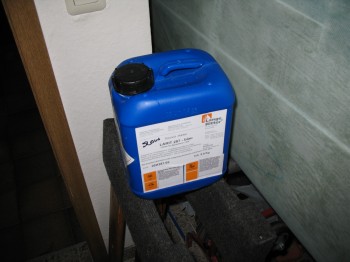
I ran some errands while the BL 55.5 rib layup cured.  A few hours later, after the epoxy had set some, I knife cut the edges.   The BL 55.5 inset rib was fairly cured after some preparations & staging of materials for the upcoming Left wing build, including refilling all the epoxy & hardener bottles.  As you can see below, since I’ve been in Germany I’ve used almost 1.3 gallons of MGS slow hardener:

Finished off a 1.3 Gal jug of MGS Slow Hardener

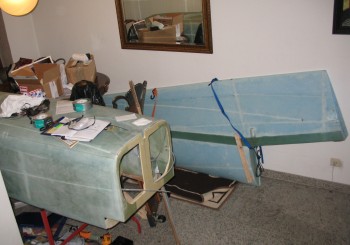
I moved the Right wing into the climate controlled storage facility with the fuselage (again, my dining room!).

Climate controlled storage facility...dining room!
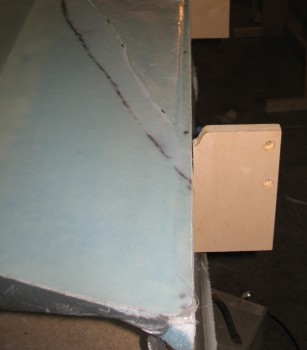
I proceeded to set up the Left wing jigs #1 thru #4.  This time, since the work table was now a quasi-permanent fixture, I just mounted the jigs on top of the table.

Chap 19 - Jigs set up for Left wing

Chap 19 - Jigs set up for Left wing

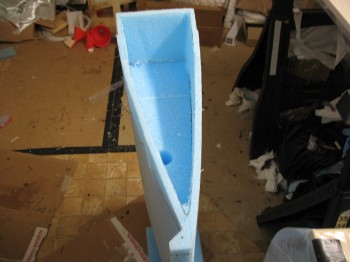
And again, in keeping with my modus operandi, while inserting the FC2 & FC3 wing sections, I realized that the pieces that make up the Outboard aft section FC3 and the Outboard front section FC5 where bonded together incorrectly.  In my haste to multitask, I had micro’d the thin bottom wedge of FC5 to the top of FC3.  There was no way around redoing this, since it would completely mess up the Shear Web layup.  So I took my wood saw, and very carefully hacked off the incorrect top piece of NC3.  I re-micro’d the piece back onto FC5, replete with it’s 0.1″ micro encrusted bottom face (I would deal with that tomorrow).  (Pictures to follow)

To end the night on a positive note, I micro’d the pieces of the Left upper winglet together… correctly!  (Lucky for me there’s only 2 pieces to it!)
 

Chapter 19 – Wings . . . continuing on

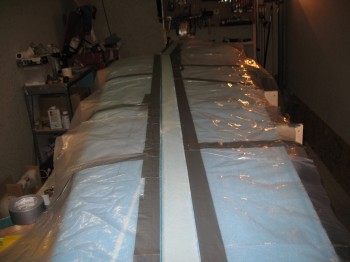
I started out today by checking the top of right wing layup… looked good!  I did a rough knife cut on both the front & aft Inboard rib areas.  I then used a saw to refine my cuts & trim the glass at each end of the wing.

I then removed the clamps & angled aluminum from the TE… which also looked good.

I used the router to cut & shape the 0.7″ inset into the BL 55.5 wing rib (front jut out).  After the foam was shaped & the glass was prepped (via Dremel Tool), I cut & glassed 3″ UNI strips that make up the “V” and border each side of the bolt access channel holes.

Chap 19 - Right Wing BL55.5 Rib

Chap 19 - Right Wing BL55.5 Rib

Chap 19 - Right Wing BL55.5 Rib

Chap 19 - Right Wing BL55.5 Rib

Gina shaped yet another piece of foam to repair a little spot of damage on the Left wing’s FC1.  After micro’ing in & laying up the wing bolt access channels, micro’d the repair piece into FC1.

Chap 19 - Left wing FC1/wing bolt access

Chap 19 - Left wing FC1/wing bolt access

Chap 19 - Left wing FC1/wing bolt extrusions

After I got the Left wing’s FC1 squared away, I set & bondo’d the incident board onto the Right wing.


Chap 19 – Wing & Glass on Top

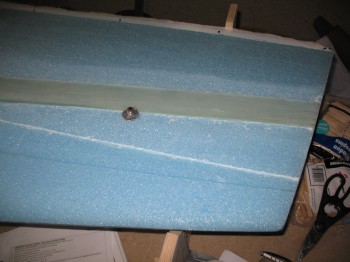
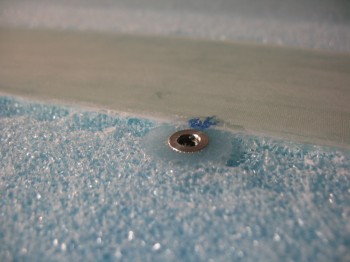
Today I removed the bolts/taped washers from the baggage pod threaded inserts & Dremelled the edges flush with the wing foam surface.

Chap 19 - wing baggage pod inserts

I then removed the remaining peel ply strip from the TE & it wasn’t that bad (I’m lying! Removing TE peel ply sucks!)

I micro’d in the Nylaflow rudder cable conduit & kept it in place with toothpicks about every 10-12″, after micro’ing in my ~5/16″ x 4″ repair piece into place as a channel “false floor” for the Nyloflow as it traverses the front aileron cavity.  I’ll cutout any excess foam once I cut out the aileron and start working in the aileron channel.

I also tacked on a 65″ x 1″ strip of peel ply at the aileron’s top “leading edge,” on the wing side (essentially above the aileron to wing junction, only on the wing side).

Chap 19 - Wing prepped for glassingChap 19 - Top of wing glassingI then vacuumed the entire wing & finalized all the preps for glassing the top.

I reinserted the big block of foam back into the Inboard wing root end (BL 23).  Before I reinserted it, I wrapped it in saran wrap so the repair micro wouldn’t fasten the removable foam to the wing, and thus make it NON-removable (aka bad!).  I reinserted the broken piece, but will wait until I actually start glassing the wing to micro it in.

I checked the micro holding the Nylaflow rudder cable conduit in place, and it had not yet started to get tacky, so I took a break while the micro cured a little bit more.  I didn’t want to layup the top glass just to have conduit trying to escape its micro bonds and thus deform the wing surface layup.

In the meantime, I went downstairs and micro’d the Right upper winglet pieces together.(there were no more Left wing sections to micro since they were all bonded together–in their respective sections FC1 thru FC5–and ready to be assembled.)

Chap 20 - Right Upper Winglet

When I returned to the shop, I took a good look at the wing & used my flat sanding board to clean up the wing surface, especially at the joints.  I wanted to ensure a smooth flow over the wings, which honestly is much more important on the wing upper surface than it is the bottom.  Of course, having re-sanded the wing, I had to vacuum the entire upper wing surface again.

Chap 19 - Right wing top ready for glassing

I micro’d the foam joints & the spar cap edges (no micro goes on the spar caps, just wet epoxy!) with dry micro.  On the large areas of plain foam (what I call, “the field”) I used wet microslurry.

In laying up the UNI on the wings I used up all the slow hardener I had prepped in my 2 squeeze bottles.  The transitions looked good, and at only ~70°F the epoxy seemed to be curing fairly fast.  I added the triangular BID reinforcement at the Outboard end of the wing & covered it with peel ply.  I then glassed a staggered 3-ply UNI layup over the Inboard wing bolt extrusion, that covers the extrusion and then folds over the edge of the wing and is laid up on the top front corner of the wing surface as well.  Also, I clamped the TE with a long piece of L-shaped aluminum to ensure the TE was as straight as possible.

Chap 19 - Right Wing Top Glassed

Chap 19 - Right Wing Top Glassed

Chap 19 - Right Wing Top Glassed

I peel plied the “V” that straddles the upper wing bolt access hole, and as you can see, wrote out a couple notes admonishing myself not to forget the wing level board that must be bondo’d to the top at 0° incidence, so that the wings can mounted at the correct incidence angle.


Chapter 19 – “Blue Wing Standing By…”

A little Star Wars & Long-EZ wing foam double reference there!  … although I don’t think there was actually a Blue Wing whilst the Rebels attacked the Death Star . . .

But, again, I digress.

Today I removed the peel ply and surrounding tape from the spar cap.  Since I had finished so late last night, I crashed without thinking about the ramifications of letting the epoxy fully cure (Read: mistake) with the protective tape & plastic still attached.  I guess that’s why God invented Dremel tools huh?!  To remove strips of duct tape that remain ensconced along the edges of the spar cap.

I removed the FC1 dam that was bondo’d on, and proceeded to chisel off large chunks of bondo, wood & epoxy.  After I got most of the big pieces off, I sanded down & even Dremelled a little bit of the crud left behind from the dam in the entire area where the dam had once been.

I went ahead and floxed in the threaded hardpoints for the baggage pods.  Obviously, I didn’t flox in the 4 hardpoints on the bottom of the wing & will wait until I actually install the baggage pods for those.  I’ll do the 2 on the top of the wing since they are much more visible, and I’d like the holes to be as clean as possible.  For the measurements, I came back 1.75″ from the LE & set them 4″ apart.

Chap 19 - Baggage Pods Attach PointsChap 19 - Baggage Pods Attach PointsChap 19 - Baggage Pods Attach PointsAfter I got the threaded hardpoints for the baggage pods floxed in, I cut the ends of the spar cap flush with each end of the wing.

I then grabbed my trusty Dremel & went to work on the sides of the spar caps once again to rid the wing of dead micro & epoxy.

Chap 19 - Right Wing Spar CapI used the orbital sander to clean up the top of the spar cap.  Now, unlike the pic above, where I was using the Dremel Tool on micro, when I sanded the spar caps I wore long sleeves and was all buttoned up (S-glass itches!!).

I removed some more, but not all, of the TE peel ply strip.

I then–again, in fine Wade fashion–as I was trying to remove the block of foam from the Inboard wing end…. well, let’s just say it came out, but it wasn’t about to come out alone! Not without an actual piece of the wing!  Ugh!

6 Aug

So . . . I’ll micro the piece back in tomorrow before I glass the upper wing.

I then used the Dremel to router the channel for the rudder cable Nylaflo.  I followed the measurements as laid out in the plans, but got just a hair too close to the hollow aileron cavity on the Outboard upper corner and left a decent size channel for a few inches.  So I spent a little bit of time cleaning that up & prepping the repair.  I’ll actually micro in a foam repair piece tomorrow as well.


Chapter 19 – Wing . . . Building On!

I built the dam for top side wing spar cap channel & bondo’d it into place.  (The weights in the pics below were left over from being used during the leveling & alignment of the wing while attaching the jigs to the work bench surface)

Chapter 19 - Right Wing Build

Chap 19 - Right Wing Build

I used the Dremel to clean up the sides of the spar cap channel some more.  Once I finished getting spar cap channels prepped for glass, I vacuumed the wings & spar cap channel.  I then taped up the edge of the spar cap and laid plastic down across the foam wing pieces on both sides of the spar cap to protect it from epoxy.

Chap 19 - Right Wing Spar Cap

Chap 19 - Right Wing Spar Cap

Chap 19 - Right Wing Spar Cap

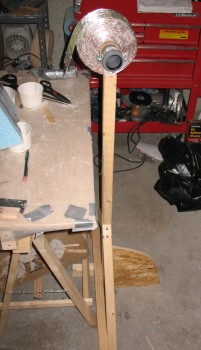
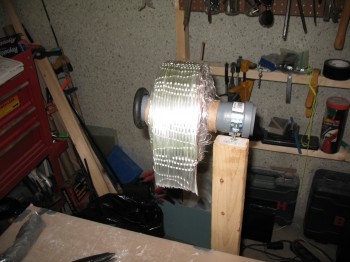
Gina built a new set of epoxy runoffs/downspouts for me.  I then prepped for the ensuing multi-hour marathon spar cap layup.  I prepositioned the 3″ UNI tape roll on its dispenser stand assembly at the end of the table.

Chap 19 - Right Wing Spar CapChap 19 - Right Wing Spar CapI then pre-cut a good majority of the long 3″ UNI tape that will run full length down spar cap trough, and then get successively shorter with each new piece… generally around 3″-6″ shorter on each end as it pyramids up to the final piece which is only 20″ long on the top of the wing & 17.5″ long on the bottom of the wing.  With the added layers per CP 25, there are 7 layers of 3″ UNI tape on the bottom wing spar cap, with the top getting 10 layers.

Chap 19 - Right Wing Spar CapI then laid up the spar cap & peel plied it (sorry, no pics just yet . . . ).  As I kept on laying in the 3″ UNI tape, Gina was working the epoxy station (Did I mention how nice it was to have help?!)

Chapter 19 – Right wing build

I micro’d the Left wing’s FC5 section.

Sanded some channels into the micro I applied for some test finishing so I could get a couple of the jig halves remounted, and then test fitted the jig mounting to the bottom of the wing.

I then knife trimmed both the Outboard & Inboard wing edges, the front of wing jut-out (B.L. 55.5) and the trailing edge (TE).  I also applied dry micro down the TE channel.

Chap 19 - Right wing build

Chap 19 - Right wing build

After I attached all the jig tops (top in picture, technical “bottom” of wing), I grabbed my favorite can of German bondo and bondo’d the jigs to the bottom surface of the wing.

Chap 19 - Right wing build

Chap 19 - Right wing build

Once the bondo had cured, I unscrewed the jig mounts & flipped the wing over.  Of course I had to snap a few pics on its way over.

Chap 19 - Right wing build

Chap 19 - Right wing build

Chap 19 - Right wing build

Chap 19 - Right wing build

I spent a fair amount of time leveling & aligning the jigs/wing.  Once level, I then mounted the bottom jigs to the workbench using the same L-brackets that I had on the other side.

After removing the top of the jigs, I pulled the spar cap peel ply off (applied when I glassed the shear web & attached the front part of the wing).

Chap 19 - Right wing build

Chap 19 - Right wing build

I also removed the “fish tail” on the TE & started removing some of the peel ply that I had tacked in before glassing the bottom of the wing.

Chap 19 - Right wing build

Chap 19 - Right wing build

After spending an inordinate amount of time removing the peel ply from the trailing edge (I think splitting atoms with a dull ax would be easier… and less time consuming!), I focused on cleaning up the spar cap channel by using the Dremel tool to remove dead micro & wayward glass fibers from the edges of the channel.

Chap 19 - Right wing build

Chap 19 - Right wing build

For the Left wing, I micro’d the pieces of FC4 together.


Chapter 19 – Glass Bottom Wing

I removed the nails/toothpicks & tape from the Left wing bonded sections FC1 & FC2.  I then micro’d the FC3 pieces together.

2 Aug

Chap 19 - Left wing FC3 section

I touched up & finalized sanding the leading edge (LE) of the Right wing in prep for glassing the bottom of the wing.  I also finished cleaning up the micro joints & had to reflox the upper wing surface to Jig #4.

I vacuumed the entire wing surface in prep for glassing.  I then floxed in a baggage pod threaded insert for a tie-down hard point.

Chap 19 - Wings... Tie-down hard point

Chap 19 - Wings... Tie-down hard point

Chap 19 - Wings... Tie-down hard point

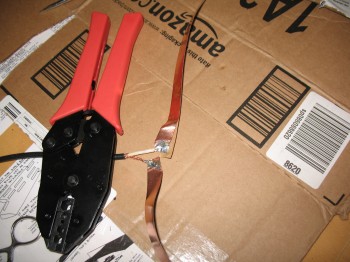
I cut RG-58 coax & 3/8″ copper foil strips to length for an FM radio antenna (26.2″ each leg).  I prepped & soldered the coax cable to the copper strips using Rosin core solder.  I chose to do the FM antenna first, that way if I jacked it up while glassing, I could use it as a learning experience.

Chap 19 - Wings... Antenna Prep

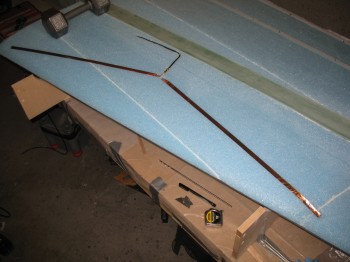
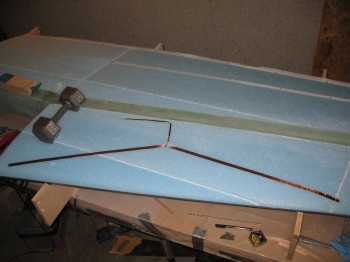
I installed the antenna onto the wing, and then I tacked on 1″ peel ply strips to the wing trailing edge (TE) and at the front edge of what will become the ailerons.

Chap 19 - Wings... Antenna Prep

Chap 19 - Wings... Antenna Prep

Chap 19 - Bottom Right Wing Glass Prep

Chap 19 - Bottom Right Wing Glass Prep

I taped up both ends of the wing to protect the foam from epoxy, gunk, etc. and also along the front leading edge, so that the wing top LE (down in these pics) would be protected & fresh when it comes time to layup the wing top surface.  I then wet-micro’d the surface & dry-micro’d the grooves, indents, bumps, valleys, etc.

I glassed the UNI skin layups onto the surface of the lower Right wing.  After the main UNI skin was laid up, I added the triangular BID reinforcement at the Outboard area & peel plied.

Chap 19 - Bottom Right Wing Glassed

Chap 19 - Bottom Right Wing Glassed

Chap 19 - Bottom Right Wing Glassed

I peel plied a 2″ strip along the LE & 3″ peel ply strips at the wing bolt access hole.

Chap 19 - Bottom Right Wing Glassed

Chap 19 - Bottom Right Wing Glassed

Talking to a couple of seasoned builders, they said I should try throwing on some thick micro–using the West system–after the skin layup was tacky.  This would kill two birds with one stone in theory since I would have my finishing micro in place and not have to sand to finish later on.  I tried it on two wide swaths, and wasn’t overly impressed with the outcome.  I was too tired & too committed after it was on, but learned that I would rather go the hard route of sanding, filling and finishing later on than take this shortcut.

After the wing cured a bit, I knife trimmed the LE & removed the duct tape along the LE.

Chap 19 - Wing LE tape/glass removed

Chapter 19 – Wing build continues . . .

I sanded down a bunch of the Spar Cap (aka “Shear Web”), with a fair amount being in the middle wing area specifically.  It appears that during the shear web layup that some of the redundant plies at the outer Butt Line marker–where the number of UNI plies went from 4 down to 2–were a little bit more redundant than they should have been.  I’m not sure why I wasn’t able to catch these 3 errant bumps when I was peel plying the shear web, but they were certainly apparent the next day.  I sanded them down with my sanding board, and got the Spar Cap base back to a fairly level surface.  While I was in prep mode, I also found 3 small areas with air pockets… so I drilled holes & injected them with epoxy.

Chap 19 - Spar Cap Prep

Chap 19 - Spar Cap prep

As per, “the plan” that I developed when I talked to Randi from the Cozy Girrrls, I made some epoxy runoff downspouts and tacked them into position at each end of where the spar cap’s 3″ UNI tape would be laid up into the wing.

Chap 19 - Wings...Spar cap epoxy runoff

Chap 19 - Wings...Spar cap epoxy runoff

I then micro’d the channels & the foam running down each side of the spar cap, the entire length of the wing.  I laid up the spar cap with 3″ UNI tape as per plans, with the extra plies required as per CP 25 since my 3″ UNI was a bit on the thin side.  Again, thank God Gina was there manning the epoxy station… because this layup took quite a bit.

Chap 19 - Spar Cap prep

Chap 19 - Spar Cap Layup

After all the 3″ UNI tape plies were laid up (after about 5 hours worth of glassing!), I peel plied the spar cap using 3″ peel ply off a roll.

Chap 19 - Spar Cap Peel Ply

I then cut each end of the spar cap & removed the runoff spouts.   I cleaned up the exposed Inboard shear web while Gina carefully removed the plastic.

Chap 19 - Spar Cap

Chap 19 - Bottom Spar Cap

Chap 19 - Bottom Spar Cap

Chap 19 - Spar Cap

Later that evening I sanded down the top of the spar cap & also leveled it out at the foam junction. Now, the 3″ UNI tape used in the spar cap is made from S-glass, the same glass used in the landing gear bow.  For all practical purposes, the next thing up the evolutionary chain as far as fiberglass cloth goes, is from E-glass (UNI & BID) to S-glass (Landing gears & 3″ UNI tape spar caps) and then Carbon Fiber.  But my point in bringing this up is that S-glass is a lot harder to sand, and infinitely itchier than E-glass.  Yuck!

After the ‘bad’ sanding period was over with, I proceeded to clean up all the micro joints to remove ALL dead micro, and any micro that decide it was above all else (e.g. Wing surface!).

After a couple hours manning the Dremel, I removed the dam bondo’d to the Inboard side of the wing & sanded down the entire Inboard area.

Chap 19 - Spar Cap Inboard
Chap 19 - Bottom Spar Cap Inboard
Chap 19 - Bottom Spar Cap
I then turned my sights back onto the Left wing & cut the 6″ wedge from the Inboard side of FC1.  Once I cut out the center wedge part, I micro’d the outer shell back to FC1 (Gina was mixing micro and helped a lot with this as well).  I then micro’d the two FC2 parts together.
Chap 19 - Left wing FC1 & FC2
Chap 19 - Left wing FC1 recessed end rib
After finishing with the Left wing sections, I refilled the epoxy & hardener bottles, and checked the levels of all my consumables.

As I was checking the wing one last time for the evening, I went ahead and grabbed a sanding block and very carefully sanded & shaped the Leading Edge of the wing.

Chapter 19 – WINGS, Wings, wings

I started out today by removing the protective duct tape & nails used in bonding the pieces together for the LEFT wing’s FC2 section.  I also cut the 6″ wedge off the Left wing’s FC1 section for the hollow/inset Inboard end rib.

Chap 19 - FC1 End Rib Prep on Left wingBack on the Right wing, I drew a line & cut off a wedge at the most Inboard part on the front portion of the wing.  This will allow the front of the wing to align correctly with the fuselage-side strake later on after the strakes are built.

Chap 19 - Finalizing Wing ShapeChap 19 - Finalizing Wing ShapeChap 19 - Finalizing Wing ShapeI then whipped up some flox and floxed the jigs to the top wing surface by applying a small dab of flox every 6-12″ along the corner intersections of wing foam to wood jig (seen in the picture above).

I spent a couple of hours constructing a long work table for the wing builds and getting it as straight & level as possible.  Due to the size of the wings this new & improved work bench is much longer then the previous one.

I then unscrewed the wing jig base from its wood pedestal and placed the wing–in the jigs–bottom side up on the work table.  I leveled all the wing jigs to ensure they all matched & thus the wing washout (the shape of the wing as in how it twists, or “flows”) was as close to the intended design as possible.  Once all the jigs, and thus the wing, was as level as I could get it (there were some slight anomalous variances I mitigated as best possible, but that I could simply not eliminate) I hard mounted the jigs to the table using L-brackets & screws.

Chap 19 - Bottom Spar Cap Prep

Chap 19 - Bottom Spar Cap Prep

Chap 19 - Bottom Spar Cap Prep

I prepped a 1×2 strip of wood which will be used as a dam while laying up the 3″ UNI tape spar caps.  I covered the parts of the wood dam strip that will contact the layup with duct tape.  I then bondo’d & clamped the dam strip to the shear web at the inboard part of the wing where the aft wing section extends farther Inboard than the front part of the wing.

Chap 19 - Bottom Spar Cap PrepChap 19 - Bottom Spar Cap Prep

With the bondo on the dam cured & good to go, I taped off the edge of the spar cap (shear web glass) with plastic to protect the wing foam surfaces.  I also set up the 3″ UNI tape on its dispenser stand.

Chap 19 - Bottom Spar Cap PrepChap 19 - Bottom Spar Cap Prep